Login to App
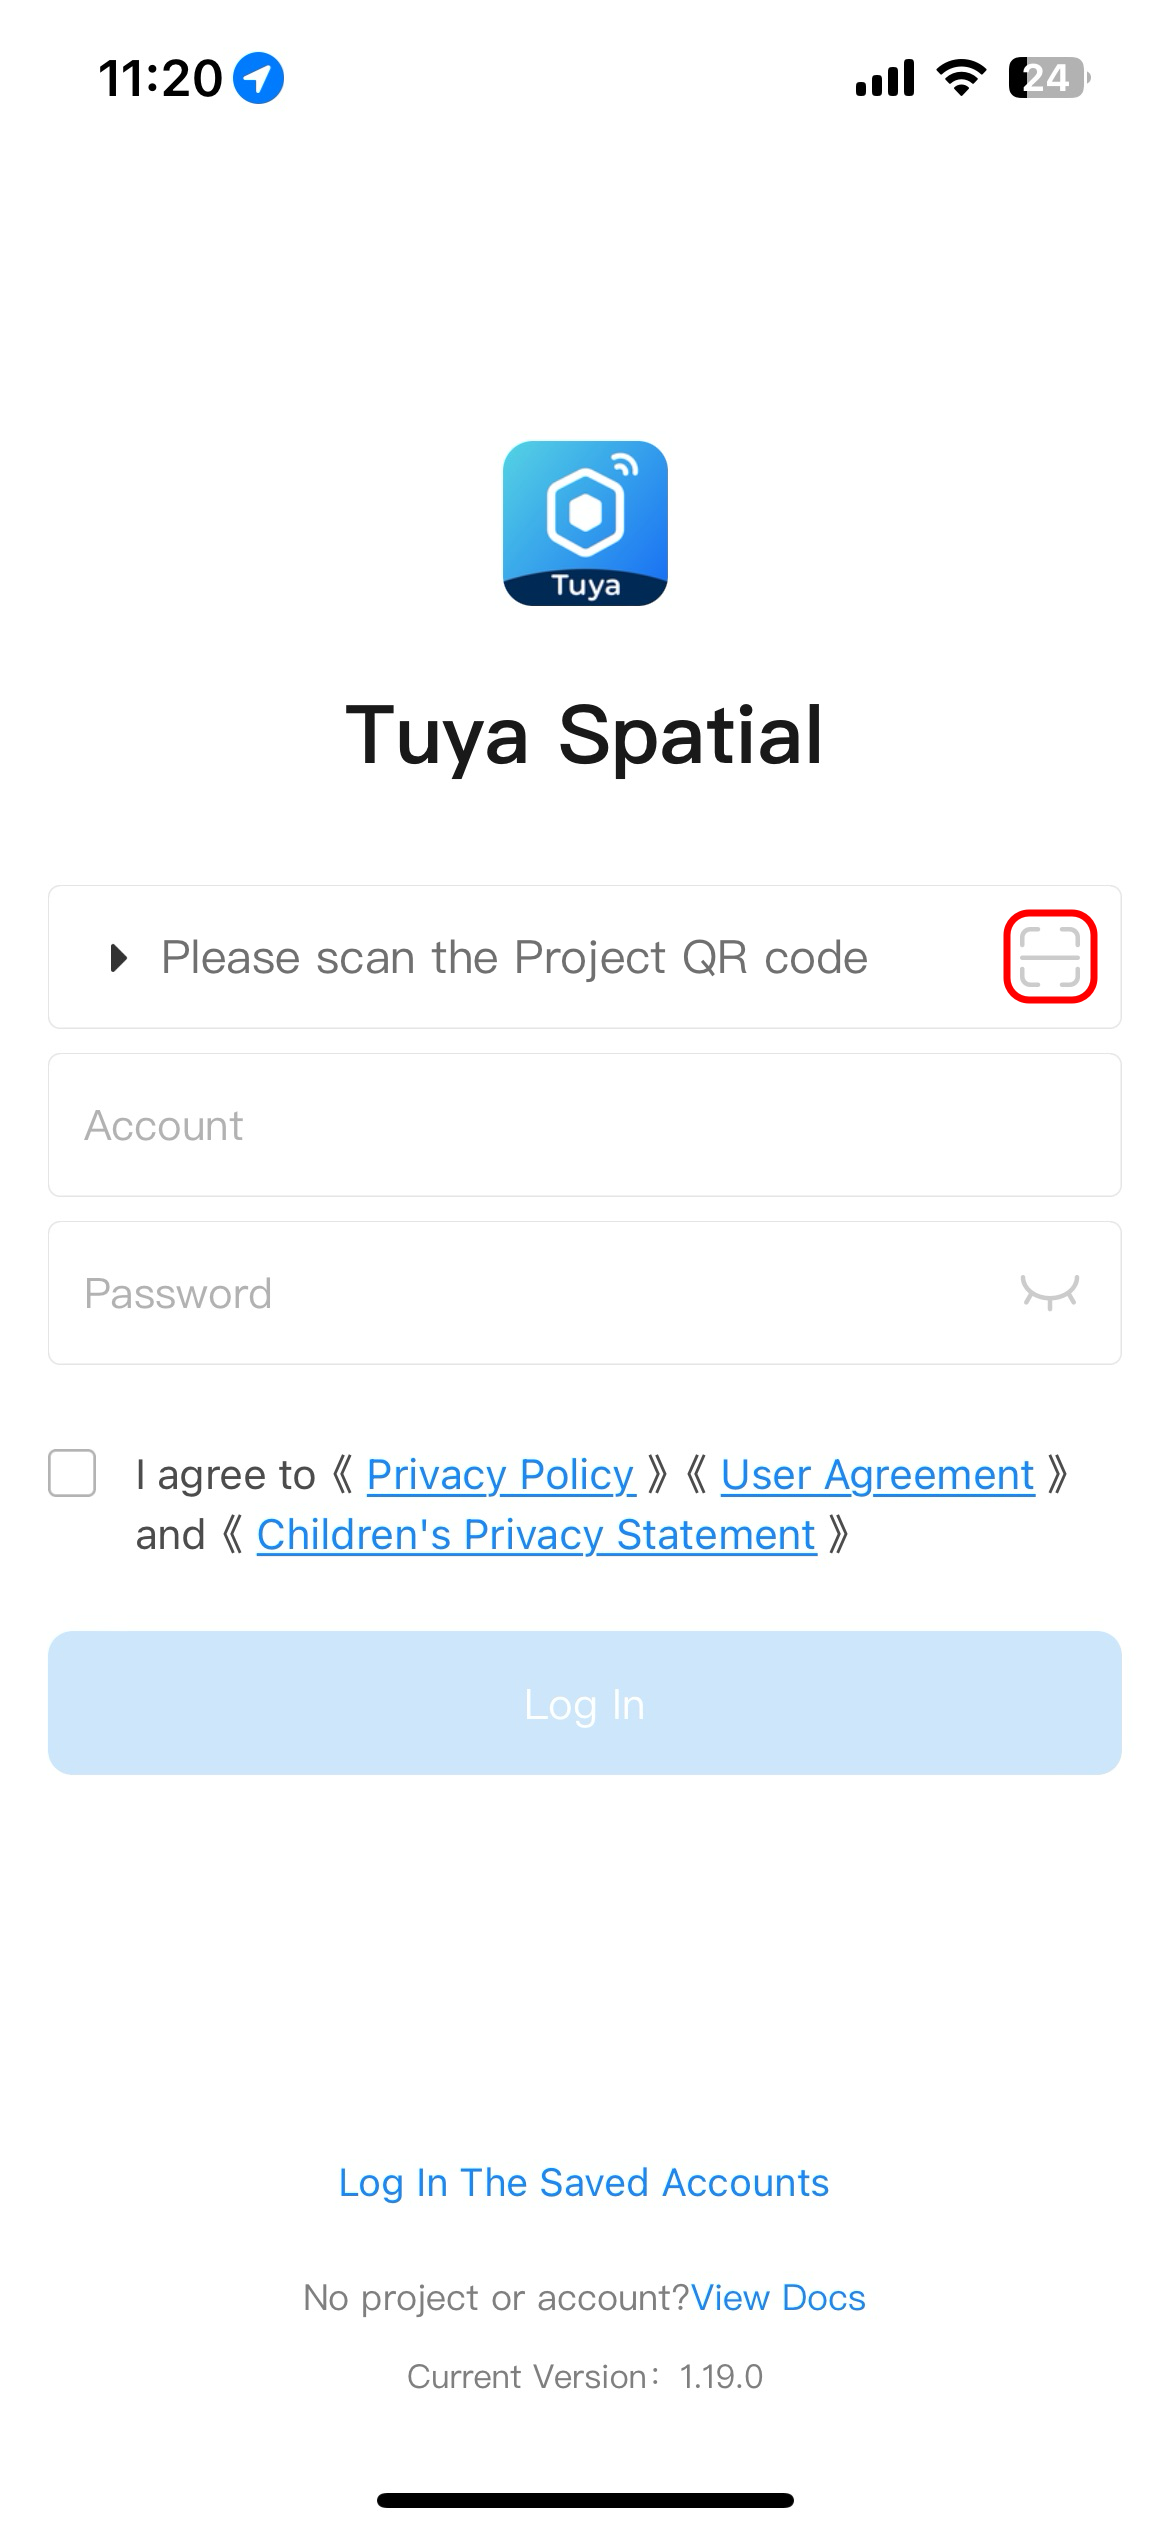
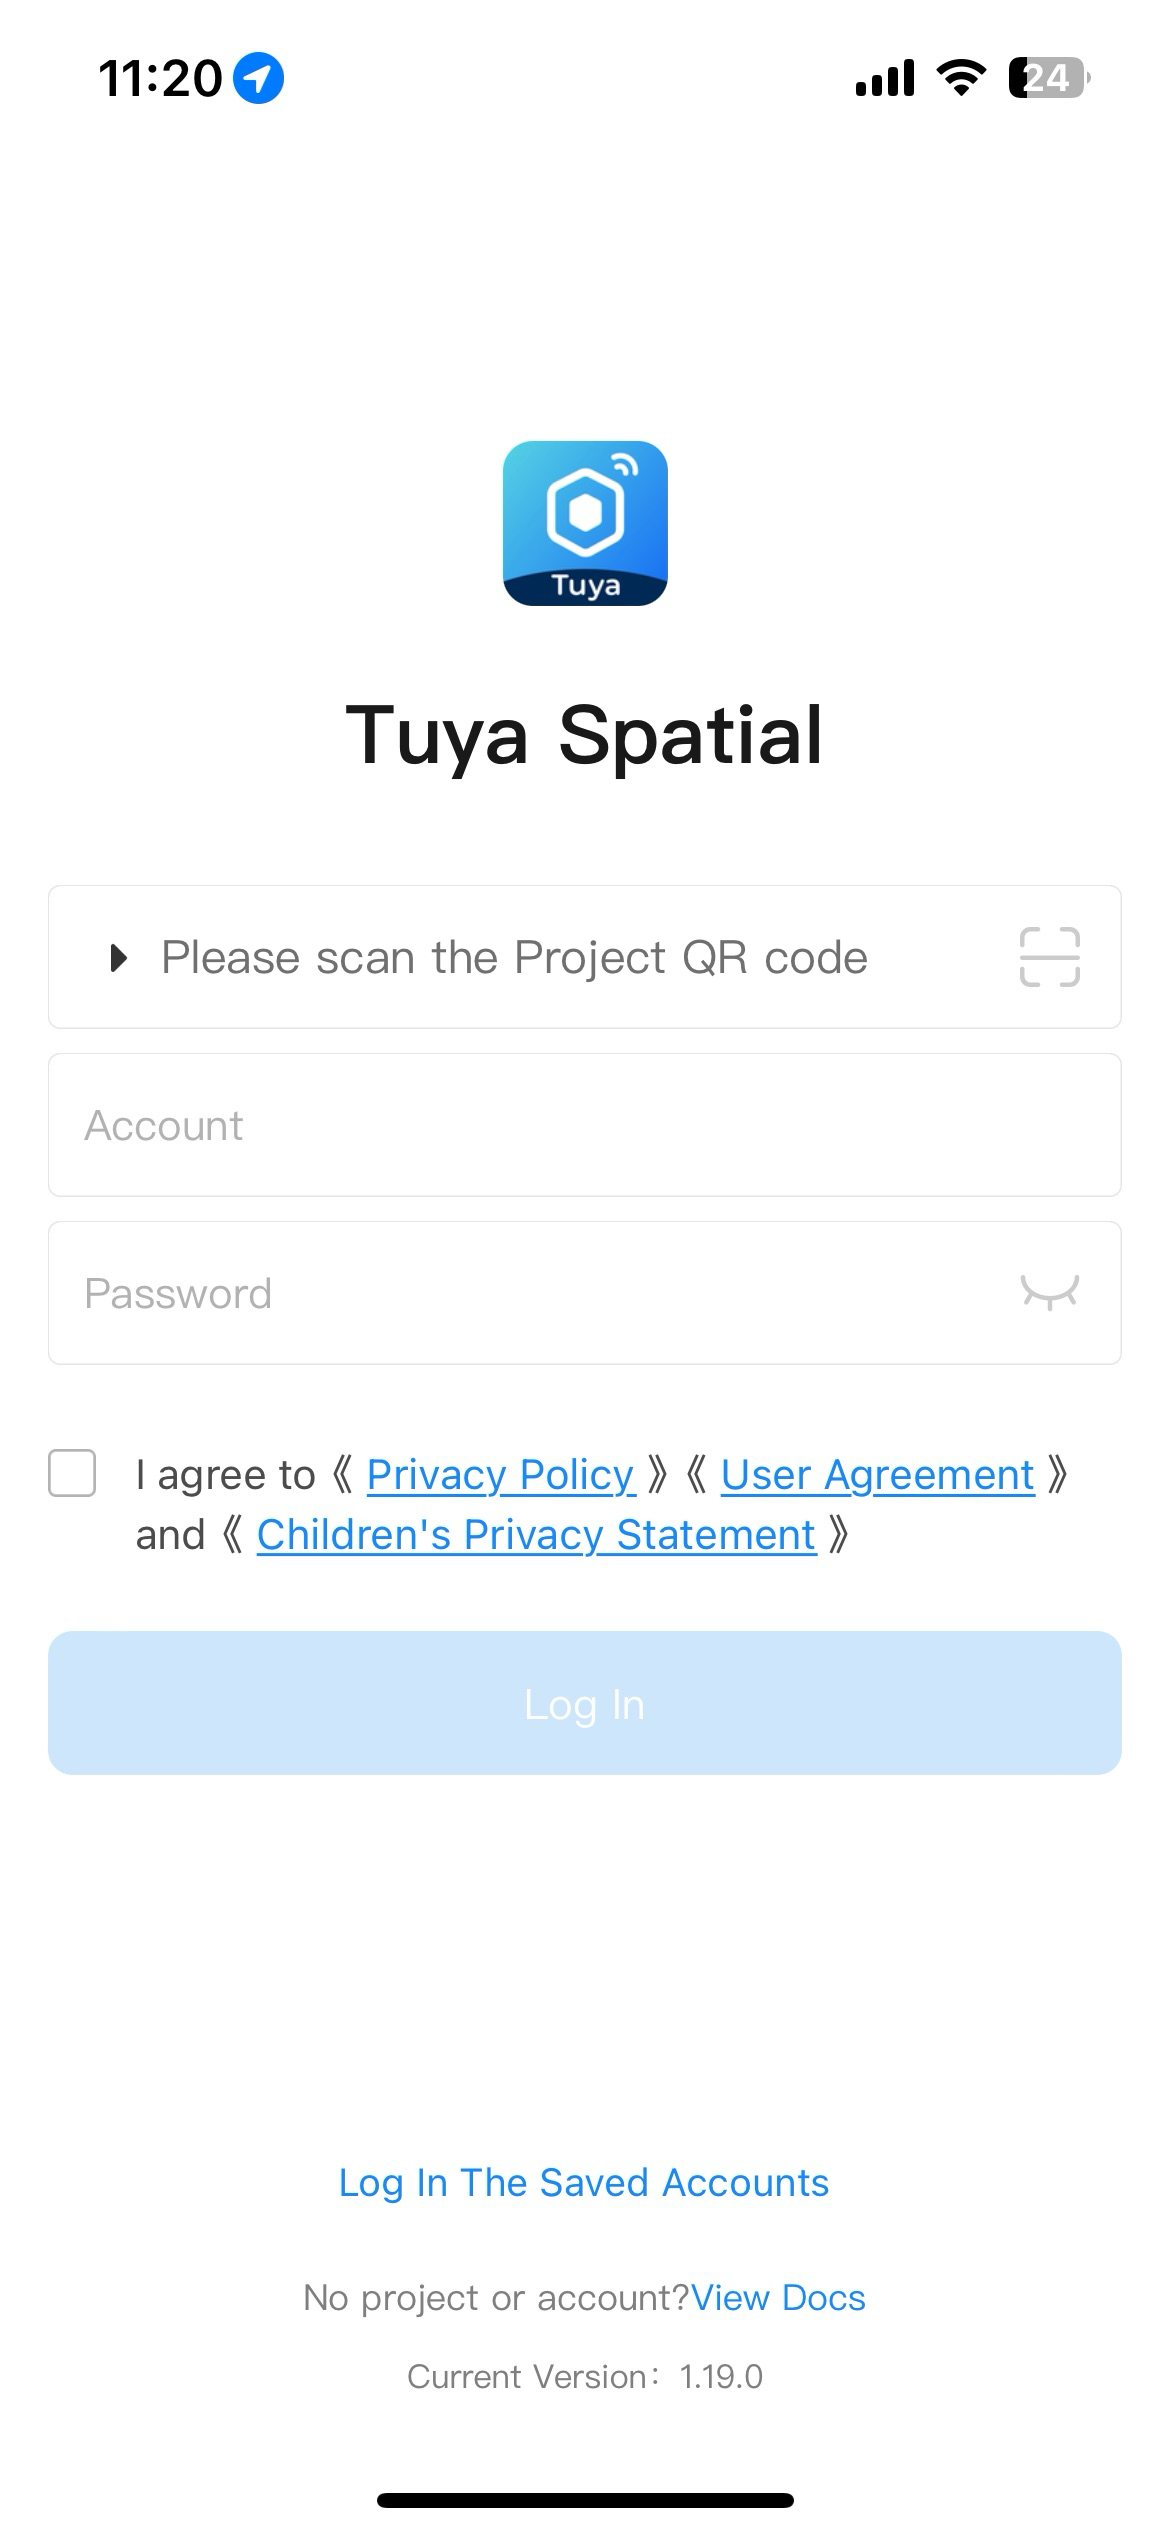
Users can follow instructions in Download App to download the Tuya Spatial app. Then, to log in to the app, they must scan a project QR code to link the project and enter the account and password on the login page.
| User interface | Description |
|---|---|
|
Linked Project: a cloud project. A cloud project is a collection of cloud development resources, such as devices, API permissions, and data assets. After you add a user to the project, you can authorize the user to manage specific assets. This allows the user to log in to the project and operate devices for the project. For more information, see subsequent descriptions in this topic. |
| Account: an account that is authorized in the cloud project. After you add a user to the project, you can authorize the user to manage specific assets. Then, the user can log in to the app and add and manage smart devices and edge gateways. | |
| Password: the password of the account that is granted access to the cloud project. |
- As a system administrator, if you have not created a project or account, you can follow the steps in this topic to allow a user to log in to a linked project.
- Users must contact the system administrator to get the project QR code, account, and password before they can log in to the app and access the project.
Step 1: Register a Tuya developer account
Register and create a Tuya developer account and complete the identity verification.
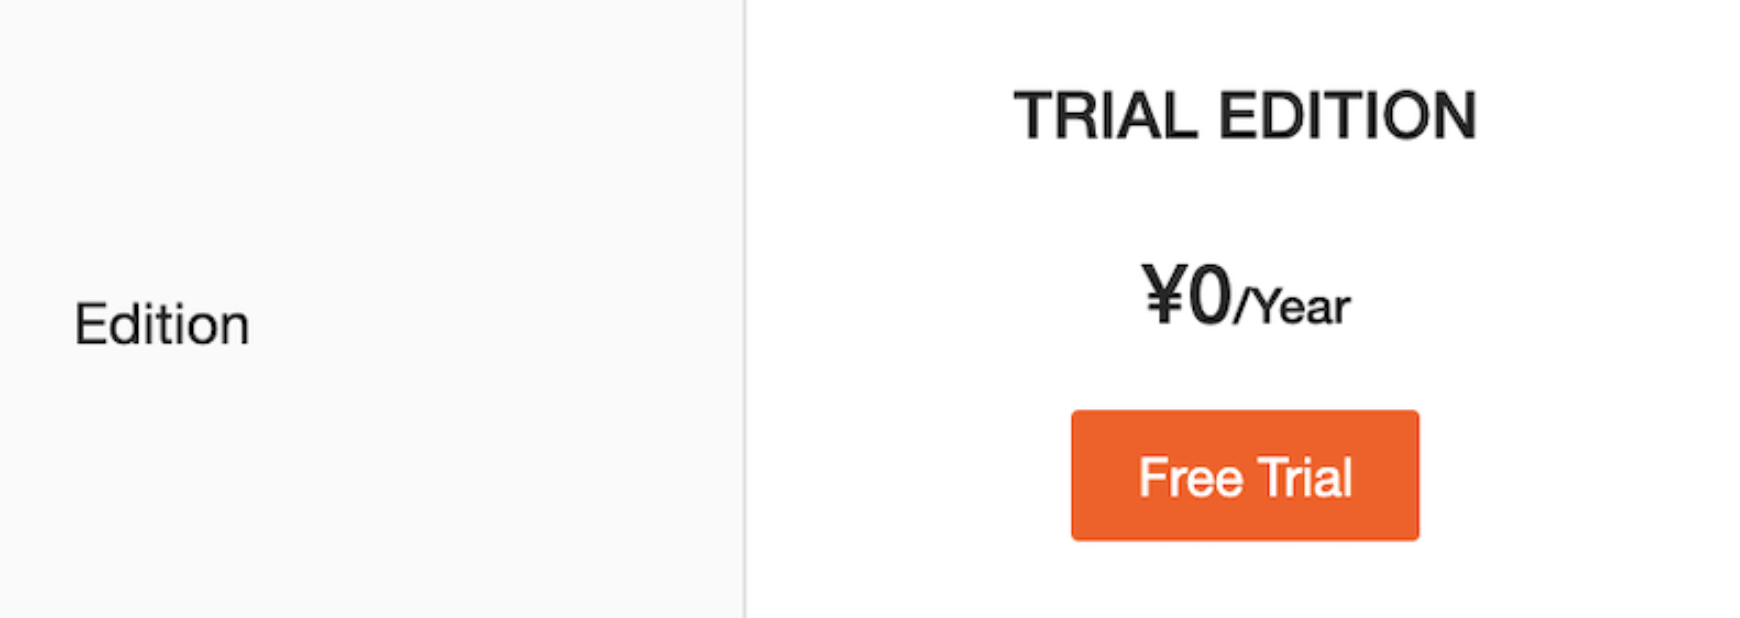
Step 2: Subscribe to a cloud development plan
In the left-side navigation pane of the Tuya Developer Platform, choose Cloud > Project Management to go to the Project Management page, and subscribe to the desired cloud development plan.
To quickly experience cloud development, you can subscribe to the Trial Edition plan. This edition is used for free.
Step 3: Create a cloud project
-
In the left-side navigation pane of the Tuya IoT Development Platform, choose Cloud > Project Management to go to the Project Management page. Click Create Cloud Project.

-
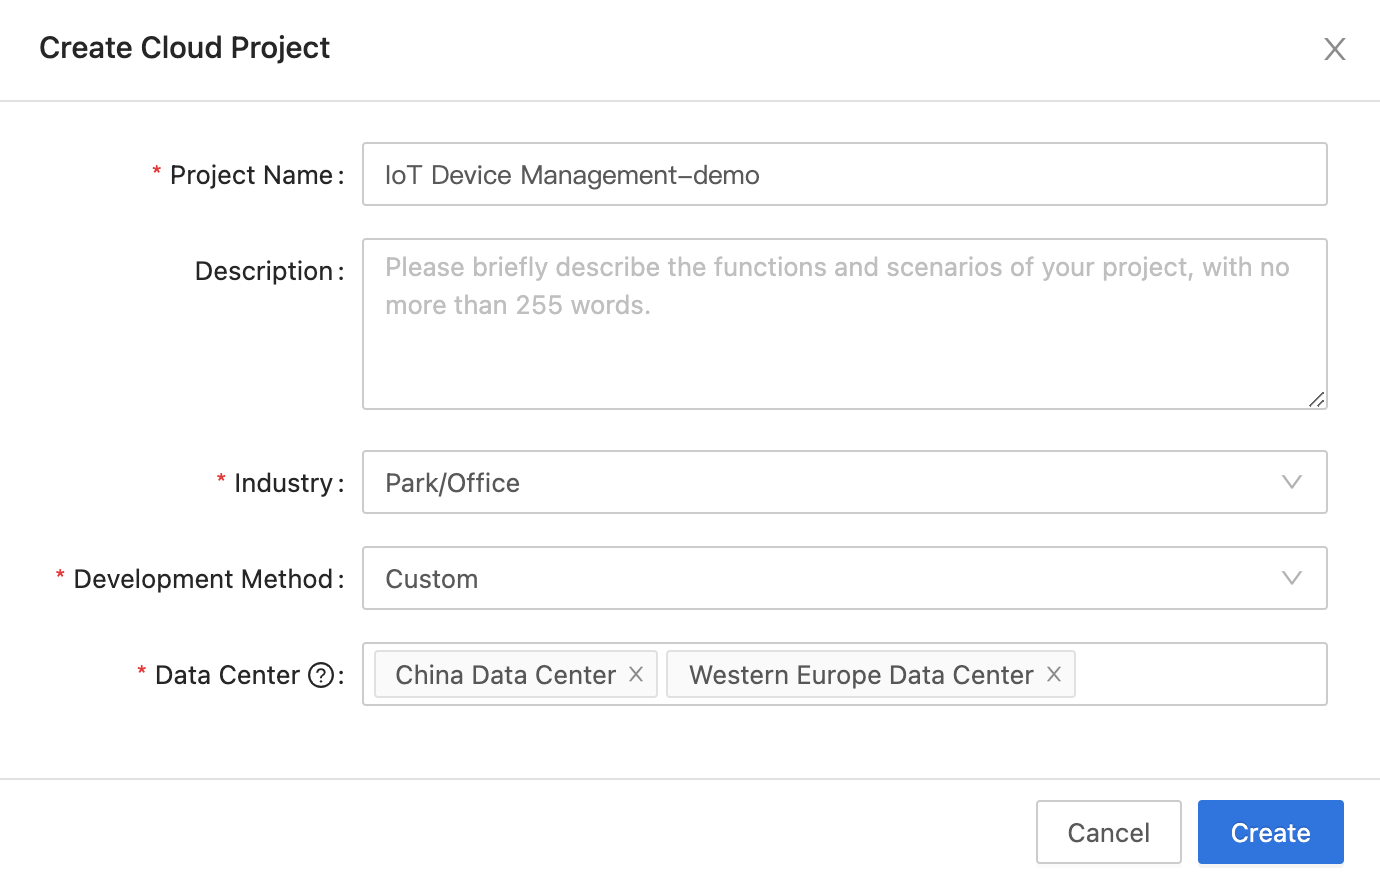
In the Create Cloud Project dialog box:
- Set Project Name, Description, Industry, and Data Center.
- From the Development Method drop-down list, select Custom.
- Click Create to continue with project configuration.
-
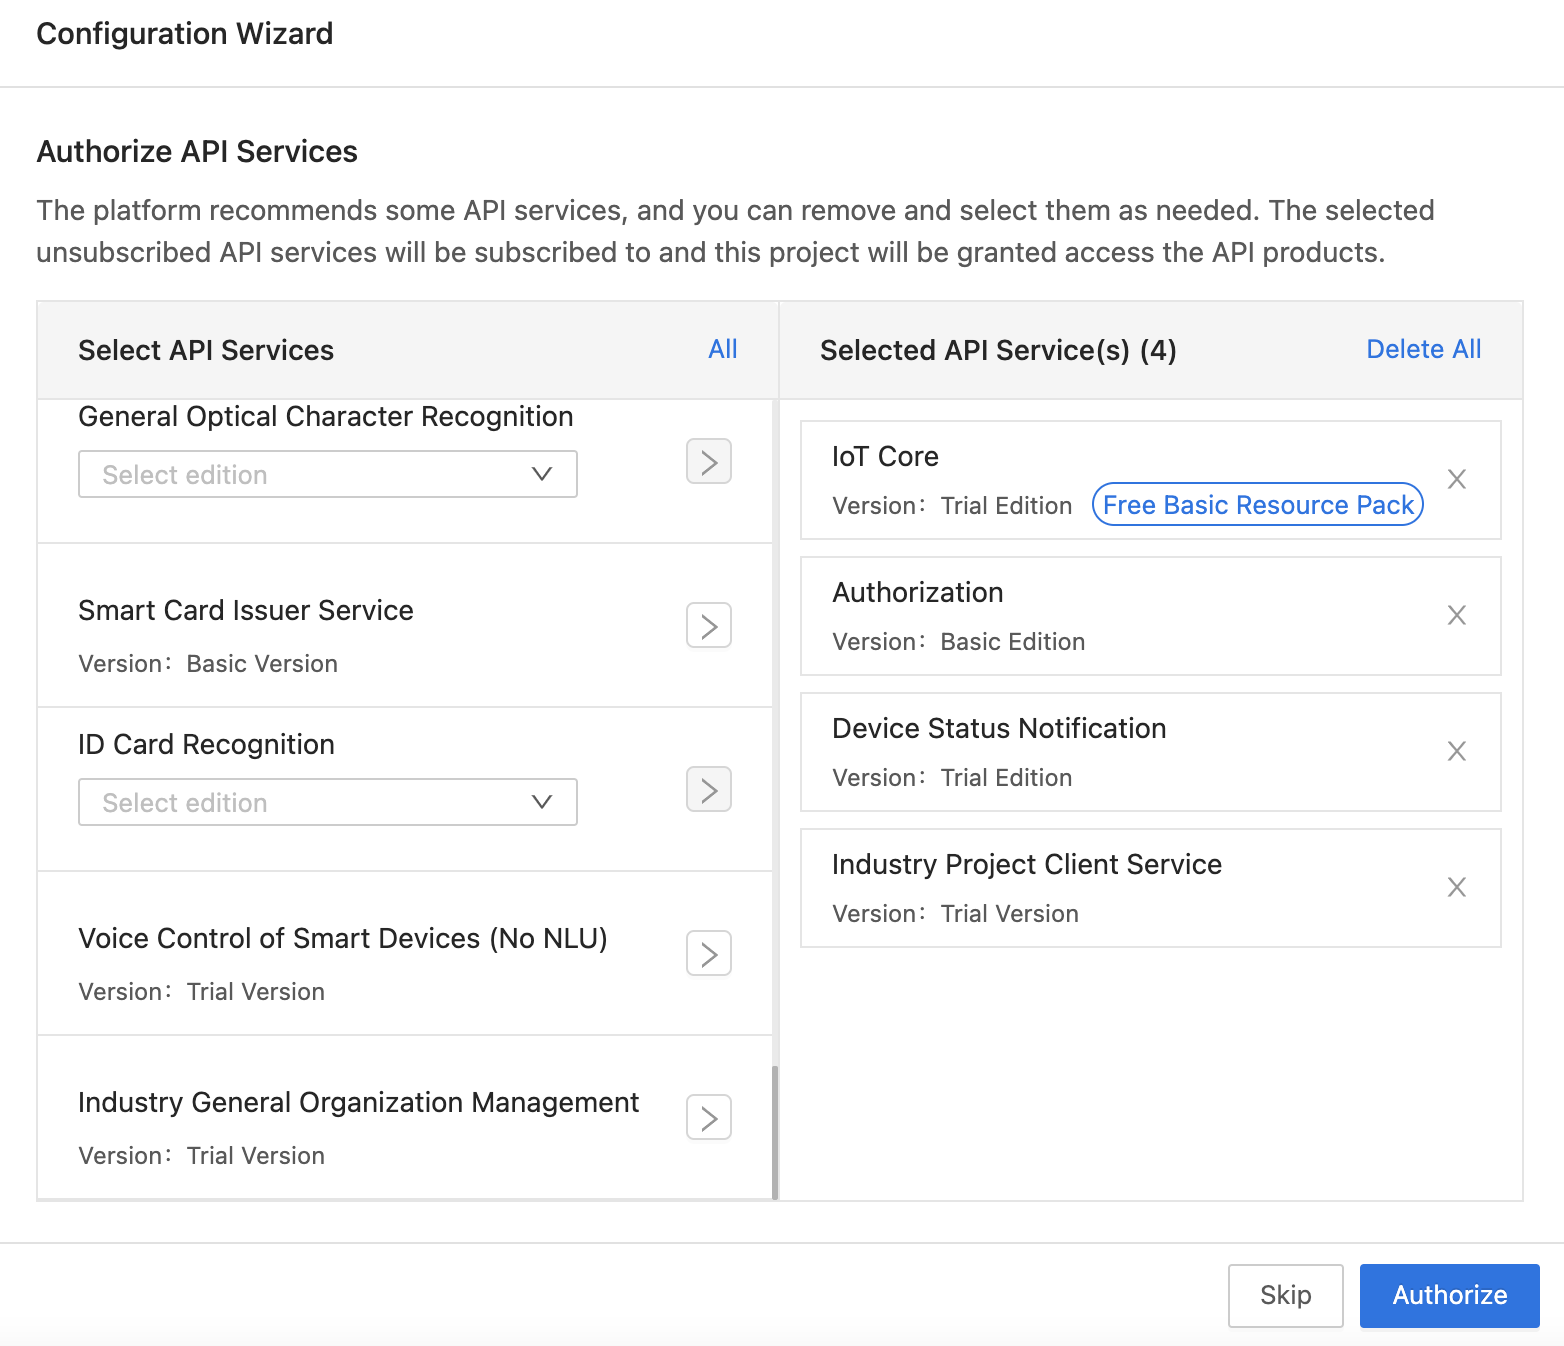
On the Authorize API Services page, subscribe to the preferred API services, such as Device Status Notification and Industry Project Client Service. Click Authorize.
Step 4: Configure the cloud project
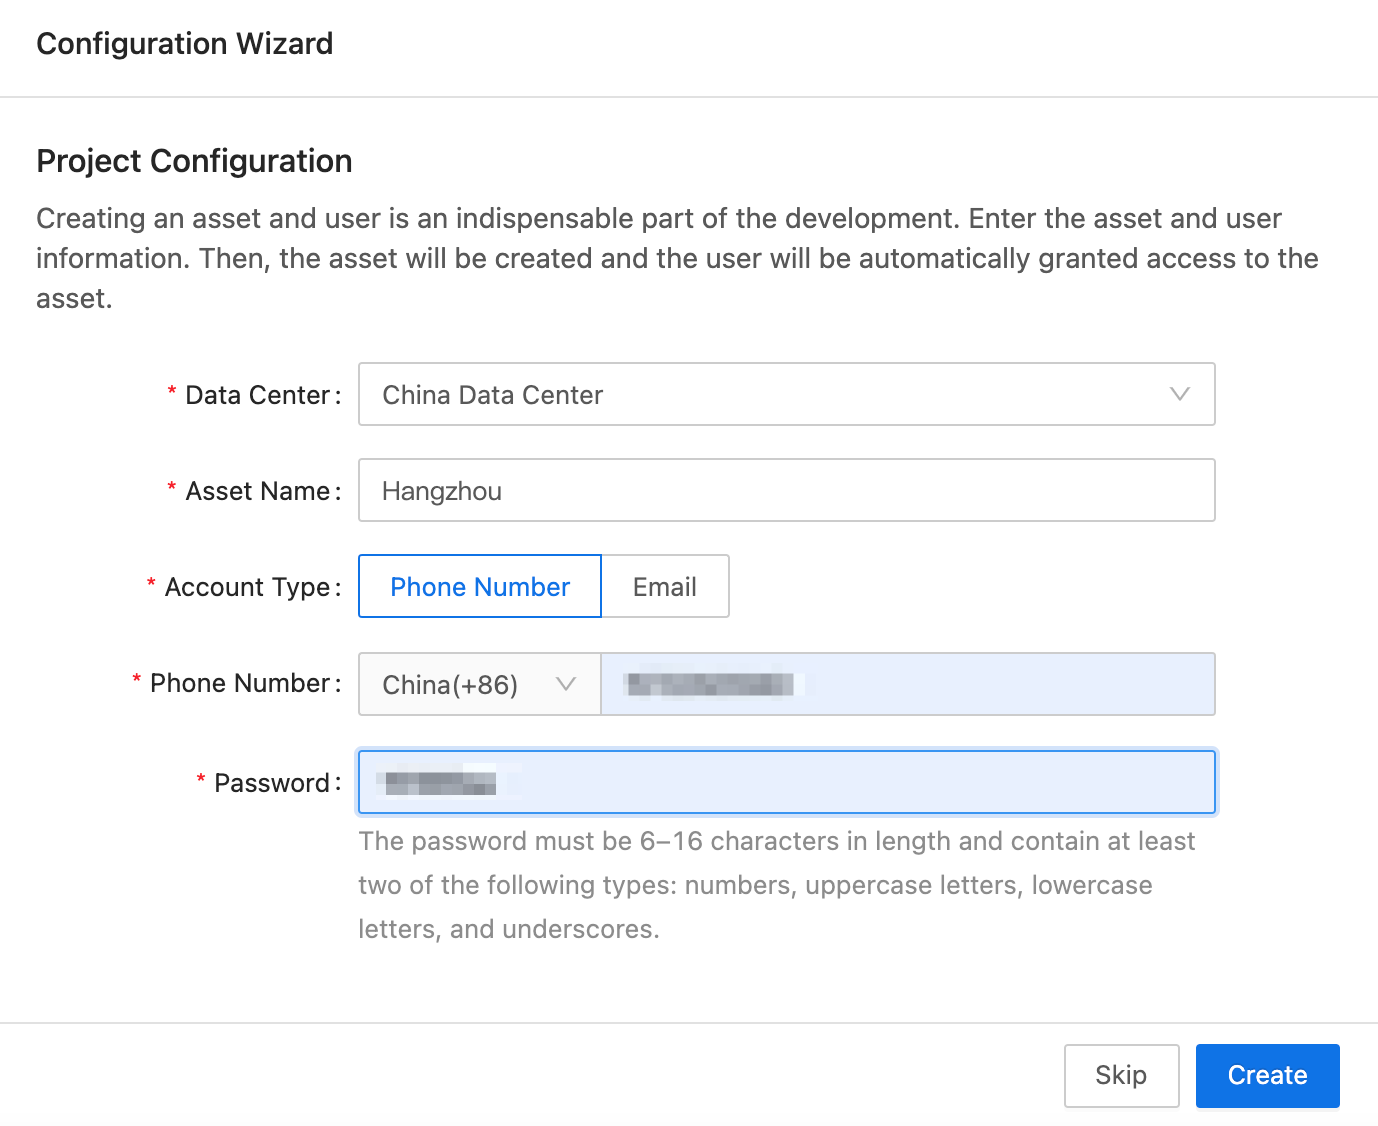
In the configuration wizard, add an asset and a user to the project. Then, the user will be automatically granted access to the asset. Click Create.
Note down the specified user account and password. They will be used in Step 6.
Step 5: Get the project QR code
-
On the Project Management page, click the project to be managed to go to the Overview tab.
-
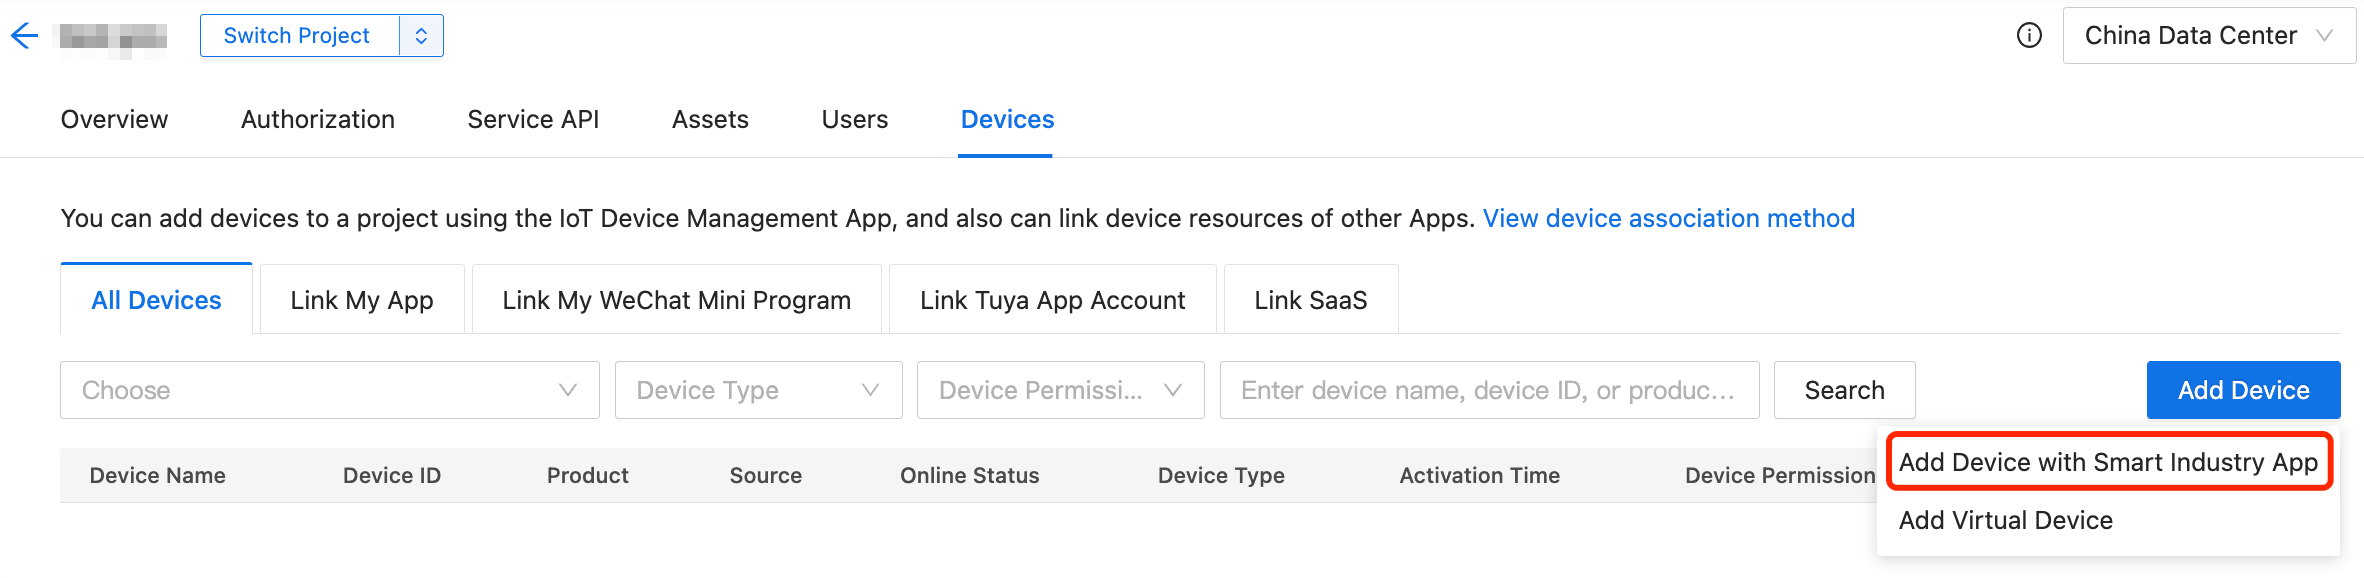
Choose Devices > All Devices > Add Device > Add Device with Smart Industry App to show a QR code.
The following figure shows the project QR code that appears.
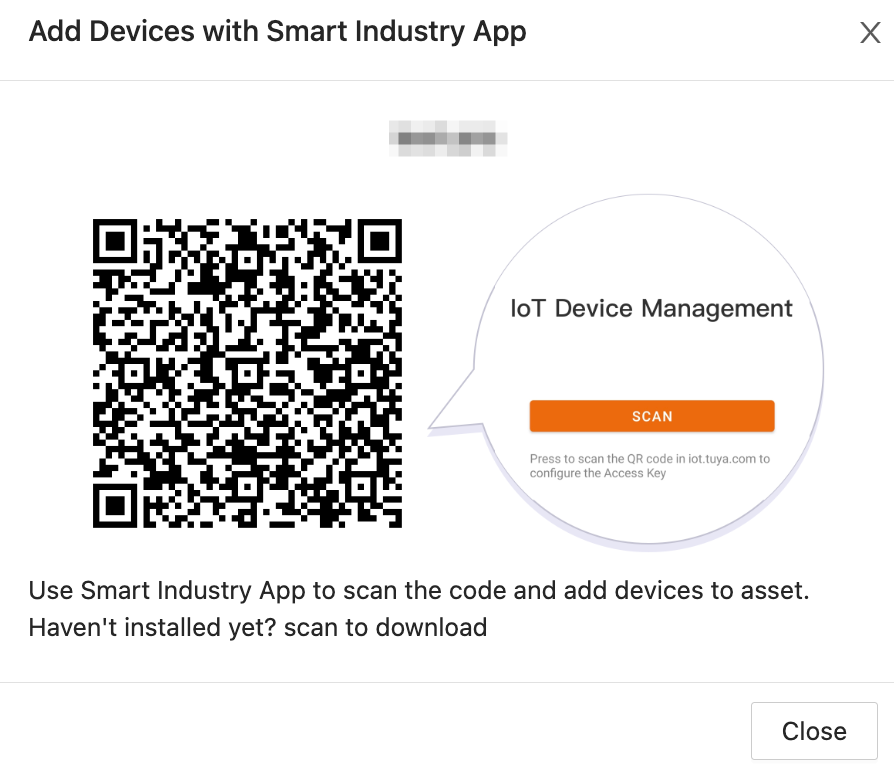
If the project supports the multi-tenant edition, the project QR code contains tenant information. In this case, a multi-tenant user can log in only after the QR code including the respective tenant information is scanned.