Image Distortion Correction On-App AI
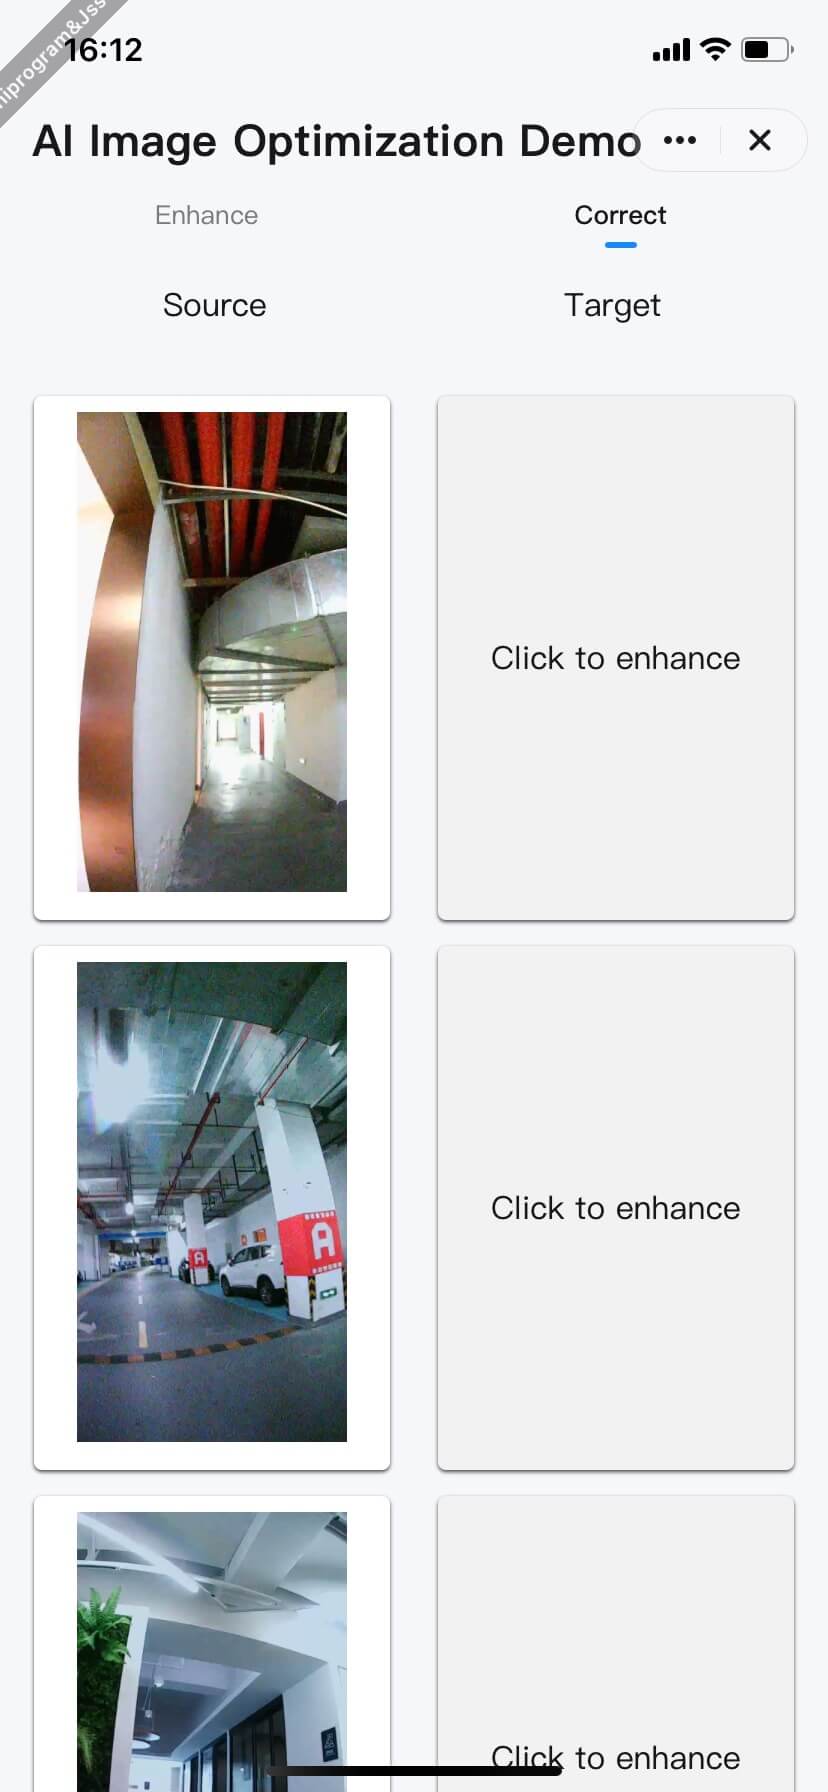
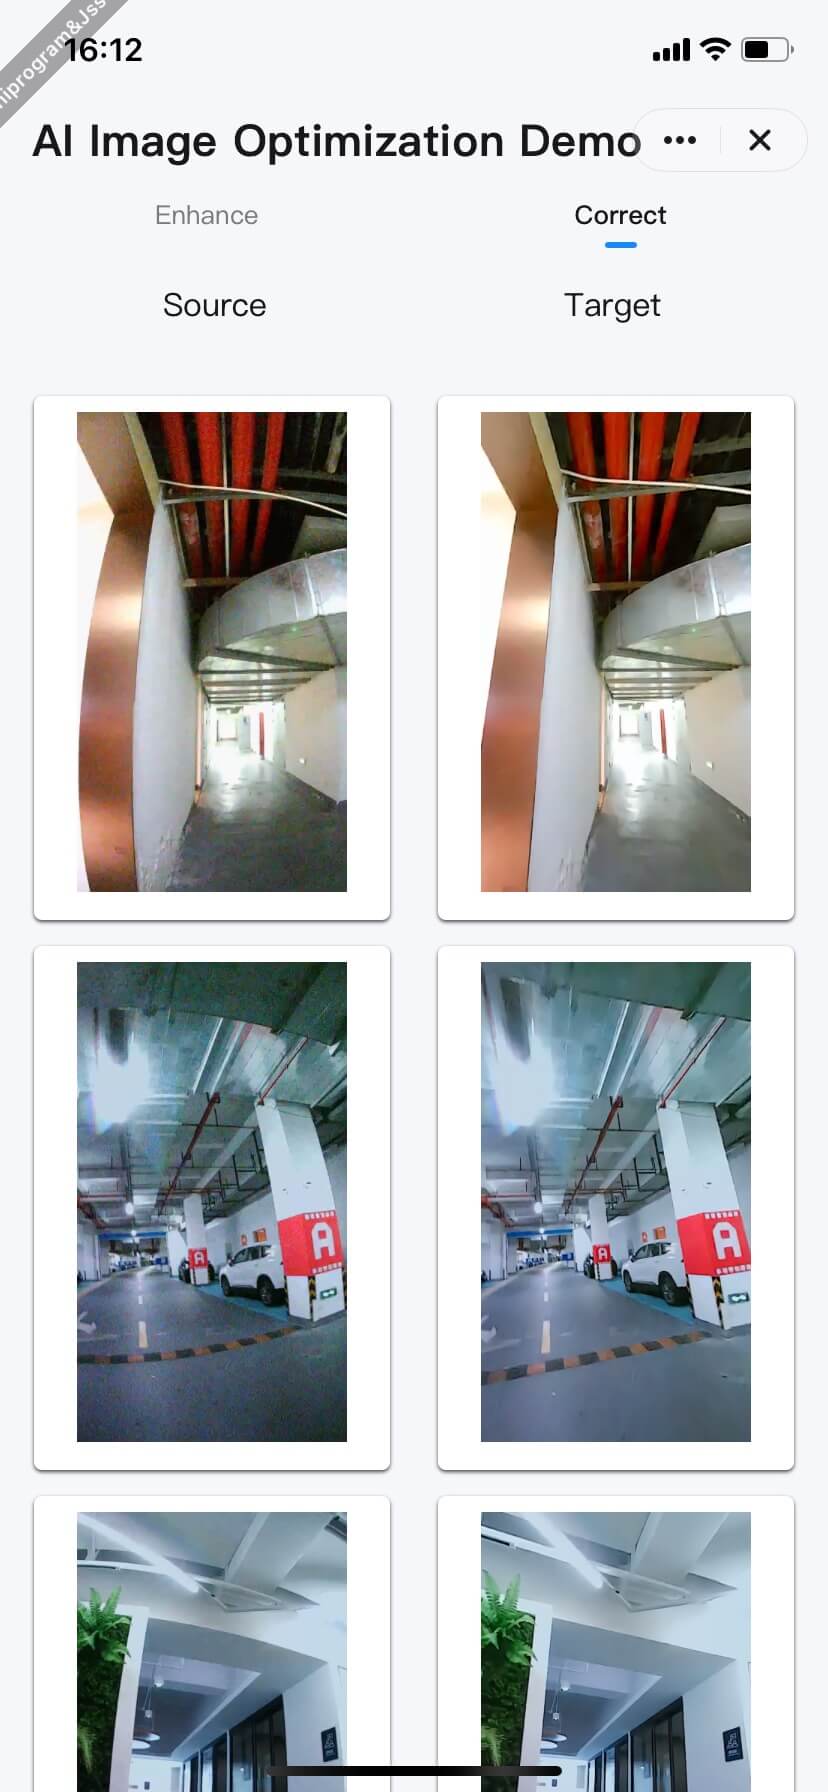
Features
After optimizing a web image for clarity enhancement, you can then perform distortion correction.
How it works
-
Download the image data to the local device.
-
Enhancement (it must be performed in the following order):
- Step 1: Perform clarity enhancement on the image.
- Step 2: Apply distortion correction to the image.
Interaction process
sequenceDiagram
    participant Cloud
    participant User
    participant Panel
    participant AI Engine

    rect rgb(200, 34, 255)
        Note over Panel: Download image remotely
        User ->> Panel: Tap "Optimize"
        Panel ->> Cloud: downloadFile()
        Cloud ->> Panel: Download the image
        Panel -->> Panel: Return local image path
    end

    rect rgb(84, 163, 119)
        Note over Panel,AI Engine: Image processing
        Panel ->> AI Engine: enhanceClarityForImage (Original URI)
        AI Engine ->> AI Engine: AI analytics <br>and clarity enhancement
        AI Engine ->> Panel: Return a temporary URI
        Panel ->> AI Engine: enhanceCalibrationForImage <br>(temporary URI of the clarity-enhanced image)
        AI Engine ->> AI Engine: AI analytics <br>and clarity enhancement
        AI Engine ->> Panel: Return final temporary URI

    end

    rect rgb(255, 62, 130)
        Note over Panel,User: Return the result
        Panel ->> Panel: Get cache path
        Panel ->> User: Display enhanced preview image
    end