Prerequisites
- Have read Mini Program Development Guide (Basic Edition), and understand the basics of mini-program development.
- Have knowledge of using Cocos development framework to build game projects.
Build Content
You can use mini-program development to build a mini-game project and fully utilize the extension capabilities of mini-programs:
- Run offline web mini-games within the mini-program.
- Mini-games calling mini-program APIs.
Required Conditions
- Smart Life App
- Tuya MiniApp IDE
- Cocos Creator
- NVM and Node development environment (recommended to use version 18.x series)
- Yarn dependency management tool
Create Smart Mini Program on Developer Platform
The development of smart mini-programs operates on the Mini Program Developer platform. First, go to the Mini Program Developer Platform to register and log in.
After creating a mini-program on the platform, click Add App to deploy the mini-program to your OEM App and select the data center you wish to publish.

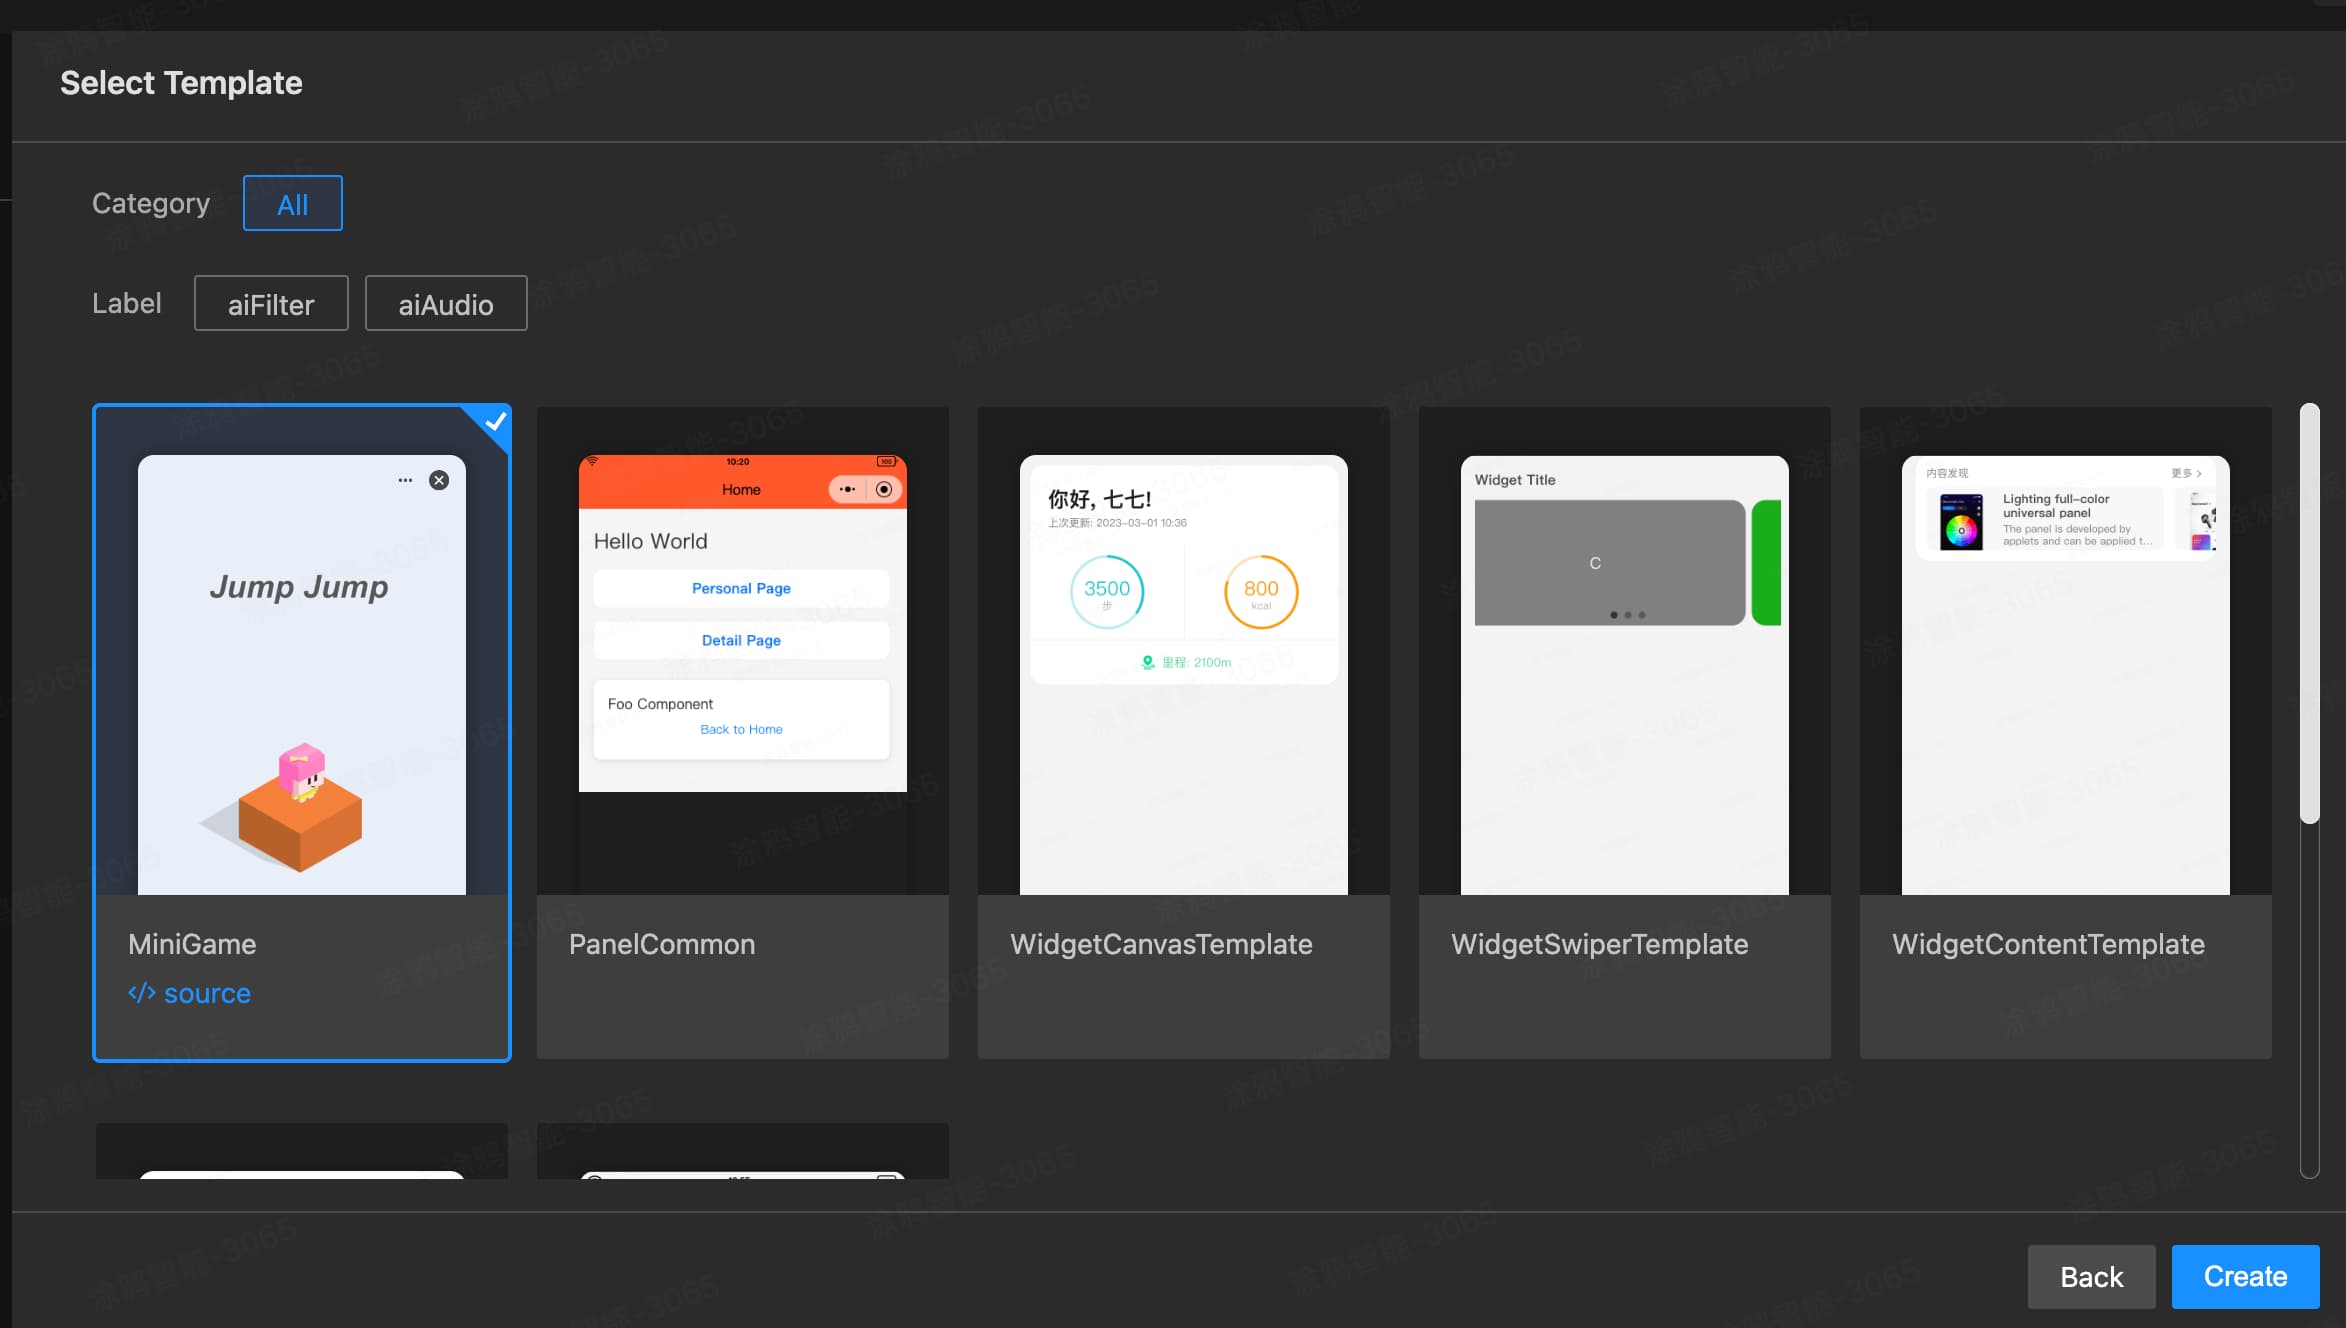
Create Local Project
Next, create a local project by operating on Tuya MiniApp IDE, choosing the template as Mini-Game Template to create a smart mini-program project.
App Version
Smart Life v6.3.0 and above.
Kit Dependencies
Add the following dependencies to project.tuya.json in the project:
{
  "dependencies": {
    "BaseKit": "3.0.1",
    "MiniKit": "3.0.0",
    "BizKit": "3.0.1"
  },
  "baseversion": "2.21.10"
}
Install Cocos Dashboard and Cocos Creator
Download and install Cocos Creator. The template project uses Cocos Creator v2.4.13. Developers can choose versions based on actual conditions.
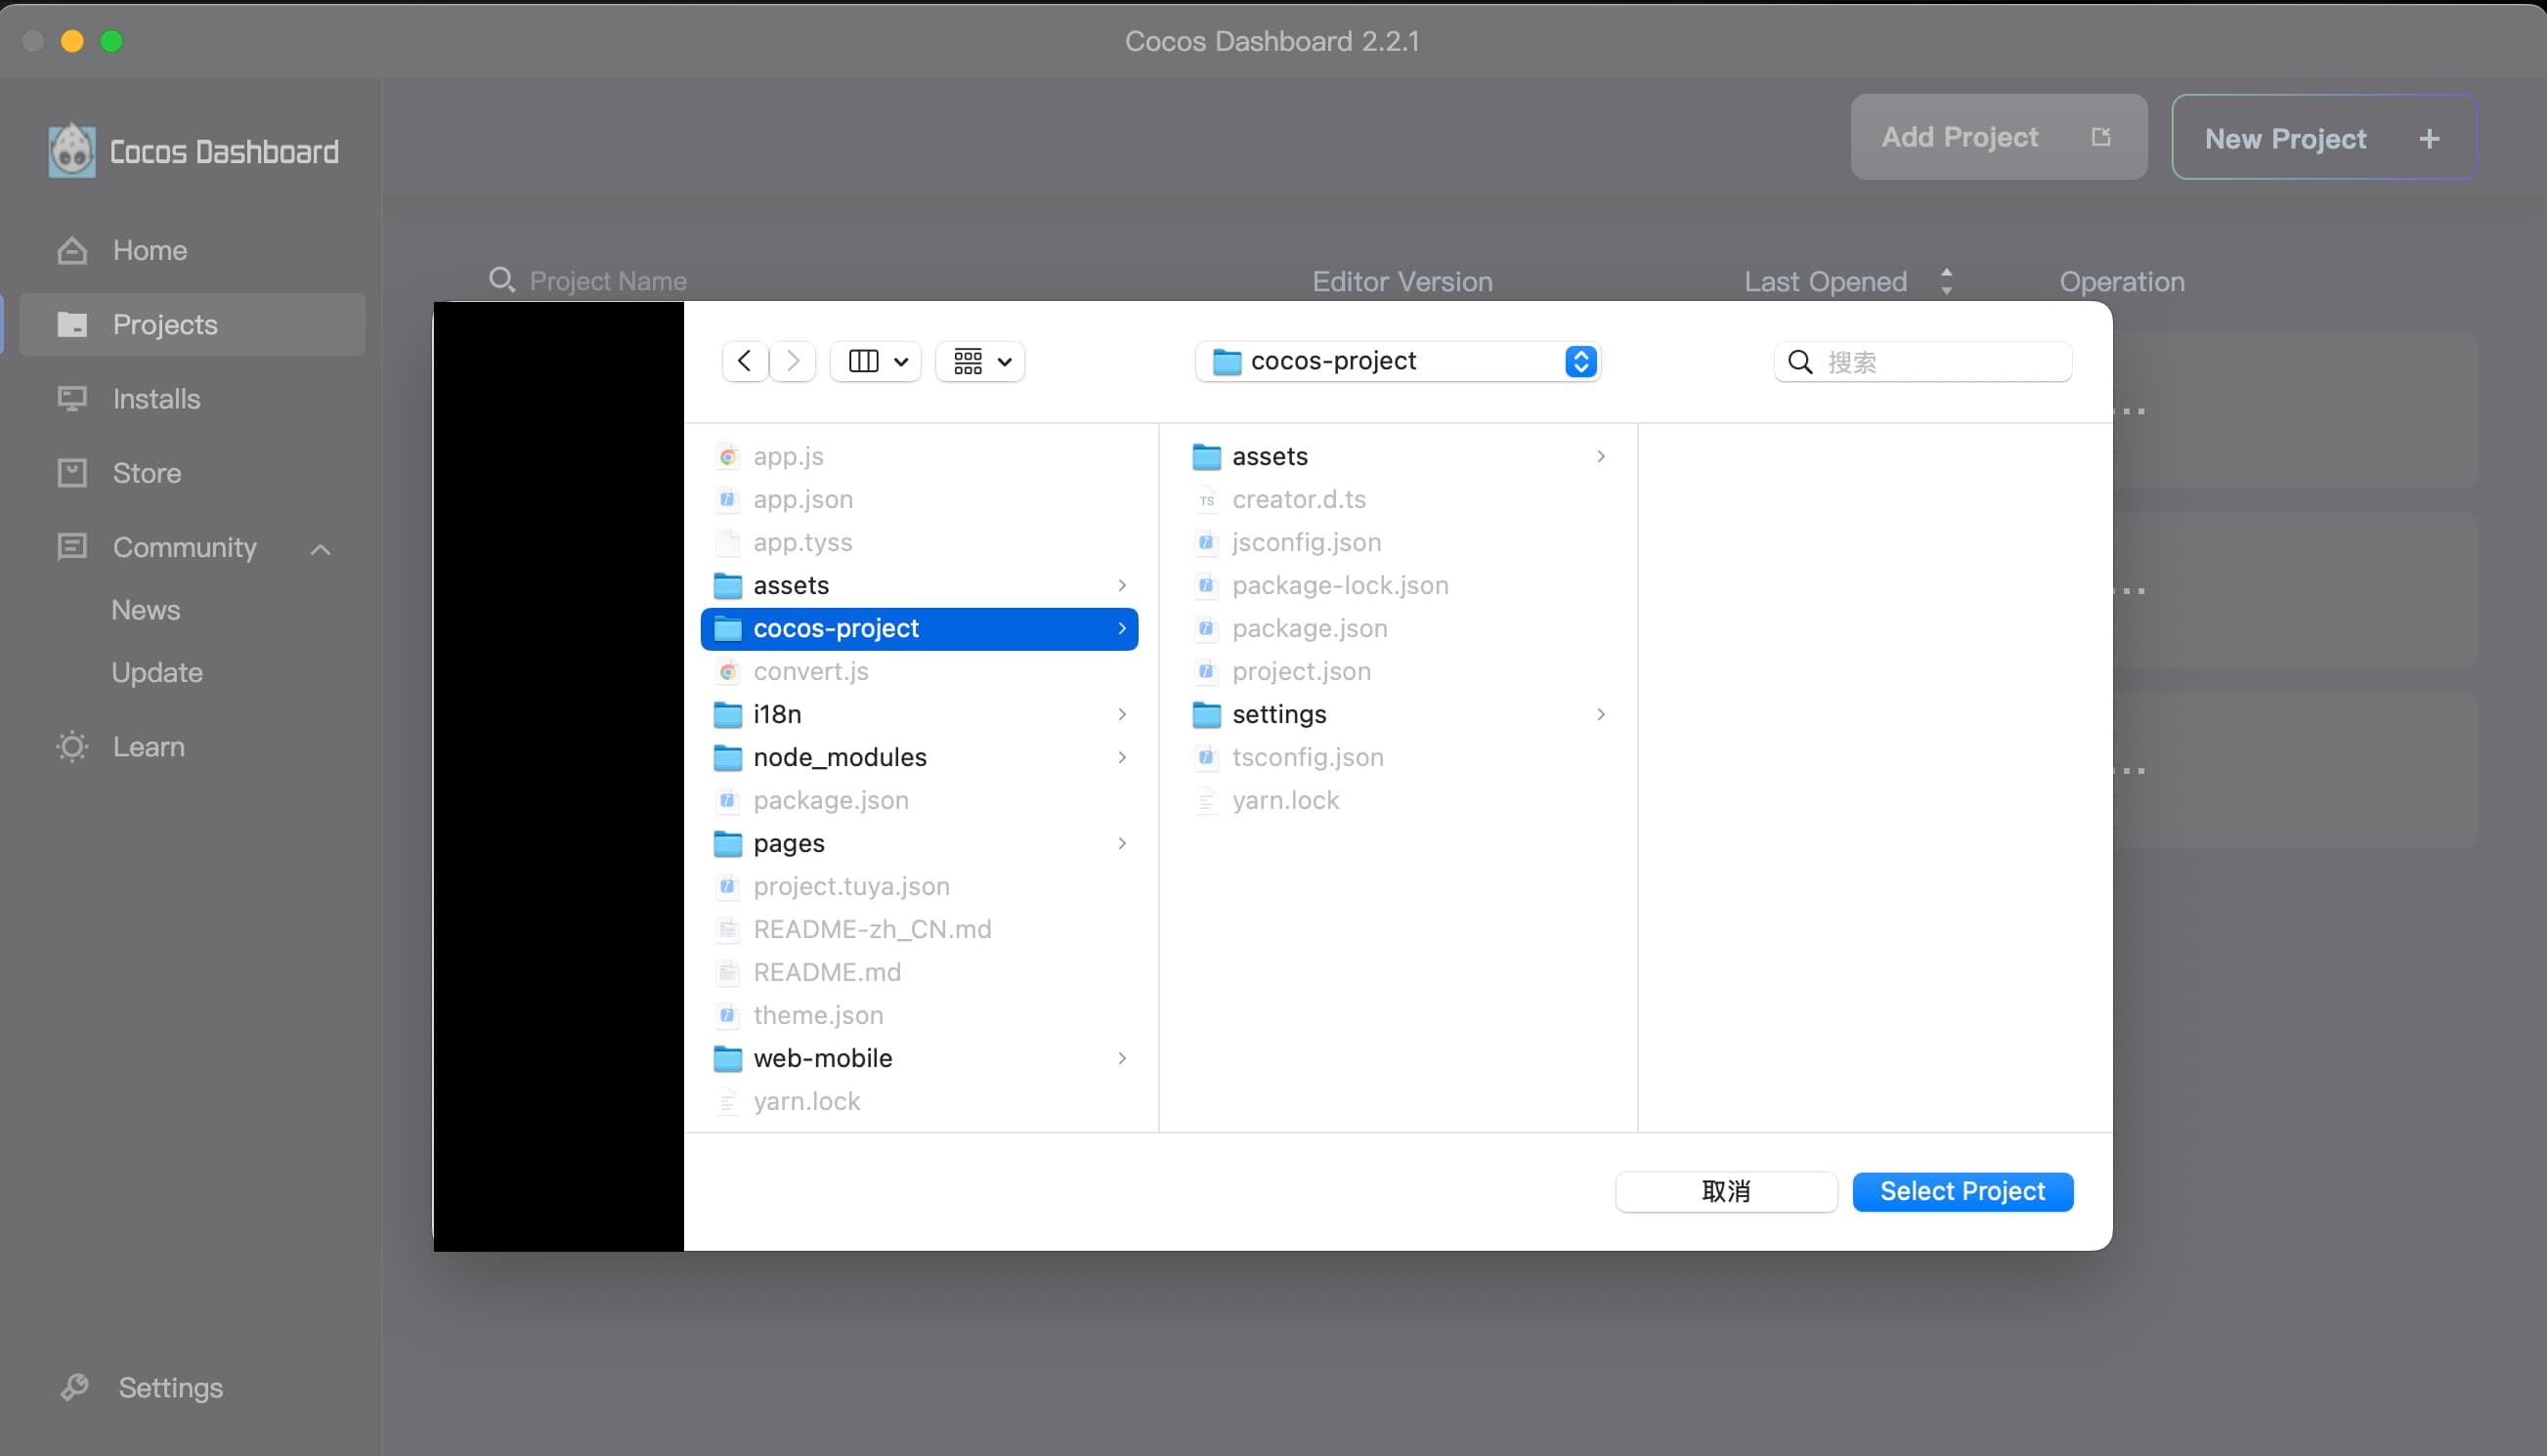
Import Cocos Project
Import the cocos-project/ folder from the template project into Cocos Creator.
Code Development
Add the onMiniEnvReady callback in the game entry file to wait for the mini-program environment to be ready before calling the mini-program API.
import { onMiniEnvReady, ty } from '@ray-js/mini-game-sdk'

const { ccclass, property } = cc._decorator

const miniEnvReadyPromise = new Promise((resolve) => {
  onMiniEnvReady(() => {
    resolve(true)
  })
})

@ccclass
export class MenuScene extends cc.Component {
  @property(cc.Node)
  private nodeLoading: cc.Node = null

  async onLoad() {
    await miniEnvReadyPromise
    console.log('MenuScene onMiniEnvReady')

    // API Test
    ty.showToast({
      icon: 'success',
      title: 'Mini env ready',
    })

    this.nodeLoading.active = false
  }

  onBtnStart() {
    cc.director.loadScene('game')
  }

  onBtnDebug() {
    cc.director.loadScene('debug')
  }
}
At this point, you can call mini-program APIs in the Cocos project. For example:
import { ty } from '@ray-js/mini-game-sdk'
const { ccclass, property } = cc._decorator

@ccclass
export class DebugScene extends cc.Component {
  showToast() {
    ty.showToast({
      icon: 'success',
      title: 'Toast Title',
    })
  }

  navigateTo() {
    ty.navigateTo({
      url: '/pages/foo/index',
    })
  }

  getLaunchOptions() {
    ty.getLaunchOptions({
      success: (res) => {
        ty.showToast({
          icon: null,
          title: JSON.stringify(res),
        })
      },
    })
  }

  getUserInfo() {
    ty.getUserInfo({
      success: (res) => {
        ty.showToast({
          icon: null,
          title: JSON.stringify(res),
        })
      },
    })
  }

  backToHome() {
    cc.director.loadScene('menu')
  }
}
You can directly use I18n.t() in the logic layer to obtain multilingual content. For example:
import { I18n } from '@ray-js/mini-game-sdk'
addSocre(s) {
  this.scoreLabel.string = I18n.t('game.score') + this.score
}
Create a LabelI18n component in the view layer to obtain multilingual content. For example:
import { I18n } from '@ray-js/mini-game-sdk'

const { ccclass, property } = cc._decorator

@ccclass
export default class LabelI18n extends cc.Component {
  @property({ tooltip: 'The key to retrieve the language-specific text.' })
  languageKey: string = ''

  @property(cc.Label)
  label: cc.Label | null = null

  private _lableTextAsDefault = true

  onLoad() {
    if (!this.label) {
      this.label = this.getComponent(cc.Label)
    }
    this.updateText()
  }

  updateText() {
    let text: string = I18n.t(this.languageKey)

    if (this._lableTextAsDefault && (!text || text === this.languageKey)) {
      text = ''
    }
    if (this.label) {
      this.label.string = text || this.label.string
    }
  }
}
Choose Web Mobile as the publishing platform and set the build path to ../ to place the build products in the root directory during the Cocos project build.
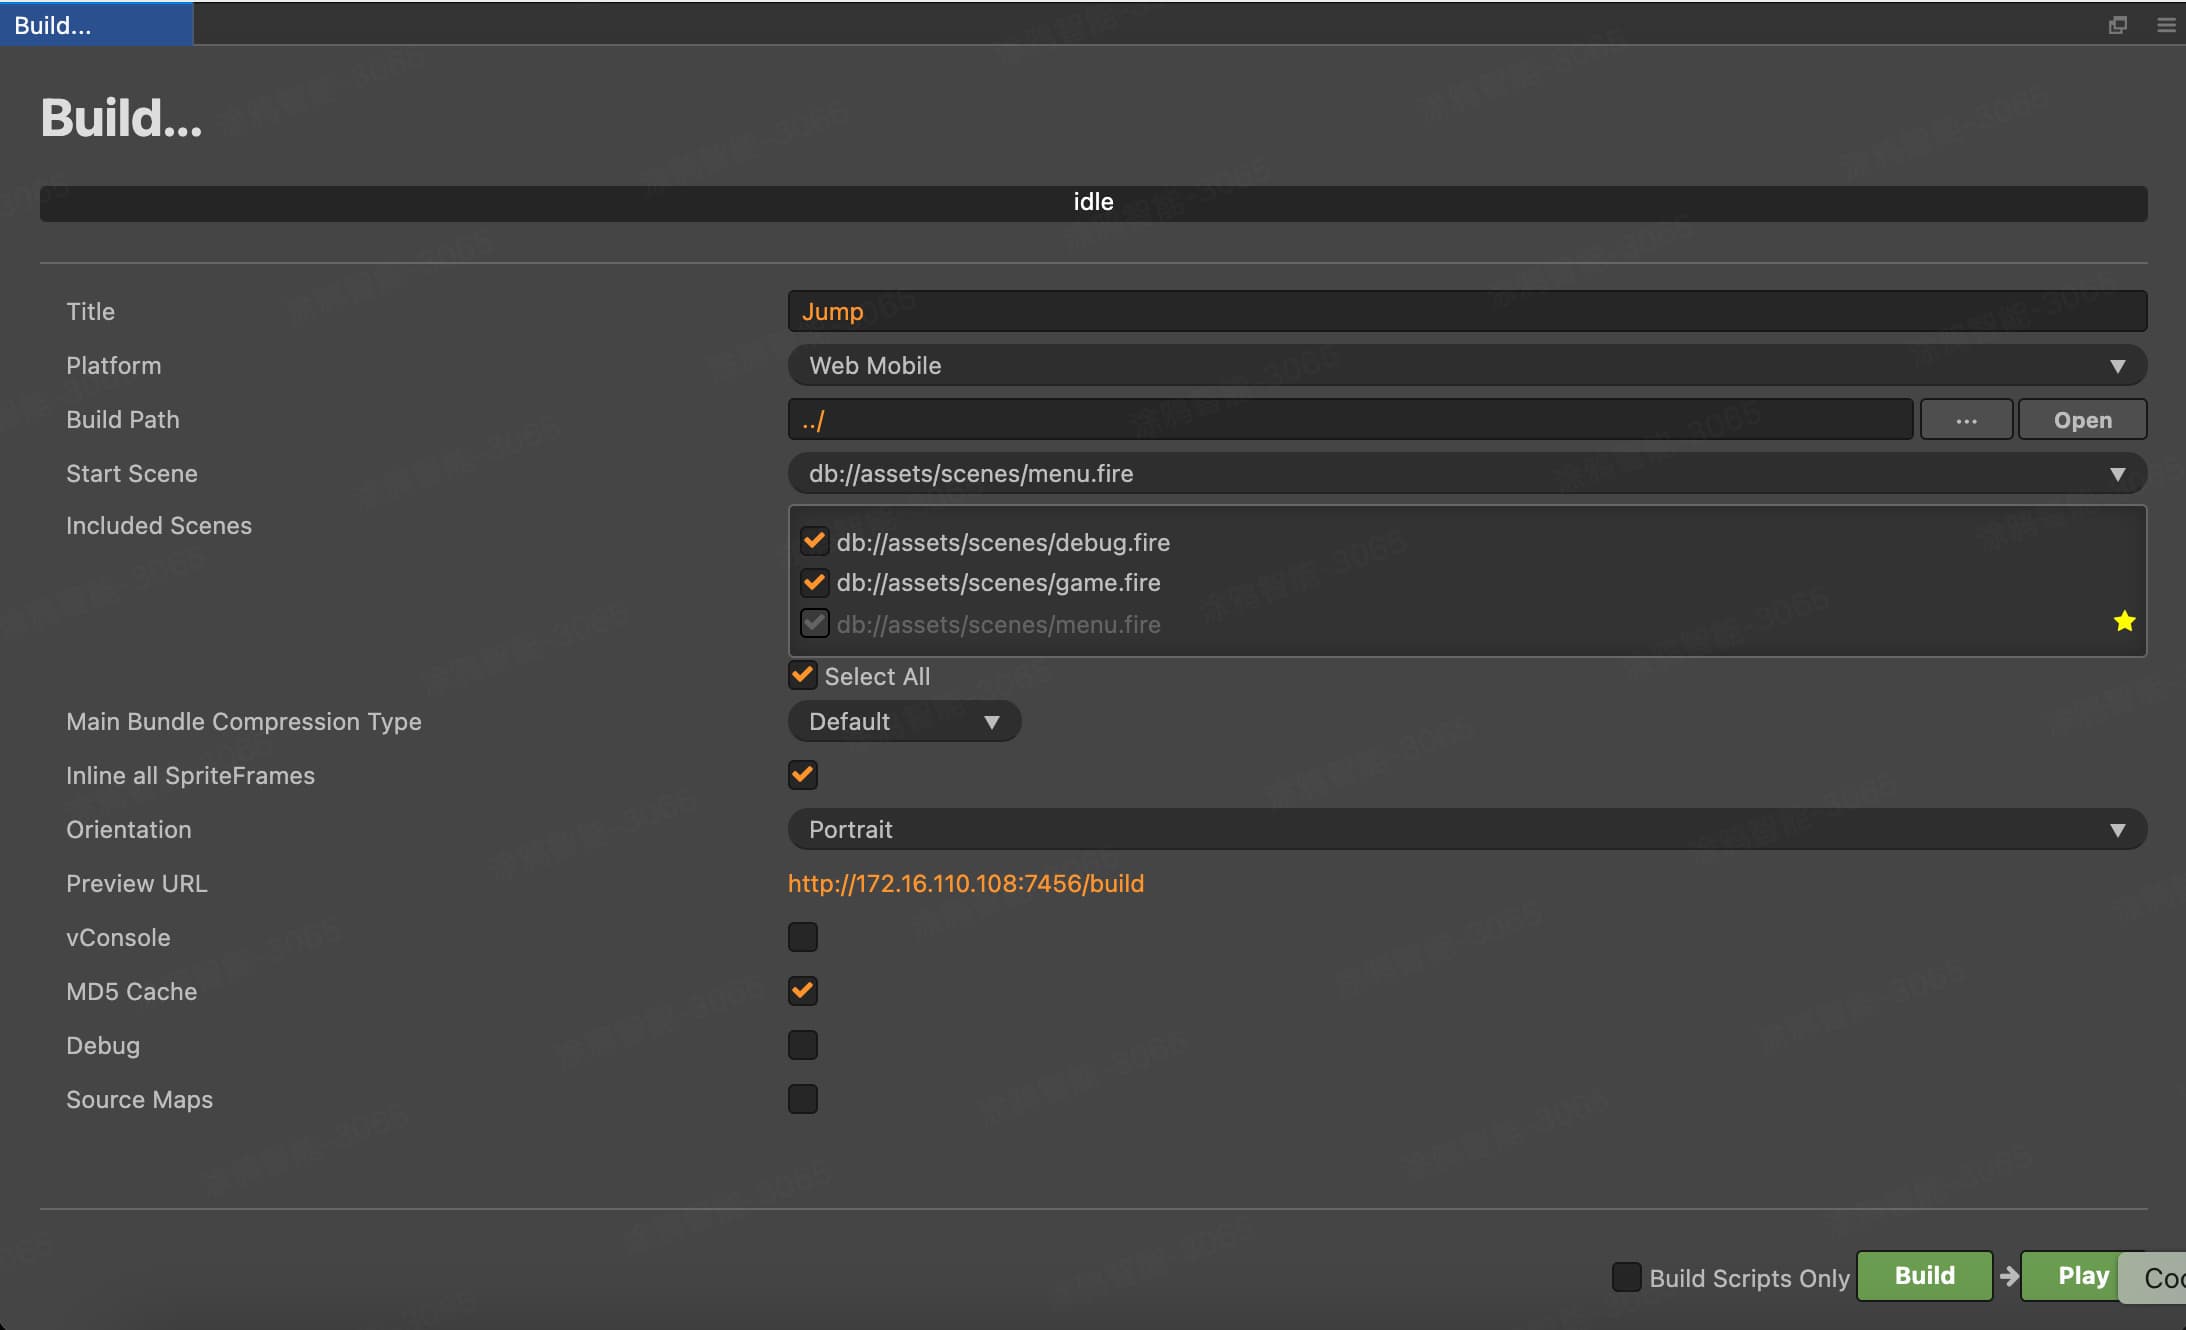
Then publish the mini-program project to the trial version.
- Congratulations 🎉 for completing the tutorial!
- If you have any questions, you can contact the Tuya Smart Mini Program team.