Tuya Wind IDE Features
Last Updated on : 2023-12-07 03:07:51download
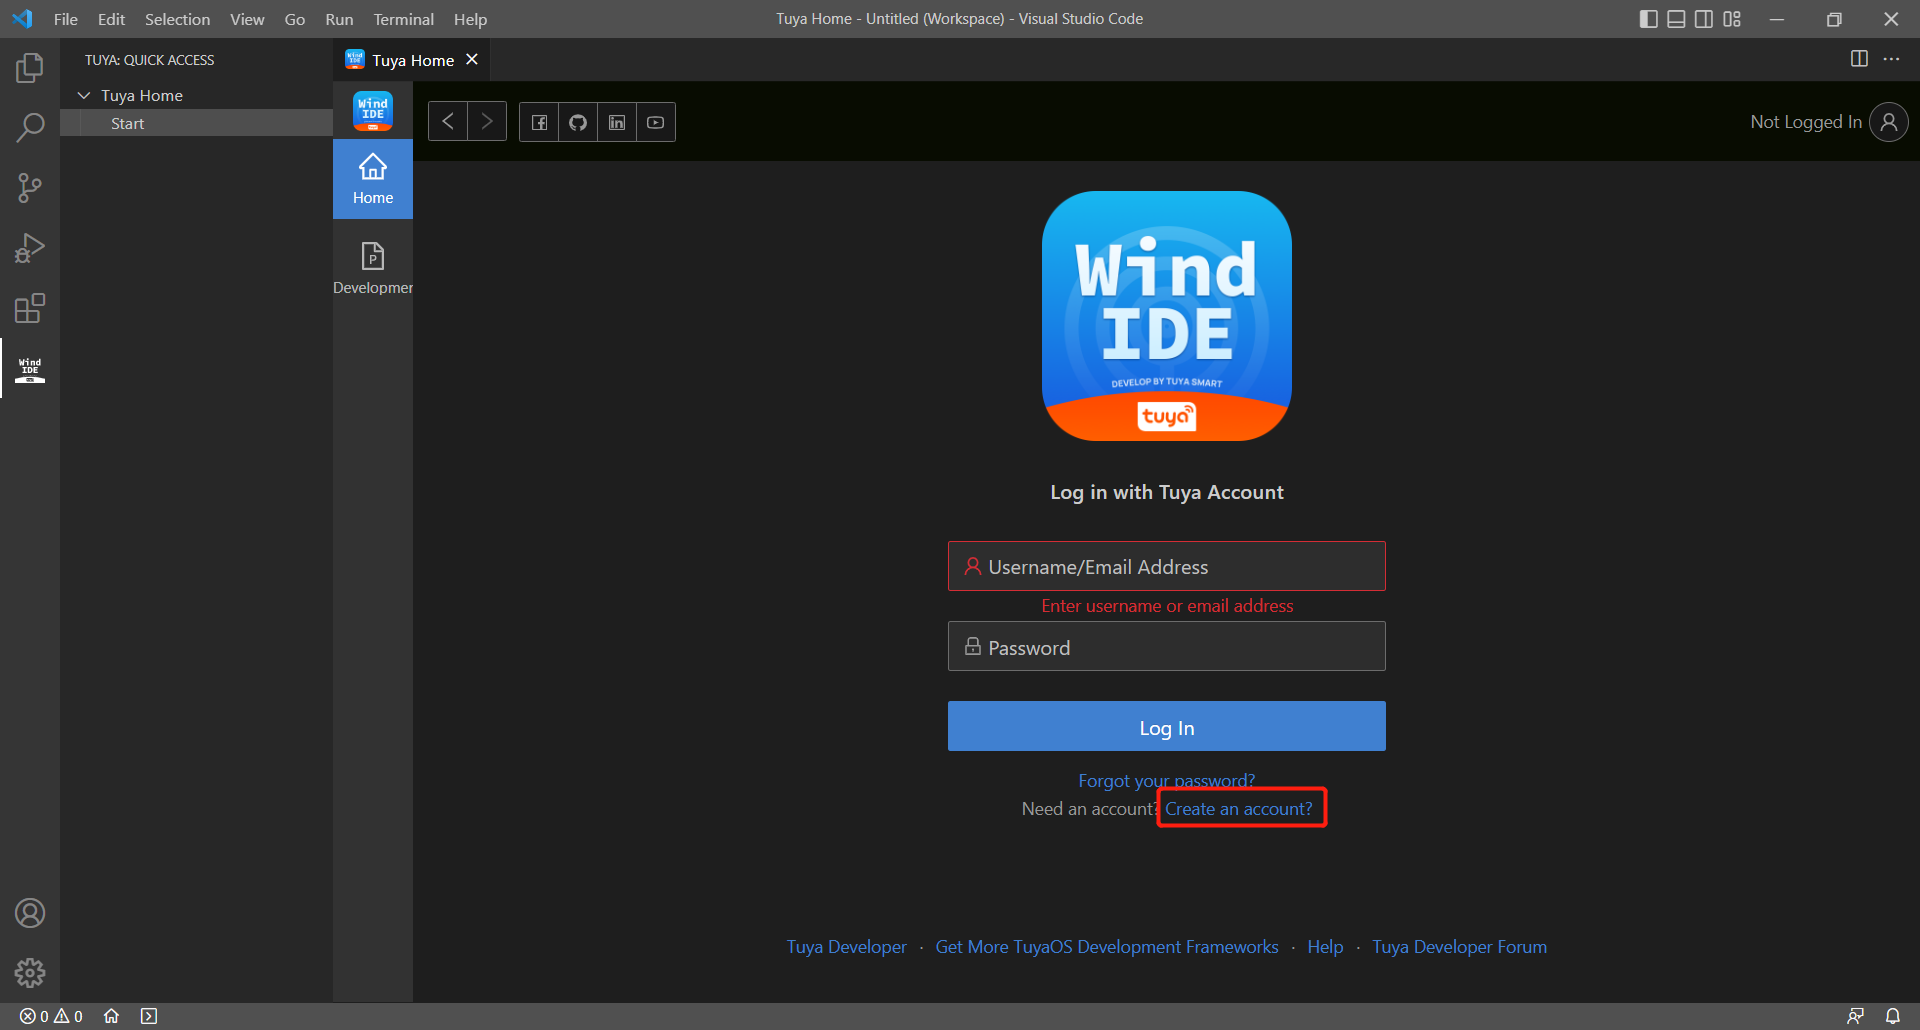
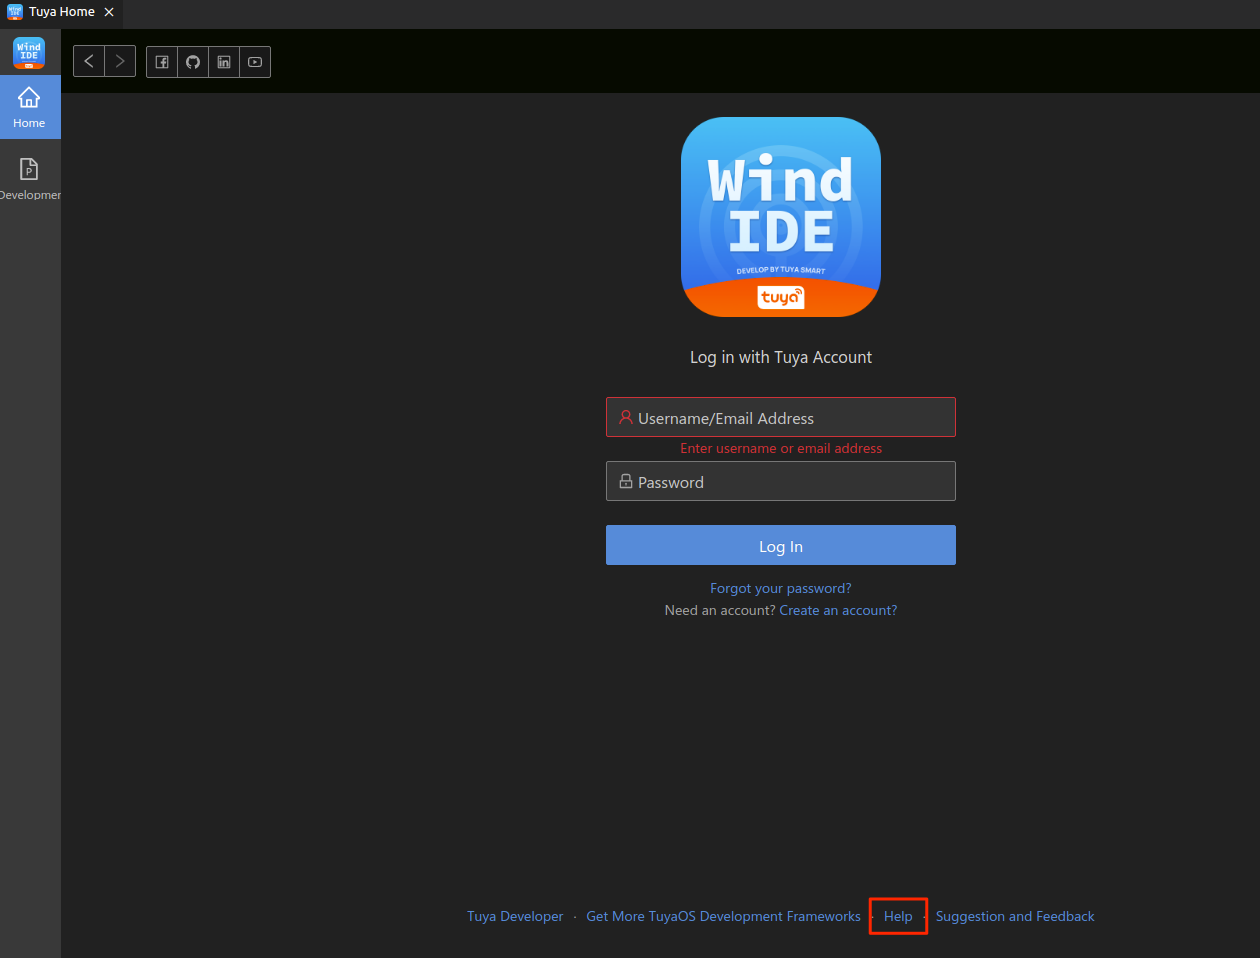
Log in to Tuya Wind IDE
Log in to Tuya Wind IDE using your account of the Tuya IoT Development Platform. If you do not have an account, register one first.
-
Click Create an account?.
-
Enter the required information, check Agree to Terms of Use, Legal Statement, Privacy Policy, and click Next.
-
After you create the account, you can use it to log in to Tuya Wind IDE.
-
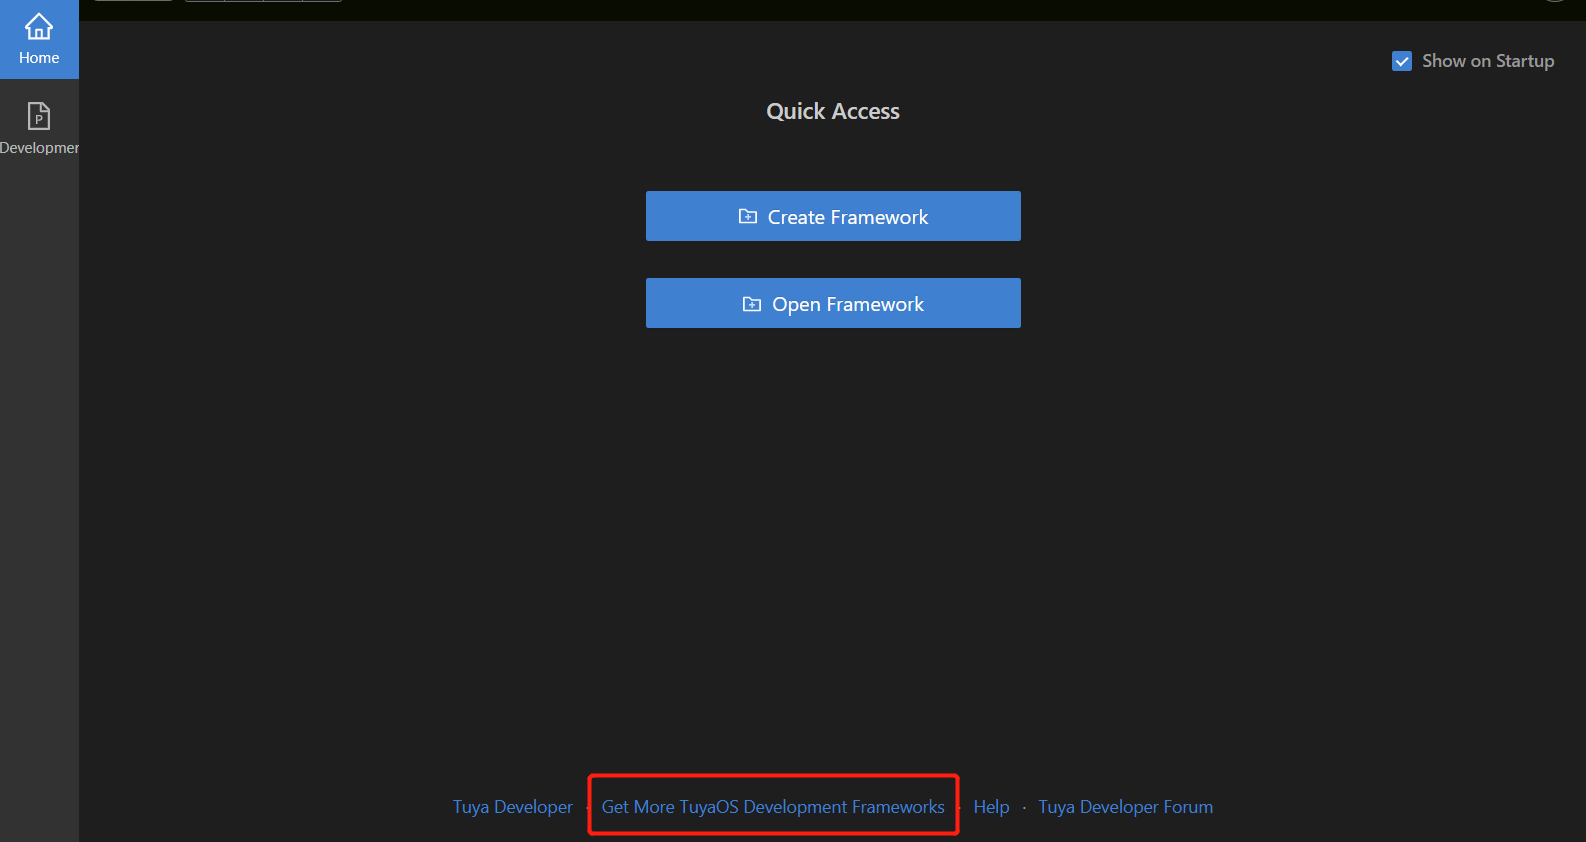
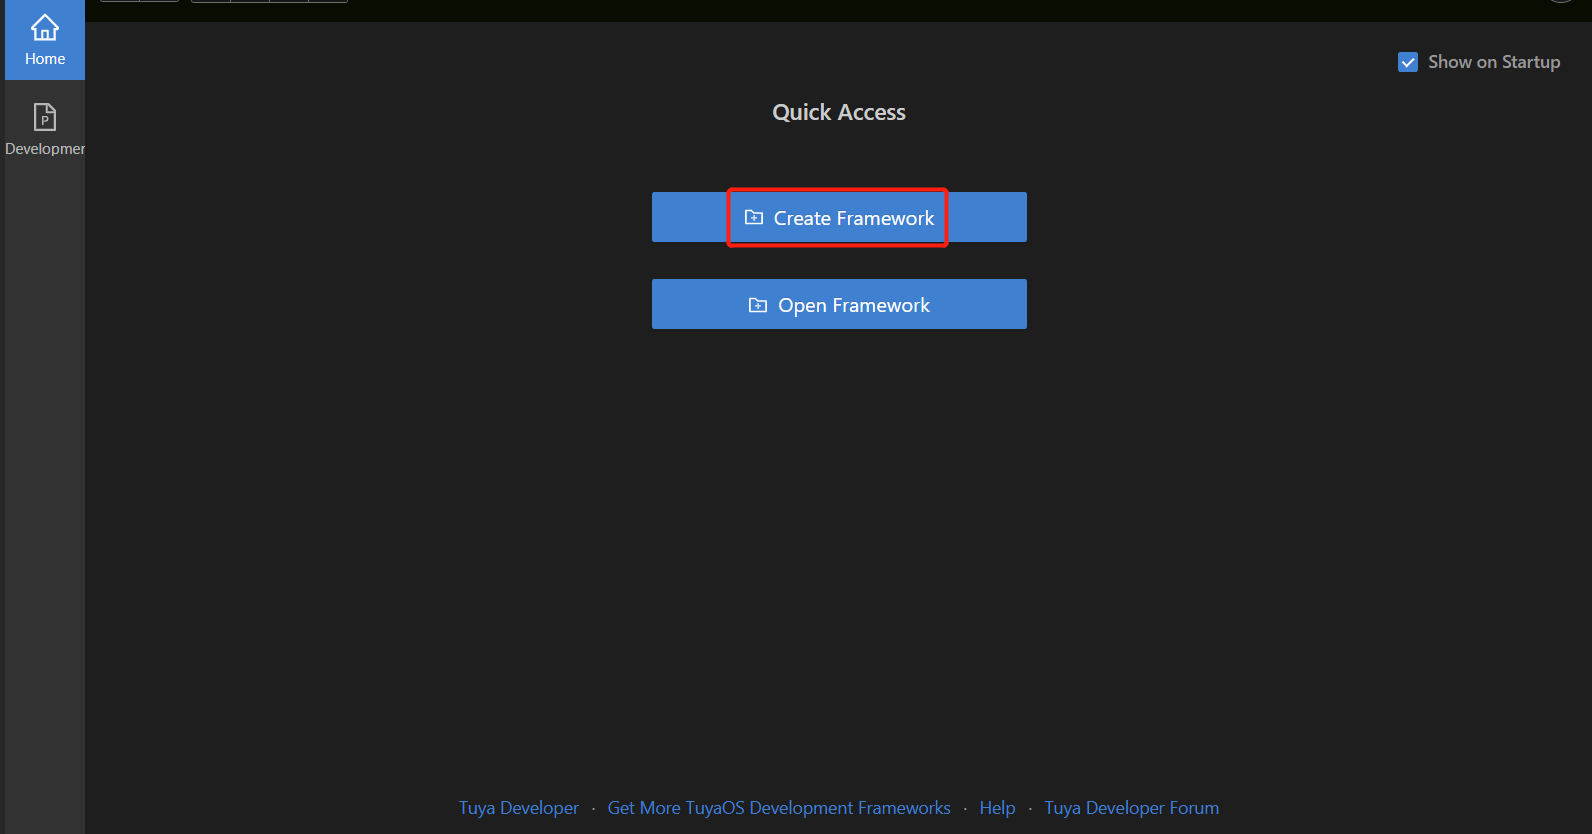
In the IDE, choose Create Framework or Open Framework. If you do not find the desired development framework, click Get more TuyaOS development framework and submit a service ticket to request frameworks that are not public.
Download framework
If you are new to Tuya Wind IDE, choose Create Framework.
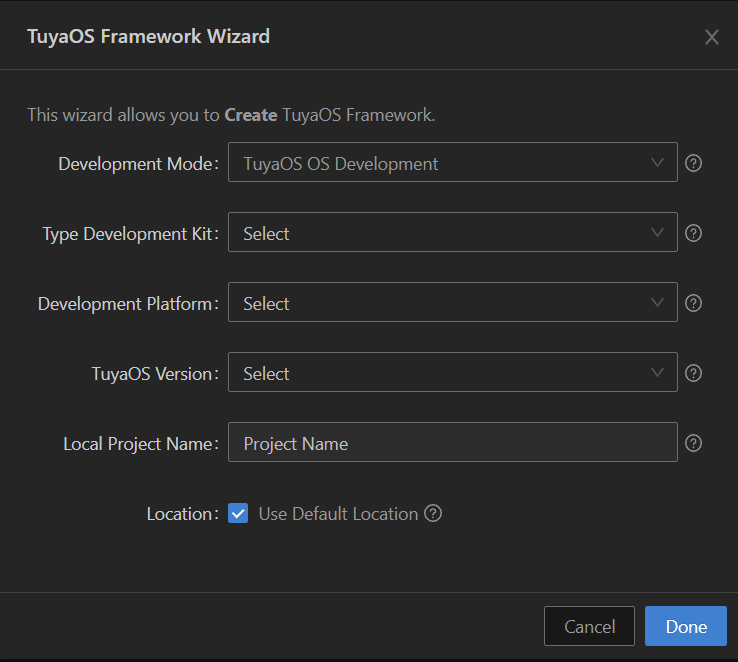
A framework consists of Development Mode, Type Development Kit, Development Platform, and TuyaOS Version.
- Choose TuyaOS OS Development for development mode.
- Choose a type development kit based on your needs.
- Choose a development platform based on your needs.
- Generally, choose the latest version for the TuyaOS version.
Generally, use the default location to save the project. If you run a Linux virtual machine on a Windows host, we recommend you change the location to a shared folder created using Samba. This can facilitate the usage of the flashing tool installed on Windows. After you finish, click Done to download the framework.
The framework will be opened automatically after downloading.
Create project
-
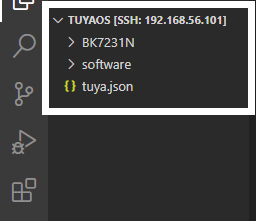
Expand software > TuyaOS > apps.
-
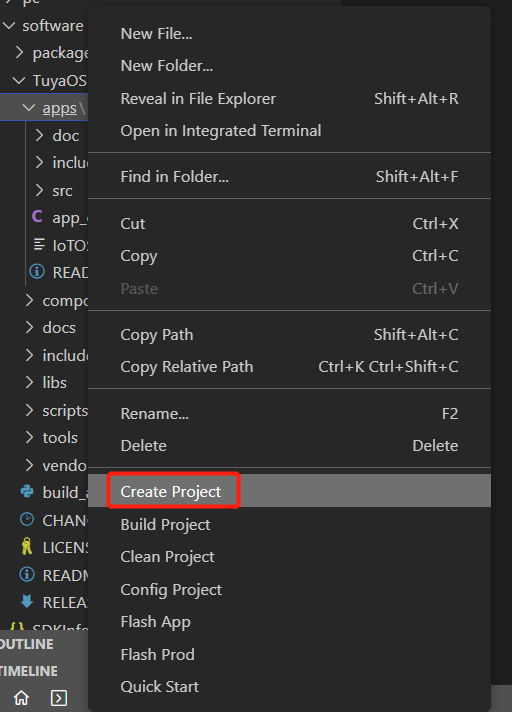
Right-click apps and choose Create Project.
-
Enter a name for the project and press the
Enterkey. Then, you can create an application in the apps directory.
Build project
-
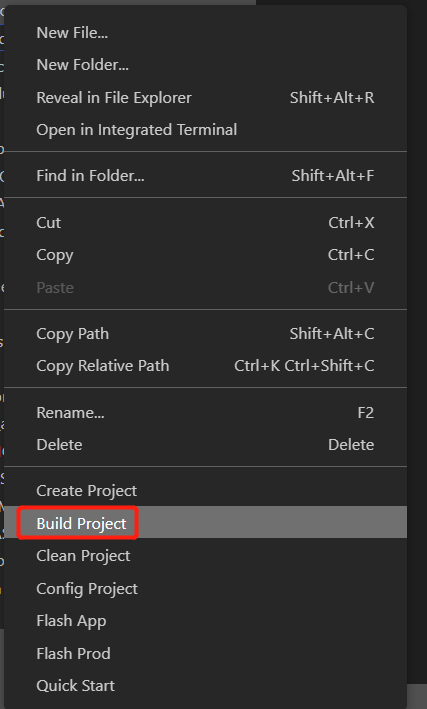
Expand the apps folder. Right-click an application to build. The example uses the application
tuyaos_demo_quickstartto demonstrate the process. -
Choose Build Project.
-
Enter the version number and press the
Enterkey to start building the project.
For the first time, it takes a while for the IDE to download the compiler toolchain.
After the project is built, an output folder that stores the generated files is created.
Clean project
-
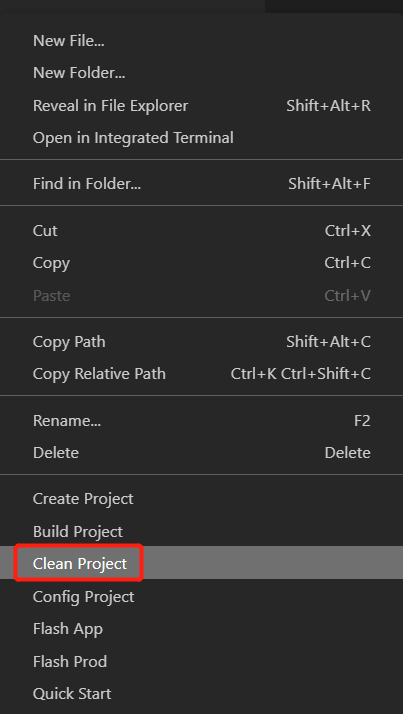
Right-click an application to clean. The example uses the application
tuyaos_demo_quickstartto demonstrate the process. -
Choose Clean Project.
-
Enter the version number and press the
Enterkey to start cleaning a build.After the project is cleaned, all the files in the output folder are deleted.
Switch development frameworks
Switch versions
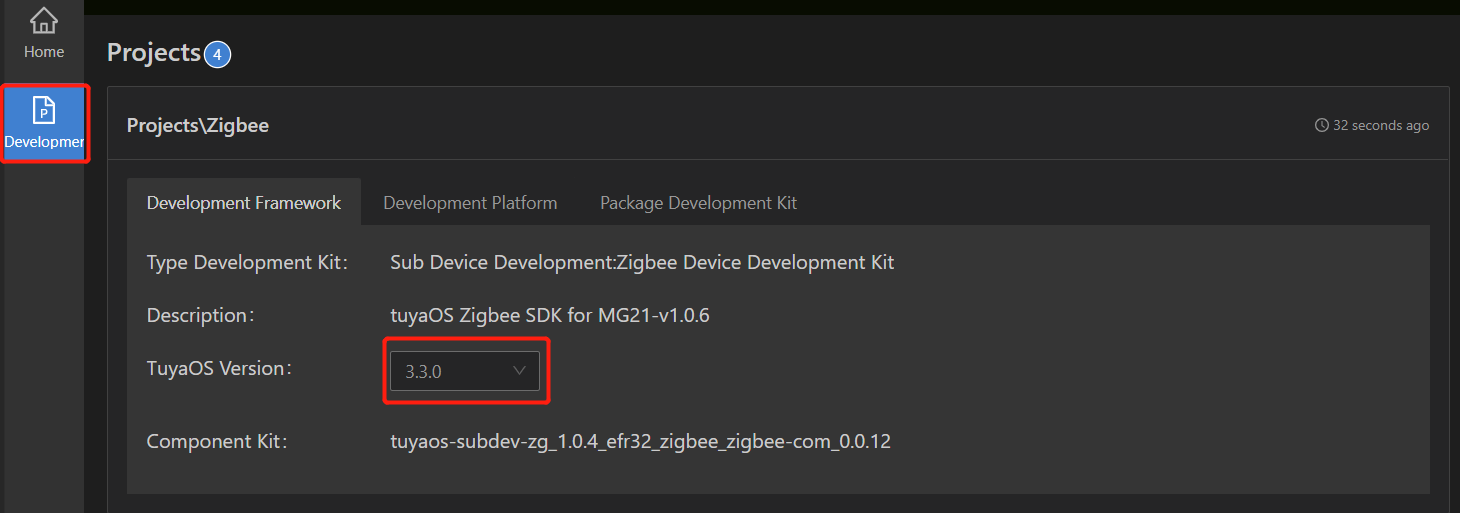
You can switch to another version of the development framework on Tuya Wind IDE.
-
Open the IDE and choose Development Framework. All of your frameworks will be displayed on the screen. The example uses
eswinto demonstrate the process. The framework runs on TuyaOS v3.4.0 currently.Switching to another version is possible when the framework has at least two versions.
-
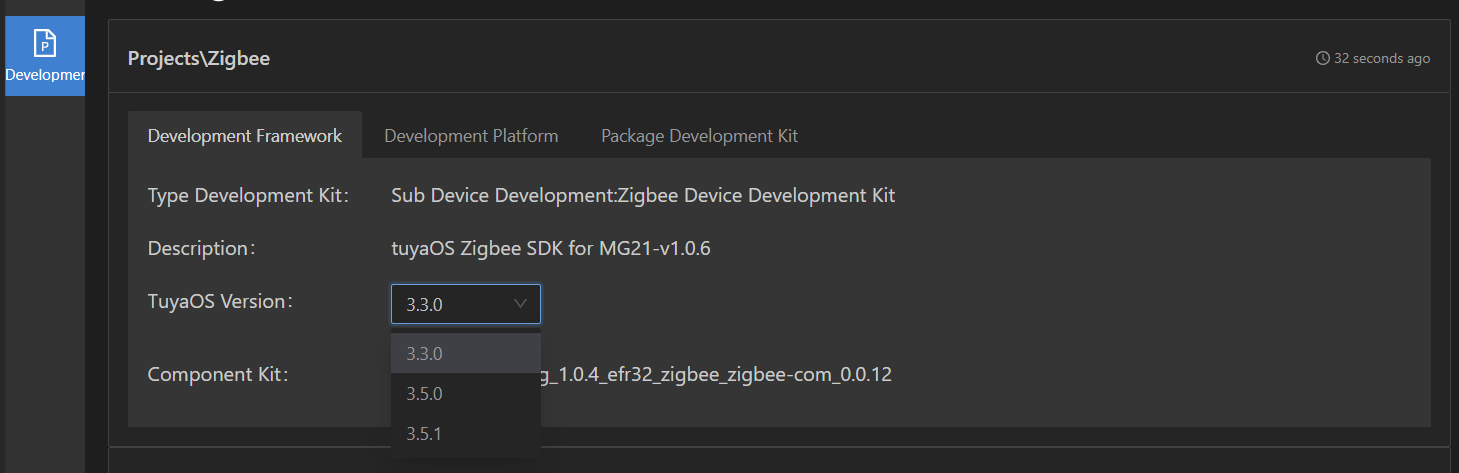
Select a version from the drop-down list next to TuyaOS Version.
-
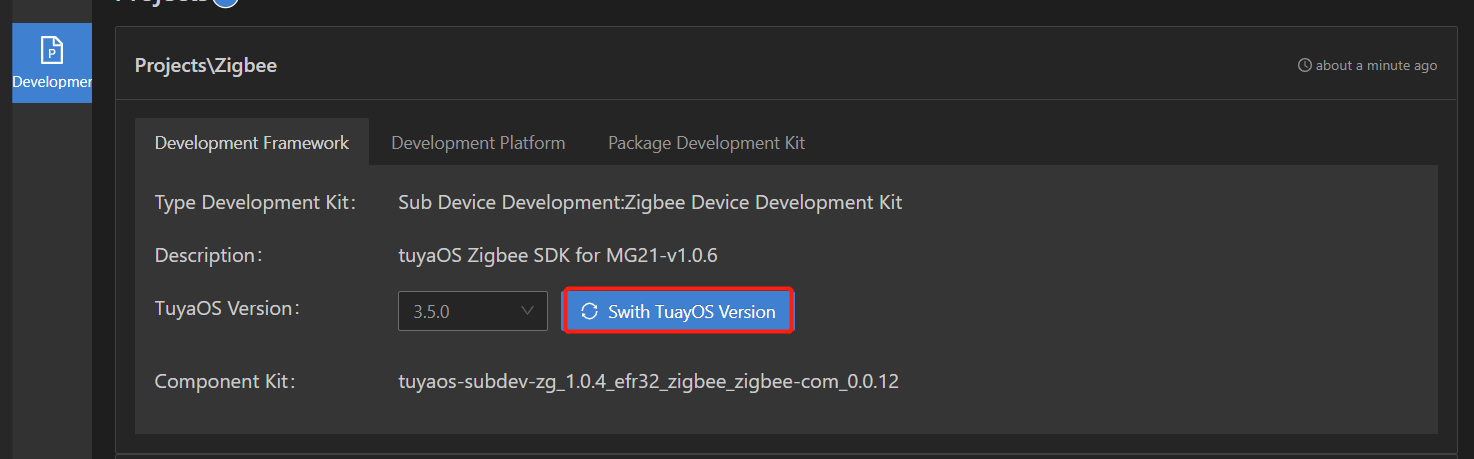
Click Switch to proceed. When asked to confirm your action, click OK. The example switches from 3.4.0 to 3.4.2.
-
Wait for the process to complete.
Switch component kits
You can switch to another component kit of a development framework on Tuya Wind IDE.
Switching to another component kit is possible when the framework has at least two kits released.
-
Click the drop-down list next to Component Kit.
-
Click Switch to proceed. When asked to confirm your action, click OK. Wait for the process to complete.
Configure product
Currently, only the development frameworks for Windows support product configuration, allowing you to quickly configure product features using the terminal window. The example uses the development framework for Bluetooth module PHY6222 to demonstrate the process.
-
Right-click a demo in the apps directory and choose Config Project.

-
Enter the version number and press the
Enterkey. -
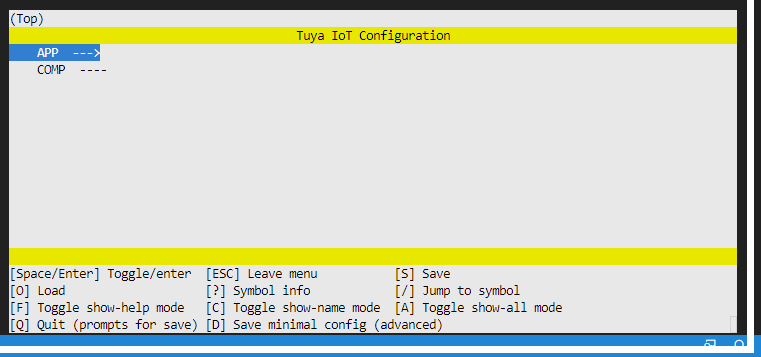
The configuration interface is displayed in the terminal window.
-
Click the terminal and use the UP ARROW and DOWN ARROW keys to toggle between apps. After you select an APP, press the
Enterkey to start configuring features such as logging, testing, and system heap memory.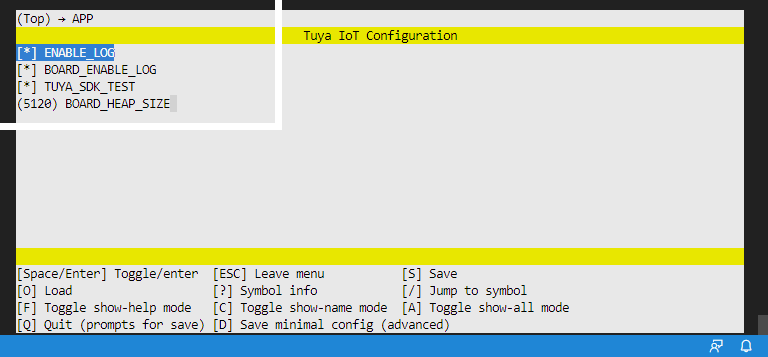
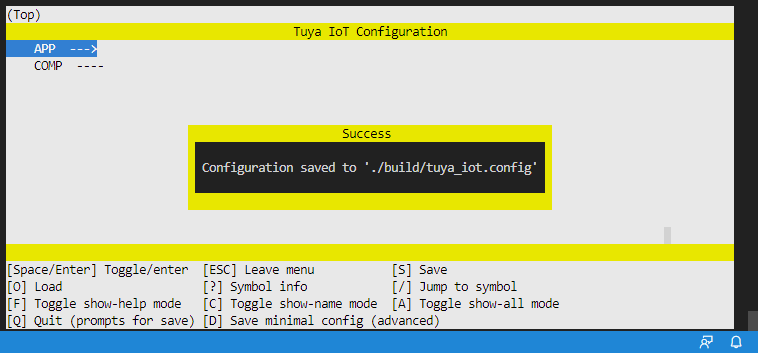
-
After you finish, press ESC and then S to save the configuration.
Flash firmware
Currently, only the development frameworks for Windows support firmware flashing, allowing you to flash firmware to the chip on the IDE. You can flash two types of firmware, namely the user area firmware and the production firmware.
Right-click an application. In the menu, you can find two options: Flash App and Flash Prod.
-
Flash App: Flash the user area firmware to the chip.
-
Flash Prod: Flash the production firmware to the chip.
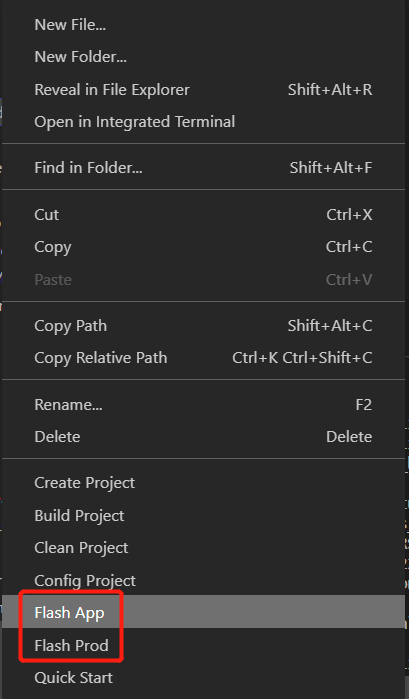
The example use Flash Prod to demonstrate the process.
-
Right-click an application and choose Flash Prod.
-
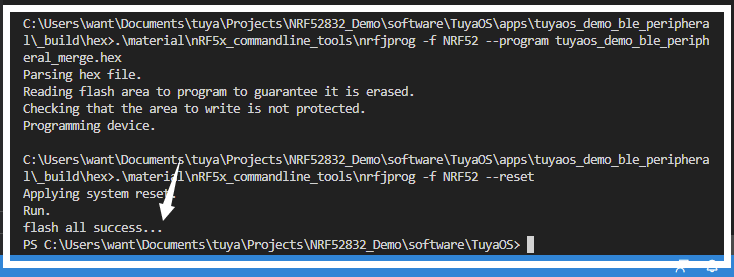
Enter the version number and press the
Enterkey.You can check out the progress in the terminal window. You will get a message saying flash all success on successful firmware flashing.
Reference
To explore more information about Tuya Wind IDE, click Help.
Is this page helpful?
YesFeedbackIs this page helpful?
YesFeedback


