Set Up Environment
This topic describes how to set up a development environment with a Windows host or with a Linux virtual machine (VM) on a Windows host.
Linux VM on Windows host
Install VirtualBox
-
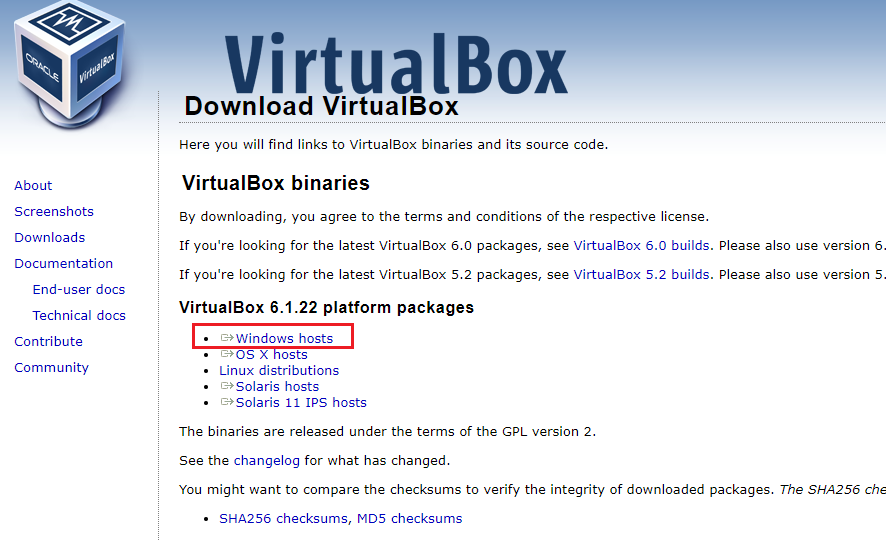
Visit the VirtualBox website. Click Windows hosts to download the package.
-
Run the installer. On the welcome setup wizard page, click Next to begin the installation wizard.
-
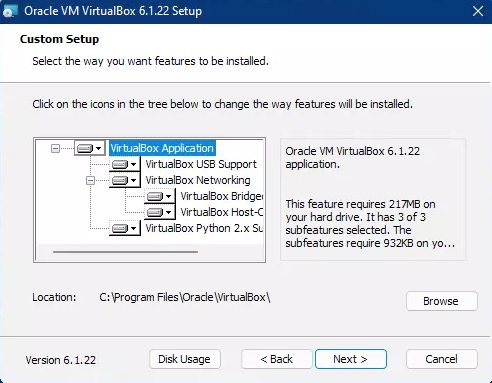
If you have sufficient free space on C drive, leave the default installation location and click Next. If you want to change the directory, click Browse and select the desired directory.
-
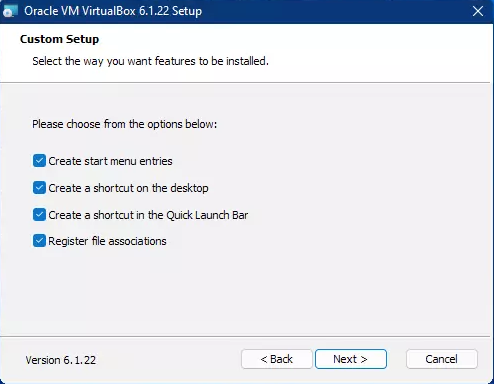
Click Next to continue.
-
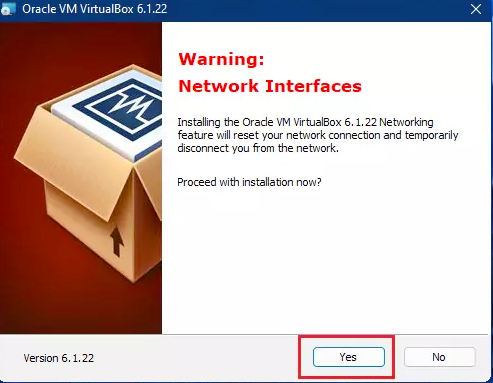
Click Yes to continue.
-
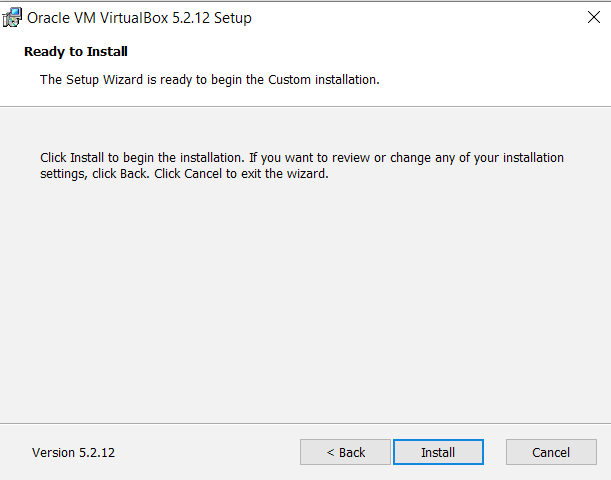
Click Install to begin the installation.
Install Ubuntu
Download system image
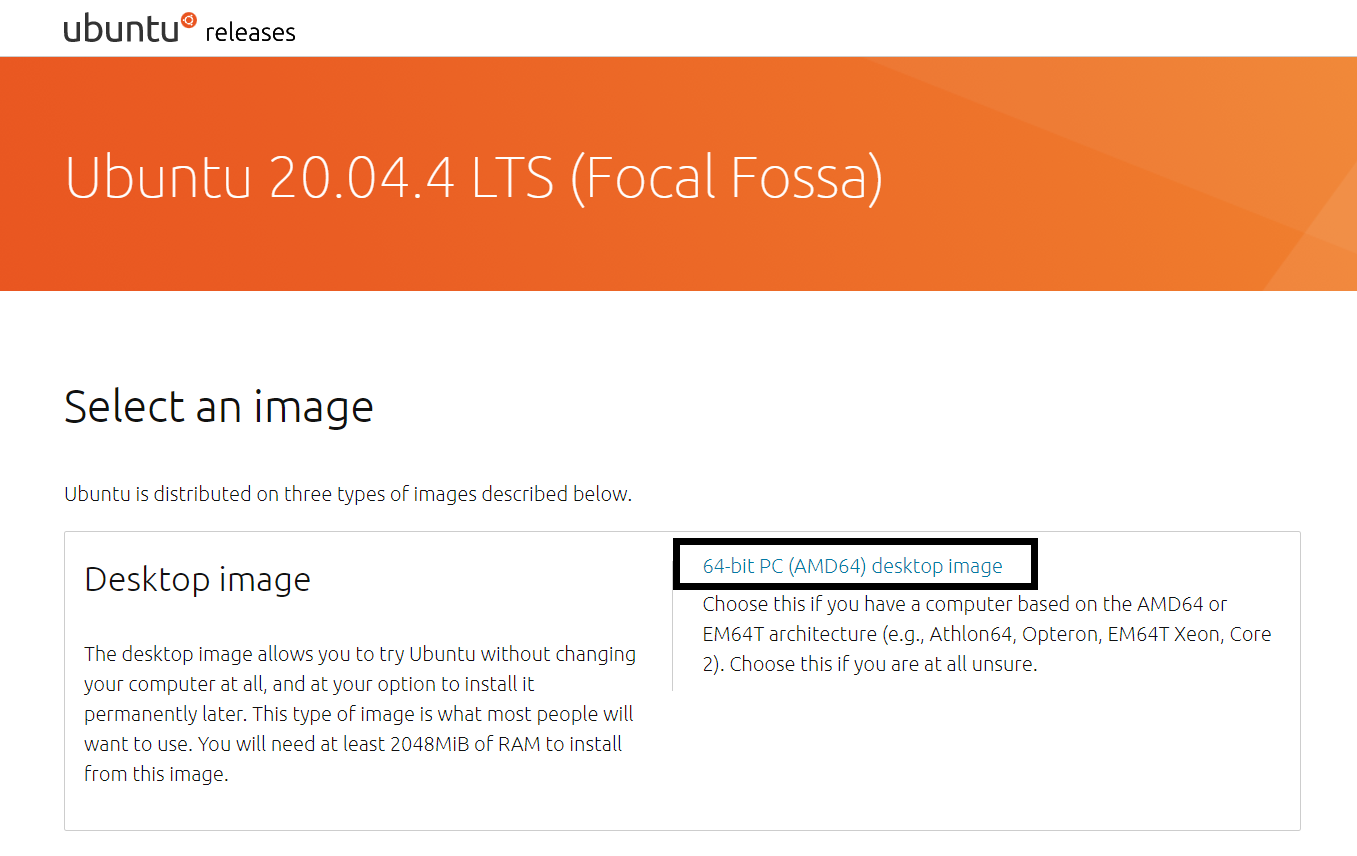
Visit the Ubuntu website. Download Ubuntu 20.04 desktop image.
Install system image
-
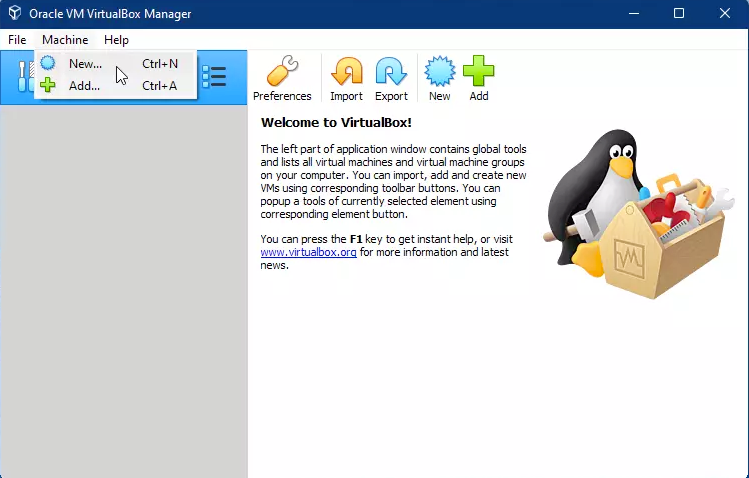
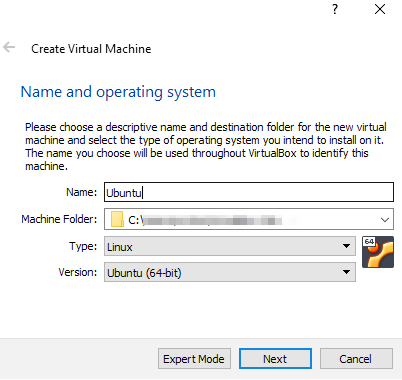
Open VirtualBox, and then click New to create a VM.
-
Select Linux as the type and Ubuntu (64-bit) as the version. Click Next.
-
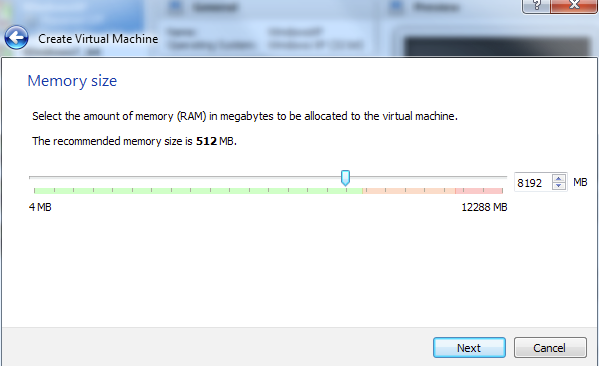
Allocate RAM size to your VM. Select the amount of memory that will be allocated to the VM and then click Next. You can assign 8 GB or more of memory for better performance of Tuya Wind IDE.
-
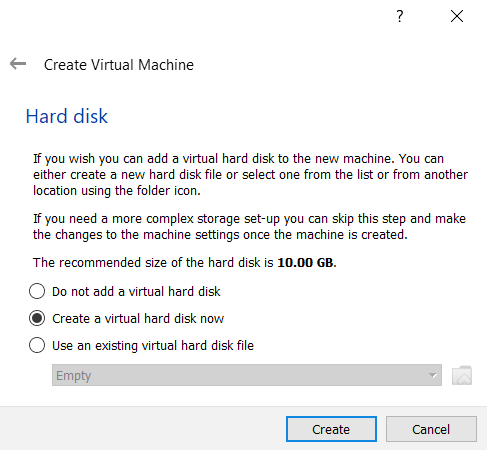
Keep the default option and then click Create.
-
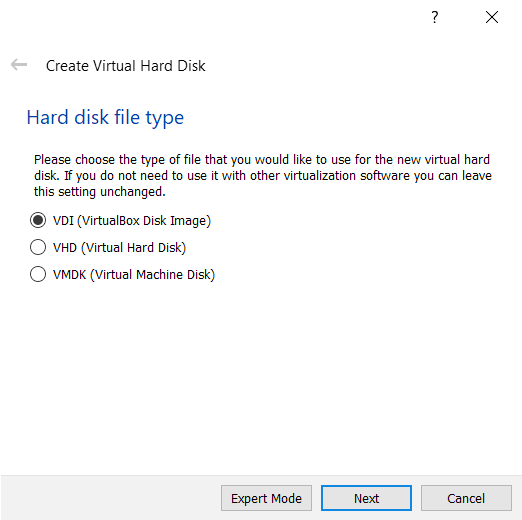
Keep the default option and then click Next.
-
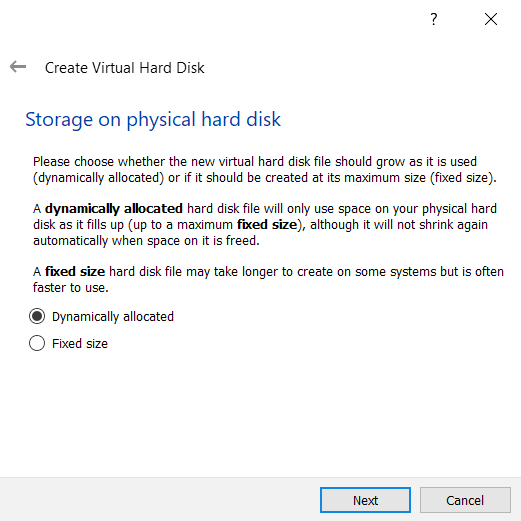
Choose Dynamically allocated and then click Next.
-
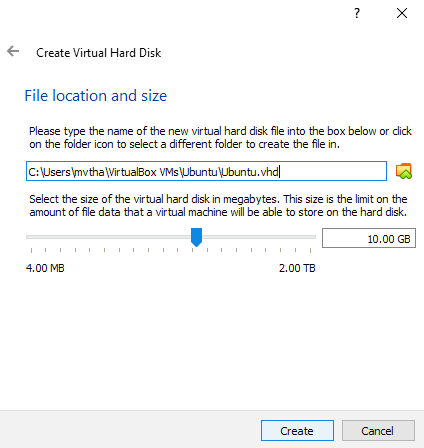
Select the file size of the VM disk. It is recommended to set the size to 50 GB or more for better performance of Tuya Wind IDE, and then click Create.
-
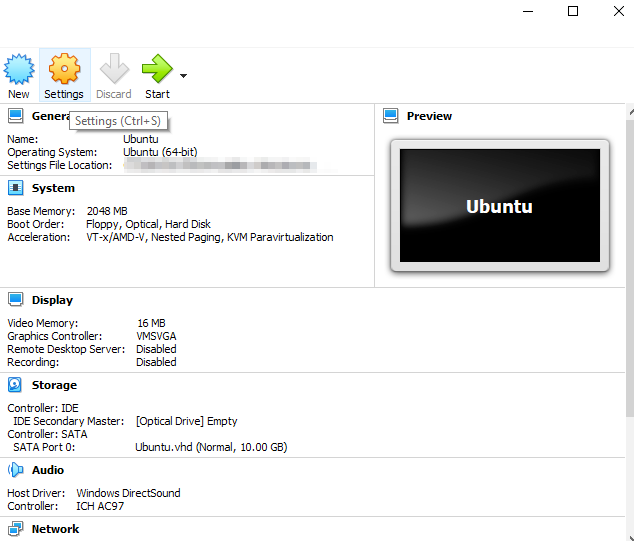
In the Storage section, click [Optical Drive] and then click Choose a disk file. Browse for the downloaded Ubuntu 20.04 ISO and click Start.
-
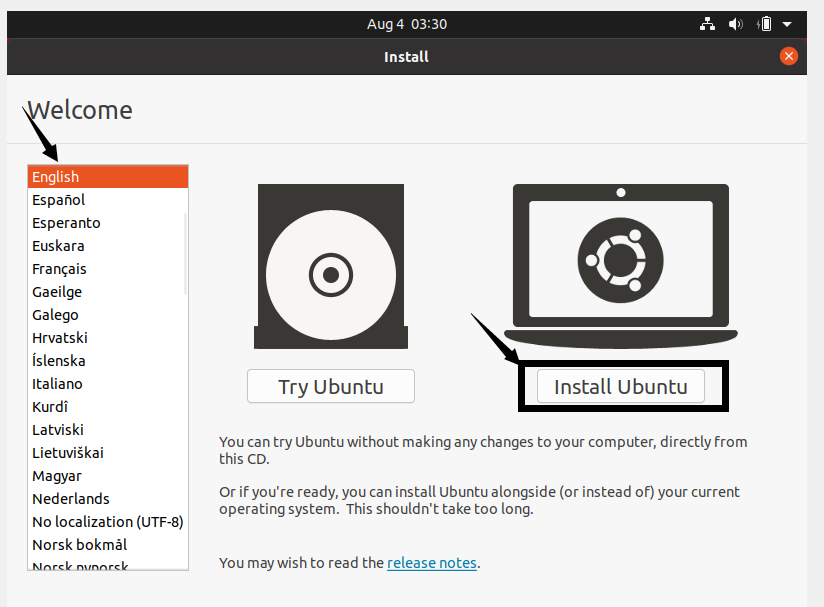
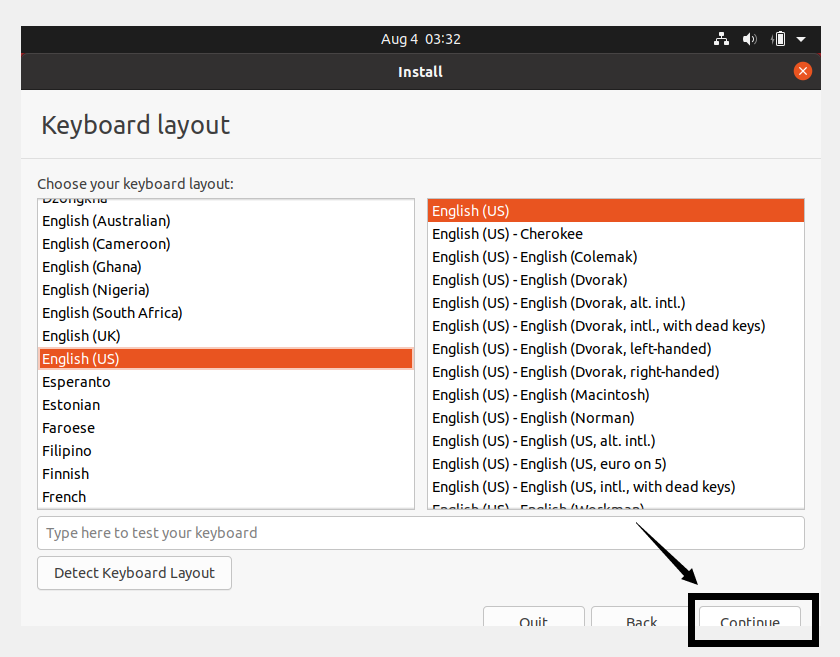
In the installation wizard, you can keep the default language setting and click Install Ubuntu.
-
Keep the default option and then click Continue.
-
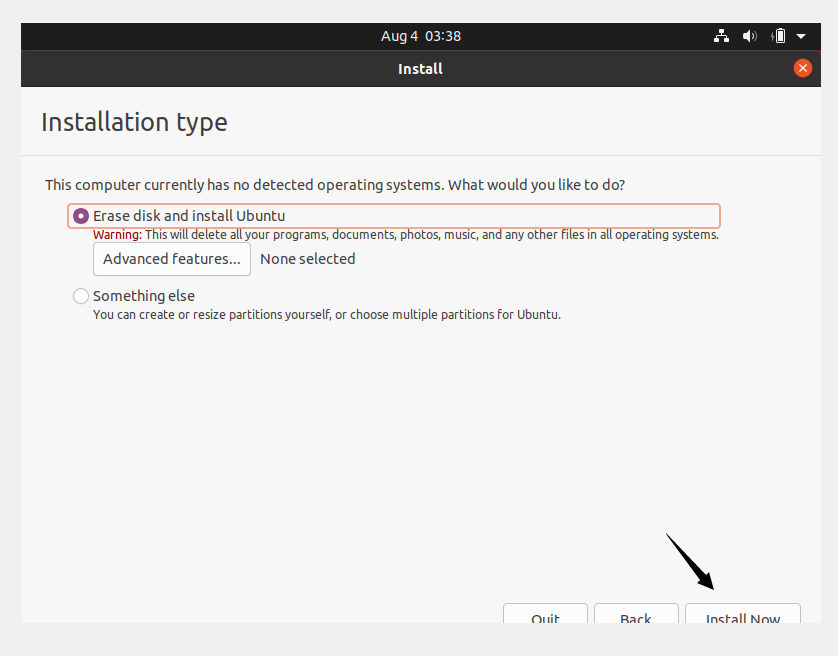
Choose Minimal installation and uncheck Download updates while installing Ubuntu to save time after installation. Click Continue.

-
Click Install Now.
-
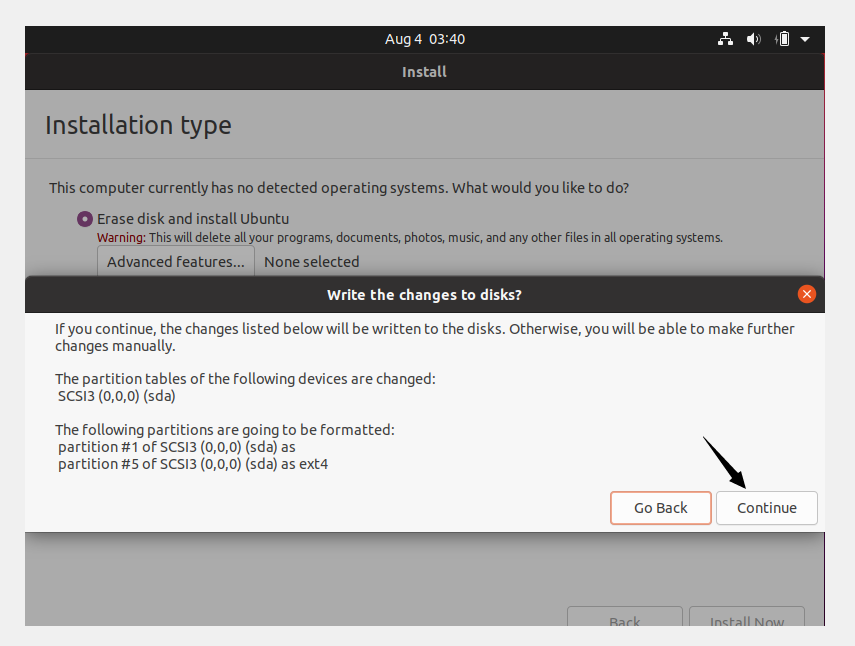
Click Continue and proceed with writing changes on the disk.
-
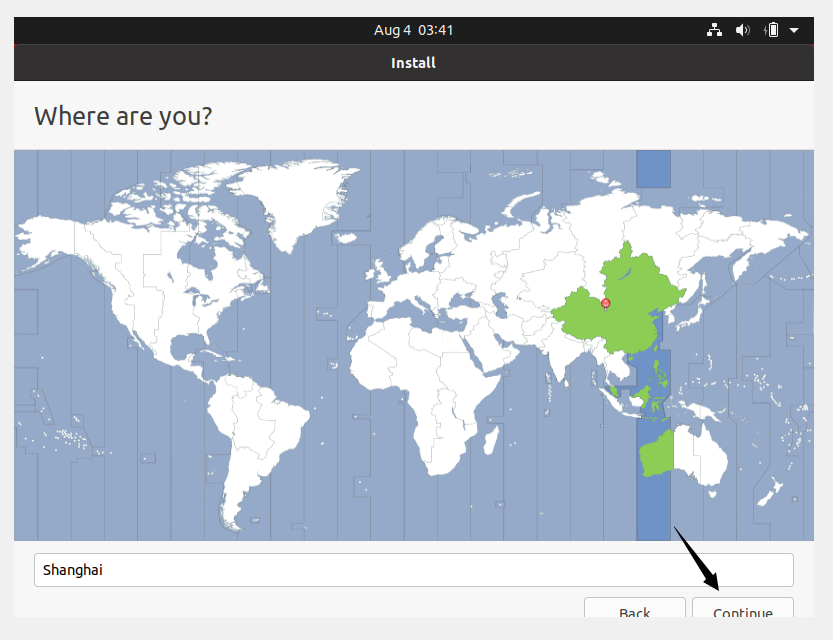
Choose your current location and click Continue.
-
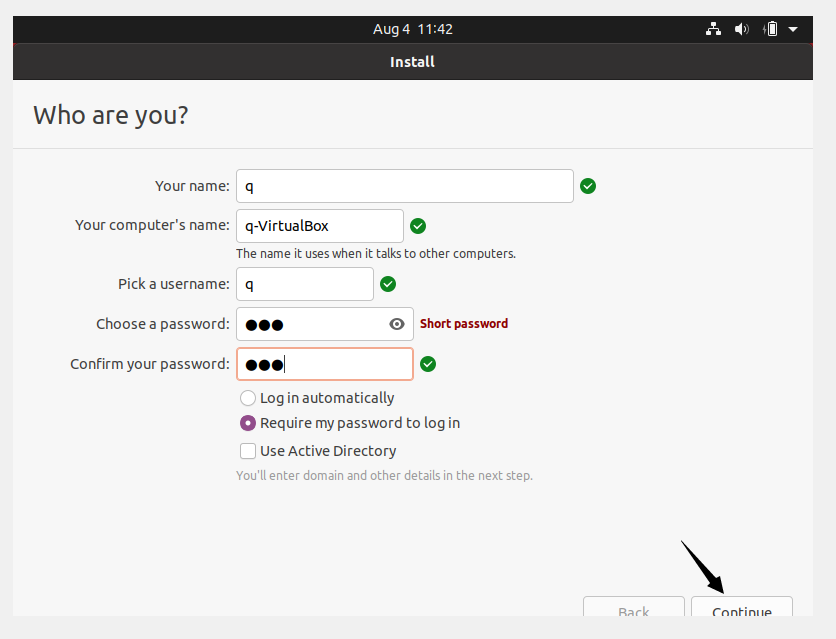
Enter your username and password to configure your system identity. Click Continue.
Wait for the installation to complete.
-
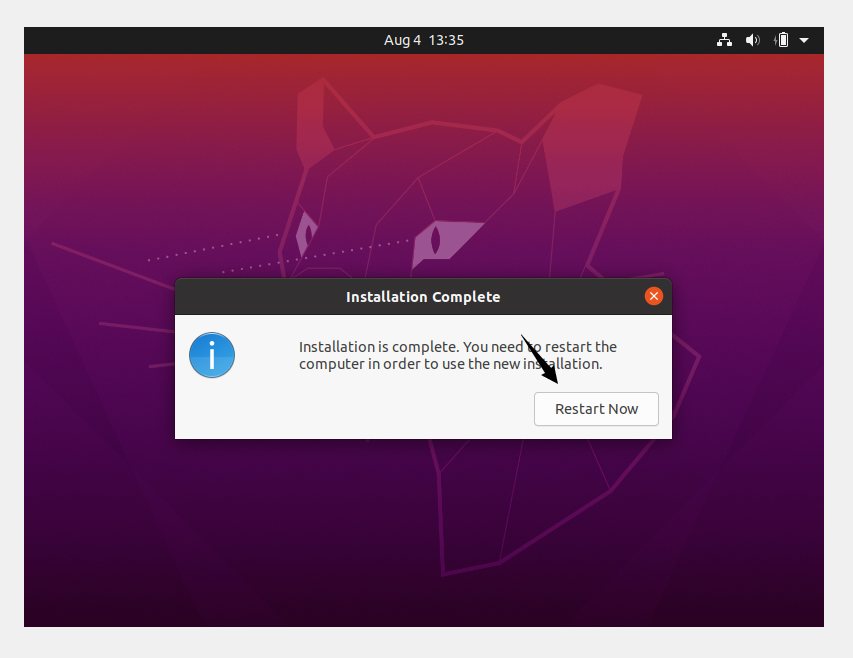
If you get the screen below, it means Ubuntu is installed. Click Restart Now.
-
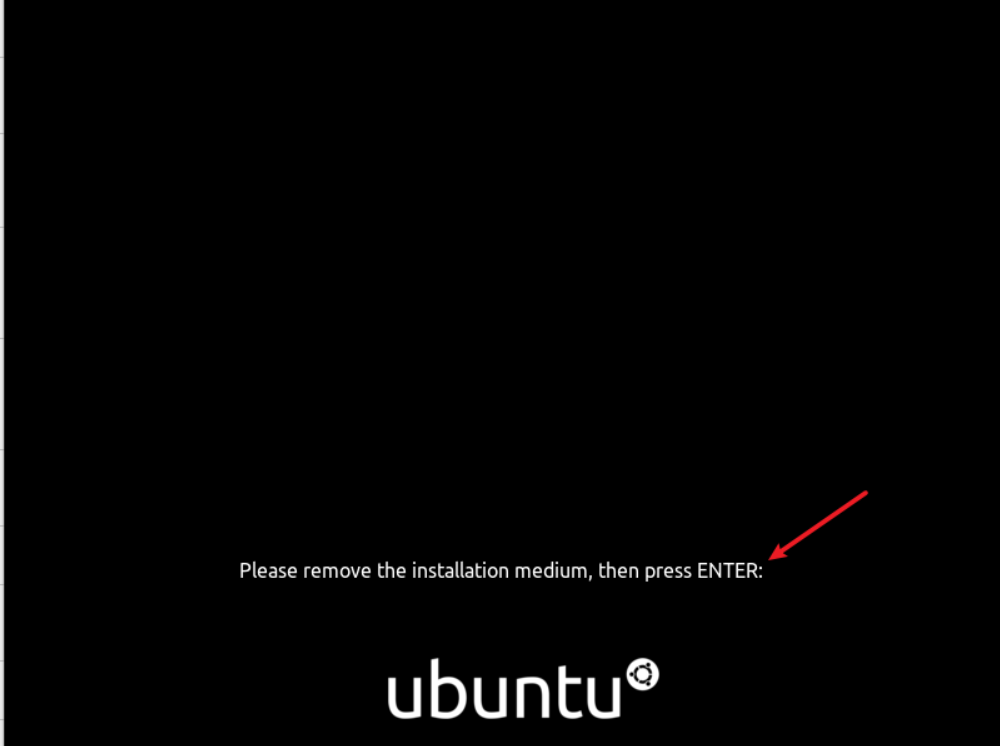
Press Enter and wait for the VM to finish the setup.
-
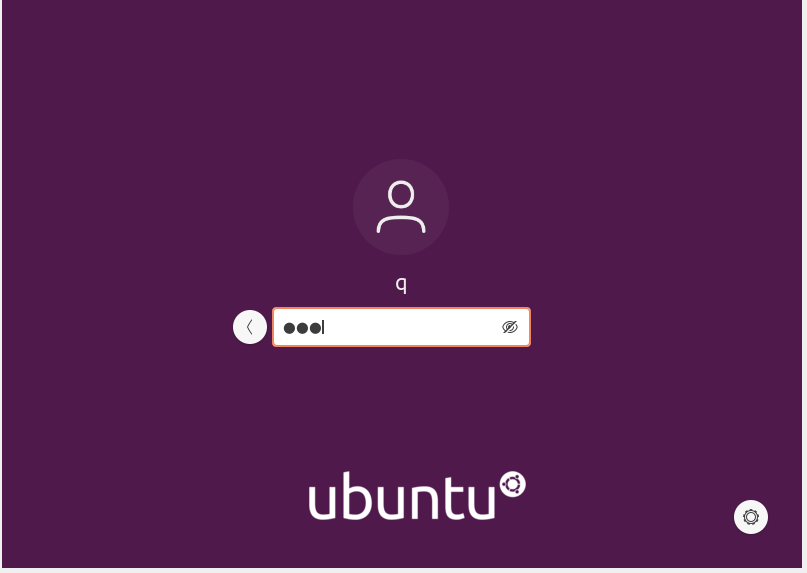
At the Ubuntu Login Screen, enter the password you set earlier to log in.
-
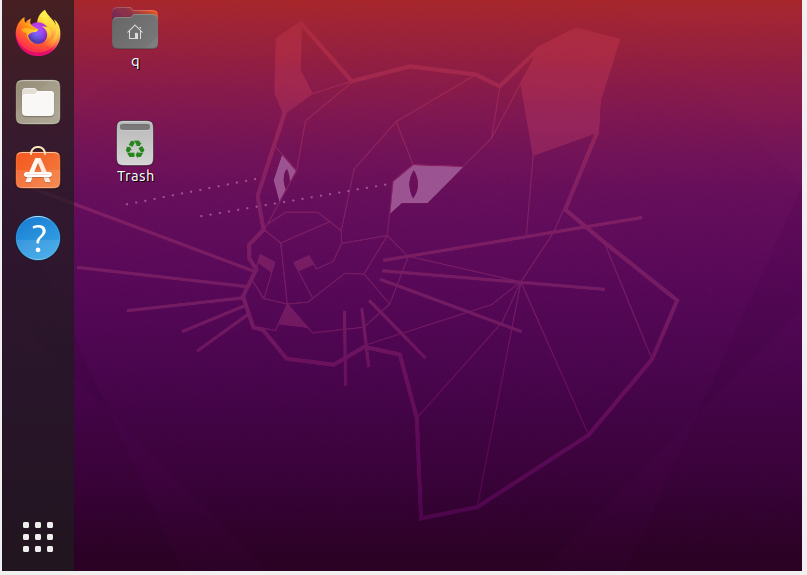
The Ubuntu desktop appears.
Install guest additions
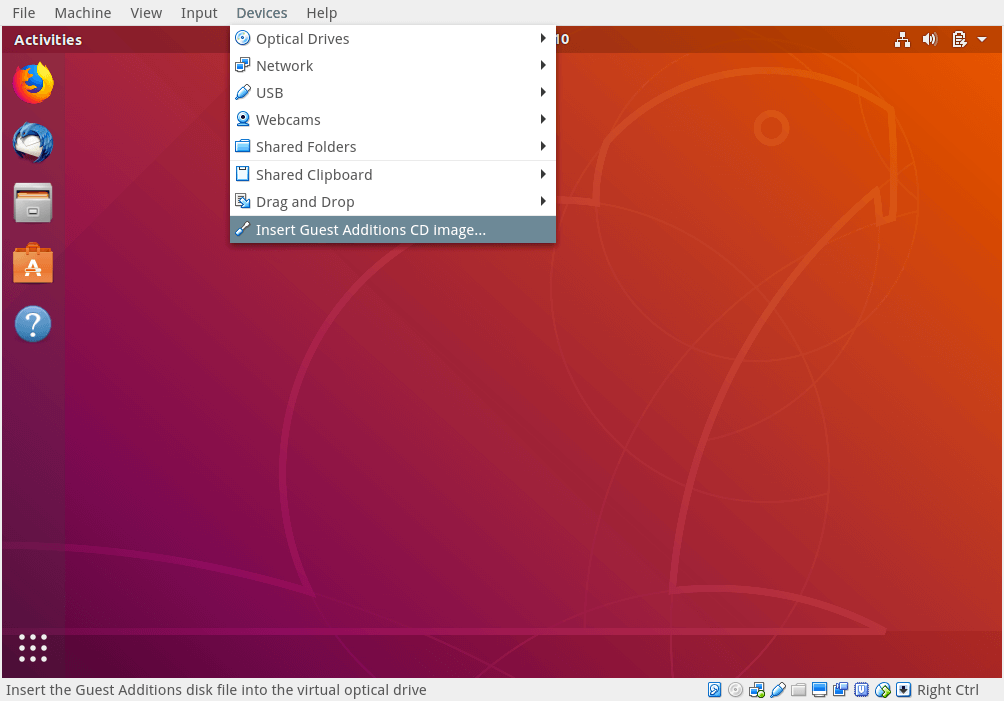
After installing Ubuntu, you need to install the guest additions to get better hardware functionality. These include auto-resize guest display, shared clipboard, and more.
-
Choose Devices > Insert Guest Additions CD Image.
-
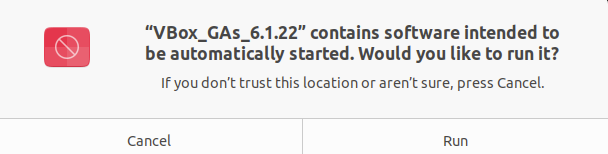
Click Run.
-
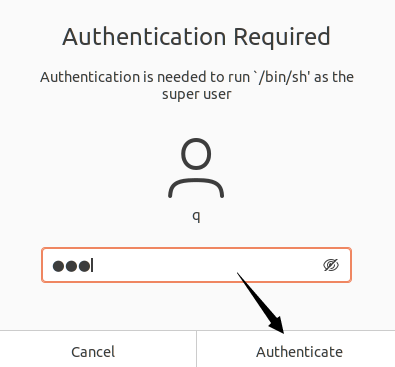
Enter your password and then click Authenticate.
-
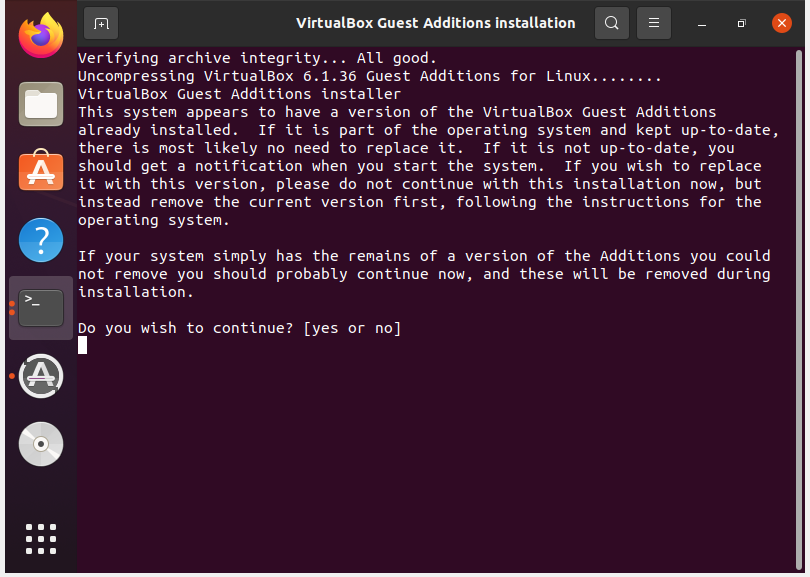
In the terminal window, enter yes to proceed.
-
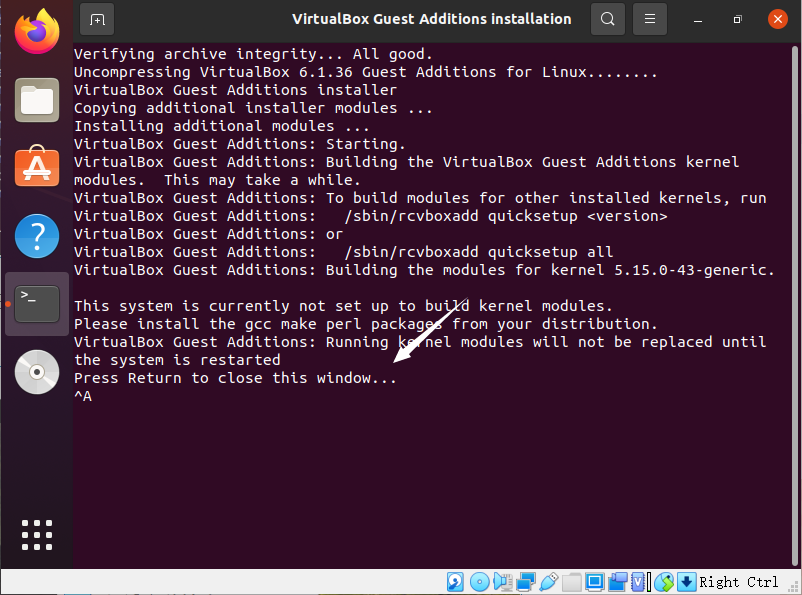
When Press Return to close this window… is displayed in the window, press Enter and reboot the VM. The screen resolution of the guest OS will be automatically adjusted with the window size.
-
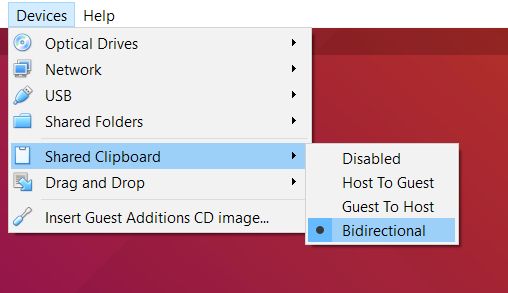
Choose Devices > Shared Clipboard > Bidirectional. The clipboard of the guest OS is shared with that of your host.
Install tools
Install Samba
Samba runs on Linux-based platforms but is able to communicate with Windows clients like a native application. It allows you to edit the project on Windows and build the project on Linux.
It is not recommended to use the shared folders feature of VirtualBox because Linux’s file system is different from Windows’s file system. When you copy the SDK on GitHub to the shared folder in VirtualBox for building, errors might occur.
Change the download server
-
Open the VM. Before software installation, you can change the download server to have the best download speed.
-
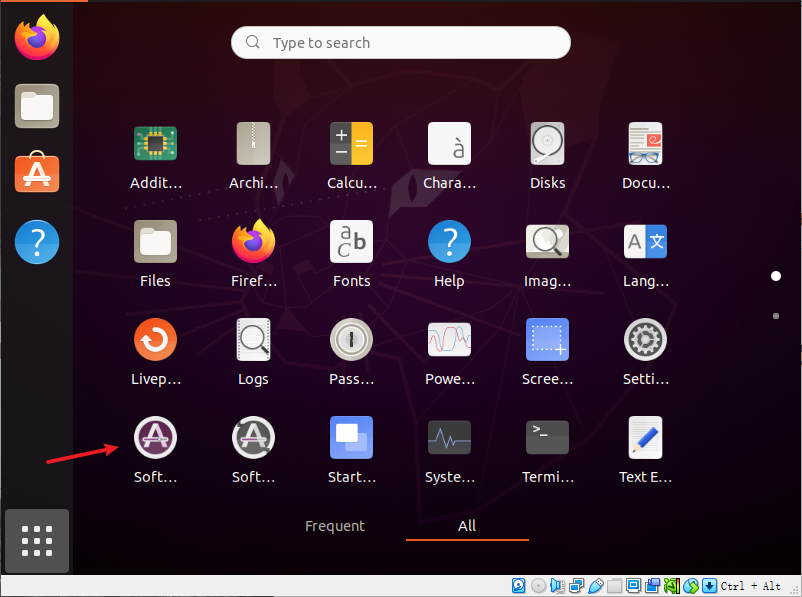
Open Software & Updates.
-
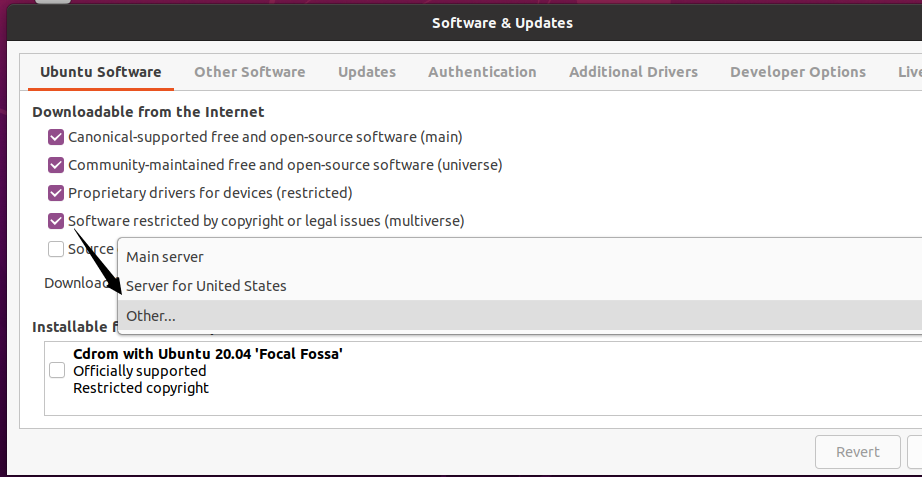
Under the Ubuntu Software tab, choose Other… in the Download from drop-down box.
-
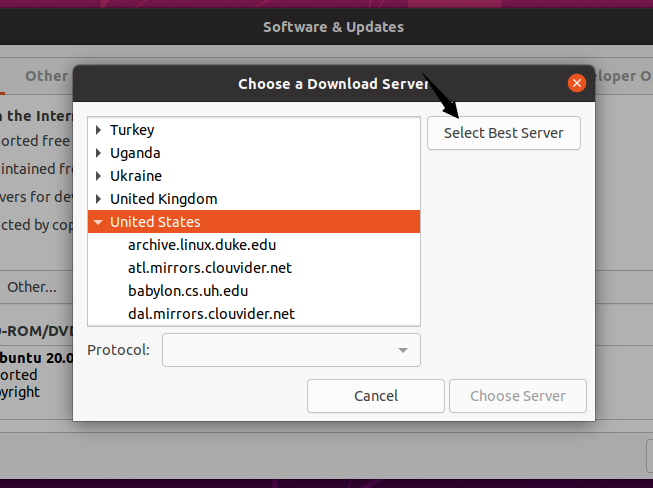
Choose Select Best Server option to let Ubuntu find a mirror that gives you the best download speed for your location.
-
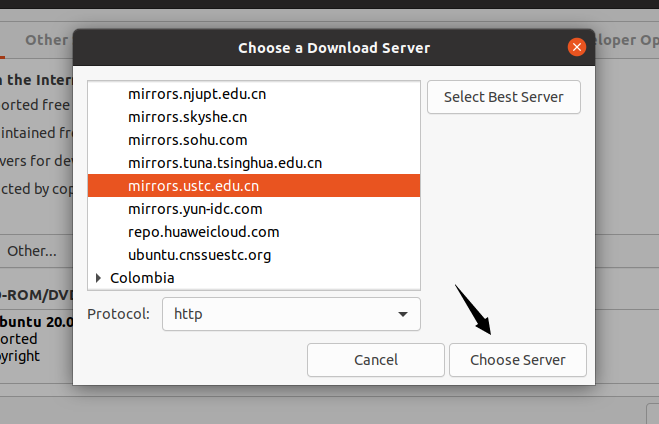
Once the best mirror is found, click Choose server option.
-
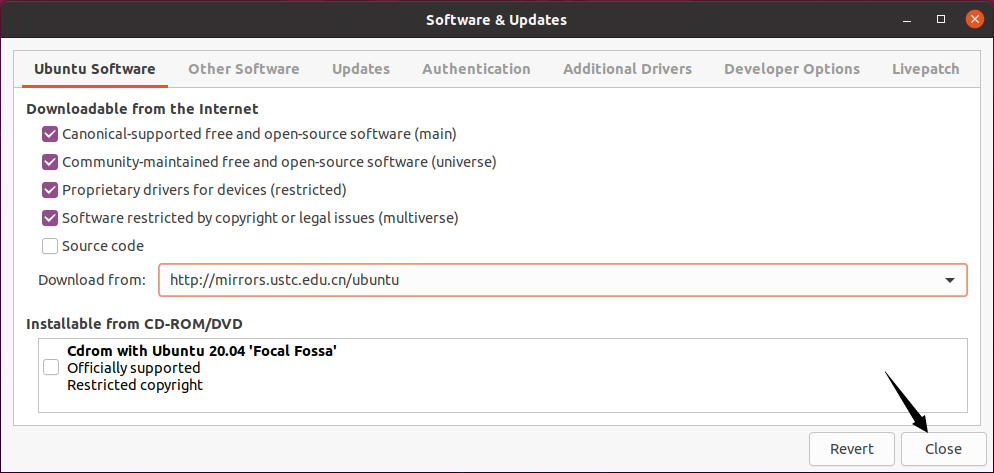
Click Close.
-
Click Reload to update the repository lists.

After reloading, the updated source list can best suit your location.
Configure network settings
Before installing Samba, you need to configure the network first.
-
Close the VM first.
-
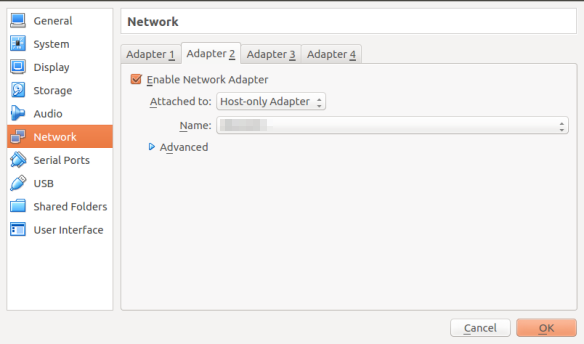
Choose Settings > Network > Adapter 2. Select Enable Network Adapter. For the Attached to option, select Host-only Adapter from the drop-down box.
-
Click OK to complete the setup.
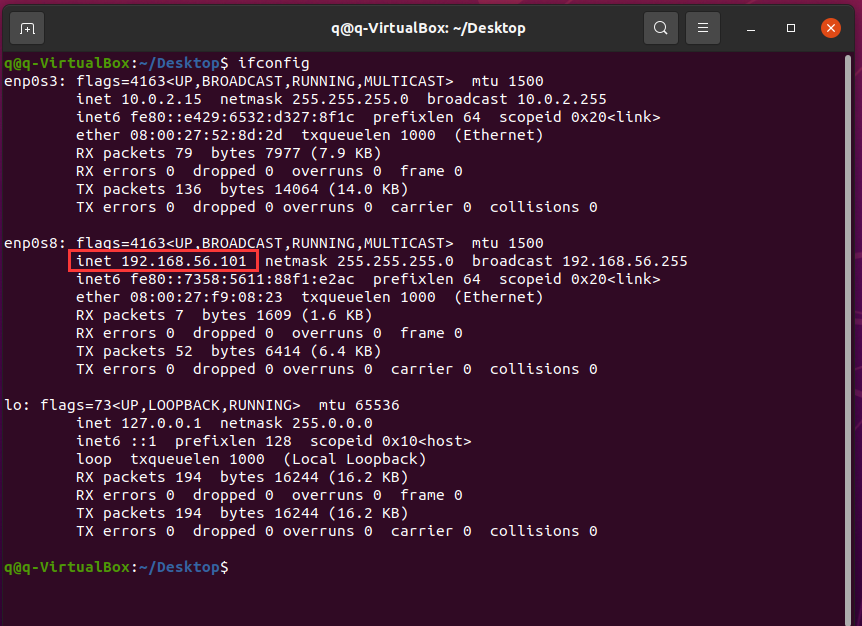
To get the IP address of the Ubuntu VM, you need to install net-tools. Right-click on the Ubuntu desktop and open the terminal. Then, run the following command.
sudo apt-get update
sudo apt-get upgrade -y
sudo apt-get install net-tools
Enter ifconfig in the terminal. The content marked red in the following figure is the IP address of your Ubuntu VM.
Install Samba
-
Run the following command to install Samba. Enter your password if needed and press Enter.
sudo apt-get update sudo apt-get install samba cifs-utils samba-common -
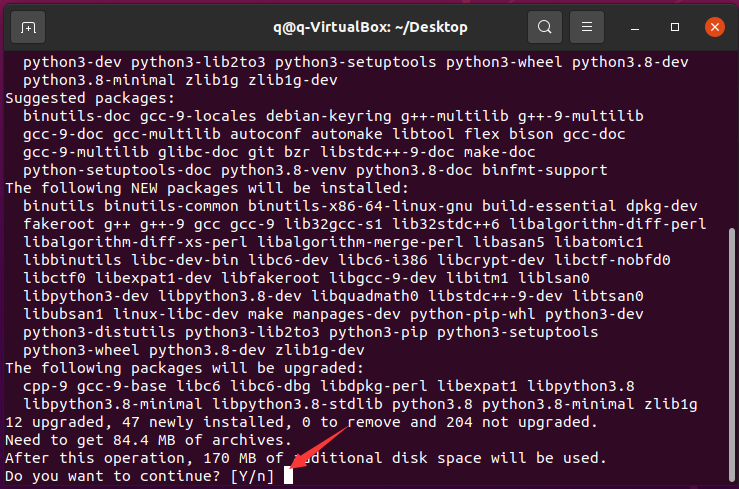
When the system tells you the drive space used for Samba, enter Y and press Enter.
If you are asked to continue or not in the following steps, you can enter Y and press Enter to continue.
-
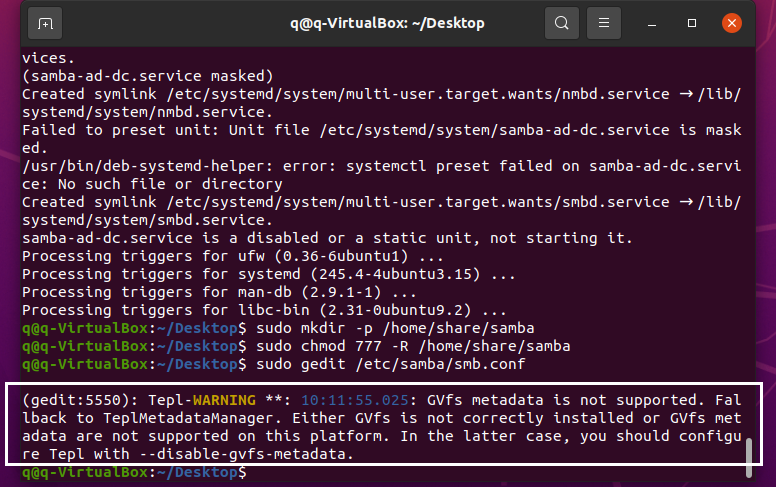
After Samba is installed, create a shared directory for file sharing between Ubuntu and Windows and set read, write, and execute permissions for this directory. Run the following commands in turn.
sudo mkdir -p /home/share/samba sudo chmod 777 -R /home/share/samba -
Run the following command and edit the Samba configuration:
sudo gedit /etc/samba/smb.conf -
Add the following code at the end-of-file. Save and exit.
[share]
path = /home/share/samba
available = yes
browseable = yes
public = no
writable = yes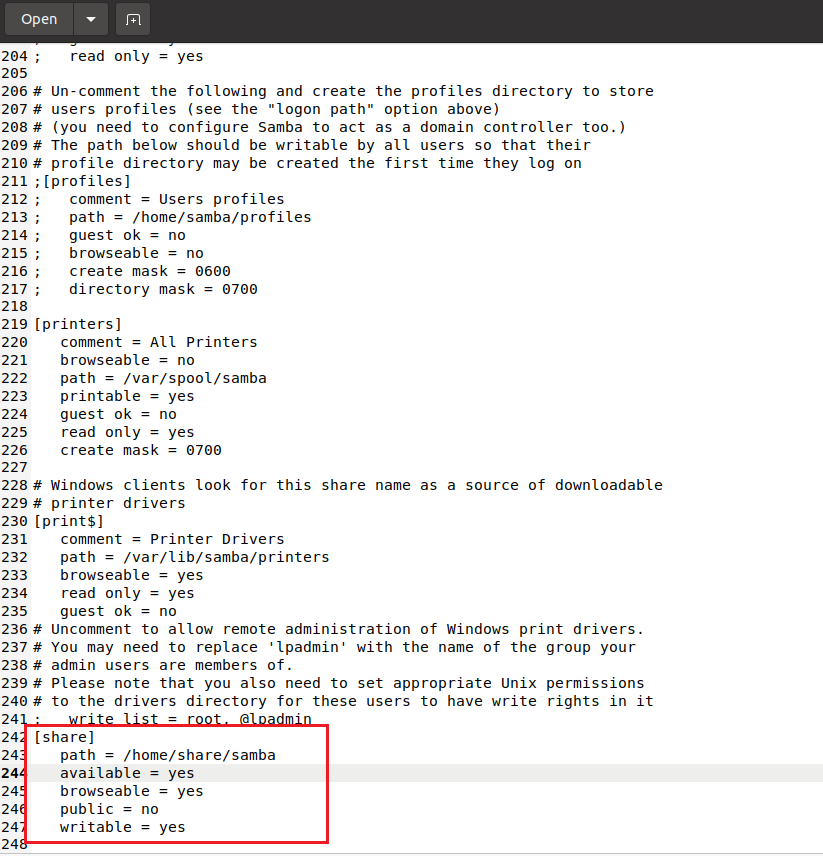
-
If you get a warning as shown below, you can just ignore it.
-
Enter the following command to add a specified user to the Samba user group and set the Samba password. Store the password for later use.
sudo smbpasswd -a xxxx #(Replace xxxx with the Ubuntu VM username) -
Run the following command to reboot Samba:
sudo service smbd restart -
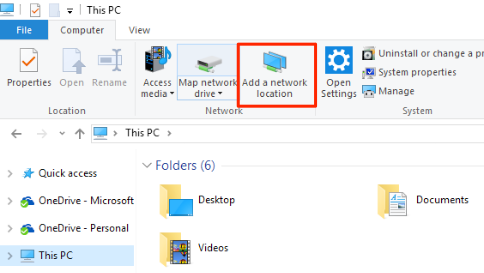
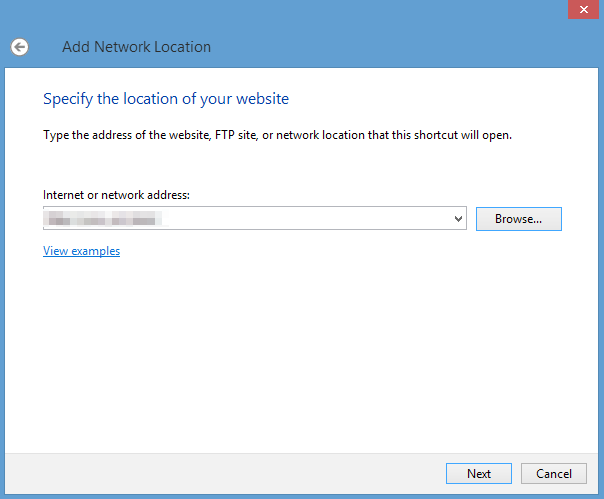
Navigate to your Windows desktop. Click This PC, choose Add a network location, and enter the IP address of your Ubuntu VM in the Internet or network address box.
If you forget the IP address, you can run ifconfig in your Ubuntu VM and find it.
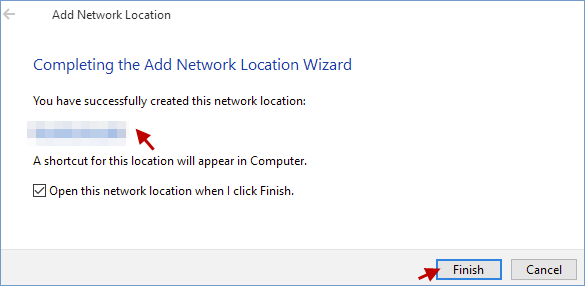
-
Click Finish.
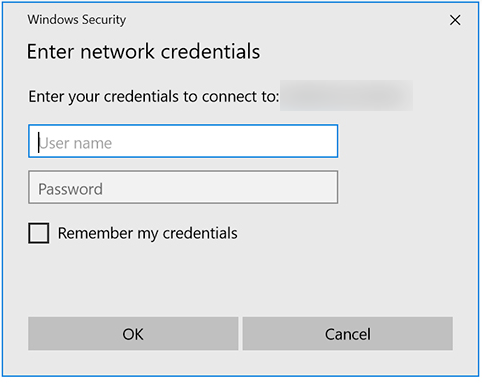
-
Enter the Ubuntu VM username and the Samba password and click OK. You are ready to access the shared folder created by Samba.
Install SSH
Install SSH on Ubuntu VM
Ubuntu does not come with SSH service, so you need to install ssh-server to connect to Ubuntu remotely using SSH.
-
Run the following command to check if you have SSH service installed on the Ubuntu VM.
ps -e|grep ssh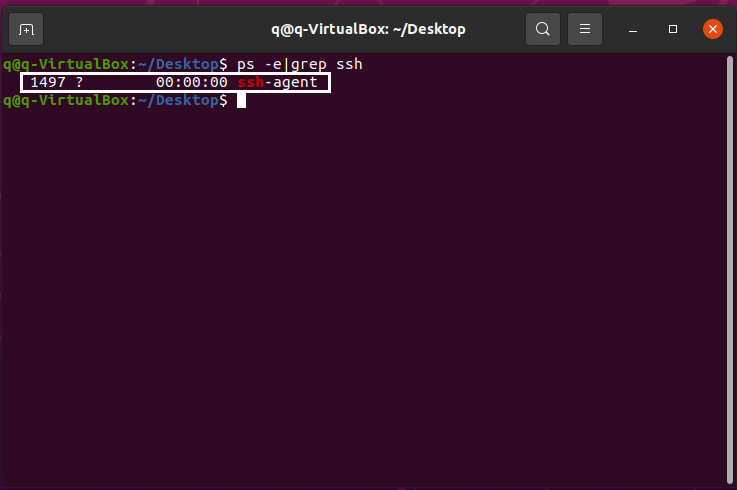
ssh-agentindicatesssh-clientis started.sshdindicatesssh-serveris started. If you do not getsshd, it means SSH service is not started or installed. -
Install SSH server.
-
Run the following command to install
ssh-client.sudo apt-get install openssh-client -
Run the following command to install
ssh-server.sudo apt-get install openssh-server
-
-
Run the following command to start SSH service.
sudo /etc/init.d/ssh start -
Run the following command to check for SSH service.
ps -e|grep ssh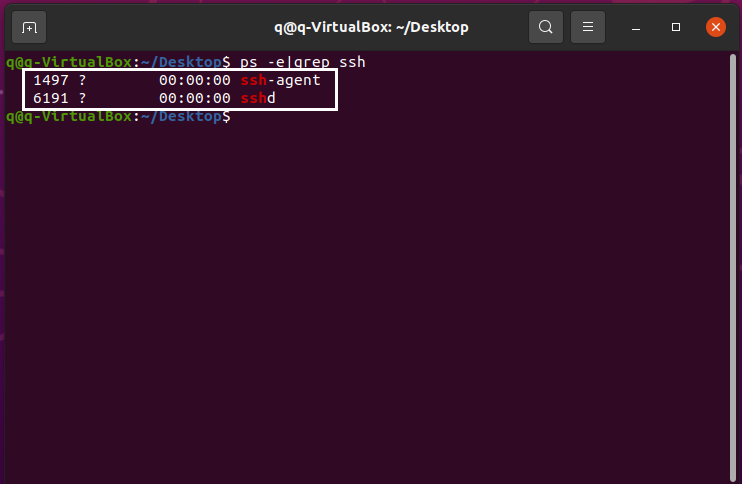
Install SSH on Windows
-
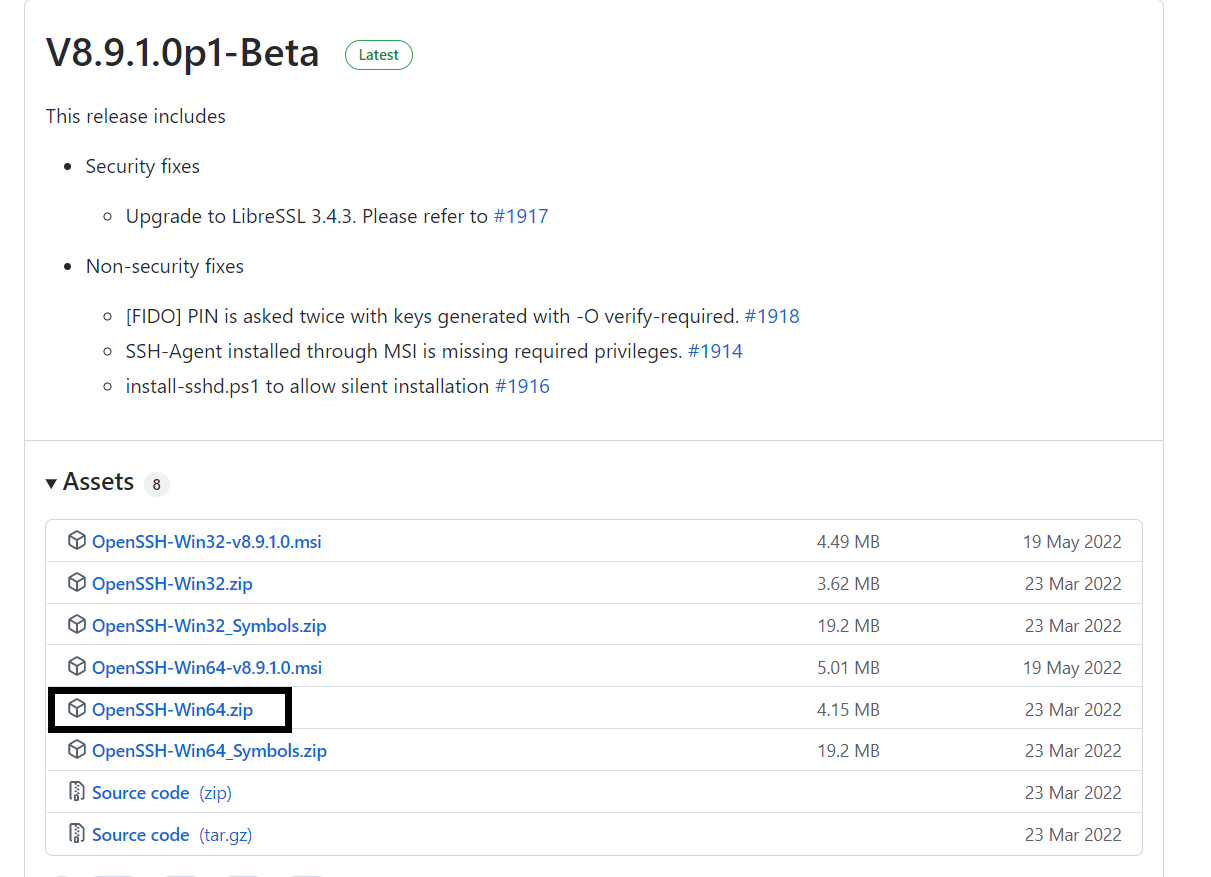
Download OpenSSH installer as shown below.
-
Extract the downloaded file to the root directory of the C: drive.
-
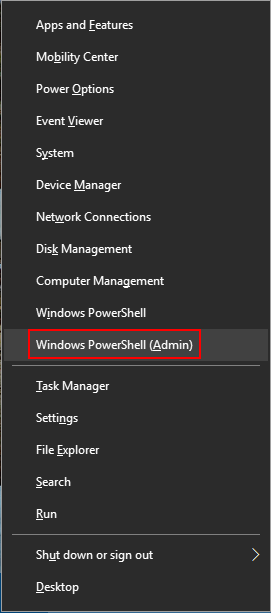
Right-click Start and choose Windows PowerShell (Admin).
-
Run the following commands one after another to go to the folder
C:\OpenSSH-Win64.cd ../../ cd OpenSSH-Win64 -
Run the following command to install SSH.
powershell.exe -ExecutionPolicy Bypass -File install-sshd.ps1 -
Run the following command to allow incoming connections to TCP port 22 in the Windows Defender Firewall.
netsh advfirewall firewall add rule name=sshd dir=in action=allow protocol=TCP localport=22 -
Run the following command to start SSHD service.
net start sshd -
(Optional) To start SSH service on system startup, run the following command in PowerShell.
Set-Service sshd -StartupType AutomaticSo far, SSH service setup is finished.
Install SSH extension in Visual Studio (VS) Code
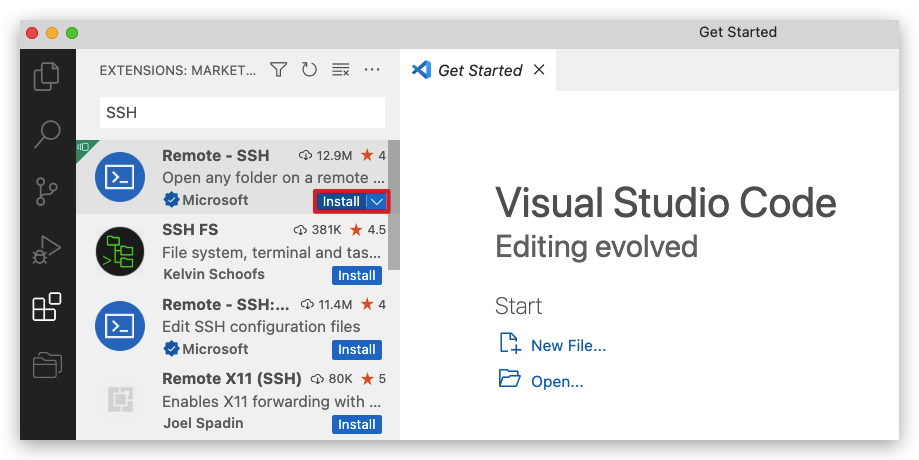
If you use a Linux VM on a Windows host, you need to install the Remote - SSH extension in VS Code to connect to the remote Linux server from Windows.
Launch VS Code. Click the Extension icon in the left bar, search for Remote - SSH, and install it.
Connect to Ubuntu VM from VS Code
After you have SSH installed on both Windows and Ubuntu VM, you can connect to the VM using VS Code.
-
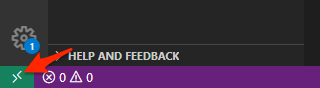
In VS Code, click the remote connection icon shown in the bottom-left of the Status Bar.
-
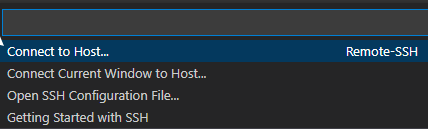
Click Connect to Host.
-
Click Add New SSH Host.
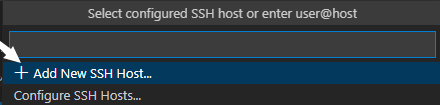
Set the SSH connection command with the SSH username and the IP address of the VM in the following format.
ssh account@IP addressFor example, if the SSH username is
qand the IP address of the VM is192.168.56.101, the SSH connection command should be:ssh q@192.168.56.101 -
Press Enter to confirm your input. If you forget the IP address, you can run ifconfig in your Ubuntu VM and find it.

-
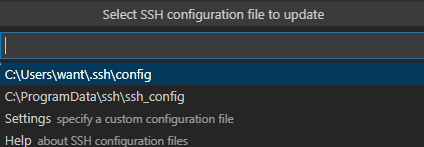
Select the first configuration file to update.
-
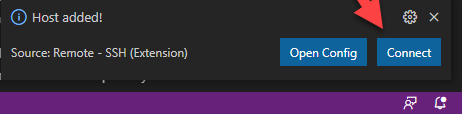
You should see a pop-up appear at the bottom right-hand side of the screen. Click Connect to connect to the VM.
If the VM is powered off, the connection will fail.
-
Enter the VM’s password and press Enter.
If the IP address of the VM is displayed, and you can open files on the VM, it means the SSH connection is established.

Configure SSH
-
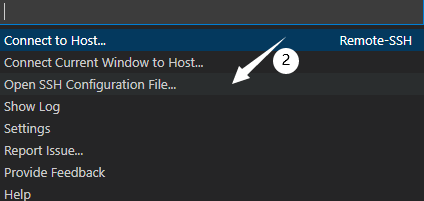
Click Open SSH Configuration File.
-
Select the first configuration file.

-
Enter the following commands at the end of the code.
LocalForward 127.0.0.1:8319 127.0.0.1:8319
LocalForward 127.0.0.1:8320 127.0.0.1:8320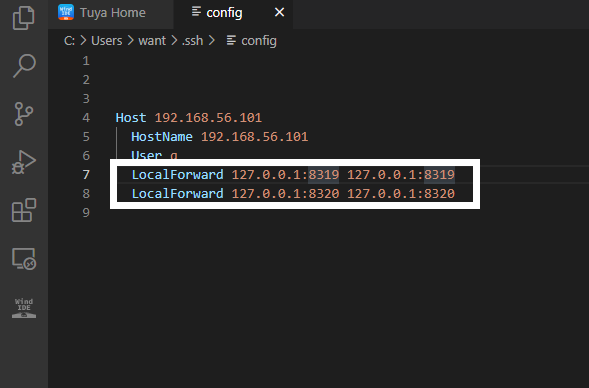
-
Save the file.
Install pip3
Open the terminal in the VM and run the following command.
sudo apt update
sudo apt install python3.8 python3-pip python3-distutils build-essential lib32stdc++6
Enter Y and press Enter to start the installation.
Enter python and press Enter. If the Python version is returned and Python is started, it means pip3 is installed. Note that you can press Ctrl + Z to exit Python.

If you get a message saying python not found or an error, create a symbolic link to Python 3. This way, Python 3 will be the default editor for all Python commands.
sudo ln -s /usr/bin/python3 /usr/bin/python
Enter python and press Enter to check again.
Windows host
If you use a Windows host, you only need to install Python 3.8.
-
Check if you have Python 3.8 installed on Windows. Right-click Start and choose Windows PowerShell.
-
Enter python and press Enter. If the Python version is returned, it means you already have Python installed.
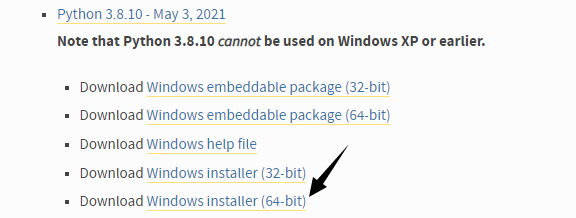
-
Visit Python website. Find Python 3.8.10. Download the Windows installer (64-bit).
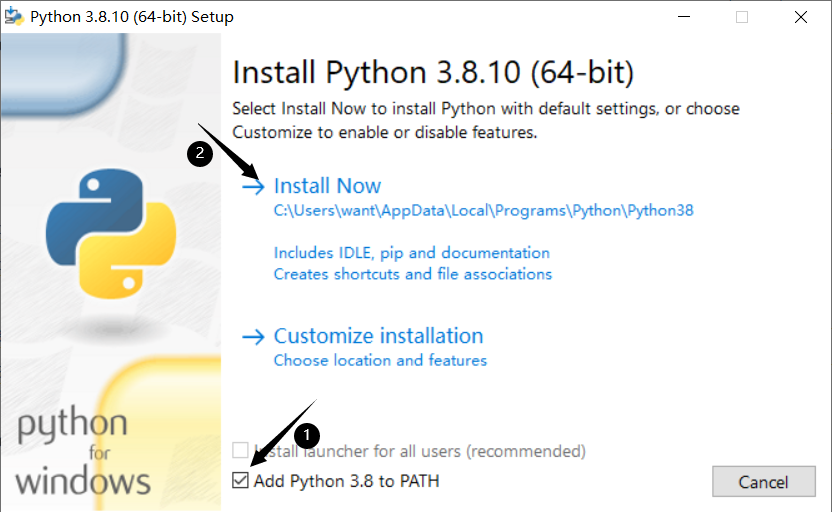
-
Open the installer. Select Add Python 3.8 to PATH and click Install Now.
-
Click Close to complete the setup.

-
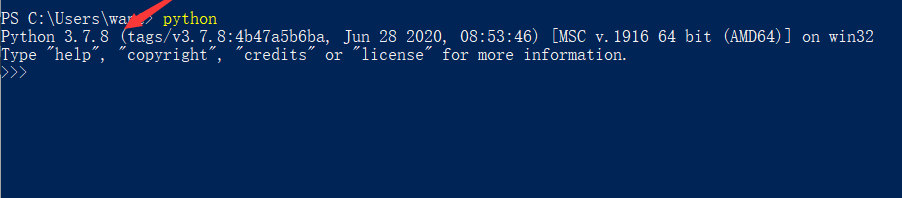
Open PowerShell to check if Python is installed. Enter
pythonand press Enter. If Python 3.8.10 is returned, it means Python is installed.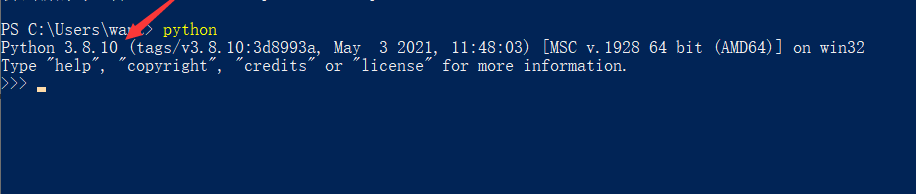
Is this page helpful?
YesFeedbackIs this page helpful?
YesFeedback


