开发入门教程 iOS 版
涂鸦商用照明 App SDK 是专为照明行业的物联网应用提供的移动端开发工具。基于该 SDK,您可以快速实现商用照明及关联场景的 iOS App 功能开发。它适用于新装和存量的商用照明市场,多协议兼容,通过设备管理、能源管控、人因照明等实现绿色建筑与健康建筑。
通过本教程,您可以在两小时内快速开发一款自己的 Smart App,并实现如下功能:
- 在涂鸦商照管理平台上注册商户账号,并在 App 端管理该账号。
- 在该账号下,新建并管理项目和区域。
- 在该区域下,连接并控制设备。
您可以单击下方按钮,下载 Sample 查看本教程中的示例代码。本次教程按功能模块进行分类,您可以快速找到对应的代码参考学习。
准备工作
在您开始本教程前,确保您已经完成以下准备工作。
-
在涂鸦开发者平台,注册账号并创建 App 应用,获取 SDK 的
AppKey和AppSecret。更多信息,参考 准备工作。 -
使用 CocoaPods 将涂鸦商用照明 SDK 集成到您的项目中。参考 快速集成。
账号管理
账号类型分为品牌商账号、企业主账号和企业子账号。品牌商账号下只创建一个商户账号,属于单一的 SaaS 商户模式。
开始之前,在 Podfile 文件中添加以下内容:
platform :ios, '11.0'

target 'Your_Project_Name' do
    pod "ThingCommercialLightingKit"
end
第一步:开通账号
目前,涂鸦商照 SDK 暂不支持 App 账号注册的功能。您需要前往 涂鸦商照管理平台,购买商户账号并开通企业主账号。
第二步:使用账号密码登录
接下来,您可以调用 登录接口,登录在上一步中注册的企业主账号。
 [[ThingSmartUser sharedInstance]loginMerchantByPassword:@"your_password"
                                            countryCode:@"your_countryCode"
                                               username:@"your_username"
                                           merchantCode:nil
                                   multiMerchantHanlder:nil
                                                success:^{
                                                       NSLog(@"login success");
                                             } failure:^(NSError *error) {
                                                      NSLog(@"login error");
                                              }
];
目前,商用照明限制一个账号仅对应一个唯一商户。所以在登录账号时,自动匹配商户到账号,您无需传入参数商户的 merchantCode。
除了账号密码,您还可以使用 验证码登录,或者 提交工单 申请进行 第三方授权登录。
第三步:账号管理
您可以对当前账号进行信息修改,例如密码和昵称等。
修改密码
[[ThingSmartUser sharedInstance]resetMerchantPasswordWithUsername:@"your_user_name"
                                                     countryCode:@"country_code"
                                                     oldPassword:@"old_password"
                                                     newPassword:@"new_password"
                                                         success:^{
                                                                     NSLog(@"reset password success");
                                                                  } failure:^(NSError *error) {
                                                                     NSLog(@"reset password failure");
                                                       }
];
账号管理还支持找回或重置密码,退出账号,修改账号头像和同步更新用户信息等。更多信息,参考 商户账号管理。
项目管理
名词介绍
-
项目:项目为挂载在某一账号下的可独立操作的单元,也是照明 SDK 中可操作的最大单位。
- 一个账号下可以有不定数量的项目。
- 项目分为室内和户外项目,更多详情,参考 项目类型。
- 新创建的账号默认没有项目,您需要在登录账号后新建项目,才能进行后续操作,例如设备配网和控制等。
项目的相关类如下:- 查询项目配置、查询项目列表和创建项目等功能由
ThingLightingProjectManager类提供。 - 查询项目信息、更新项目信息和删除项目功能由
ThingLightingProject类提供。 - 项目的具体信息(名字,区域,项目负责人等)则从
ThingLightingProjectModel类查询。
- 查询项目配置、查询项目列表和创建项目等功能由
-
区域:区域是挂载在某一项目下的可独立操作的单元,区域可以有不定数量的子区域。与项目类似,区域也分为室内和户外区域。
区域的相关类如下:ThingLightingAreaManager类用于创建新的区域。ThingLightingArea用于存储修改区域的相关信息,操作区域中的设备等。
本章节代码示例和方法说明均为室内项目和区域。
第一步:创建一个室内项目
在登录账号后,您首先需要 创建一个项目。
    [[ThingLightingProjectManager new] createProjectWithProjectType:ThingLightingProjectTypeIndoor
                                                        networkType:self.meshMode
                                                       projectName:self.projectNameTextField.text
                                                        leaderName:self.leaderNameTextField.text
                                                      leaderMobile:self.leaderMobileTextField.text
                                                     detailAddress:self.detailAddressTextField.text
                                                  regionLocationId:@""
                                                           success:^(id _Nonnull result) {
        [SVProgressHUD dismiss];
        [self dismissViewControllerAnimated:YES completion:NULL];
    } failure:NULL];
- 对于室内项目,参数
regionLocationId可置为空。 - 对于户外项目,可通过国家码(例如
86和01等)和 查询一级行政区码 组合,以,拼接。
第二步:查询账号下的项目
您可以通过调用 查询项目列表 接口查询到商照账号下的所有项目。
ThingLightingProjectManager *manager = [[ThingLightingProjectManager alloc] init];
[manager getProjectListWithSuccess:^(NSArray<ThingLightingProjectModel *> * _Nonnull projectList) {

        // self.projectArray = [projectList  mutableCopy];

    } failure:^(NSError * _Nonnull error) {

    }];
对项目的信息修改和删除等其他操作,参考 更新项目信息。
区域管理
区域也称为空间,它是挂载在某一项目下的可独立操作的单元。更多信息,参考 名词解释。
- 区域具有不定数量的子区域,最底层的区域无法创建子区域。
- 区域下可以挂载不定数量的设备或群组。
第一步:创建一个子区域
以下例子是为室内项目或是停车场项目创建一个子区域。
        ThingLightingProjectManager *manager = [[ThingLightingProjectManager alloc] init];
        NSArray<ThingLightingProjectSpaceItemModel *> *attributes = [manager getSpaceAttributesWithProjectId:projectId];
        [ThingLightingAreaManager createAreaWithProjectId:projectId
                                           currentAreaId:0
                                                    name:alertC.textFields.firstObject.text
                                               roomLevel:attributes.firstObject.roomLevel
                                                 success:^(id result) {
        } failure:NULL];
参数说明
-
ProjectId:当前项目 ID。 -
currentAreaId:当前区域 ID。- 若当前您还未创建区域或需要创建一级区域,该参数可为任意值。为防止冲突,建议设置为
0或负数。 - 若您想在一个已有区域的基础上创建父区域或子区域,则需要通过 查询子区域列表 查询对应的区域 ID。
- 若当前您还未创建区域或需要创建一级区域,该参数可为任意值。为防止冲突,建议设置为
-
roomLevel:区域等级,其中1为最高。currentAreaId为0时,无论roomLevel为多少,该区域都是独立区域。- 若
currentAreaId为一个已知的区域 ID,则根据该值大小,创建一个子区域或父区域。
下面的方法会在已有的区域上创建一个子区域。
[ThingLightingAreaManager createAreaWithProjectId:@" the current ID"
                                   currentAreaId:  self.area.areaId
                                            name:@"area name"
                                       roomLevel:self.area.roomLevel+1
                                         success:^(id result) {
                                                     NSLog(@"success");
                                                   // you can get the new area id here
                                       } failure:^(NSError *error) {
                                                   NSLog(@"failure");
                                      }
];
创建区域后,您就可以在该区域下连接和管理设备了。
第二步:获取最上级的区域列表
    [self.project getAreaListWithSuccess:^(NSArray<ThingLightingAreaModel *> * _Nonnull areas) {

    } failure:^(NSError *error) {

    }];
第三步:获取对应区域下的子区域
    ThingLightingArea *area = [[ThingLightingArea alloc] initWithAreaId:self.areaId projectId:projectId];
    [area getSubAreaListWithSuccess:^(NSArray<ThingLightingAreaModel *> * _Nonnull areas) {

    } failure:^(NSError *error) {

    }];
第四步:获取区域下的设备列表
获取区域下的设备列表,设备列表支持分页。
    [area getDeviceListWithOffsetKey:@""
                                 tag:@""
                             success:^(NSArray<ThingSmartDeviceModel *> * _Nonnull devices, NSString * _Nonnull nextOffsetKey, BOOL end, NSUInteger total) {

    } failure:^(NSError *error) {

    }];
参数说明
offsetKey:分页 key,第一页传空或是字符串"1"。tag:设备分类,默认传空,则返回全部类型的设备。
设备配网
设备配网是实现设备控制的先决条件。简单来说,配网就是将设备连接并注册到云端,使其拥有与云端远程通信的能力。涂鸦商用照明 App SDK 提供了丰富的配网方式以支持大部分智能设备。例如 Wi-Fi 连接和蓝牙连接等。详情请参考 设备配网 和 蓝牙体系。
配网方式介绍
本文以 Wi-Fi 配网为例,介绍如何使用 SDK 将设备配置到云端。
Wi-Fi 配网方式包括 快连模式(即 EZ 模式) 和 热点模式(即 AP 模式)。在之后的 iOS 版本 SDK 中,推荐使用 热点模式 代替 快连模式。主要原因如下:
- 相比快连模式,热点模式成功率高、可靠性好,对手机和路由器有兼容性要求小。热点模式配网成功率高于快连模式。
- 当 Xcode 升级至 12.5 版本后,编译出来的 App 无法在大于等于 14.5 版本的 iOS 系统的设备上发出快连配网的数据包。此时,App 需要额外开启一个 com.apple.developer.networking.multicast 的权限。该权限需要向苹果额外申请,等审批通过后才能够使用。目前临时的解决方案是降低 Xcode 版本,但仍推荐使用热点模式。
获取配网 Token
开始配网之前,SDK 需要在联网状态下从涂鸦 获取配网 Token,然后才可以开始热点模式配网。
- Token 的有效期为 10 分钟,且配置成功后就会失效,再次配网需要重新获取。
- 获取 Token 需要上传当前的项目 ID(
projectId),因此您需要确保账号处于登录状态并至少创建了一个 项目。
//The following parameter HomeId equals to the projectId.
[[ThingSmartActivator sharedInstance] getTokenWithHomeId:projectId
                                                success:^(NSString *token) {
                                            //  NSLog(@"getToken success: %@", token);
                                           // You could start ConfigWiFi now.
                                          } failure:^(NSError *error) {
                                         //NSLog(@"getToken failure: %@", error.localizedDescription);
                                         }
];
iOS 版本适配
iOS 14 版本适配
从 iOS 14 版本开始,在设备配网和局域网本地控制时,会触发 本地网络 权限弹窗。
- 如果用户单击了允许,App 才能够向本地局域网发送数据。
- 如果用户单击了拒绝,将无法使用相关功能。
目前苹果没有提供任何 API 对此权限进行判断,建议您在相关功能无法正常使用时提示和引导用户检查 系统设置 中的 app 设置,确认是否开启了 本地网络 权限。
iOS 13 版本适配
从 iOS 13 版本开始,如果用户没有开启地理位置权限,在已开启 Wi-Fi 权限的前提下,[[ThingSmartActivator sharedInstance] currentWifiSSID] 将查询不到有效的 Wi-Fi SSID 或 BSSID。在此情况下,iOS 会返回下列默认值:
- SSID:WLAN 或 Wi-Fi,针对中国大陆地区则是 WLAN
- BSSID:
"00:00:00:00:00:00"
开始设备配网
开始配网前,确保设备处于待配网状态。操作方法可参考设备的使用说明书。
调用 开始配网 接口,需要提供路由器的 SSID(即 Wi-Fi 名称)、密码以及从云端获取的 Token 等。
[ThingSmartActivator sharedInstance].delegate = self;
[[ThingSmartActivator sharedInstance] startConfigWiFi:ThingActivatorModeAP
                                                ssid:ssid
                                            password:password
                                               token:token
                                             timeout:100];
timeout 单位为秒,默认为 100,您可以设置为任意值。但不建议将此值设置得过小,否则将影响配网结果。
使用 AP 模式配网时,您需要实现 ThingSmartActivatorDelegate 协议,以监听配网结果的回调。
@interface xxxViewController () <ThingSmartActivatorDelegate>
- (void)activator:(ThingSmartActivator *)activator didReceiveDevice:(ThingSmartDeviceModel *)deviceModel error:(NSError *)error {
    if (deviceModel && error == nil) {
             //success
            // NSLog(@"connected success: %@", deviceModel.name);
    }

    if (error) {
        //fail
    }

   // stop config
}
(可选)停止配网
开始配网操作后,App 会持续广播配网信息,直到配网成功或是超时才停止。如果需要中途取消操作或配网完成,需要调用 停止配网 接口。
 [ThingSmartActivator sharedInstance].delegate = nil;
 [[ThingSmartActivator sharedInstance] stopConfigWiFi];
第四步:控制设备
本章节主要操作对象包含 ThingSmartDeviceModel 和 ThingSmartDevice。
| 对象 | 说明 | 参考链接 |
|---|---|---|
| ThingSmartDeviceModel |
|
设备功能点 |
| ThingSmartDevice | ThingSmartDevice 存放了设备相关的所有功能,如功能控制,设备固件管理等。您需要用正确的 deviceId 初始化一个 ThingSmartDevice。 |
设备管理 |
确保 ViewController 或其他对象中持有的 ThingSmartDevice 为全局变量(@property)。临时的 ThingSmartDevice 变量可能会因为作用域问题,在初始化时被提前释放,而返回 nil。
查询设备列表
设备成功配网后,您可以在对应的家庭下查看对应的设备列表。
self.home = [ThingSmartHome homeWithHomeId:#your homeId];
self.deviceList = [self.home.deviceList copy];
您必须先调用 获取家庭详细信息 接口。否则,即使配网成功也无法成功获取。
查看设备信息
-
设备的功能点信息存放在
deviceModel的schemaArray中。ThingSmartDevice *device = self.device; NSArray *schemas = device.deviceModel.schemaArray; -
schemaArray存放了该设备的所有功能点信息,每个功能点被封装成一个ThingSmartSchemaModel对象。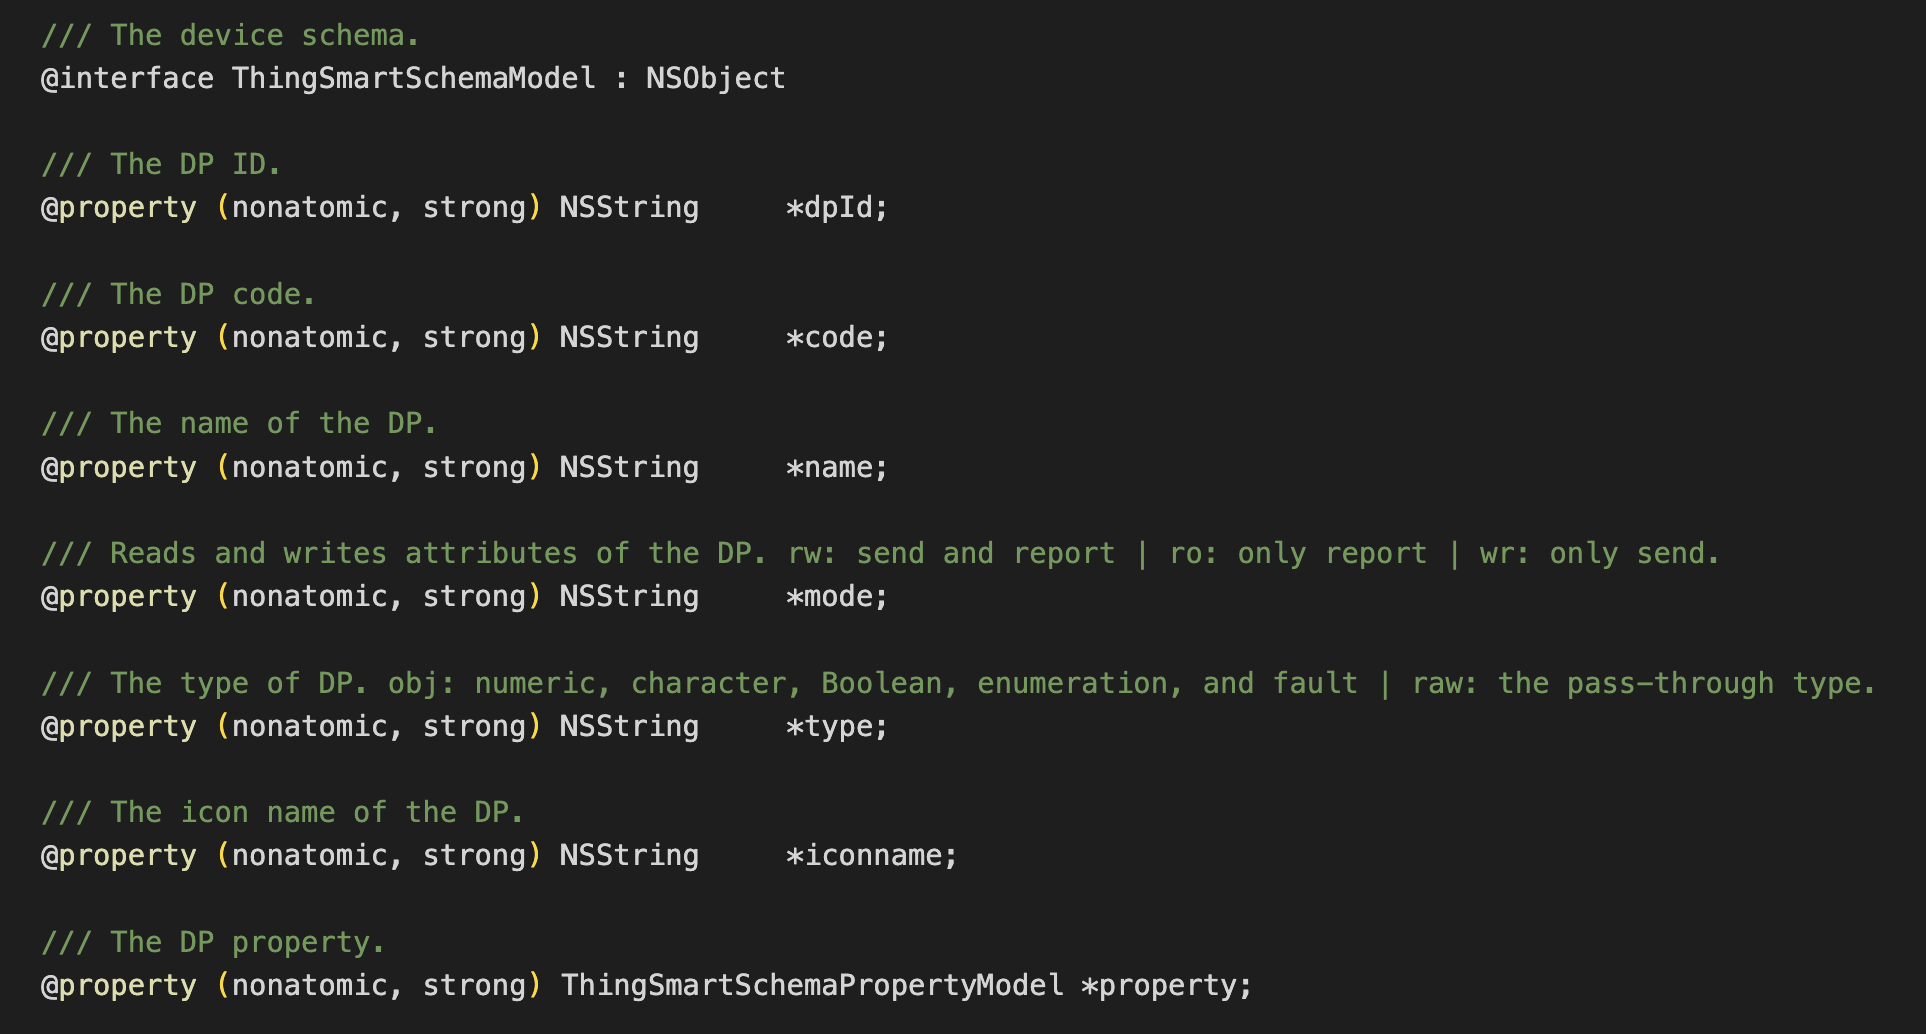
-
对于部分功能点信息复杂的设备,涂鸦将功能点再一次封装在
ThingSmartSchemaModel的property属性中。具体判断方式如下:NSString *type = [schema.type isEqualToString:@"obj"] ? schema.property.type : schema.type; if ([type isEqualToString:@"bool"]) { SwitchTableViewCell *cell = [tableView dequeueReusableCellWithIdentifier:@"switchCell"]; if (cell == nil){ cell = [[[NSBundle mainBundle] loadNibNamed:@"SwitchTableViewCell" owner:self options:nil] lastObject]; cell.label.text = schema.name; [cell.switchButton setOn:[dps[schema.dpId] boolValue]]; }; } return cell; } else if ([type isEqualToString:@"value"]) { SliderTableViewCell *cell = [tableView dequeueReusableCellWithIdentifier:@"valueCell"]; if (cell == nil){ cell = [[[NSBundle mainBundle] loadNibNamed:@"SliderTableViewCell" owner:self options:nil] lastObject]; cell.label.text = schema.name; cell.detailLabel.text = [dps[schema.dpId] stringValue]; cell.slider.minimumValue = schema.property.min; cell.slider.maximumValue = schema.property.max; cell.slider.value = [dps[schema.dpId] floatValue]; }; }; return cell; } else if ([type isEqualToString:@"enum"]) { //... } //...
在上述代码中,以智能灯泡为例将其功能点信息展示在 TableView 上。其中:
type为 bool 的cell展示了开关的信息。type为 value 的cell展示了其亮度的信息。
控制设备
控制设备需要将对应的 DP 以 NSDictionary 形式通过 设备控制 接口,改变设备状态或功能。
参数 dps 中可以包含多个功能点,您可以一次同时改变设备的多个状态。
同样以灯泡为例,以下代码分别修改了其开关状态和亮度值。
if ([type isEqualToString:@"bool"]) {

        SwitchTableViewCell *cell = [tableView dequeueReusableCellWithIdentifier:@"switchCell"];
        if (cell == nil){
            cell = [[[NSBundle mainBundle] loadNibNamed:@"SwitchTableViewCell" owner:self options:nil] lastObject];

            cell.label.text = schema.name;
            [cell.switchButton setOn:[dps[schema.dpId] boolValue]];
            cell.isReadOnly = isReadOnly;
           // turn on/off when click the UISwitch
            cell.switchAction = ^(UISwitch *switchButton) {
                [weakSelf publishMessage:@{schema.dpId: [NSNumber numberWithBool:switchButton.isOn]}];
            };

        }
        return cell;

    }

else if ([type isEqualToString:@"value"]) {

        SliderTableViewCell *cell = [tableView dequeueReusableCellWithIdentifier:@"valueCell"];
        if (cell == nil){
            cell = [[[NSBundle mainBundle] loadNibNamed:@"SliderTableViewCell" owner:self options:nil] lastObject];

            cell.label.text = schema.name;
            cell.detailLabel.text = [dps[schema.dpId] stringValue];
            cell.slider.minimumValue = schema.property.min;
            cell.slider.maximumValue = schema.property.max;
            [cell.slider setContinuous:NO];
            cell.slider.value = [dps[schema.dpId] floatValue];

            // change the value when tap the UISlider
            cell.sliderAction = ^(UISlider * _Nonnull slider) {
                float step = schema.property.step;
                float roundedValue = round(slider.value / step) * step;
                [weakSelf publishMessage:@{schema.dpId : [NSNumber numberWithInt:(int)roundedValue]}];
            };
         };
        return cell;

    }
- (void)publishMessage:(NSDictionary *) dps {
    [self.device publishDps:dps success:^{
            // change success
    }
    failure:^(NSError *error) {
         // change failed
    }];
}
如果您需要监听设备状态的改变,例如在线状态、移除通知和功能点状态改变等,需要实现 ThingSmartDeviceDelegate 协议。
self.device = [ThingSmartDevice deviceWithDeviceId:## your deviceId];
self.device.delegate = self;
#pragma mark - ThingSmartDeviceDelegate

/// Device information updates, such as the name and online status.
/// @param device The device instance.
- (void)deviceInfoUpdate:(ThingSmartDevice *)device;

/// Device online status updates
/// @param device The device instance.
- (void)deviceOnlineUpdate:(ThingSmartDevice *)device;

/// Indicates whether the device is removed.
/// @param device The device instance.
- (void)deviceRemoved:(ThingSmartDevice *)device;

/// The DP data updates.
/// @param device The device instance.
/// @param dps The command dictionary.
- (void)device:(ThingSmartDevice *)device dpsUpdate:(NSDictionary *)dps;

/// The DP data updates.
/// @param device The device instance.
/// @param dpCodes The DP codes.
- (void)device:(ThingSmartDevice *)device dpCommandsUpdate:(NSDictionary *)dpCodes;

/// The group OTA task progress.
/// @param device The gateway instance.
/// @param groupId group OTA task id.
/// @param type The firmware type.
/// @param progress The update progress.
- (void)device:(ThingSmartDevice *)device groupOTAId:(long)groupId firmwareType:(NSInteger)type progress:(double)progress;

/// The group OTA task status.
/// @param device The gateway device instance.
/// @param upgradeStatusModel The model of the update status.
- (void)device:(ThingSmartDevice *)device
    groupOTAStatusModel:(ThingSmartFirmwareUpgradeStatusModel *)upgradeStatusModel;

/// The callback of Wi-Fi signal strength.
/// @param device The device instance.
/// @param signal The signal strength.
- (void)device:(ThingSmartDevice *)device signal:(NSString *)signal;

/// Receives MQTT custom messages.
/// @param device The device instance.
/// @param message The custom message.
- (void)device:(ThingSmartDevice *)device didReceiveCustomMessage:(ThingSmartMQTTMessageModel *)message;

/// Receives LAN custom messages.
- (void)device:(ThingSmartDevice *)device didReceiveLanMessage:(ThingSmartLanMessageModel *)message;

/// The delegate of warning information updates.
/// @param device The device instance.
/// @param warningInfo The warning information.
- (void)device:(ThingSmartDevice *)device warningInfoUpdate:(NSDictionary *)warningInfo;

/// The delegate of changes in device normal firmware/pid version update's status/progress
/// Notice: sometimes the progress may <0, when it occured please ignore the progress.
/// @param device The device instance.
/// @param statusModel status/progress model.
- (void)device:(ThingSmartDevice *)device otaUpdateStatusChanged:(ThingSmartFirmwareUpgradeStatusModel *)statusModel;

/// The Tuya message data update.
/// Example:
///     type == property:
///         payload = {
///           "code_name1": {
///             "value": "code_value1",
///             "time": 1234567890
///           },
///           "code_name2": {
///             "value": 50,
///             "time": 1234567890
///           }
///         }
///     type == action:
///         payload = {
///            "actionCode": "testAction",
///            "outputParams": {
///              "outputParam1":"outputValue1",
///              "outputParam2":50
///            }
///         }
///     type == event:
///         payload = {
///            "eventCode": "testEvent",
///            "outputParams": {
///              "outputParam1":["outputValue1", "outputValue2"],
///              "outputParam2":false
///            }
///         }
/// @param device The device instance.
/// @param thingMessageType The message type.
/// @param payload The message payload.
- (void)device:(ThingSmartDevice *)device didReceiveThingMessageWithType:(ThingSmartThingMessageType)thingMessageType payload:(NSDictionary *)payload;
(可选)移除设备
调用 移除设备 接口,可以将当前设备从对应家庭下移除。
[self.device remove:^{
        NSLog(@"remove success");
      } failure:^(NSError *error) {
        NSLog(@"remove failure: %@", error);
      }];
下一步
在商用照明的业务场景中,设备通常以群组的形式出现。群组是一个或多个设备按照一定规则组成的聚合体,通过对群组的控制,可以便捷地控制群组中设备。
更多信息,参考 群组管理,或在本文文首下载 Sample 体验开发流程。
该内容对您有帮助吗?
是意见反馈该内容对您有帮助吗?
是意见反馈