Prototype a Smart Light with Bluetooth SoC Solution

Overview
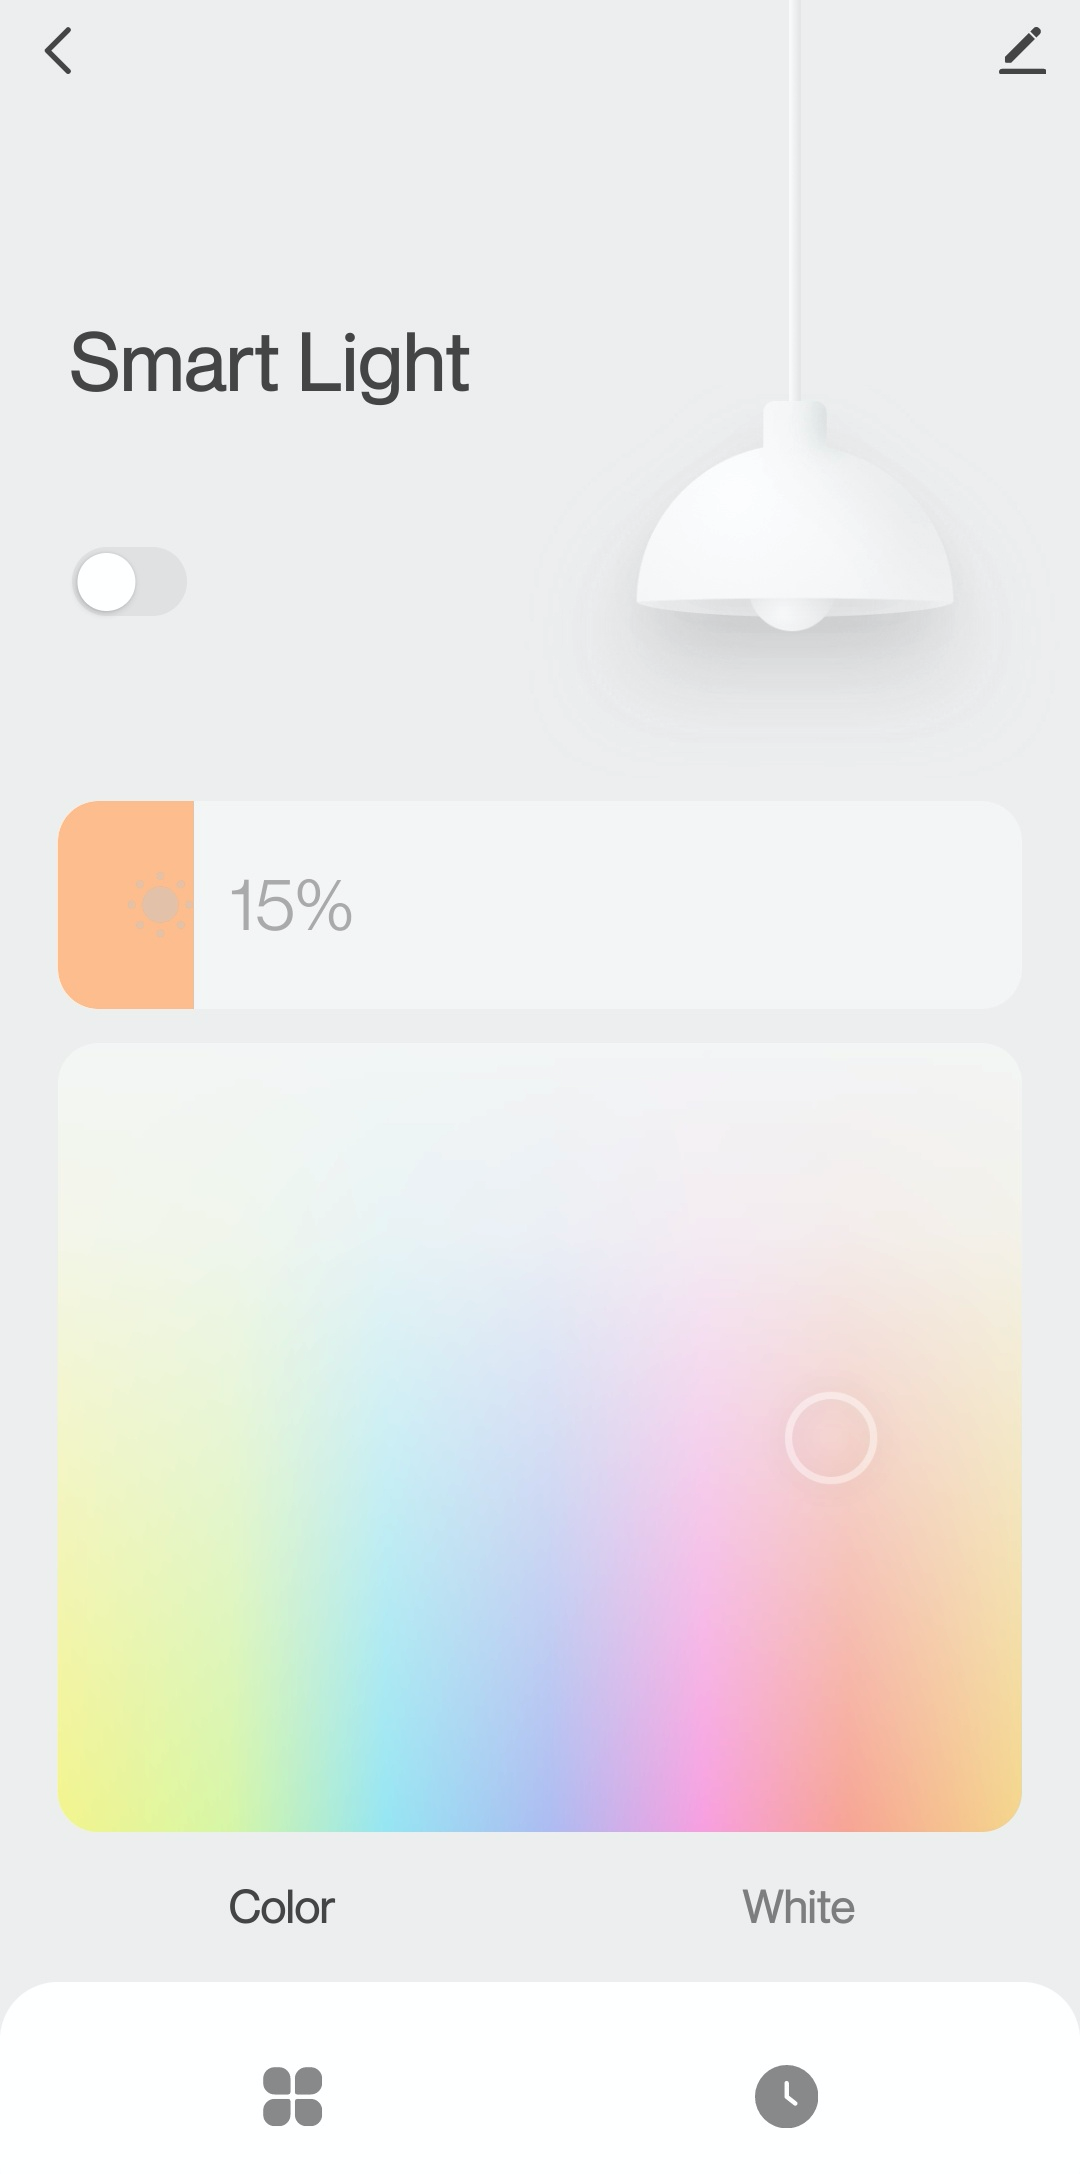
With a smart light app, users can take full control and change the brightness and colors of lights and create personalized lighting atmospheres.
Based on the Tuya IoT Platform, you can quickly prototype a smart light with the Tuya Sandwich development board.
Materials
Steps
Step 1: Create a product
The following steps only describe how to create a light product. For more information, see Create Smart Light.
-
Log in to the Tuya IoT Platform.
-
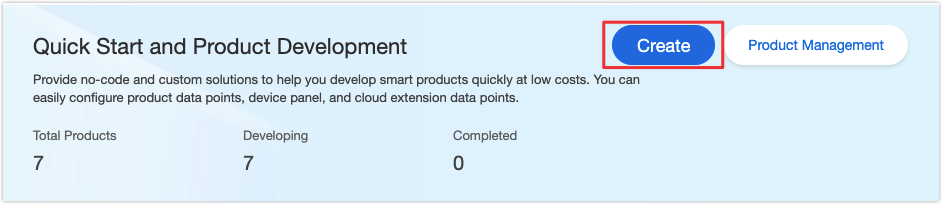
Click Create.
-
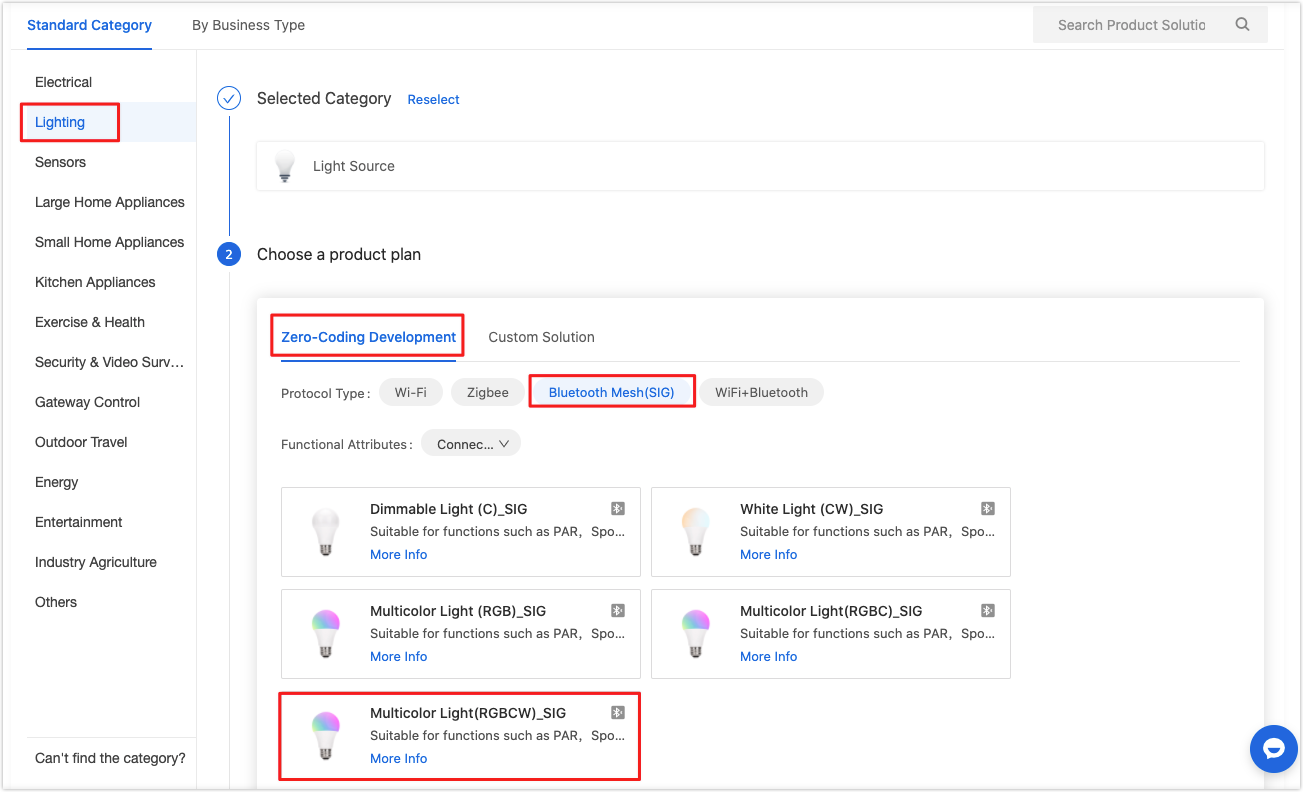
Click Lighting and select Light Source. In the Zero-Coding Development tab, select Bluetooth Mesh (SIG) and then Multicolor Light(RGBCW)_SIG.
-
Complete Function Definition and Device Panel.
-
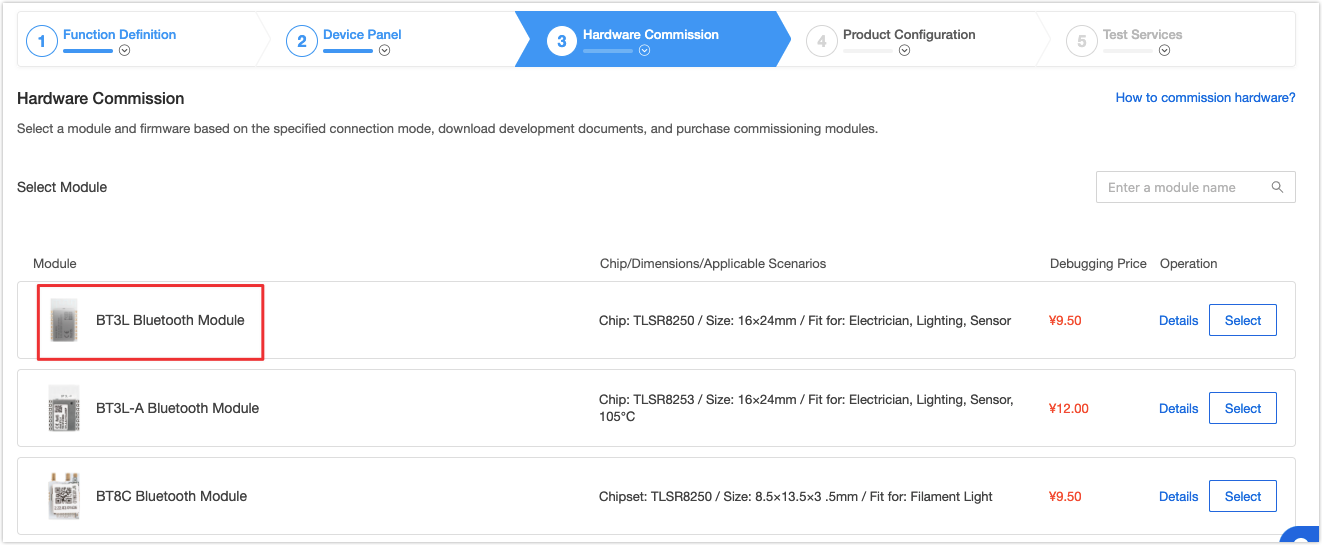
In Hardware Commission, select BT3L Bluetooth Module and configure firmware parameters.
-
Set the circuit parameters as follows:
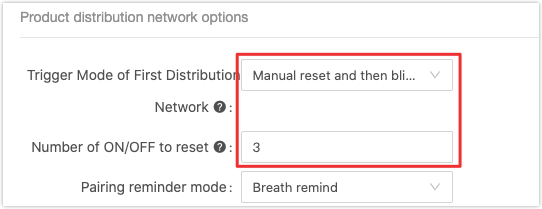

- Trigger Mode of First Distribution Network: Manual reset and then blinking
- Number of ON/OFF to reset: 3
- Red drive pin-R: TL_B4
- Green drive pin-G: TL_D2
- Blue drive pin-B: TL_C3
- White drive pin-C/Bright: TL_B5
- Warm drive pin-W/CCT: TL_C2
- Other parameters: Keep them as default.
-
Complete Product Configure and Test Services.
-
Step 2: Program and authorize firmware
To implement the selected functions in Function Definition, you need to program the configured firmware parameters to the module. The following steps only describe how to program the firmware. For more information, see Firmware Programming and Authorization.
-
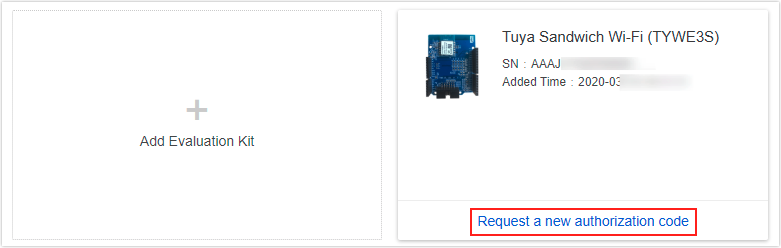
Click Add Evaluation Kit, enter the ID and Password printed on the back of the Sandwich SoC master control board, and then click OK.
-
Apply for the authorization code used for programming software. Tuya will send the software authorization code to your email.
-
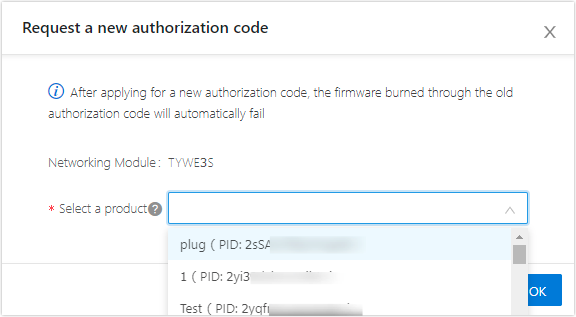
Click Request a new authorization code.
-
Select your created product in Step 1.
-
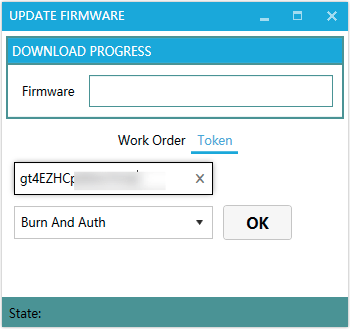
Open the programming software and click Token to enter your authorization code. Select Burn And Auth and click OK.
-
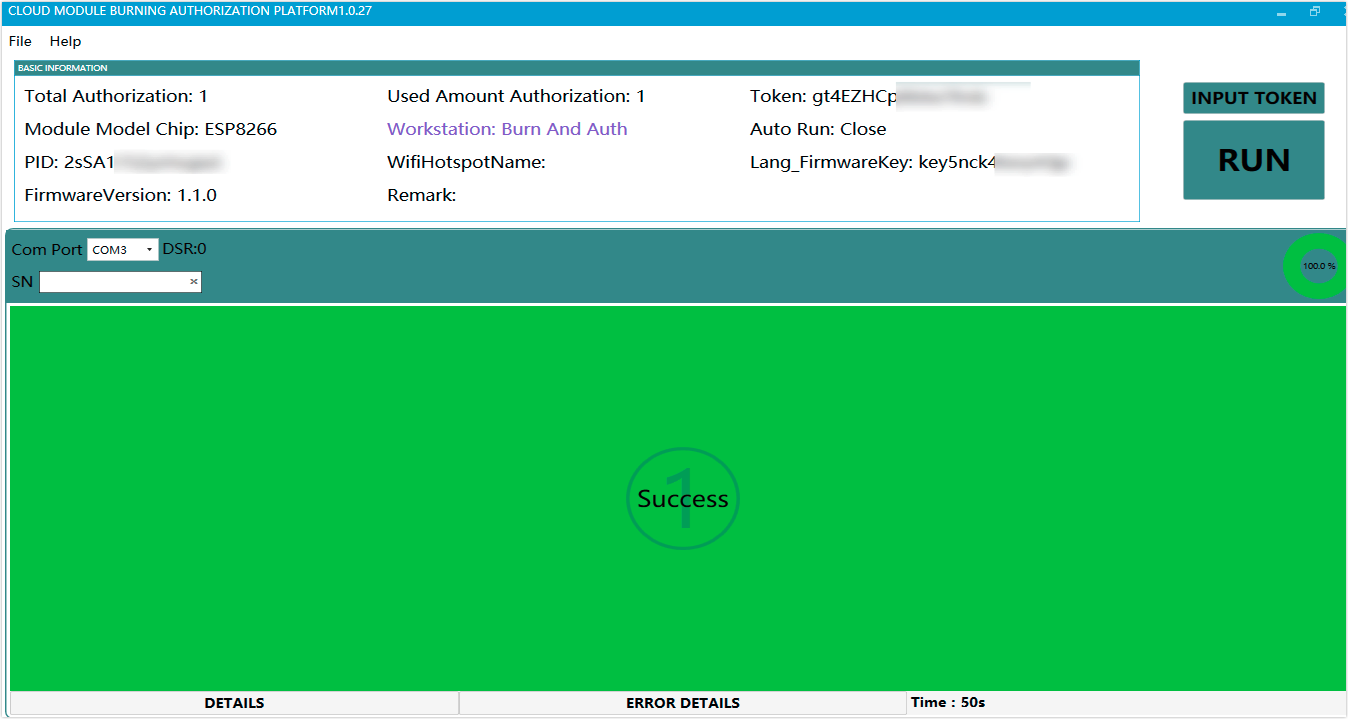
Connect the development board to the computer through Telink and USB to UART board. The connection details are as follows:
Master control board Board pins Programmer pins Programmer Tuya Sandwich BLE SoC master control board (BT3L) 3V3 3V3 Telink SWS SWM GND GND GND GND USB to UART board TX RX RX TX -
Select the COM port of the USB to UART board, and click Run. When Success is displayed, you have finished programming.
Step 3: Pair light with mobile app
In Step 1, you have set the number of on/off as 3. Now you can pair the light with the Tuya Smart or Smart Life mobile app accordingly. For more information, see All-in-one Apps Overview.
-
Open Tuya Smart app.
-
Tap + icon in the top right corner to add a device. Select Lighting > Light Source (BLE).

-
Turn the light on/off three times. When the light flickers and changes colors, it is ready to be connected.
-
Complete the following steps as per the prompts.
-
Try controlling the light with the Tuya Smart app.
-
Summary
You have prototyped a smart light successfully. Based on the Tuya IoT Platform, you can quickly and easily build a smart prototype from scratch with Tuya Sandwich Evaluation Kit.
Is this page helpful?
YesSuggestions


