Firmware Flashing and Authorization
You can build different prototypes with Sandwich system-on-a-chip (SoC) master control boards and various functional boards. This topic describes how to apply for an authorization code to implement an SoC solution. Based on this authorization code and the flashing and authorization software, you can flash the firmware and authorization information to the SoC master control board.
Note: You can also use the SoC no-code development solutions provided by Tuya to build prototypes without coding. In this case, you just need to flash the firmware to your Sandwich SoC master control board and get the required permissions. The authorization information is written to the designated space that cannot be overwritten by other firmware. Then, you can flash your firmware as needed.
Different requirements for Wi-Fi, Bluetooth, and Zigbee master control boards
Before you start, you must understand different flashing and authorization methods for Wi-Fi, Bluetooth, and Zigbee Sandwich master control boards. The flashing tool, wiring method, and flashing baud rate vary for each type of master control board.
Flashing tool
-
Accessory of Tuya Sandwich development board (USB-to-UART adapter)
This single-channel adapter can be used to convert from USB to UART for smart products. The adapter supports full-speed USB ports of up to 12 Mbit/s and UART ports of up to 1M baud rate.
This tool is required by all three types of master control boards. Before you use this tool, install the serial port transmission driver.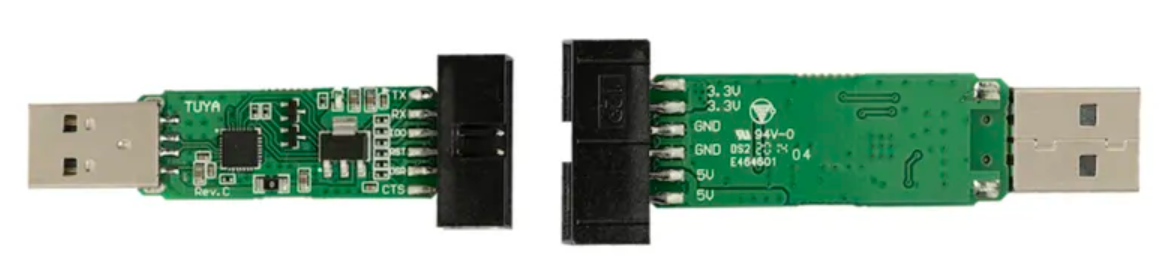
- 5V: power supply of the USB port
- GND: power supply ground
- 3.3V: 3.3V power output
- TXD: transmitter
- RXD: receiver
- IO0: output
- RST: output
- DSR: input
- CTS: input
-
Telink
Telink is a flashing tool that is required to download firmware for the Sandwich Bluetooth Low Energy (Bluetooth LE) SoC master control board. You do not need to install a driver to use this tool.
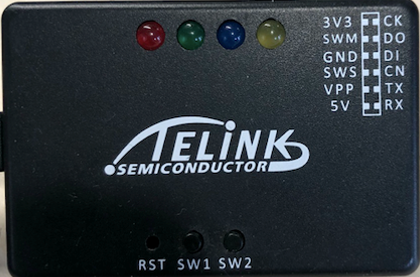
The following ports are required:
- 3.3V: 3.3V power output
- SWM: output
- GND: power supply ground
-
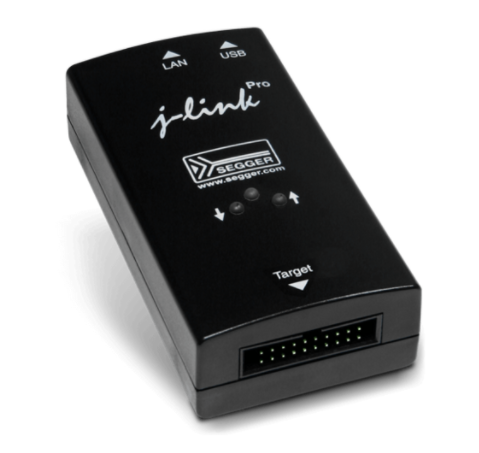
J-Link emulator
J-Link is a JTAG emulator that supports the emulation of Arm chips. The simulation speed and function performance of J-Link far outweighs that of the parallel-port Wiggler debugger. This tool is required to flash the firmware to the Tuya Sandwich Zigbee SoC master control board. The download speed reaches up to 1 MB/s. You must install the J-Link driver to use this tool.
Port layout:
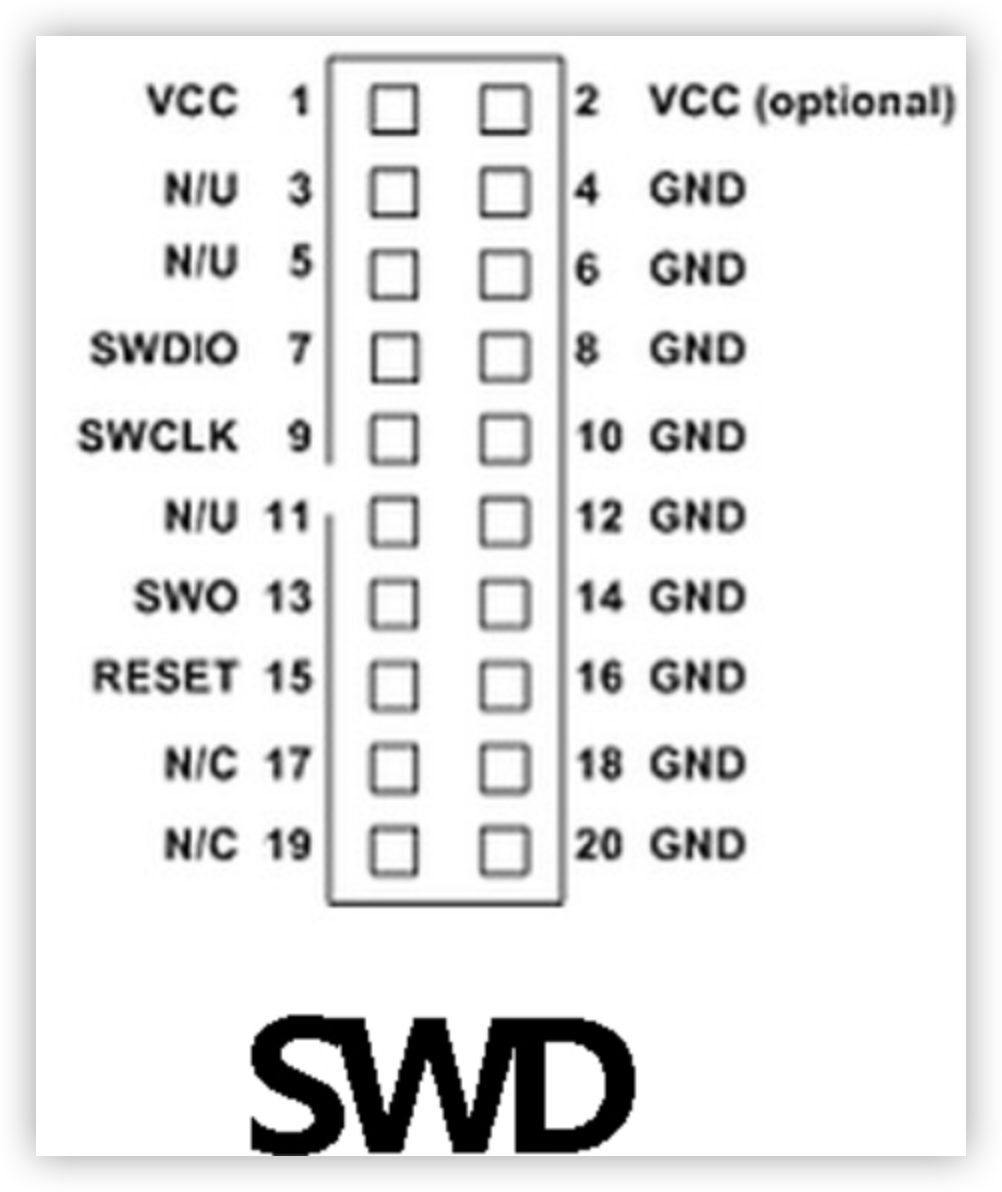
The following ports are required:
- VCC: power supply
- SWDIO: output
- SWCLK: clock
- RESET: output
- GND: power supply ground
Wiring
| Master control board | Board pin | Flashing pin | Telink Burning and Debugging Tool (BDT) |
|---|---|---|---|
| Tuya Sandwich Wi-Fi SoC master control board | 3V3 | 3V3 | USB-to-UART serial port board |
| TX | RX | ||
| RX | TX | ||
| GND | GND | ||
| Tuya Sandwich Bluetooth LE SoC master control board | 3V3 | 3V3 | Telink |
| SWS | SWM | ||
| GND | GND | ||
| GND | GND | USB-to-UART serial port board | |
| TX | RX | ||
| RX | TX | ||
| Tuya Sandwich Zigbee SoC master control board | TX | RX | USB-to-UART serial port board |
| RX | TX | ||
| GND | GND | ||
| RST | RESET | J-Link | |
| SWDIO | SWDIO | ||
| SWCLK | SWCLK | ||
| 3V3 | VCC | ||
| The GND terminal of the USB-to-UART serial port board is connected to the GND terminal of J-Link through one cable. | |||
Baud rate
Baud rate settings vary for all three types of SoC master control boards.

The following table lists different baud rate settings.
| Master control board | Flashing baud rate | Authorization baud rate |
|---|---|---|
| Tuya Sandwich Wi-Fi SoC master control board | 1500000 | 9600 |
| Tuya Sandwich Bluetooth LE SoC master control board | 1500000 | 9600 |
| Tuya Sandwich Zigbee SoC master control board | 115200 | 115200 |
Procedure
This section describes the flashing and authorization procedure for the Tuya Sandwich Wi-Fi SoC master control board (WB3S). After the Wi-Fi SoC master control board stays active online for 15 minutes, you must erase the flash before the flashing and authorization process.
Preparation
-
Create a smart product to be developed based on the SoC no-code development solution. For more information, see Create Electrical Products.
Note: The name of the Sandwich SoC master control board contains the model of an adaptive module. For example, Tuya Sandwich Wi-Fi SoC Board (WB3S) shows that the module WB3S is used.
In the Hardware Debugging step for the smart product development, select the module model that is used by your SoC master control board. For example, the Sandwich Wi-Fi SoC master control board uses the module WB3S.
-
Download and install the serial port communication driver on Windows.
-
Download and install the Cloud Module Burning Authorization Platform on Windows.
-
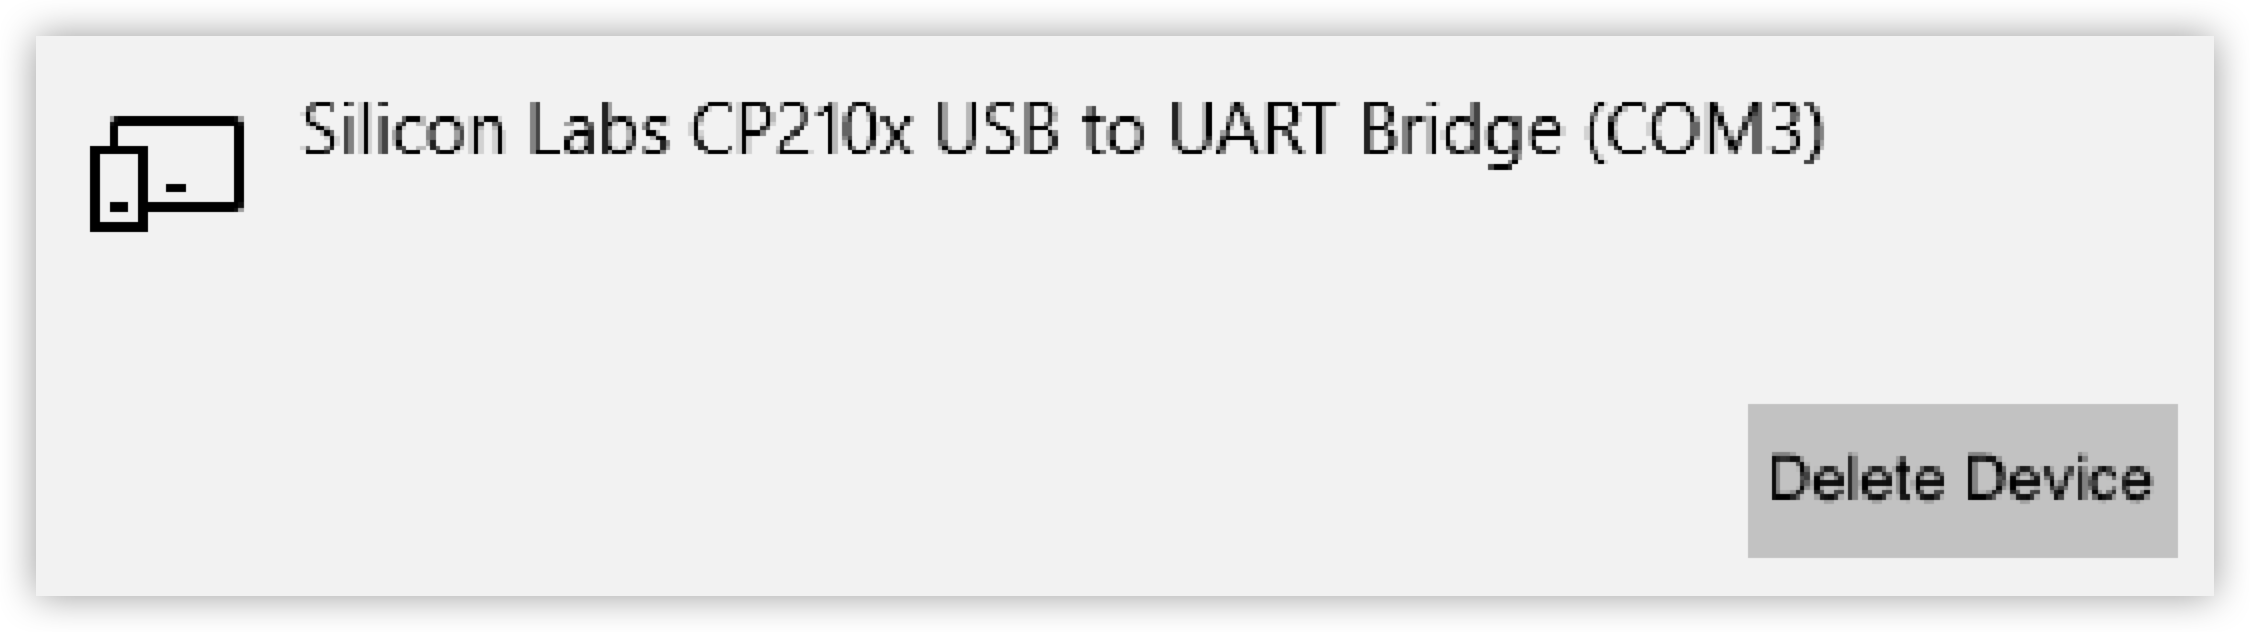
Prepare the serial port tool and jumper wires, and connect the Sandwich SoC master control board to your Windows-based computer. After they are connected, the Device Manager shows the information about the serial port driver.
Get the authorization code
-
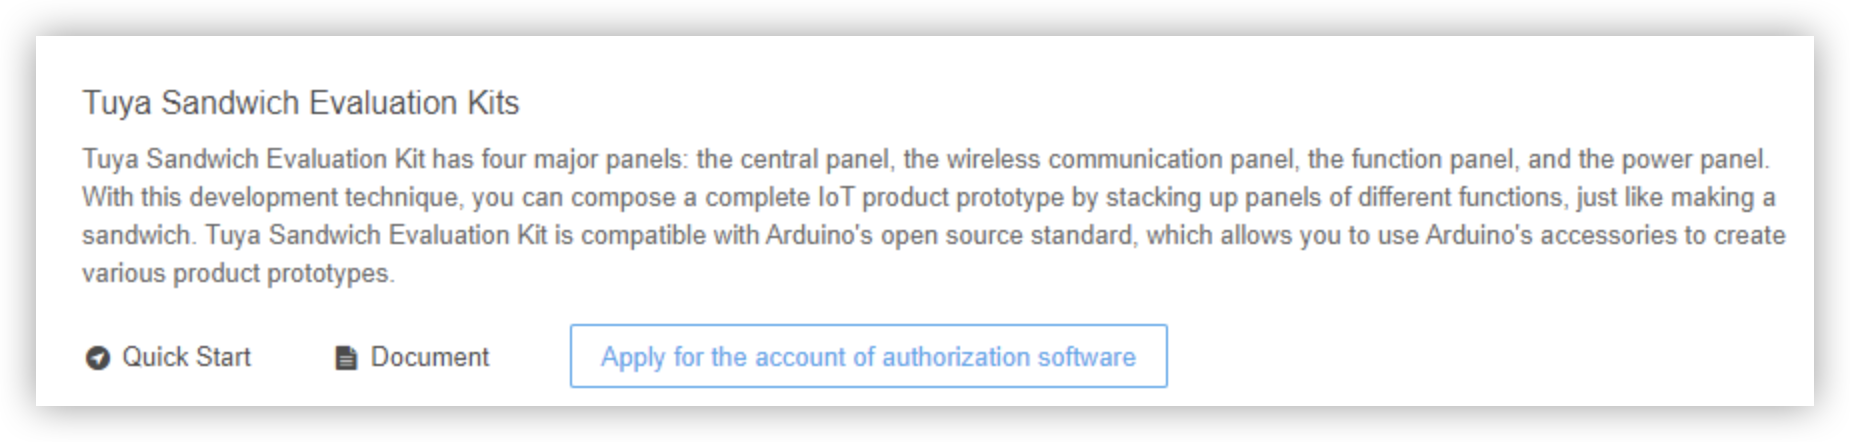
Go to the Tuya Sandwich Evaluation Kit page on the Tuya Developer Platform.
-
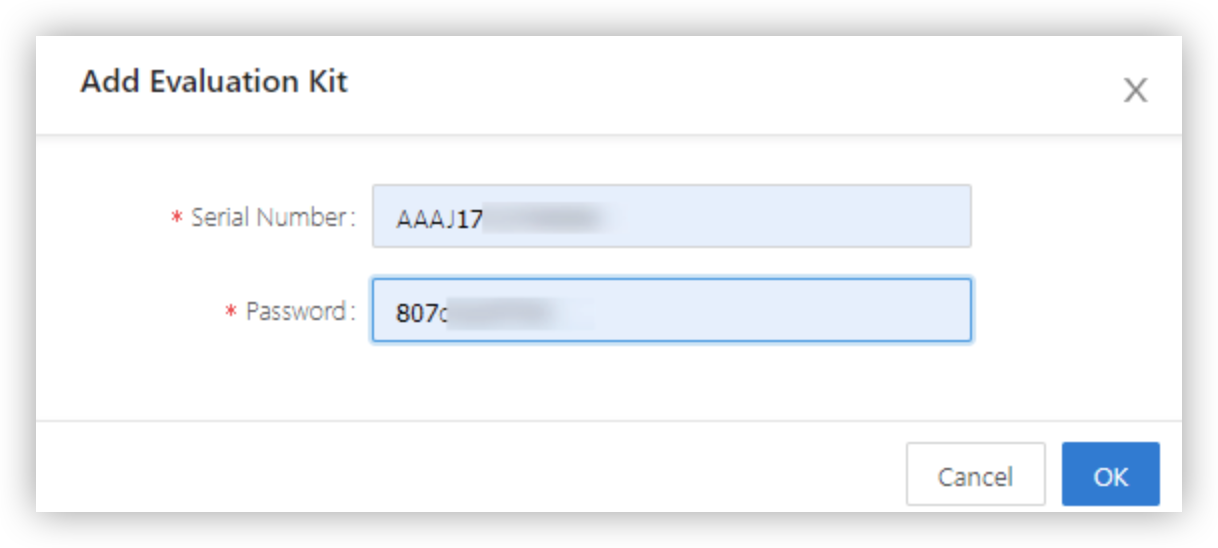
Click Add Development Board. In the dialog box that appears, enter the ID and password that are printed on the back of the Sandwich SoC master control board, and click OK.
-
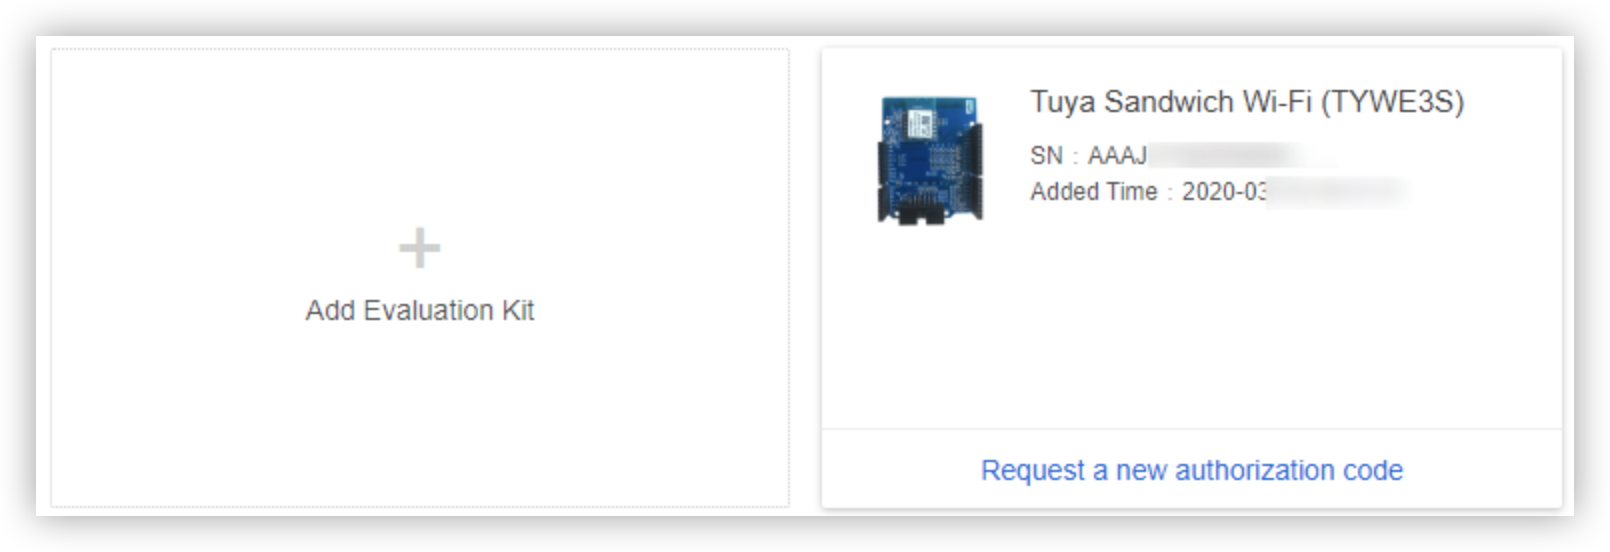
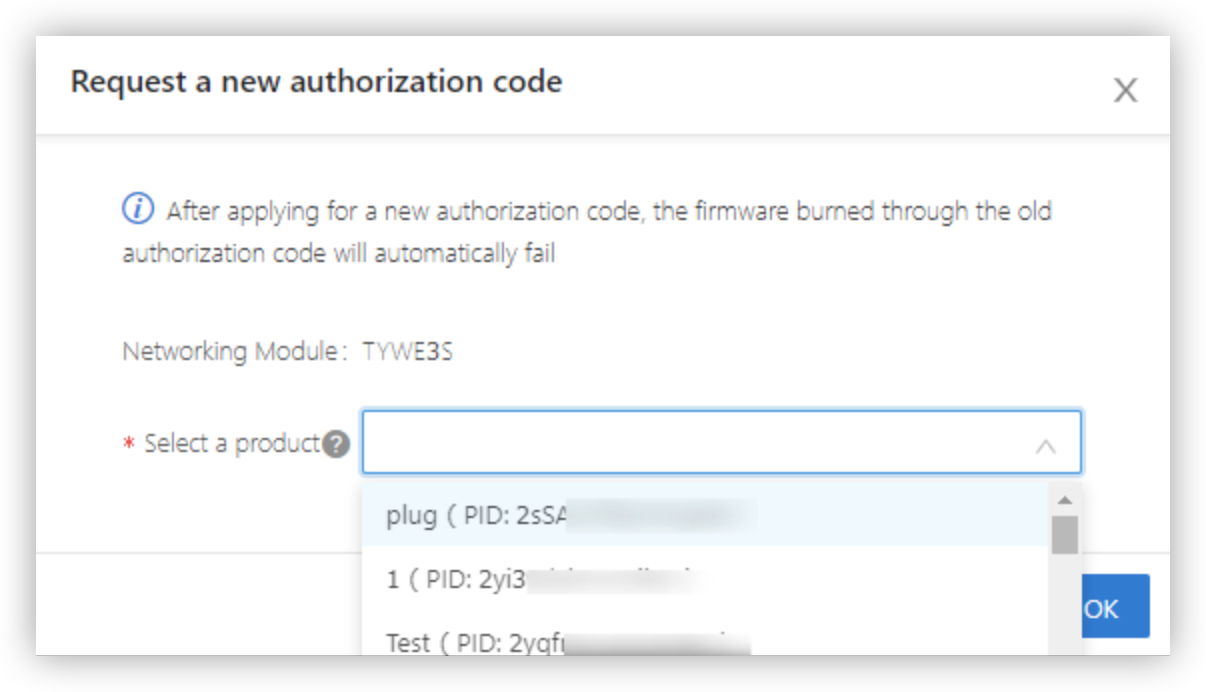
After the development board is added, click Request a new authorization code.
-
Select the product to which firmware is flashed and click OK. Then, the authorization code appears on the card.
-
Click Apply for the account of authorization software and complete the follow-up steps. The authorized account will be sent to your email.
Flash the firmware and authorize the development board
-
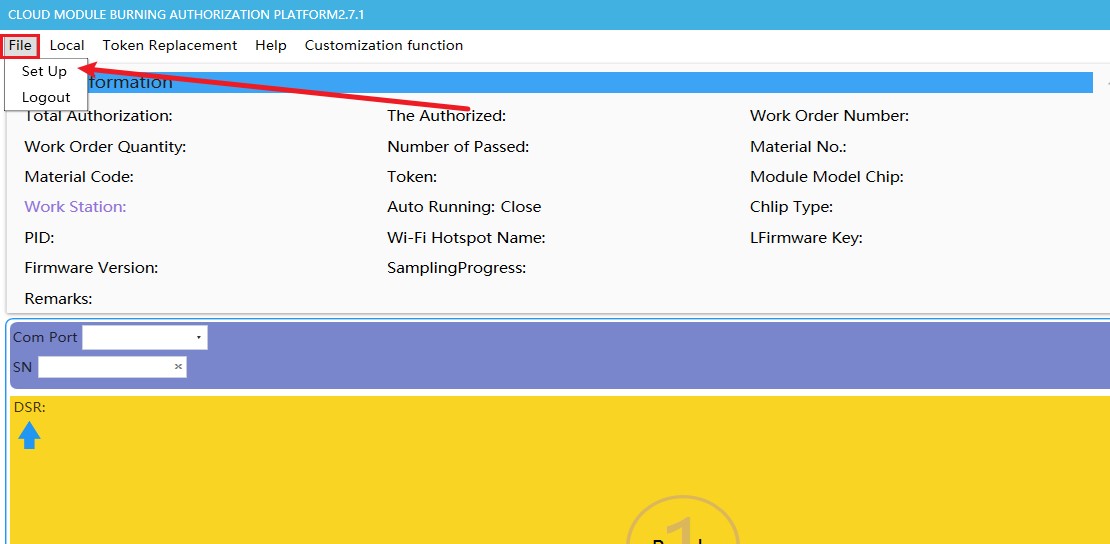
Log in to the Cloud Module Burning Authorization Platform and choose File > Set Up on the menu bar.
-
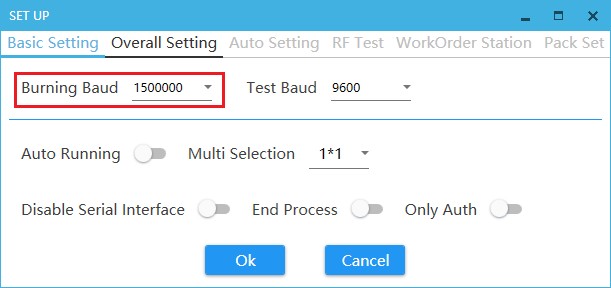
Set Burning Baud to 1500000.
-
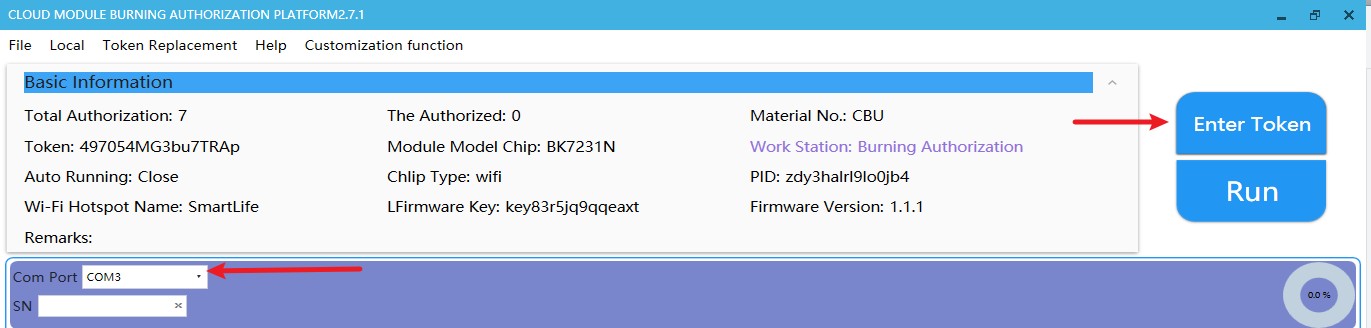
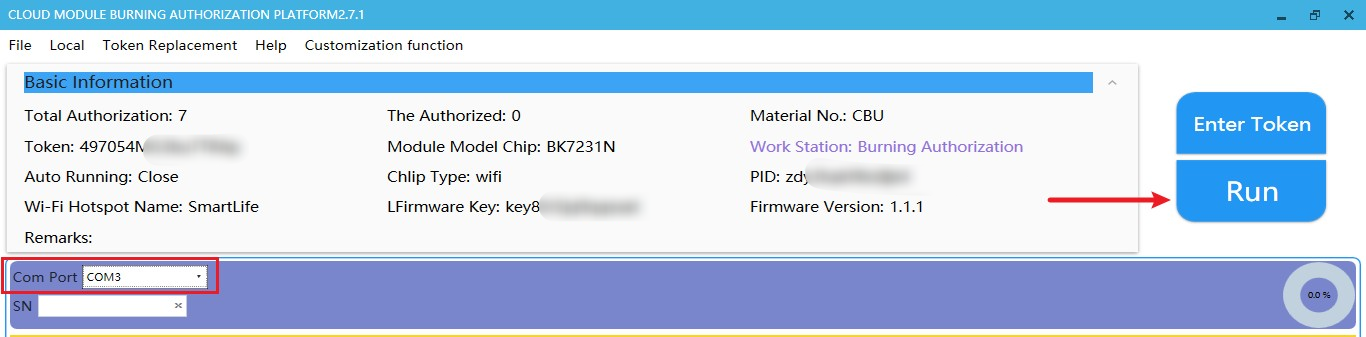
Select the COM port for the connected USB-to-UART adapter cable. Generally, only one COM port is available.
-
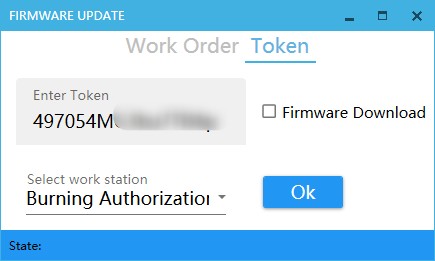
Click Enter Token in the top right corner of the page. In the dialog box that appears, click the Token tab, enter the obtained authorization code in the text box, select Burning Authorization from the drop-down list, and then click Ok.
-
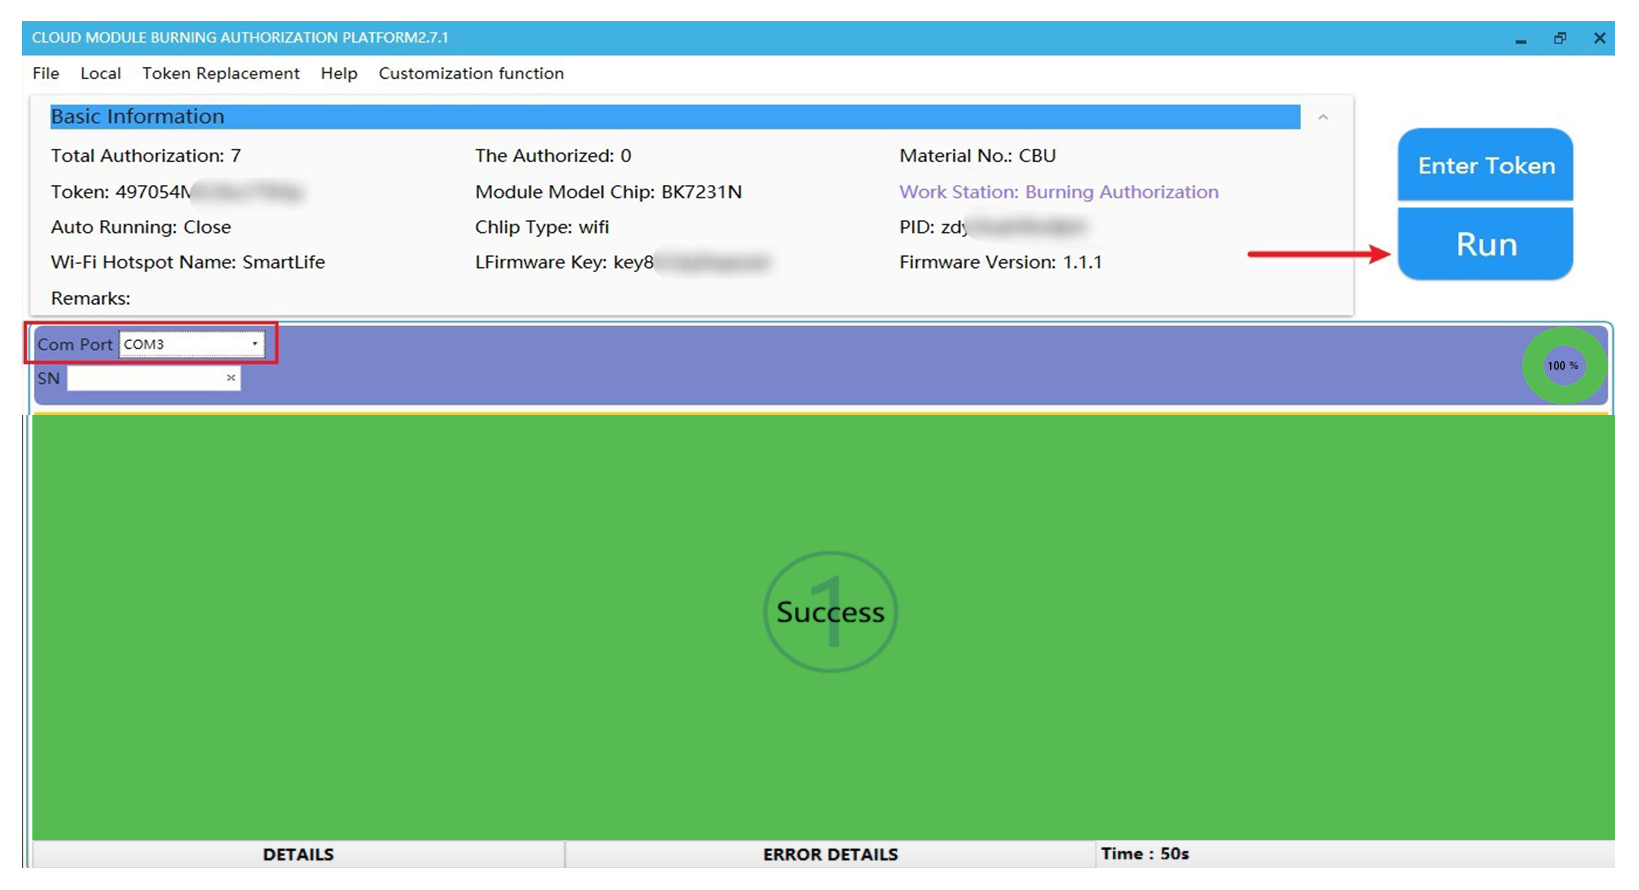
Click Run, power off and on the SoC master control board, and then start the firmware flashing and authorization.
The following figure shows the result of firmware flashing and authorization.
Reauthorize the Wi-Fi SoC master control board for a new SoC solution
To ensure security, after a smart device stays active online for 15 minutes, Tuya Smart terminates the flashing process. If you continue the flashing process, an error message is returned to indicate the failure to enter the production test. After you select a smart product for SoC no-code development solutions, you can change the smart product. In this case, you must implement firmware flashing and authorization again. Perform the following steps:
-
Download the bk_write tool.
-
Prepare the serial port tool and jumper wires, and connect the Sandwich SoC master control board to your Windows-based computer.
-
Download the bk_write tool.
-
Select BK7231 from the Flashing Object drop-down list.
-
In the COM Port drop-down list, select the COM port for the connected USB-to-UART adapter cable. Generally, only one COM port is available.
-
Set the start address to 0x001EE000 and the operation length to 0x00012000.
-
Click Erase Flash to erase the designated space.
If the operation address and length are incorrect, an error message is returned to indicate a parameter setting error.
-
After the erasing process is finished, repeat the preceding procedure to get another authorization code, flash the firmware, and then authorize the master control board.
Is this page helpful?
YesFeedbackIs this page helpful?
YesFeedback


