Quick Start
This topic describes how to quickly create a smart product on the Tuya Developer Platform. You can scan a QR code with the mobile app to try it out. Smart products are the fundamentals of IoT scenarios. You can build a smart device management platform or develop mobile applications only on top of fully featured products.
Preparation
-
Go to the account registration page, and follow the guide to register a developer account.
-
(Optional) Complete the organization verification. For more information, see Organization Verification.
- The registered account is granted all respective permissions. Please keep your account properly to protect your smart products, apps, devices, or user data from being subject to security risks.
- An organization account refers to a registered account that completes organization verification and gets more benefits on the Tuya Developer Platform. You must submit your business account to pass the organization verification.
Step 1: Create product
-
Log in to the Tuya Developer Platform.
-
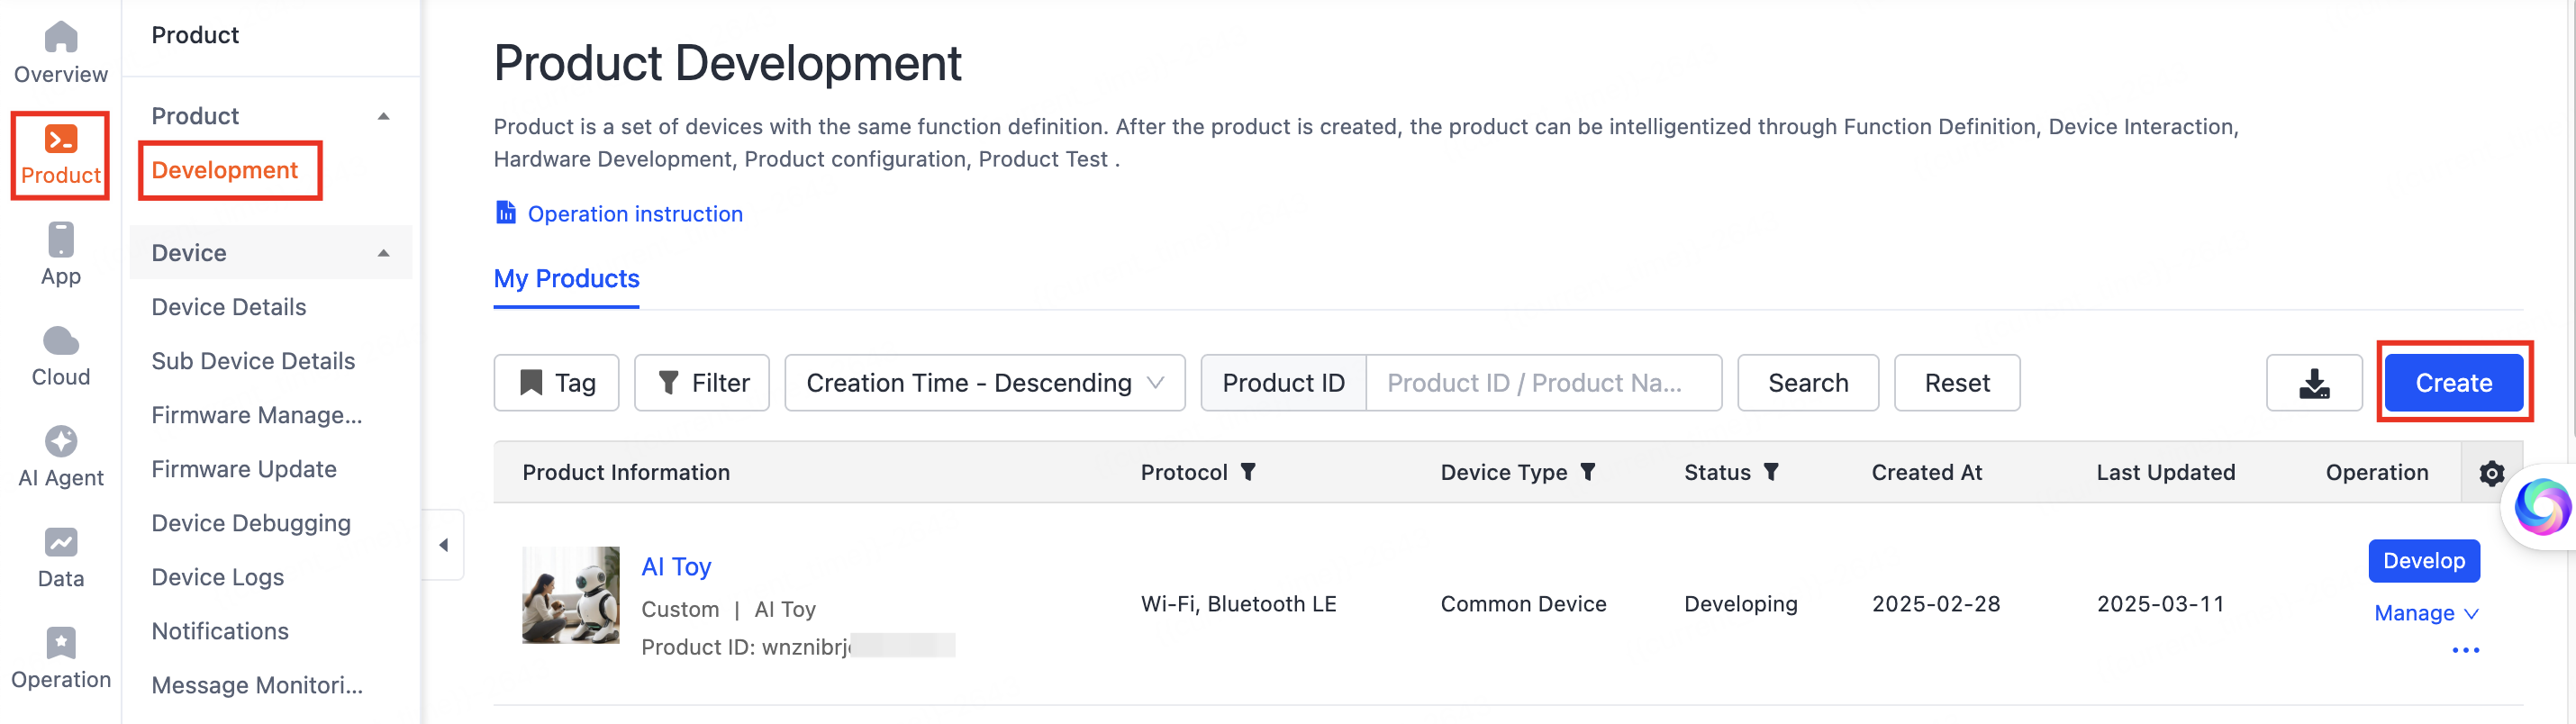
Find Developer Console > Product Development, click Create.
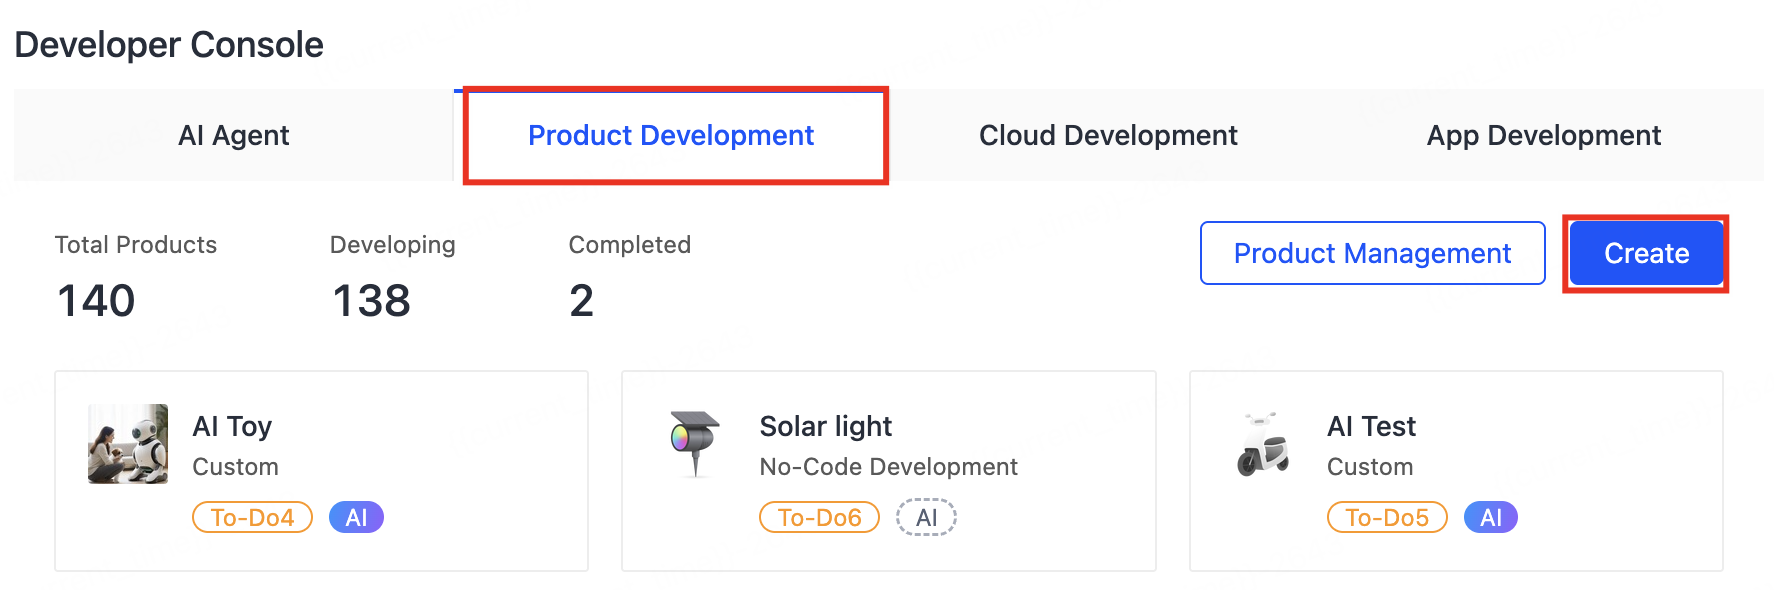
Alternatively, in the left-side navigation pane, choose Product > Development, and click Create on the Product Development page.
-
Select a product category. For example, you can select Standard Category > Small Home Appliances > Air Purifier.
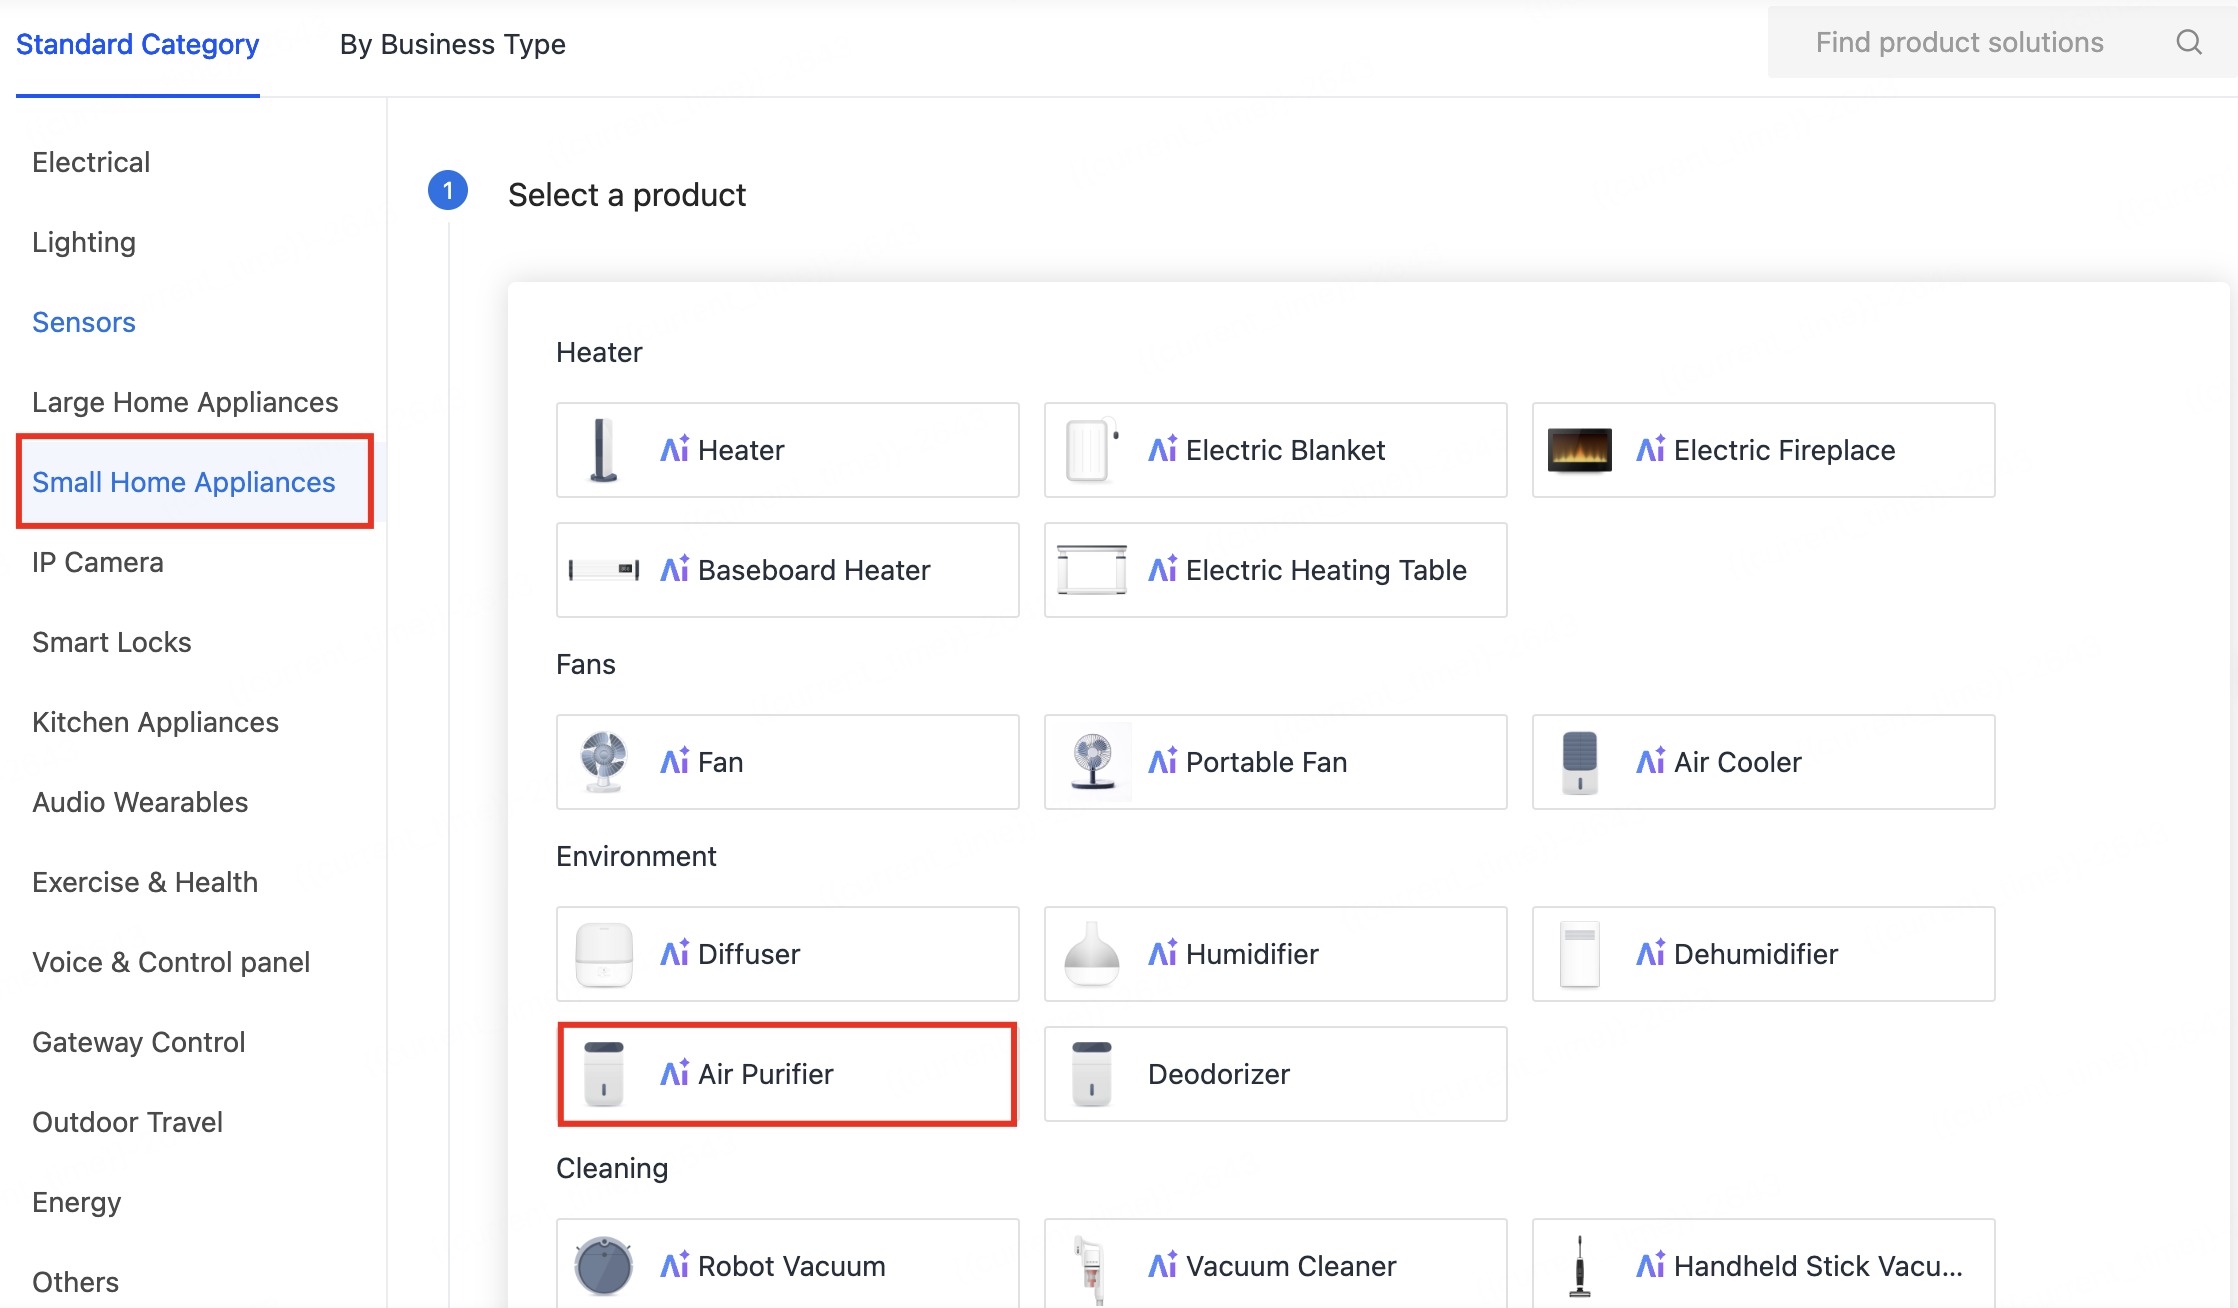
The category must be correct. It determines the subsequent function definitions and device panel development. If you cannot find the product you need, submit a service ticket to contact customer service.
-
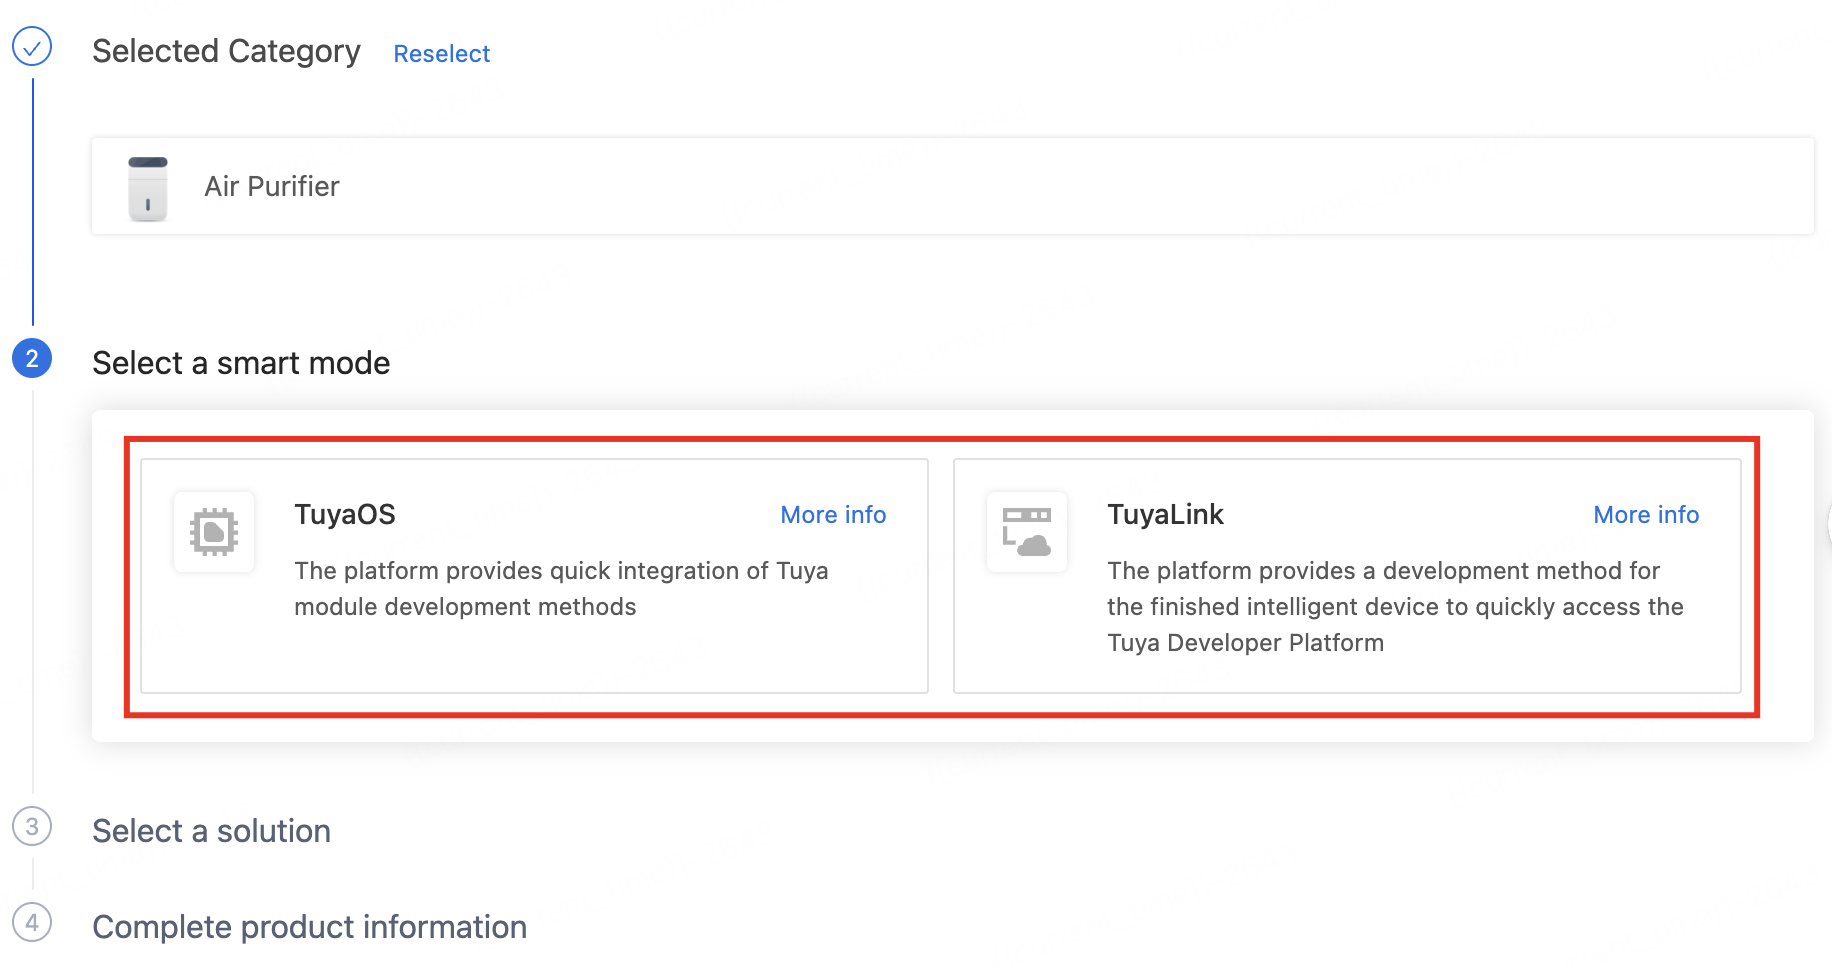
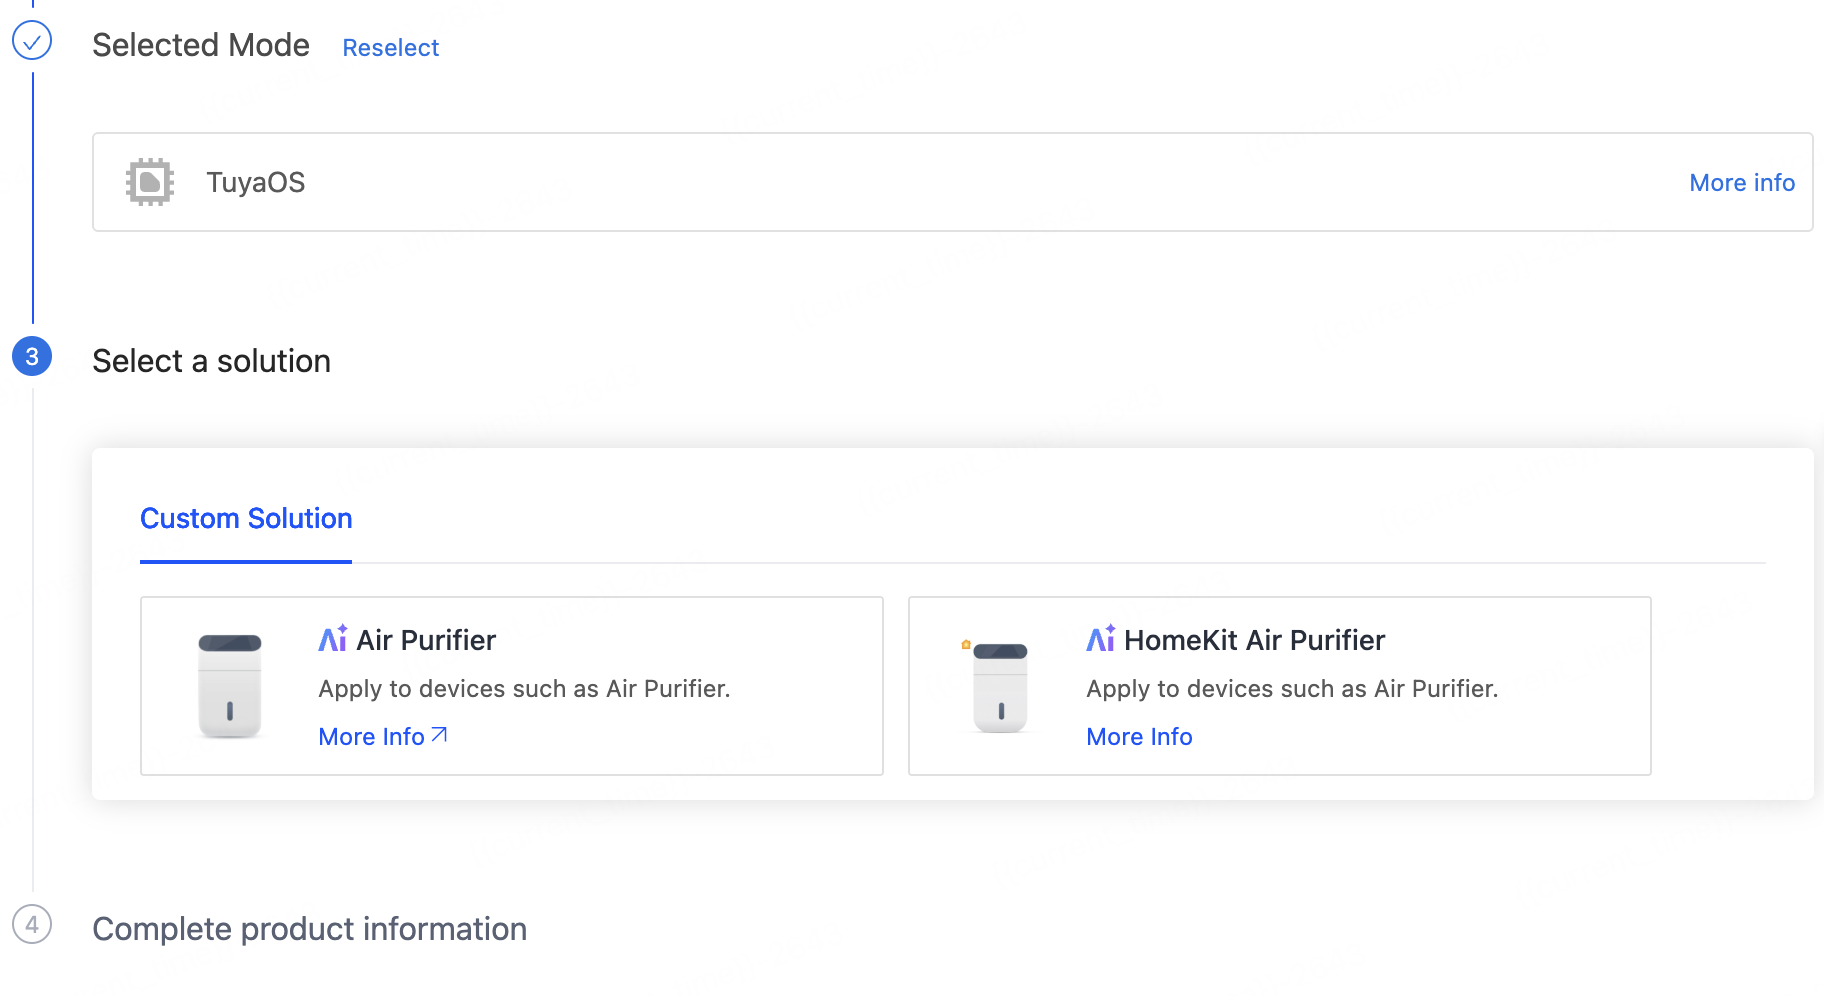
The smart mode includes TuyaOS and TuyaLink. For more information about their definitions and differences, see Connection Methods.
-
Based on the selected smart mode, proceed to select the product solution. For example, select Custom Solution > Air Purifier.
-
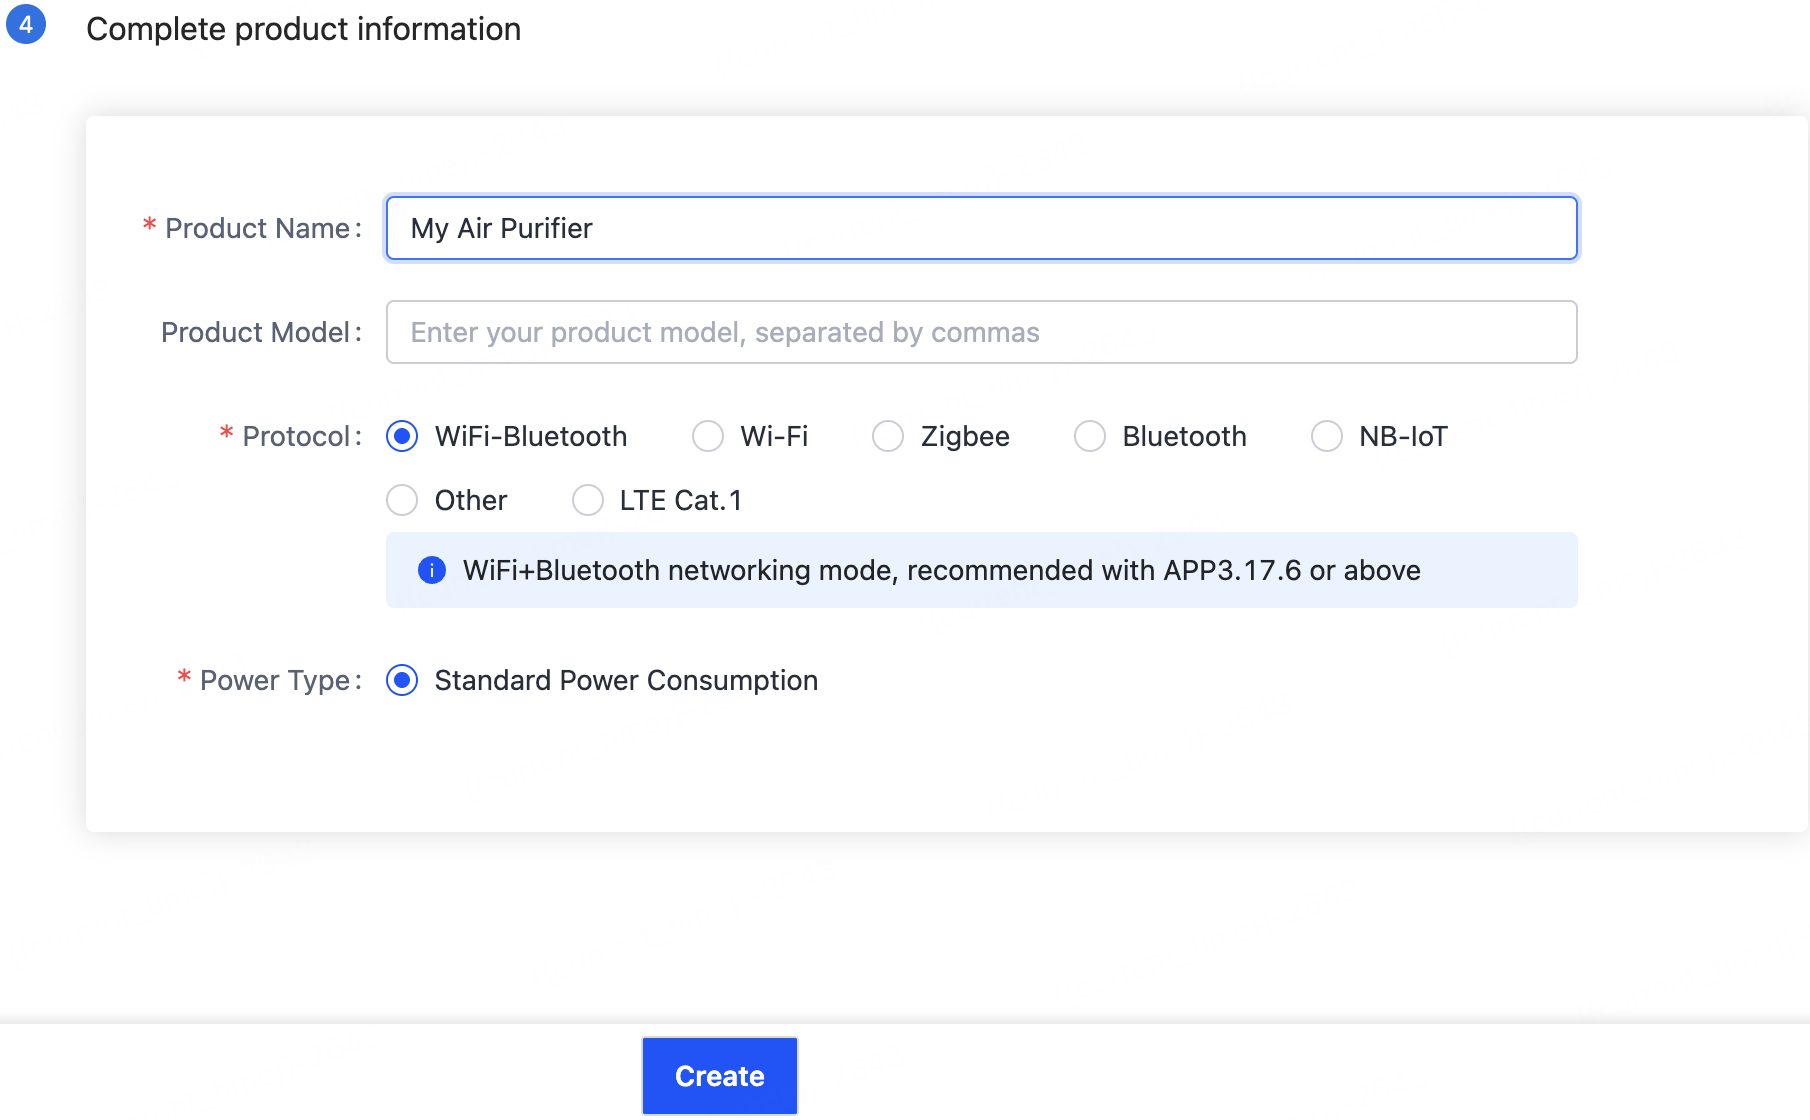
Complete product information. Enter the Product Name and Product Model (optional), select Protocol and Power Type, and then click Create.
Step 2: Add product functions
Function refers to the functional abstraction of a smart product, which is one of the most important properties of a product. Functions are represented by different data points (DP for short). For example, a switch has functions of on and off. You can define the switch as a Boolean DP, with 0 indicating off and 1 indicating on. For more information, see Product Functions.
-
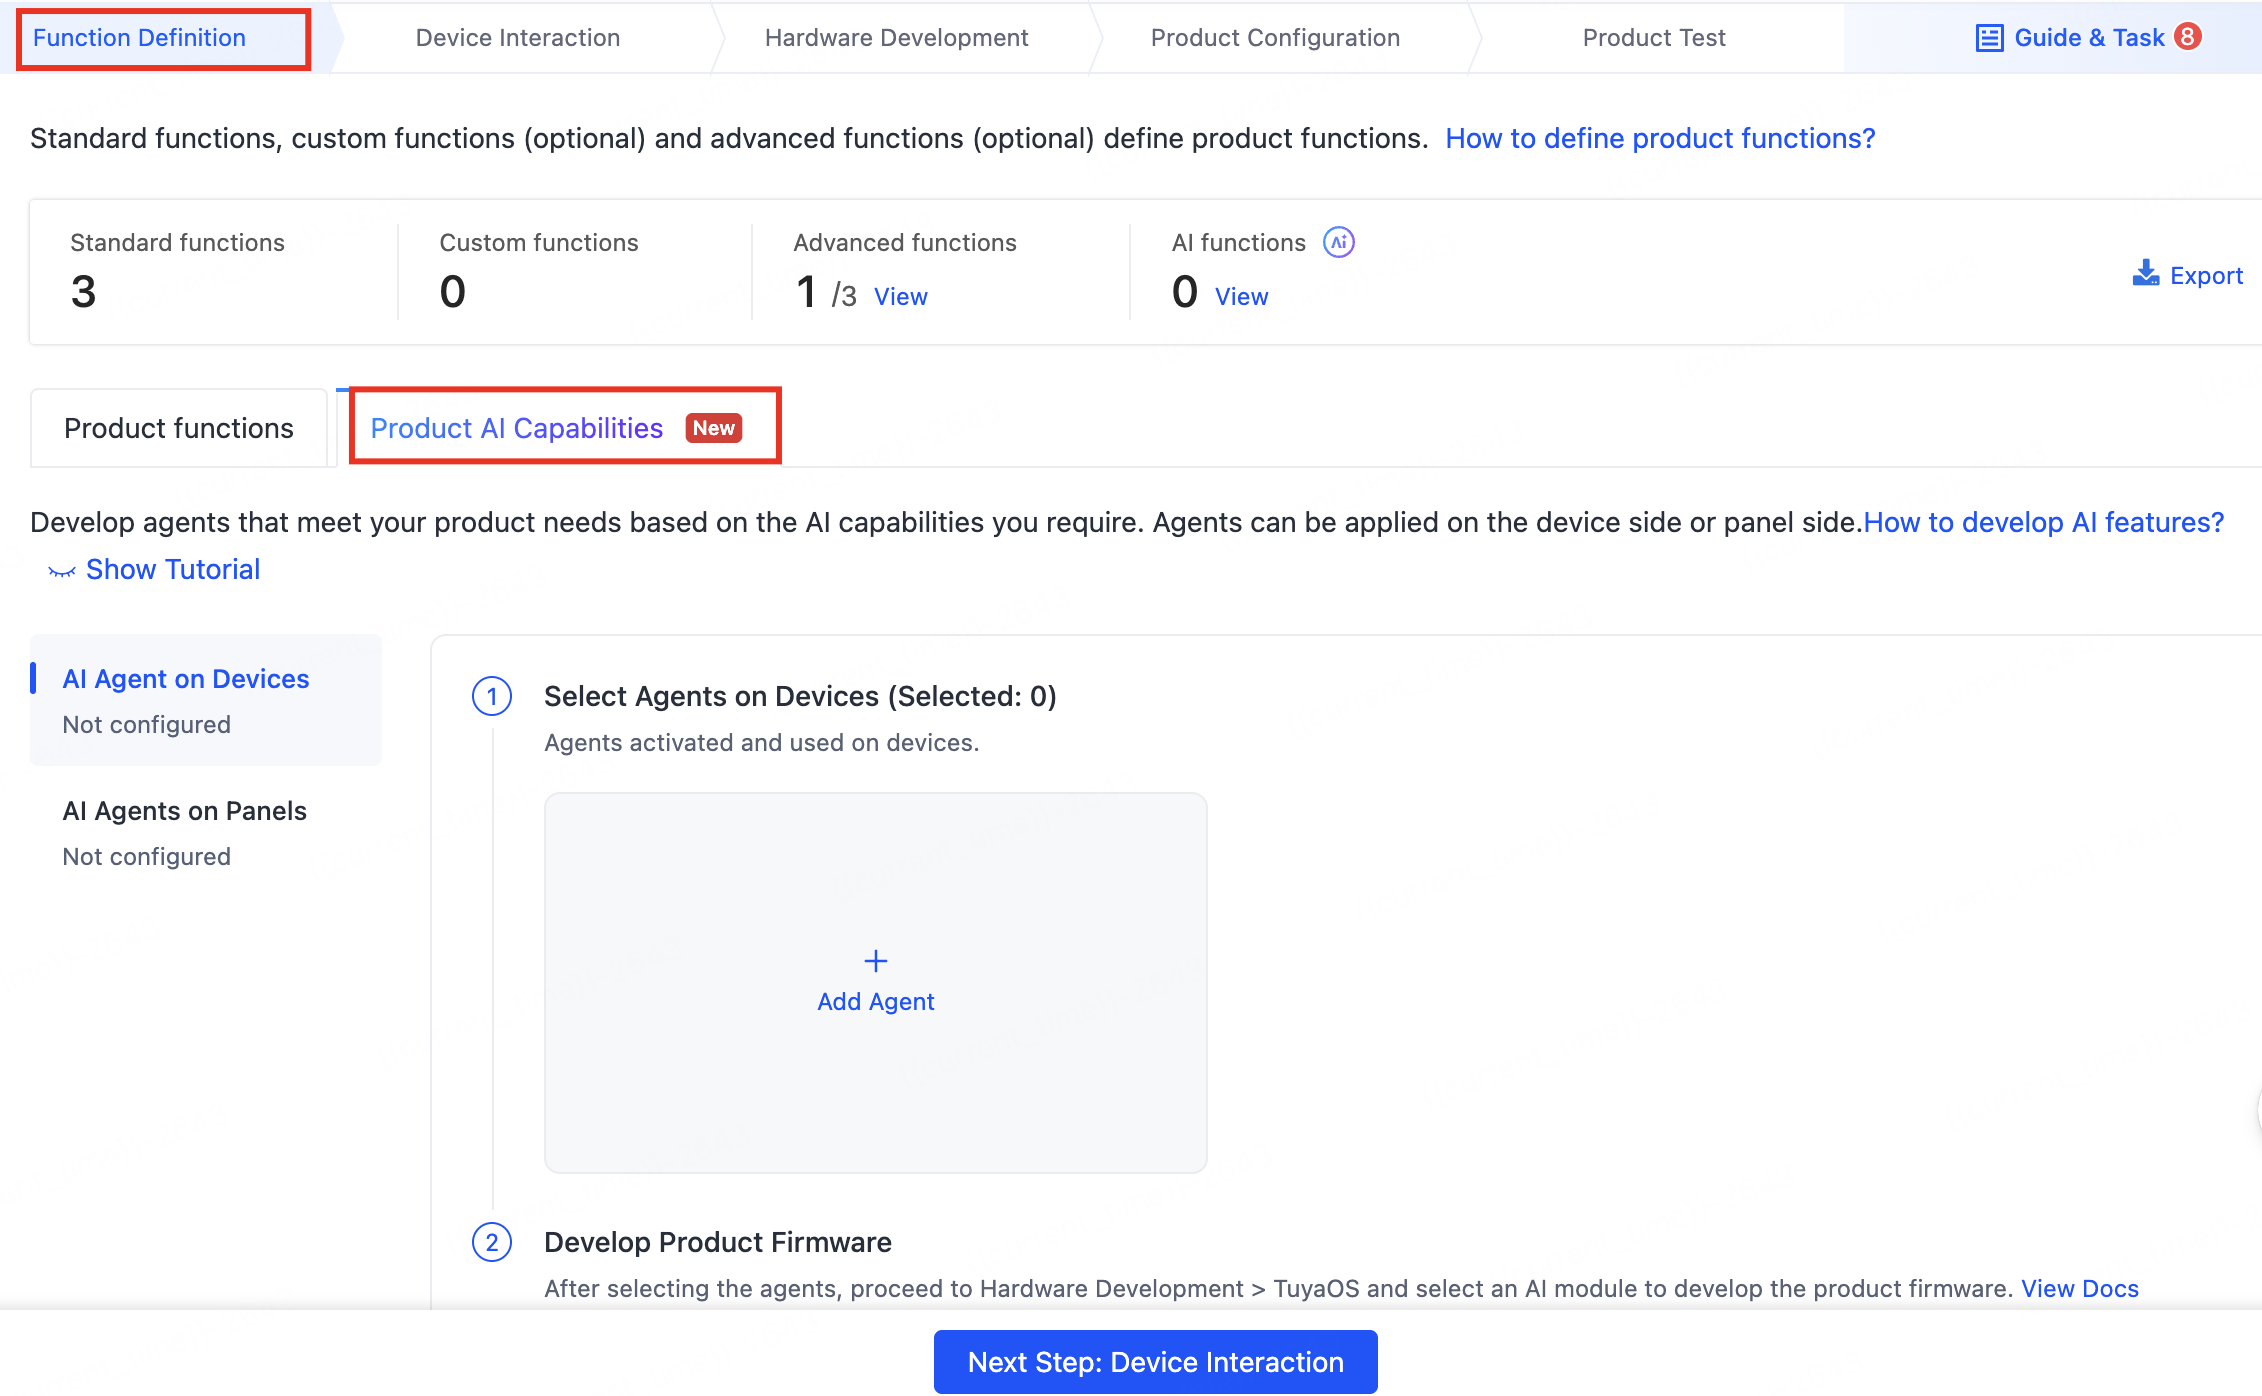
Go to the development page of the smart product and enter the Function Definition step.
-
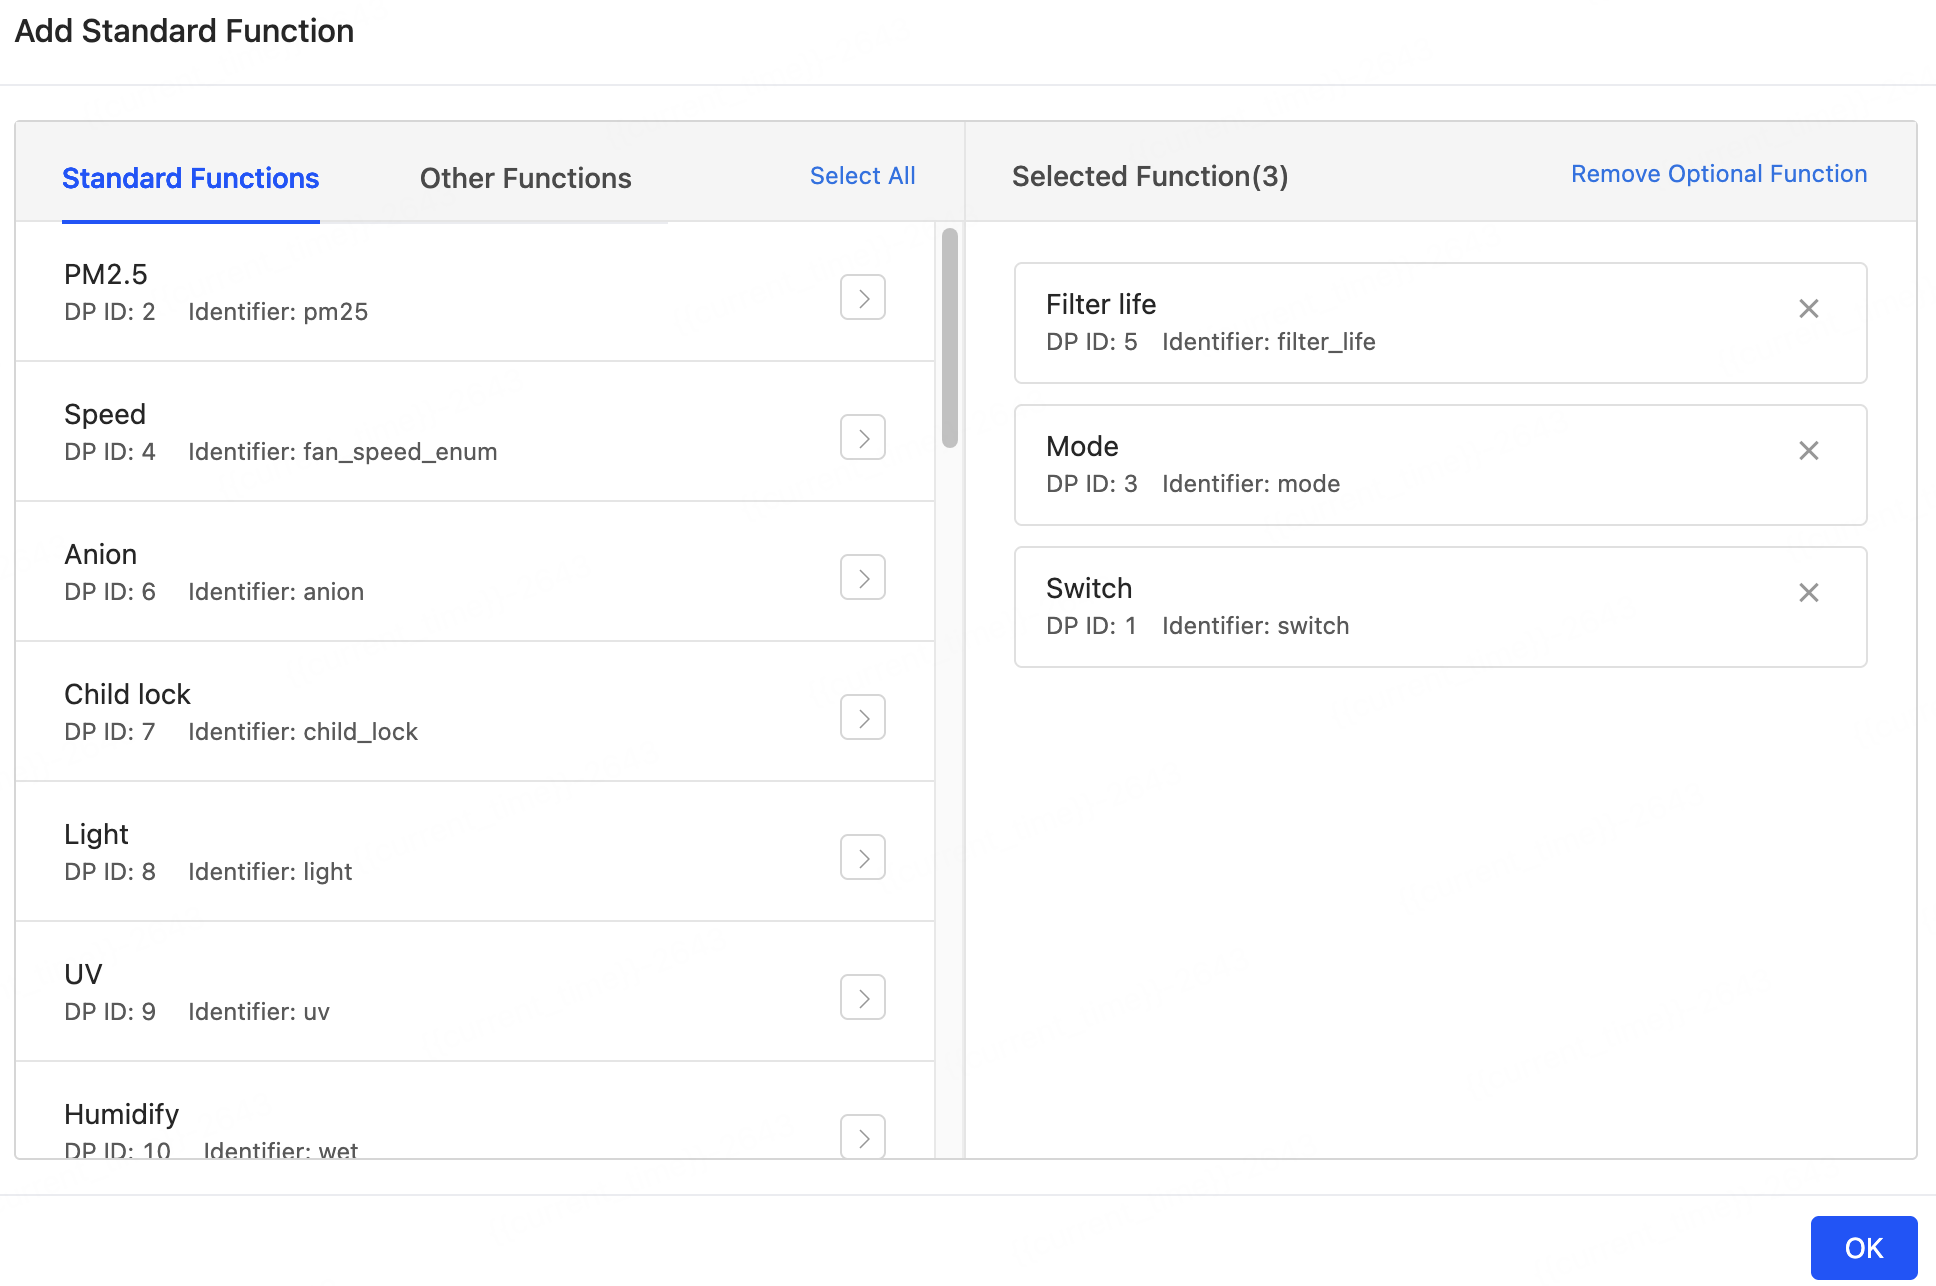
Add product functions. On the tab of Product functions, you can add standard functions, custom functions, and advanced functions. The MCU SDKs for embedded development and app panels will be automatically generated based on the product functions you have added.
-
Standard functions: As per the prompts, you can click + Add, select multiple standard product functions, and then click OK.
In the Selected Function section, certain Required DPs are specified by default according to the category you have selected. In the Selected Function section, you cannot delete a data point with the Required mark.
-
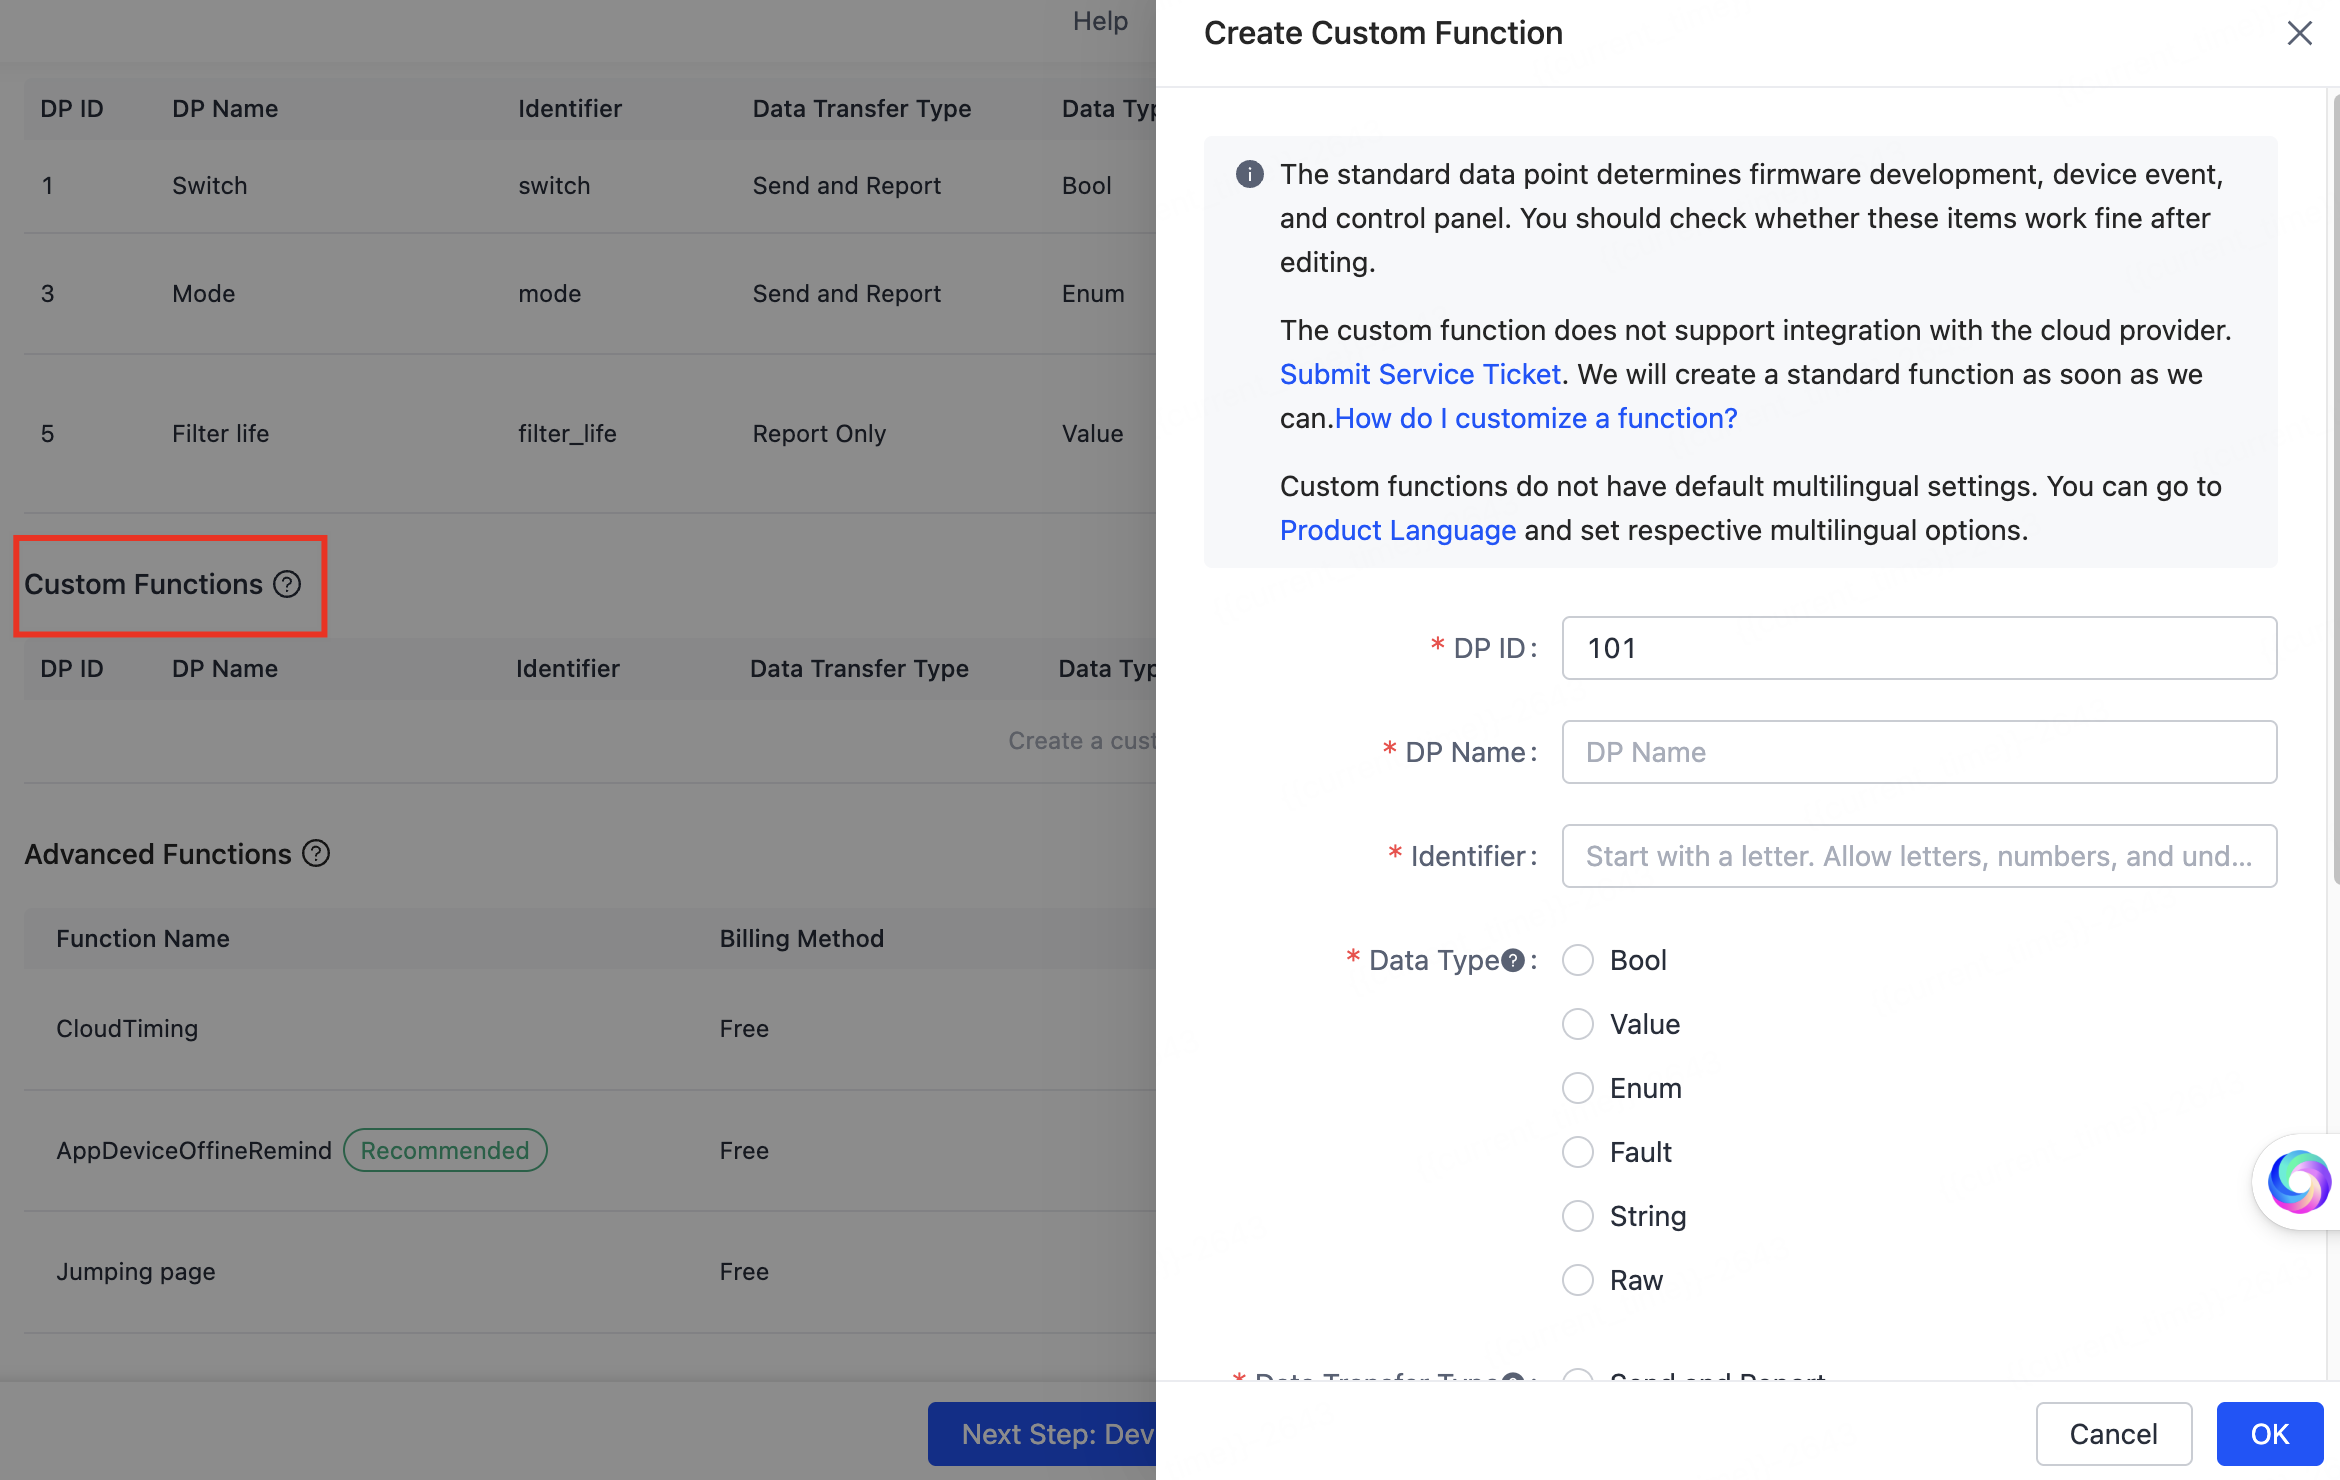
(Optional) Custom functions: If you cannot find your desired function in standard functions, you can click + Add in the Custom Functions section to add custom functions. To implement custom functions, you need to develop both the control interface (panel) and firmware. This involves configuring DP information, data types, and other parameters to create new custom functions.
-
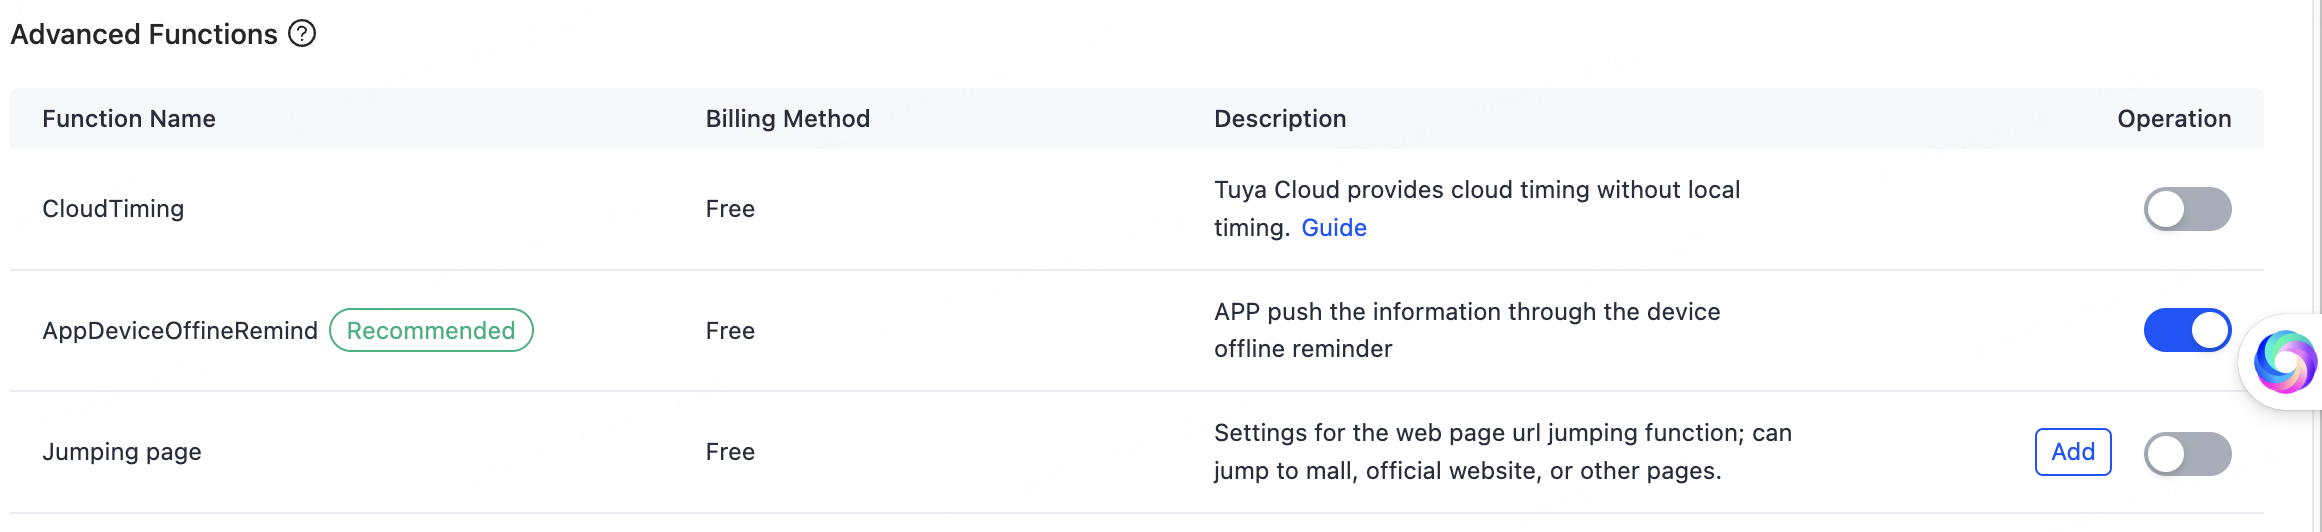
(Optional) Advanced functions: Advanced functions are available to enhance your product and can be enabled or disabled as needed.
-
-
Add Product AI Capabilities. On the tab of Product AI Capabilities, you can develop agents tailored to your product requirements based on the desired AI features. These agents can be applied to devices or panels.
- For more information about how to develop AI capabilities, see AI Capabilities Development.
- For more information on how to configure an agent, see AI Agent Dev Platform.
-
After the function definition is completed, click Next Step: Device Interaction at the bottom of the page.
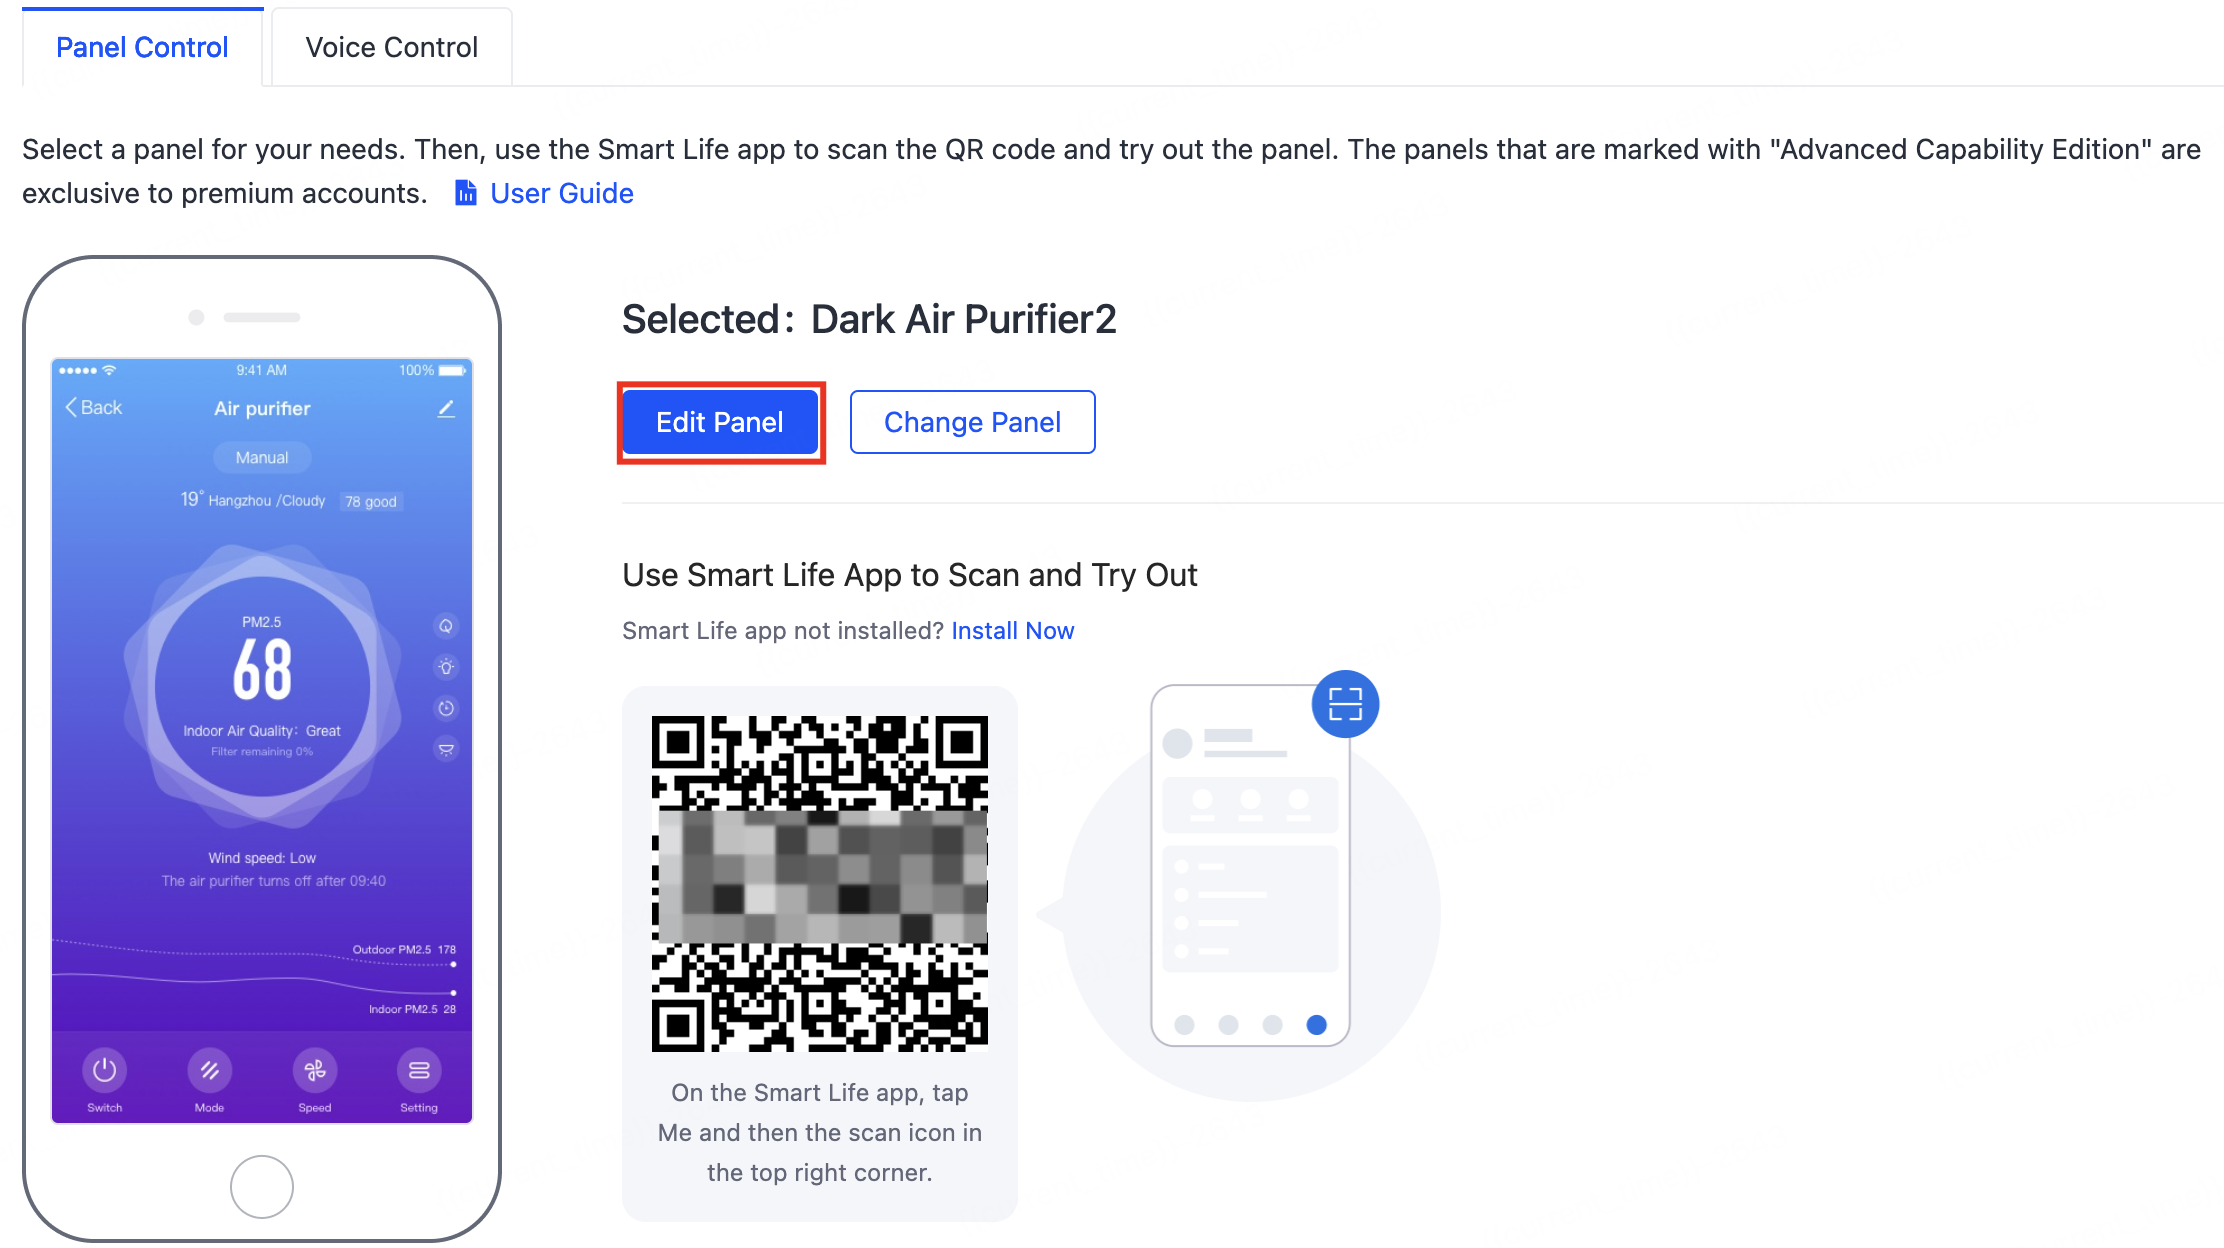
Step 3: Select an app panel
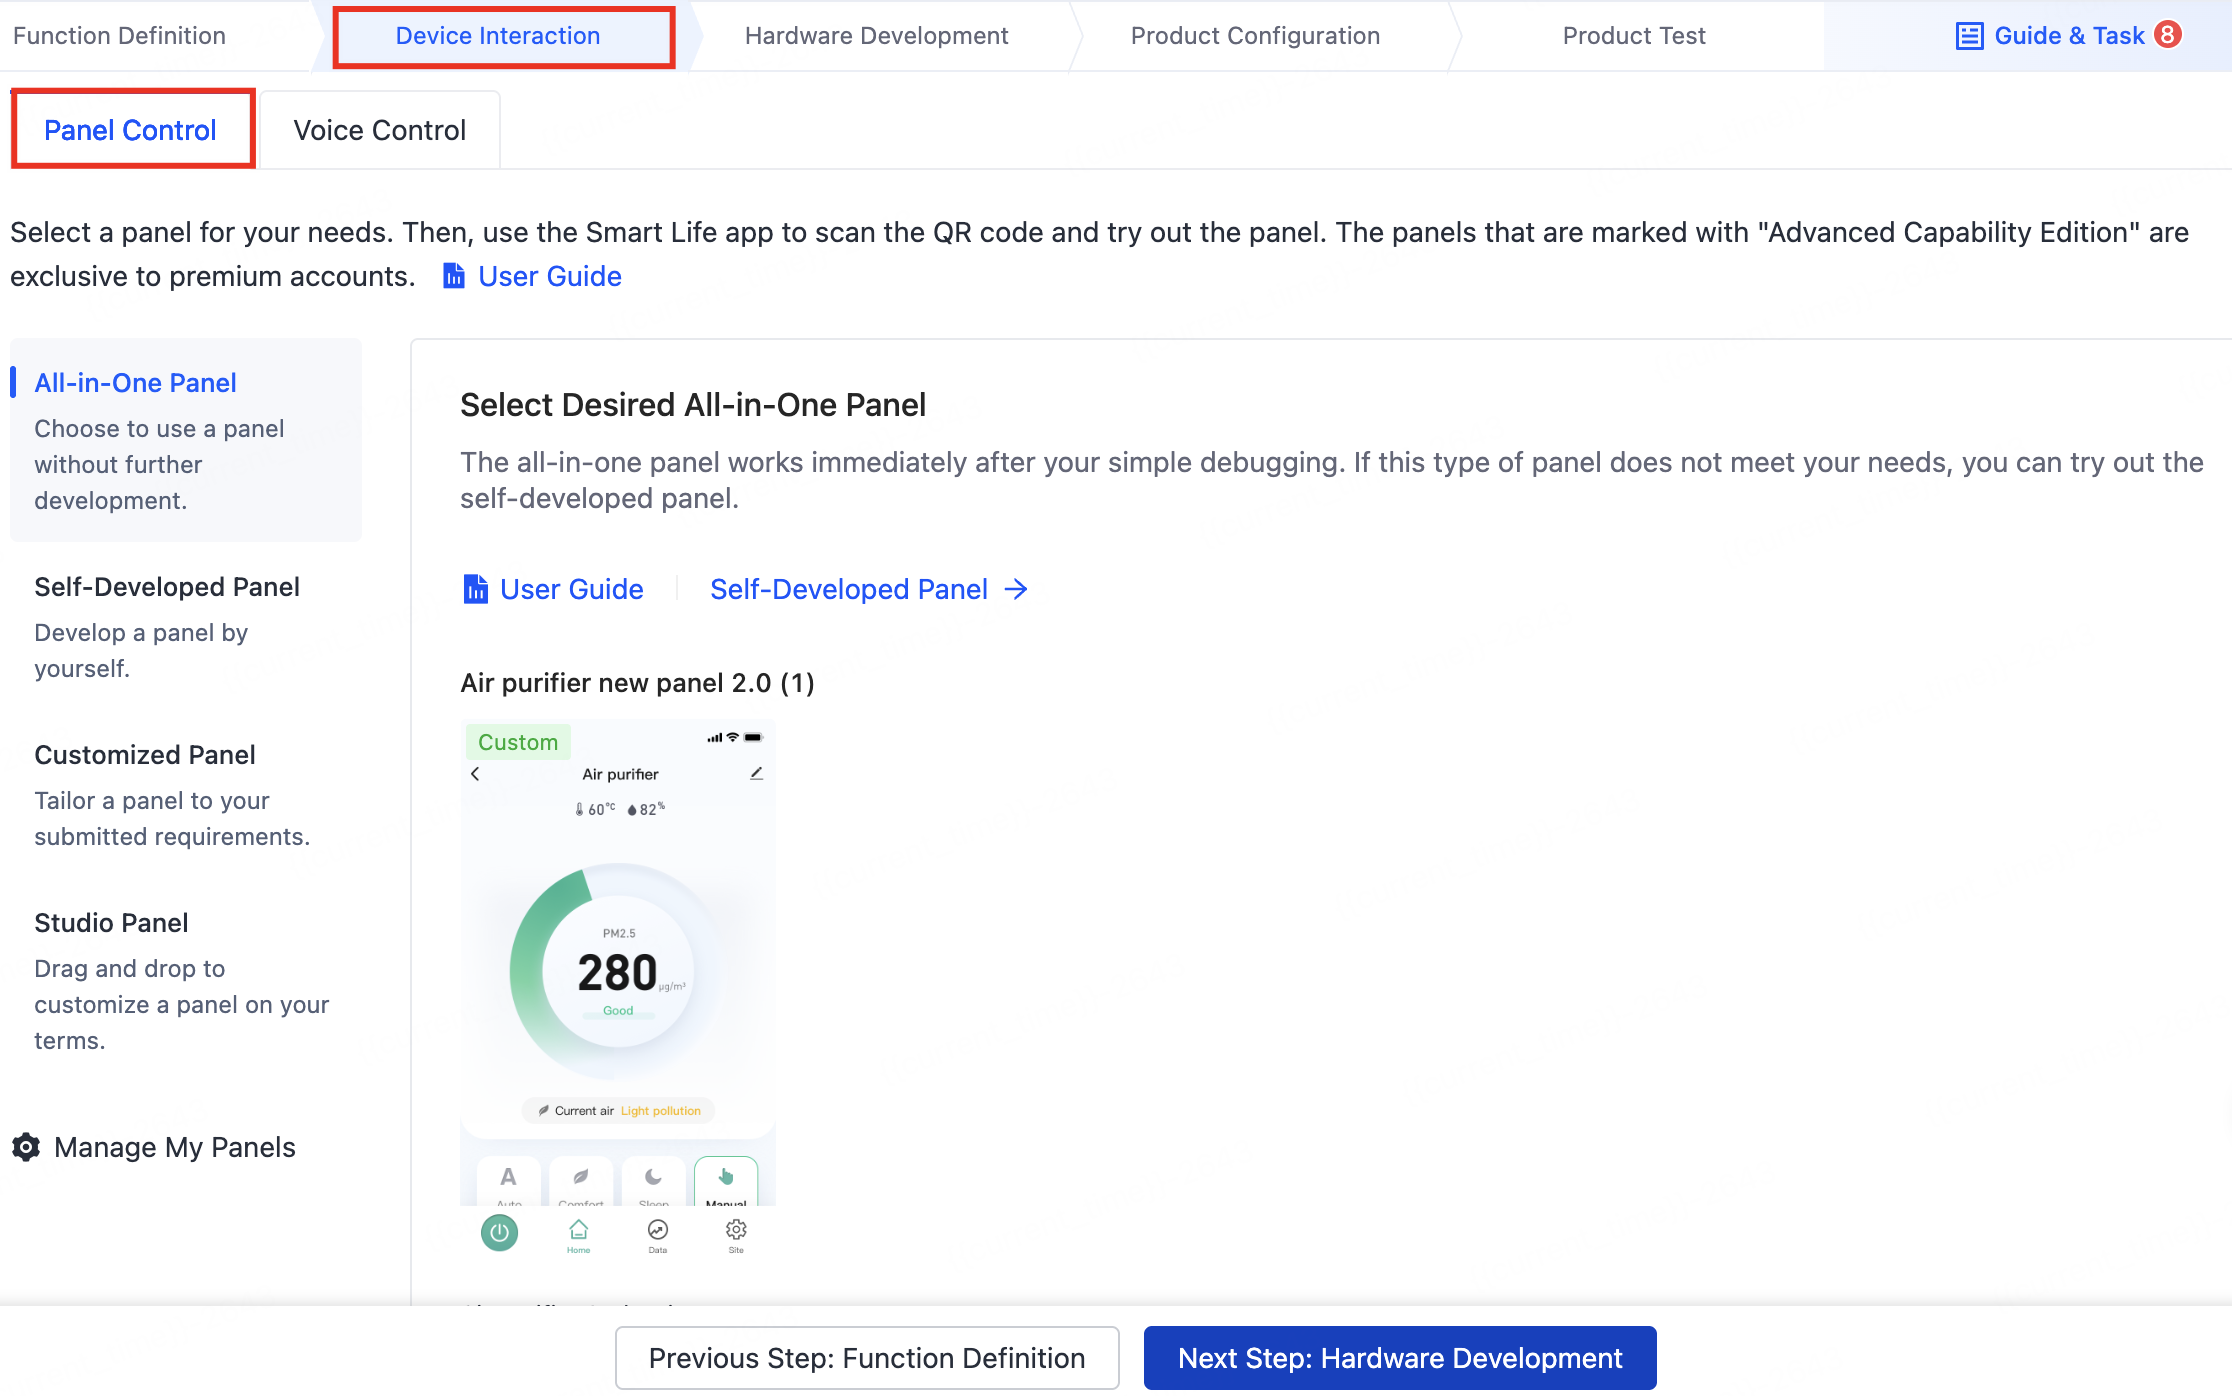
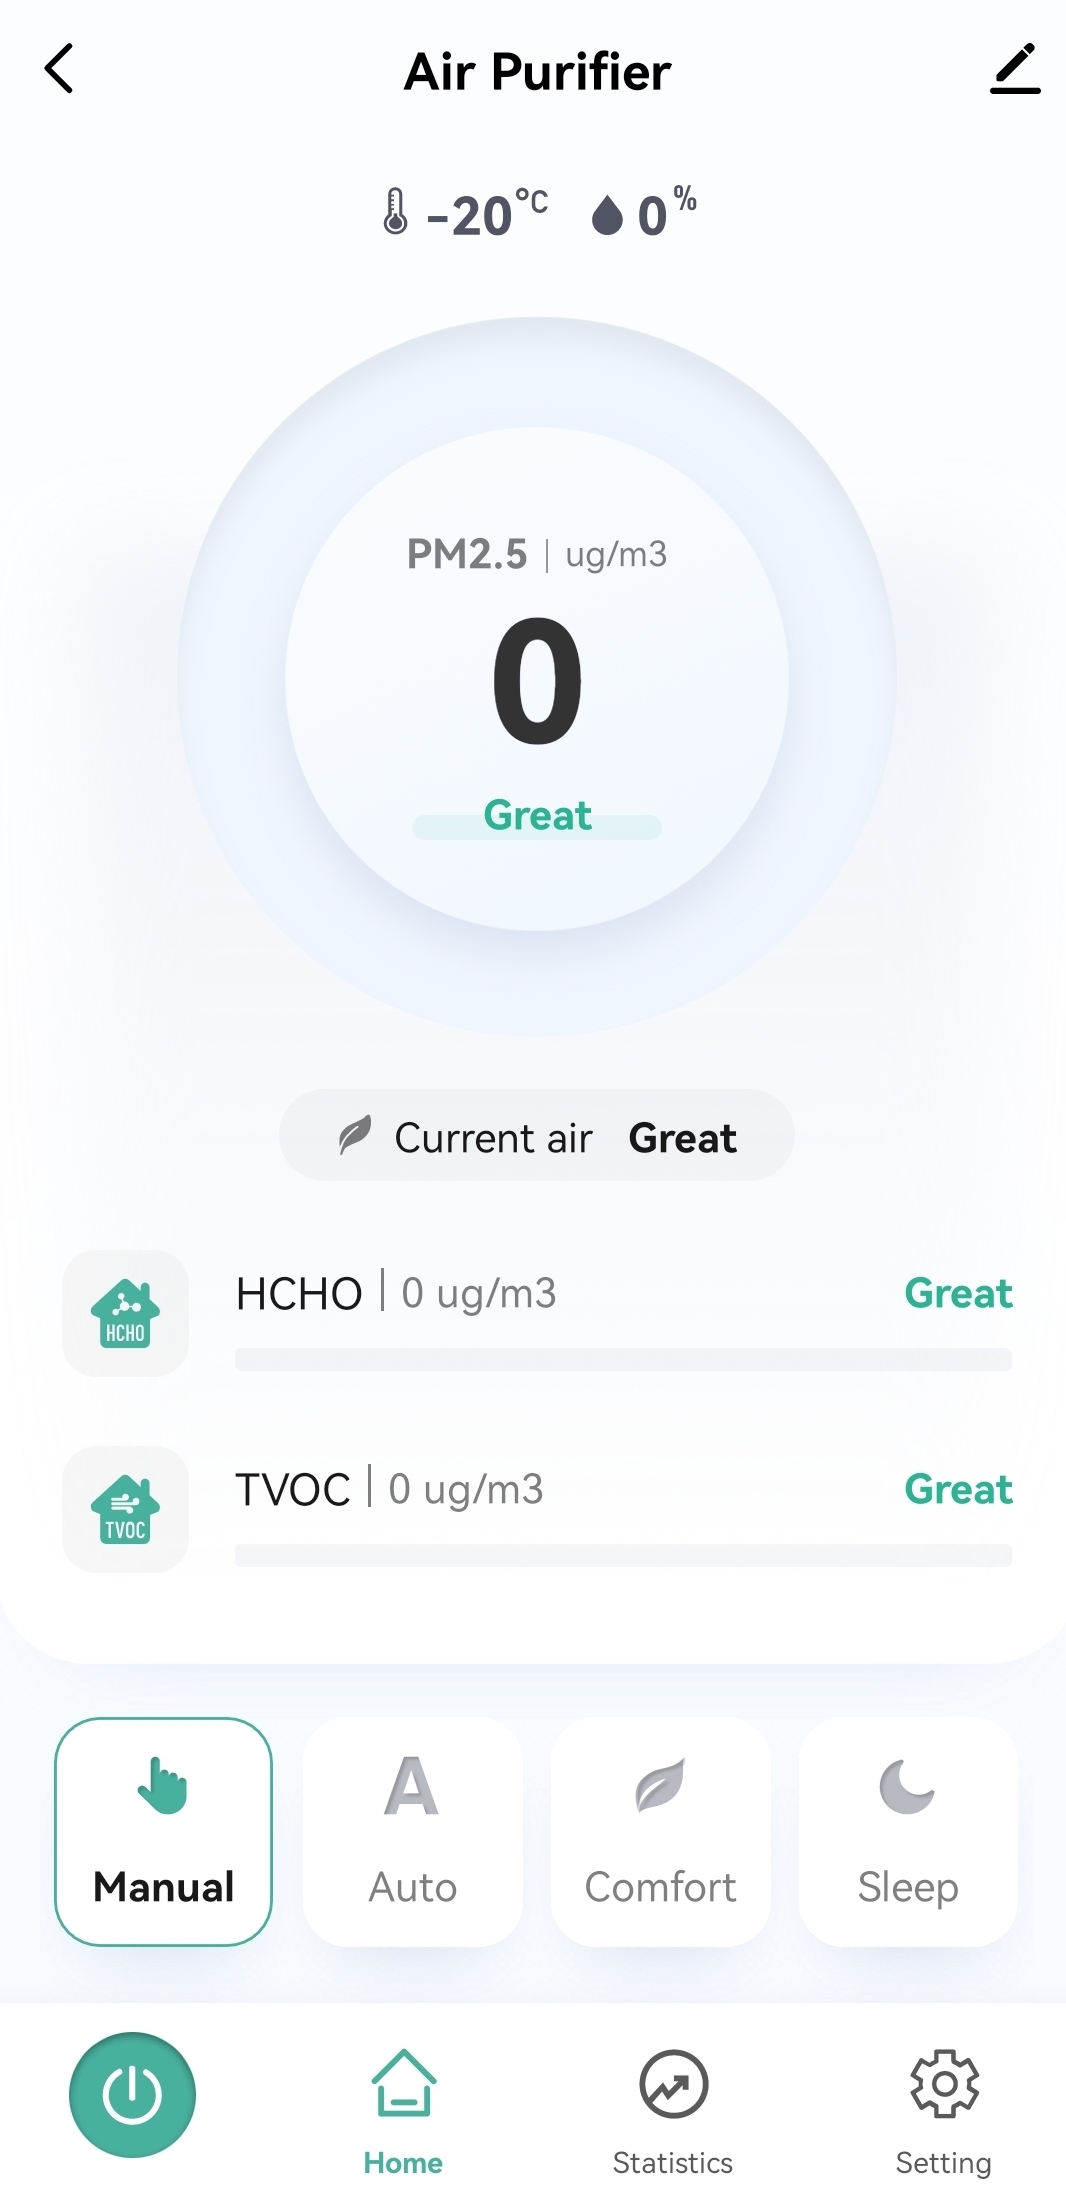
A panel is a control dashboard on the mobile application of the smart product. After you select an app panel for your product, it will be displayed when the user controls the smart device on the app.
-
Go to the development page of the smart product and enter the Device Interaction step.
-
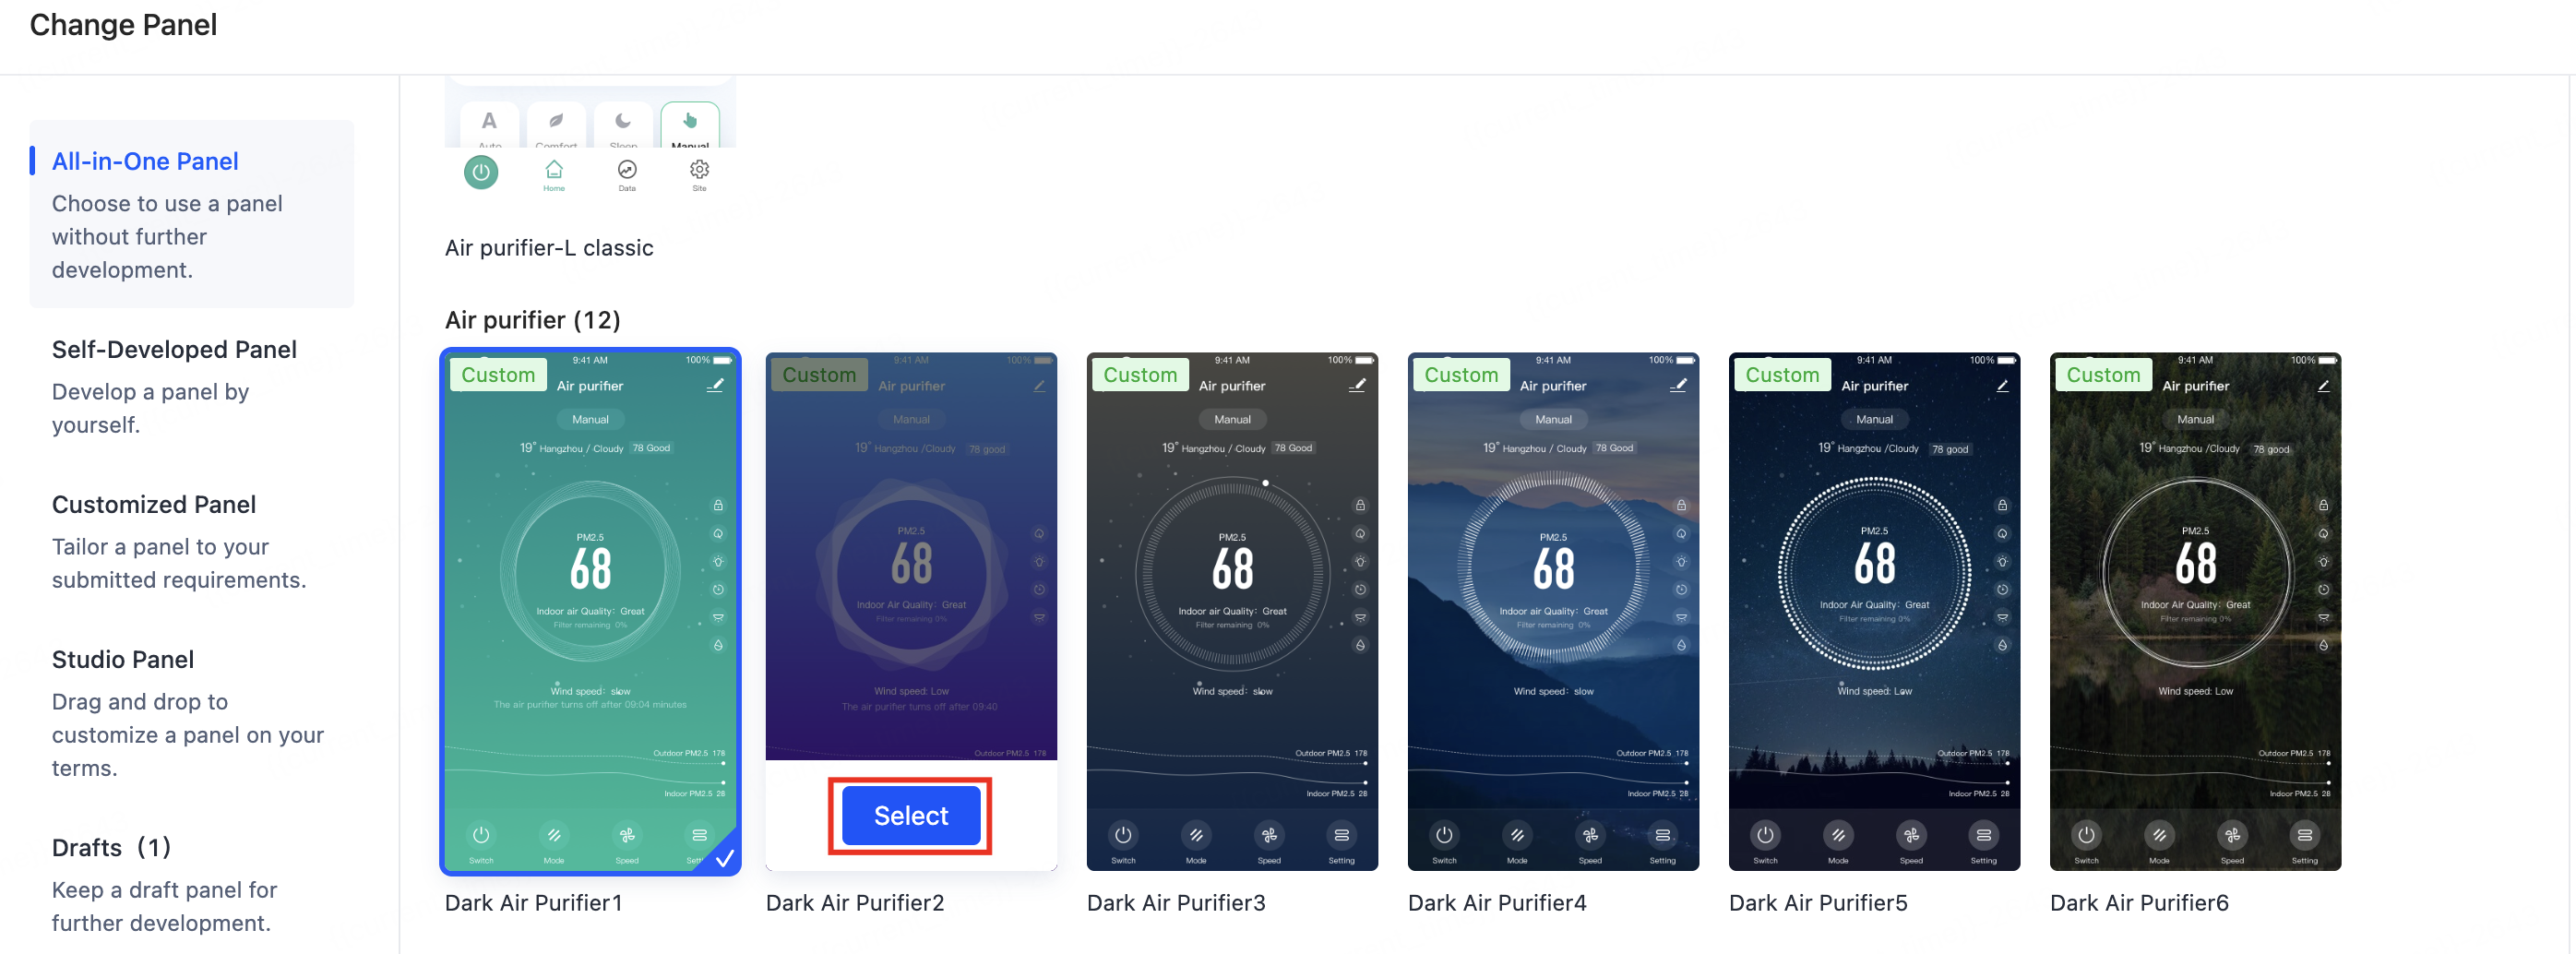
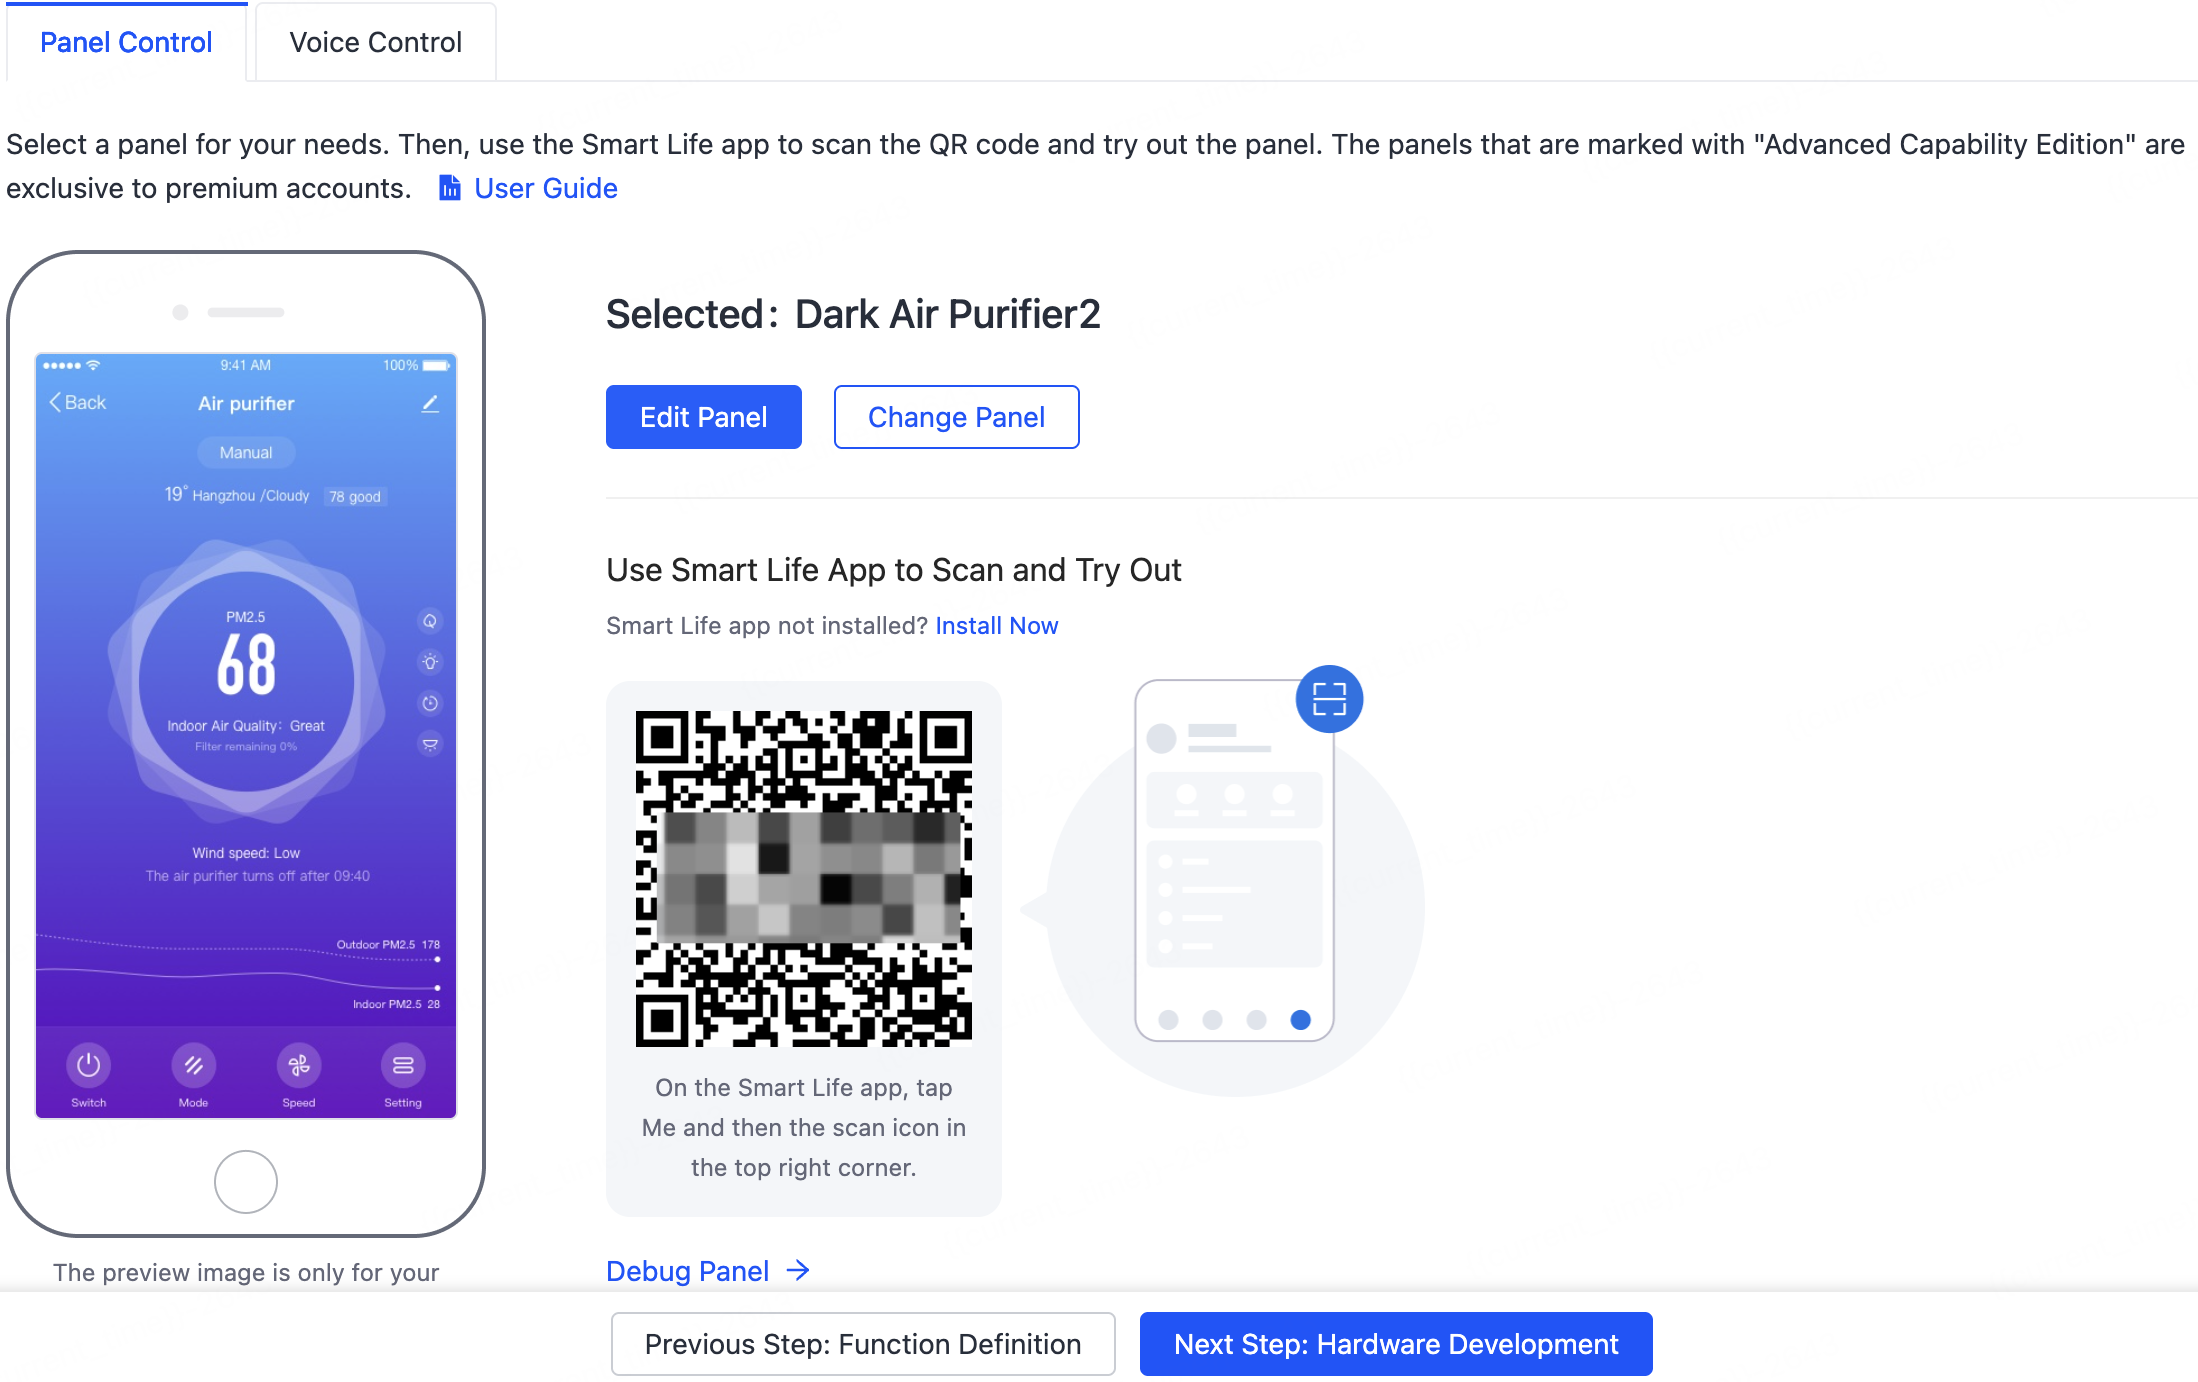
On the tab of Panel Control, select the desired panel.
-
(Optional) Edit the panel. If you want to quickly customize the UI setting and page layout based on the recommended panel, you can hover over the desired panel, click Select, and then click Edit Panel. You will go to the UI studio to customize the panel online. Meanwhile, you will get a QR code to try it out.
-
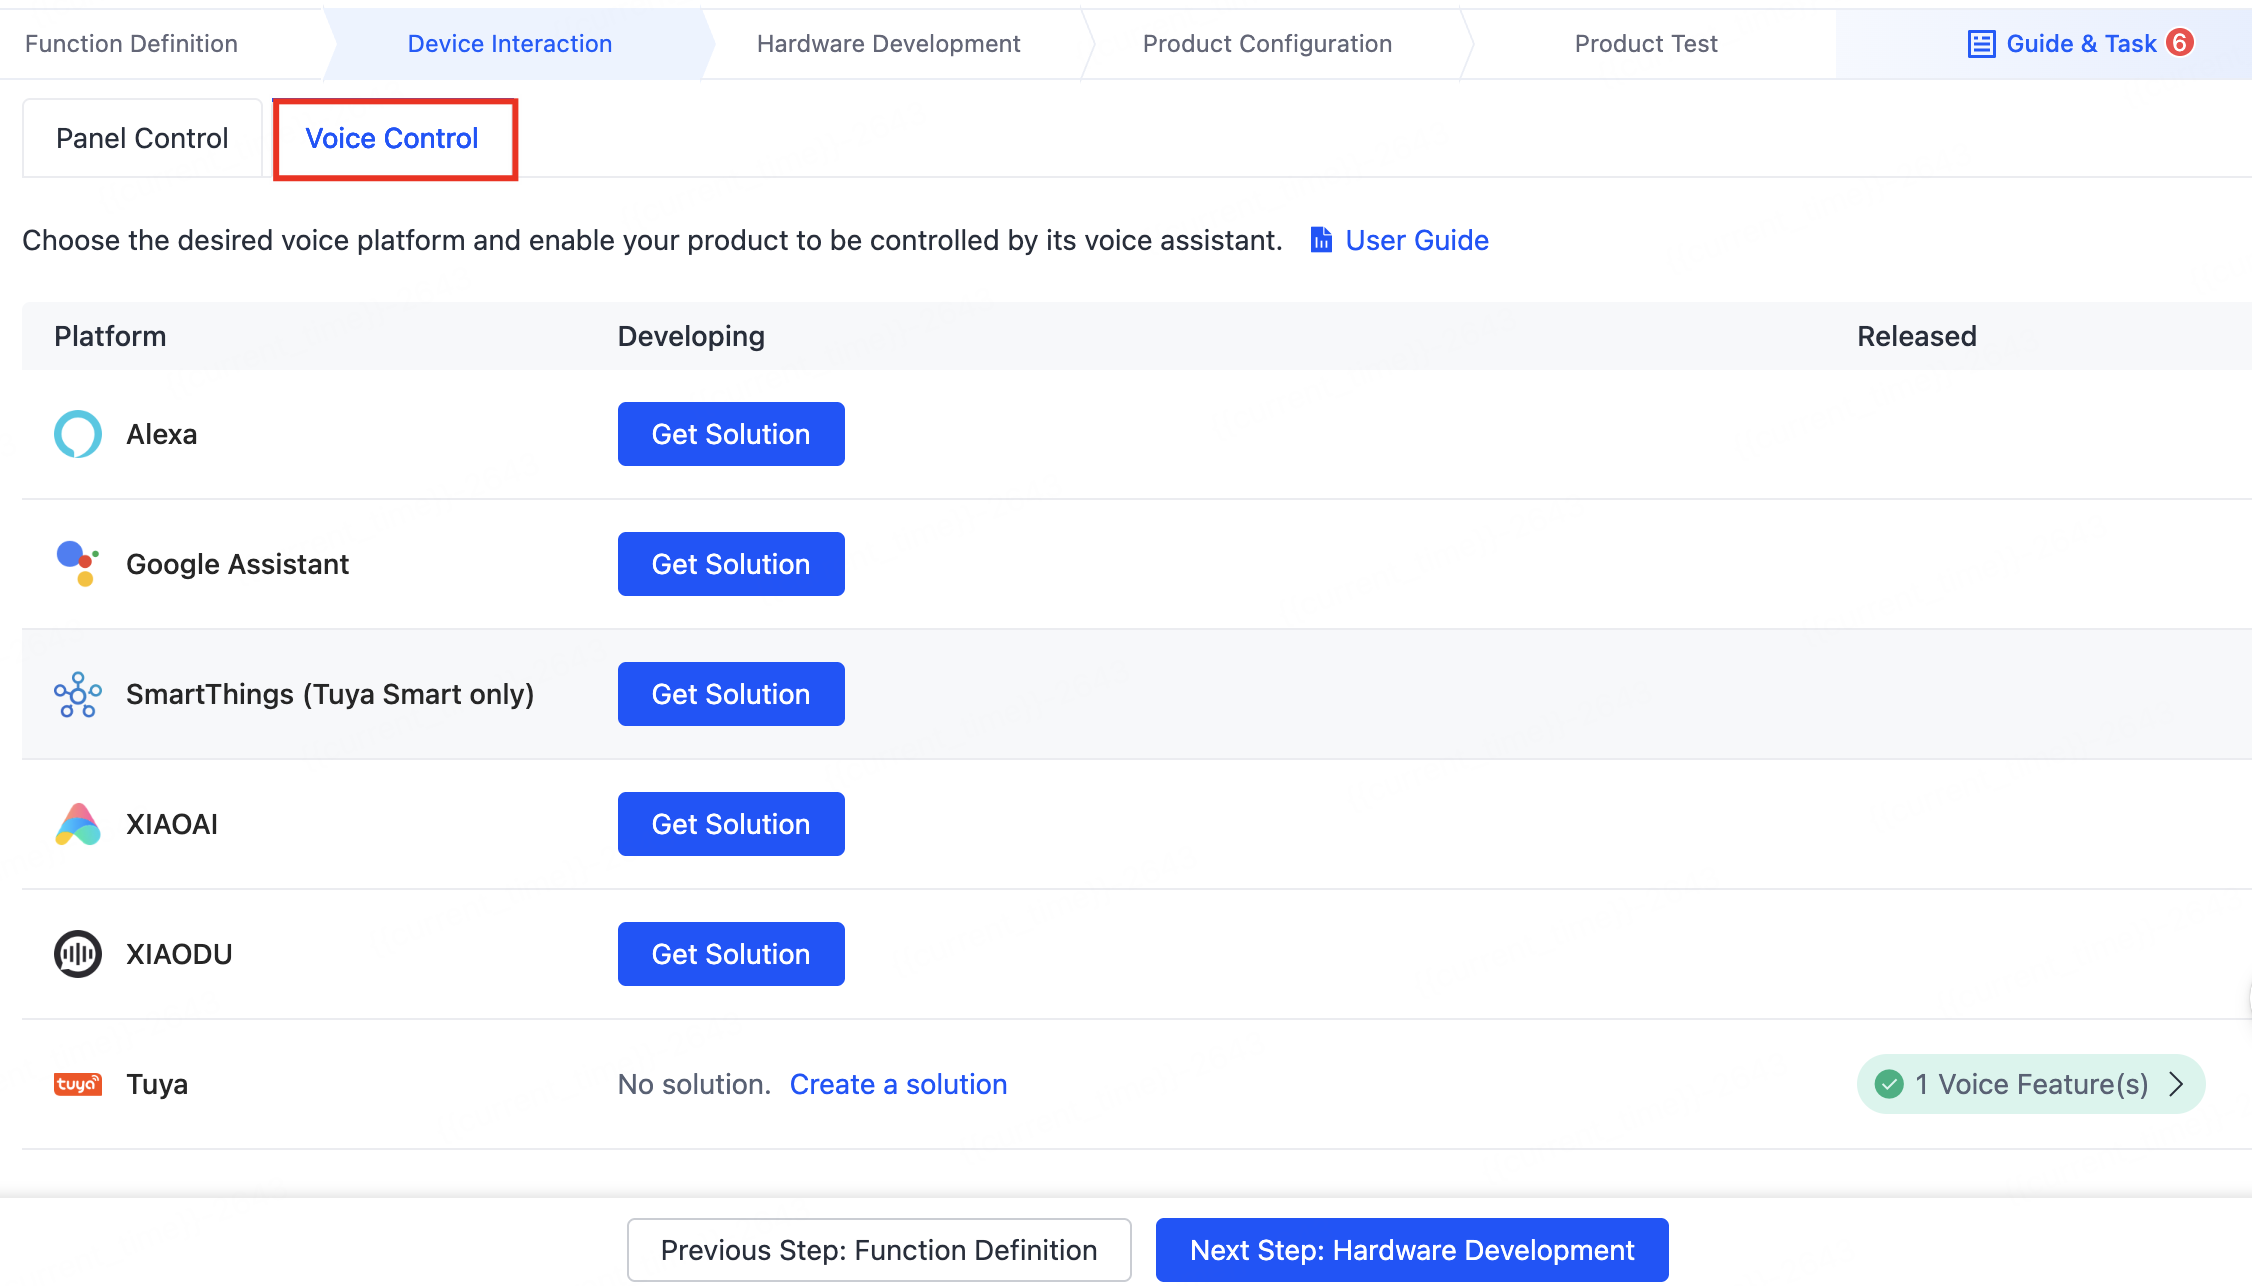
(Optional) Voice Control: Choose the desired voice platform and enable your product to be controlled by its voice assistant. On the tab of Voice Control, configure the voice control solution. For more information about how to configure voice capabilities, see Use Voice Platform.
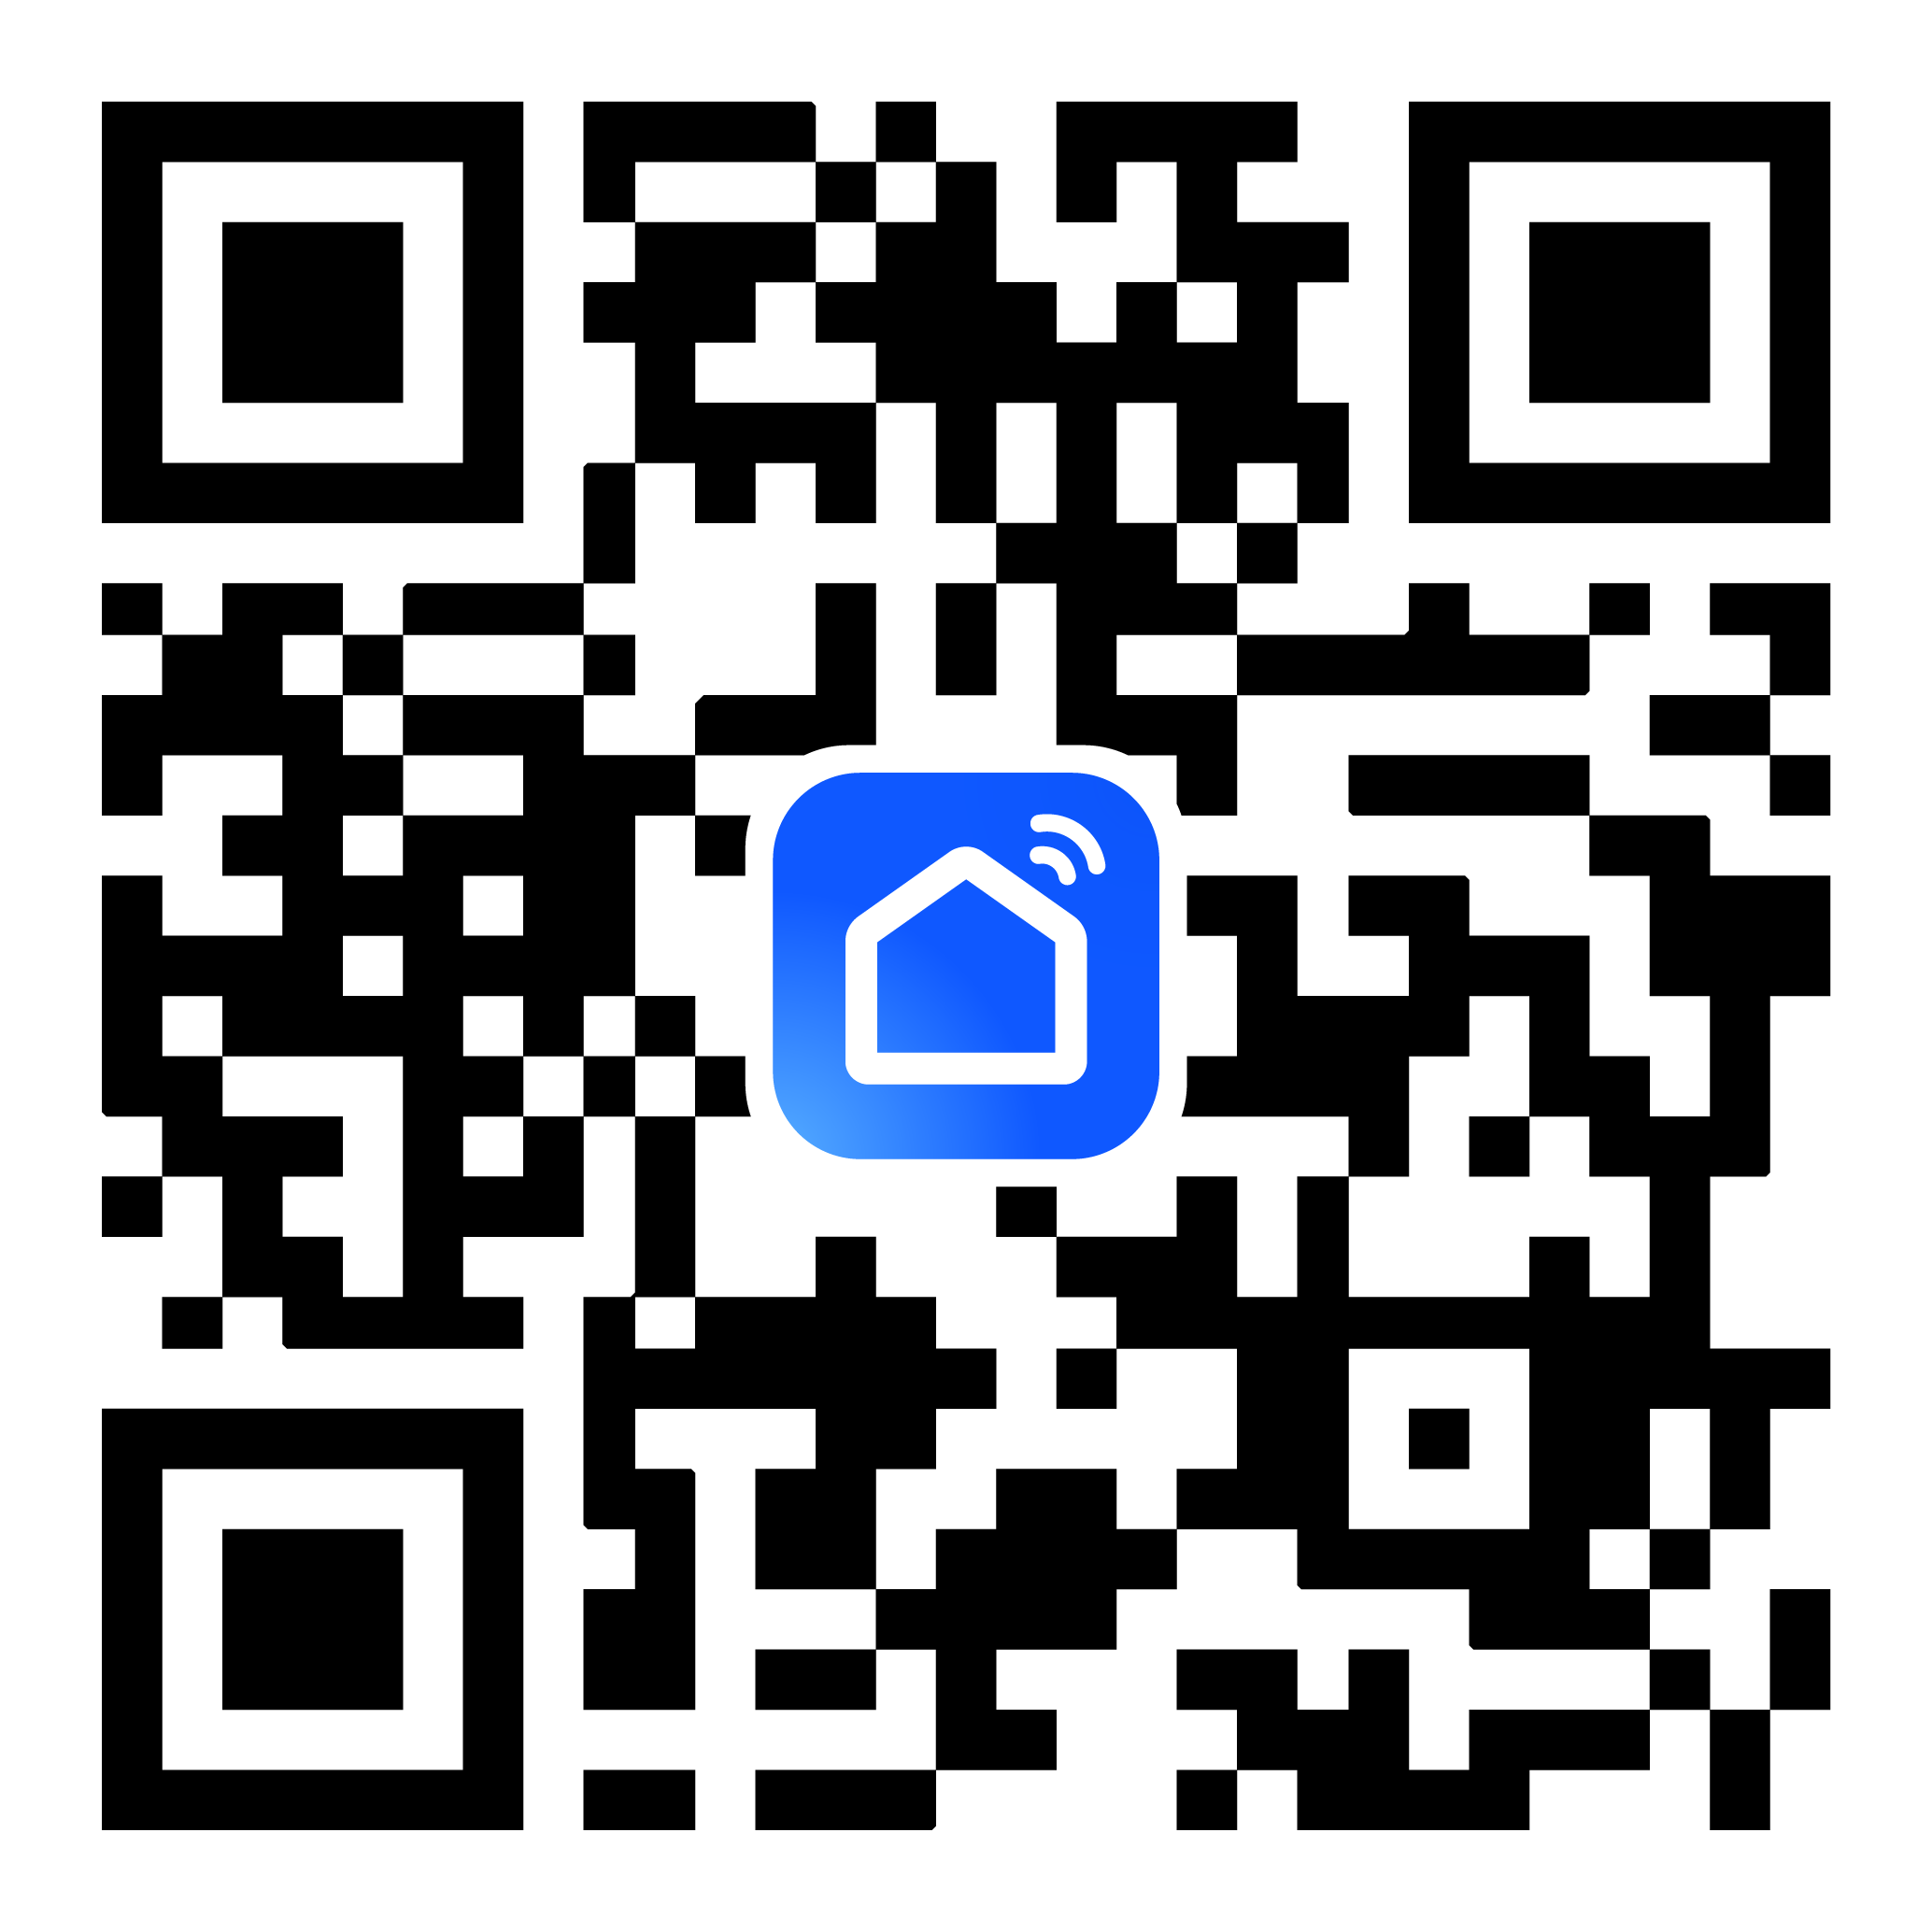
Step 4: Download SmartLife app
-
Scan the QR code to download the SmartLife app.
-
If your business is targeted at global markets, you can use this QR code to download the app:
Download the QR code of the SmartLife app

-
If your business is targeted at markets in mainland China, you can use this QR code to download the app:
Download the QR code of the SmartLife app
-
If your product is intended for markets outside mainland China, you can use this QR code:
Download the QR code of the SmartLife app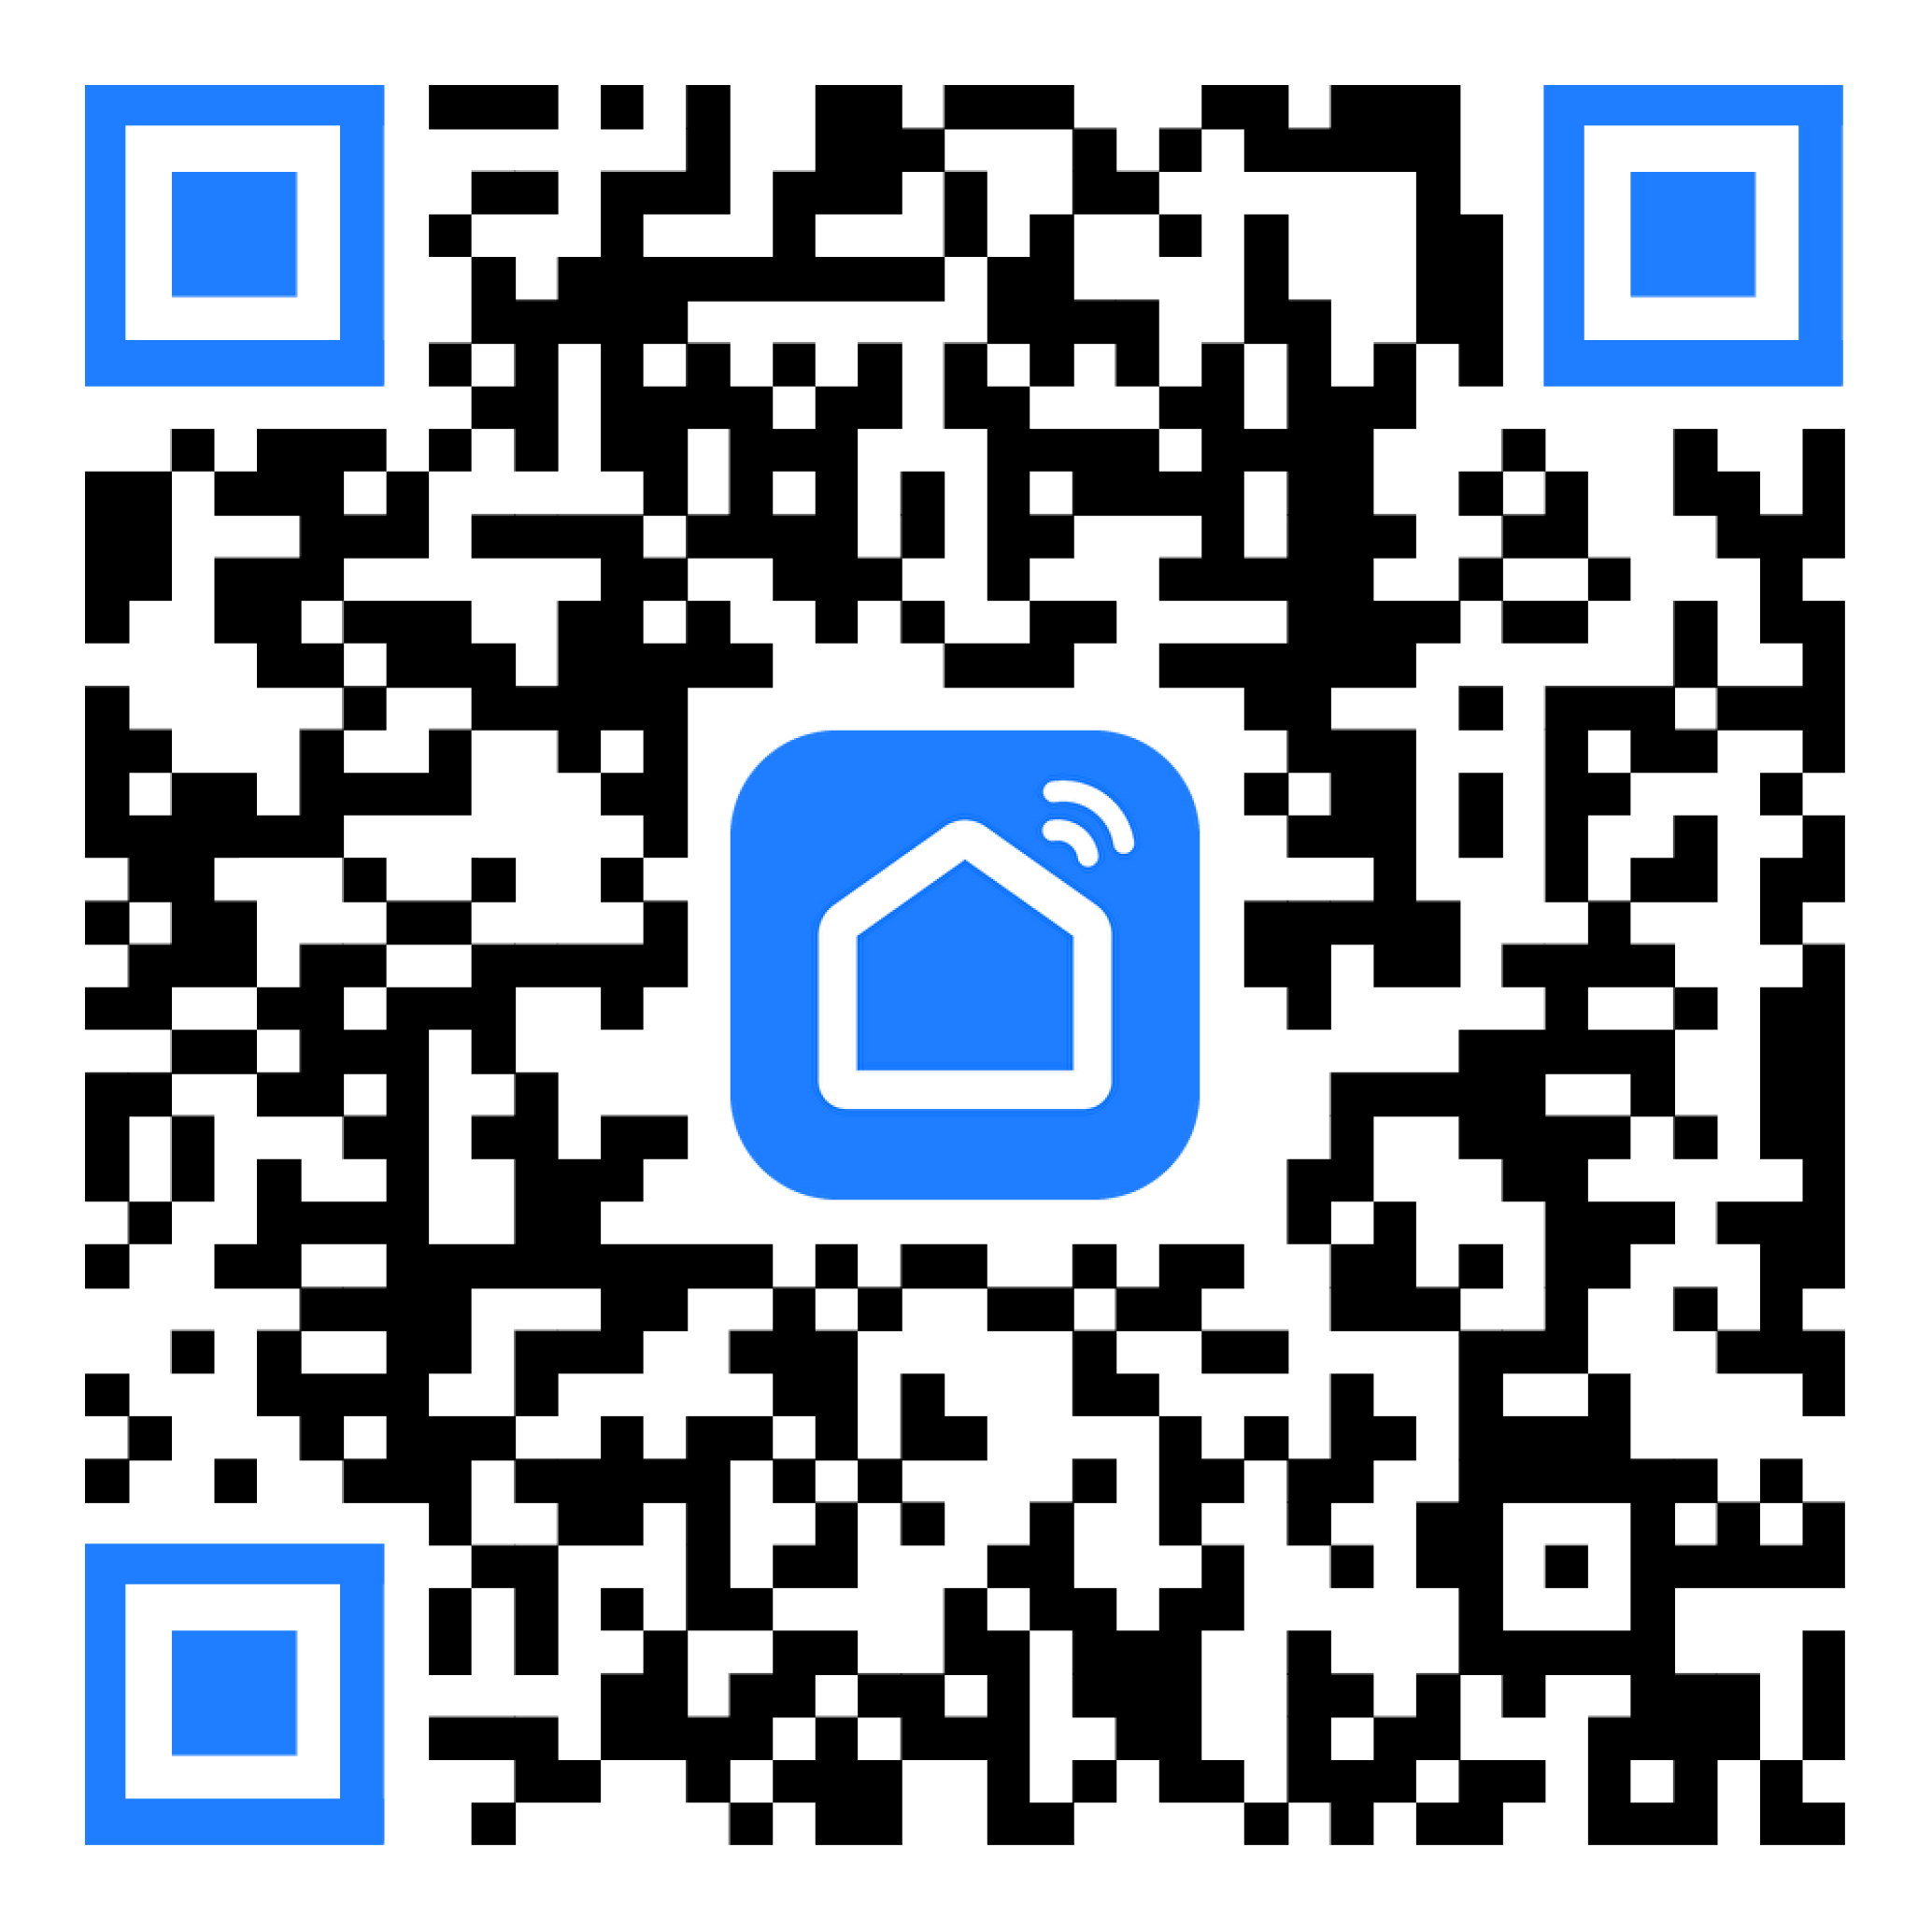
-
-
Register an account and log in to the app.
Step 5: Try it out
-
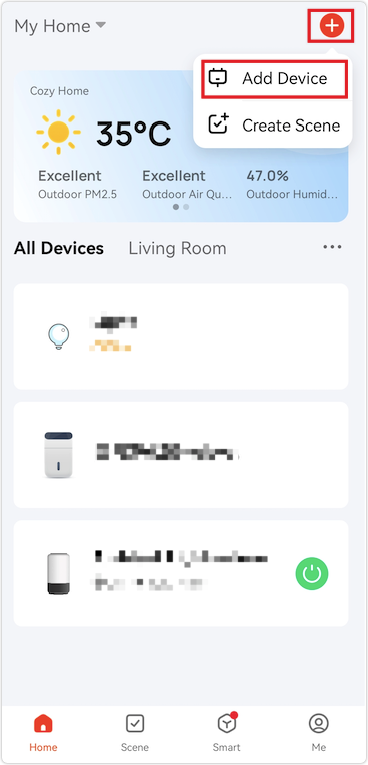
On the homepage of the app, click + > Add Device in the top right corner.
-
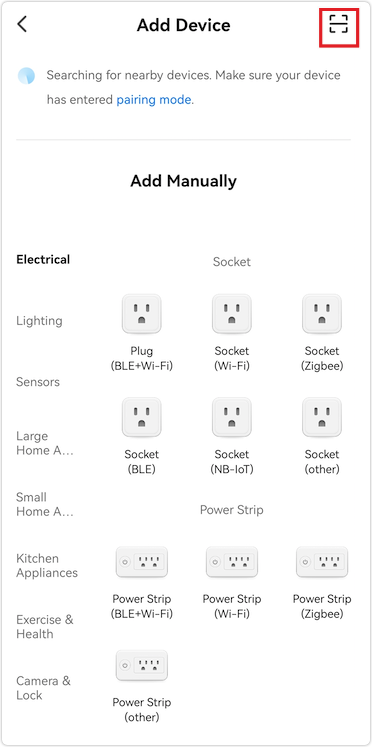
Tap the code scanner icon in the top right corner of the product list.
-
Scan the QR code of the product, and start to try your product.
-
Now, you can preview your products on your mobile app and try product functions and app panel styles.
Next steps
You can continue to develop the product according to the following process and cooperate with hardware and embedded software design until it is put into production and sold.
Is this page helpful?
YesFeedbackIs this page helpful?
YesFeedback


