Prototype a Homemade Smart Pet Feeder
Overview
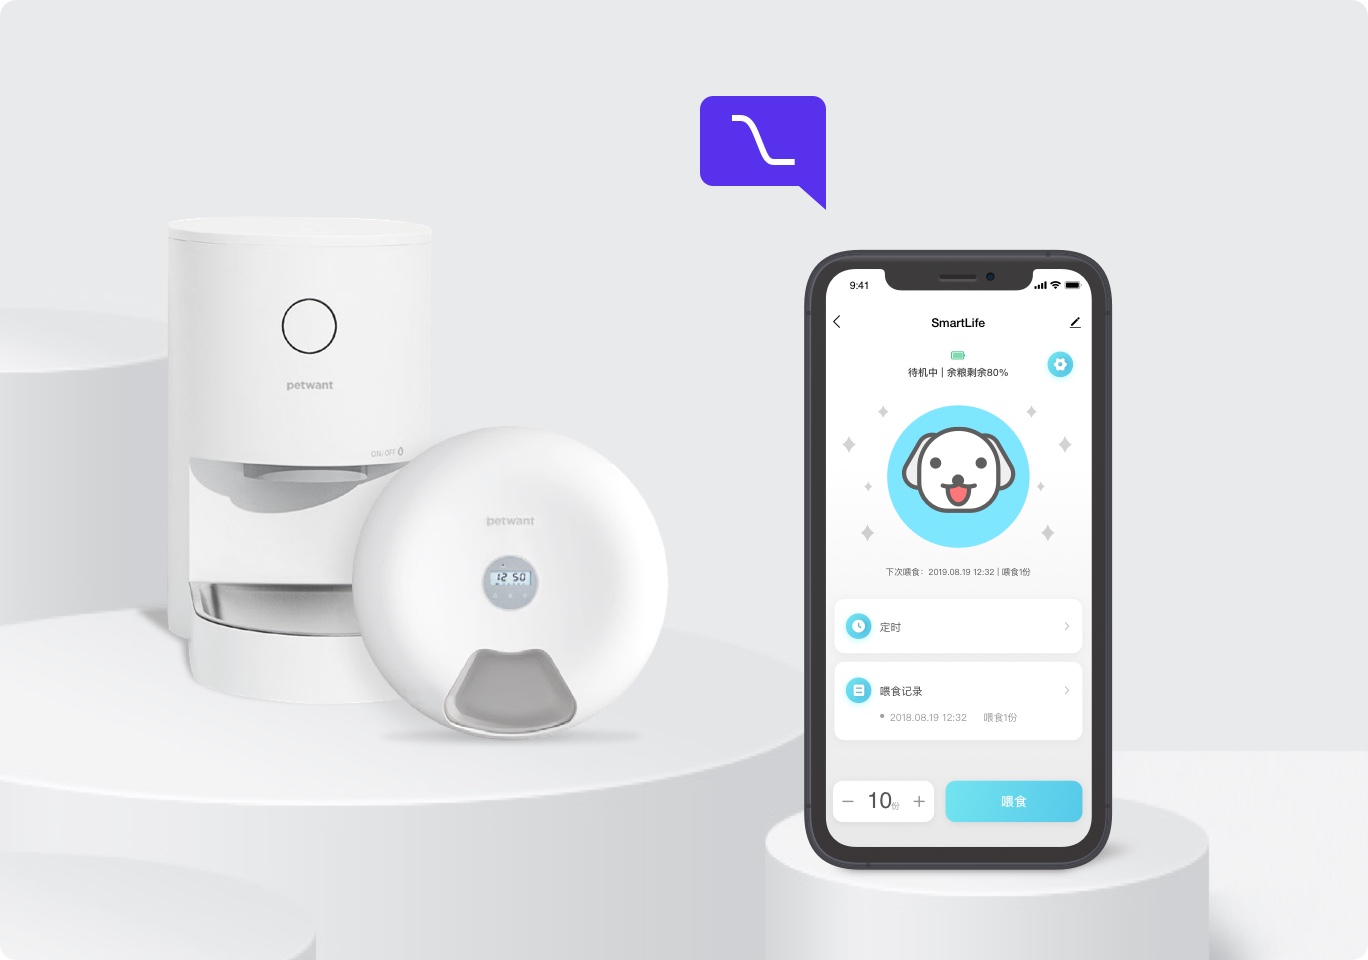
This demo describes how to make a smart pet feeder with the Tuya Sandwich development kit. The designed functions of smart feeders are as follows:
- Timely feeding, weekly schedule, and portion control.
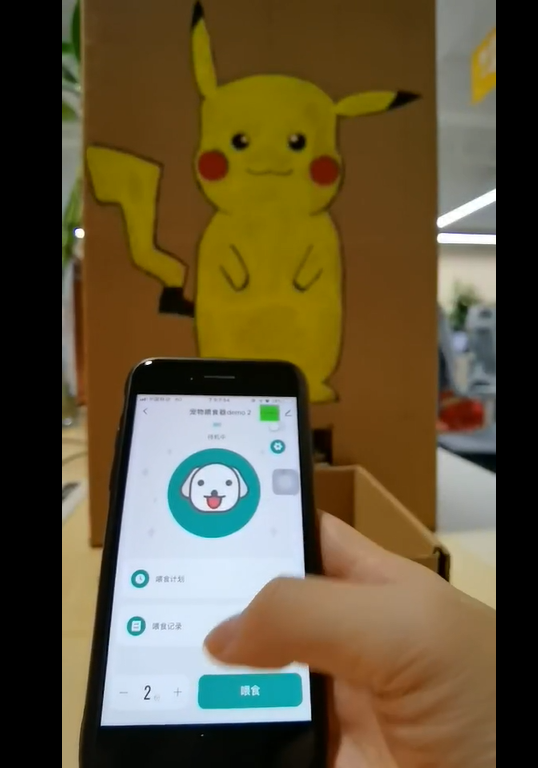
- Dispense portion through the mobile app.
- Feeding record review.
- Food insufficiency warning.
- Voice prompts.
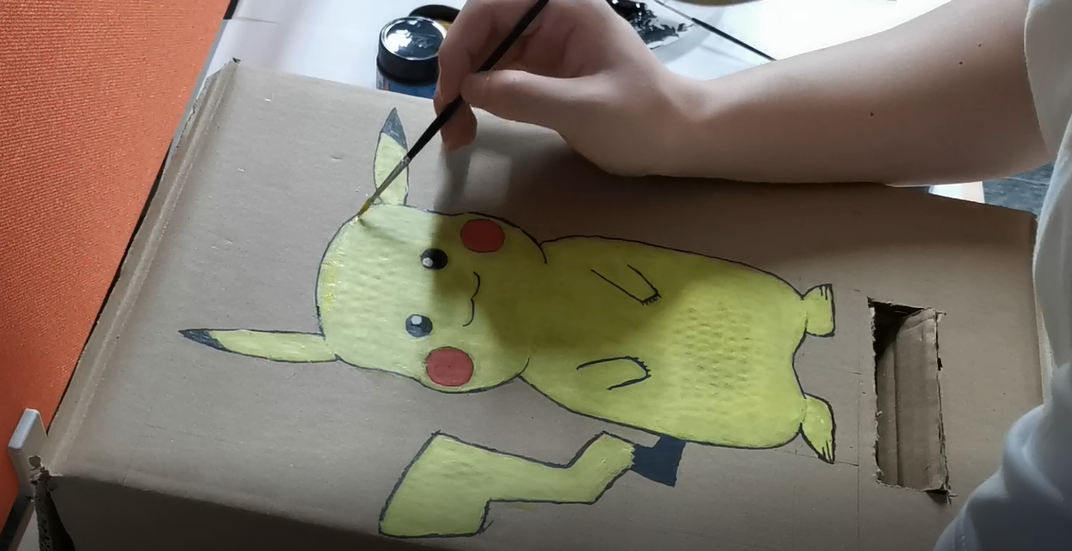
It is an easy demo for making a smart product prototype without complicated hardware design. You can use corrugated cardboard as the feeder shell in the first place and replace it with your required structure and material such as a transparent acrylic board.
Materials
Tuya Sandwich function board of DC power
Count:1Power other components of the Tuya Sandwich Evaluation Kit.more
Tuya Sandwich Wi-Fi MCU communication board (E3S)
Count:1Widely apply to prototypes developed by Tuya IoT custom solutions, including lighting, desk lamps, filament lamps, dimmers, lighting remote controls, power strips, switches, home appliances, exercise and health, and sensors.more
Gear motor
Count:1Provide torque for smart pet feeder.
NUCLEO-G071RB
Count:1An embedded development board that can be used to try innovative prototypes by combining different functionalities and consumption features provided by STM32 MCU.
Steps
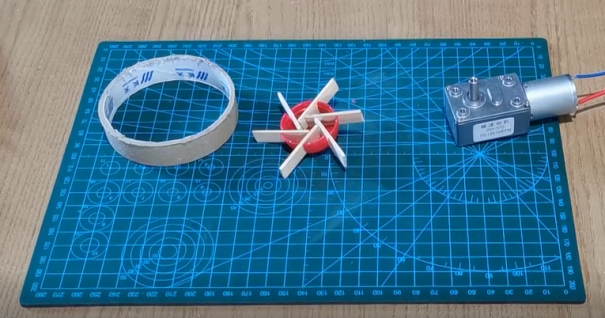
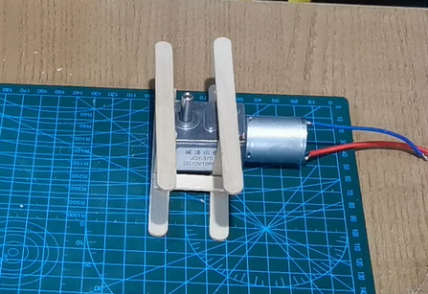
Step 1: Make a rotating structure
Make a regular hexagonal rotating wheel with ice cream sticks. For better fixation, you can use a plastic bottle cap as a support, so that the screw can bite into the middle to connect with the motor, and the surrounding space can be glued and fixed later.
-
The maximum diameter of the rotating wheel is 7.5 cm, which is equivalent to the inner diameter of a circular tape.
-
The height of the ring of the rotating wheel is 1.5 cm. You can cut the circular tape to make a ring for backup.
-
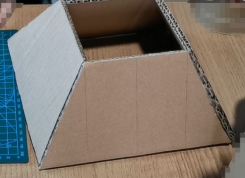
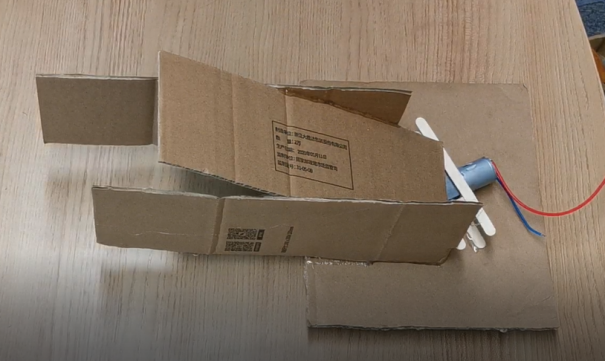
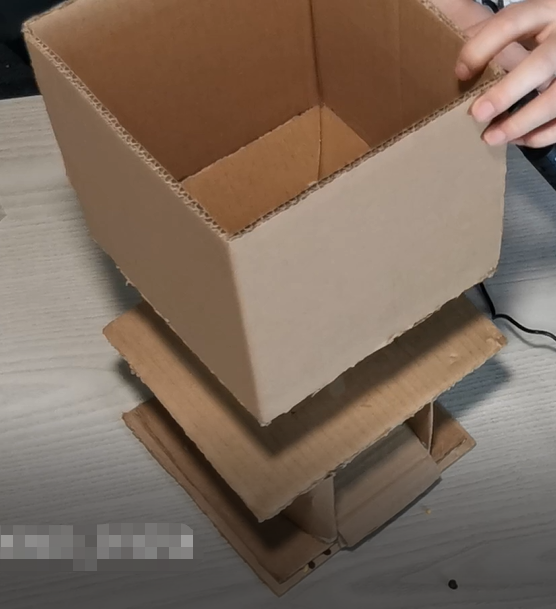
Step 2: Make a granary
You can make four isosceles trapezoids with the height, top, and bottom sides of 10 cm, 10 cm, and 20 cm respectively, and assemble them into a food tank.
Prepare a 10 cm square and cut a 120° fan shape with a diameter of 7.5 cm in the middle as the bottom seal of the food tank.
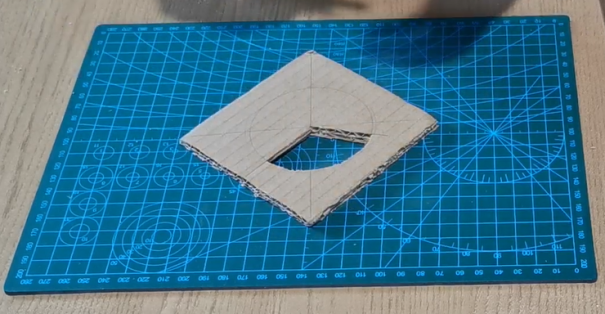
Step 3: Make a core structure
Prepare a 20 cm square and cut a 120° fan shape in the middle. Cut a round shape according to the motor column size to place the motor.
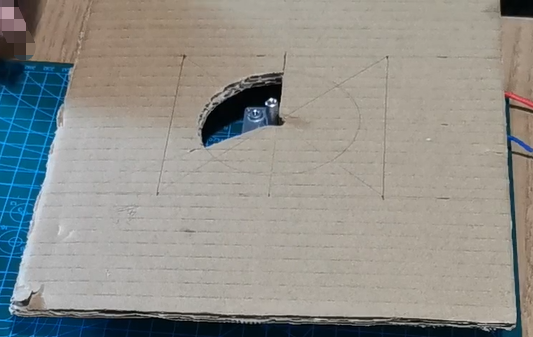
Make a motor bracket for core components assembly, and fix the rotating wheel with screws on it. Then place the food tank on the top thereby completing the core structure. Make a channel at the bottom as the food tray. You can postpone fixation for the convenience of subsequent debugging.

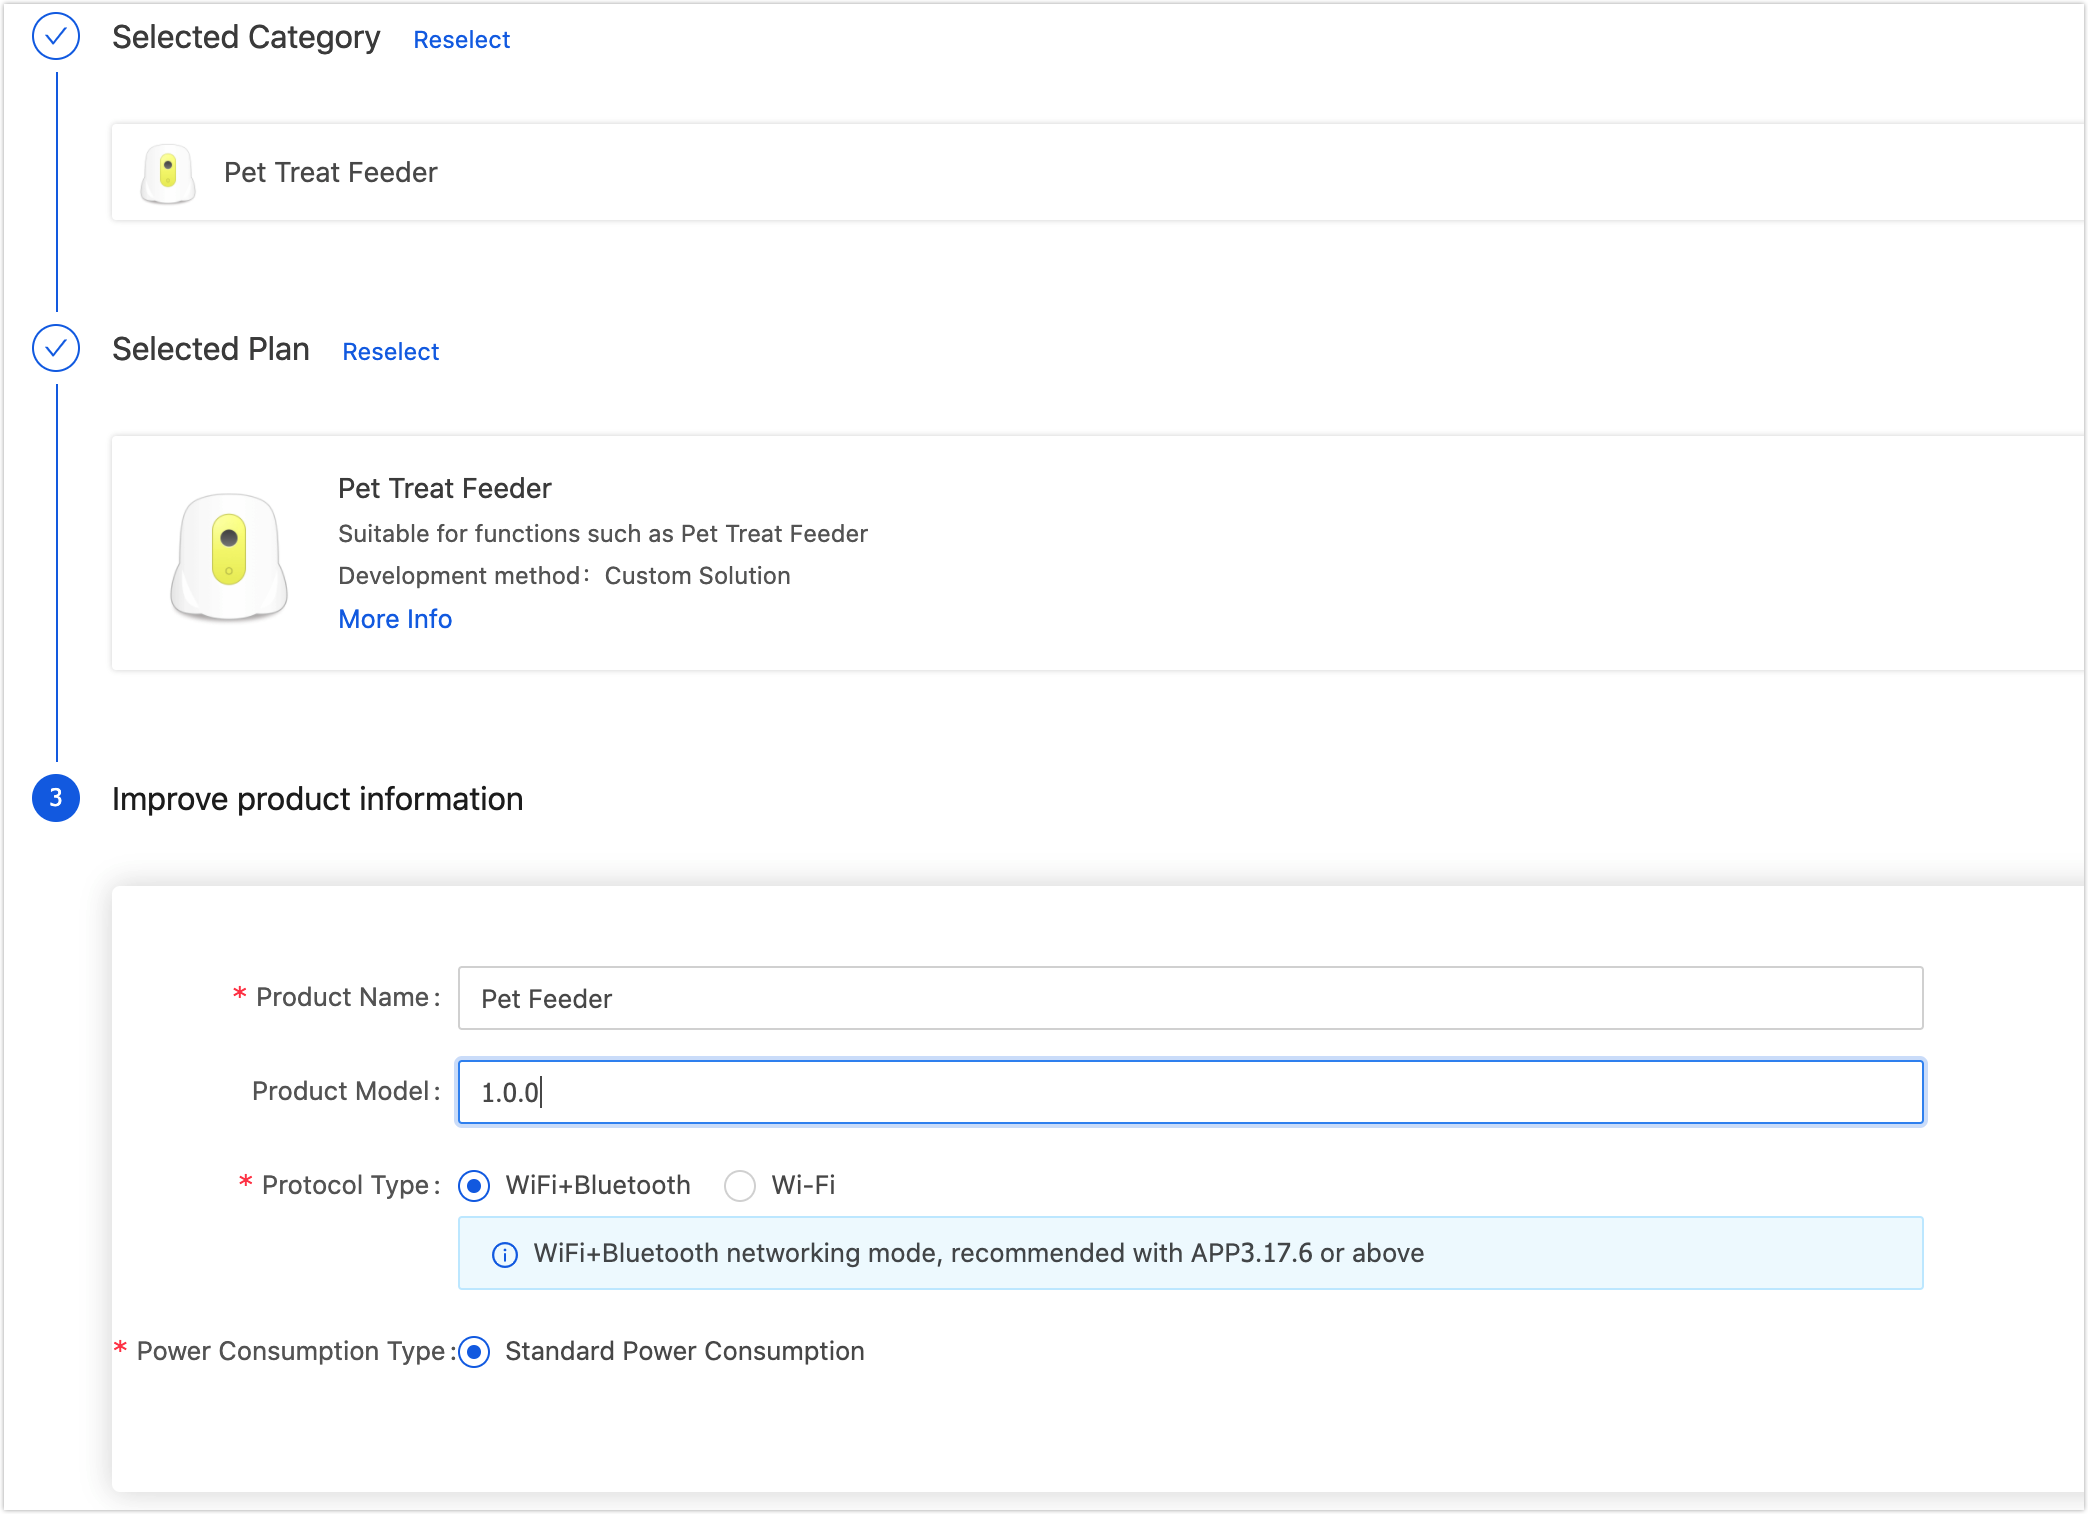
Step 4: Create a product on the Tuya IoT Platform
-
Log in to the Tuya IoT Platform.
-
See Create Products to create a pet feeder product.
-
Complete function definition, device panel selection, and development documents download as your product requirement. For more information, see Design App UI.
-
Step 5: Start embedded development
-
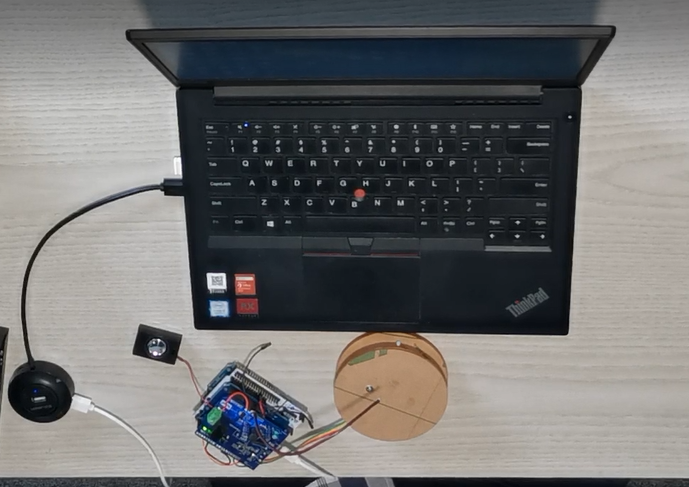
Prepare a Sandwich development board and a computer with a Windows operating system.
-
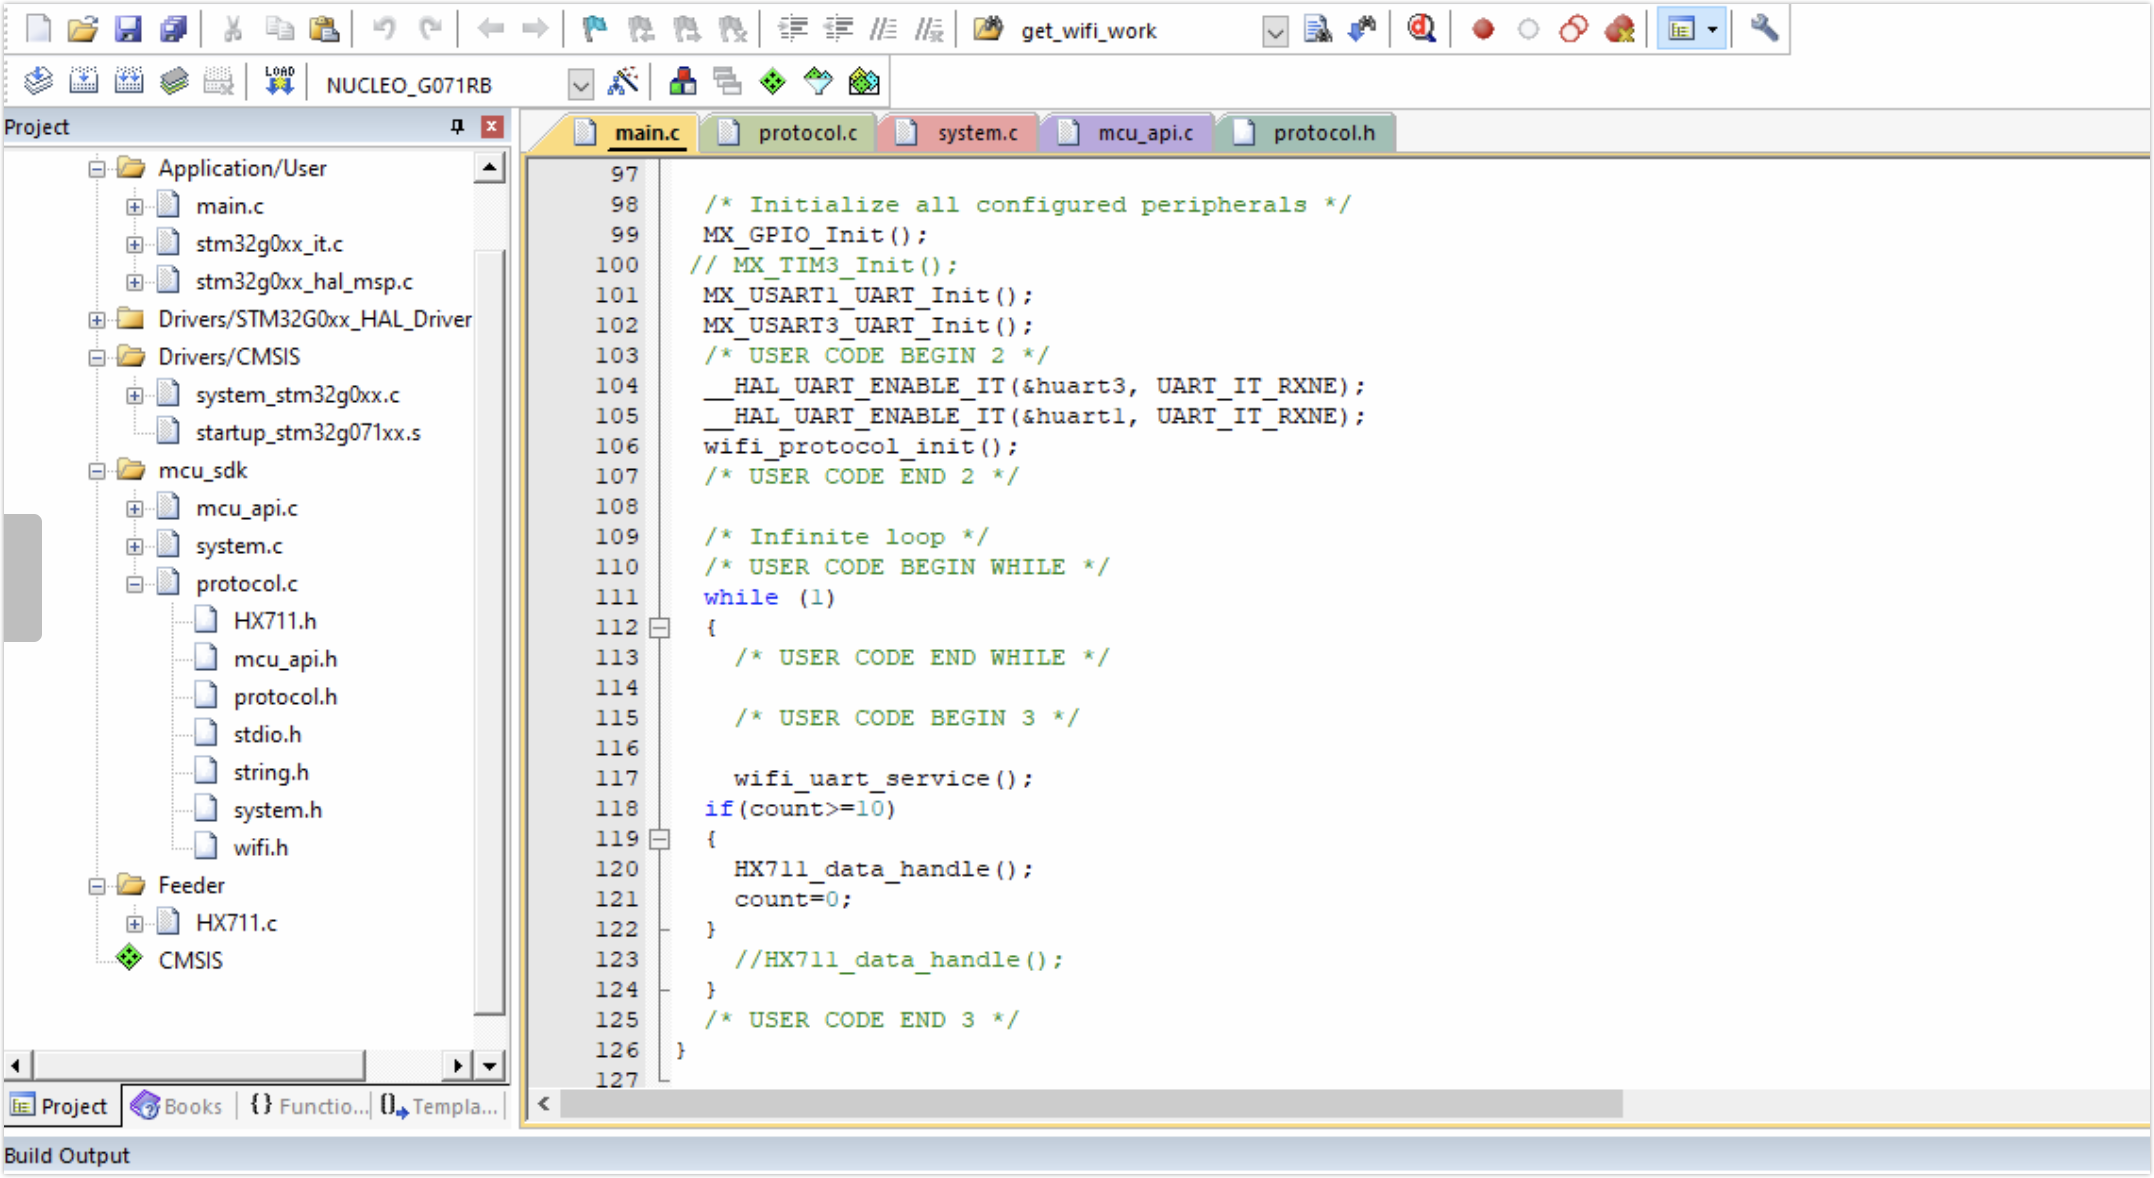
Write the embedded program code according to the product functions and attributes you selected.
-
See the section Burning firmware and authorization in Prototype a Smart Light, and burn firmware to the Wi-Fi development board.
-
Step 6: Assemble and debug
-
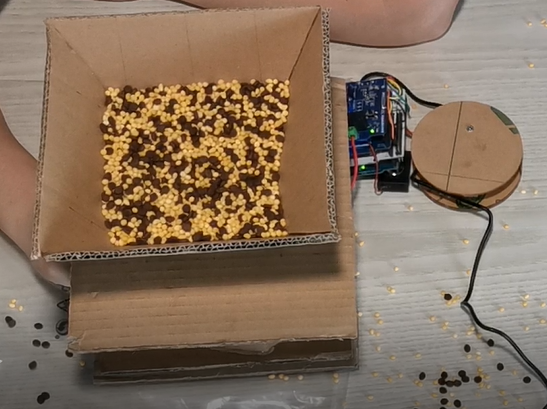
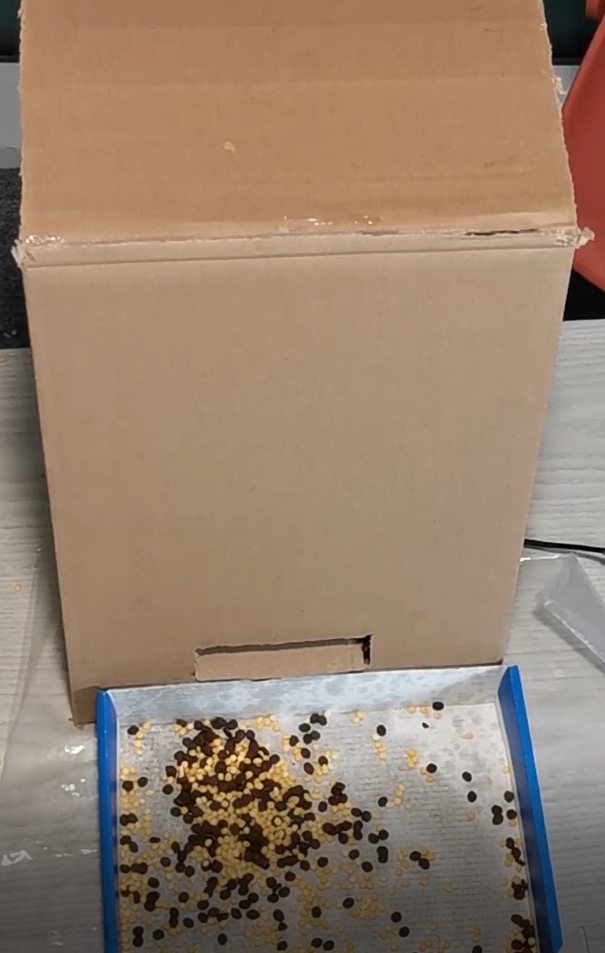
You can use plastic bullets as cat food for food loading test.
-
(Optional) Adjust the height of the food tank as needed.
-
Put up the shell after assembly.
-
Download the Tuya Smart app to your phone.
-
Open the Tuya Smart app, add your device, and find your pet feeder.
-
Start network pairing based on the program embedded.
-
Complete the following steps as per the prompts.
-
Try controlling the pet feeder with the Tuya Smart app.
-
Summary
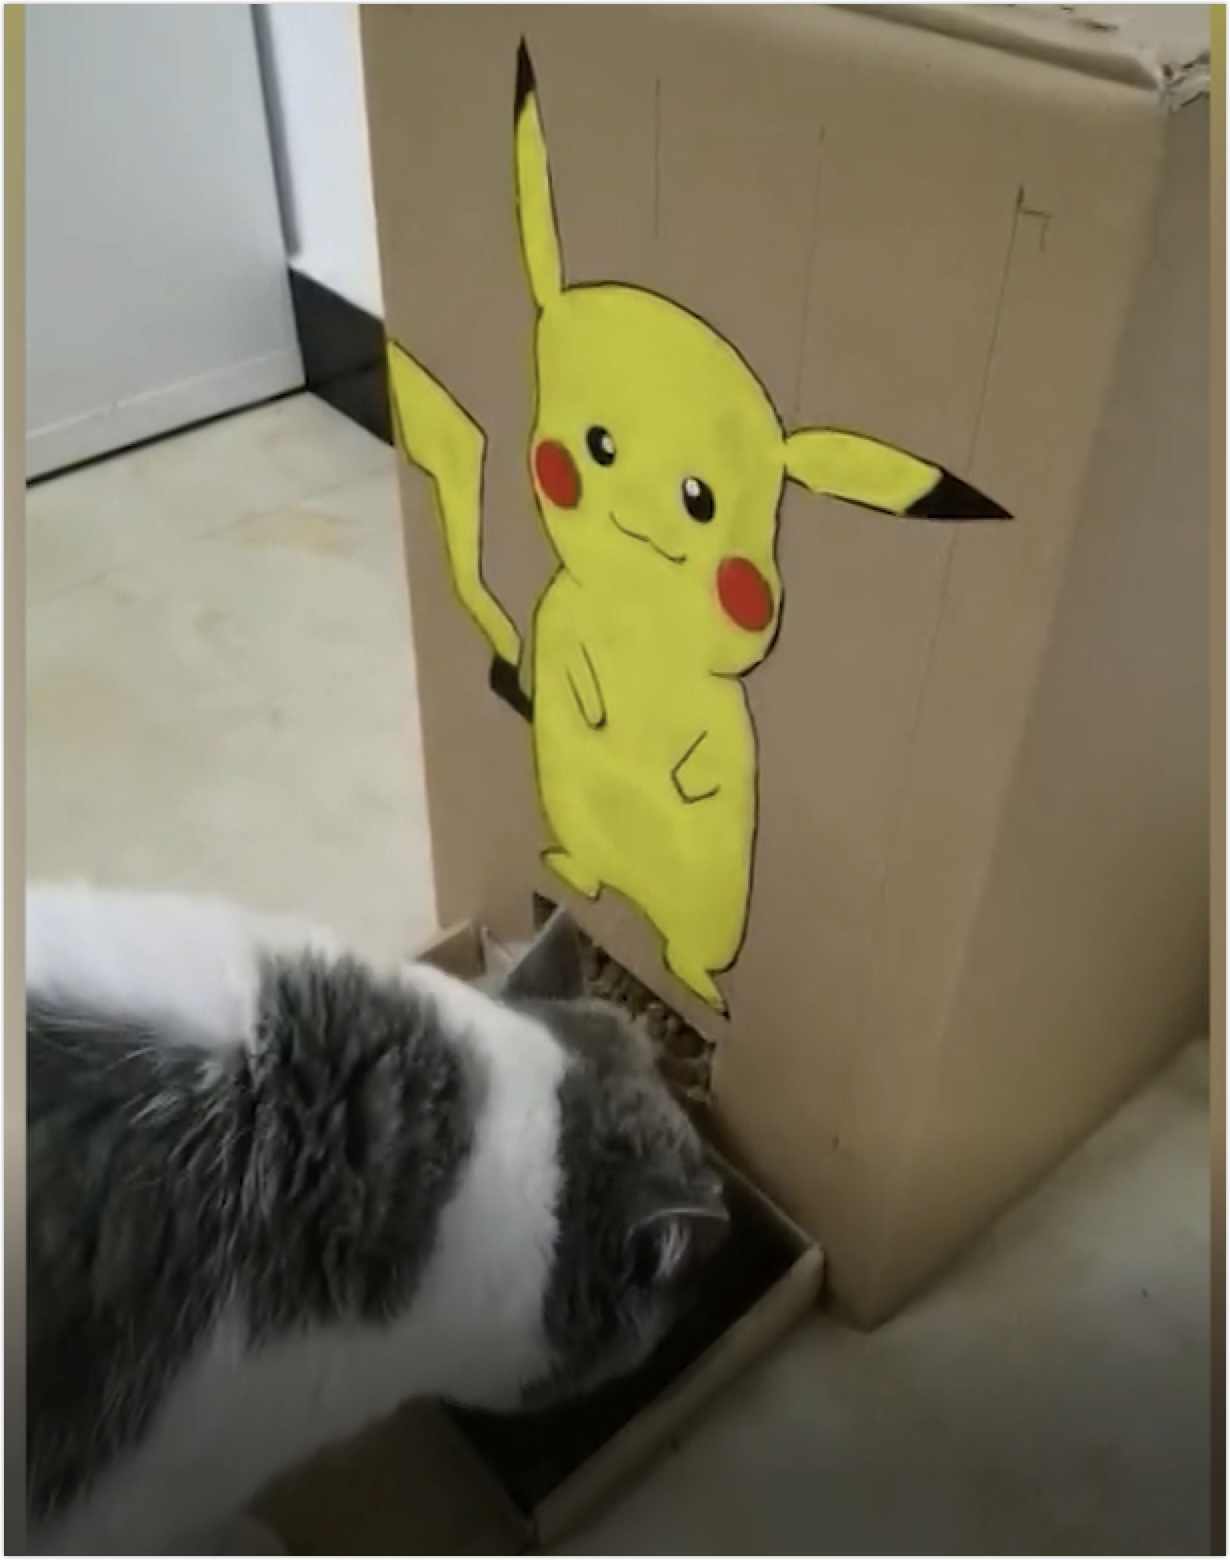
The biggest concern when you are off home for a long time is your pet. You can create an economical and practical smart pet feeder on the Tuya IoT Platform to enable remote feeding control. For more information, see Tuya Solution Center.
Is this page helpful?
YesSuggestions


