Prototype a Temperature and Humidity Sensor with Bluetooth Module SDK
Overview
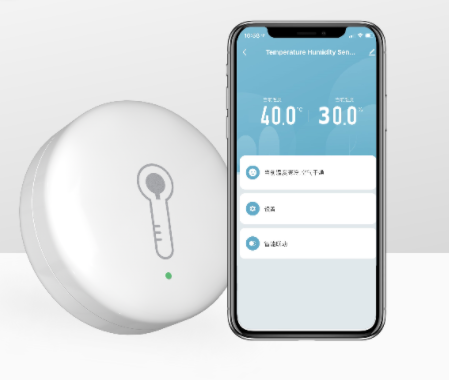
The temperature and humidity sensor is widely used in the smart home. The data of temperature and humidity collected by the sensor can be the trigger for executing home automation.
For example, when the indoor temperature exceeds a preset value, such as 29°C, the air conditioner is automatically turned on to cool down the room. When the temperature drops below a preset value, such as 23°C, the air conditioner is automatically turned off. When the indoor temperature drops below a lower preset value, such as 12°C, the air conditioner is automatically turned on to heat the room. Air conditioner automation can be used to keep a preferred indoor temperature, conserve energy, and cut down utility bills. This allows users to enjoy superior comfort all the way.
Based on the Tuya IoT Platform, you can prototype a smart temperature and humidity sensor from scratch with a few simple steps. This demo describes how to quickly prototype a smart temperature and humidity sensor with the demo code and Tuya Sandwich development board.
Materials
Tuya Sandwich function board of temperature and humidity sensor
Count:1The function board contains a Sensirion's temperature and humidity sensor—SHT30-DIS. The Inter-Integrated Circuit (IIC) protocol is used to establish communication between integrated circuits (ICs) and support the clock frequency of up to 1 MHz.more
Tuya Sandwich BLE SoC master control board (BT3L)
Count:1You can download different types of Bluetooth Low Energy (BLE) SoC no-code firmware from the [Tuya IoT Platform](https://iot.tuya.com/) and use the firmware with applicable function boards. You can also develop firmware based on the SDK.more
Tuya Sandwich DC power supply board
Count:1Power other components of the Tuya Sandwich Evaluation Kit.more
Telink Burning and Debugging Tool (BDT)
Count:1Flash the firmware to the module.more
5V Micro USB adapter or 12V adapter
Count:1Power the power board.more
Steps
Step 1: Create a product and download the development materials
-
Log in to the Tuya IoT Platform.
-
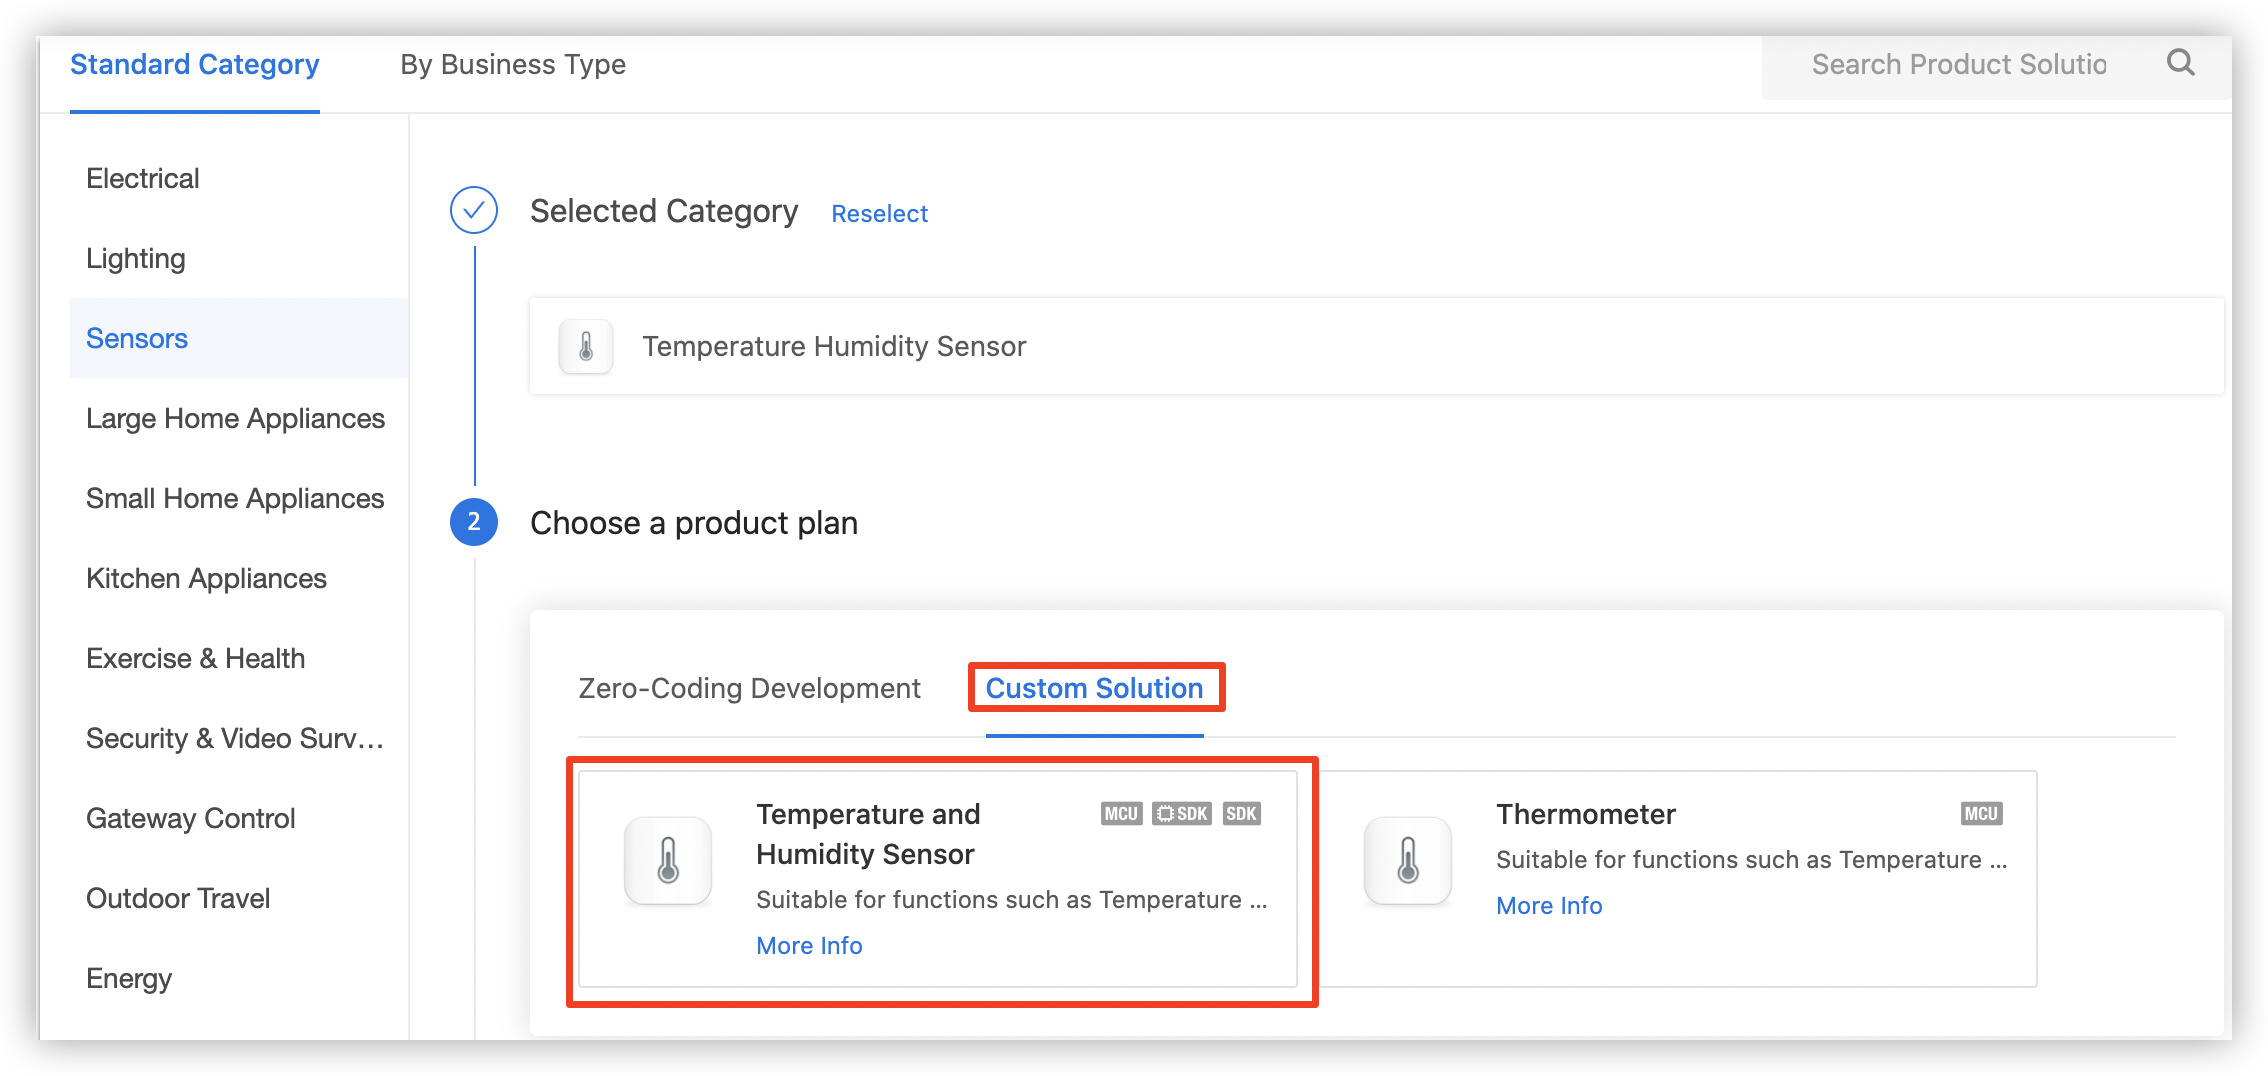
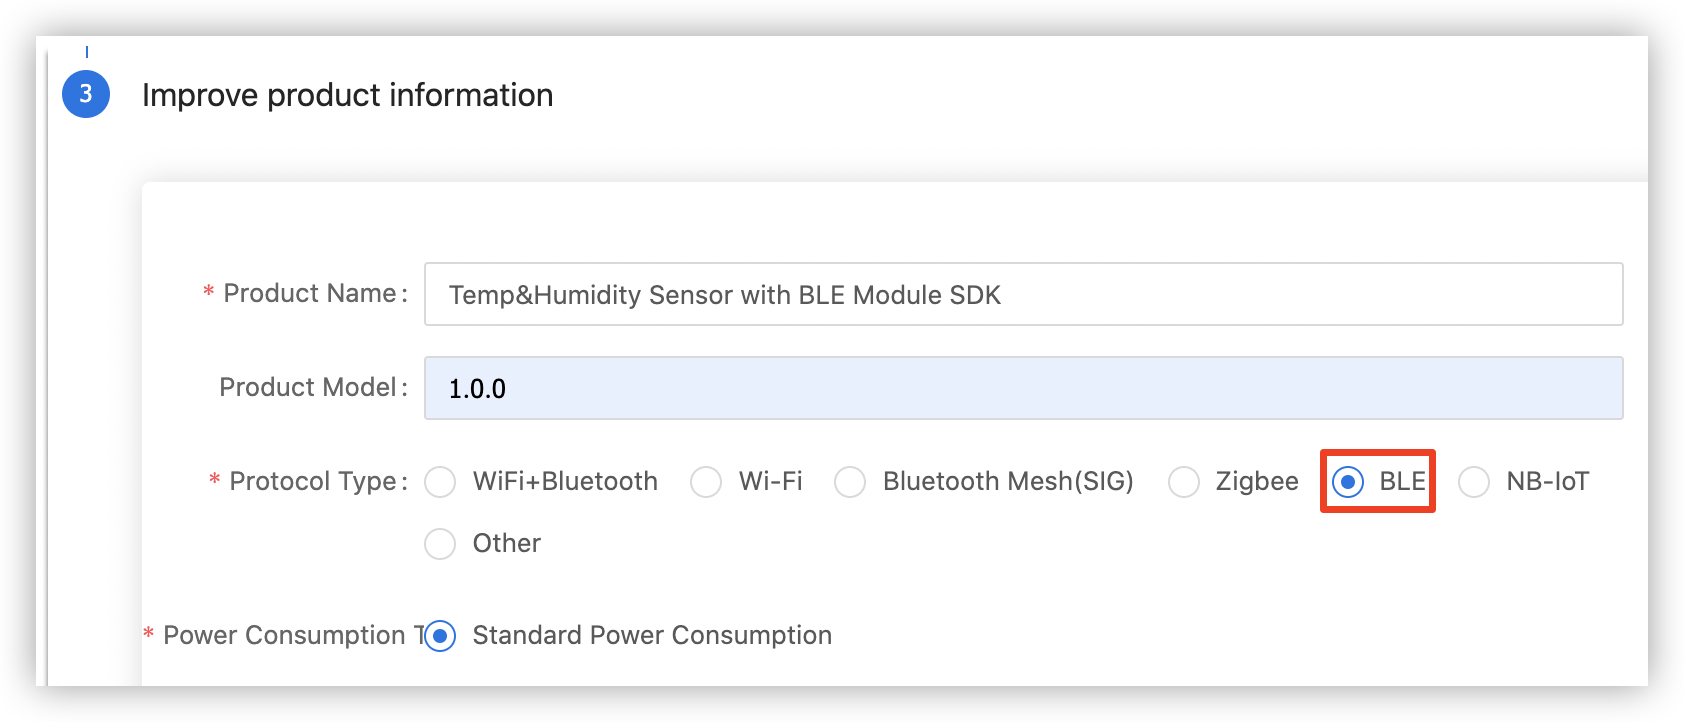
Create a product that adopts the custom solution. For more information, see Create Products.
-
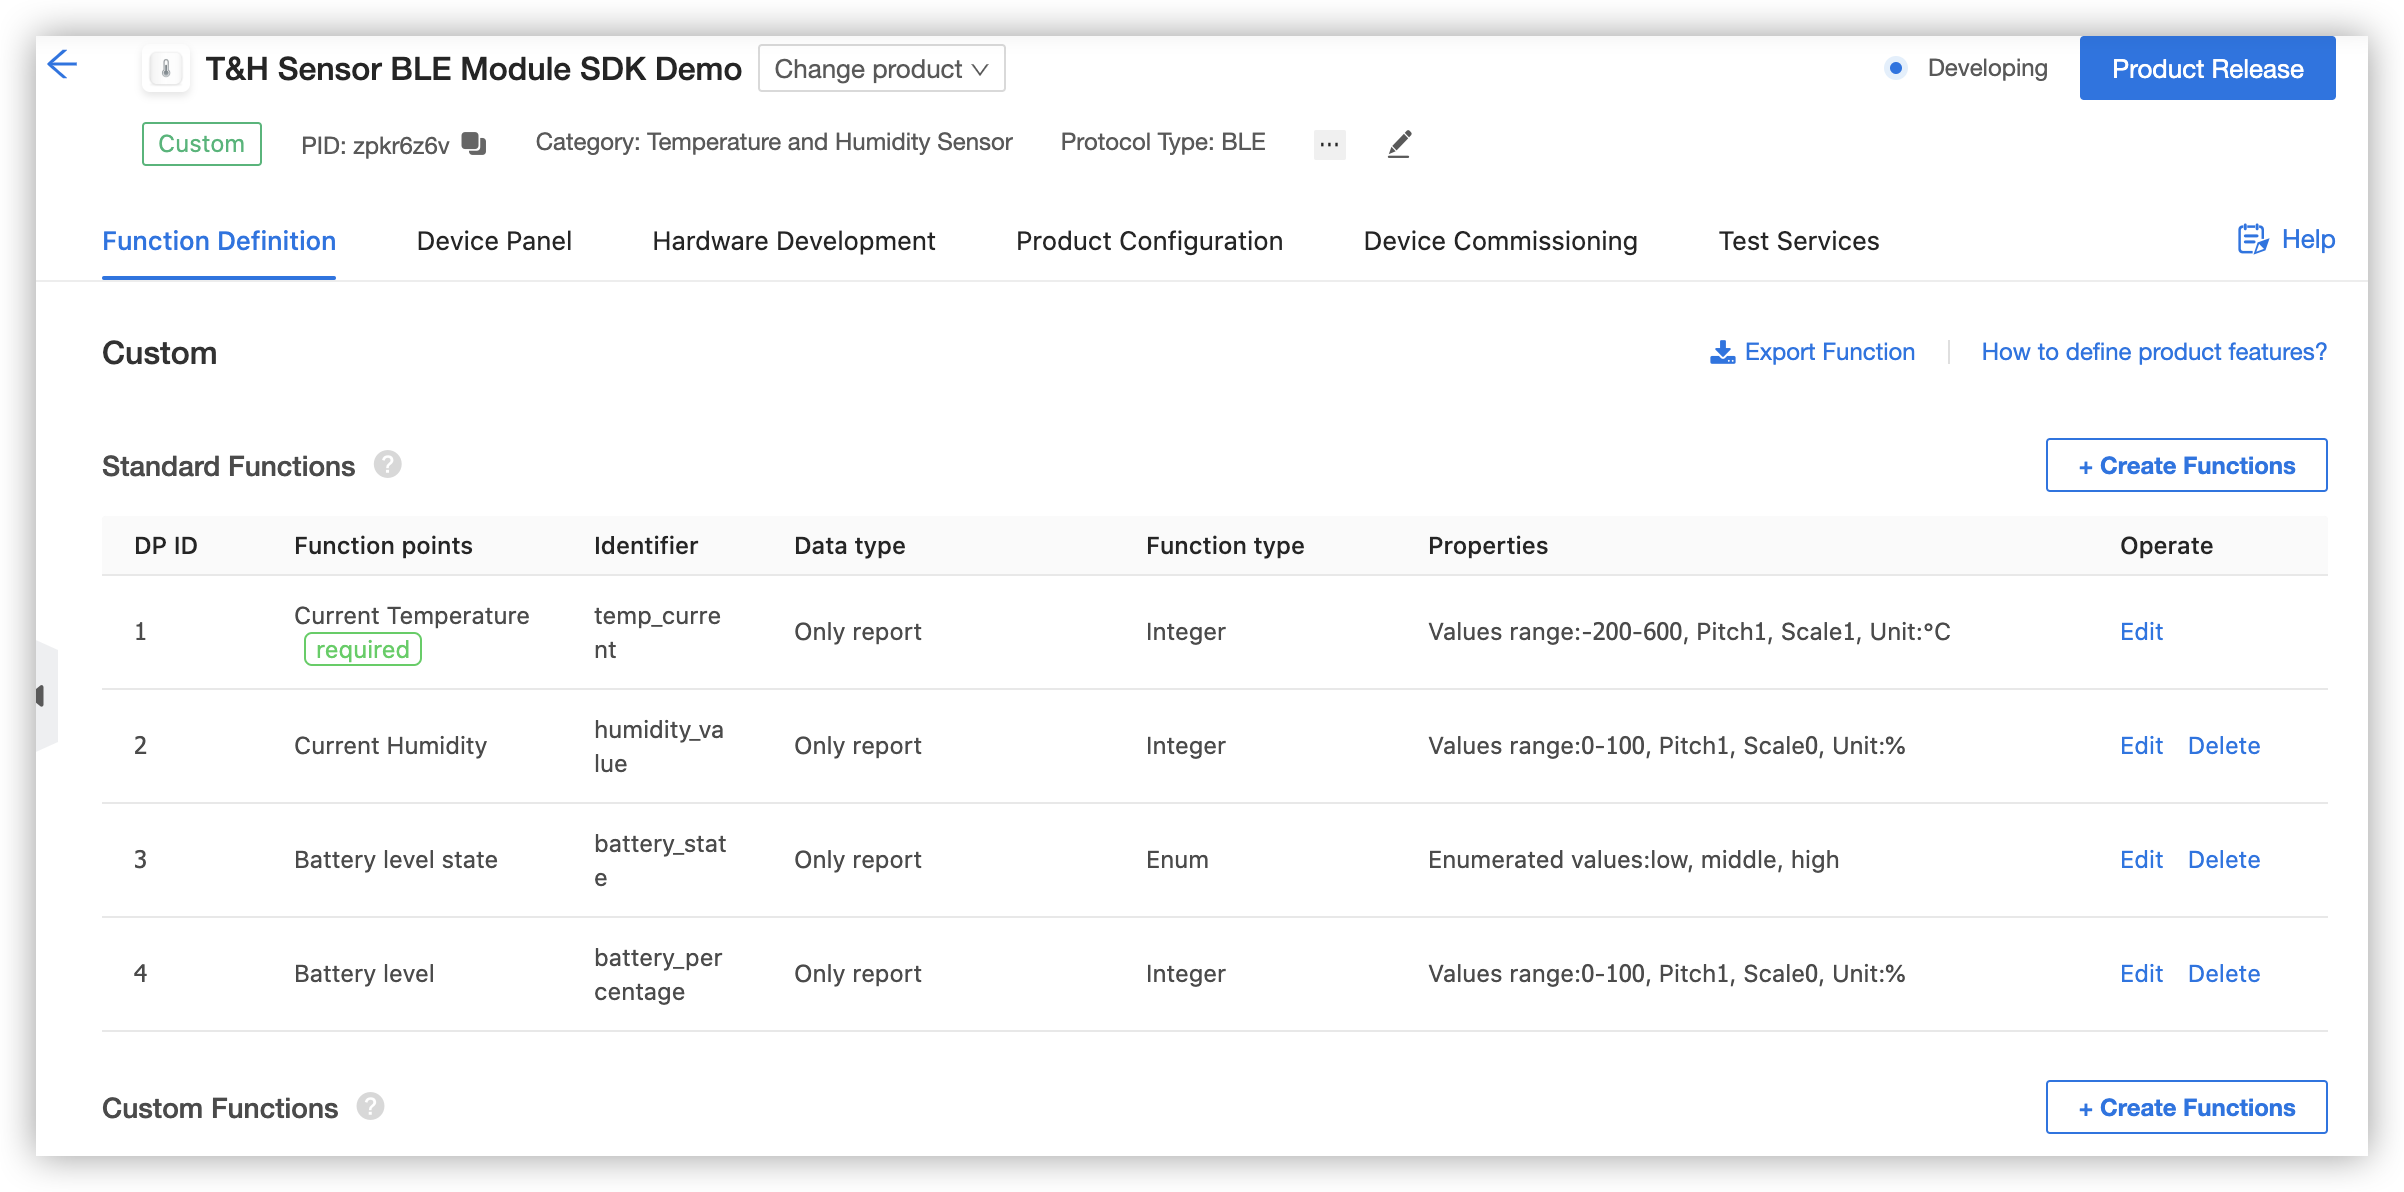
Select functions for the temperature and humidity sensor. The following figure shows the functions that are selected in this demo.
-
On the Device Panel tab, select an app panel that suites the product. For more information, see Design App UI.
-
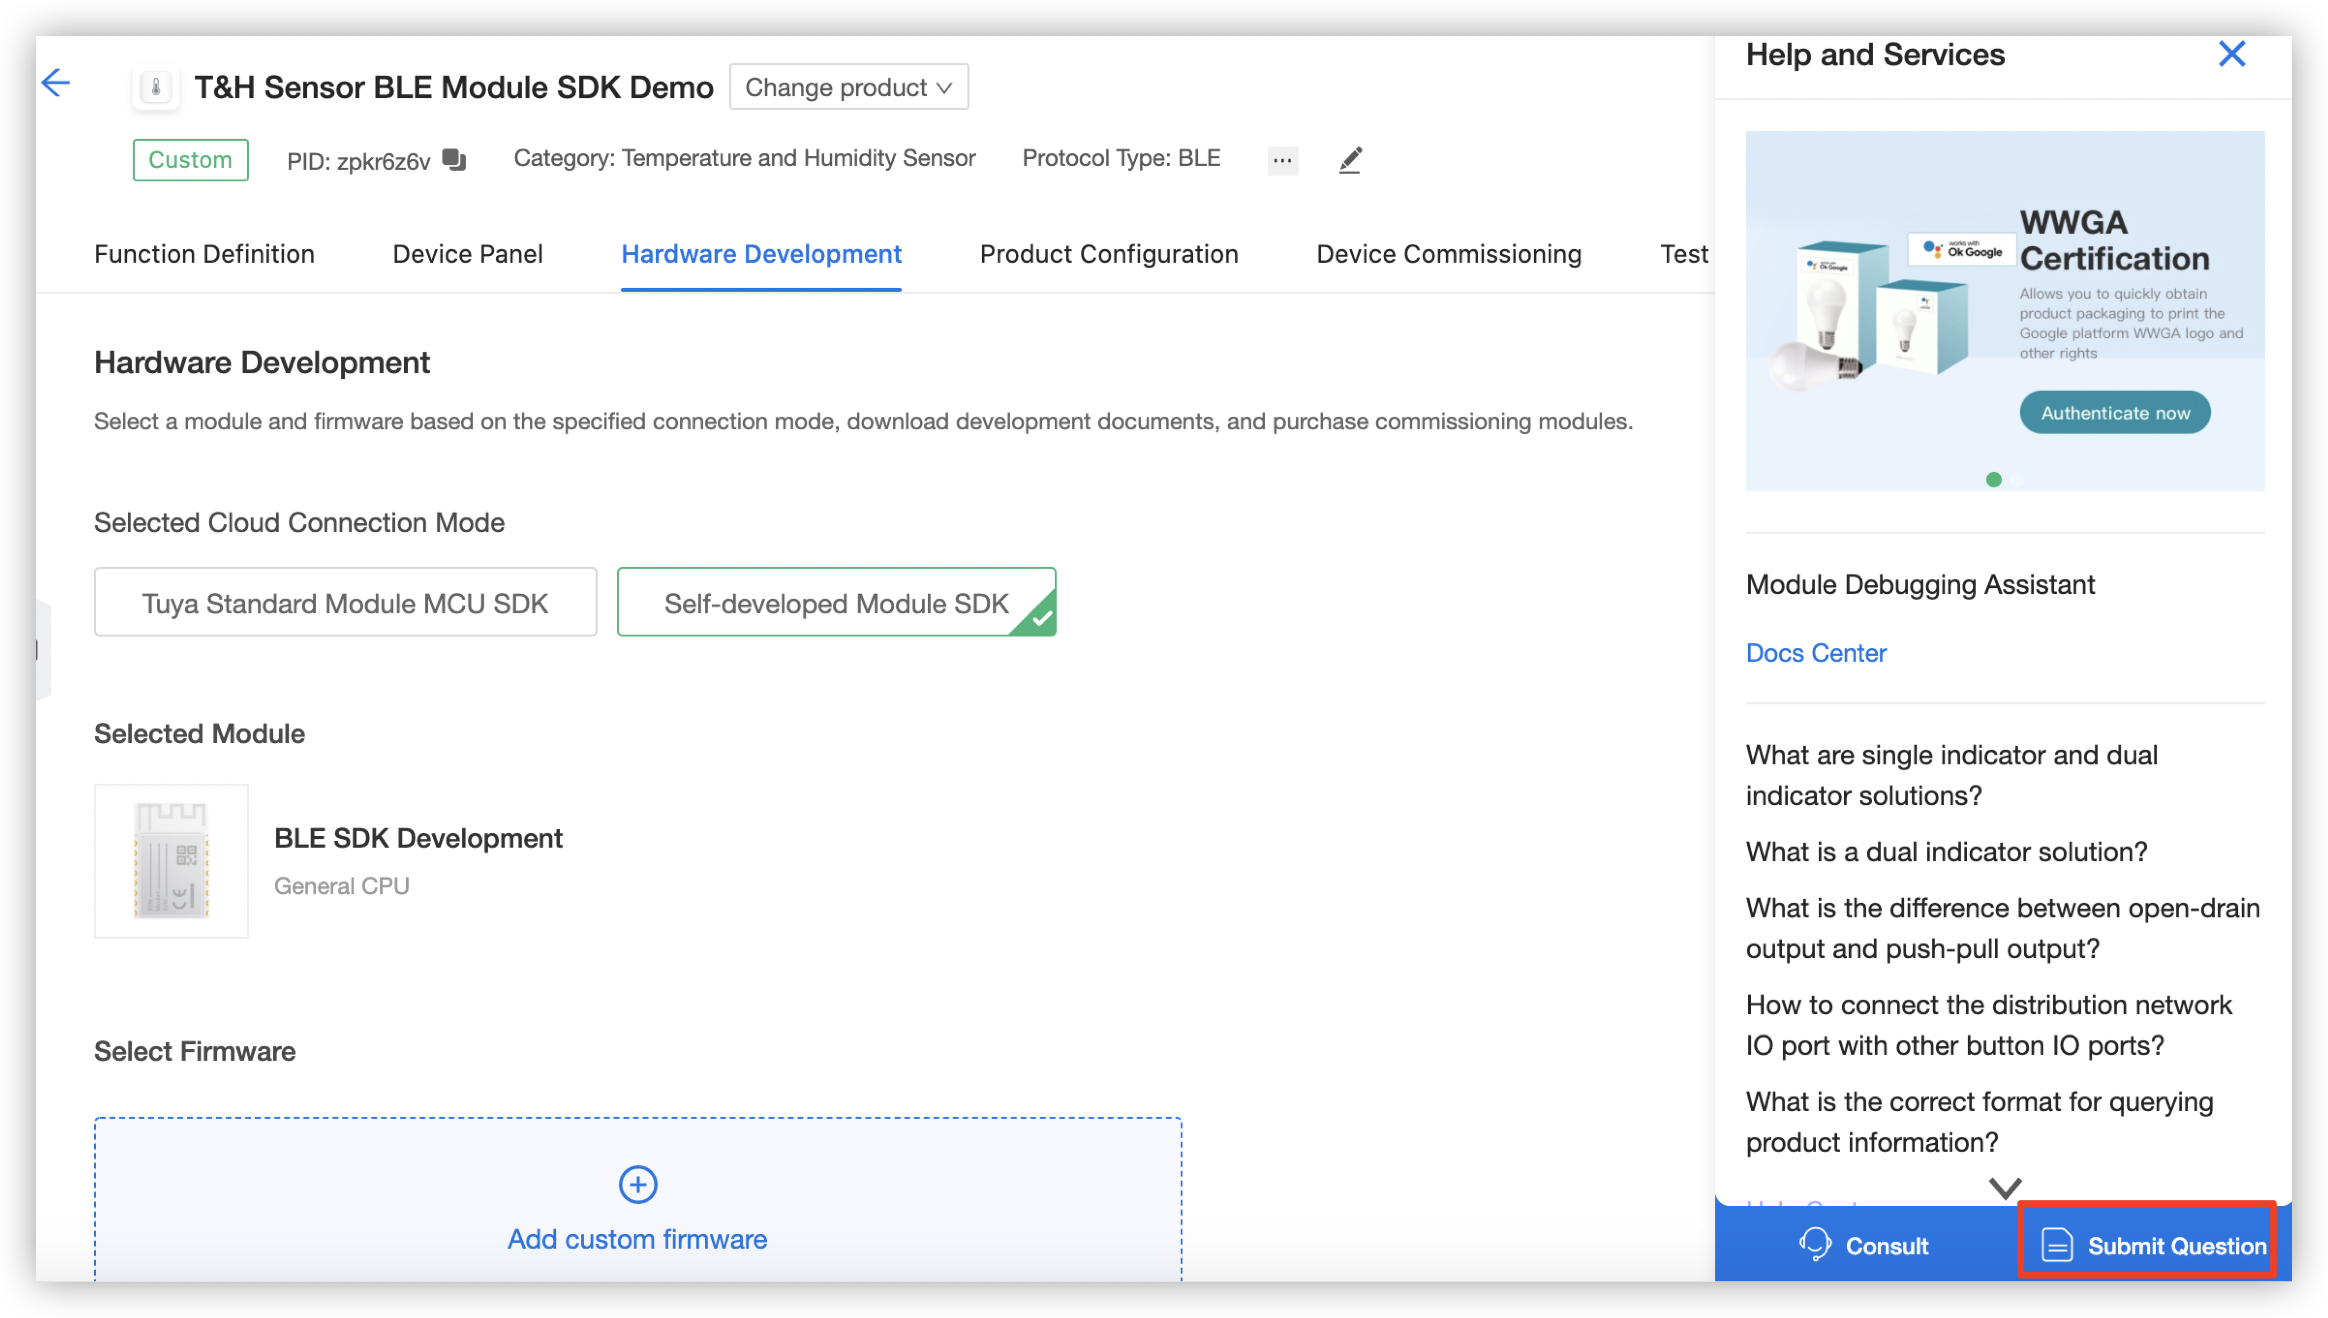
In the step of Hardware Development, select the Self-developed Module SDK, and set the required fields. In this example, Chipset Platform is set to General CPU.
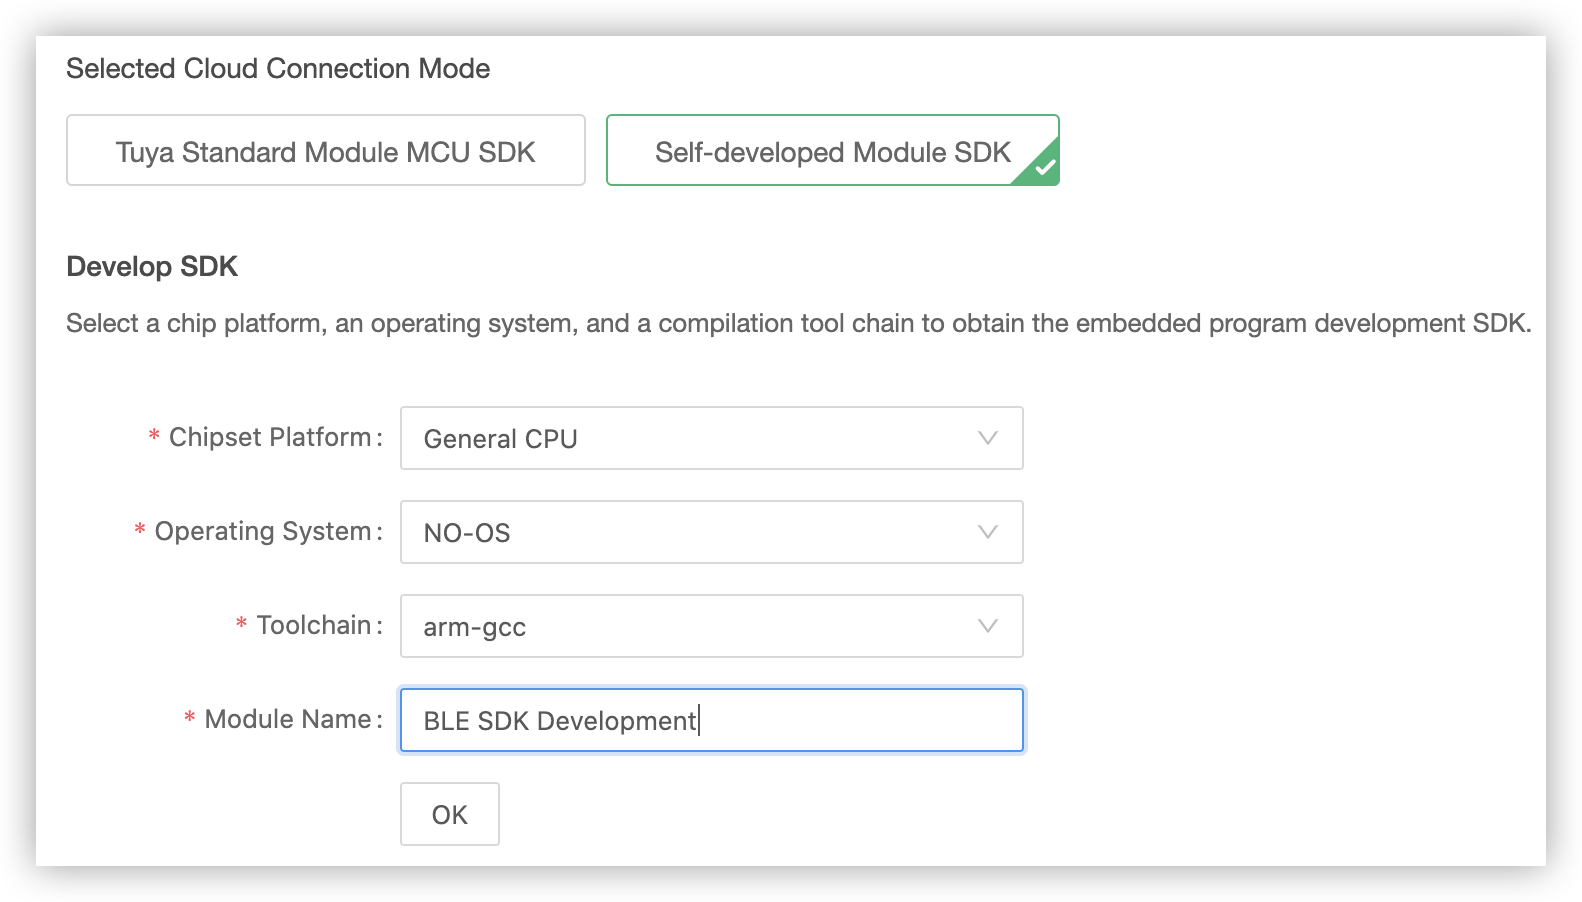
-
In the Download Documents section, you can download the SDK.

-
Step 2: Compile code
After the downloaded SDK is decompressed, you can open the
tuya_ble_appfolder and check the application demo and documentation. You can follow thesht3xdemo in theSHT3xdirectory and modify the code to implement sensing functionality.-
Modify device information in the
tuya_ble_app_demo.hfile, includingAPP_PRODUCT_ID,APP_BUILD_FIRMNAME, andTY_APP_VER_STR. The following list describes the information:-
APP_PRODUCT_IDis generated when you create a product in Step 1.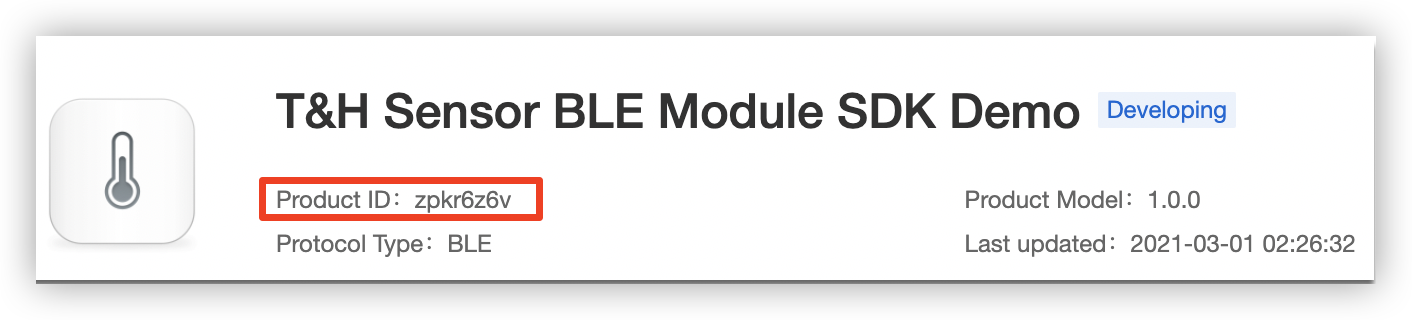
-
APP_BUILD_FIRMNAMEis the firmware identifier. This is the unique identification of the firmware. This information is verified during flashing authorization and cannot be modified.
-
TY_APP_VER_STRis the firmware version that is used to mark the version of the updated firmware during OTA updates.
-
-
Modify the IIC configuration in
shx.hbased on the hardware circuit of the development board. This allows you to define I/O pins that are used by the sensor. When you use the sensor, keep the default I/O pin settings. -
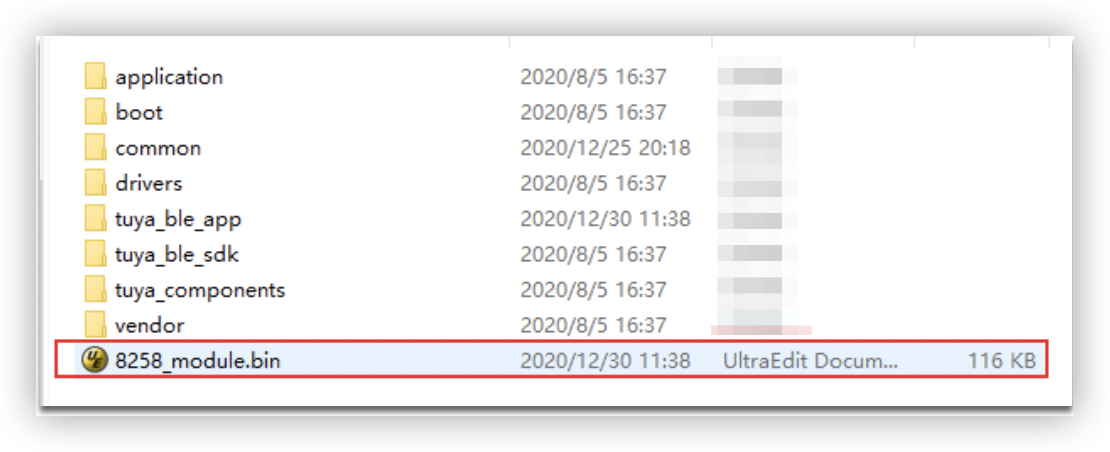
After you modify the
shx.hfile, compile the Telink project. Then, the system automatically applies the modified values to the application code and generates the firmware for production and updates in theble_sdk_multimode\8258_modulefolder.
-
Step 3: Flash the firmware and authorize the development board
-
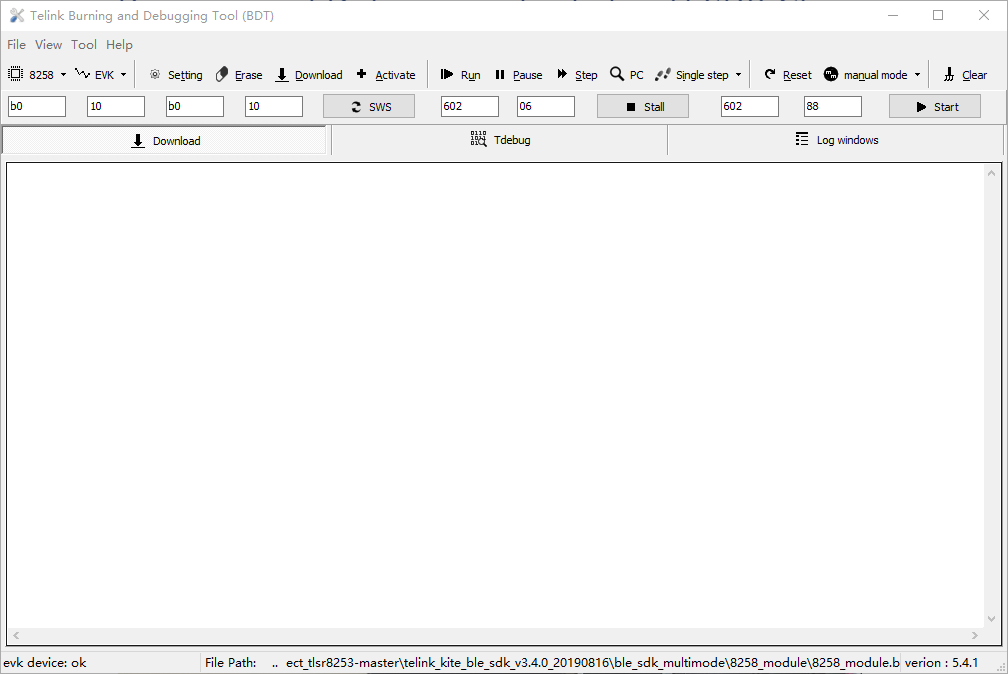
Test stage
You can use the Telink Burning and Debugging Tool (BDT) to flash the production firmware that is generated in Step 2 to the development board for testing. However, in this case, the module cannot connect to the app, including Tuya Smart, Smart Life, and OEM app. To test the device by using the app, you must get the authorization code and enable permanent authorization of the module on the Cloud Module Burning Authorization Platform. For more information, see the next section “Production stage”.
-
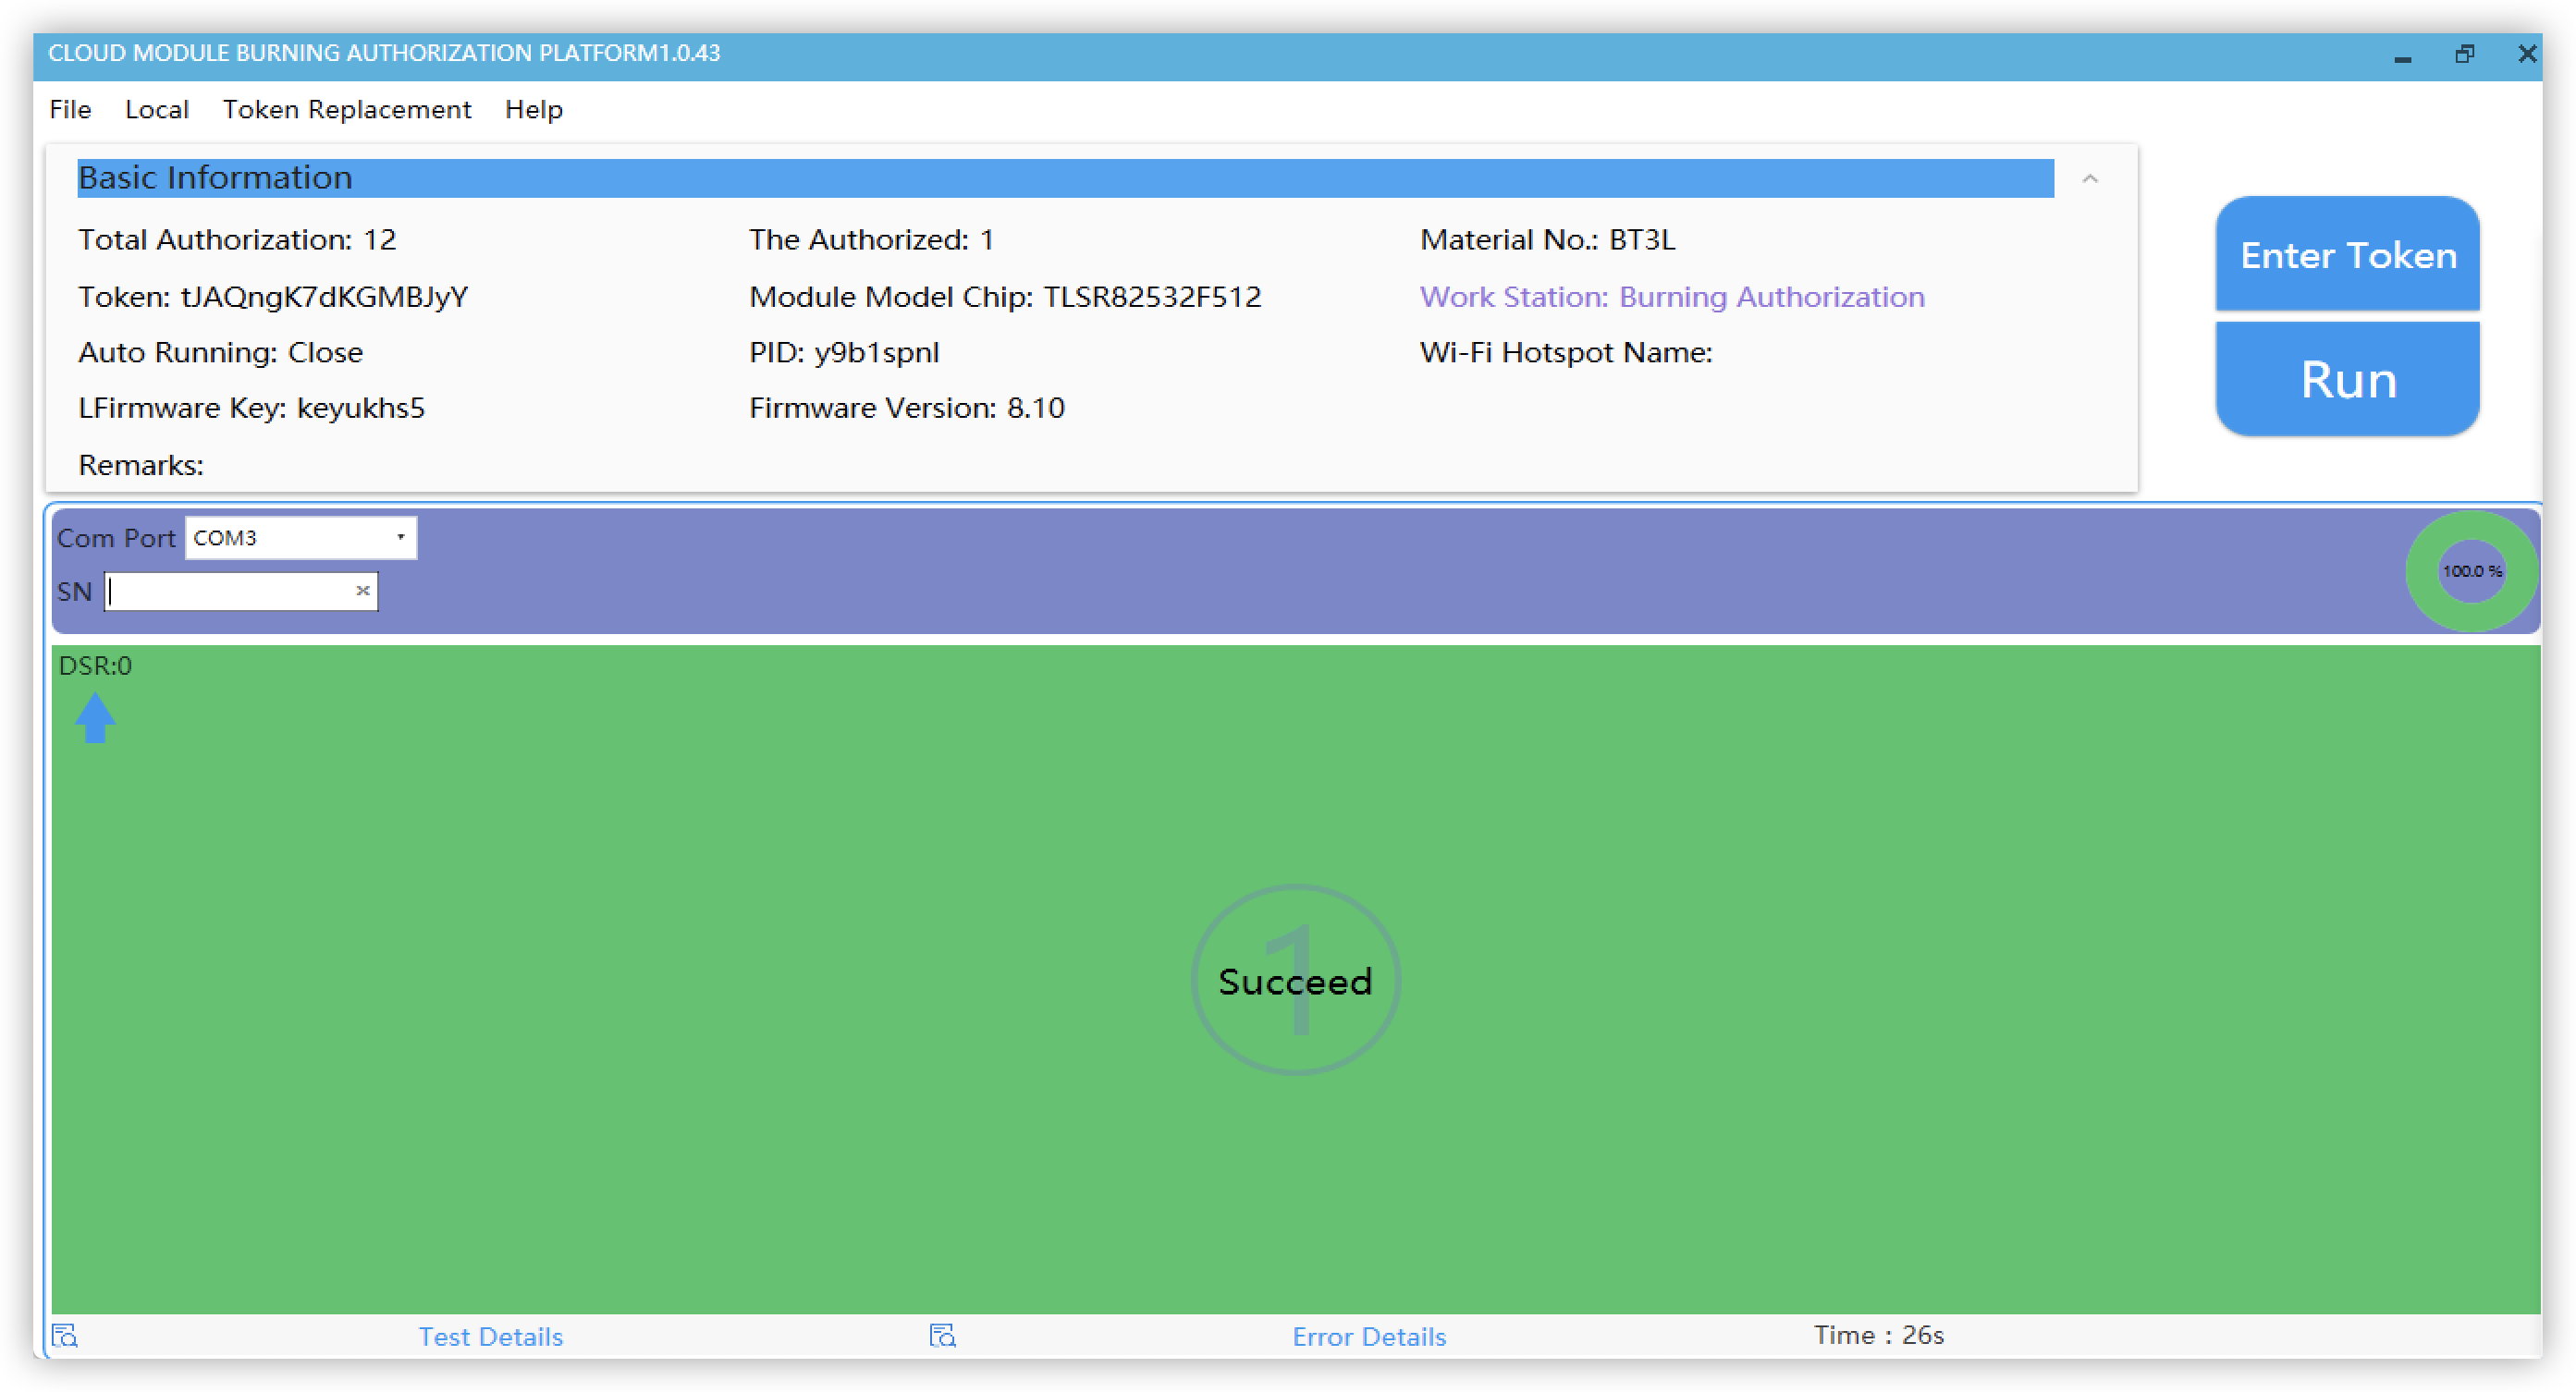
Production stage
Log in to the Tuya IoT Platform and go to Tuya Service & Support to submit a ticket and request technical support from Tuya Smart. Technical support engineers can help you upload the firmware and apply for an authorization code for flashing and authorization.
After you get the authorization code, you can proceed with flashing and authorization. For more information, see Authorization and programming in Firmware Programming and Authorization. An authorized module can be connected to the Tuya IoT Platform.
-
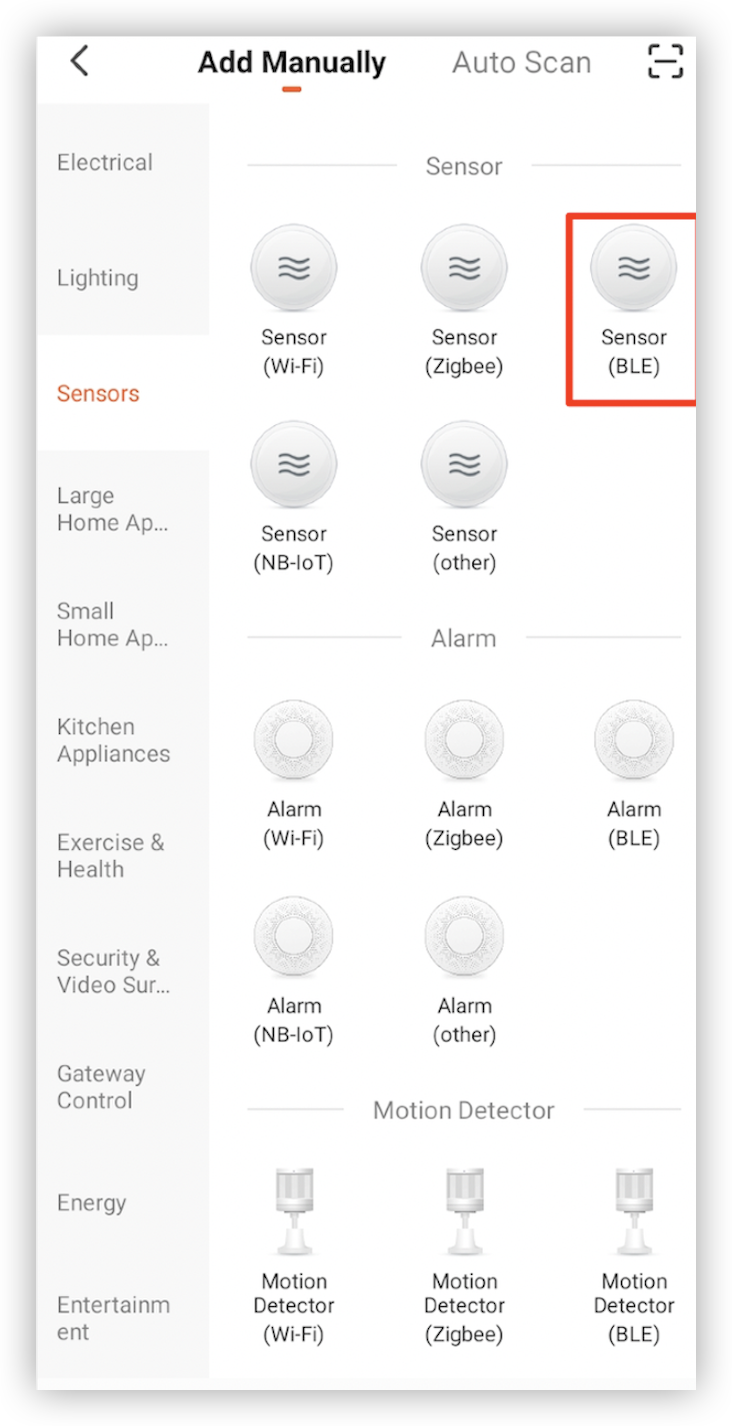
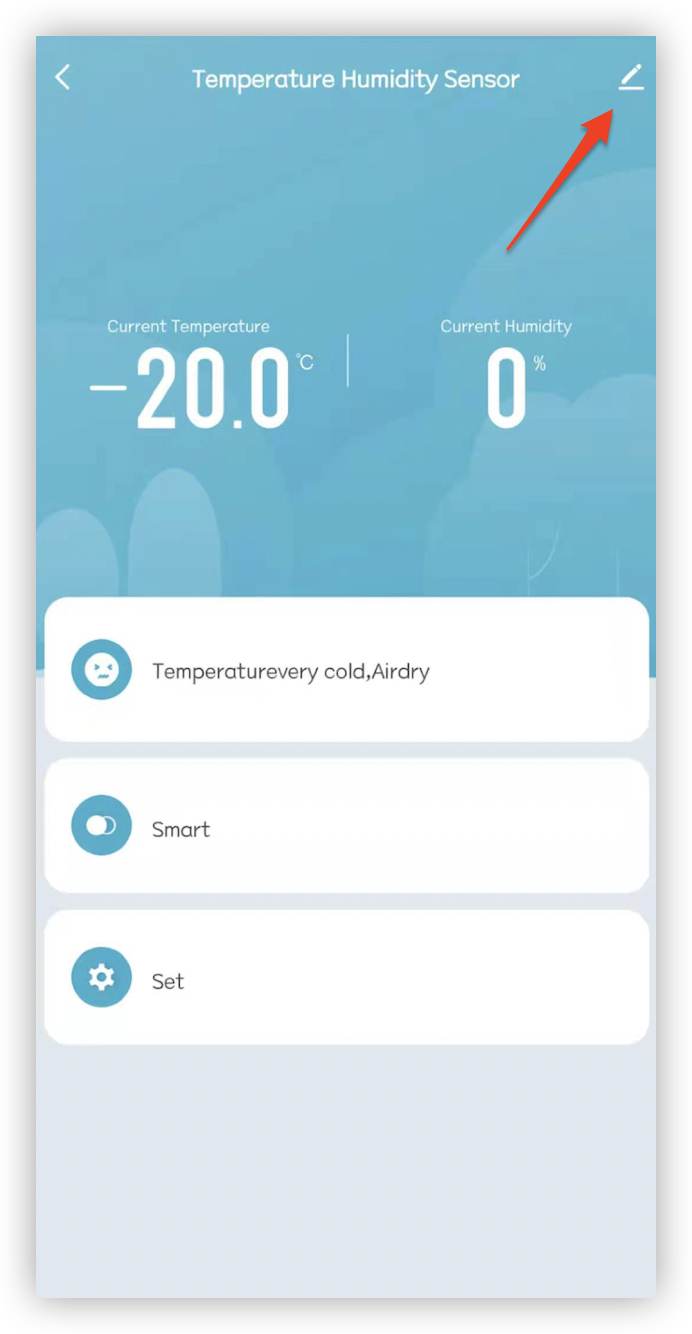
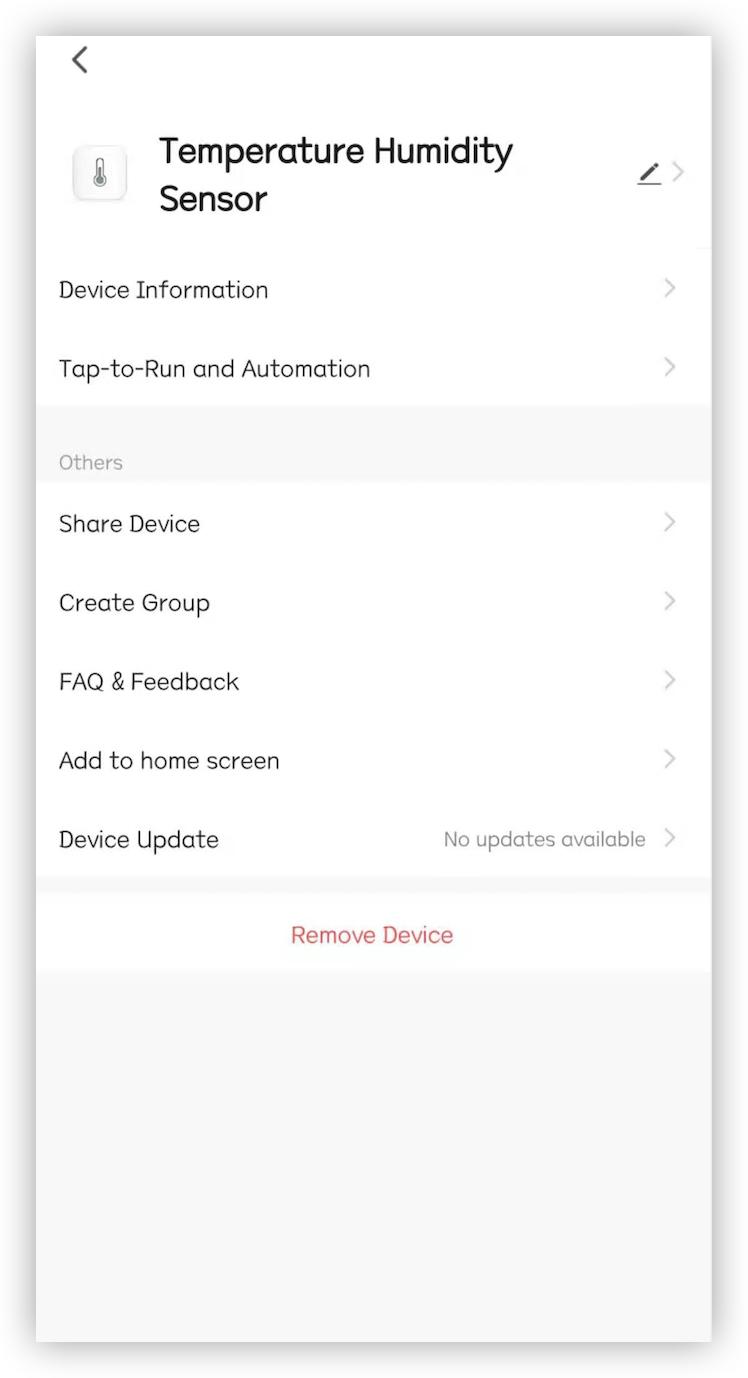
Step 4: Pair the device with the app
The device is connected to the network over the
BLEprotocol. Perform the following steps:-
Download the Tuya Smart app, tap the plus sign
+in the top right corner of the homepage, and then add a Bluetooth temperature and humidity sensor.
-
Enable the Bluetooth function of the mobile phone and start to discover the device.
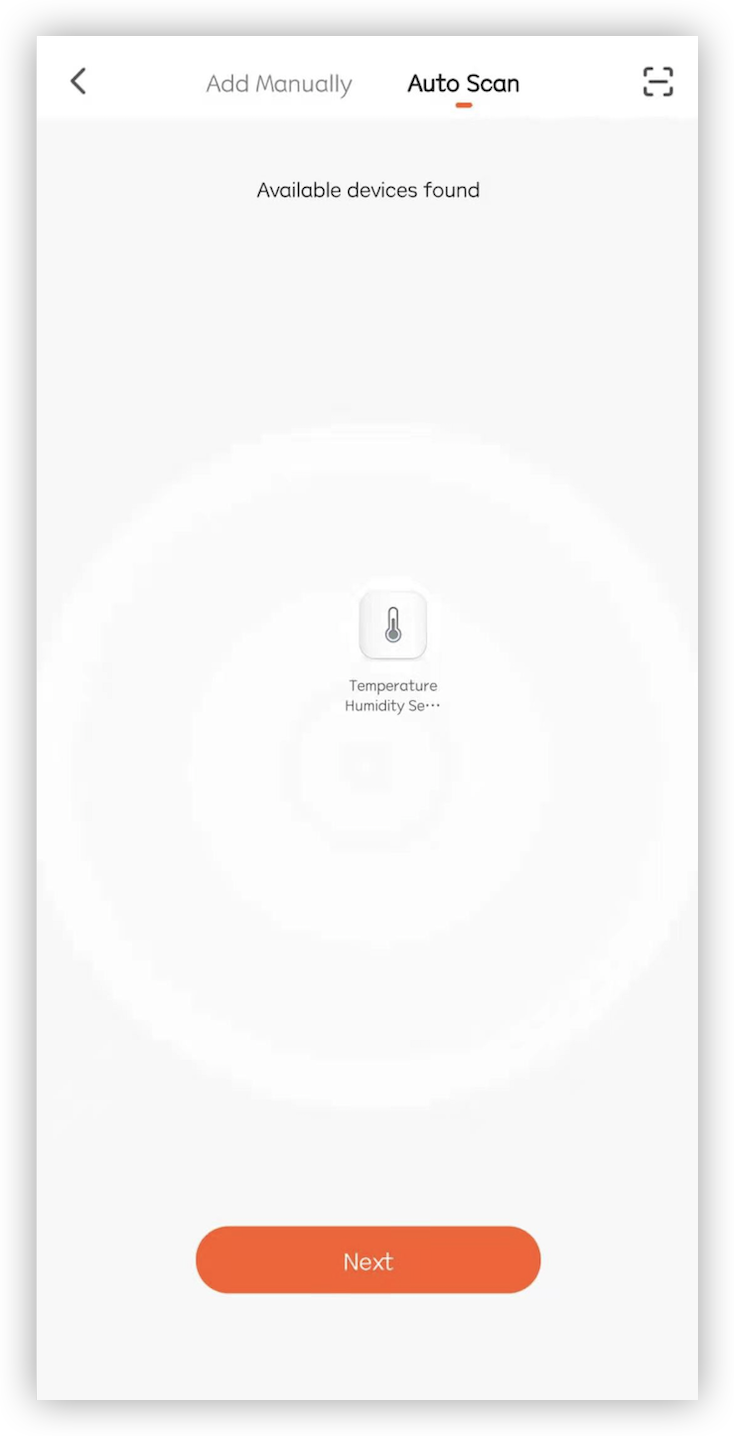
-
Tap the discovered device to pair the device.
For more information, see Third-Party Access.
-
Step 5: (Optional) Smart speaker service
You can integrate popular voice assistants into your products. Go to Tuya Value Added Service and click Smart Voice to find more.

After your device is certified, you can see the voice assistant logo on the product information page. Follow the Third-Party Tutorial to associate the device with the voice assistant platform and enable device control with voices.
For more information, see Third-Party Access.
Summary
You have prototyped a smart temperature and humidity sensor. You can quickly and easily build smart product prototypes from scratch and accelerate the development process by using the Tuya IoT Platform and Tuya Sandwich Evaluation Kit.
Is this page helpful?
YesSuggestions


