Fast Integration
This topic describes how to quickly integrate the Tuya Spatial App SDK for iOS into your development environment, such as Xcode. It also sheds light on the initialization method and how to enable the debugging mode with a few simple steps. This allows you to run the demo app and get started with your smart industry app development.
Prerequisites
- You have created a developer account and downloaded the SDK. For more information, see Preparation.
- The following software is installed:
- Xcode 14.0 or later
- CocoaPods 1.10.0 or later
- Your project must be targeted to iOS 10.0 or later.
Integrate with the SDK
Each app is provided with a unique and secure SDK. This topic describes how to integrate the SDK v2.2.0 into your project using CocoaPods.
Step 1: Get important files
On the SDK Development page, click the target SDK to show the Get SDK tab.
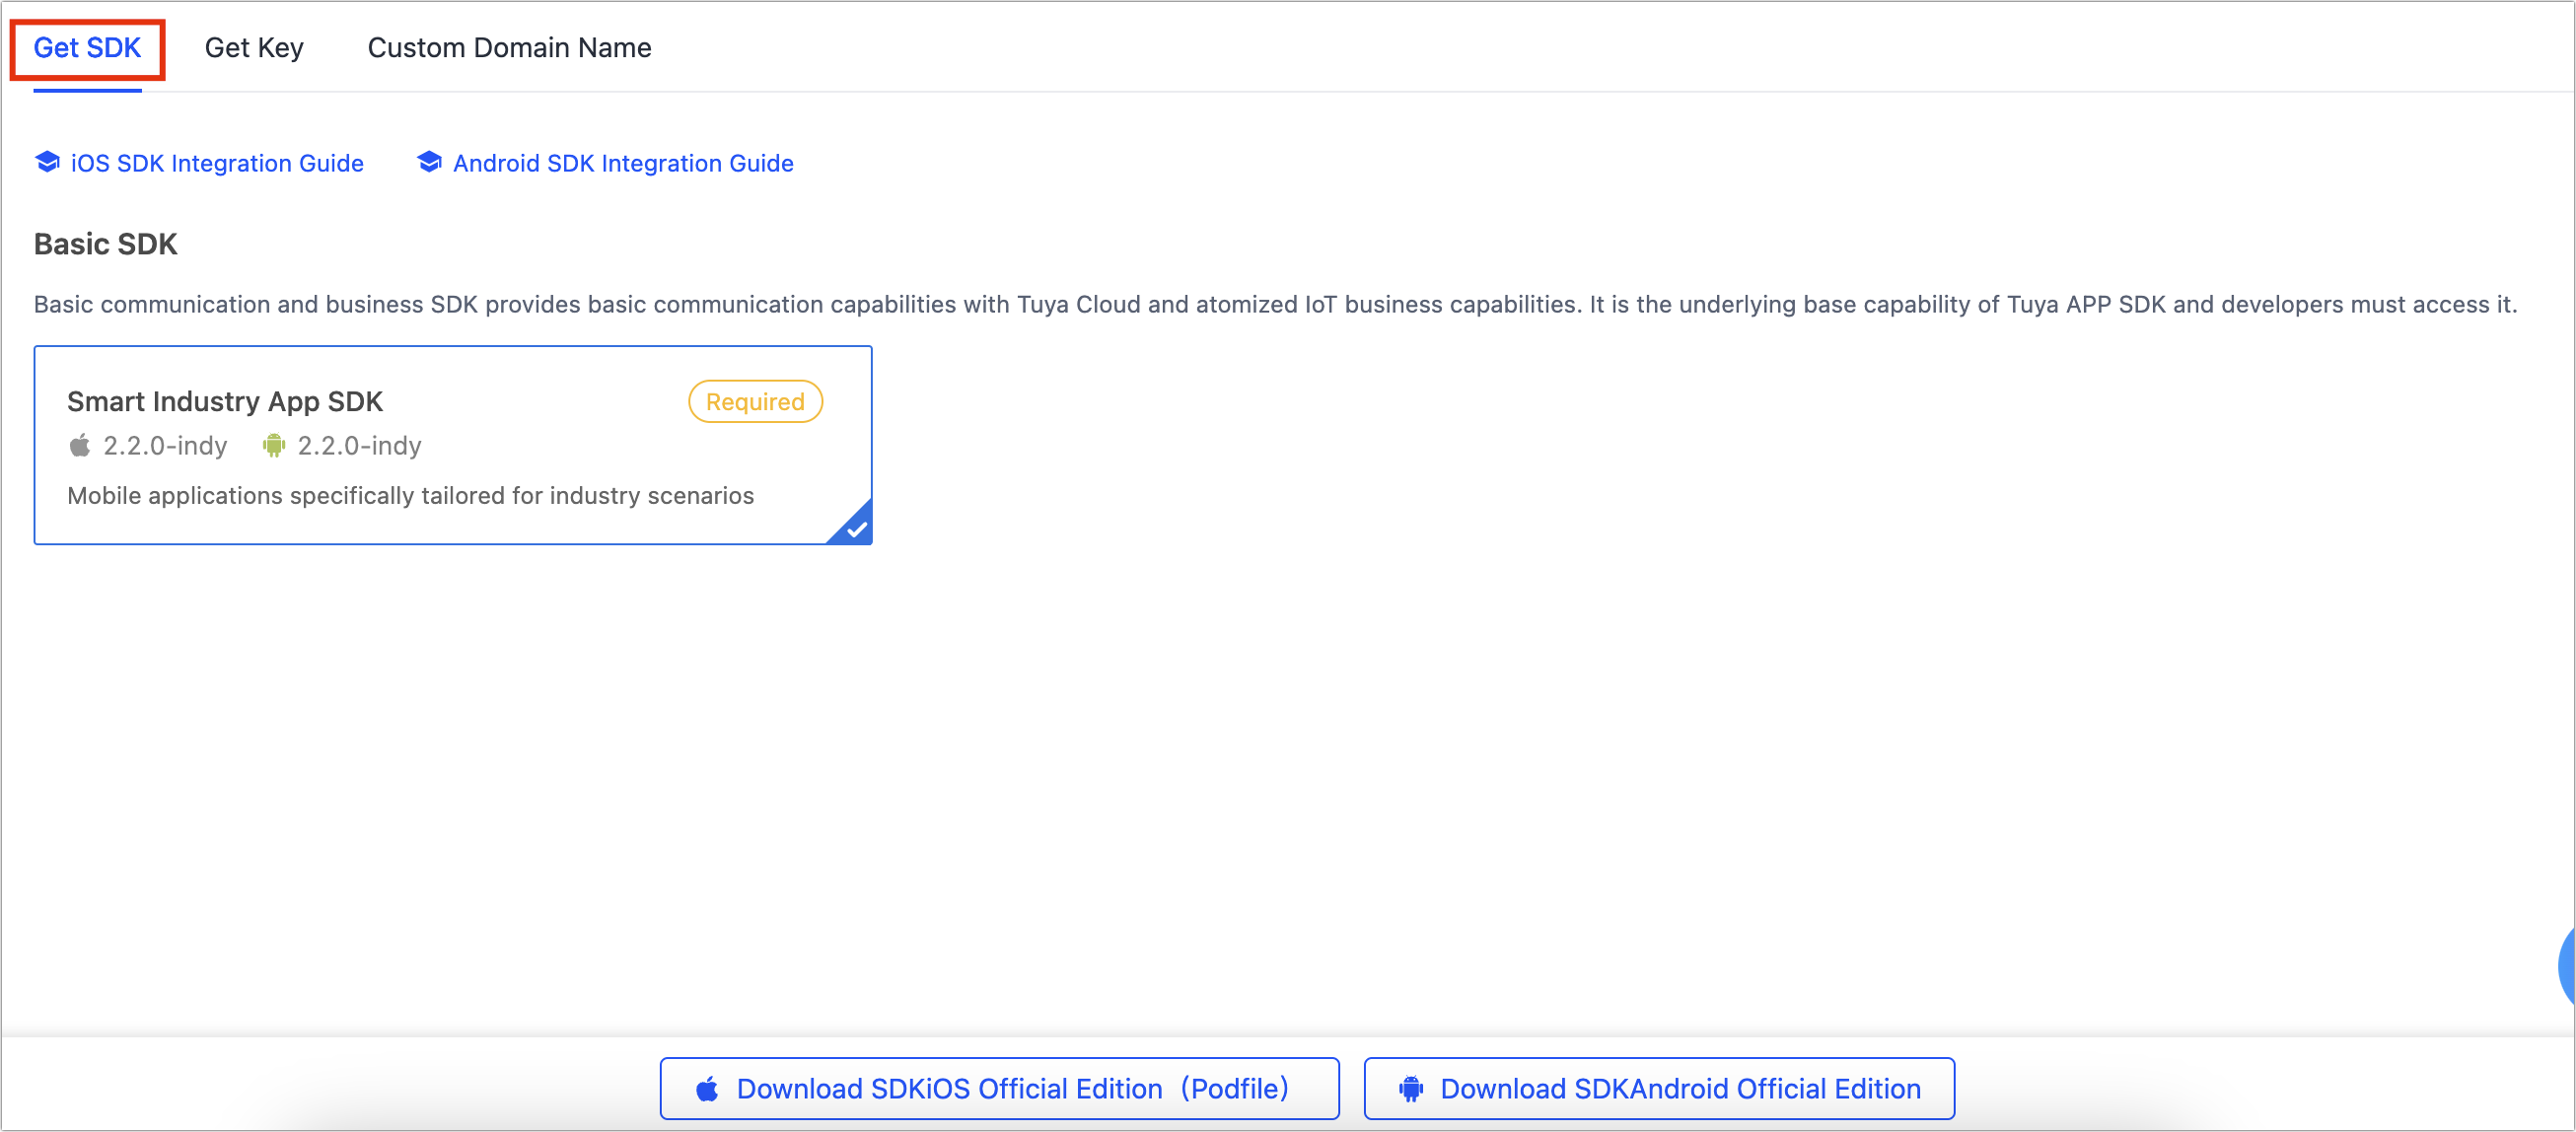
After extracting the downloaded ios_core_sdk.tar.gz, you will get three important files:
Build: The secure SDK specific to your app. It is as important as the app key, so be sure to keep it safe.ThingSmartCryption.podspec: Used to import and integrate the SDK v2.2.0.domain.txt: The domain for making requests, including six data centers.
It is recommended to store the Build and ThingSmartCryption.podspec folders in the same directory as the podfile to facilitate reference and operation later.
Step 2: Update Podfile
Declare the following in the podfile:
    # Build and get the ThingSmartCryption from platform.tuya.com.
    # After purchasing the official edition, rebuild the SDK on the Developer Platform and integrate it into your project again.
    # ./ indicates that you extract 'ios_core_sdk.tar.gz' to the same directory as the podfile.
    # To save the extracted file to a different location, adjust the path as needed.

    pod 'ThingSmartCryption', :path => './'
The podfile downloaded from the Tuya Developer Platform already declares the feature SDK you selected. You can get the reference declarations for other feature SDKs from the podfile.
Step 3: Integrate the SDK
Executing $ pod update will automatically integrate the downloaded SDK into your iOS project.
Step 4: Configure app information
Bundle ID
Open the project settings on Xcode, choose Target > General, and then modify Bundle Identifier to the iOS Bundle ID set on the Tuya Developer Platform.
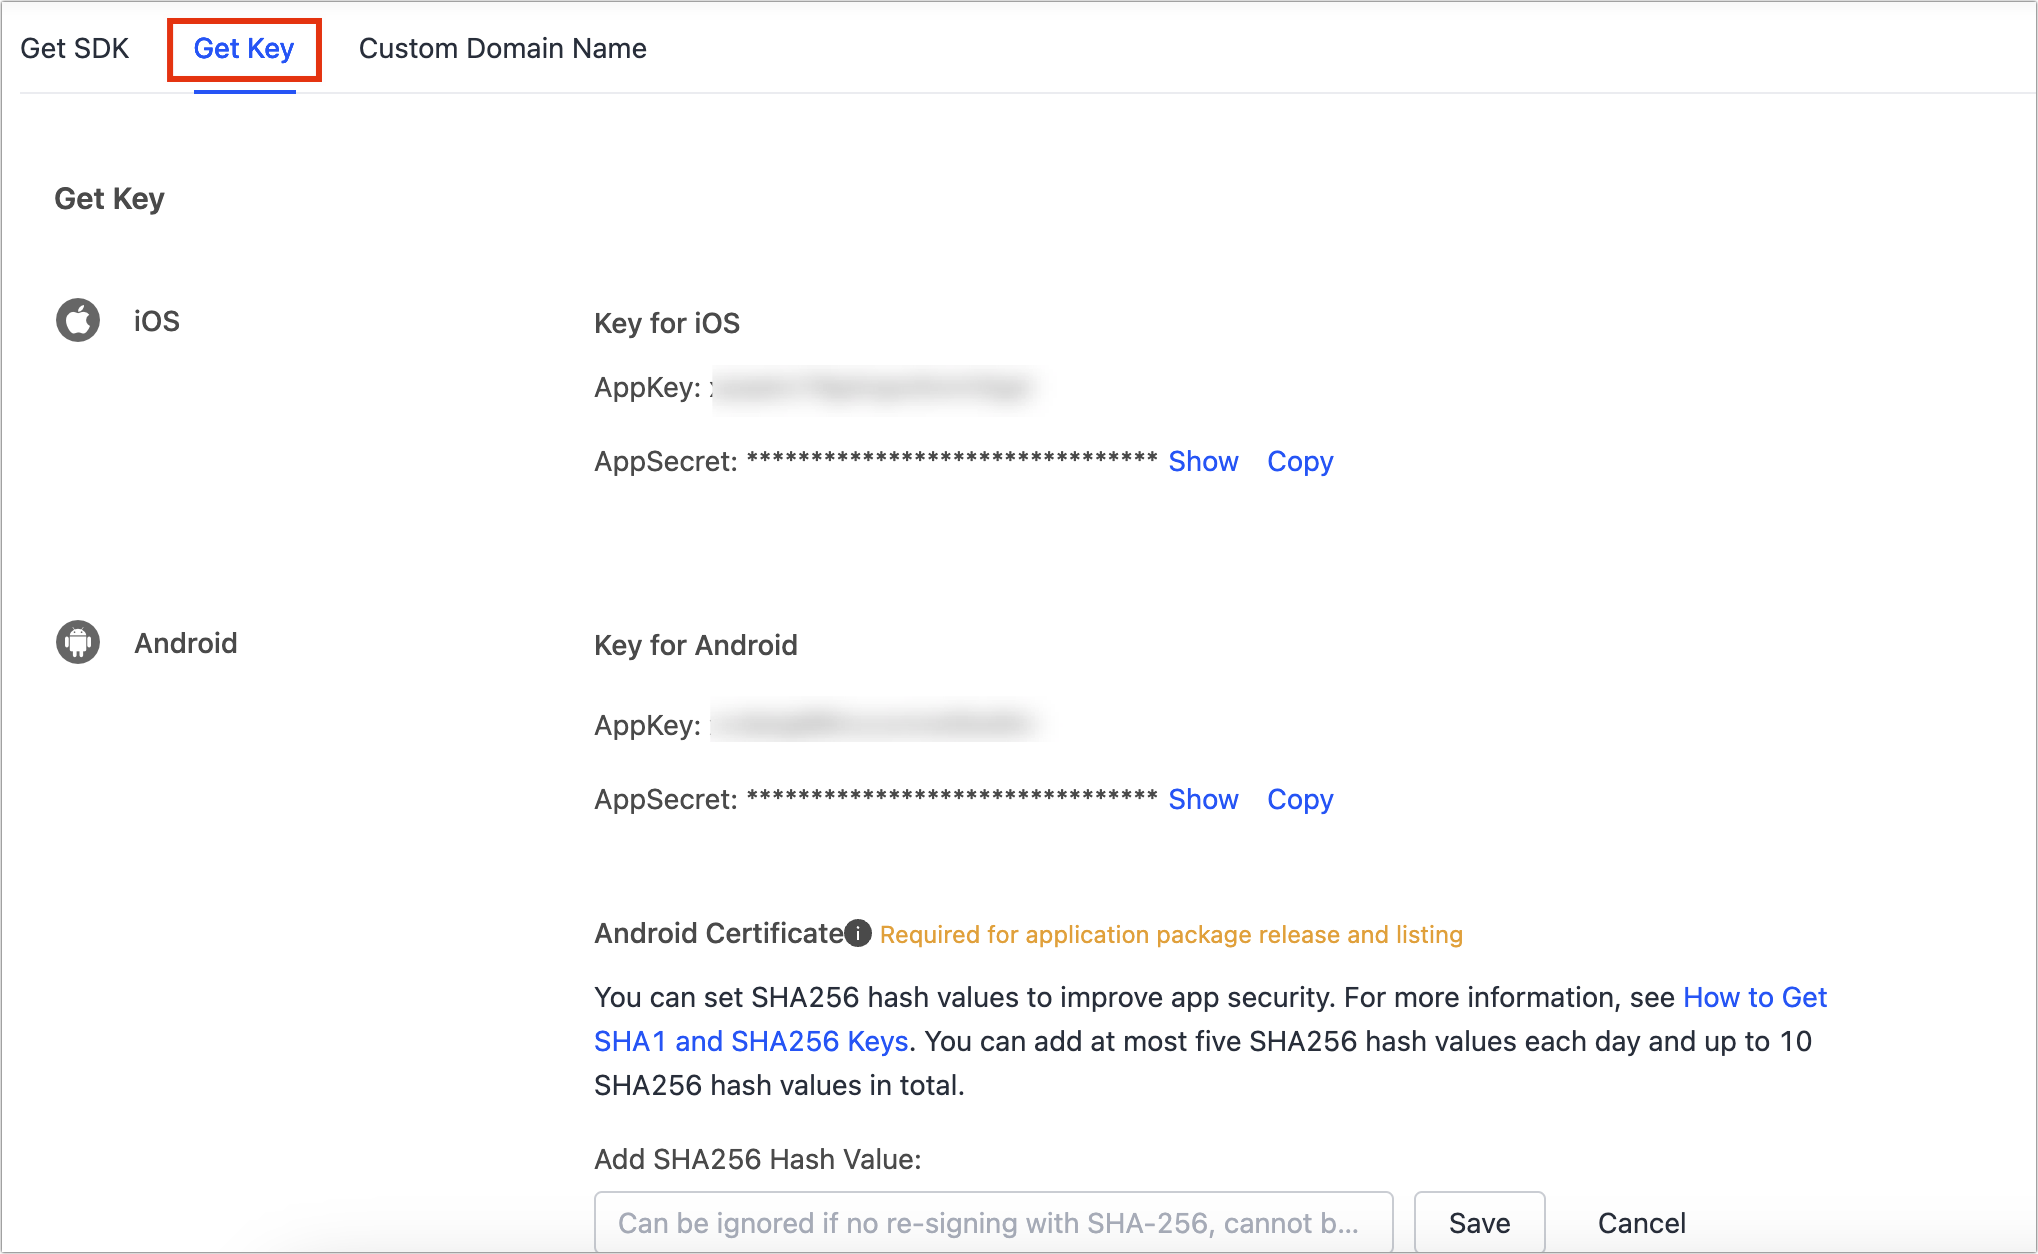
Key
On the SDK Development page, click the target SDK and then the Get Key tab.
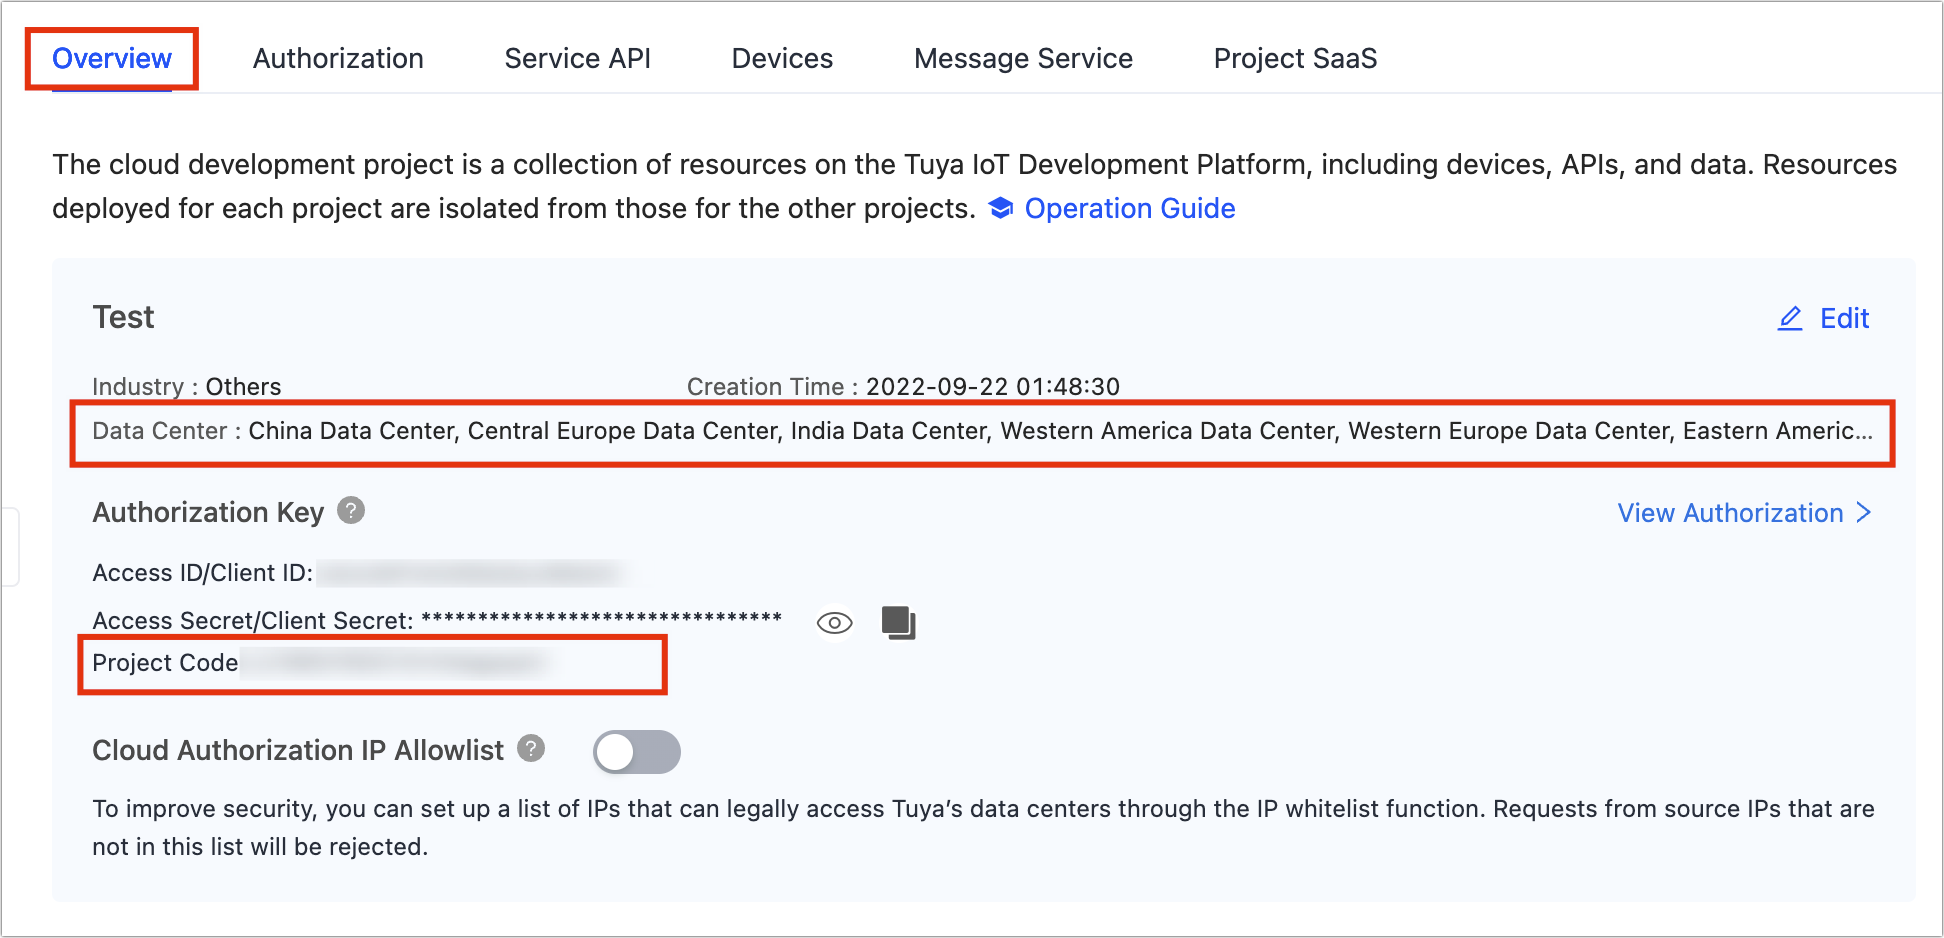
Cloud project overview
The projectCode information is required for user login. On the Cloud Development page, click Open Project in the Operation column to show the project Overview.
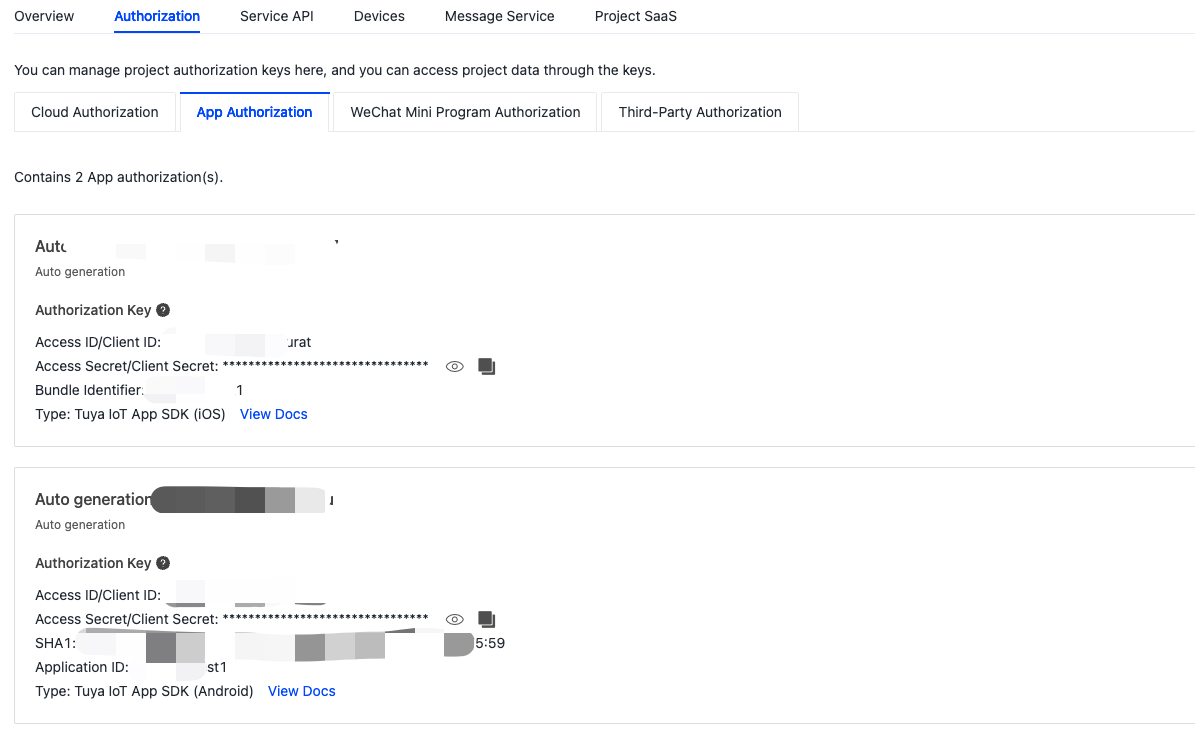
App authorization information
Client ID and Client Secret are required to initialize the SDK.
-
On the Cloud Development page, click Open Project in the Operation column.
-
Choose Authorization > App Authorization.
Step 5: Initialize the SDK
Objective-C:
// init url
[IndustryLinkSDK setHost:<#your_app_host#>];

// IndustryLinkSDK
[IndustryLinkSDK initializeWithAppKey:<#your_app_key#>
                            appSecret:<#your_app_secret_key#>
                             clientId:<#your_clientId#>
                         clientSecret:<#your_client_secret#>];

[MQTTBusinessPlugin initializePlugin];
Swift:
// init url
IndustryLinkSDK.host = <#your_app_host#>

// IndustryLinkSDK
IndustryLinkSDK.initialize(withAppKey: <#your_app_key#>,
                            appSecret: <#your_app_secret_key#>,
                            clientId: <#your_clientId#>,
                            clientSecret: <#your_client_secret#>)

// If need mqtt
MQTTBusinessPlugin.initializePlugin()
When integrating with the SDK, make sure the BundleId, AppKey, AppSecret, clientID, and clientSecret are consistent with those used on the Tuya Developer Platform. Any mismatch will cause the SDK development to fail.
The request host must match the data center of the cloud project, because data from different data centers is isolated.
AY: China Data CenterEU: Central Europe Data CenterAZ: Western America Data CenterWE: Western Europe Data CenterUE: Eastern America Data CenterIN: India Data Center
Demo app
The demo app that is created in the sample project of Smart Industry App SDK is used for reference only. Do not use the demo app for commercial purposes. For more information, see Tuya Development Service Agreement.
Prepare the demo
In the Preparation topic, get the AppKey and AppSecret for iOS.
Make sure that BundleId, AppKey, and AppSecret are consistent with those used on the Tuya Developer Platform. Any mismatch will cause the SDK development app to fail.
Demo features
The demo app is coded in Swift. You can get the sample in Swift on GitHub. The following features are supported:
- User registration and login
- Asset management
- Device management
- Wi-Fi Easy Connect (EZ) mode and access point (AP) mode
- Device Control
Things to note
The SDK development edition is for development purposes only and should not be used commercially. To publish your app on app stores, purchase the official edition.
After you purchase the official edition:
- Rebuild and download the SDK of the official edition on the Tuya Developer Platform.
- Integrate this SDK into your project.
For more information, see Tuya Developing Service Agreement.
Is this page helpful?
YesFeedbackIs this page helpful?
YesFeedback


