Fast Integration
This topic describes how to use CocoaPods to quickly integrate the Commercial Lock App SDK for iOS into your project. The SDK requires iOS 11.0 or later.
Integrate with the SDK
Use CocoaPods for fast integration
We recommend that you update CocoaPods to the latest version and add the following code block to the Podfile file:
platform :ios, '11.0'

target 'Your_Project_Name' do
    pod "ThingSmartLockSDK"
end
In the root directory of your project, run pod update.
For more information about CocoaPods, see CocoaPods Guides.
Initialize the SDK
-
Open the project settings, choose Target > General, and then modify
Bundle Identifierto the iOS Bundle ID set on the Tuya Developer Platform. -
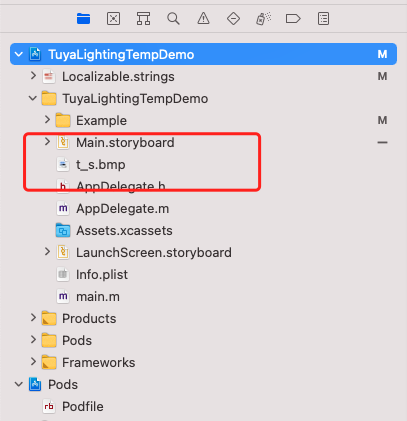
Import the security image to the root directory of the project, and rename it as
t_s.bmp. Go to Project Settings > Target > Build Phases, and add this image to Copy Bundle Resources.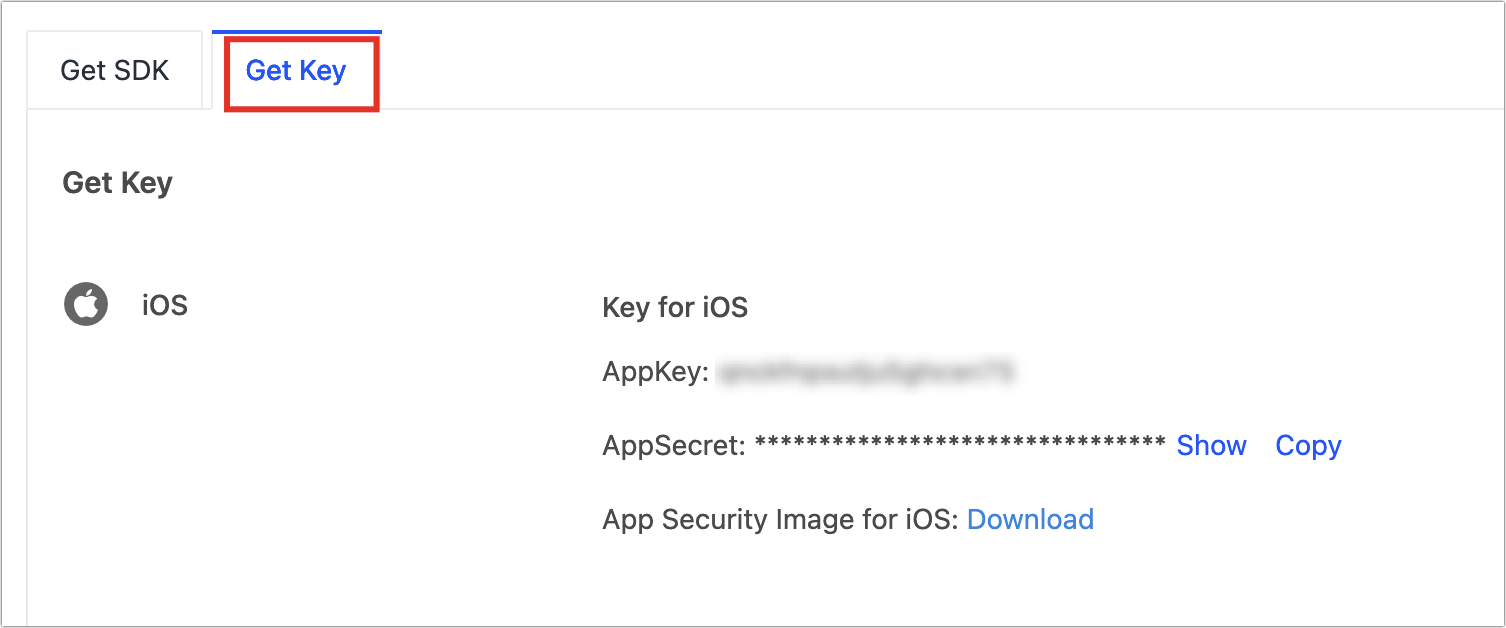
-
For a Swift project, add the following content to the bridging header file
xxx_Bridging-Header.h:#import <ThingSmartLockSDK/ThingSmartLockSDK.h> -
Open the
AppDelegate.mfile and initialize the SDK in[AppDelegate application:didFinishLaunchingWithOptions:].
Configure the SDK
- (void)startWithAppKey:(NSString *)appKey secretKey:(NSString *)secretKey;
Parameter description
| Parameter | Description |
|---|---|
| appKey | The app key. |
| secretKey | The app secret key. |
Example
Objective-C:
[[TuyaSmartSDK sharedInstance] startWithAppKey:<#your_app_key#> secretKey:<#your_secret_key#>];
Swift:
TuyaSmartSDK.sharedInstance()?.start(withAppKey: <#your_app_key#>, secretKey: <#your_secret_key#>)
Now, you are ready for app development.
Enable the debug mode
During the development, you can enable the debug mode and print logs for troubleshooting.
Objective-C:
#ifdef DEBUG
    [[TuyaSmartSDK sharedInstance] setDebugMode:YES];
#else
#endif
Swift:
#if DEBUG
   TuyaSmartSDK.sharedInstance()?.debugMode = true
#else
#endif
Set the preferred language
The returned error messages and other UI text are displayed in languages as configured in the multilingual settings of your project and users’ mobile phone system languages. To support a certain language, add it to Localization of your project.
In the following example, a demo app is used to describe the process of app development with the App SDK. Before the development of your app, we recommend that you run the demo app.
Demo app
Prepare the demo
You can follow the instructions in Preparation to get the AppKey, AppSecret, and security image for iOS. During the integration with the SDK, make sure the BundleId, AppKey, AppSecret, and security image are consistent with those used on the Tuya Developer Platform. Any mismatch will cause the SDK development to fail.
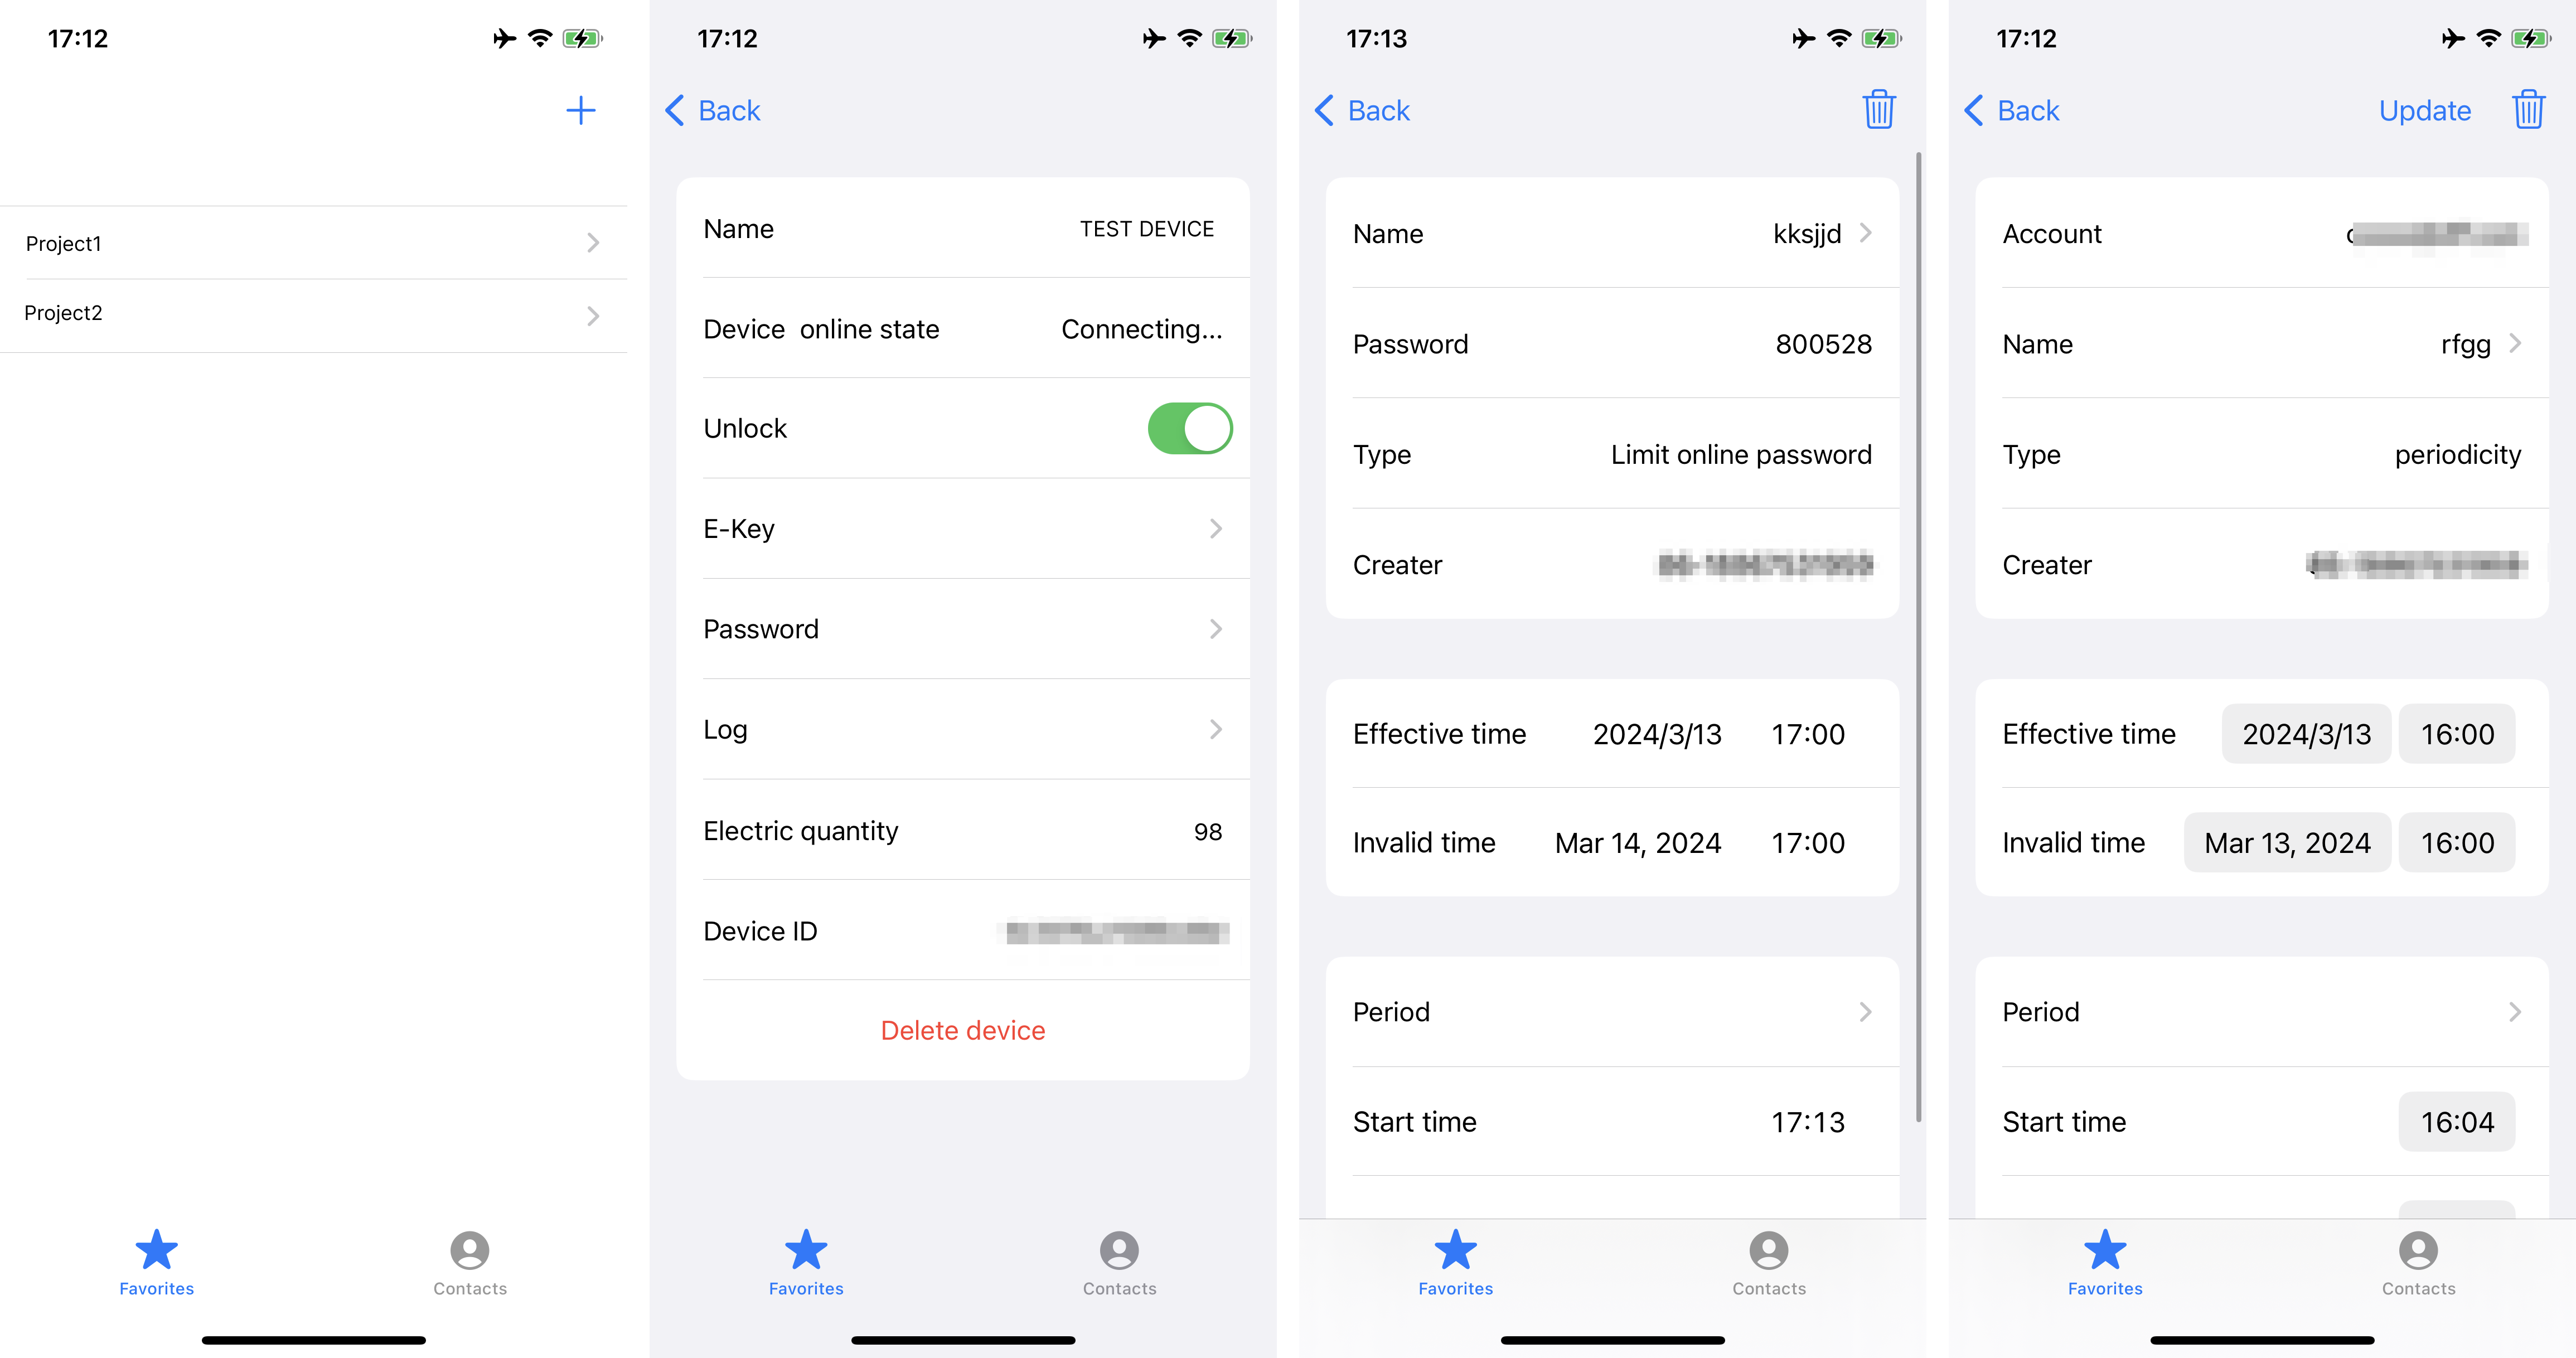
Demo features
The demo project is programmed in Objective-C. Download the demo from GitHub. The project supports the following features:
- User registration and login
- Site management
- Device management
- Password management
- E-key management
- Lock details
- Log management
Demo app:
Run the demo
- Make sure you have initialized the SDK.
- Go to the demo directory and run
pod update.
FAQs
Problem: A signature error message is thrown when I make an API request.
{
 "success" : false,
 "errorCode" : "SING_VALIDATE_FALED",
 "status" : "error",
 "errorMsg" : "Permission Verification Failed",
 "t" : 1583208740059
}
Solution: Make sure that BundleId, AppKey, AppSecret, and the security image are consistent with those used on the Tuya Developer Platform. Any mismatch will cause the authentication to fail.
Is this page helpful?
YesFeedbackIs this page helpful?
YesFeedback


