Index
Smart App SDK
Smart App SDK provides development kits related to the development of mobile applications, allowing you to quickly develop your own industry, smart home, lighting, and other mobile applications.
Resources
 Create Project
 Demo
Demo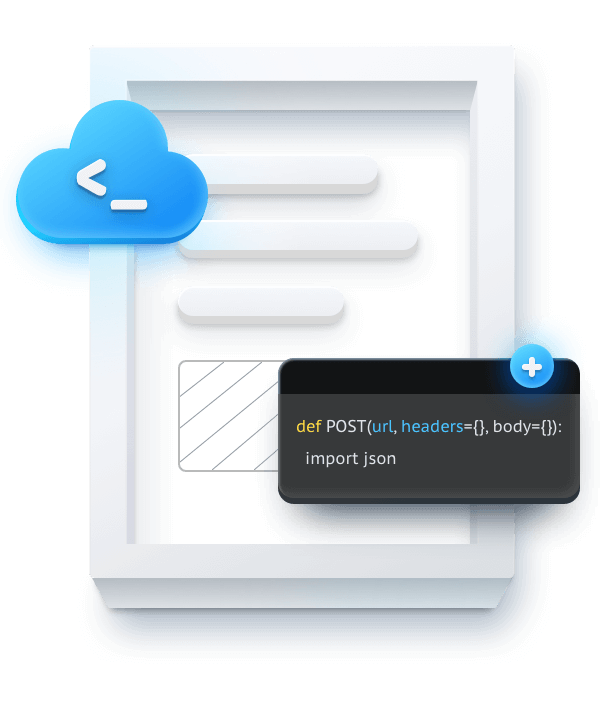
One-stop Application Development
Marketing Cooperation
Business Cooperation
Customer Service
Media Inquiry


