Quick Start with SmartLife App SDK for Android
Tuya SmartLife App SDK for Android supports the comprehensive and flexible development of smart apps. This tutorial walks you through a few steps to get started with the SDK and develop a preferred smart app within two hours. You will learn how to implement the following features:
- Register an account of the app with a mobile phone number and log in to the app with the account.
- Create a home for a logged-in account and view and modify details of the home.
- Use the access point (AP) mode to pair a smart device with the app.
- Use your developed app to control the device.
You can go to GitHub and download the sample code for the different features mentioned in this tutorial. Then, you can integrate the required sample code into your SDK development on the Tuya Developer Platform.
App SDK Development GitHub Sample
Preview
This tutorial along with specific panel development helps you create the following sample app for Android.

Preparation
Before you start, the following requirements must be met:
-
An account of the Tuya Developer Platform is registered, an app is built on the platform, and the values of
AppKeyandAppSecretof the SmartLife App SDK service are obtained. For more information, see Preparation. -
Tuya SmartLife App SDK for Android is integrated into your project with Android Studio. For more information, see Fast Integration.
This tutorial uses Android Studio 4.1.2 to integrate Tuya SmartLife App SDK on macOS. For SDK v3.26.5, the minimum value of
minSdkVersionin thebuild.gradlefile of the project must be21. Otherwise, an error message will be returned.
Step 1: Register a user account
In this section, only registration and login with mobile phone number is described. The SDK also supports registration and login with email addresses, third-party accounts, and anonymous accounts. For more information, see User Account Management (Android).
To implement registration, you must:
-
Set the
countryCodeparameter to specify the country code. This way, the availability zone closest to users’ location can be selected to serve workloads in the Tuya Cloud. For example,countryCodefor America is1and that for mainland China is86. For more information, see Availability zone.The data in different availability zones is isolated from each other. Therefore, an account that is registered in America (1) cannot be used in mainland China (86). Otherwise, an error message is returned to indicate that the account does not exist.
-
In this tutorial, the
Userobject is frequently called. This object stores all information about the current user, including login and registration methods. You can useThingHomeSdk.getUserInstance()to getIThingUser. For more information, see User Account Management (Android).
Query areas for the verification code service
To strengthen data security, Tuya has optimized the verification code service and placed limits on accounts. The verification code service is available only in limited areas. We recommend that you query the areas in which the verification code service is enabled on the Tuya Developer Platform for your account.
ThingHomeSdk.getUserInstance().getWhiteListWhoCanSendMobileCodeSuccess(new IWhiteListCallback() {
			@Override
			public void onSuccess(WhiteList whiteList) {
				Toast.makeText(mContext, "Whitelist Success:" + whiteList.getCountryCodes(), Toast.LENGTH_SHORT).show();
			}

			@Override
			public void onError(String code, String error) {
				Toast.makeText(mContext, "code: " + code + "error:" + error, Toast.LENGTH_SHORT).show();
			}
		});
The return value of whiteList indicates one or more countries or areas that are separated with commas (,). For example, 86,01 can be returned. For more information, see Availability zone.
Currently, the verification code service is activated by default in mainland China. If you want to launch your application in other countries or areas, you must verify that the verification code service is available in a specific country or area and contact your account manager of Tuya or submit a ticket to activate the service.
Get a verification code to register with a mobile phone number
Registration with a mobile phone number is similar to other common registration methods. To proceed with the registration, users must get a verification code. You can use the same API method to send verification codes to an account that might be registered with a mobile phone number or an email address. The verification codes are required in multiple operations. For example, register an account, modify a password, log in to the app, or complete account information.
ThingHomeSdk.getUserInstance().sendVerifyCodeWithUserName(String userName, String region, String countryCode, int type, IResultCallback callback);
Parameters
| Parameter | Description |
|---|---|
| userName | The mobile phone number or email address. |
| region | The area in which the verification code service is available for the account. Default value: "". |
| countryCode | The country code of the mobile phone number. Example: 86. |
| callback | The callback. |
| type | The purpose of the verification code. Valid values:1: register an account2: log in with the account3: reset the password |
The type parameter must be set to 1. Otherwise, the registration failed.
ThingHomeSdk.getUserInstance().sendVerifyCodeWithUserName("xxx6/7825***66@123.com", "", "86", 1/2/3, new IResultCallback() {
			@Override
			public void onError(String code, String error) {
				Toast.makeText(mContext, "code: " + code + "error:" + error, Toast.LENGTH_SHORT).show();
			}

			@Override
			public void onSuccess() {
				Toast.makeText(mContext, "Get code success:", Toast.LENGTH_SHORT).show();
			}
		});
Register an account with a mobile phone number
To allow users to register an account with a mobile phone number, you must call the verification code sending API method and set the type parameter. Then, call the API method to register an account with a mobile phone number. To register the account, users must provide the country code, mobile phone number, password, and the returned verification code. For more information, see Register and Login with Phone Number (Android).
ThingHomeSdk.getUserInstance().registerAccountWithPhone("86","13666666666","123456","124332", new IRegisterCallback() {
	@Override
	public void onSuccess(User user) {
		Toast.makeText(mContext, "Register success", Toast.LENGTH_SHORT).show();
	}
	@Override
	public void onError(String code, String error) {
		Toast.makeText(mContext, "code: " + code + "error:" + error, Toast.LENGTH_SHORT).show();
	}
});
Log in to the app with a mobile phone number
After successful registration with mobile phone numbers, users can select their country code and log in to the app with their mobile phone numbers.
ThingHomeSdk.getUserInstance().loginWithPhonePassword("86", "13666666666", "123456", new ILoginCallback() {
	@Override
	public void onSuccess(User user) {
		Toast.makeText(mContext, "Login success:" +ThingHomeSdk.getUserInstance().getUser().getUsername(), Toast.LENGTH_SHORT).show();
	}

	@Override
	public void onError(String code, String error) {
		Toast.makeText(mContext, "code: " + code + "error:" + error, Toast.LENGTH_SHORT).show();
	}
});
Step 2: Create and manage homes
The SmartLife App SDK helps you implement smart scenes for specific homes. This allows users to add, edit, and remove smart devices based on homes. You can also listen for device status changes in the homes. Users create an unlimited number of homes for each user account. One or more rooms or home members can be added and managed for a specific home.
In this section, the objects IThingHomeManager and HomeBean are frequently called.
| Object | Description |
|---|---|
| HomeBean | Stores basic information about a home, such as the ID, name, and location. |
| ThingSmartHome | Stores data of all features that are supported by a home. For example, a single home and the home members and rooms of the home can be managed with this object. IThingHomeManager must be initialized with the correct value of homeId in ThingHomeSdk.getHomeManagerInstance(). |
Create homes
Users can create one or more homes for each logged-in account. Then, rooms, members, and devices can be managed based on the homes. To create a home, call the API method createHome in ThingSmartHomeManager.
ThingHomeSdk.getHomeManagerInstance().createHome(name, lon, lat, geoName, rooms, new IThingHomeResultCallback() {
		@Override
		public void onSuccess(HomeBean bean) {
			// do something
		}
		@Override
		public void onError(String errorCode, String errorMsg) {
			// do something
		}
	});
Query a list of homes
You can get a list of homes for a logged-in account. If no home is created for the account, an empty array is returned.
ThingHomeSdk.getHomeManagerInstance().queryHomeList(new IThingGetHomeListCallback() {
		@Override
		public void onSuccess(List<HomeBean> homeBeans) {
			// do something
		}
		@Override
		public void onError(String errorCode, String error) {
			// do something
		}
	});
Query home details
When you make an API request for a list of homes, the properties roomList, deviceList, groupList, sharedDeviceList, and sharedGroupList are empty. They are also empty in HomeBean of IThingHomeManager that is initialized with HomeId. To get the values of these properties, call the API method getHomeDetail.
ThingHomeSdk.newHomeInstance(10000).getHomeDetail(new IThingHomeResultCallback() {
		@Override
		public void onSuccess(HomeBean bean) {
			// do something
		}
		@Override
		public void onError(String errorCode, String errorMsg) {
			// do something
		}
	});
Best practices
After a home is created, subsequent operations are implemented based on the home. For example, rooms, members, and device pairing can be managed for the home. Therefore, we recommend that you store the home data as a global variable for the app. You can locally switch the current home as needed. The Tuya Developer Platform does not record this change. In the sample code for this tutorial, the first home in the list is specified as the current home by default.
Step 3: Pair devices
After users pair a device with the app, the device is connected and registered to the cloud and can communicate with the cloud. The SmartLife App SDK empowers smart devices to be paired in multiple pairing modes. For example, they can be paired over Wi-Fi and Bluetooth. For more information, see Device Pairing (Android) and Bluetooth LE on iOS.
Pairing modes
In this section, the Wi-Fi pairing modes are used as an example to describe how to integrate the SDK and register a device to the cloud. Wi-Fi pairing modes include: Wi-Fi Easy Connect (EZ), Access Point (AP), and QR code.
Compared with the Wi-Fi EZ mode, the AP mode results in a higher success rate, optimal reliability, and fewer compatibility requirements for mobile phones and routers. In the later versions of the SmartLife App SDK for Android, we recommend that you use the AP mode instead of the Wi-Fi EZ mode.
Get the pairing token
Before the AP pairing process, the SDK must get a pairing token from the cloud in the networked state. The token is valid for 10 minutes and expires immediately after the device is paired. A new token must be generated if the device needs to be paired again. To get a token, the current value of homeId must be provided. Therefore, during this process, the account must be in the logged-in state and at least one home is created for the account.
ThingHomeSdk.getActivatorInstance().getActivatorToken(homeId,
		new IThingActivatorGetToken() {

			@Override
			public void onSuccess(String token) {

			}

			@Override
			public void onFailure(String s, String s1) {

			}
		});
Start pairing
To call the pairing API method, you must set builder, including the SSID of the router (the Wi-Fi name), password, and the token obtained from the cloud.
ActivatorBuilder builder = new ActivatorBuilder()
		.setSsid(ssid)
		.setContext(context)
		.setPassword(password)
		.setActivatorModel(ActivatorModelEnum.TY_EZ)
		.setTimeOut(timeout)
		.setToken(token)
		.setListener(new IThingSmartActivatorListener() {

				@Override
				public void onError(String errorCode, String errorMsg) {

				}

				@Override
				public void onActiveSuccess(DeviceBean devResp) {
					    // Multiple callbacks are required to pair multiple devices in the same call.
				}

				@Override
				public void onStep(String step, Object data) {

				}
			}
		));
IThingActivator mThingActivator = ThingHomeSdk.getActivatorInstance().newMultiActivator(builder);
// Start pairing.
mThingActivator.start();
The timeout parameter is set to 100 by default. Unit: seconds. You can specify any preferred value. However, a small value is not recommended. A proper value can ensure the optimal pairing performance.
In AP pairing mode, you must set activatorModel to ActivatorModelEnum.TY_AP and listen for the callback of the pairing result.
ActivatorBuilder builder = new ActivatorBuilder()
		.setContext(context)
		.setSsid(ssid)
		.setPassword(password)
		.setActivatorModel(ActivatorModelEnum.TY_AP)
		.setTimeOut(timeout)
		.setToken(token)
		.setListener(new IThingSmartActivatorListener() {

				@Override
				public void onError(String errorCode, String errorMsg) {

				}

				@Override
				public void onActiveSuccess(DeviceBean devResp) {

				}

				@Override
				public void onStep(String step, Object data) {

				}
			}
		));
(Optional) Stop pairing
After the pairing process is started, the app continuously broadcasts the pairing data until a device is paired or the process times out. To allow users to cancel or complete pairing during the process, you must call the API method to stop pairing.
IThingActivator mThingActivator = ThingHomeSdk.getActivatorInstance().newMultiActivator(builder);
// Stop pairing
mThingActivator.stop();
// Exit the page and destroy certain caches and listeners.
mThingActivator.onDestroy();
Step 4: Control devices
In this section, the objects IThingDevice and DeviceBean are used.
| Object | Description | Reference |
|---|---|---|
| DeviceBean |
|
DPs |
| IThingDevice | Stores all data of device features, such as device control and firmware management. You must use the correct value of deviceId to initialize IThingDevice. |
Device Management (Android) |
Query a list of devices
After a device is paired, you can call getHomeDetail for a specific home, and call getDeviceList of HomeBean to get a list of devices.
ThingHomeSdk.newHomeInstance(10000).getHomeDetail(new IThingHomeResultCallback() {
		@Override
		public void onSuccess(HomeBean bean) {
			List<DeviceBean> deviceList = homeBean.getDeviceList();
            // Get `deviceBean`.
		}
		@Override
		public void onError(String errorCode, String errorMsg) {
			// do something
		}
	});
View device information
All DP data is stored in dps. Each DP is encapsulated as a key-value pair.
List<DeviceBean> deviceList = homeBean.getDeviceList();
Map<String, Object> dps = ThingHomeSdk.getDataInstance().getDps(deviceBean.getDevId());
Control a device
To enable device control, you must initialize the device control class. DPs can be sent to a device to change the device status or features and control the device.
The parameter dps can define one or more DPs. Thus, multiple states of a device can be changed in the same call.
The following sample code shows how to switch on a light by using DP 101:
mDevice.publishDps("{\"101\": true}", new IResultCallback() {
	@Override
	public void onError(String code, String error) {
		 Toast.makeText(mContext, "Failed to switch on the light.", Toast.LENGTH_SHORT).show();
	}

	@Override
	public void onSuccess() {
		 Toast.makeText(mContext, "The light is switched on successfully.", Toast.LENGTH_SHORT).show();
	}
});
To listen for changes in device status, such as getting online, removal notifications, and DP data changes, register IDevListener. For more information, see Listen for devices.
mDevice.registerDevListener(new IDevListener() {
	/**
	* Updates the DP.
	* `devId`: the device ID.
	* `dpStr`: The updated DP. It is a JSON string in the following format: {"101": true}.
	*/
	@Override
	public void onDpUpdate(String devId, String dpStr){

    };

	/**
	* The callback of device removal.
	* `devId`: the device ID.
	*/
	@Override
	public void onRemoved(String devId){

    };

	/**
	* The callback that is executed when the device gets online or offline. If the device is powered off or disconnected from the network, the server executes the callback three minutes after the event occurs.
	* `devId`: the device ID.
	* `online`: indicates whether the device is online. A value of `true` indicates that the device is online.
	*/
	@Override
	public void onStatusChanged(String devId, boolean online){

    };

	/**
	* The callback that is executed when the network status changes.
	*  `devId`: the device ID.
	*  `status` indicates whether the network is available. A value of `true` indicates that the network is available.
	*/
	@Override
	public void onNetworkStatusChanged(String devId, boolean status){

    };

	/**
	* The callback of device updates.
	* `devId`: the device ID.
	*/
	@Override
	public void onDevInfoUpdate(String devId){

    };
}
(Optional) Remove a device
You can call the API method removeDevice to remove a device from a specific home.
mDevice.removeDevice(new IResultCallback() {
	@Override
	public void onError(String errorCode, String errorMsg) {
	}

	@Override
	public void onSuccess() {
	}
});
(Recommended) Integrate device panel development
To minimize your development costs, Tuya provides a series of control panel SDKs for specific devices. For more information, see All Category Control Panel and Air Conditioning Category Control Panel.
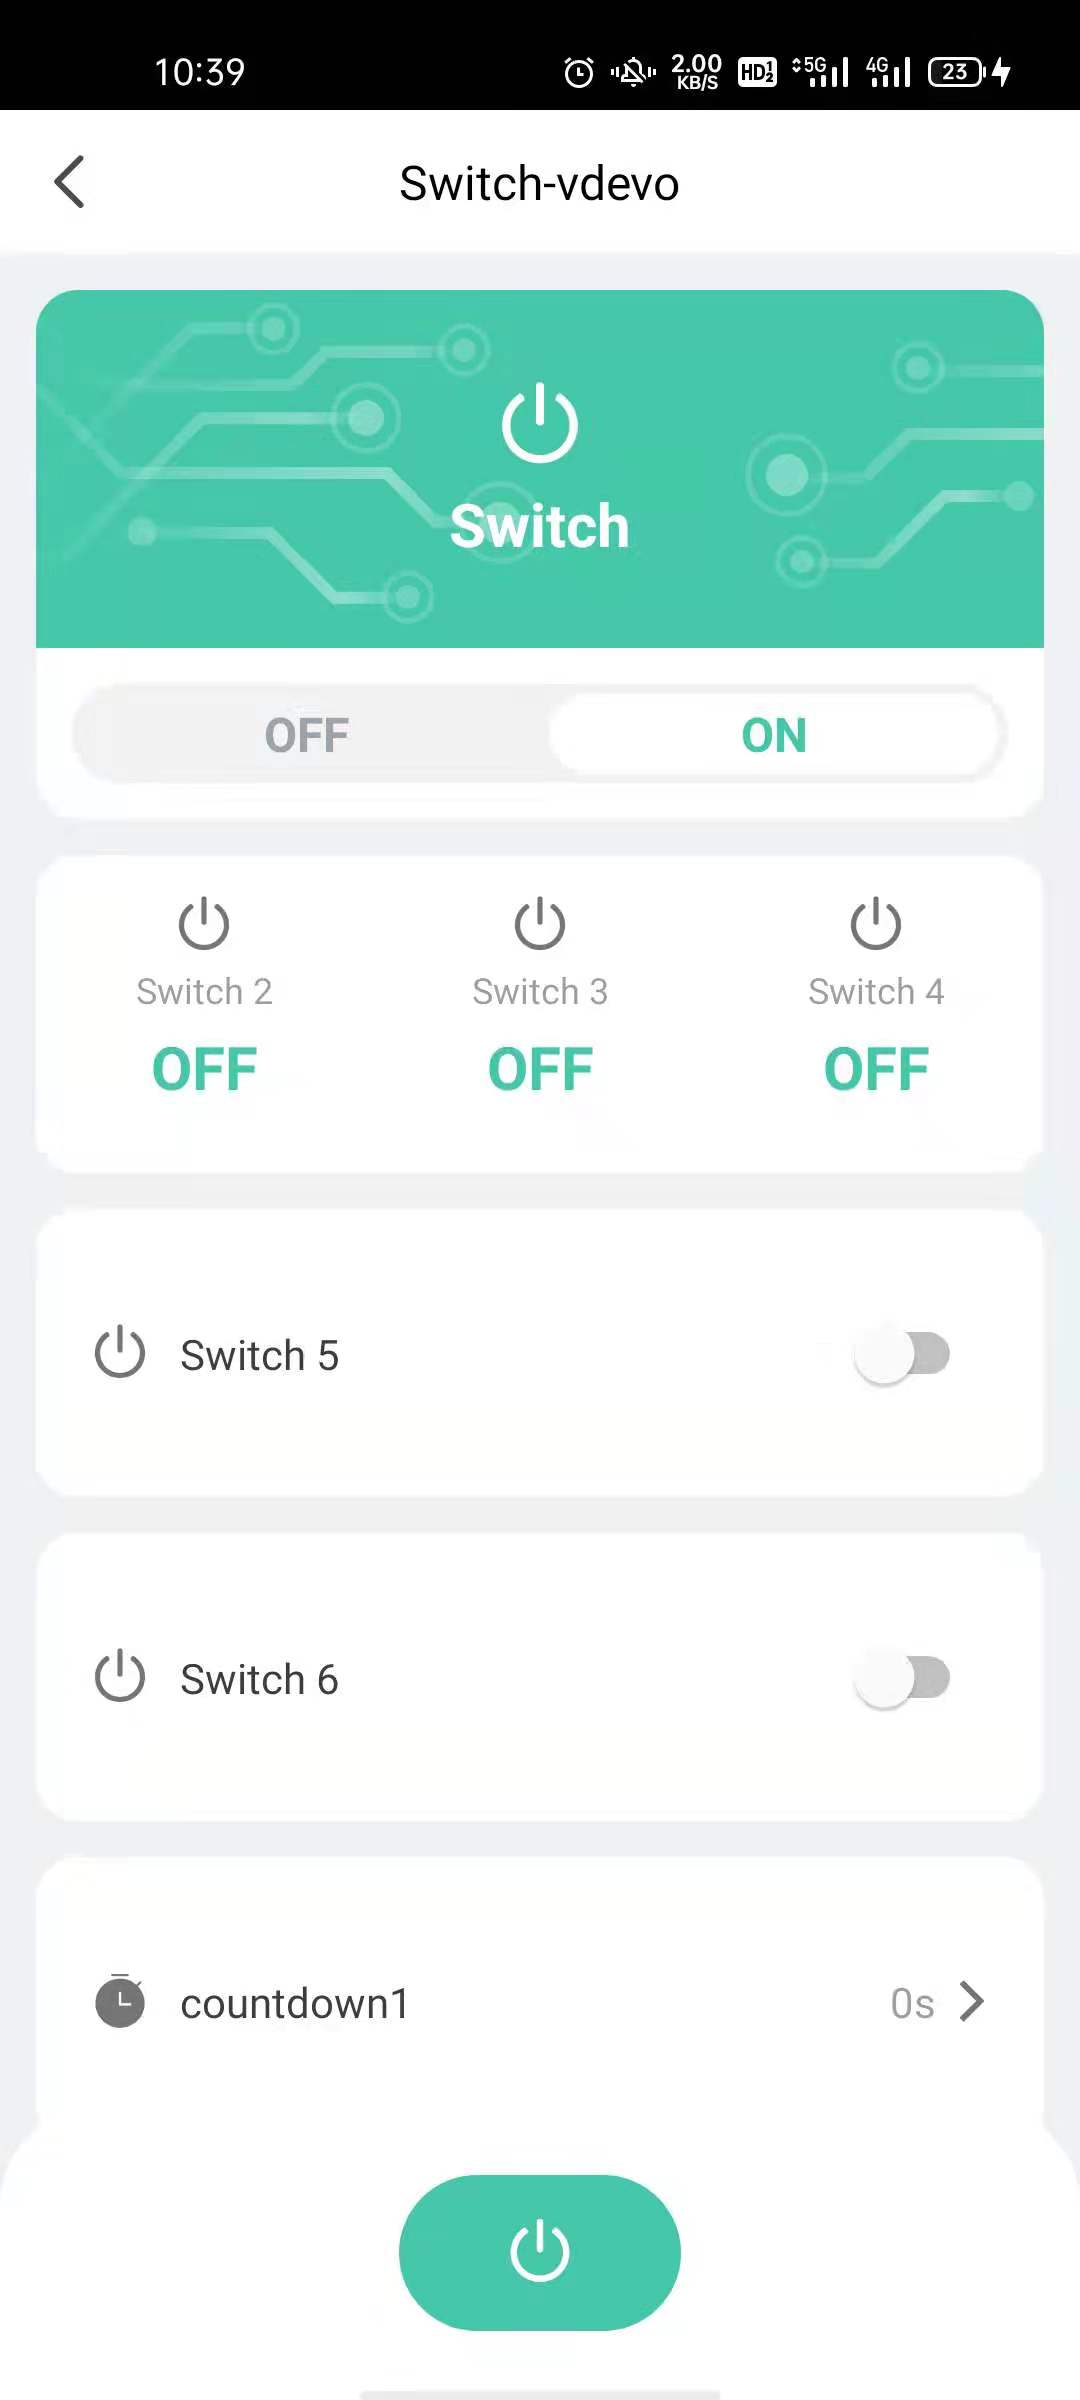
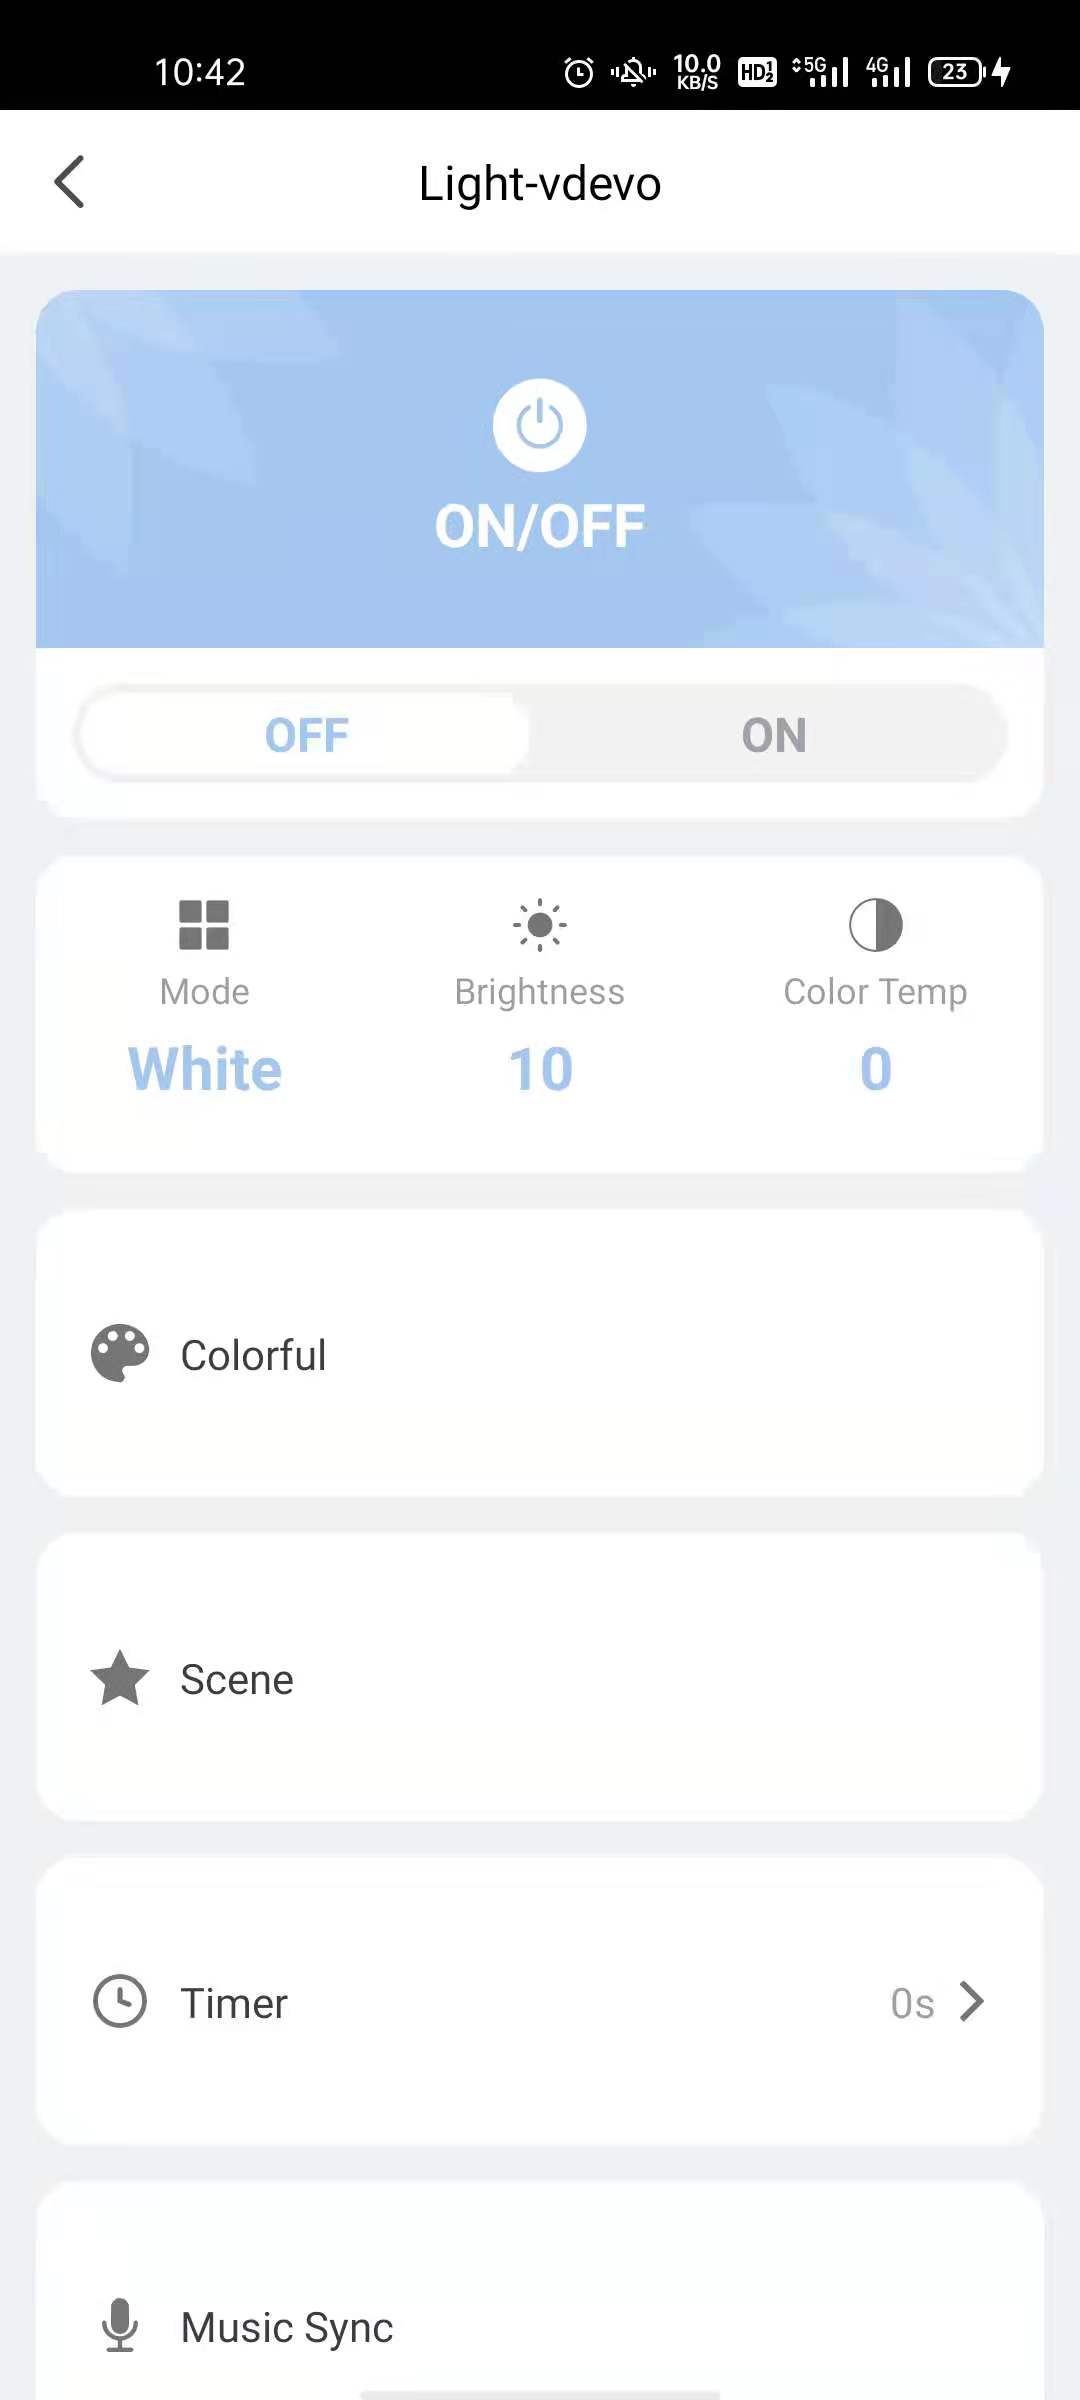
Practice result
Now, your smart app can be built through the preceding steps. You will get a kick out of hands-on experience building your own app. Stay tuned for more features, such as smart scenes, scheduled tasks, and multi-control linkage.
Next step
To ensure development efficiency, Tuya has abstracted features and encapsulated UI BizBundles from the SDK. You can integrate any of the comprehensive UI BizBundles to meet different business requirements.
Is this page helpful?
YesFeedbackIs this page helpful?
YesFeedback


