Production Test on Wi-Fi Energy Metering Circuit Breaker
This topic describes production tests on Wi-Fi energy metering circuit breakers, covering the Wi-Fi functionality, the capability of communication between the module and MCU, and test solution for battery calibration.
Application scope
It applies to the circuit breakers (220V and 120V) whose firmware supports the new production test process.
Testing metrics
The device scans the production test signal of tuya_mdev_test1. The indicator is calibrated to be steady on. Press the button. Then, the relay and indicator operate once.
Preparation
Device preparation
| Device | Quantity | Note |
|---|---|---|
| Device under test | As per your needs | / |
| Tooling (PCBA) | 1 | / |
| Wireless router with 2.4 GHz band | Two sets | Internet access and the router’s password are optional. |
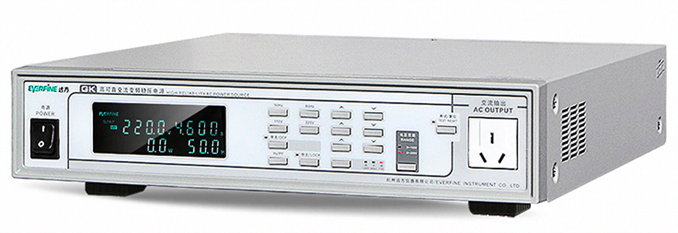
| Regulated isolated power supply | 1 | Adjustable voltage supports 220V and 120V and output power can be viewed. |
| Load | One unit per type |
|
Deployment preparation
-
Test loads: Connect the two loads to the output live wire LOUT and the output neutral wire N of the board under test.
Take care to dissipate heat to prevent burns.

-
AC regulated power supply: Connect the power supply to the input live wire LIN and the input neutral wire N of the MCU.
Production test process
Flowchart
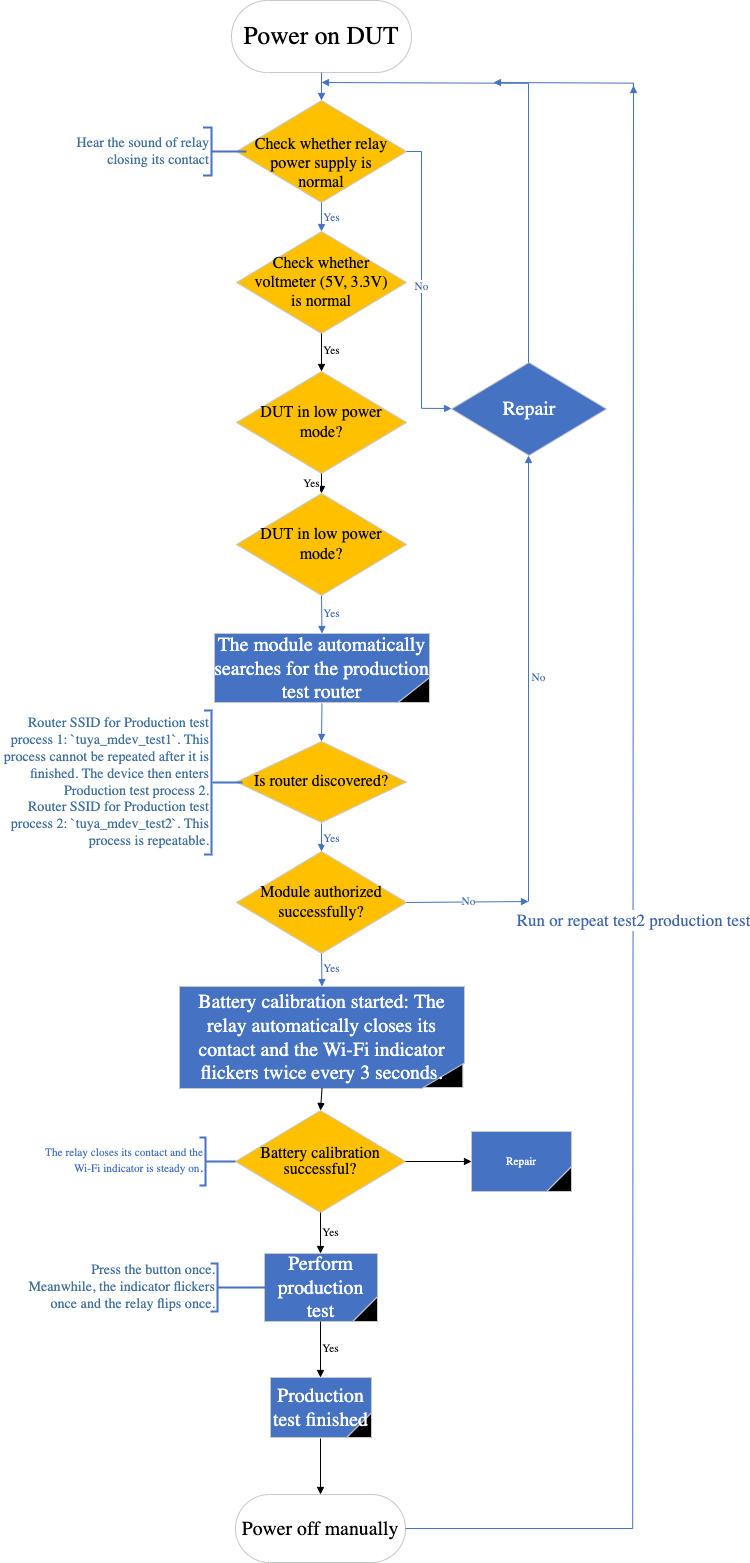
Production testing process 1 (not repeatable after the test is passed)
-
The router with an SSID of
tuya_mdev_test1is used in Production process 1. -
If the device is initially powered on, stays in low power mode, or is flickering quickly (non-low power device), the device will scan the router’s SSID after power on. If the router’s SSID is scanned, the device enters the production test mode, and the Wi-Fi indicator turns off. If it is not scanned, the Wi-Fi indicator flicks quickly.
-
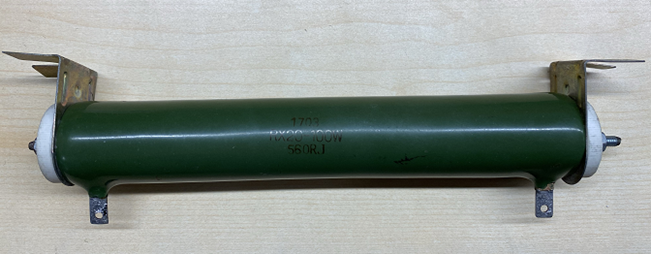
Connect to the resistor to perform the battery calibration test.
-
Make sure that the device is connected to a 120V or 220V AC regulated power supply.
-
After the battery calibration is passed, the device enters the production test mode.
After the test, the device cannot enter Production test process 1 again.
Production test process 2 (repeatable)
This process can be started only after Production test process 1 is finished. This process is repeatable.
-
The router with an SSID of
tuya_mdev_test2is used in Production test process 2. -
If the device is initially powered on, stays in low power mode, or is flickering quickly (non-low power device), the device will scan the router’s SSID after power on. If the router’s SSID is scanned, the device enters the production test mode, and the Wi-Fi indicator turns off. If it is not scanned, the Wi-Fi indicator flicks quickly.
-
Connect to the resistor to perform the battery calibration test.
-
Make sure that the device is connected to a 120V or 220V AC regulated power supply.
-
After the battery calibration is passed, the device enters the production test mode.
Things to note
Initial power on
- The device is initially powered on after it leaves the factory. The device conditions after the power on depends on the firmware. In this case, the device is powered on without the production test router’s environment.
- If the device supports the condition that the Wi-Fi indicator flicks quickly after power on, the Wi-Fi indicator will flicker quickly after the initial power on.
- If the device supports the low power mode, the Wi-Fi indicator might be in either of the following states after power on:
- Steady off (default)
- Flickering quickly (custom firmware)
Low power mode
A low power device can enter the low power mode in the following three ways:
- The device enters the low power mode after the module’s initial power on. The device has never been paired in this case.
- Press and hold the button for 5s to reset the device. After resetting, wait for more than 10s to power the device off. After the device is powered on again, it enters the low power mode.
- Use the app to pair the device and remove the device from the app. Then, wait for more than 10s to power the device off. After the device is powered on again, it enters the low power mode.
Production test router
- In normal conditions, start the test1 production test router to run Production test process 1.
- If the device requires only a single production test process, Production test process 1 can be repeated. If the device requires both product test processes, Production test process 1 is not repeated after it is finished. Therefore, the devices that pass Production test process 1 do not need to be tested repeatedly. Production efficiency can thus be improved.
- In the environment of the test1 production test router, Production test process 1 and device pairing can be performed at the same time. This eliminates interference with the pairing process caused by the router.
- The test2 production testing router supports the repeatable production test process. For example, it applies to product rework.
Is this page helpful?
YesFeedbackIs this page helpful?
YesFeedback


