Development Environment
The required development environment varies depending on your selection of Beacon chips. The following table lists the chips that are specially adapted to Tuya-defined protocols as well as the environment setup guide. If you do not use Tuya standard chips to connect to the Tuya Developer Platform, you need to set up the development environment based on your chipset platform.
Development environments
| Chipset platform | Development environment | Reference specification |
|---|---|---|
| AK801AE-H1 | CDK | Set up development environment for AK801 |
| AK801AE-M3 | CDK | Set up development environment for AK801 |
| AC6329C2 | Code::Blocks | Set up development environment for AC6329C2 |
Set up development environment
Step 1: Create a product
In this section, we use AC6329C2 as an example to describe how to create a product on the Tuya Developer Platform to get the SDK and the required information for development. For more information about product creation, see Create Products.
-
Log in to the Tuya Developer Platform.
-
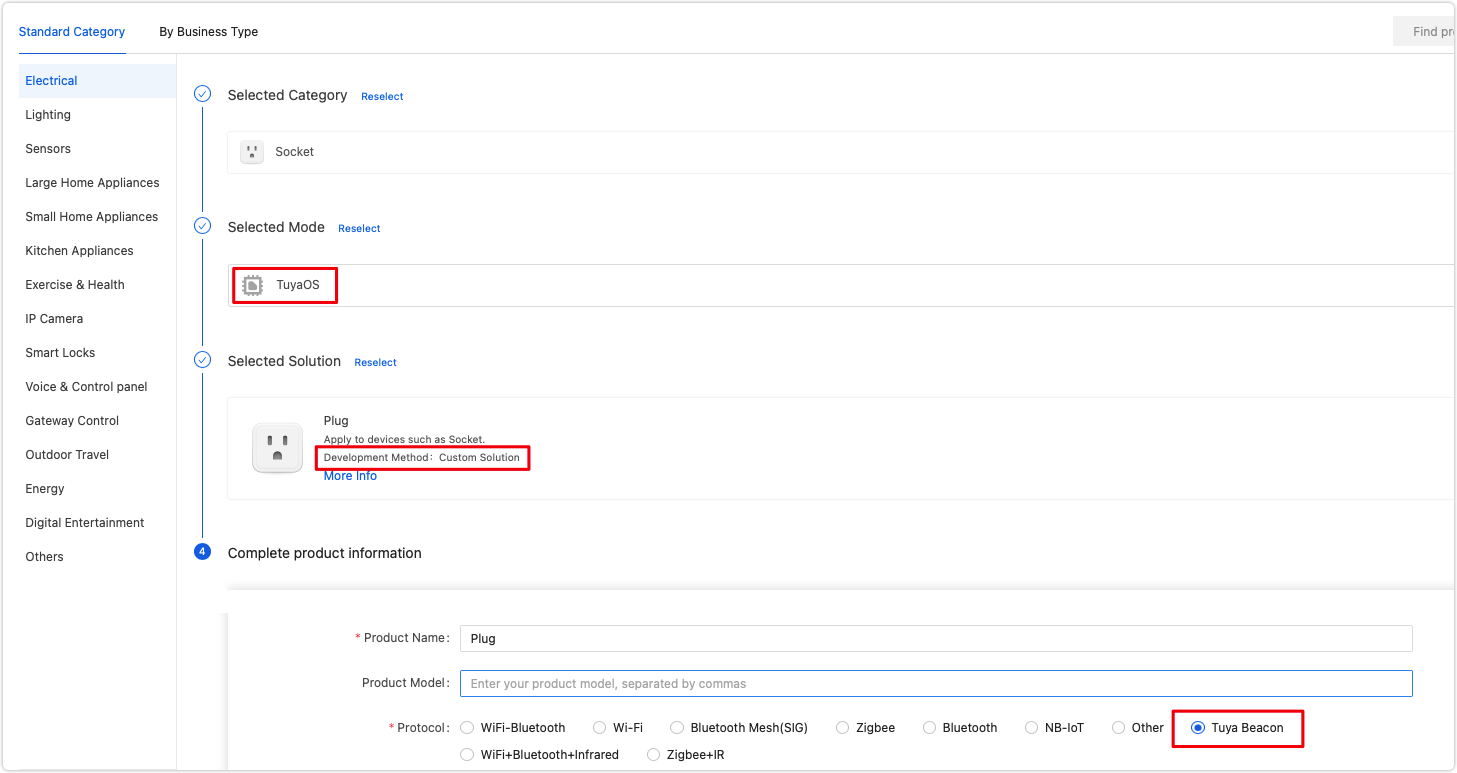
On the left product category menu, choose the desired product. Choose TuyaOS and then the Custom Solution tab. Choose Tuya Beacon as the protocol and complete the required information to create a product.
-
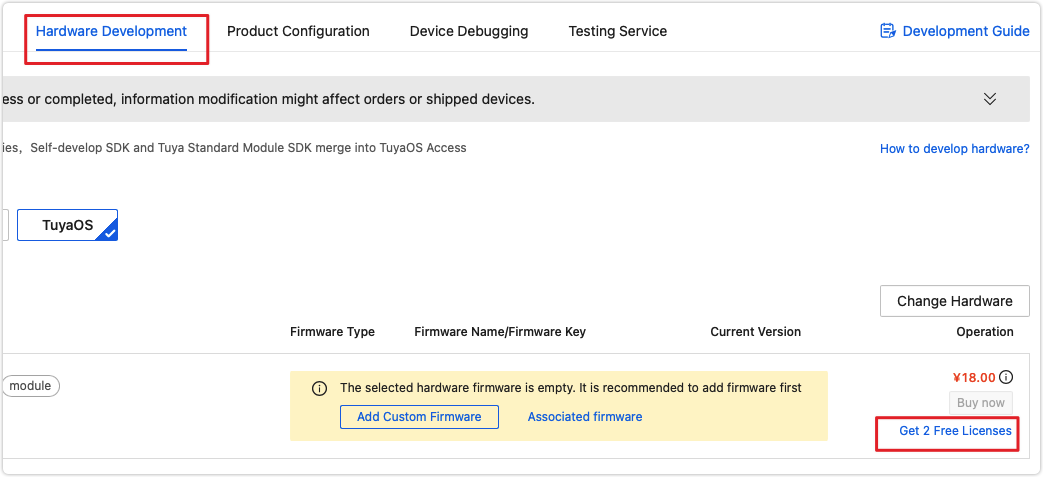
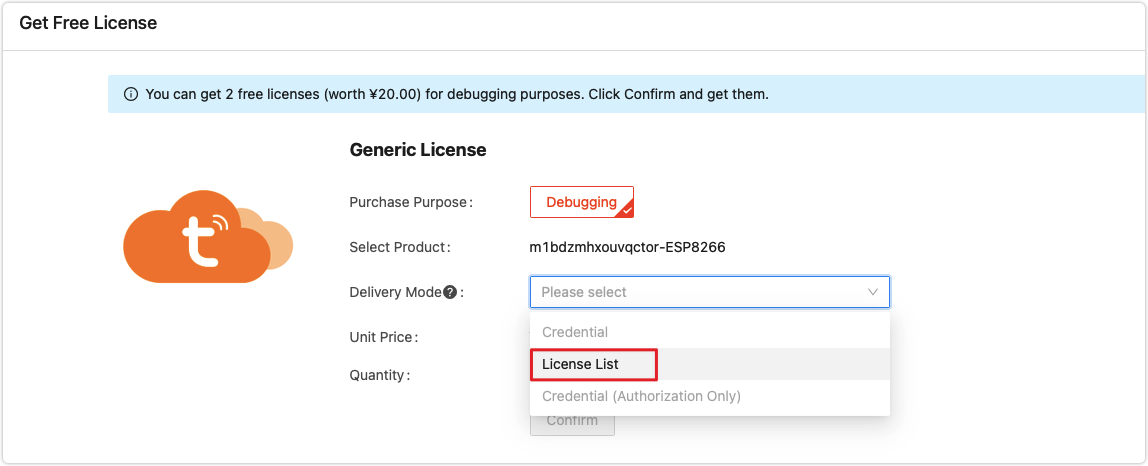
On the page that appears, click the Hardware Development tab, select TuyaOS as the connection mode, and select a chip. Click Get 2 Free Licenses to request the free licenses used to authenticate with the Tuya Developer Platform for cloud connection.
-
The request result will be sent to your phone associated with your account of Tuya Developer Platform via SMS.
-
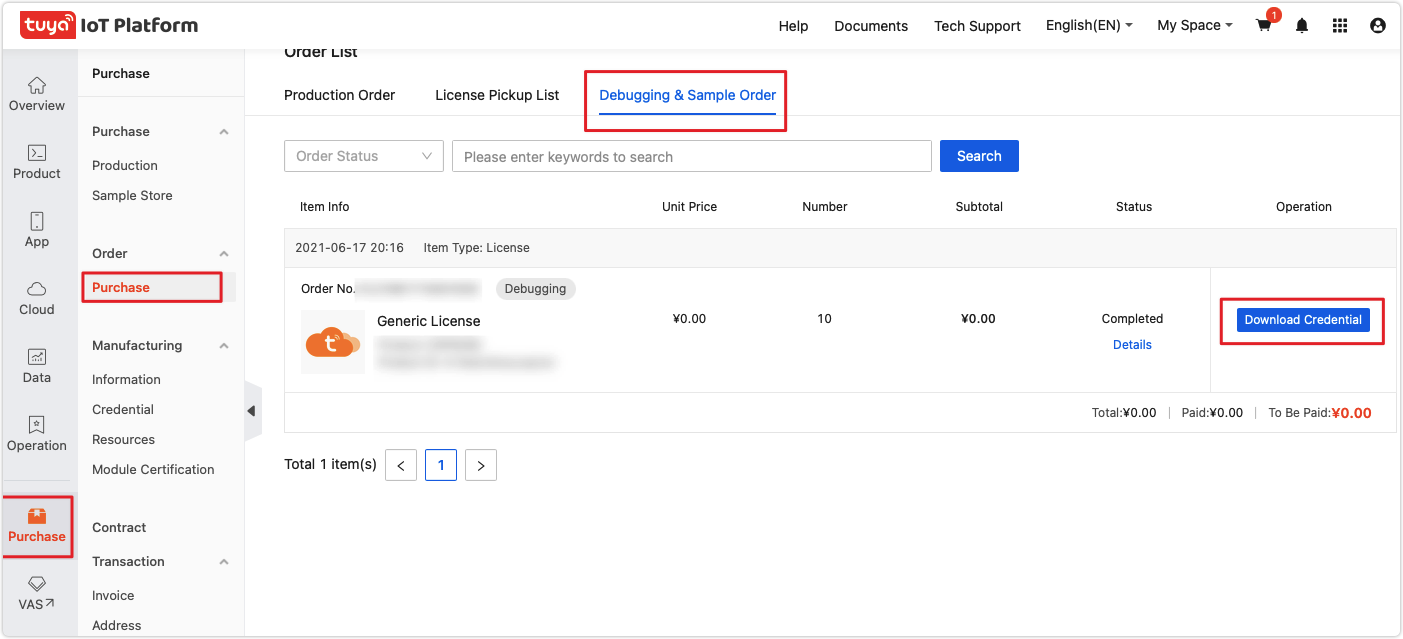
After you are notified of a successful request, open the platform and click Purchase > Debugging & Sample Order to download the license. A license comprises UUID, AuthKey, and MAC address, which will be used later in the code editing process.
Step 2: Get the SDK
For more information, see Get the SDK.
Step 3: Set up development environment
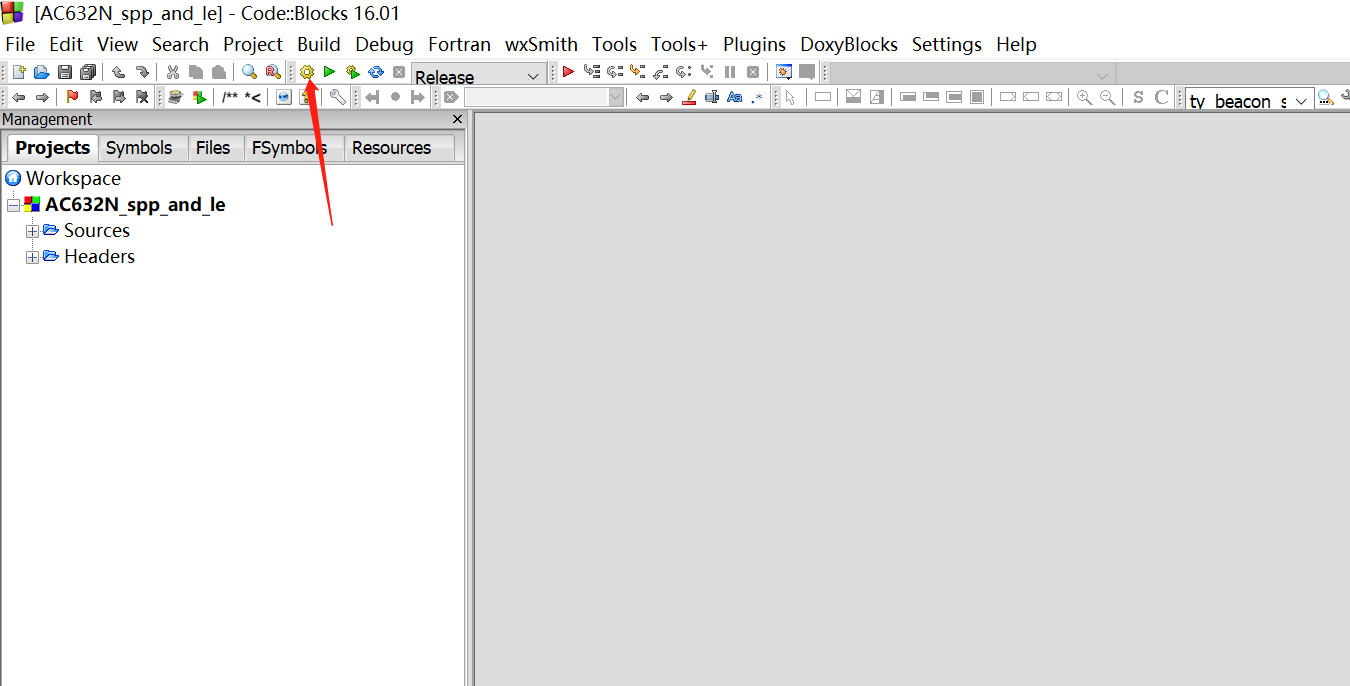
Download the IDE. For more information, see Set up development environment for AC6329C2.
After you have the IDE installed on your computer, import your project.
Step 4: Edit the project
-
Import the downloaded SDK.
-
Find the
app_main.candapp_multi_conn.c. -
Open the
app_main.cfile and replace themac,authkey, andpidwith your own values.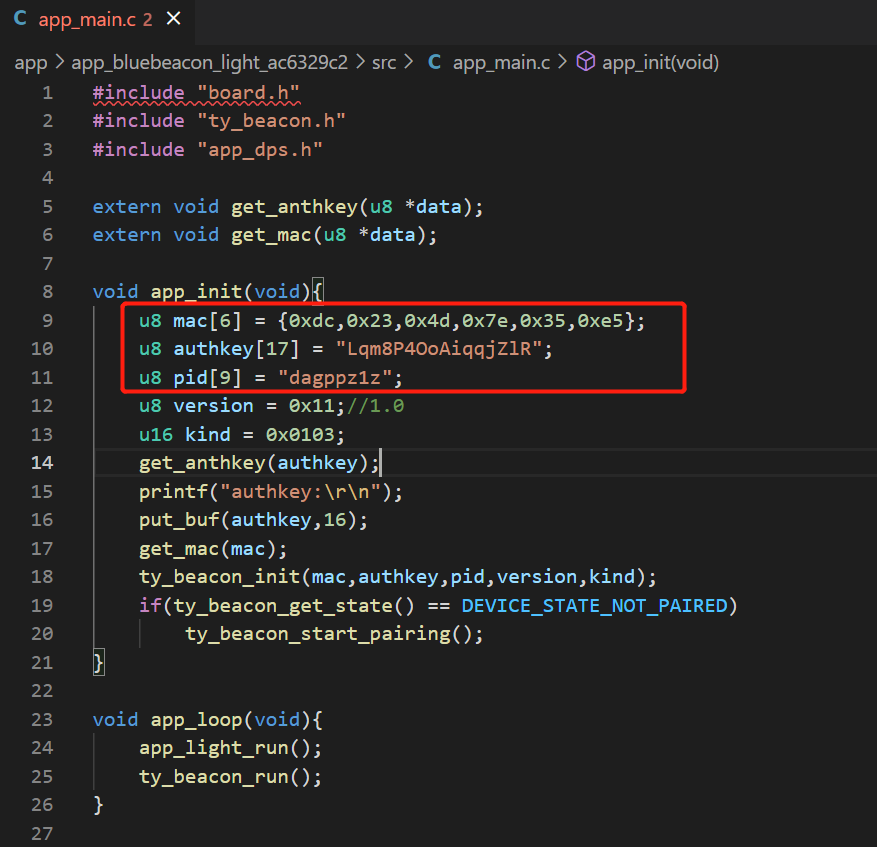
-
Open the
app_multi_conn.cfile. Replaceu8 ty_ble_addr[6]with the MAC address in the license you obtained and shieldsyscfg_read(NV_USER_MAC_ADDR, ty_ble_addr, 6). For more information, see Port SDK.
-
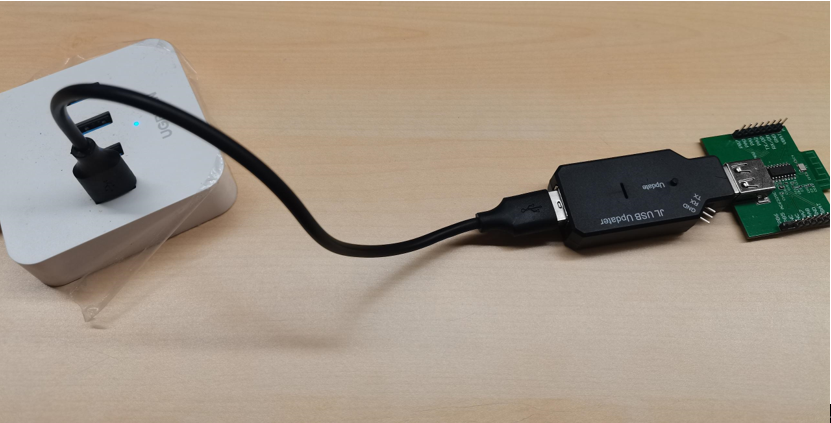
After you complete the code editing, you can connect the hardware to your computer for compilation and flashing.
Is this page helpful?
YesFeedbackIs this page helpful?
YesFeedback


