Development Environment
This topic describes how to set up the development environment for achieving IoT-enabled products through Wi-Fi SDKs for custom development. Before you get started, install Ubuntu on VirtualBox in Windows and install the required build tools on Ubuntu. Then, you are good to go in developing with the SDK.
Download software
-
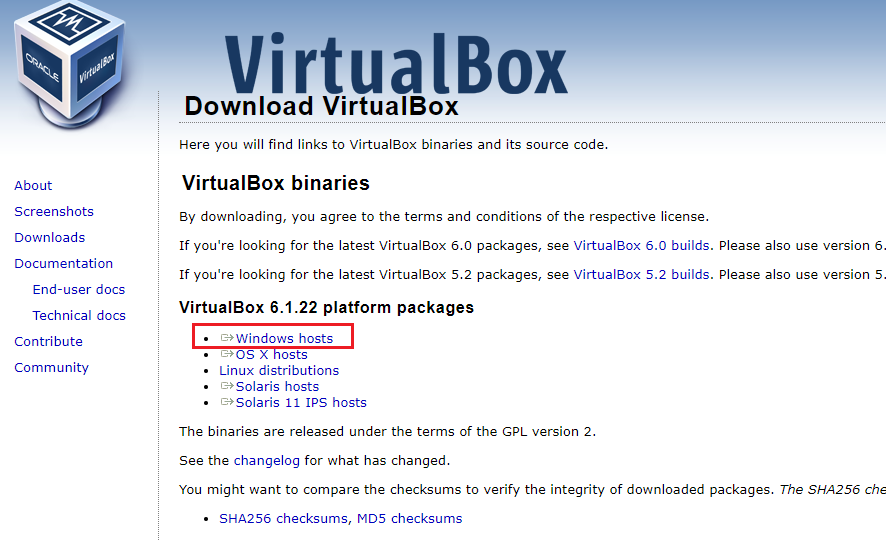
Visit the VirtualBox website. Click Windows hosts to download the package.
-
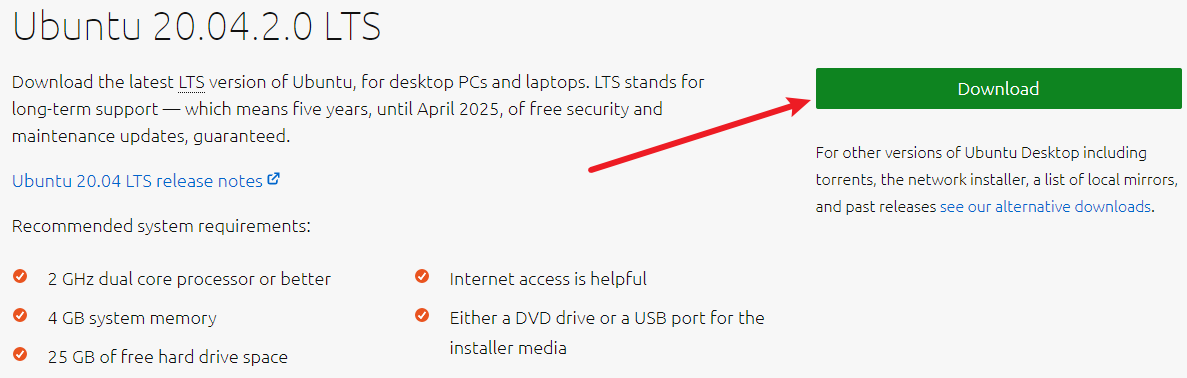
Visit the Ubuntu website and download the Ubuntu ISO image. The examples in this topic use Ubuntu 20.04.
Install VirtualBox
Follow the wizard and finish the setup.
-
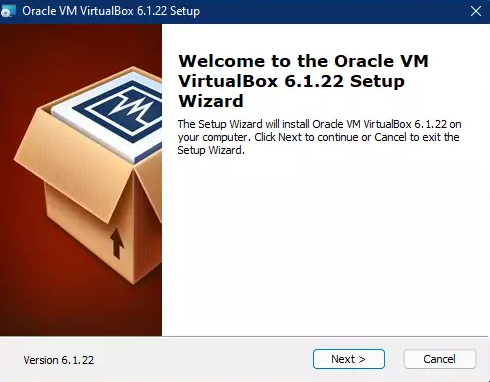
Run the installer. On the welcome setup wizard page, click Next to begin the installation wizard.
-
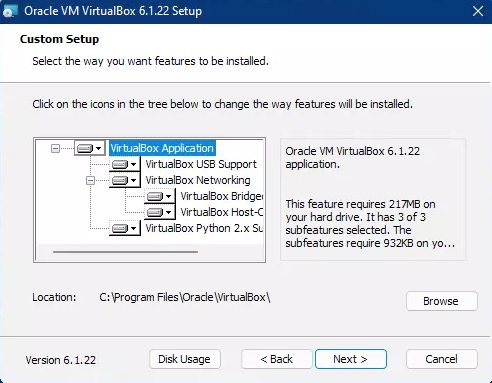
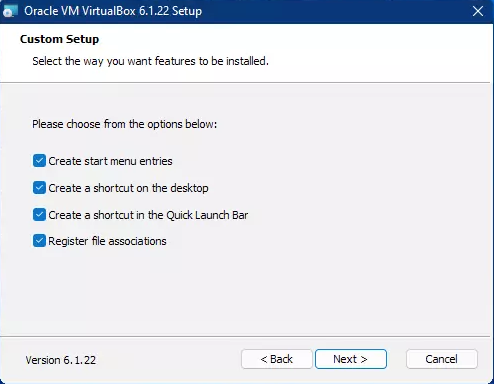
Custom setup
In most cases, you would not change the features to be installed except for special situations. You can change the location to some other directory if you would like. When you are ready, click Next to continue.
If you have sufficient free space on C drive, you can leave the default directory as is. If you want to change the directory, click Browse, select the desired directory, and click Next.
-
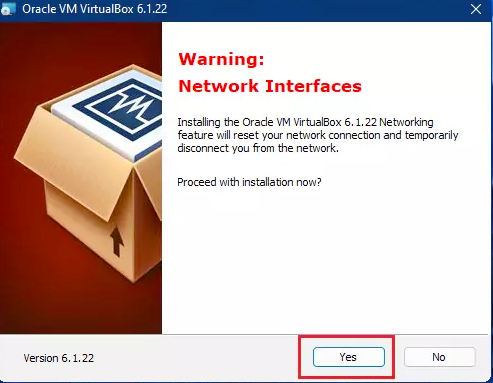
Click Next to continue.
-
Click Yes to continue.
-
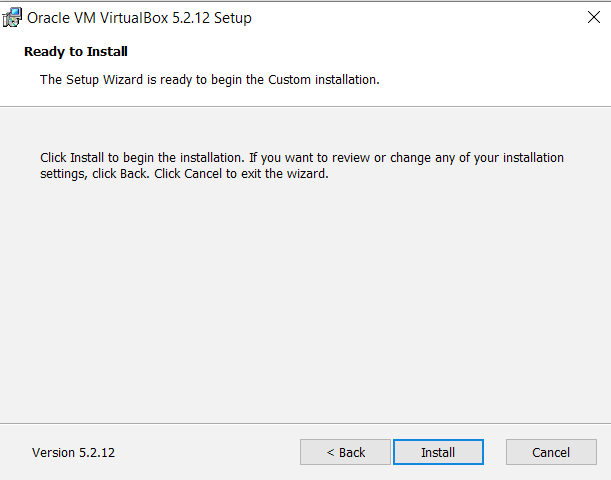
Click Install to begin the installation.
-
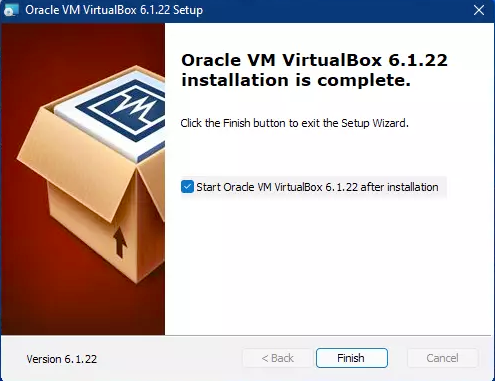
Finally, click Finish to complete the setup.
Install virtual machine
Install Ubuntu on VirtualBox
-
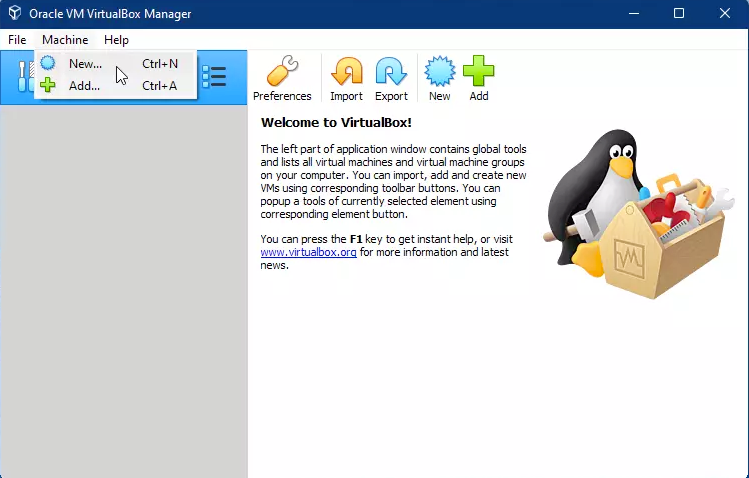
Open VirtualBox, and then click New to create a virtual machine (VM).
-
Enter
Ubuntuas the name. The examples in this topic use Ubuntu 20.04 so we select Linux as the type and Ubuntu (64-bit) as the version.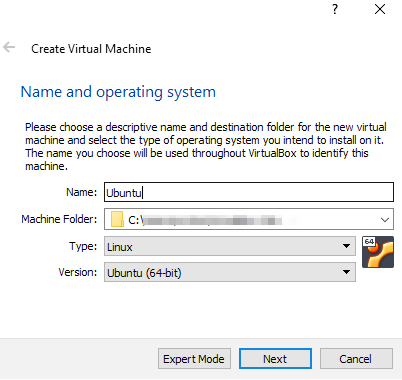
-
In the Machine Folder option, select a location to install the VM.
-
Allocate RAM size to your VM.
A VM with sufficient RAM can offer you better performance. The computer we use has 16 GB RAM. We allocate 4 GB (4096 MB) to the VM. You can change the RAM allocation later when needed.
-
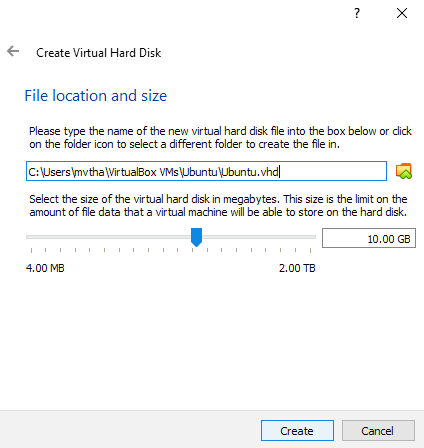
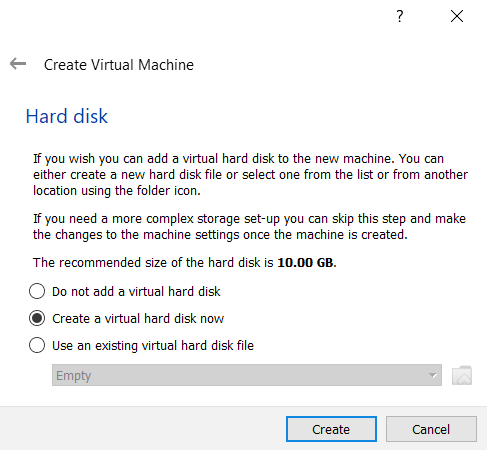
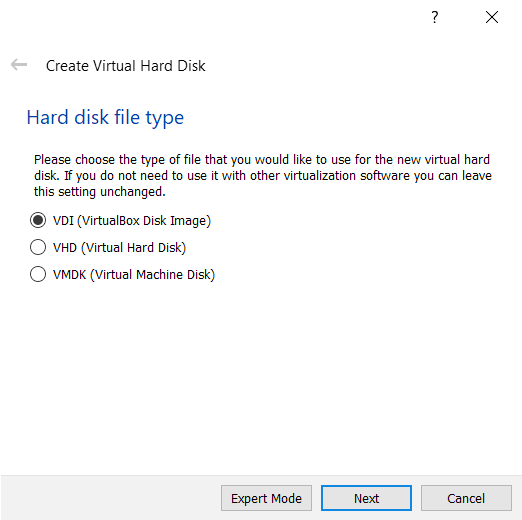
Specify the size of the virtual hard disk.
We allocate 50 GB to the VM. You can select the hard disk size as per your resources and change the disk size later when needed.
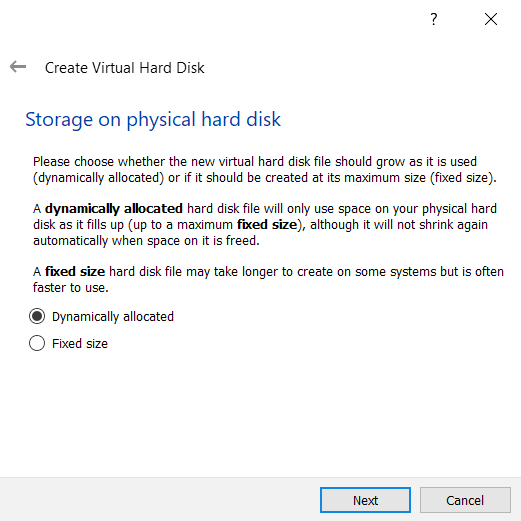
Select disk size and the destination folder to install.
-
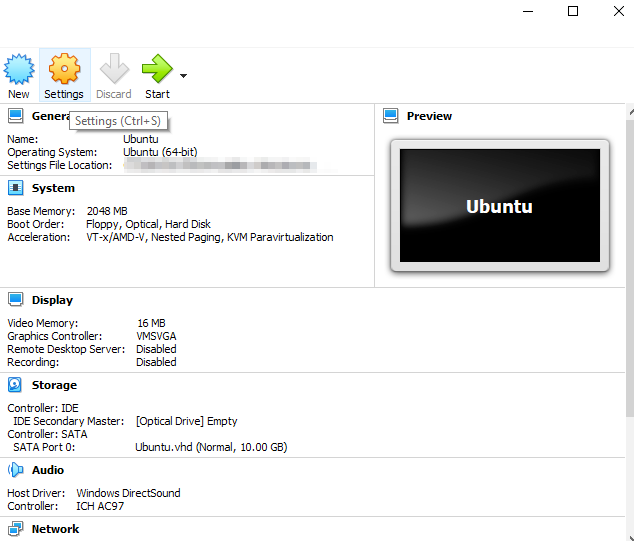
After the disk creation is done, begin installing Ubuntu on the VM. Click Optical Drive. Select the downloaded Ubuntu ISO image and click the Start button.
-
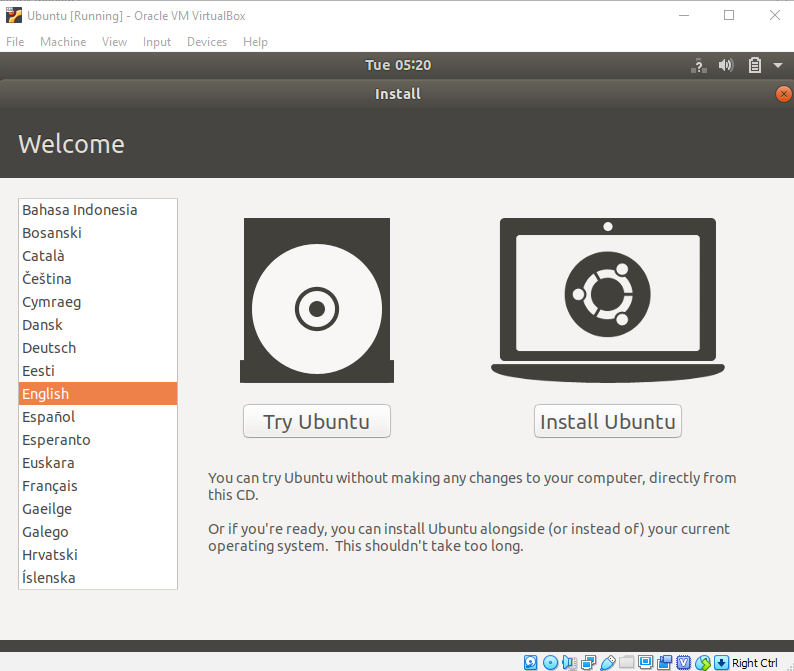
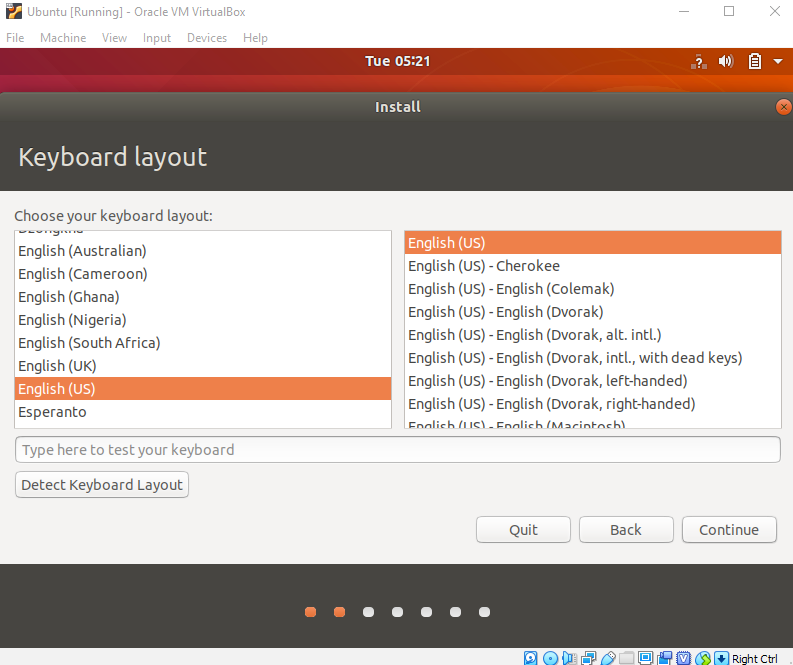
Click Install Ubuntu.
-
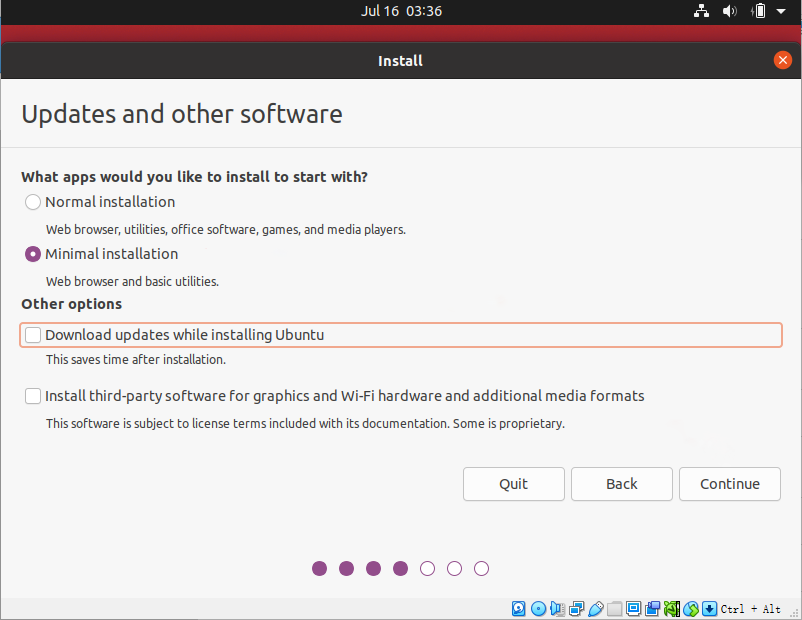
Choose Minimal installation and uncheck Download updates while installing Ubuntu to save time after installation.
-
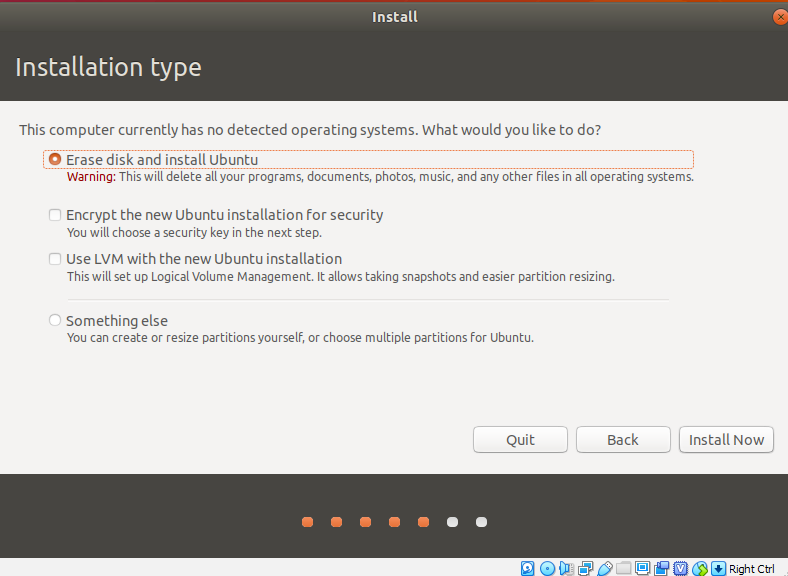
Choose Erase disk and install Ubuntu. Click Install Now.
-
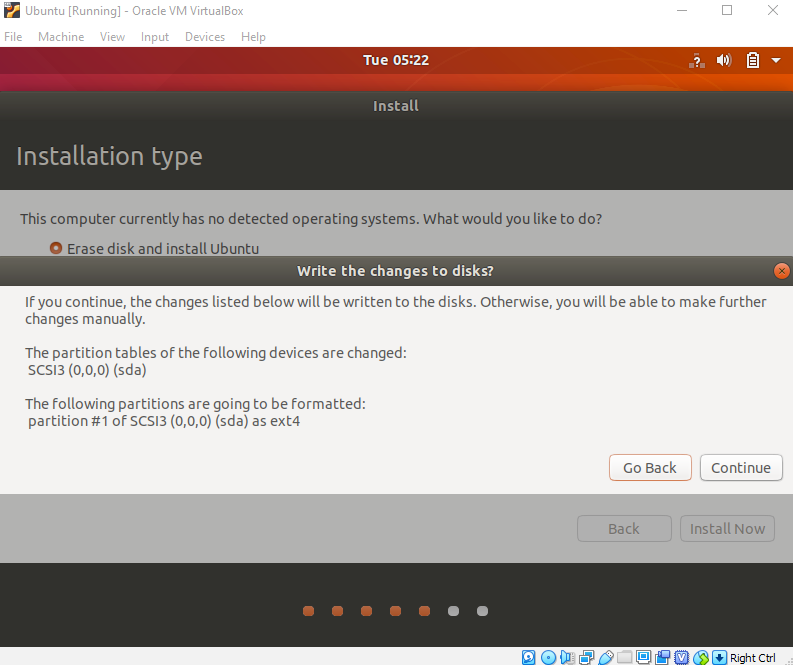
Click Continue and proceed with writing changes on the disk.
-
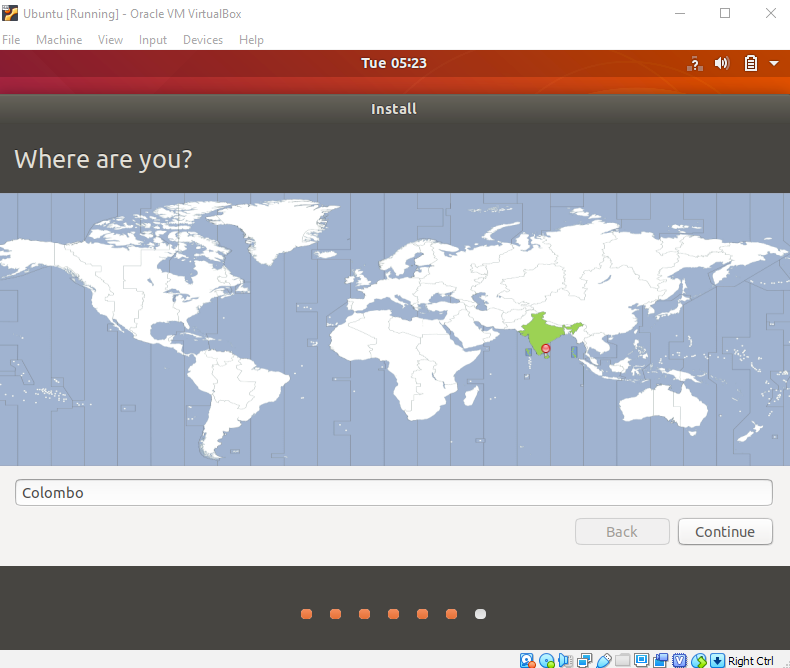
Choose your current location and click Continue.
-
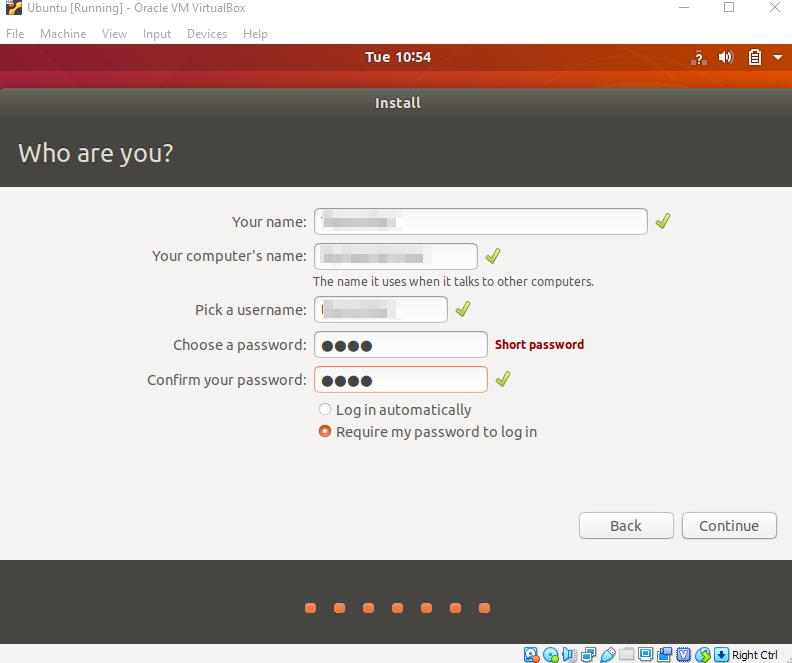
Enter your name and password to configure your system identity.
The username and password will be used for identity verification in subsequent operations.
-
Once the installation process is finished, reboot your VM.
-
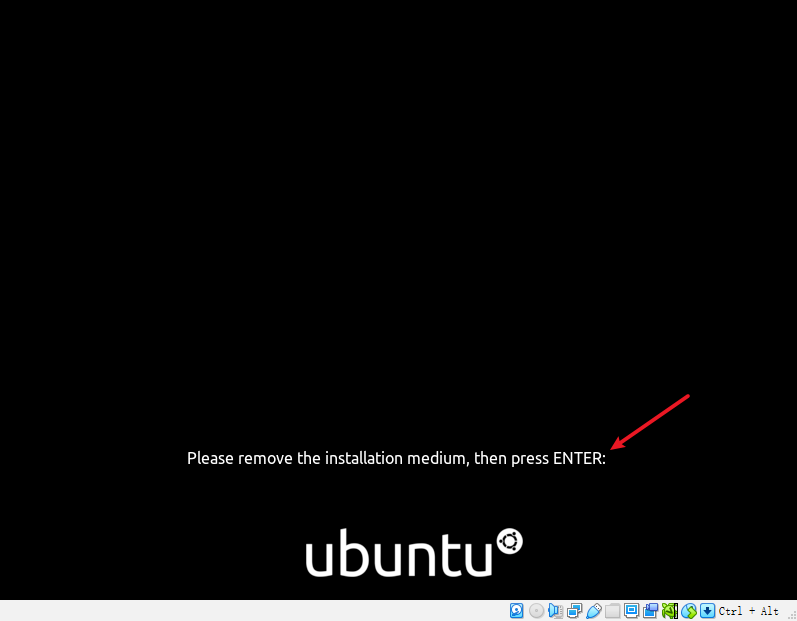
After rebooting, you will be prompted to remove the installation medium and then press
ENTER. -
When the optical drive is empty, press ENTER and wait for the VM to finish the setup.
If the ISO image is not removed automatically, you can remove it manually.
-
After powering on the VM, enter the password to log in.
Install guest additions
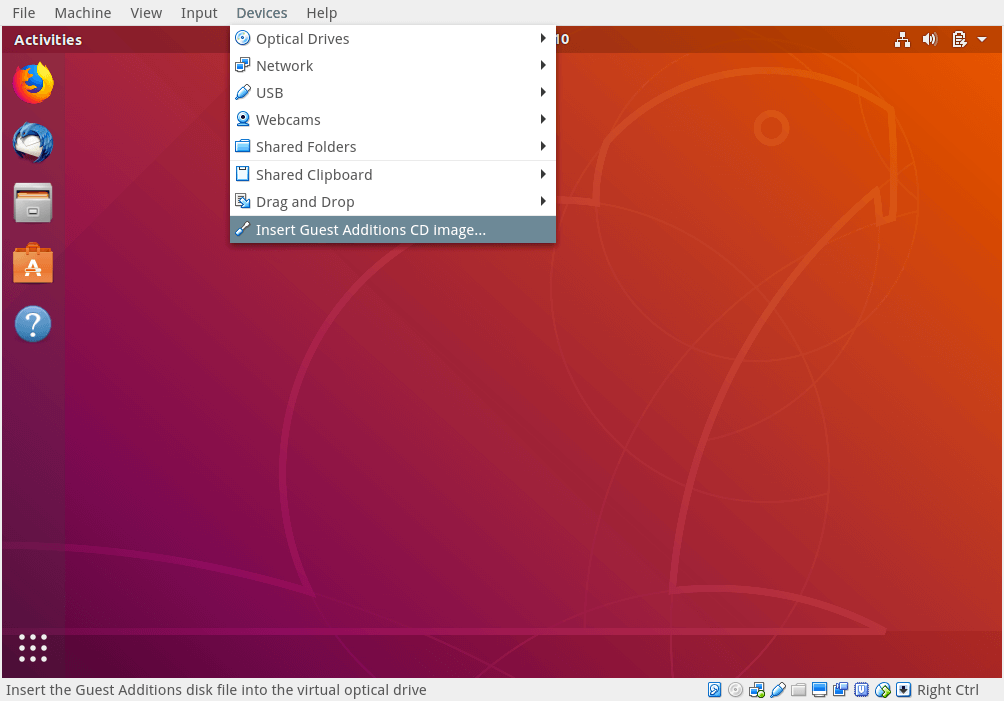
After installing Ubuntu, you need to install the guest additions to get better hardware functionality. These include auto-resize guest display, shared clipboard, and more.
-
Open the Ubuntu VM. Click Devices > Insert Guest Additions CD Image.
-
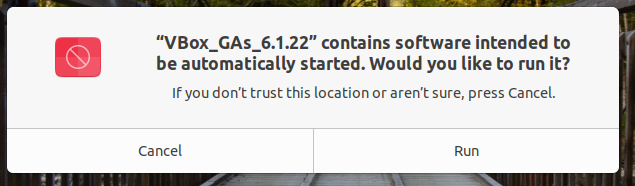
Click Run.
-
When
Press Return to close this window...is displayed in the window, press ENTER and reboot the VM.
The screen resolution of guest can be automatically adjusted with the window size.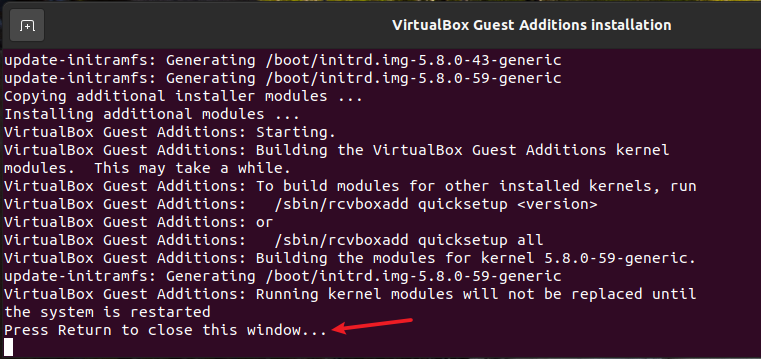
-
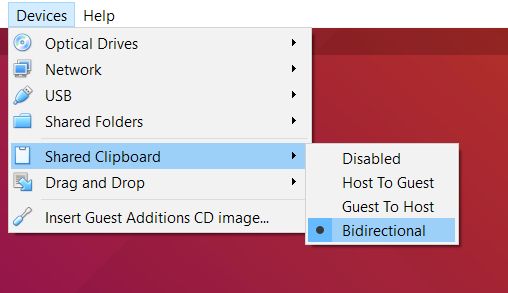
Choose Devices > Shared Clipboard > Bidirectional. The clipboard of the guest OS is shared with that of your host.
Install the build tool
To use the Wi-Fi SDK, you need to install the required tools for building the firmware.
The examples in this topic use Samba to share files across different operating systems over a network. Samba runs on Linux-based platforms but is able to communicate with Windows clients like a native application. It allows you to edit the project in Windows and build the project in Linux.
It is not recommended to use the shared folders feature of VirtualBox because Linux’s file system is different from the Windows’s file system. When you copy the SDK on GitHub to the shared folder in VirtualBox for building, errors might occur.
Set the download server
Before software installation, you can change the download server to have the best download speed.
-
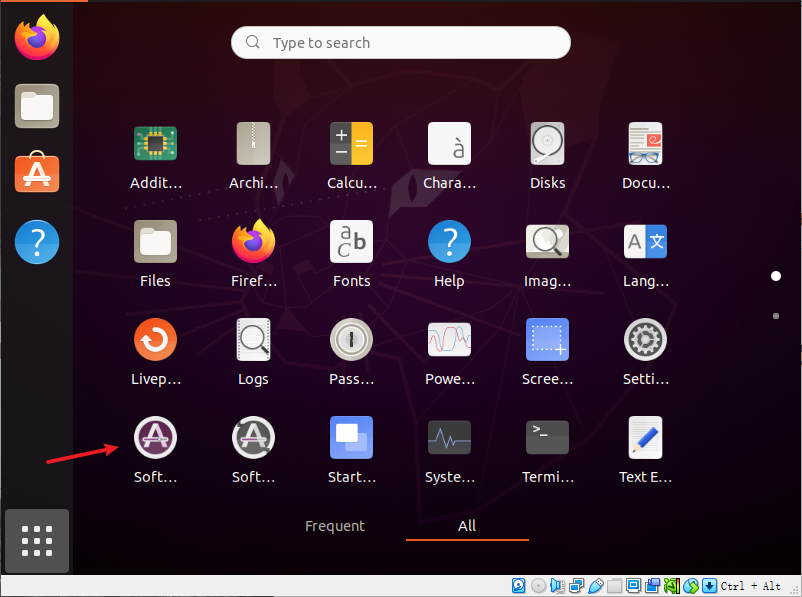
Open Software & Updates.
-
Under the Ubuntu Software tab, choose
Other...in theDownload fromthe drop-down box.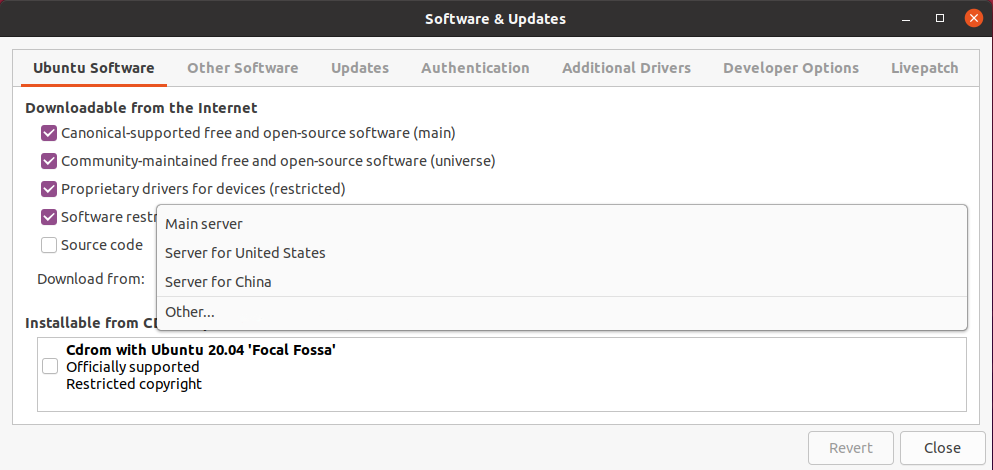
-
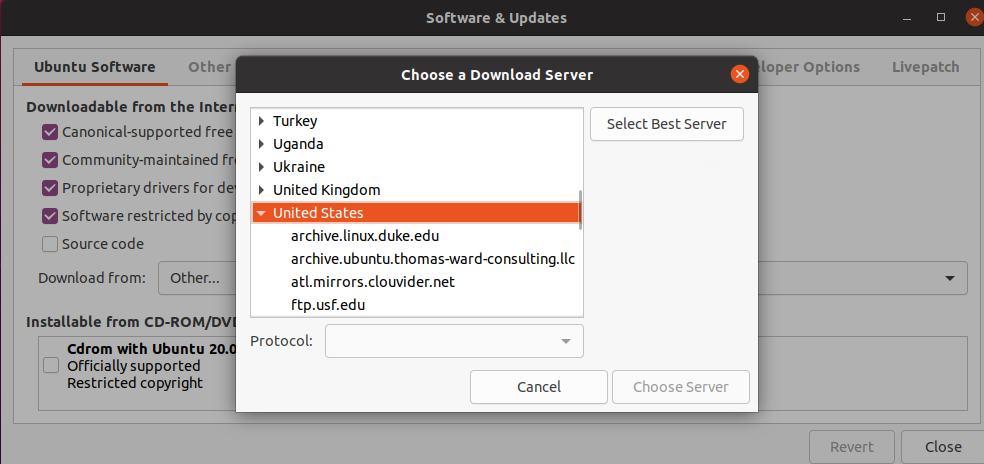
Choose Select Best Server option to let Ubuntu find a mirror that gives you the best download speed for your location.
-
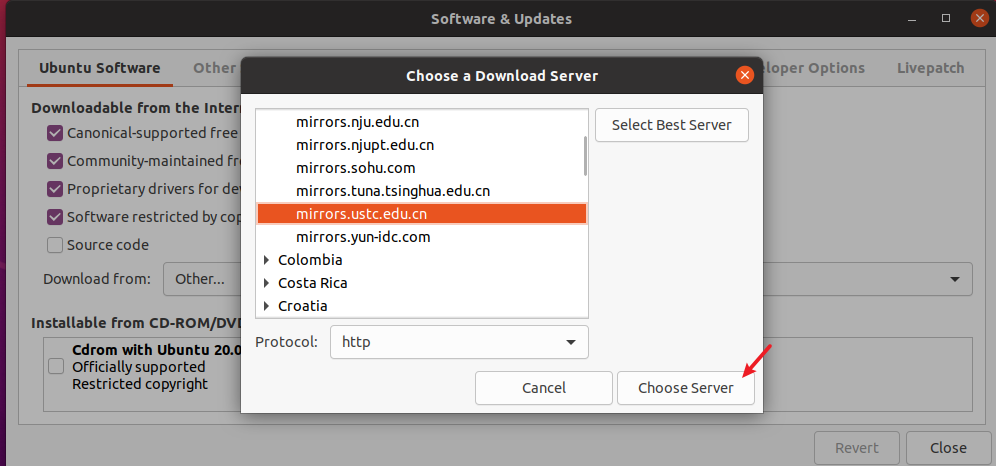
Once the best mirror is found, click Choose server option.
-
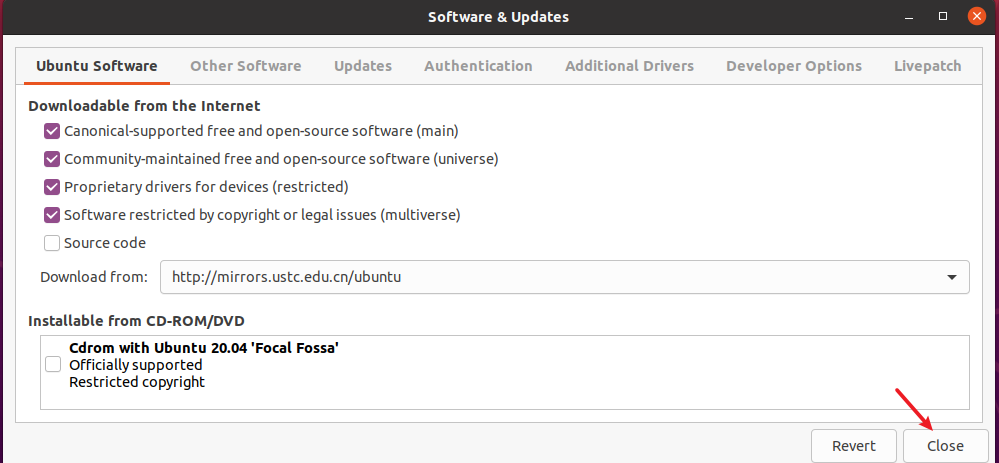
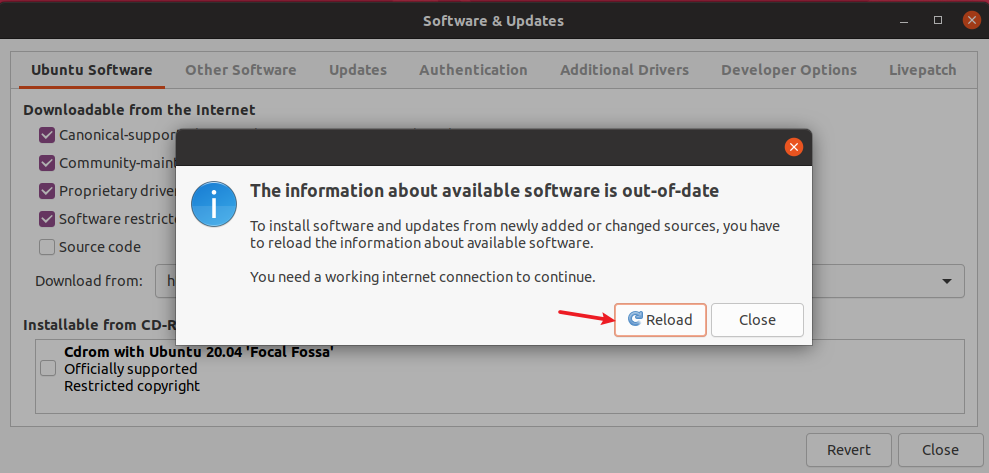
Close the Software & Updates window. Click Reload to update the repository lists.
-
After reloading, the updated source list can best suit your location.
Download the dependency
Open the Ubuntu VM. Right-click on the desktop and choose Open Terminal from the menu.
After entering the command, you will be asked to enter the password.
sudo apt-get update
sudo apt-get upgrade -y
sudo apt-get install net-tools build-essential wget git python libc6-i386
All the required tools are ready. You can start building your project.
Install Samba
Samba enables you to share files between Ubuntu and Windows.
Prerequisites
Before installing Samba, you need to configure the network first.
-
Power off the VM.
-
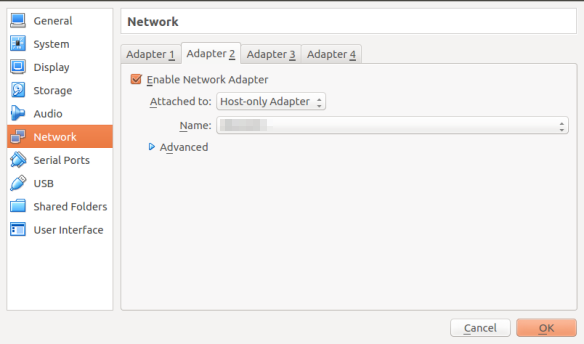
Choose Settings > Network > Adapter 2.
-
Under the Adapter 2 tab, select Enable Network Adapter. Under the Attached to label, select Host-only Adapter from the drop-down box.
-
Click OK to complete the setup.
Installation process
-
Open the VM and run the following command:
ifconfig -
After
ifconfigis run, you will get the IP address of your computer.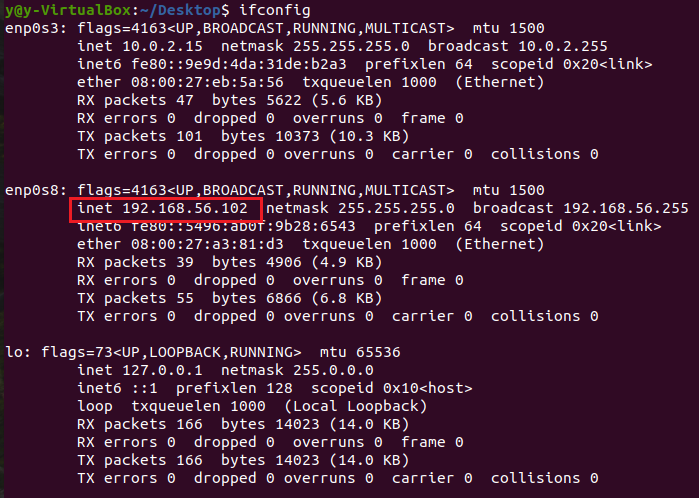
-
Run the following command to install Samba:
sudo apt-get update sudo apt-get install samba cifs-utils samba-common -
After Samba is installed, create a shared directory for file sharing between Ubuntu and Windows and set read, write, and execute permissions for this directory. Run the following commands in turn.
sudo mkdir -p /home/share/samba sudo chmod 777 -R /home/share/samba -
Run the following command and edit the Samba configuration:
sudo gedit /etc/samba/smb.conf -
Add the following code at the end-of-file. Save and exit.
[share]
path = /home/share/samba
available = yes
browseable = yes
public = no
writable = yes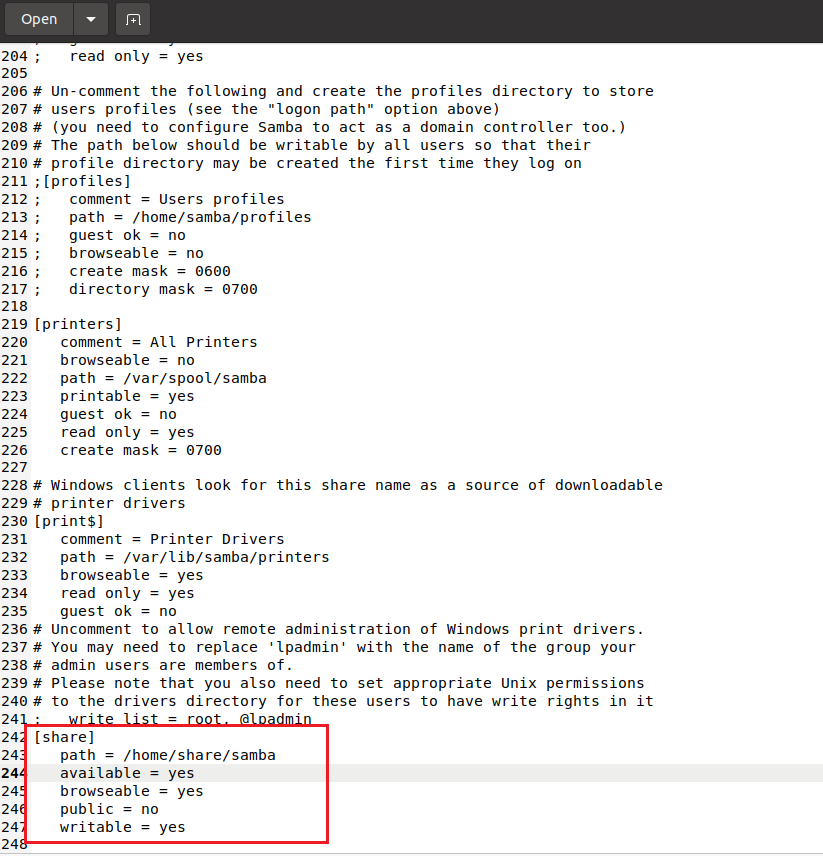
-
Enter the following command to add a specified user to the Samba user group and set the Samba password.
sudo smbpasswd -a xxxx #(Replace xxxx with your username) -
Run the following command to reboot Samba:
sudo service smbd restart -
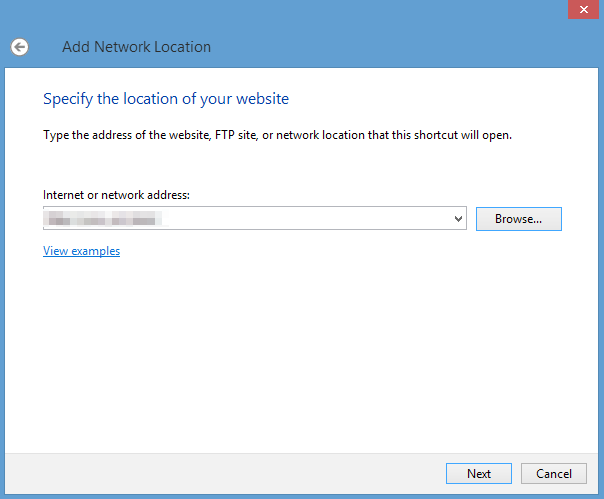
Navigate to your Windows desktop. Click This PC, choose Add a network location, and enter the IP address of your Ubuntu VM in the Internet or network address box.
If you forget the IP address, you can run
ifconfigin your Ubuntu VM and find it.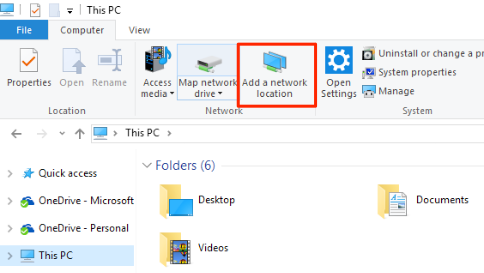
-
Enter your username and password.
You can select Remember my credentials for convenience.
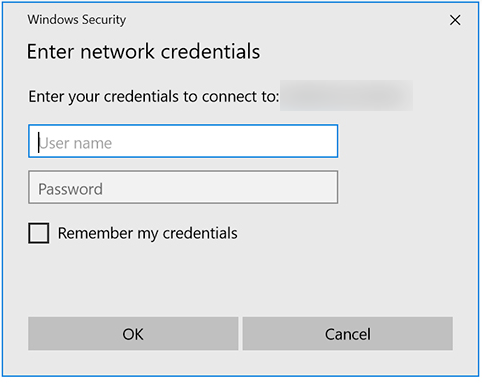
The Samba setup is done.
Build and verify
To verify the VM setup, you can download the SDK and use it to build your project.
To get the SDK, you can download it from GitHub or from the Tuya Developer Platform. Either of these two methods can support your verification.
Get SDK from GitHub
The example uses the SDK for BK7231N to demonstrate the process.
-
Open the Ubuntu VM. Run the following command to get the SDK for BK7231N:
cd /home/share/samba/ git clone https://github.com/tuya/tuya-iotos-embeded-sdk-wifi-ble-bk7231n.git -
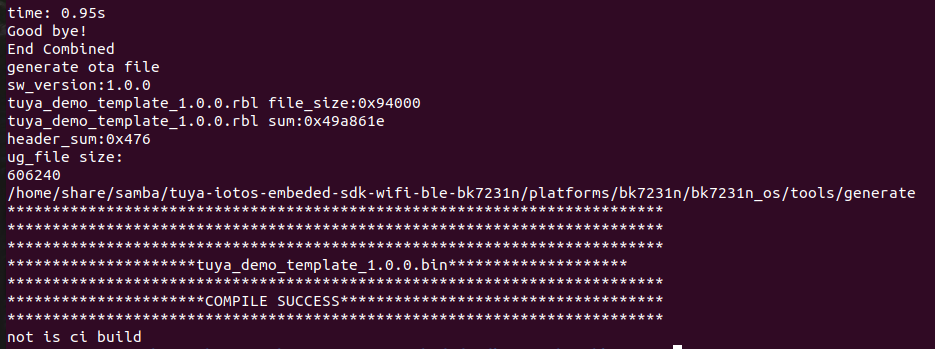
Run the following command to start building
tuya_demo_template:cd tuya-iotos-embeded-sdk-wifi-ble-bk7231n/ sh build_app.sh apps/tuya_demo_template/ tuya_demo_template 1.0.0 # This command is described later. -
If your output window looks like the following, it indicates the build is successful.
Get SDK from platform
-
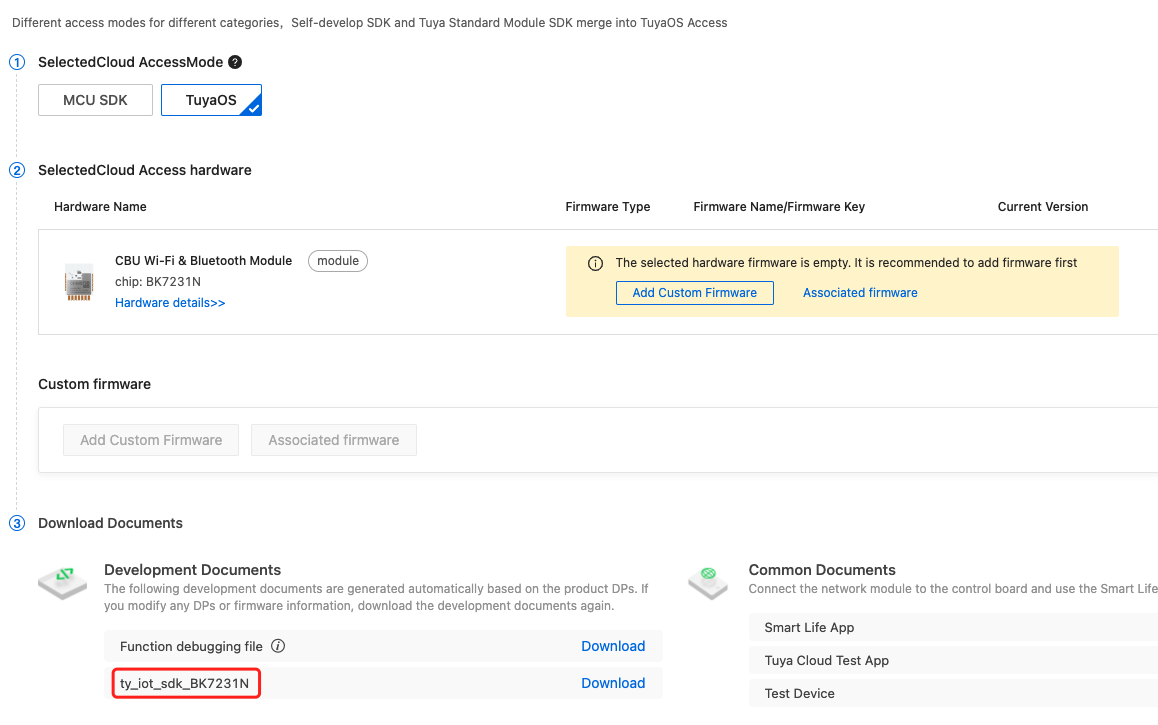
Create a product on the Tuya Developer Platform. Under the Hardware Development tab, choose
TuyaOSand select a module. You can then download the SDK in the Download Documents area.For more information, see Hardware Development.
-
Copy the downloaded SDK to the shared folder and run the following command in Ubuntu VM to build your project.
cd /home/share/samba/
tar -xzvf *.tar.gz # Note that this command will extract all the `tar.gz` files. You can change the name of these files to the desired name.
cd ty_iot_sdk_bk7231n_2.3.1
sh build_app.sh apps/tuya_demo_template/ tuya_demo_template 1.0.0 # Run this command to start building automatically after the required resources are downloaded.
Is this page helpful?
YesFeedbackIs this page helpful?
YesFeedback


