IPC Basic Features
Last Updated on : 2024-11-20 08:51:46download
This topic describes the IP camera (IPC) features supported by the SmartLife app to help you develop the IPC with desired features.
Control panel
Audio and video
Use the app to check real-time videos and audio collected by the IPC.
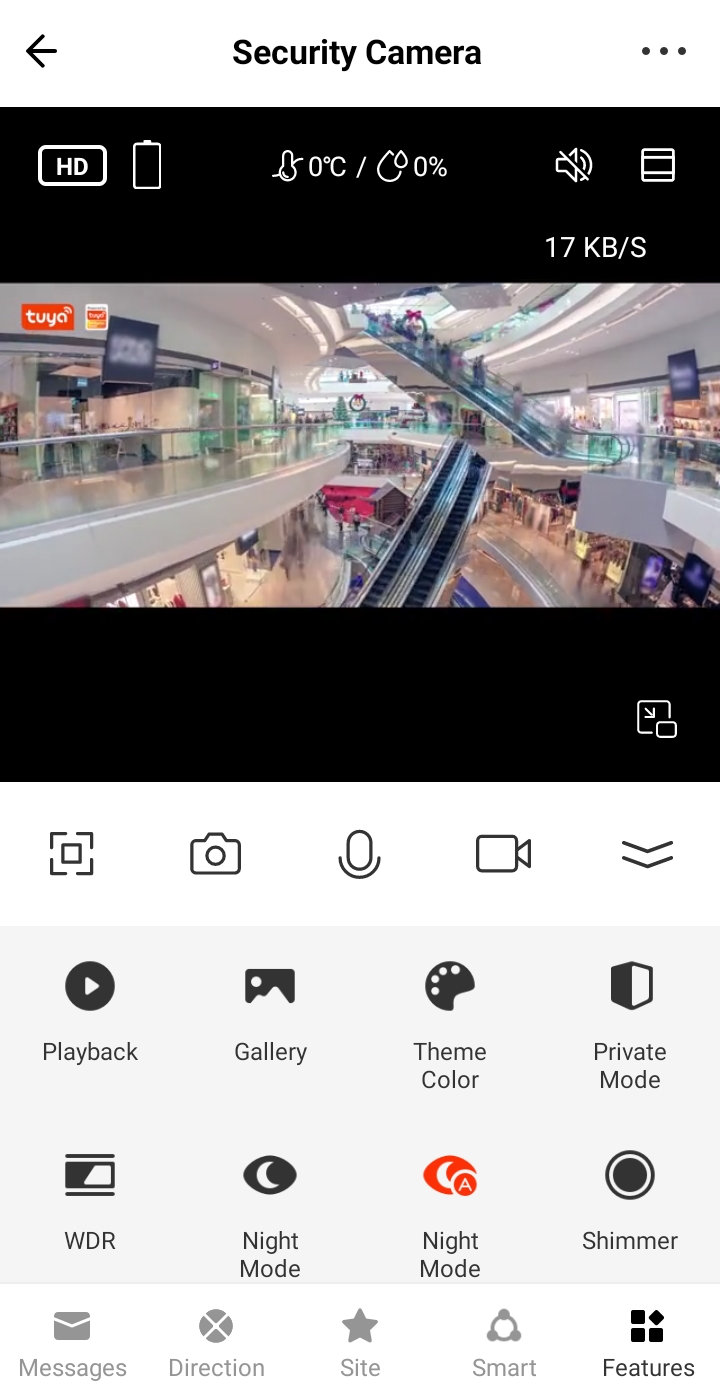
Full screen
Preview in landscape mode.

Video screenshot
Tap the Camera icon during live preview to take a video screenshot. The screenshot can be viewed and shared in the album.

Video talk
Tap the Microphone icon during live preview to start a video talk.

Recording
Tap the Record icon during live preview to start video recording. The record can be viewed and shared in the album.

Playback
Tap the Playback icon during live preview to view SD card-stored video records.

Gallery
View screenshots and records generated with the Camera and Record features.

Theme color
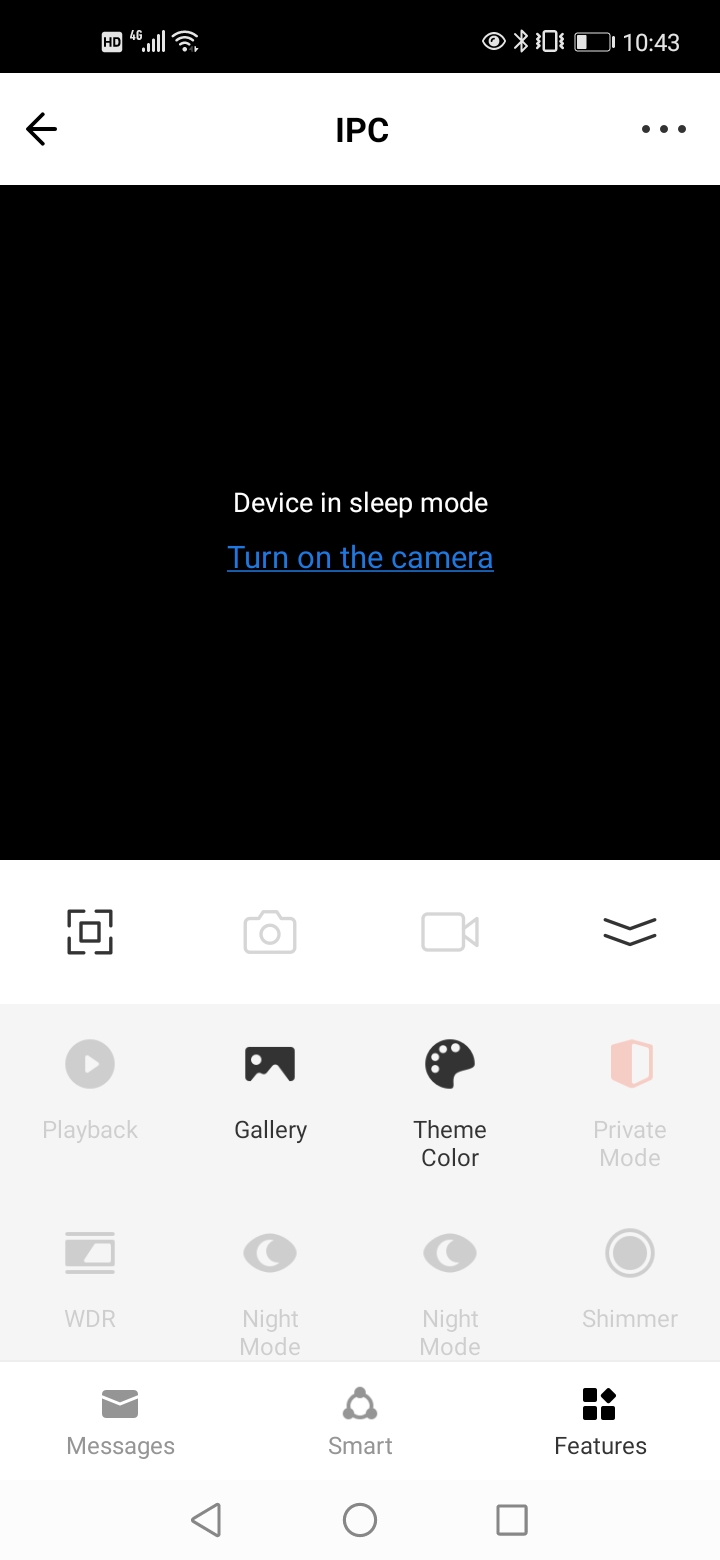
Change the color of the control panel to dark mode or light mode.
Privacy mode
Tap the Privacy Mode icon to enable this feature. In this mode, the audio and video transmission channels are closed on the IPC to protect users’ privacy when they are at home.
WDR
The wide dynamic range (WDR) feature depends on the capabilities of the IPC hardware and is suitable for scenarios with a big contrast between light and dark.

Night mode
Three modes are supported: Smart Mode, Infrared Mode, and Color Light Mode. This feature depends on the capabilities of the IPC hardware and can be switched among the modes based on the actual scenarios.

Night mode (IR)
This feature is only available to devices that support infrared night vision. Three options are supported: Auto, Off, and On.

Shimmer
This feature applies to dark scenarios where colored images are required. It can be enabled or disabled, depending on the capabilities of the IPC.
Anti-Flicker
To enable the Anti-Flicker feature, 50 Hz and 60 Hz frequencies are available to match the frequency of the ambient light source.

Device volume
Control the volume of the speaker.
Motion tracking
This feature is suitable for IPCs with motors such as pan-tilt (PT) cameras and pan-tilt-zoom (PTZ) cameras. This type of IPC can dynamically track moving objects on the screen.
Motion detection
Capture screenshots and start recording when moving objects are detected on the screen. Meanwhile, alarms triggered by the detection are sent to the user. The user can tap the Settings icon in the top right corner of the page, go to Detection Alarm Settings, enable Activity Area and edit Surveillance Area Setting, and then set Alarm Sensitivity Level.
PIR
Tap the PIR icon to select a sensitivity level or set PIR to Off. With this feature enabled, if a moving object is detected, the device sends an alarm to the user.

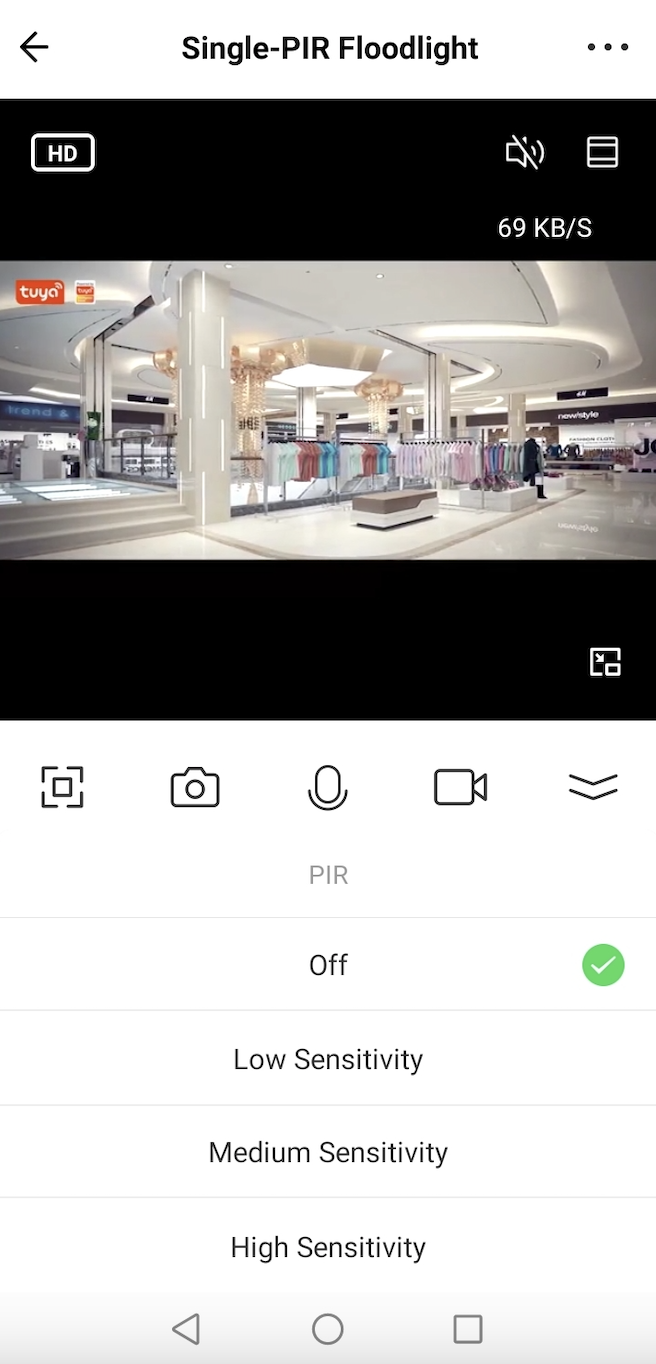
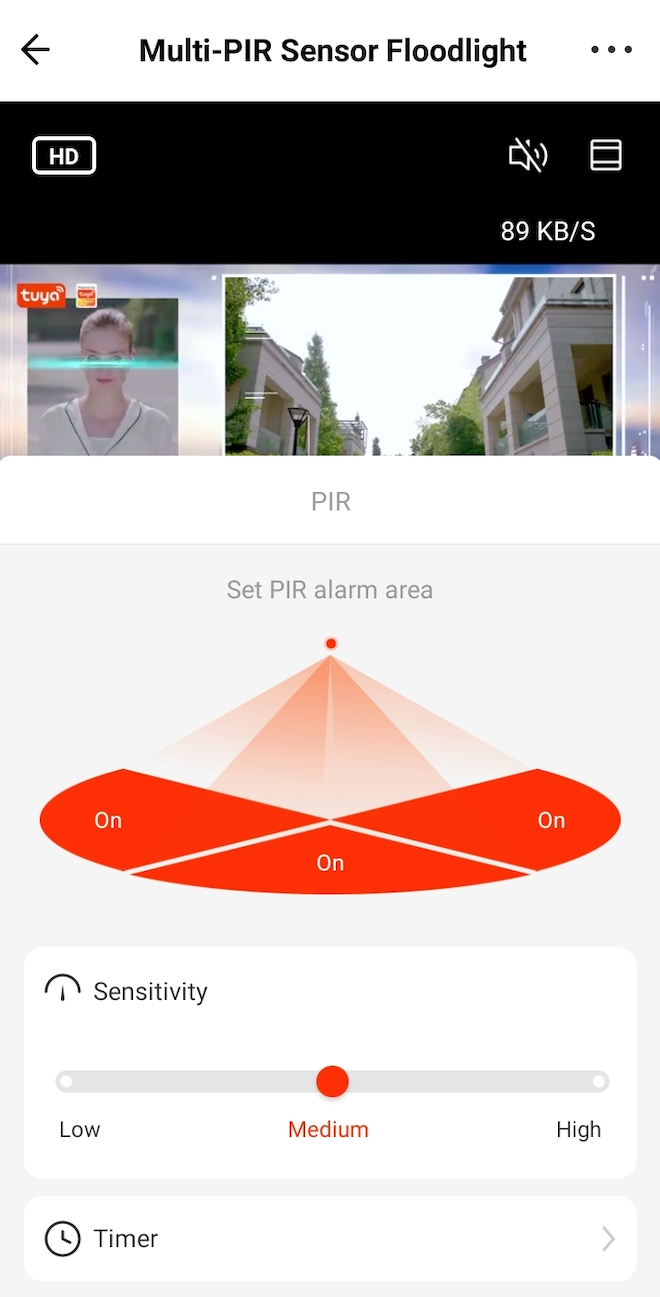
PIR setting
If a moving object is detected, the device sends an alarm to the user. Each PIR sensor can be independently switched on or off or set to the desired sensitivity level. PIR schedules can also be configured.

Sound detection
Tap the Sound Detection icon to enable or disable the sound detection feature. With this feature enabled, the device can send alarms to the user when the sound detected exceeds the threshold.
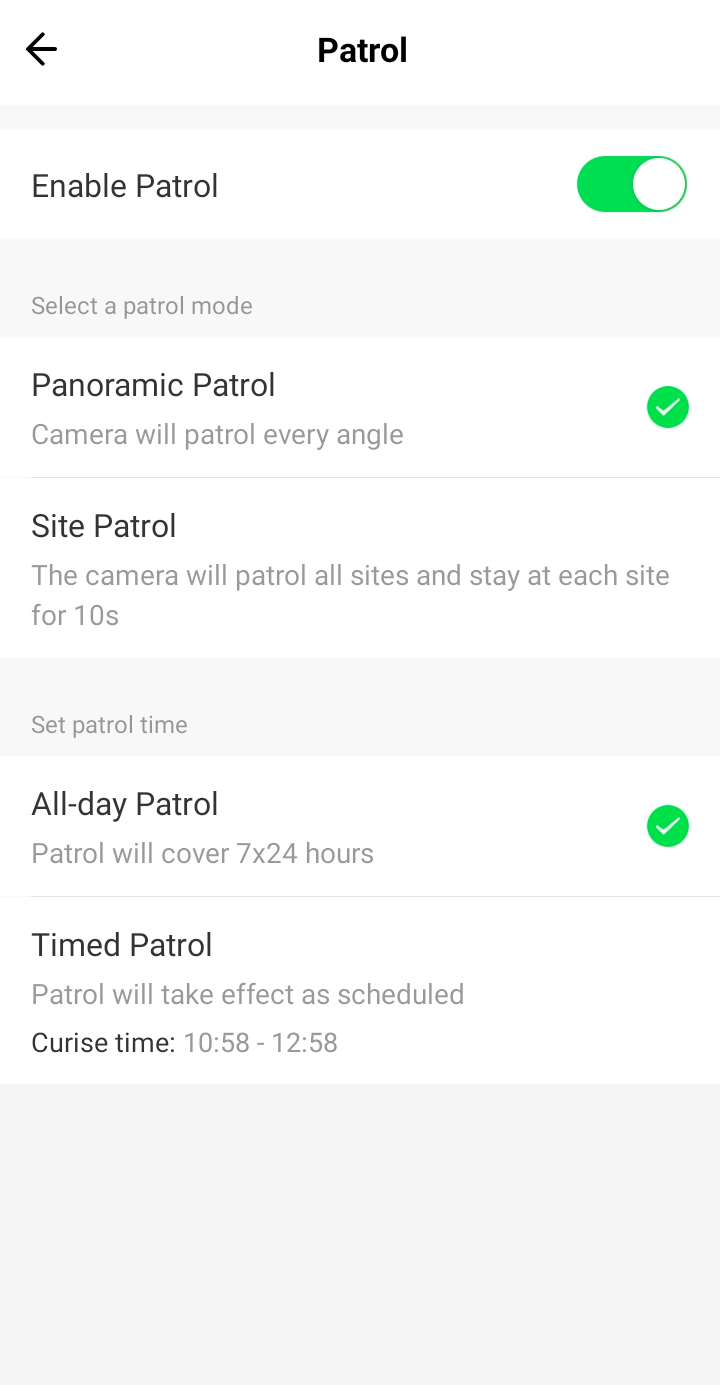
Auto-patrol mode
This feature is suitable for IPCs with PT such as PT cameras and PTZ cameras. The user can enable patrol, choose between Panoramic Patrol and Site Patrol, and then set the effective period for patrol.

Siren
Tap the Siren icon to show the siren switch. The user can switch on the siren to scare off intruders or animals. This feature is available only when the device is supplied with a siren module.
Light
Tap the Light icon to enter the light setting page. The user can manually switch on or off the light, tap Timing to set schedules, tap Mode to control the brightness, color temperature, saturation, and color, and then set the time-delay duration after an alert is triggered.
Lock
Tap Lock to unlock the door. Unlocking history can be viewed.

Tab menu
Message
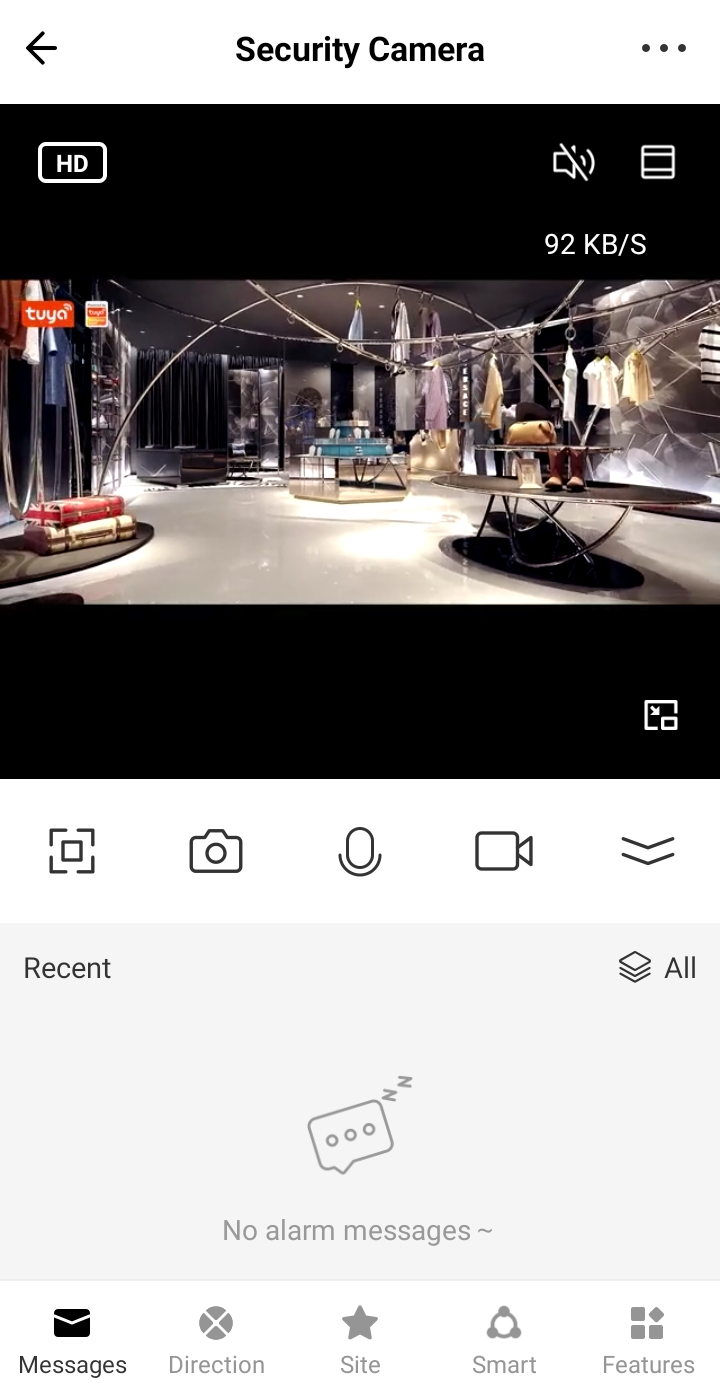
The Message page allows users to query the alarm history on the device.
Direction
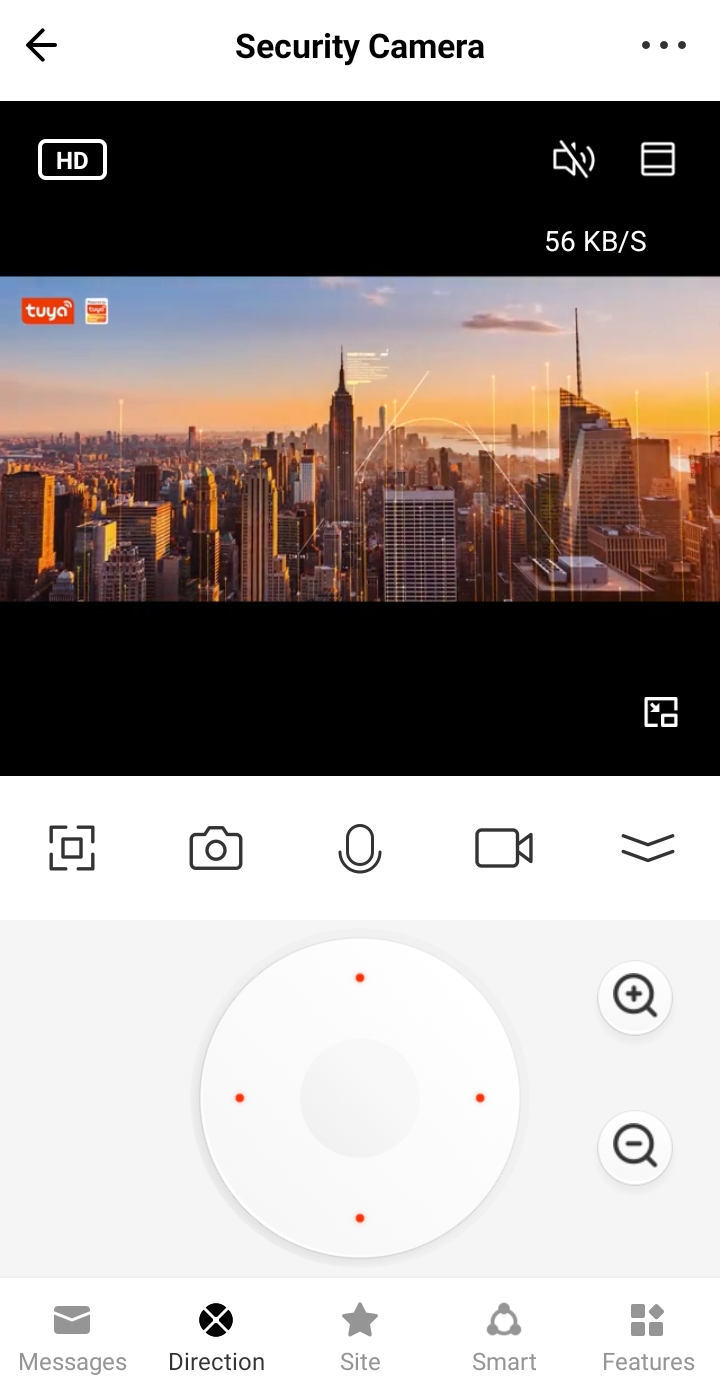
Control the PT to rotate upward, downward, leftward, and rightward.
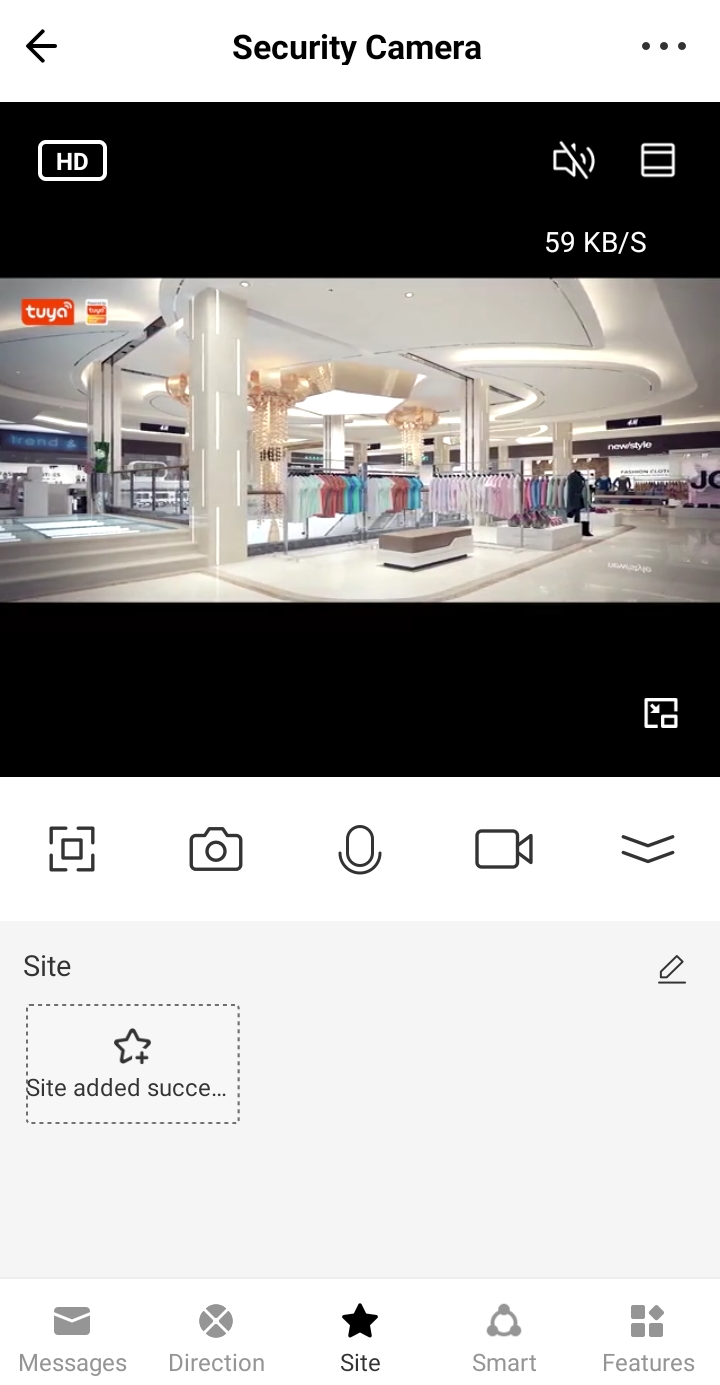
Site
The Site feature works together with the Direction feature. The user can rotate the PT to the desired position and add this position to Site. Later, the user can tap this site to quickly rotate the PT to the specified position. The sites also apply to the patrol feature. The app supports up to six sites and they can be renamed.
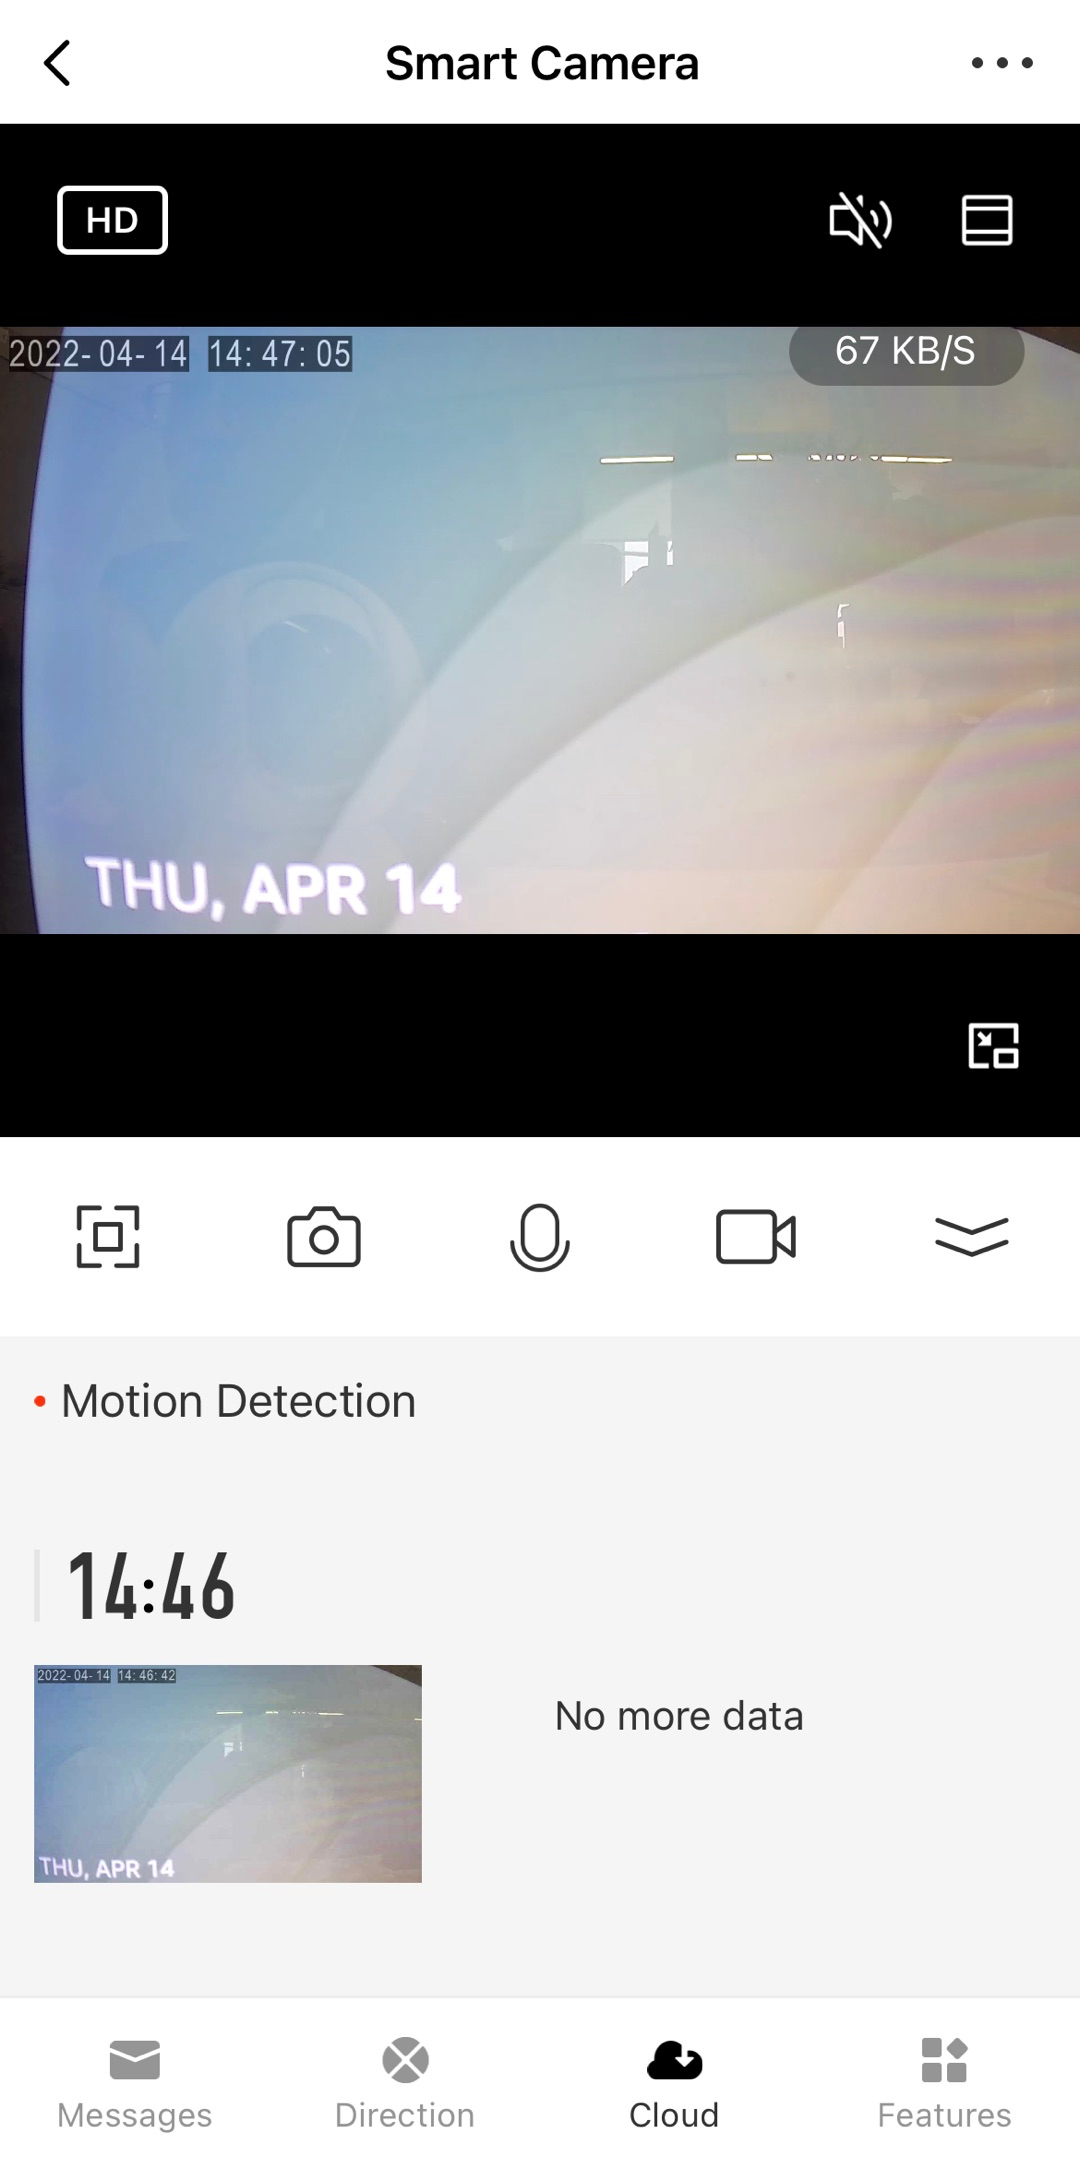
Cloud
Cloud storage is a value-added service. After this service is activated, event records can be encrypted and stored in the cloud. Thus, users can view the records anytime, anywhere.
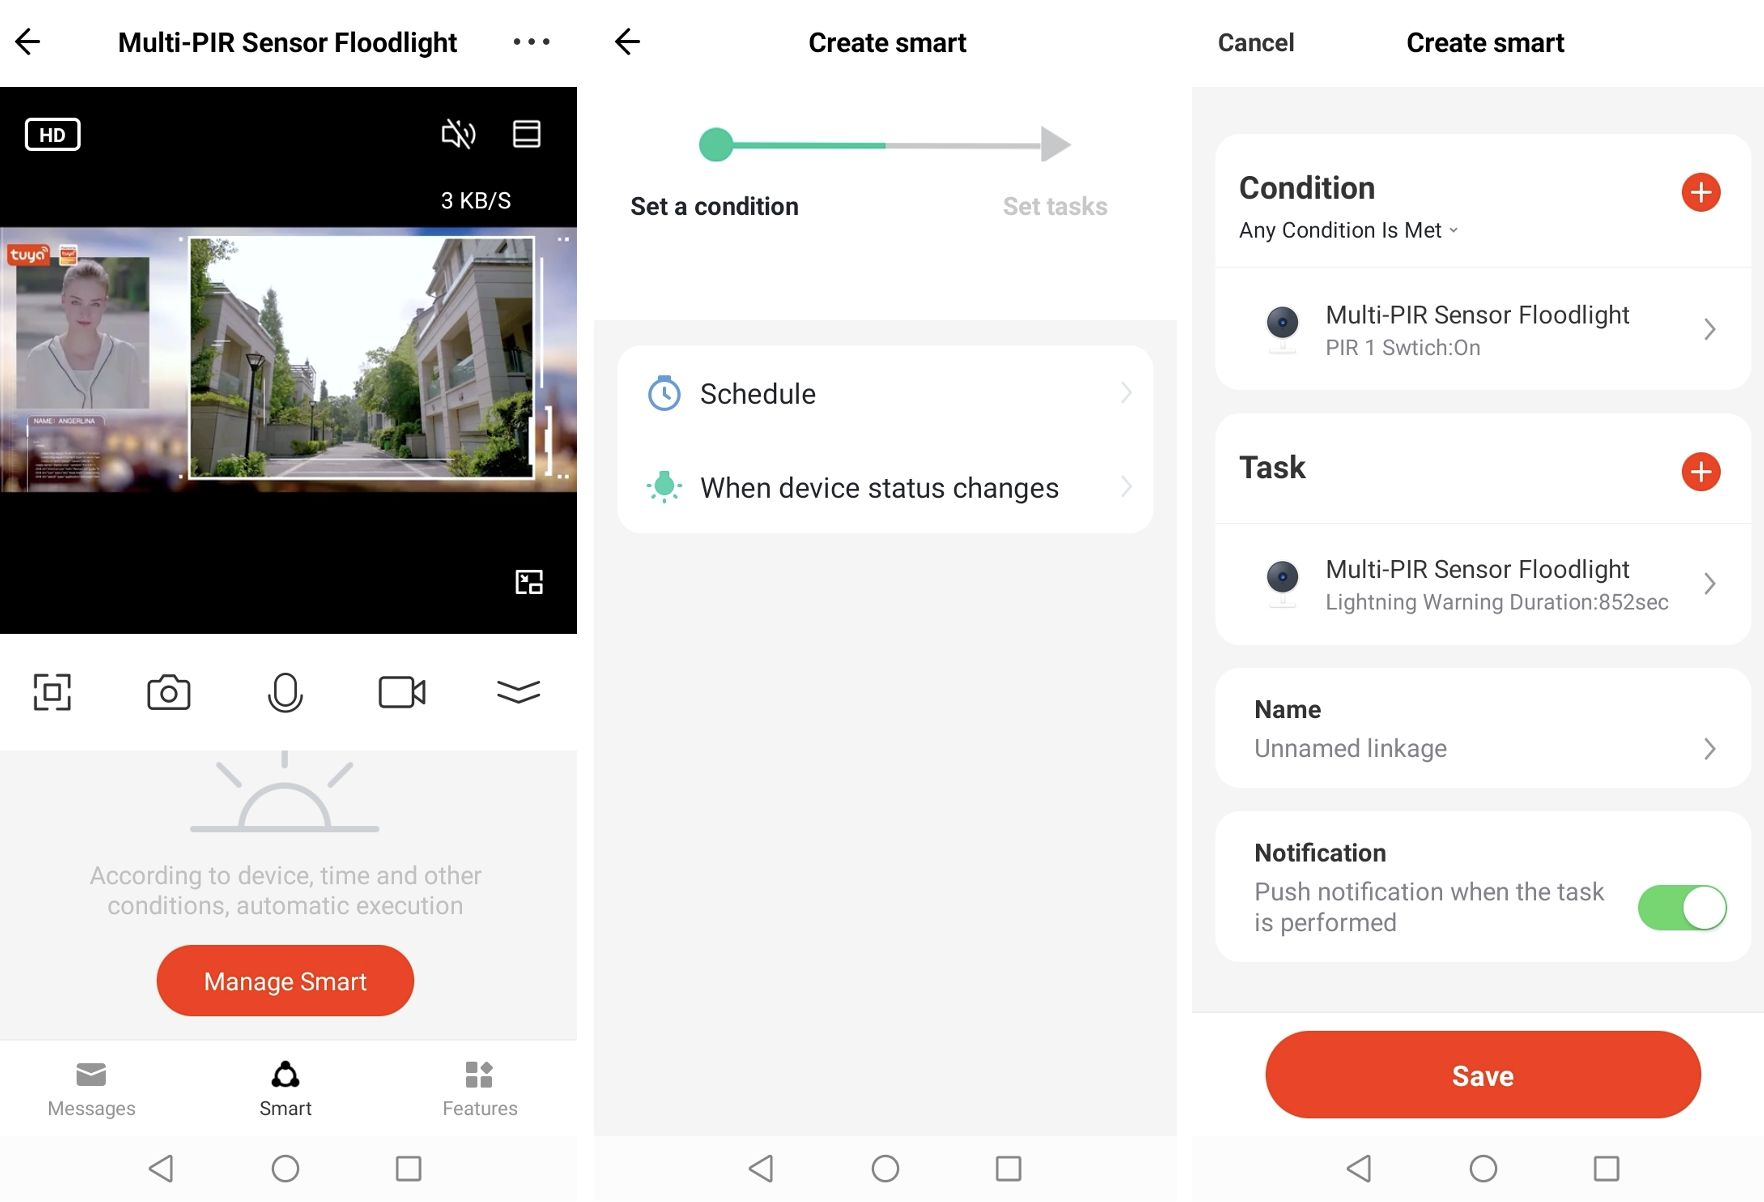
Smart

Tap the Smart icon on the bottom navigation bar to manage smart scenes. The user can set device and time conditions to create smart scenes. Thus, the device can run scheduled tasks when conditions are met to implement scene linkage. In addition, the scene name and message switch can also be set.
Settings
This section describes the features that can be configured only on the Settings page.
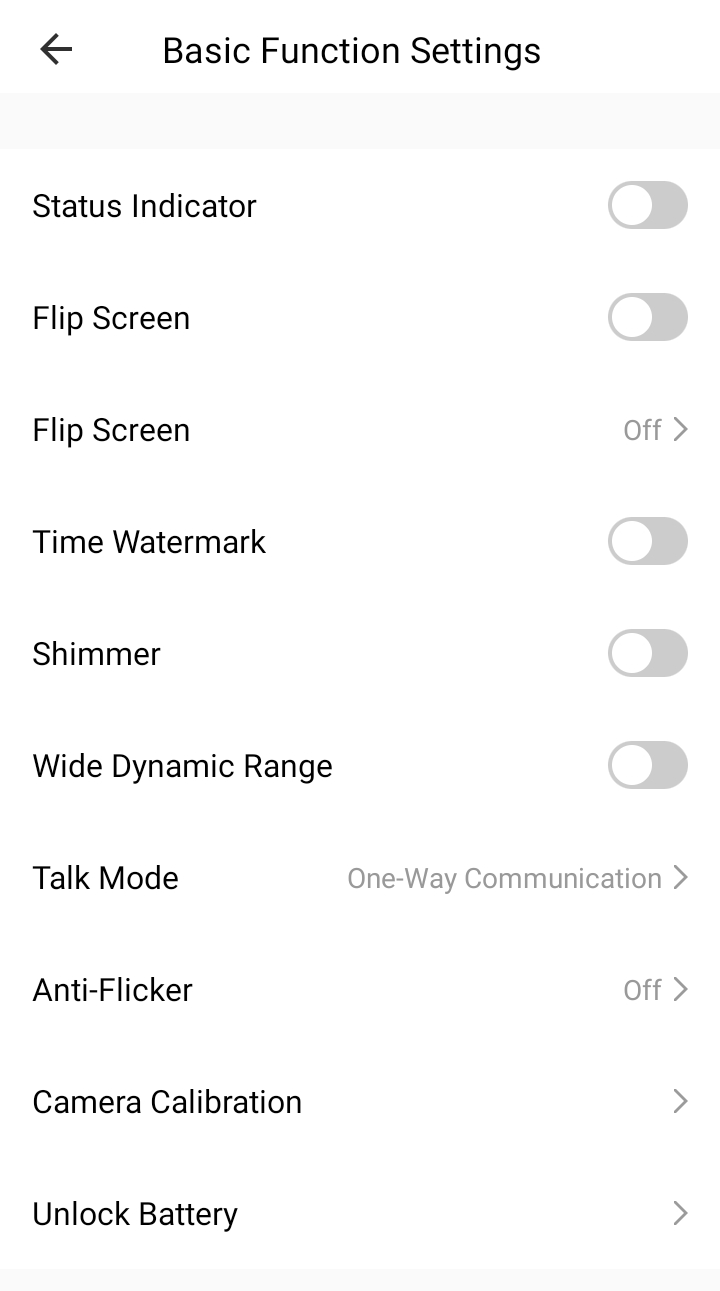
Basic function settings
The features such as Status Indicator, Flip Screen, and Time Watermark can be added, depending on the IPC’s capabilities. Talk Mode can be set to One-Way Communication or Two-Way Talk.
-
Status Indicator: Set whether to use indicators to show different states of the IPC.
-
Flip Screen: Tap the Flip Screen switch to enable or disable this feature. In the enabled status, the screen can be flipped in only one way. The user can also select Off, Horizontal flip, Vertical flip, or Rotate 180° from the Flip Screen drop-down list to define more flip ways.
-
Time Watermark: Set whether to display the date and time in real time on the video screen.
-
Camera Calibration: Calibrate a PT camera.
-
Unlock Battery: Tap this feature to unlock the battery of a low power device.
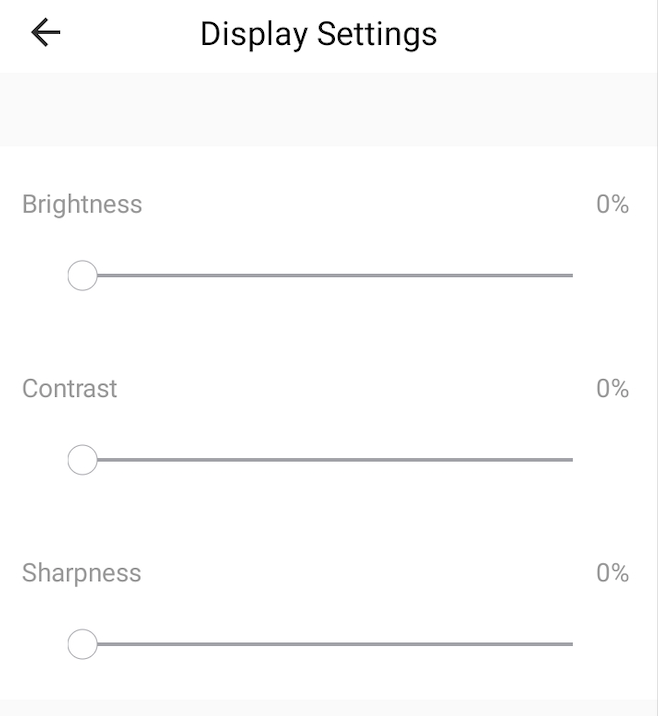
Display settings
Control the brightness, contrast, and sharpness of the IPC.
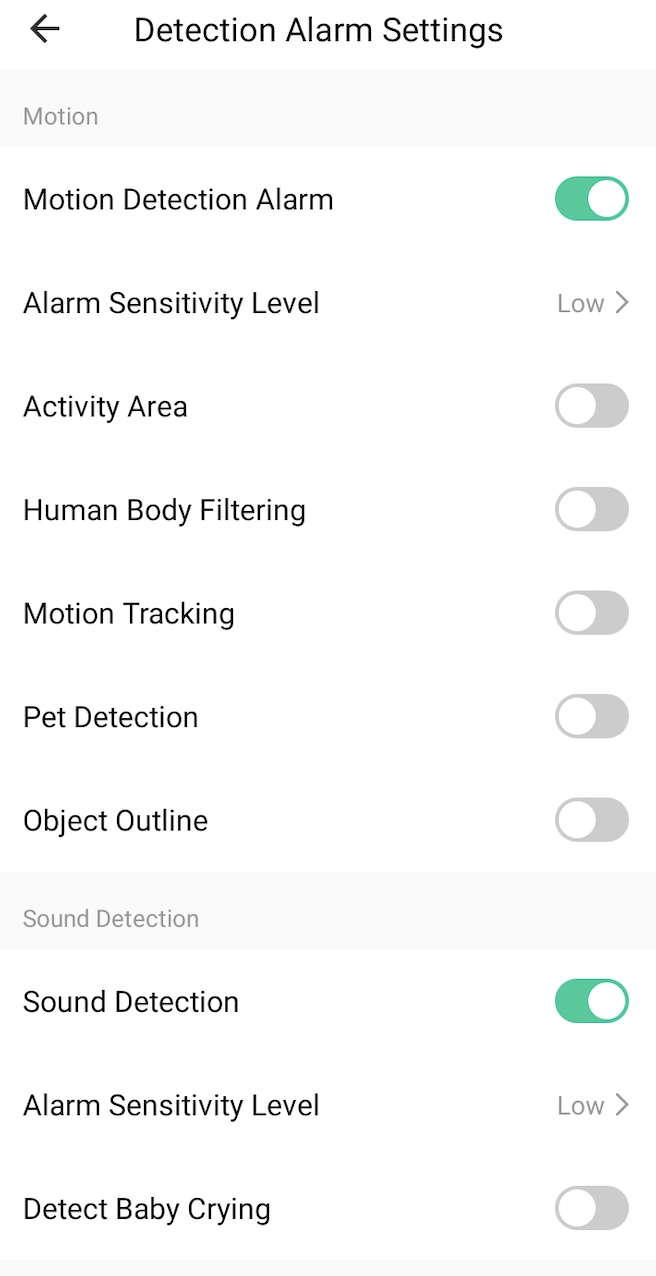
Detection alarm settings
In addition to the features mentioned on the panel, detection alarms support Activity Area, Human Body Filtering, Pet Detection, Detect Baby Crying, and Alarm Sensitivity Level**. The user can also set the interval at which alarms are triggered, add schedules to enable or disable detection automatically, and then set whether to trigger the siren.
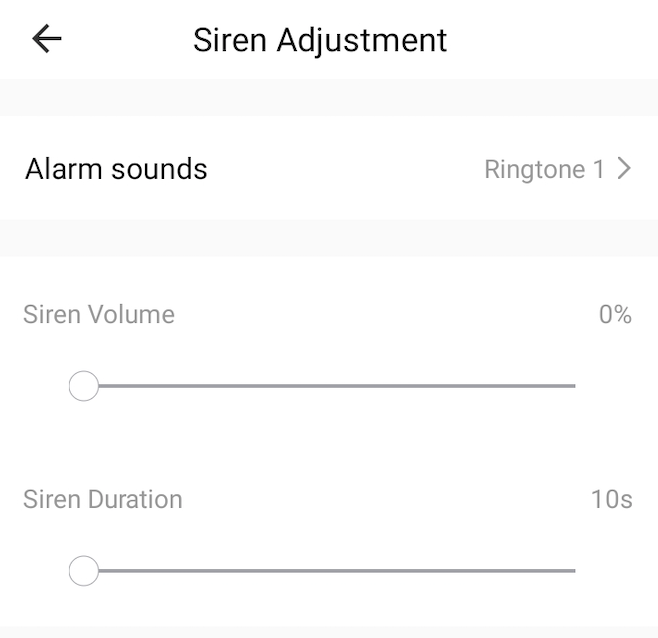
Siren adjustment
Up to 10 ringtones can be selected. The volume and duration of the siren can be adjusted.
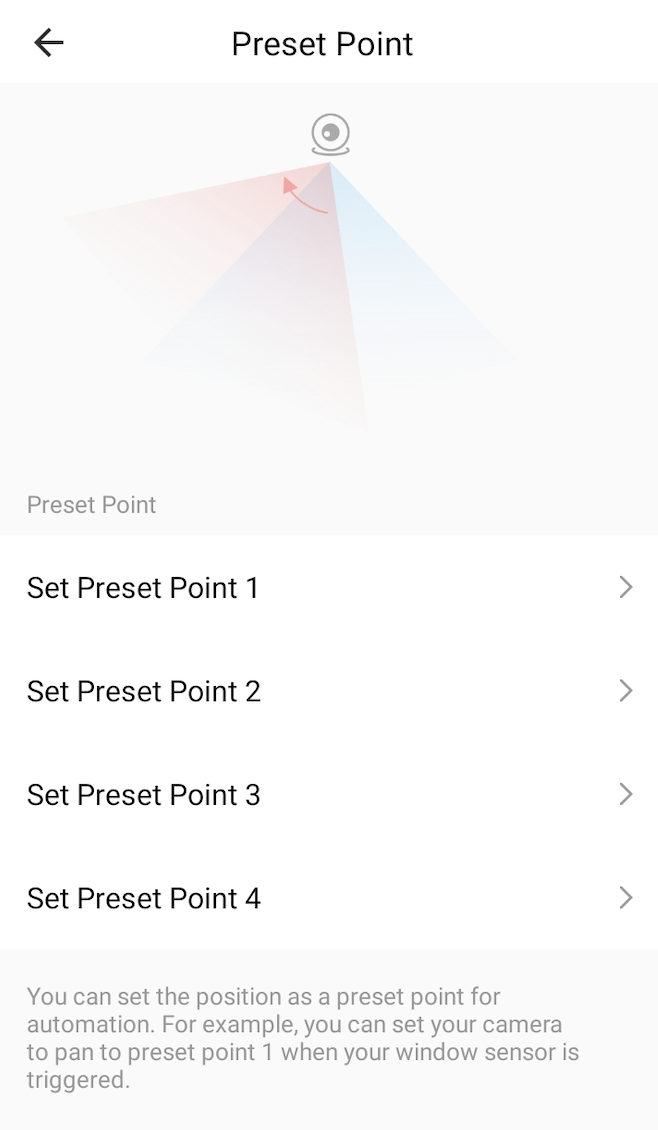
Preset point
A preset point can be defined as the action to be run in a smart scene. Creating preset points works the same way as the sites.
Storage settings
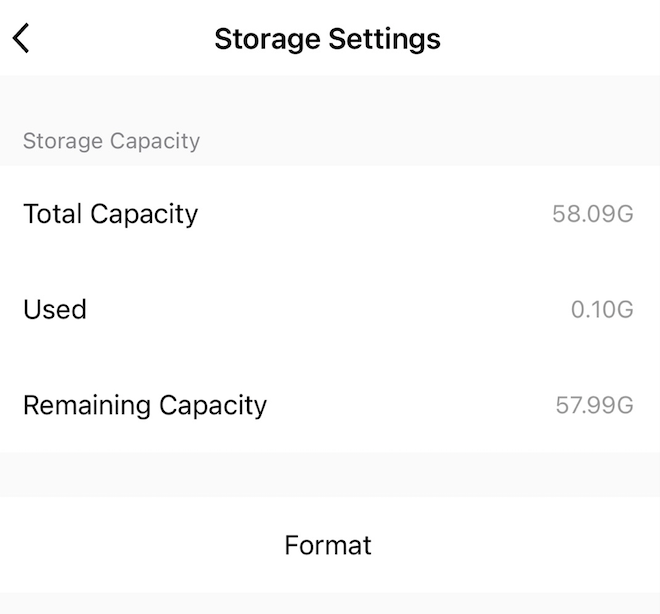
View the usage of the SD card and set the camera to record all day or when events occur. The recording feature is mentioned in the Playback section. Schedules can be created to start or stop recording at the specified time. The SD card can be formatted.
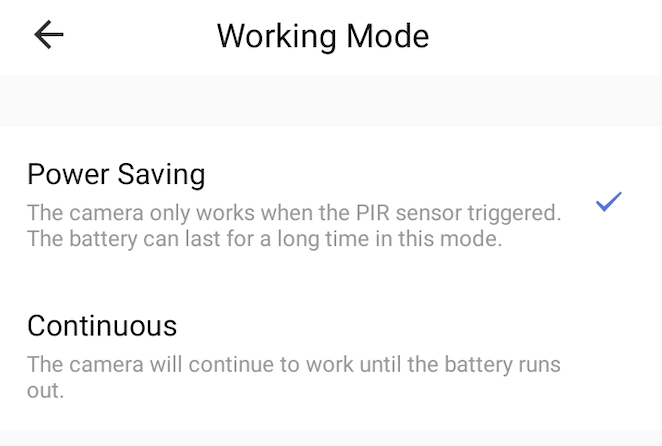
Working mode
This feature applies to low power devices. They can be configured to run in Power Saving mode or Continuous mode.
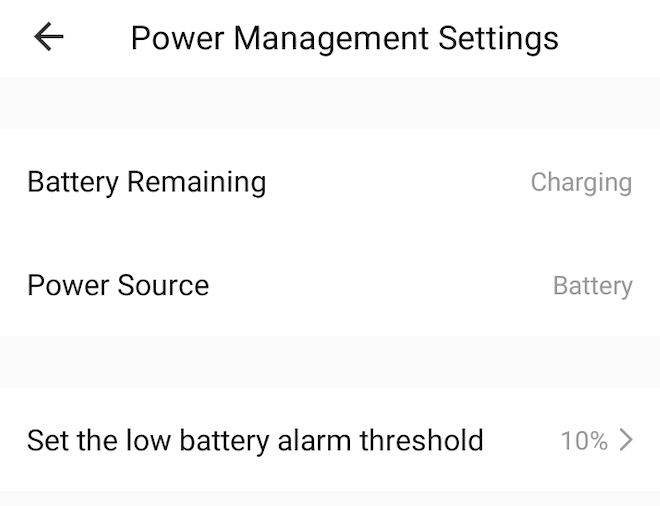
Power management settings
This feature applies to low power devices. It is used to display the power source and remaining battery level. The lower battery alarm threshold can be set. Therefore, if the battery level drops below the threshold, the app will receive a low power alarm.
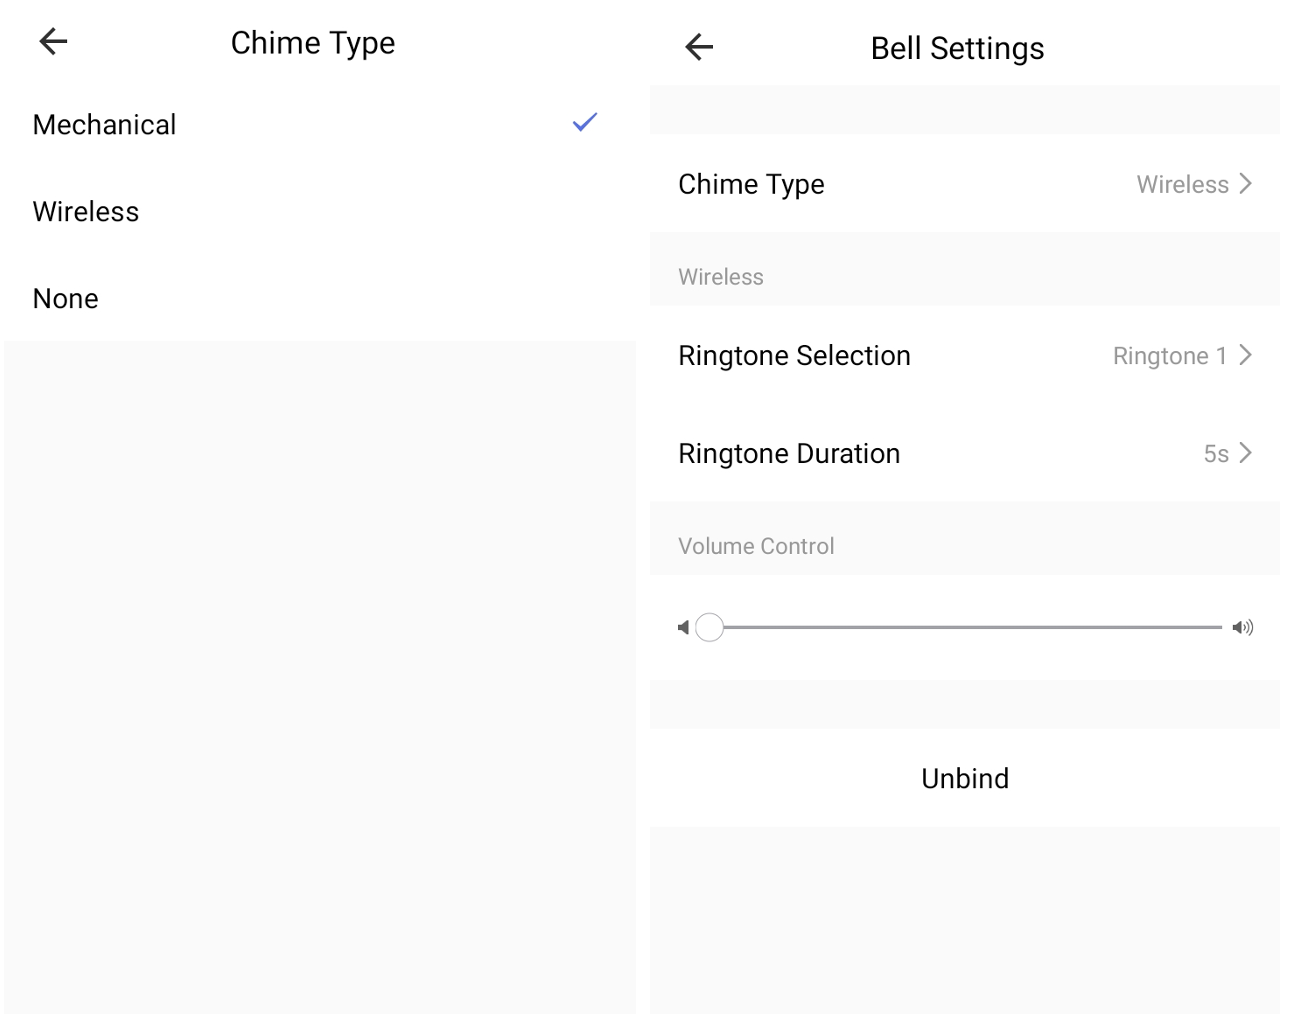
Bell settings
This feature works together with a doorbell. The mechanical or wireless chime type can be selected. A wireless doorbell must be paired before wireless chimes can be set. Up to four chimes are available, and the duration and volume of each chime can be controlled on the app.
Restart device
Tap this feature to remotely restart the device.
WebRTC
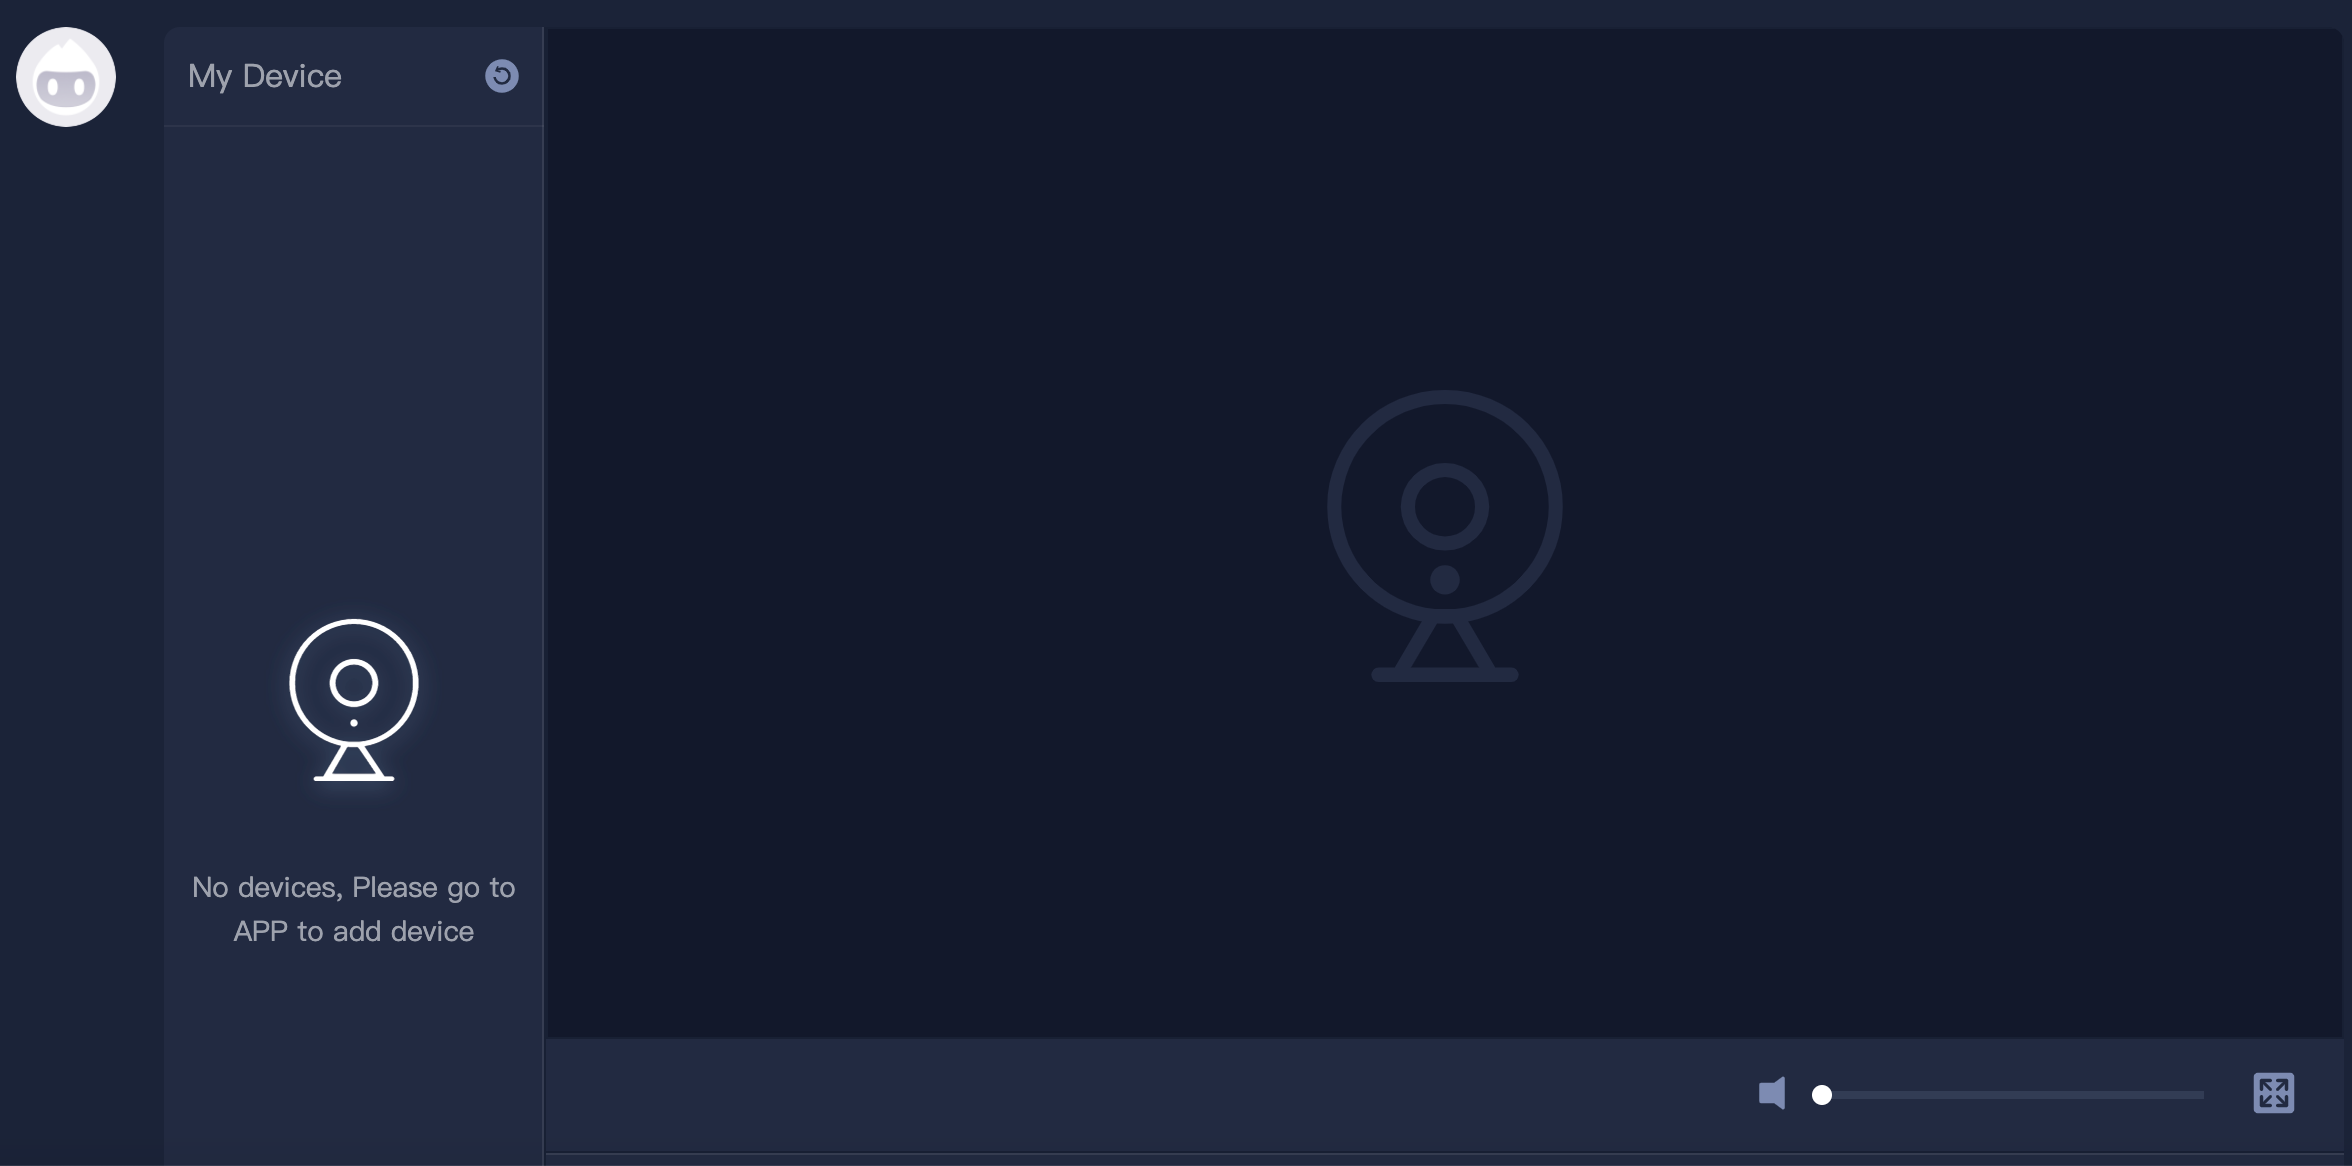
To preview IPC videos on the web application, install Google Chrome, visit https://ipc.ismartlife.me/login on the browser, and then scan the QR code that appears with the SmartLife app.
Streaming camera
Stream camera to Google Assistant and Amazon Alexa. For more information, see IPC Video Stream Pushing.
Try out features
Scan the following QR code with the SmartLife app (v3.17.0 or later) to try out the features with a virtual device.
Cube camera
PT camera
Fully-operational IPC
Is this page helpful?
YesFeedbackIs this page helpful?
YesFeedback


