Flash and Authorize BK3432
This topic describes how to flash the firmware to the BK3432 chip and authorize it to connect to the Tuya Developer Platform. BK3432 only supports firmware flashing through SPI.
BK3432 firmware consists of three parts: boot, stack, and app.
-
bk3432_ble_app.bin: The binary file of the application. -
bk3432_ble_app_app.bin: The binary file of the application update. -
bk3432_ble_app_merge.bin: The binary file after merging the bim, stack, and app. -
bk3432_ble_app_stack.bin: The binary file of the entire firmware update.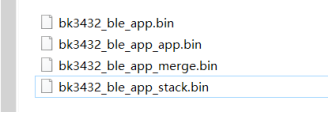
Hardware preparation
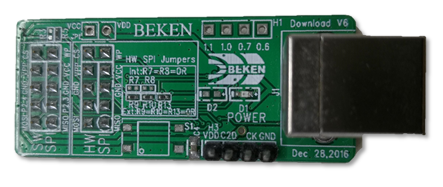
BEKEN SPI flasher
You can purchase the flasher from the chip vendor or contact your account manager.
Programmer
Procedure
-
Connect wires (SW SPI) as shown below.
BEKEN SPI flasher MOSI MISO P2.4 P2.3 GND VPP VCC BK3432 pin P04 P05 P06 P07 GND RST +3V If you use BEKEN’s development board, you can plug it directly into the computer without wiring. For other boards, a wire connection is necessary.
-
Download BEKEN’s HID Download Tool to flash the firmware.
-
Open HID Download Tool, choose Download Mode > Port Select > SPI SOFT Software.
-
Choose BK3432 for chip control, select the firmware flash, and click Download Flash.
-
Check the information output from UART1.
-
After the firmware is flashed, disconnect the BEKEN SPI flasher from BK3432.
-
Connect BK3432 to the computer using a USB to TTL converter.
-
Press the reset button to reset BK3432.
If information is output from the serial port, it means the firmware runs properly.
-
Firmware authorization
Get the license
For more information, see Authorize Bluetooth LE Series Modules.
Flashing and authorization
-
Connect UART2 on the chip to a USB to TTL converter.
-
Open Cloud Module Burning Authorization Platform, and enable Only Auth.
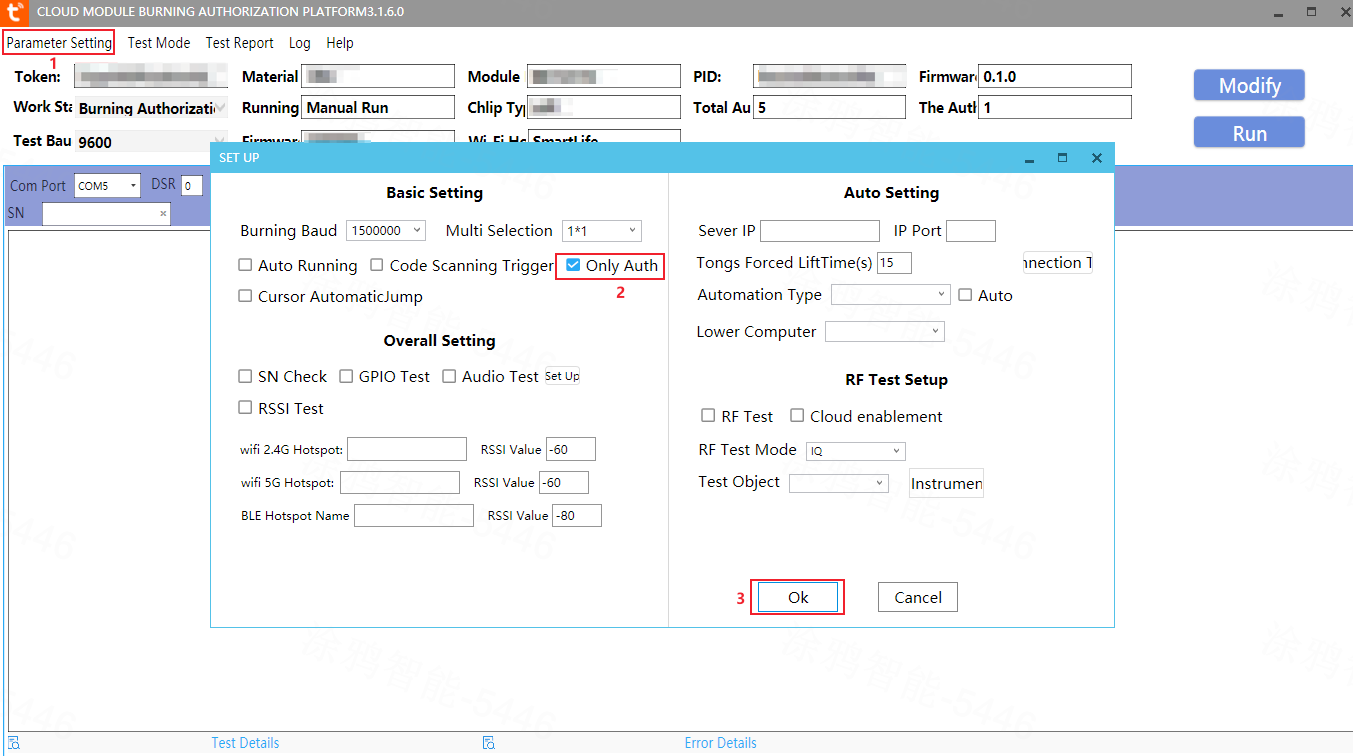
The code specifies the baud rate. Ensure that you set the software according to the code.
// Initialize UART component
#if (UART_DRIVER)
    uart_init(921600); //log
    uart2_init(115200); //Authorization and Uart CMD
Is this page helpful?
YesFeedbackIs this page helpful?
YesFeedback


