Flash and Authorize PHY6222
Firmware flashing
Flash firmware to PHY6222 through UART using the chip vendor’s tool.
Breakdown of PHY6222 firmware:
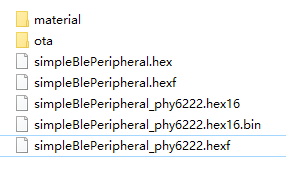
simpleBlePeripheral_phy6222.hexf: the full firmware, used for production.simpleBlePeripheral_phy6222.hex16.bin: the firmware update, used for OTA update.
Check the README file in the demo folder before getting started.
Tools
- PHY6222 development board
- USB to TTL converter
- PhyPlusKit software.
Firmware flashing
Pull pin 8 (TM) high and power on the device to make the UART receive commands.
UART configuration: 115200 baud rate, 8 bit, 1 stop bit, none parity, and no flow control.
Procedure
-
Prepare the software and tool and connect the hardware. The default UART for flashing is P10-RX and P09-TX.
-
Open PhyPlusKit.exe, check UART Setting, configure parameters (115200 baud rate, 8 bit, 1 stop bit, none parity, and no flow control), and click Connect.
-
Set TM to VDD high level, press reset on the development board, and wait for message
UART RX : cmd>>:on the screen.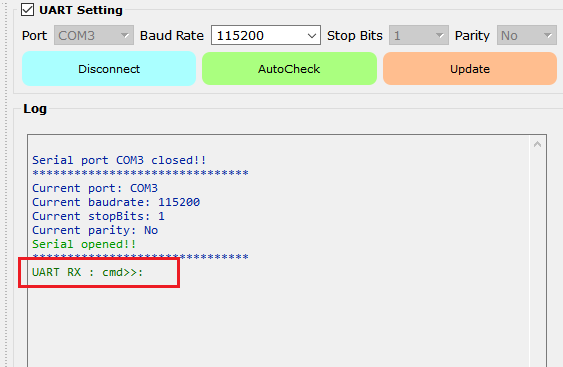
-
Double-click the input box under the HEX option to import the
.hexffirmware file.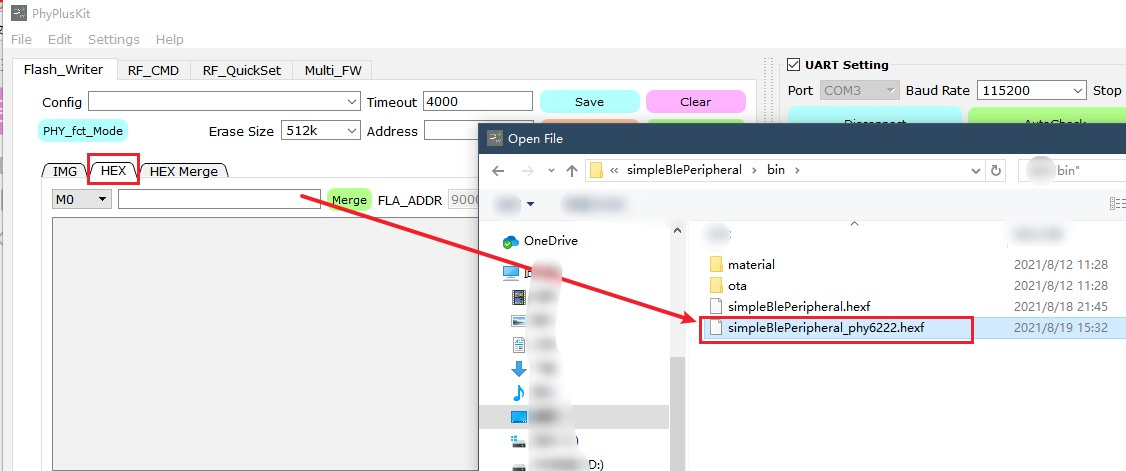
-
The program automatically parses the
.hexffile and displays the last modification time.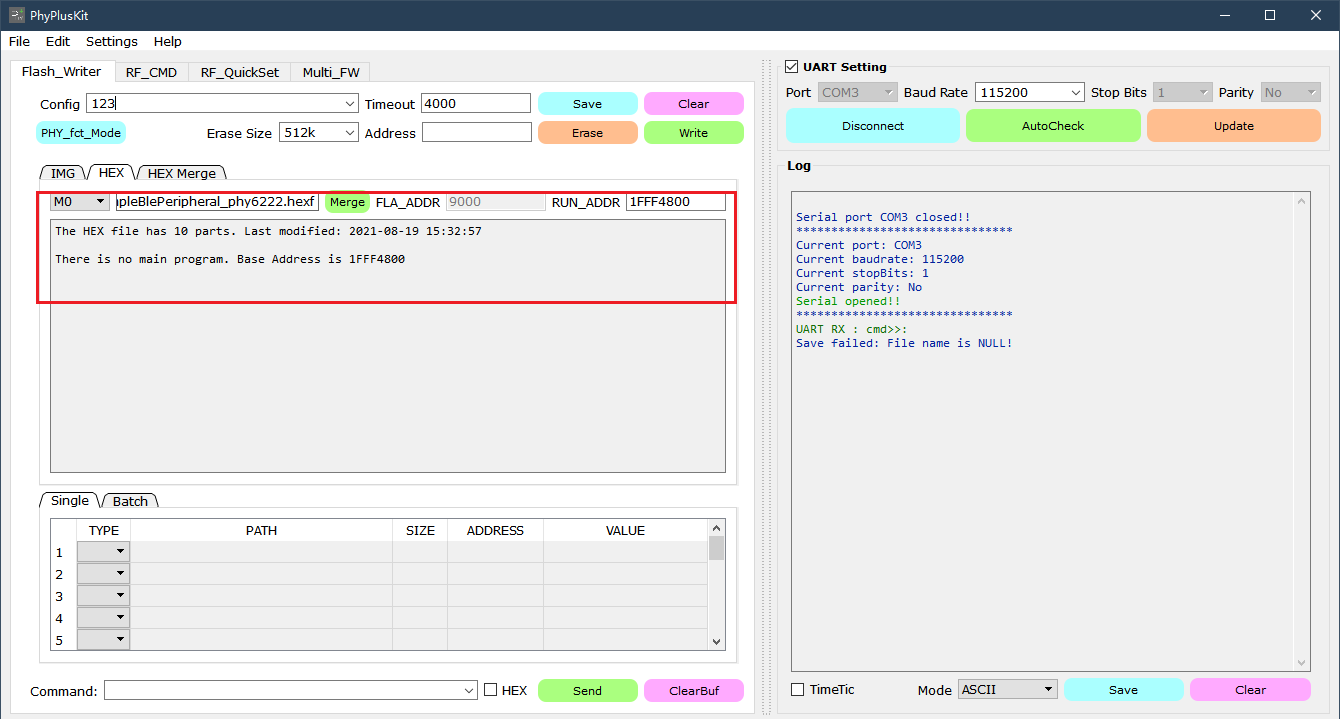
-
Before flashing, click Erase.
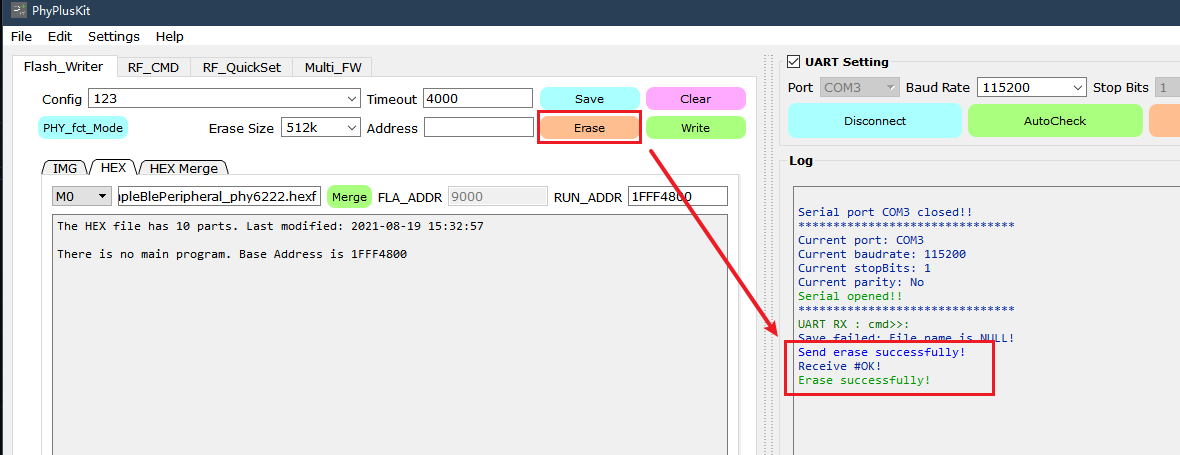
-
Click Write to automatically flash the
.hexffile.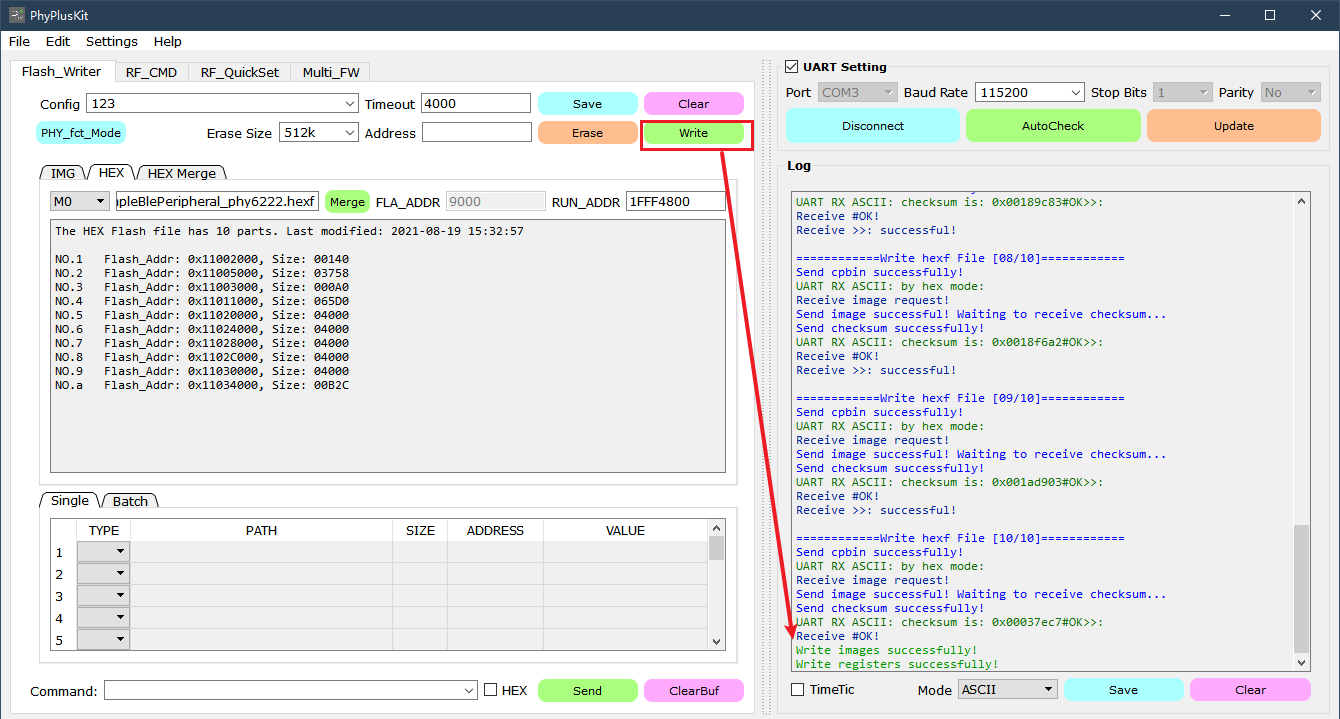
-
Set TM to GND, exit the flashing mode, press the reset button on the development board, and check the log output.
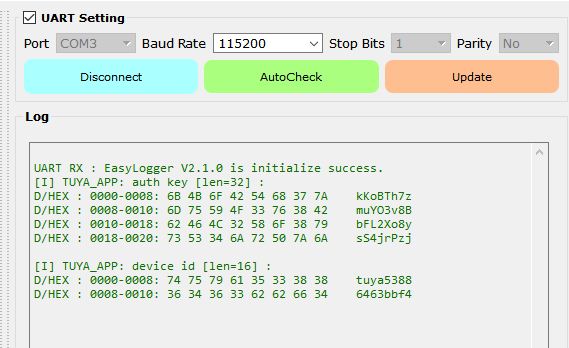
To output logs, enable the following two macros.
#define TUYA_BLE_LOG_ENABLE                  1
#define TUYA_APP_LOG_ENABLE                 1
Firmware authorization
Get the license
For more information, see Authorize Bluetooth LE Series Modules.
Flashing and authorization
-
Connect the chip to a USB to TTL converter (RX-P26, TX-P25).
-
Open Cloud Module Burning Authorization Platform, and enable Only Auth.
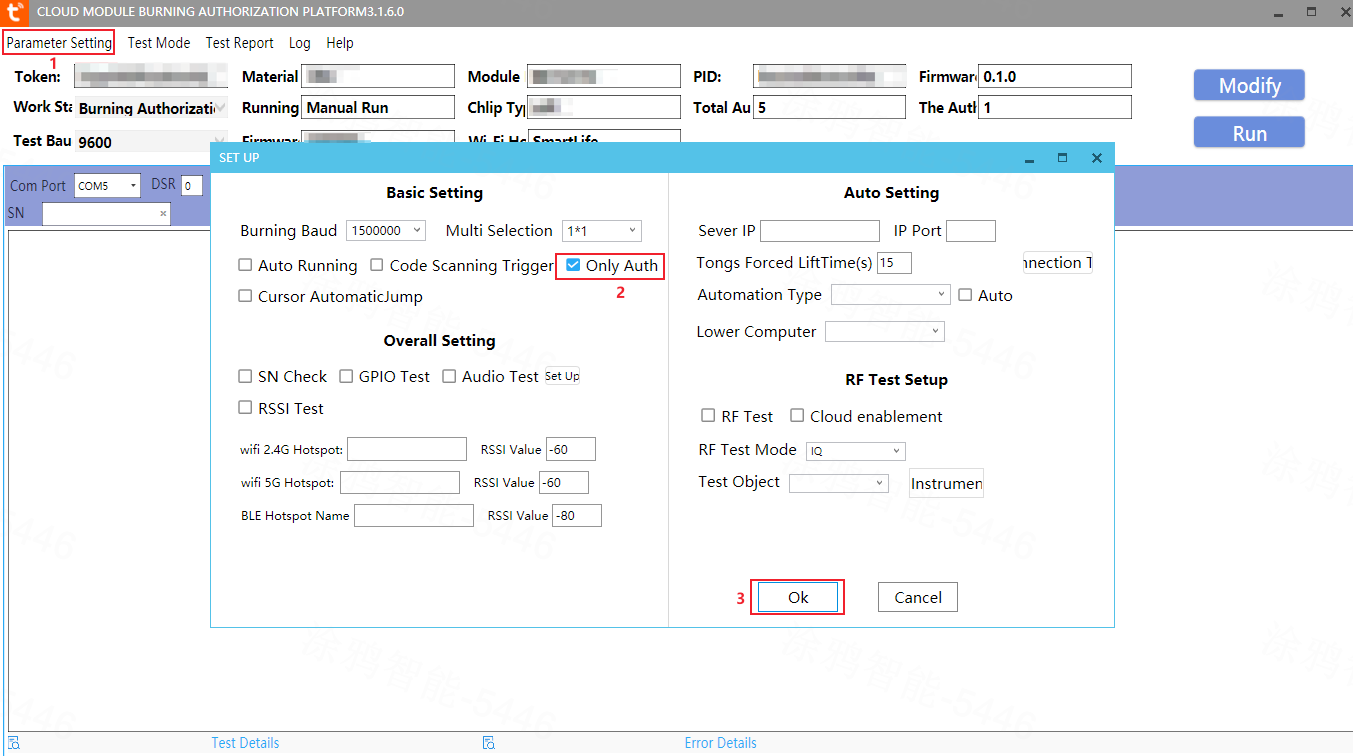
The code specifies the baud rate. Ensure that you set the software according to the code.
uint32_t ty_uart2_init(void)
{
    uart_Cfg_t cfg = {
        .tx_pin = P25,
        .rx_pin = P26,
        .rts_pin = GPIO_DUMMY,
        .cts_pin = GPIO_DUMMY,
        .baudrate = 115200,
        .use_fifo = TRUE,
        .hw_fwctrl = FALSE,
        .use_tx_buf = TRUE,
        .parity     = FALSE,
        .evt_handler = phy_uart_evt_hdl,
    };

    hal_uart_deinit(UART1);
    hal_uart_init(cfg, UART1);
    hal_uart_set_tx_buf(UART1, s_uart_tx_buf, TY_UART_TX_BUF_SIZE);

    return 0;
}
Is this page helpful?
YesFeedbackIs this page helpful?
YesFeedback


