Environment Setup
This topic describes how to set up the compilation environment for Bluetooth sub-device development frameworks.
Install Git
Go to the Git website, download the latest release, and install it using the default settings.
Install Python
Go to the Python website, download Python 3.8.10, and install it using the default settings.
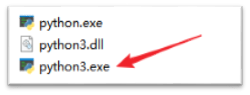
After you have installed Python on Windows, the executable in the installation location is python.exe by default. Make a copy of it and rename it to python3.exe. If python3.exe already exists, skip this step.
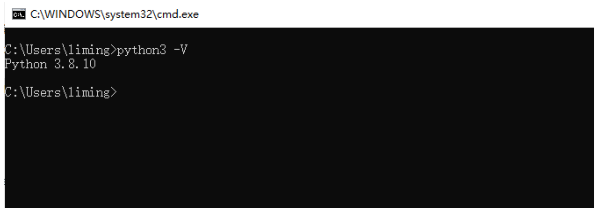
Verify the installation.
Install Visual Studio Code (VS Code)
Go to the VS Code website, download the latest release, and install it using the default settings. The following VS Code extension is recommended:


Install Tuya Wind IDE
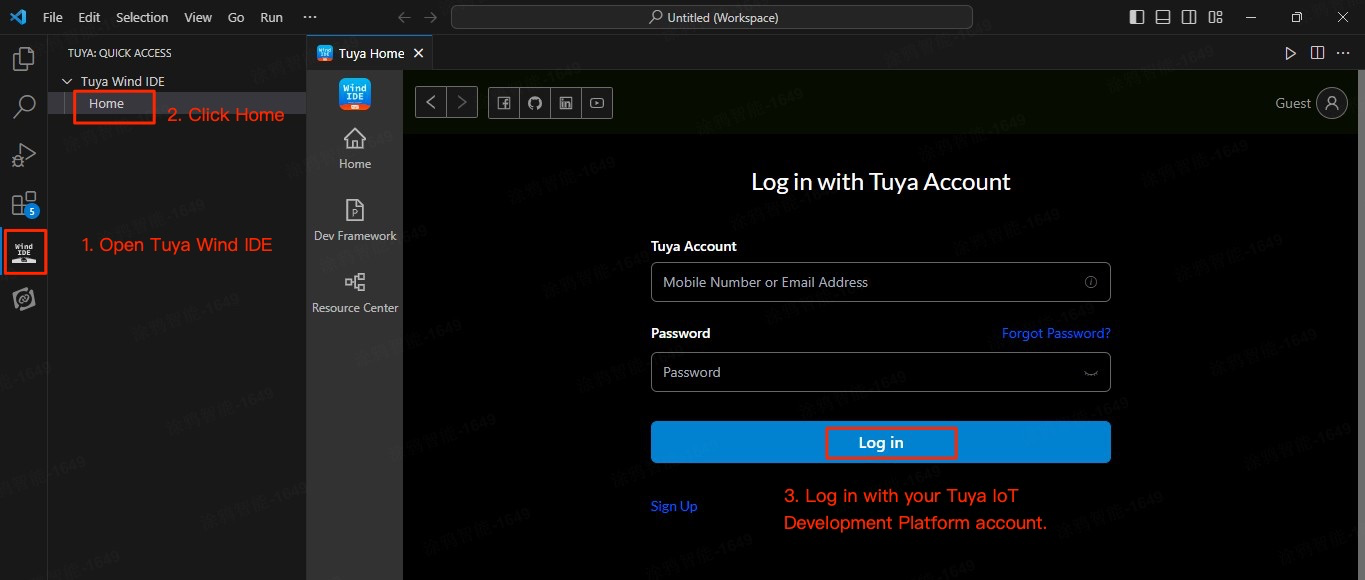
Search for Tuya Wind IDE in the extension marketplace and install it. For more information, see Tuya Wind IDE.
Log in to Tuya Wind IDE using your Tuya Developer Platform account. If you do not have an account yet, register with the Tuya Developer Platform.
Install chip-specific environment
Install the software environment for your chip platform. For more information, see Development Platform.
Get development framework
-
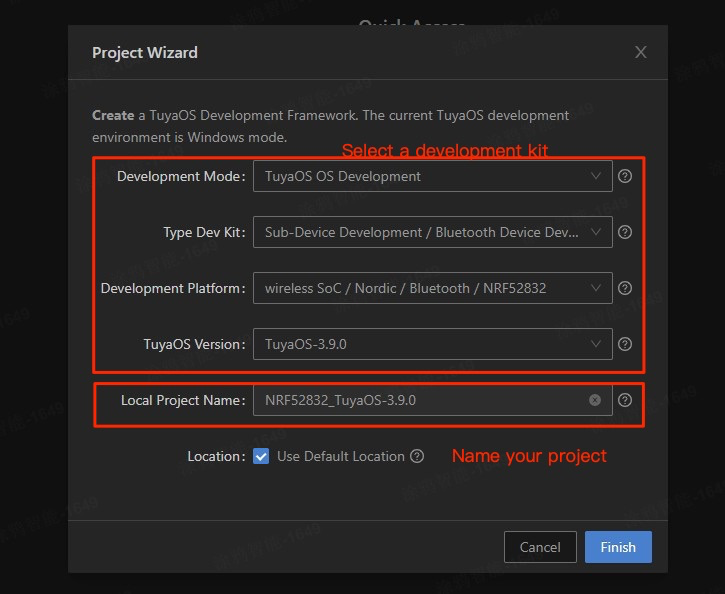
Open Tuya Wind IDE and choose Create Framework.

-
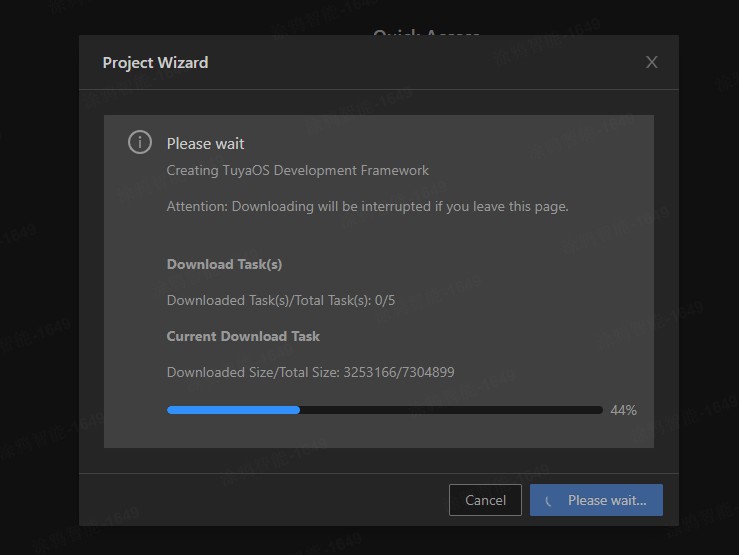
Select the desired development kit and click Finish to start downloading the file.
-
Wait for the development framework to finish downloading.
Build development framework
-
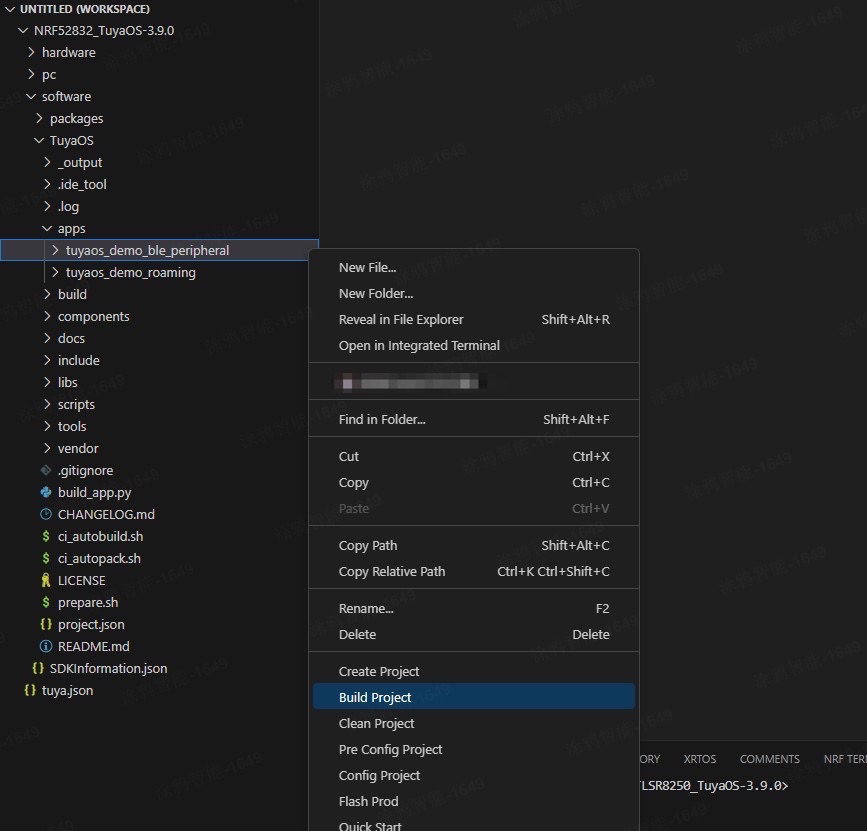
Right-click the demo directory and choose Build Project.
Before you start building, ensure that you have completed all the necessary software environment setup.
-
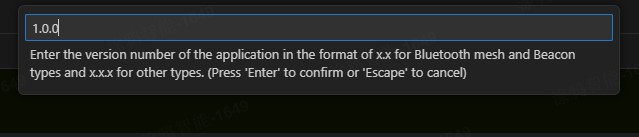
Enter a version number. The version number will be applied to the generated firmware, used for authorization and OTA updates.
-
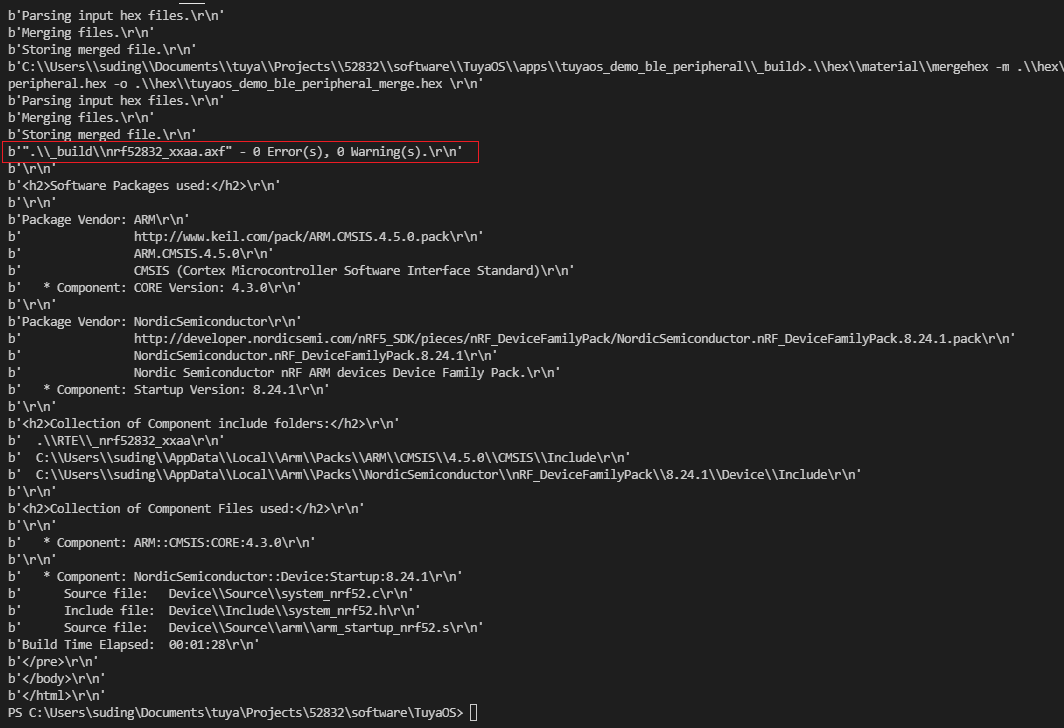
Wait for the building to complete.
Add file
-
Add the source file to the directory shown below.
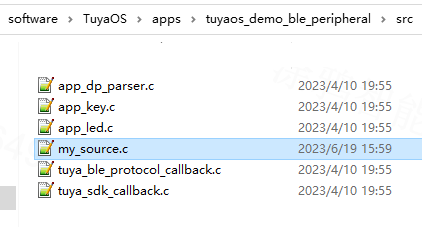
-
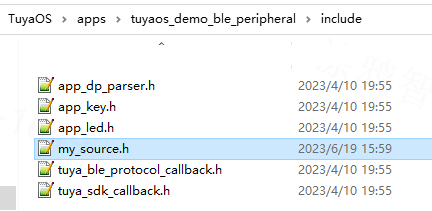
Add the header file to the directory shown below.
-
After you have added the source or header files, build the code using VS Code at least once. After that, you can proceed with debugging either in VS Code or using a third-party tool.
-
The script in VS Code will traverse the
tuyaos_demo_ble_peripheralfolder and add all the source files and header files to the compilation environment.
Select IDE
The TuyaOS Bluetooth LE SDK supports both VS Code and third-party development tools such as Keil and IAR. All chip platforms released by Tuya support compiling and editing code in VS Code, but you need to pay special attention to the configuration changes of some projects in VS Code, which will be introduced in detail below. Third-party development tools, that is, IDEs supported by chip manufacturers, will support more native capabilities of the specified chips. For example, debugging, breakpoints, and other advanced functions.
VS Code
You must use VS Code for the first compilation, and the script will automatically build the compilation environment.
The basic principle of VS Code compilation (taking Keil as an example):
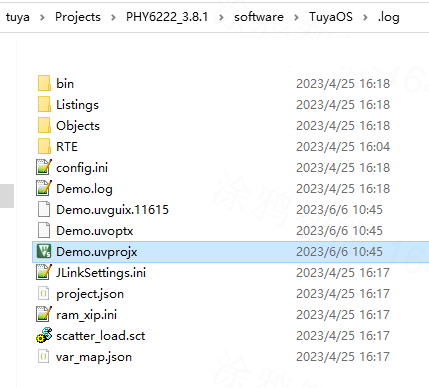
VS Code will generate new project files based on the project template in the path .\vendor\nrf52832_ble\toolchain\templates\keil and place them in the .log folder.
VS Code rebuilds the compilation environment before each compilation. Therefore, if you need to modify the project configuration items when editing/compiling code using VS Code, you need to modify the project template (such as the Demo.uvprojx file). Pay attention to the following points:
- When you use VS Code to build a project, quit third-party tools such as Keil to avoid project files being used by another program.
- When modifying project templates, always use a text editor and avoid double-clicking to open files, as this might corrupt the template structure and cause unpredictable consequences. If you accidentally double-click it, you must reacquire the development framework.
Third-party tools
- Make sure you have built your project using VS Code before proceeding to build with third-party tools such as Keil.
- Before opening a third-party tool, make sure to close VS Code to avoid any conflicts.
Find the project file for third-party tools such as Keil in the directory shown below. Open the project and start building and debugging.
Modifications made in third-party tools like Keil (such as configuration changes and file additions) are not automatically synced to the template project. If such changes are made in Keil, avoid further compiling in VS Code, as this might overwrite the modifications.
Is this page helpful?
YesFeedbackIs this page helpful?
YesFeedback


