Configuration Guide Using Custom Development Method
This topic describes how to create a project, and log in to the Tuya Device Manager app for basic operations such as network pairing.
This documentation is no longer updated. For more information, see Quick Start of Custom Development.
Create a project
-
Log in to the platform.
-
In the left navigation bar, click Cloud > Projects.
-
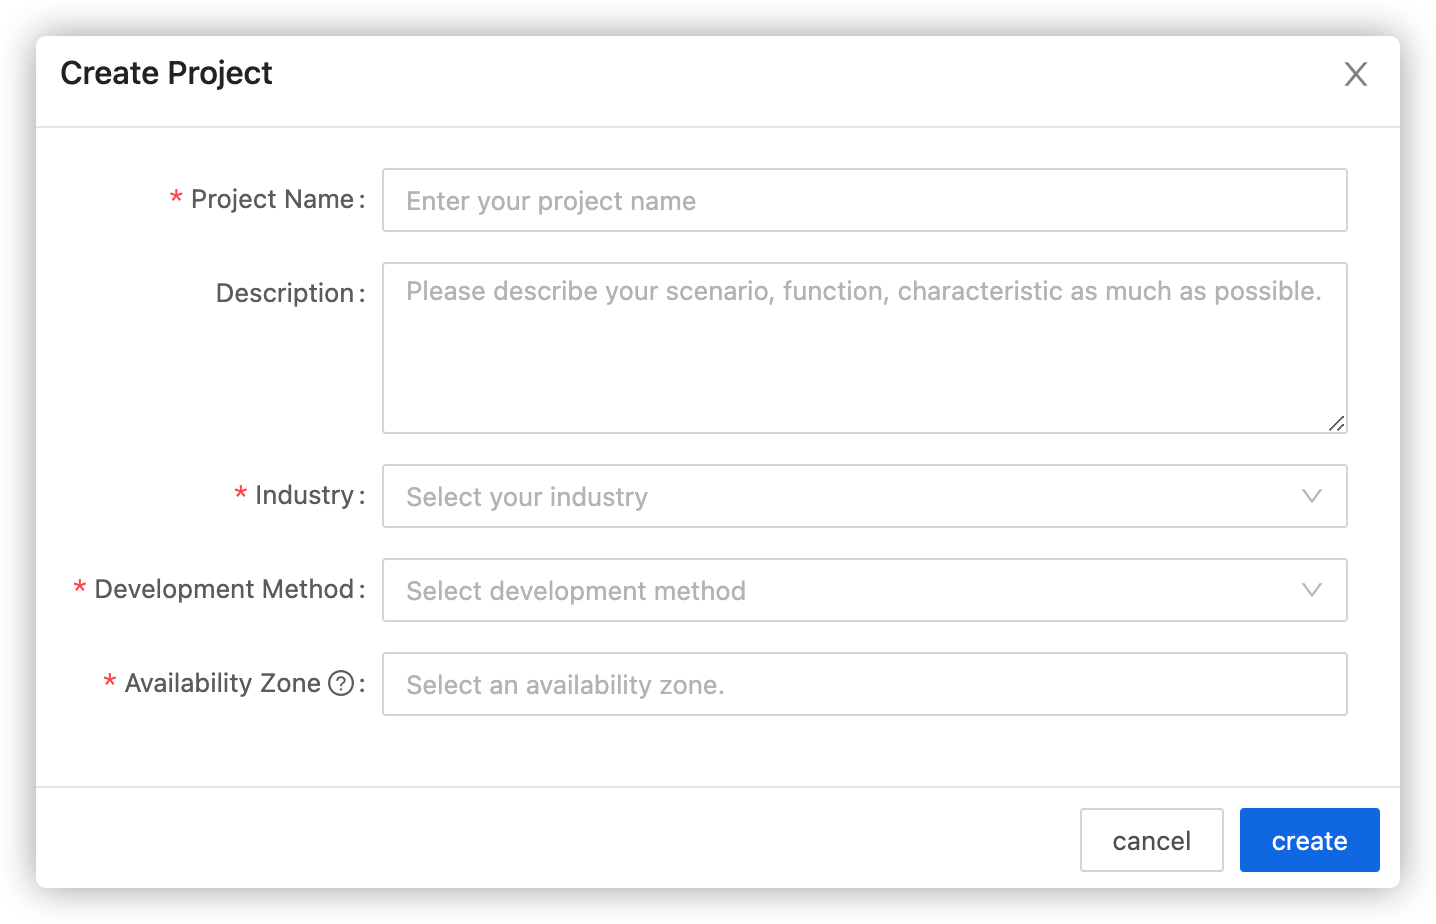
On the page that appears, click Create.
-
In the Create Project dialog box, configure Project Name, Description, Industry, and Availability Zone. In the Development Method field, select Custom Development from the dropdown list.
Note: Tuya deploys six data centers globally and provides reliable IoT cloud services for customers worldwide. You can select one or multiple availability zones where your services are deployed. This can be changed later.
-
Click Create to continue project configuration.
-
In Configuration Wizard, select Device status notification and Industry Project Client Service API.

Note: Industrial General related and Authorization APIs have been selected as default.
-
Click Authorize.
-
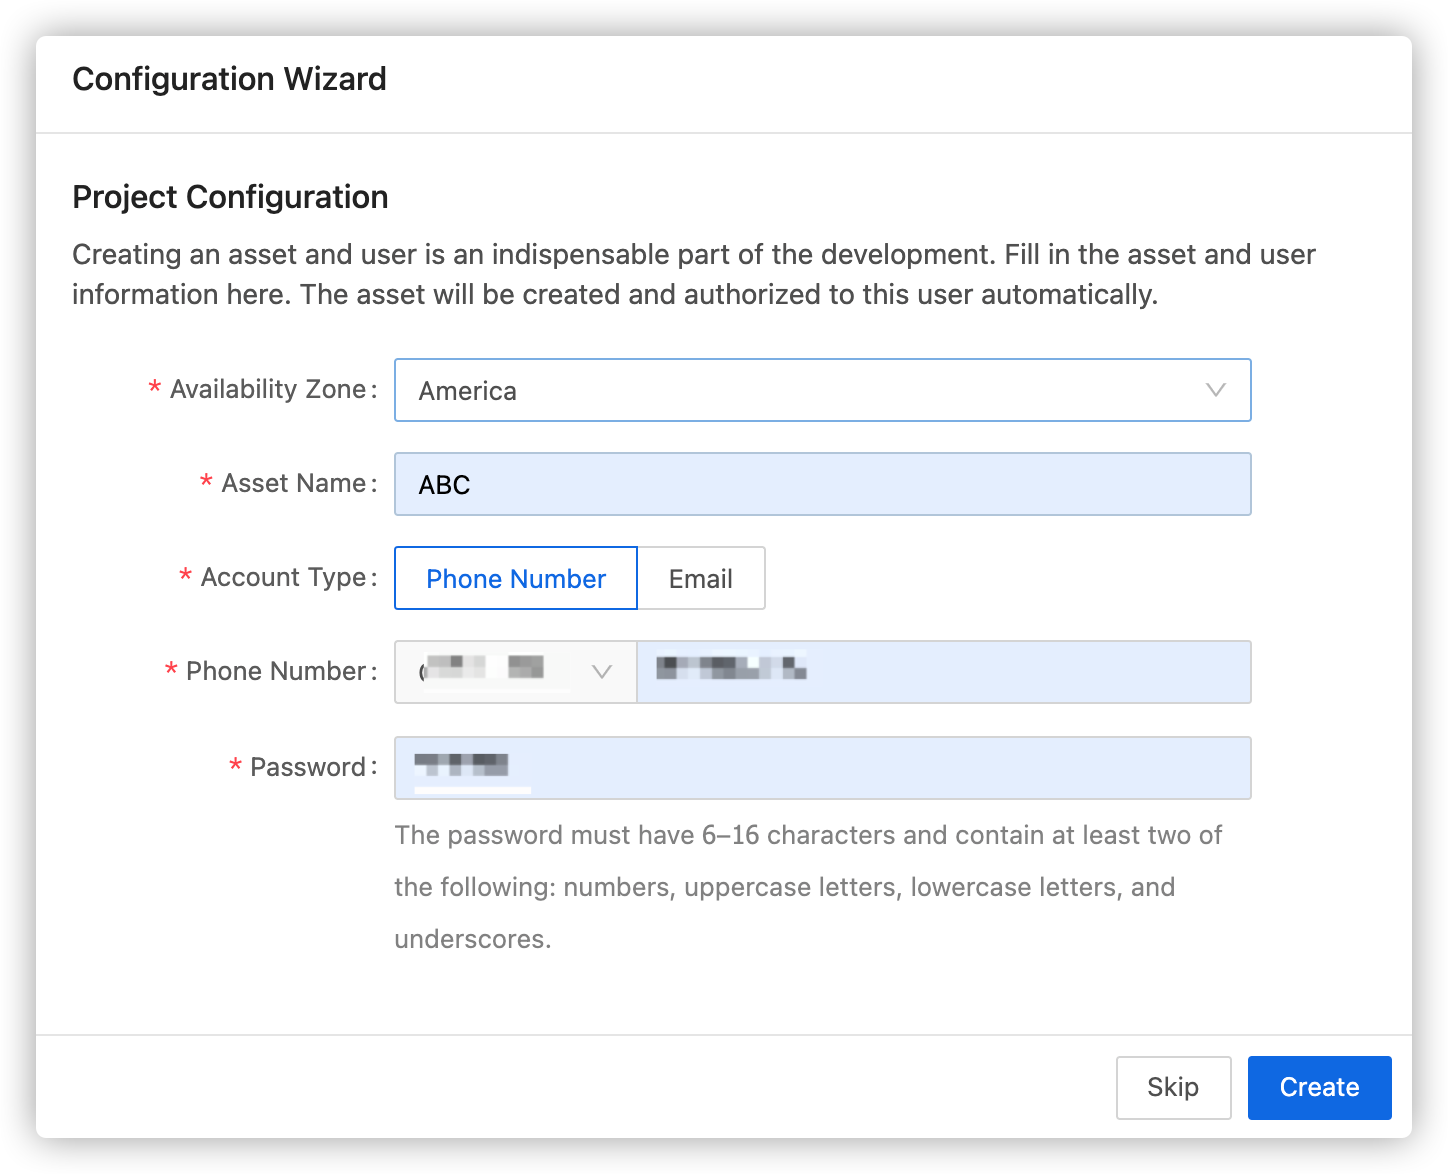
Fill in the asset and account information, the asset will be created and authorized to this account automatically.
Note: For more information about assets, see Manage Assets.
-
Click Create.
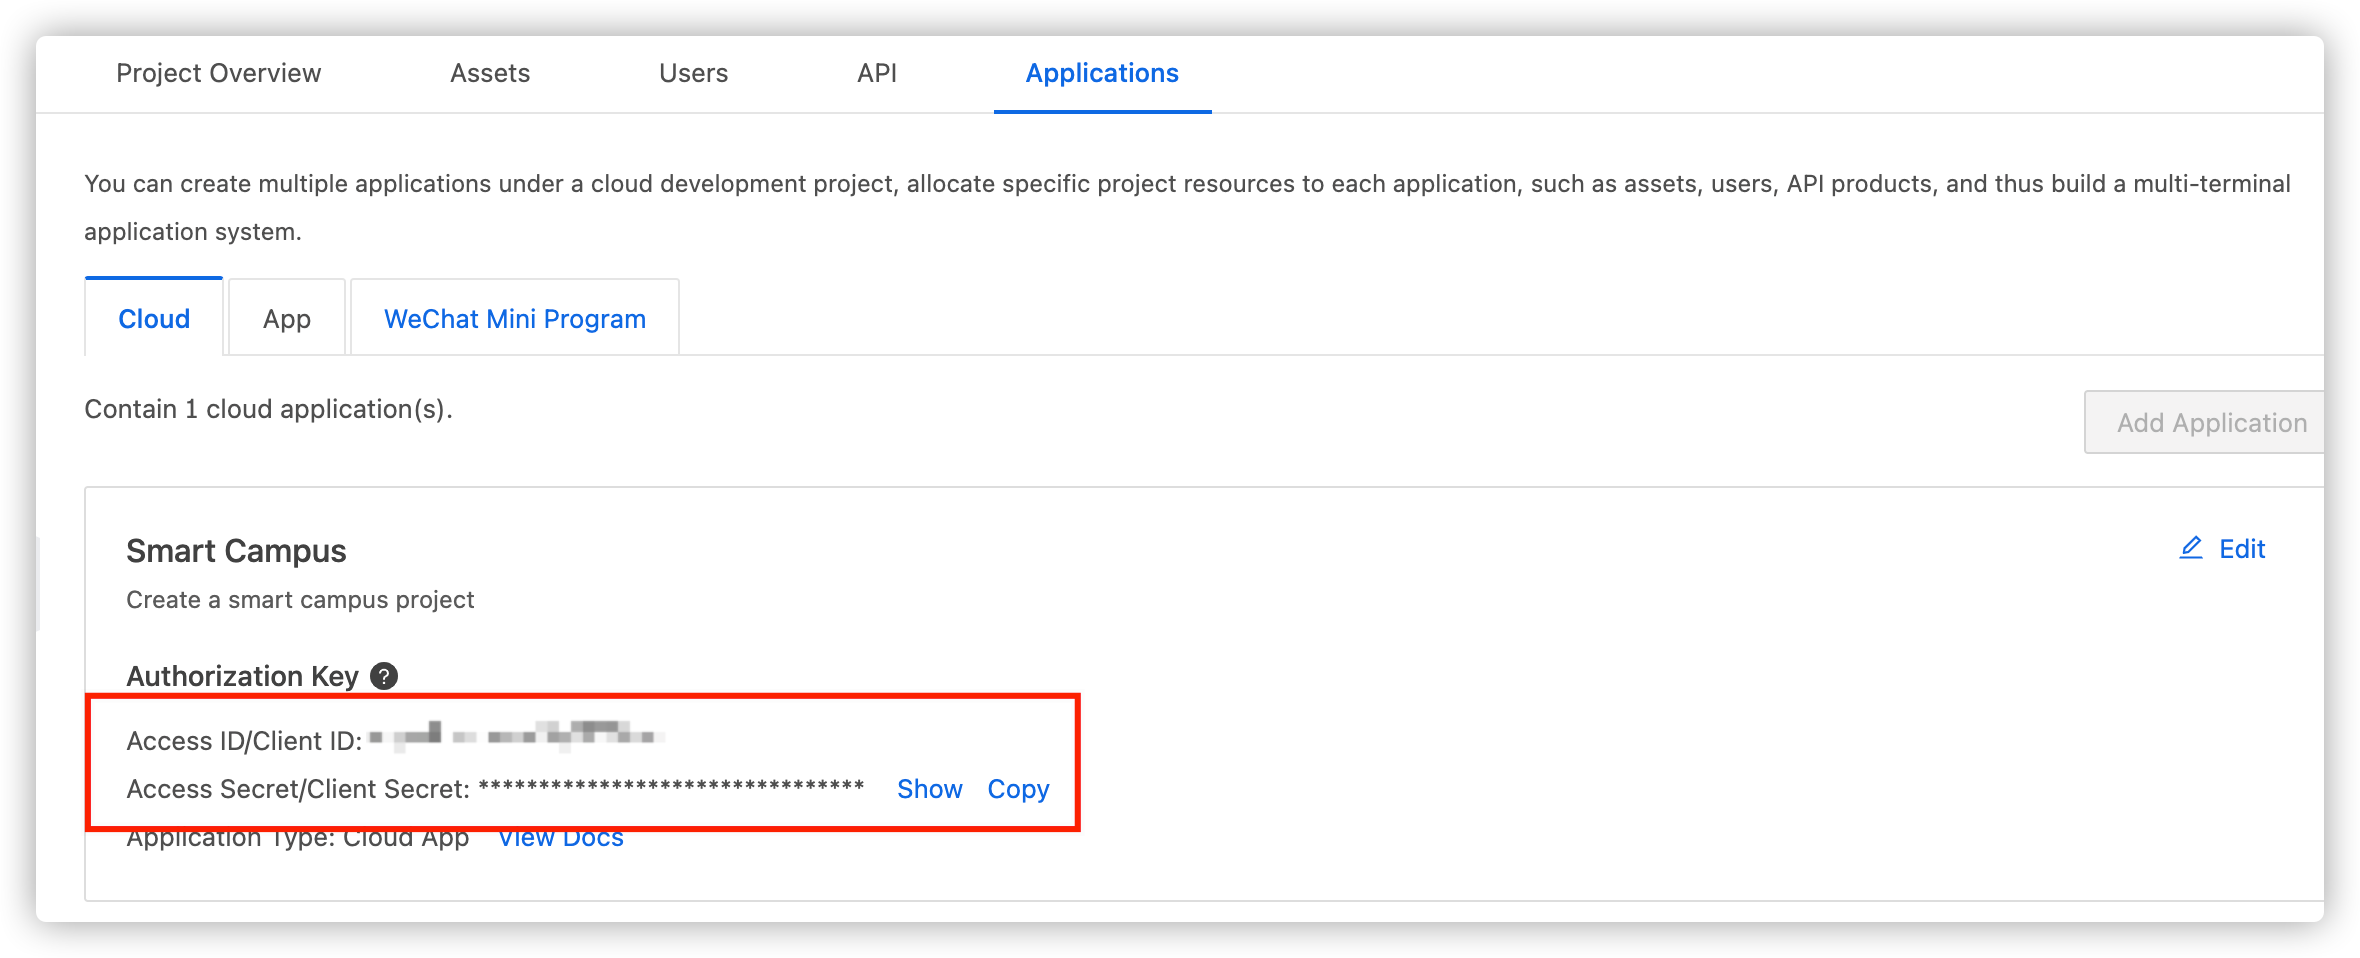
Get authorization key
Select Applications > Cloud to get the Access ID and Access Secret.
Create an application
-
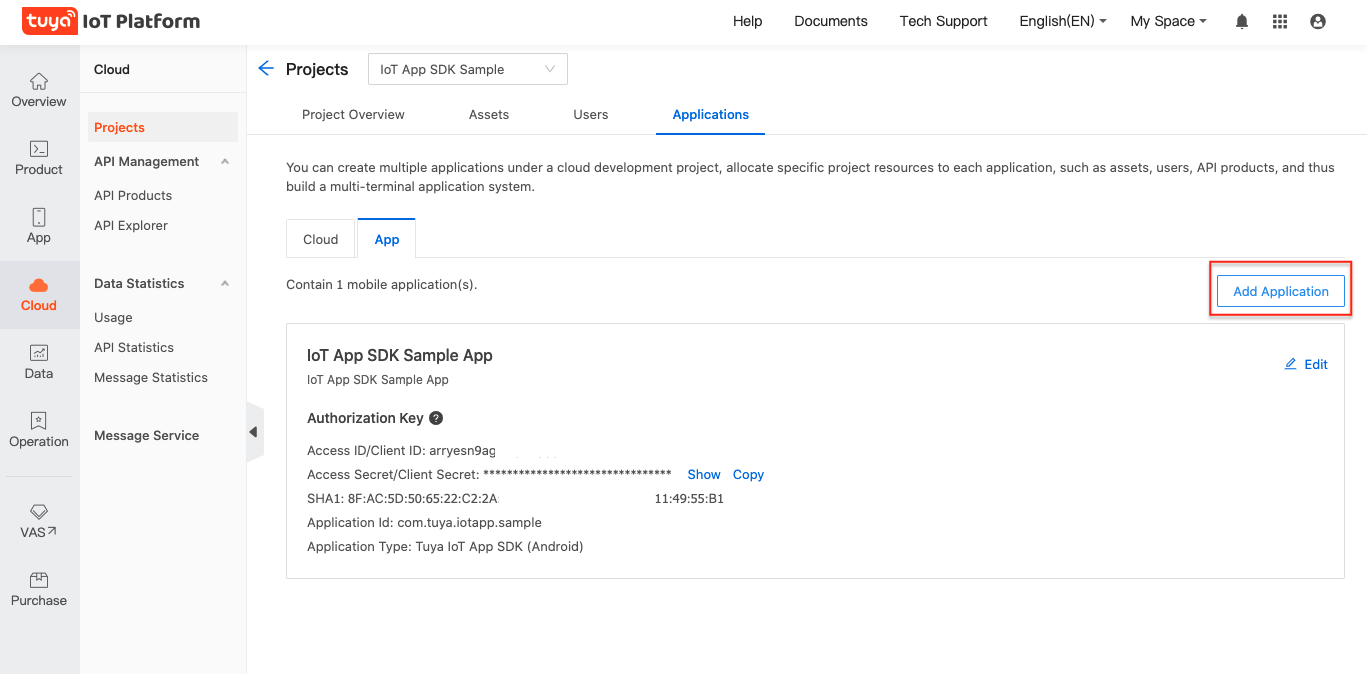
Click Cloud > Projects > My Project. Click the target project.
-
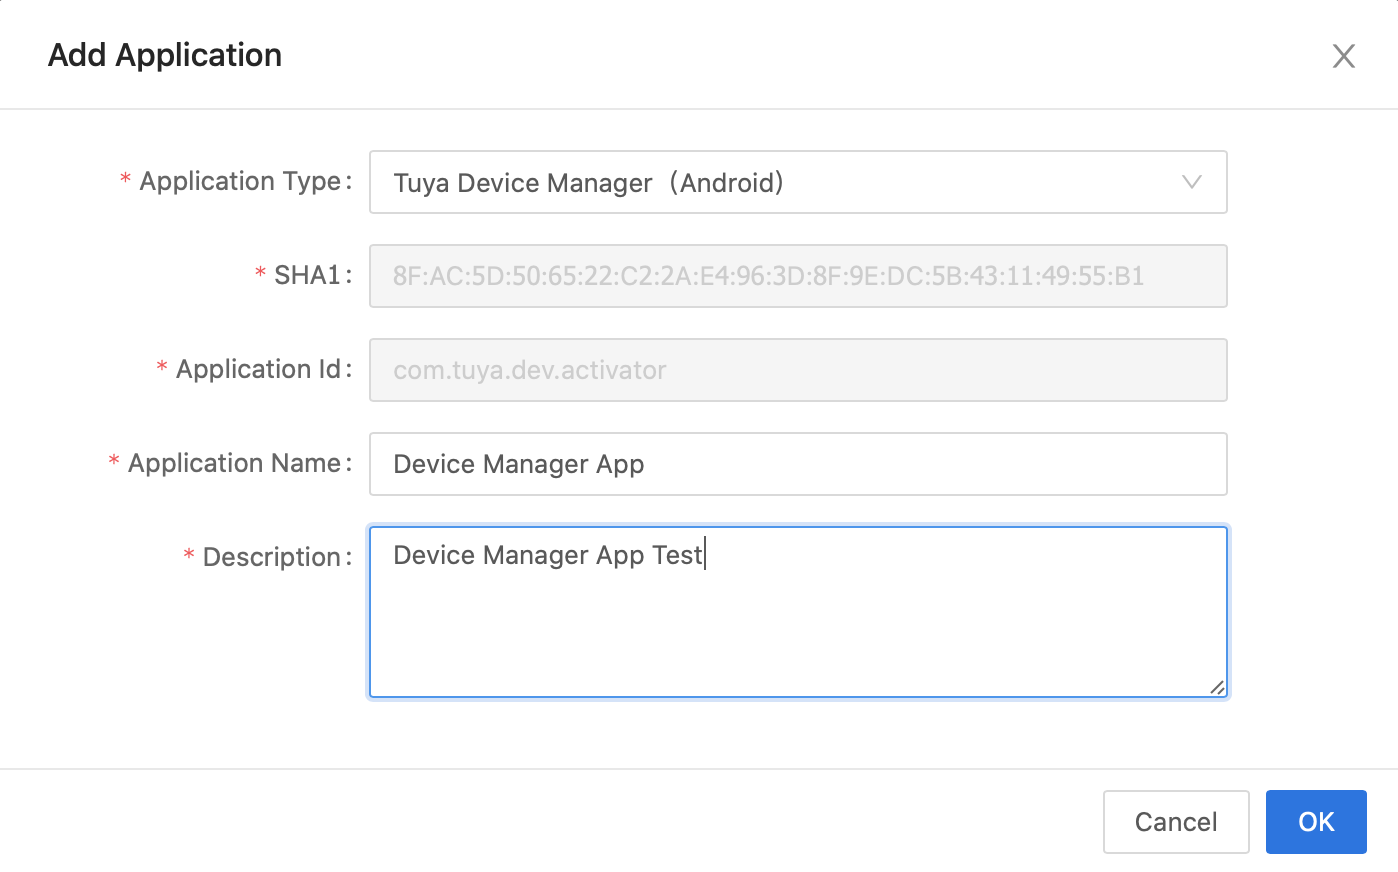
From the top navigation bar, select Applications > App > Add Application.
-
In the Add Application window, Select Tuya Device Manager (Android) for Application Name and fill in other parameters as needed.
Note: SHA1 and Application ID will be filled automatically.
Configure on the Tuya Device Manager app (Android)
Tuya Device Manager app provides basic functions such as device pairing, login and registration, and asset management. The sample is based on the Restful API interface of Tuya Open API to implement related functions. Tuya app SDK is an important part of the Tuya SaaS Development Framework product series.
Tuya Device Manager app provides the following functions:
- User module (login and logout)
- Asset module (asset query and selection)
- Device pairing module (AP, EZ, and QR code mode)
- Device management module (device query and device unbinding)
Step 1: Install the app
Click Tuya Device Manager App to download and install the app.
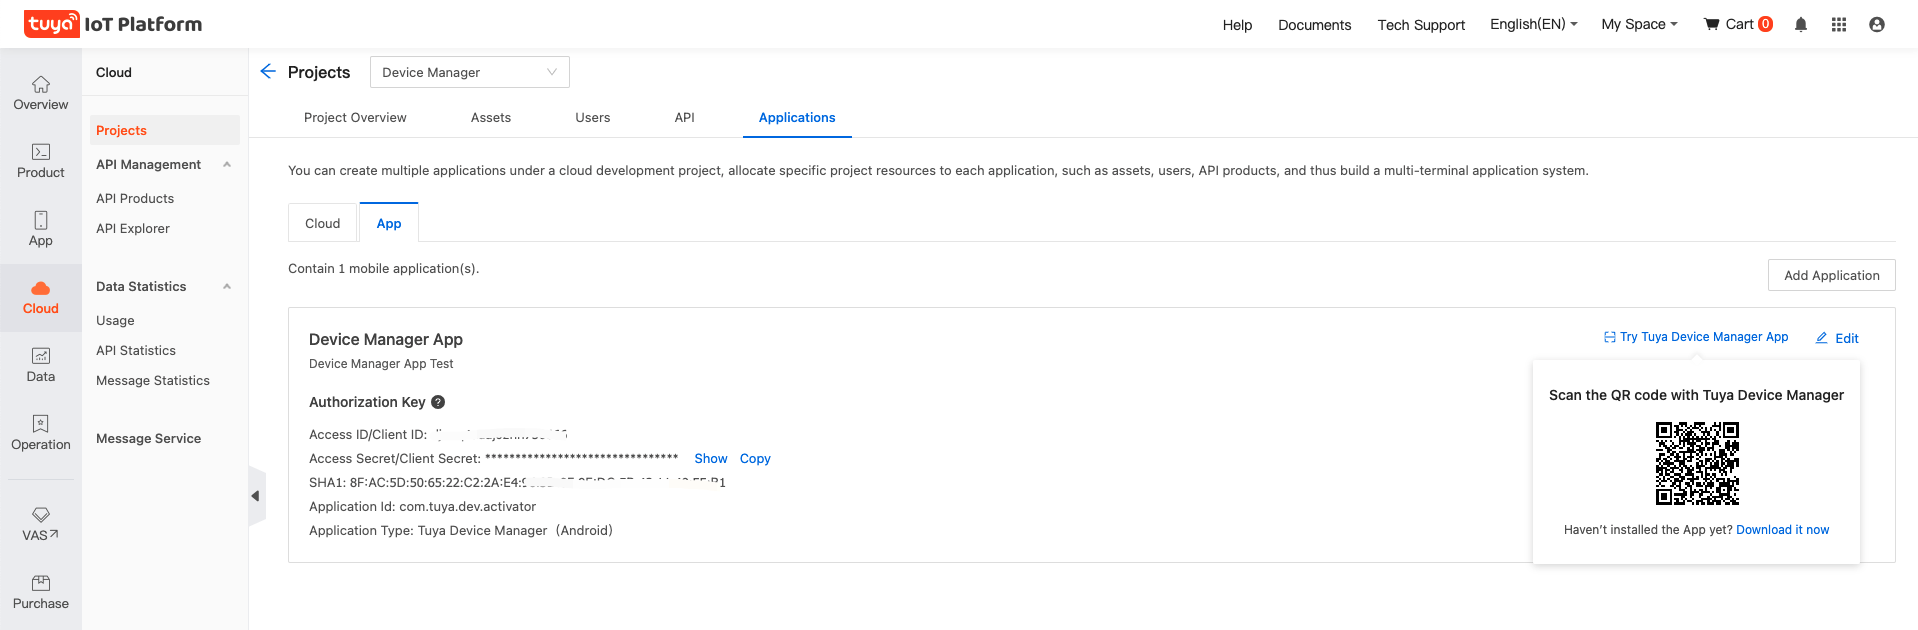
Step 2: Configure the app
-
Go to the cloud project page, and click the target project.
-
From the project page, select Applications > App > Try Tuya Device Manager App, and scan the QR code to configure the Client ID and Client Secret.
Step 3: Log in to the app
- Choose the region where we create our account, for example, "China".
- Get the username and password for logging in to the Device Manager app.
- Log in to the platform.
- Select Cloud > Projects, and click the target project.
- Click the Users tab, and get the user information.
- Use the username and password to log in to the app.
The home page of the app is as follows.
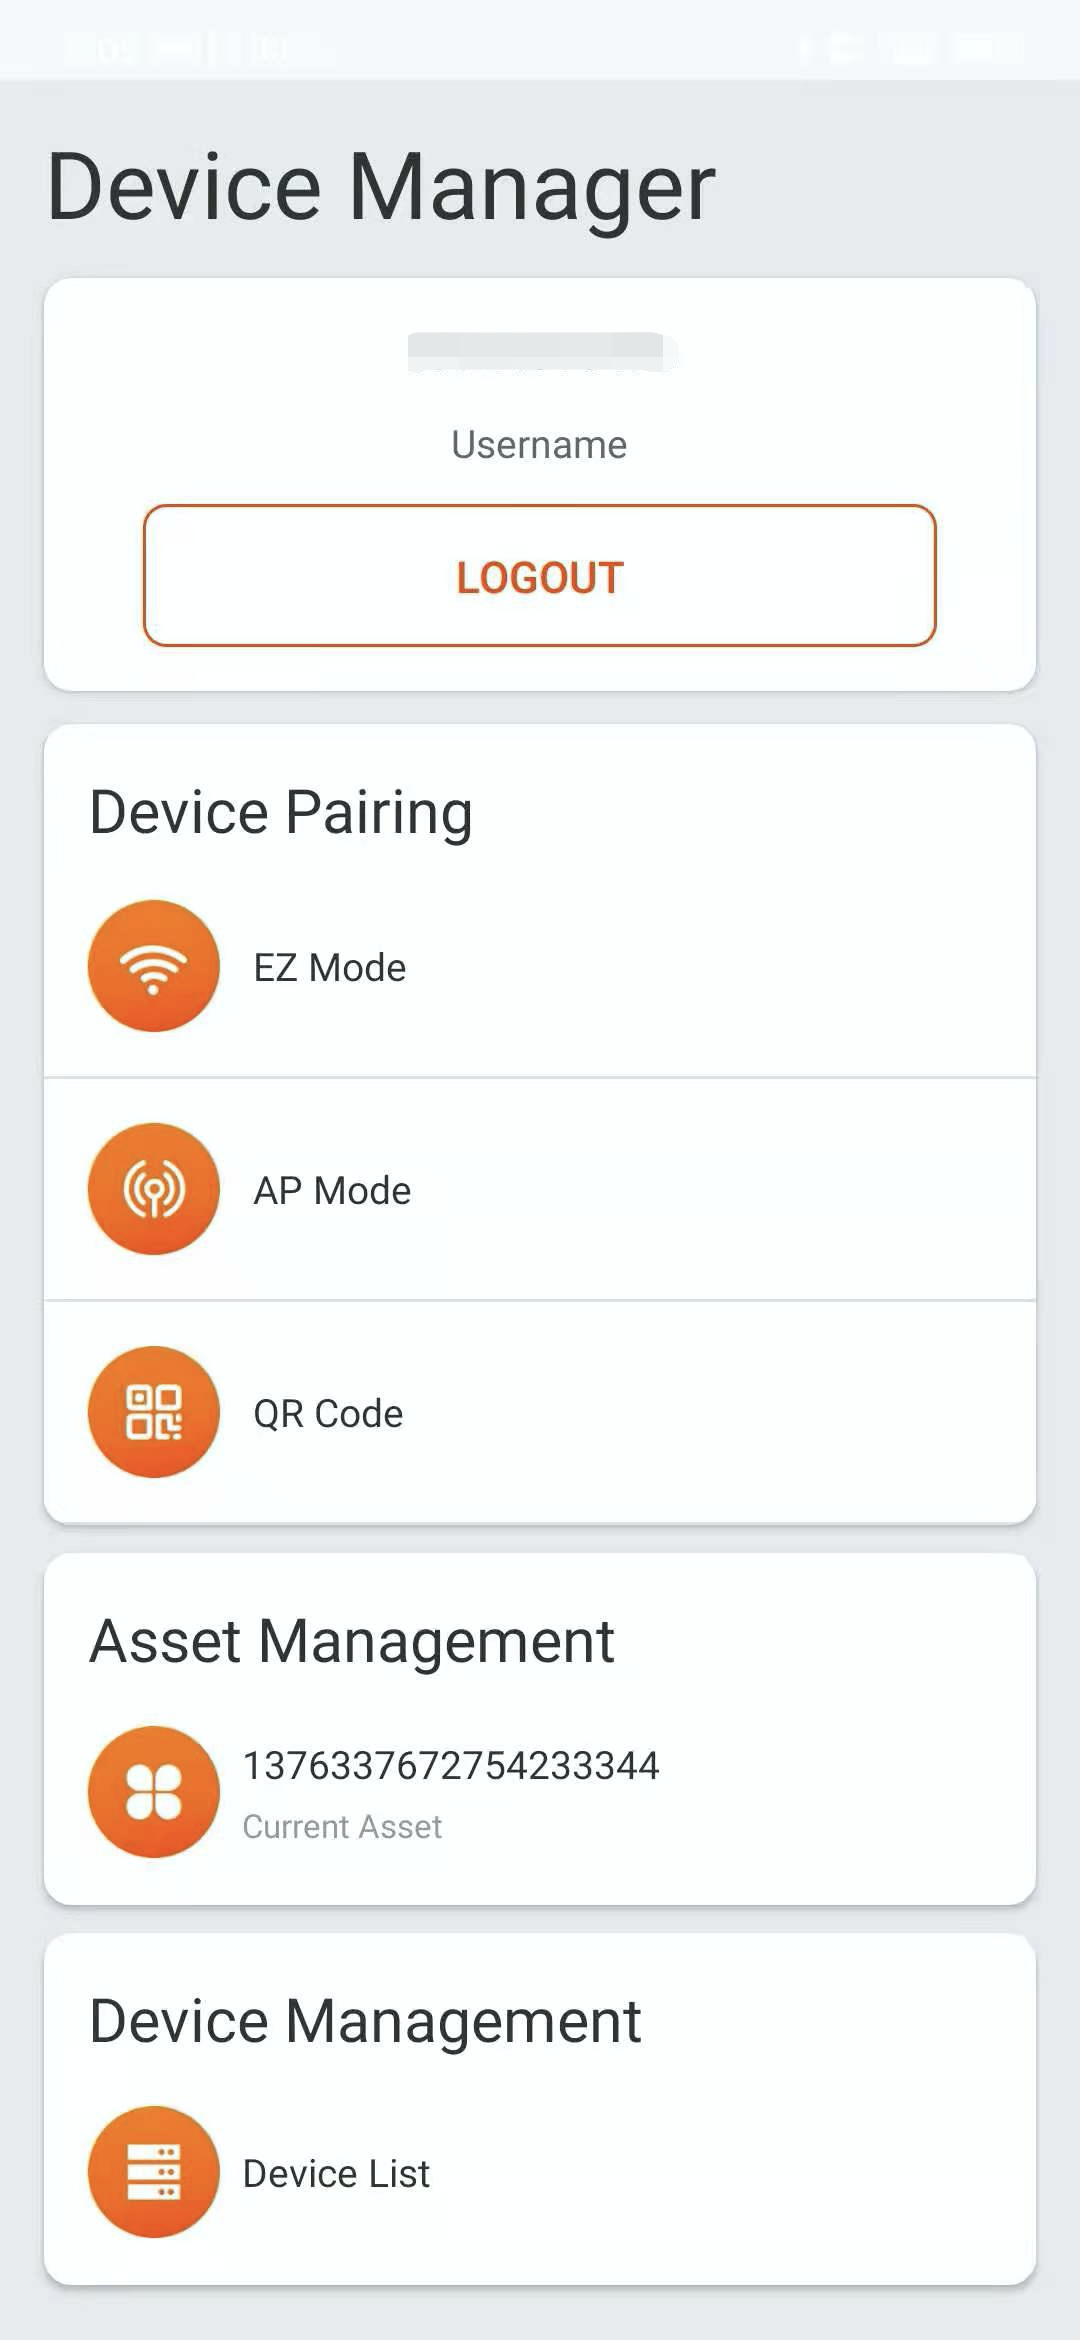
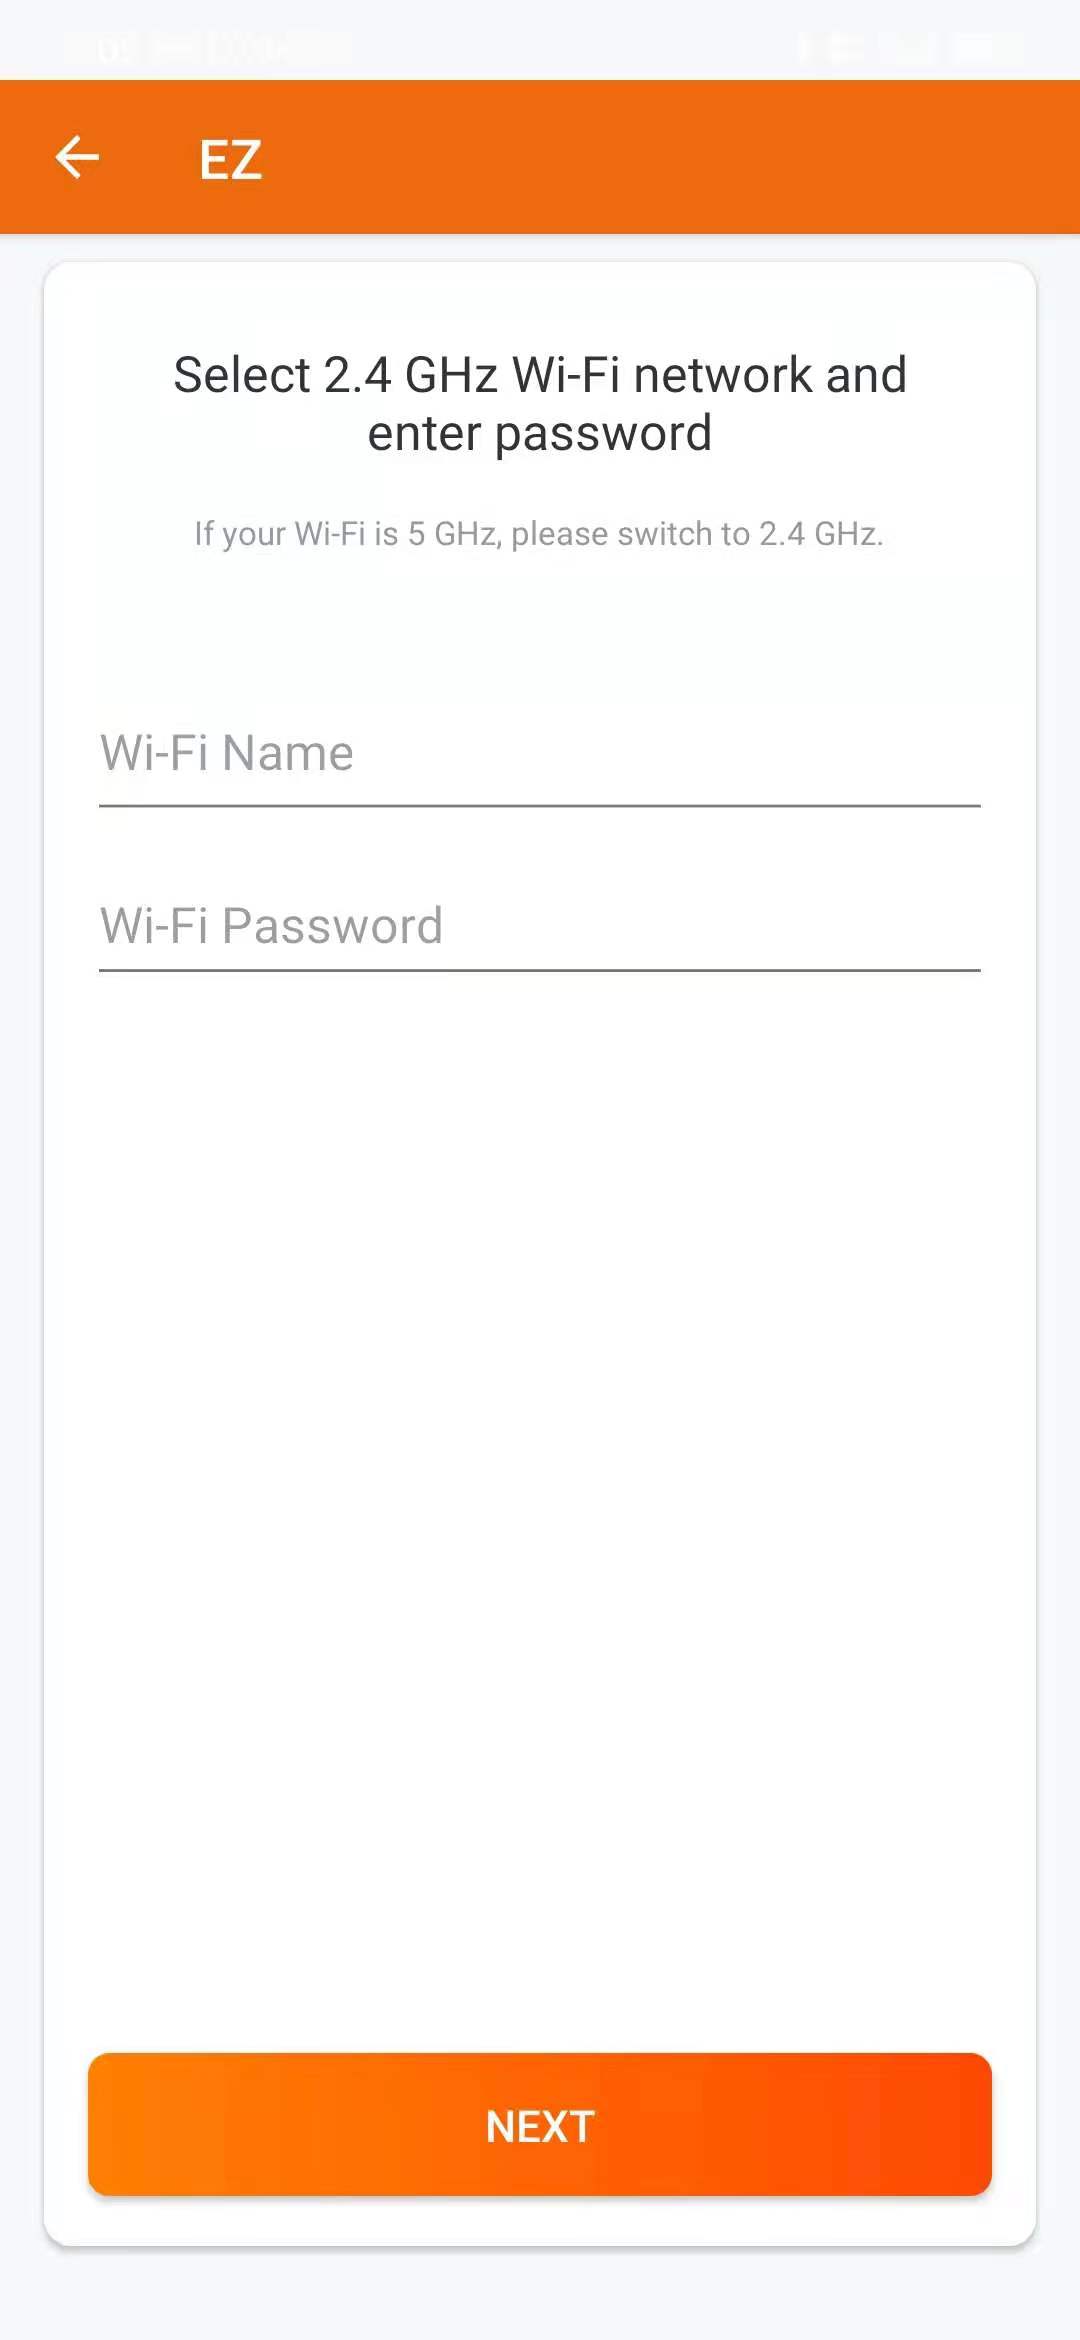
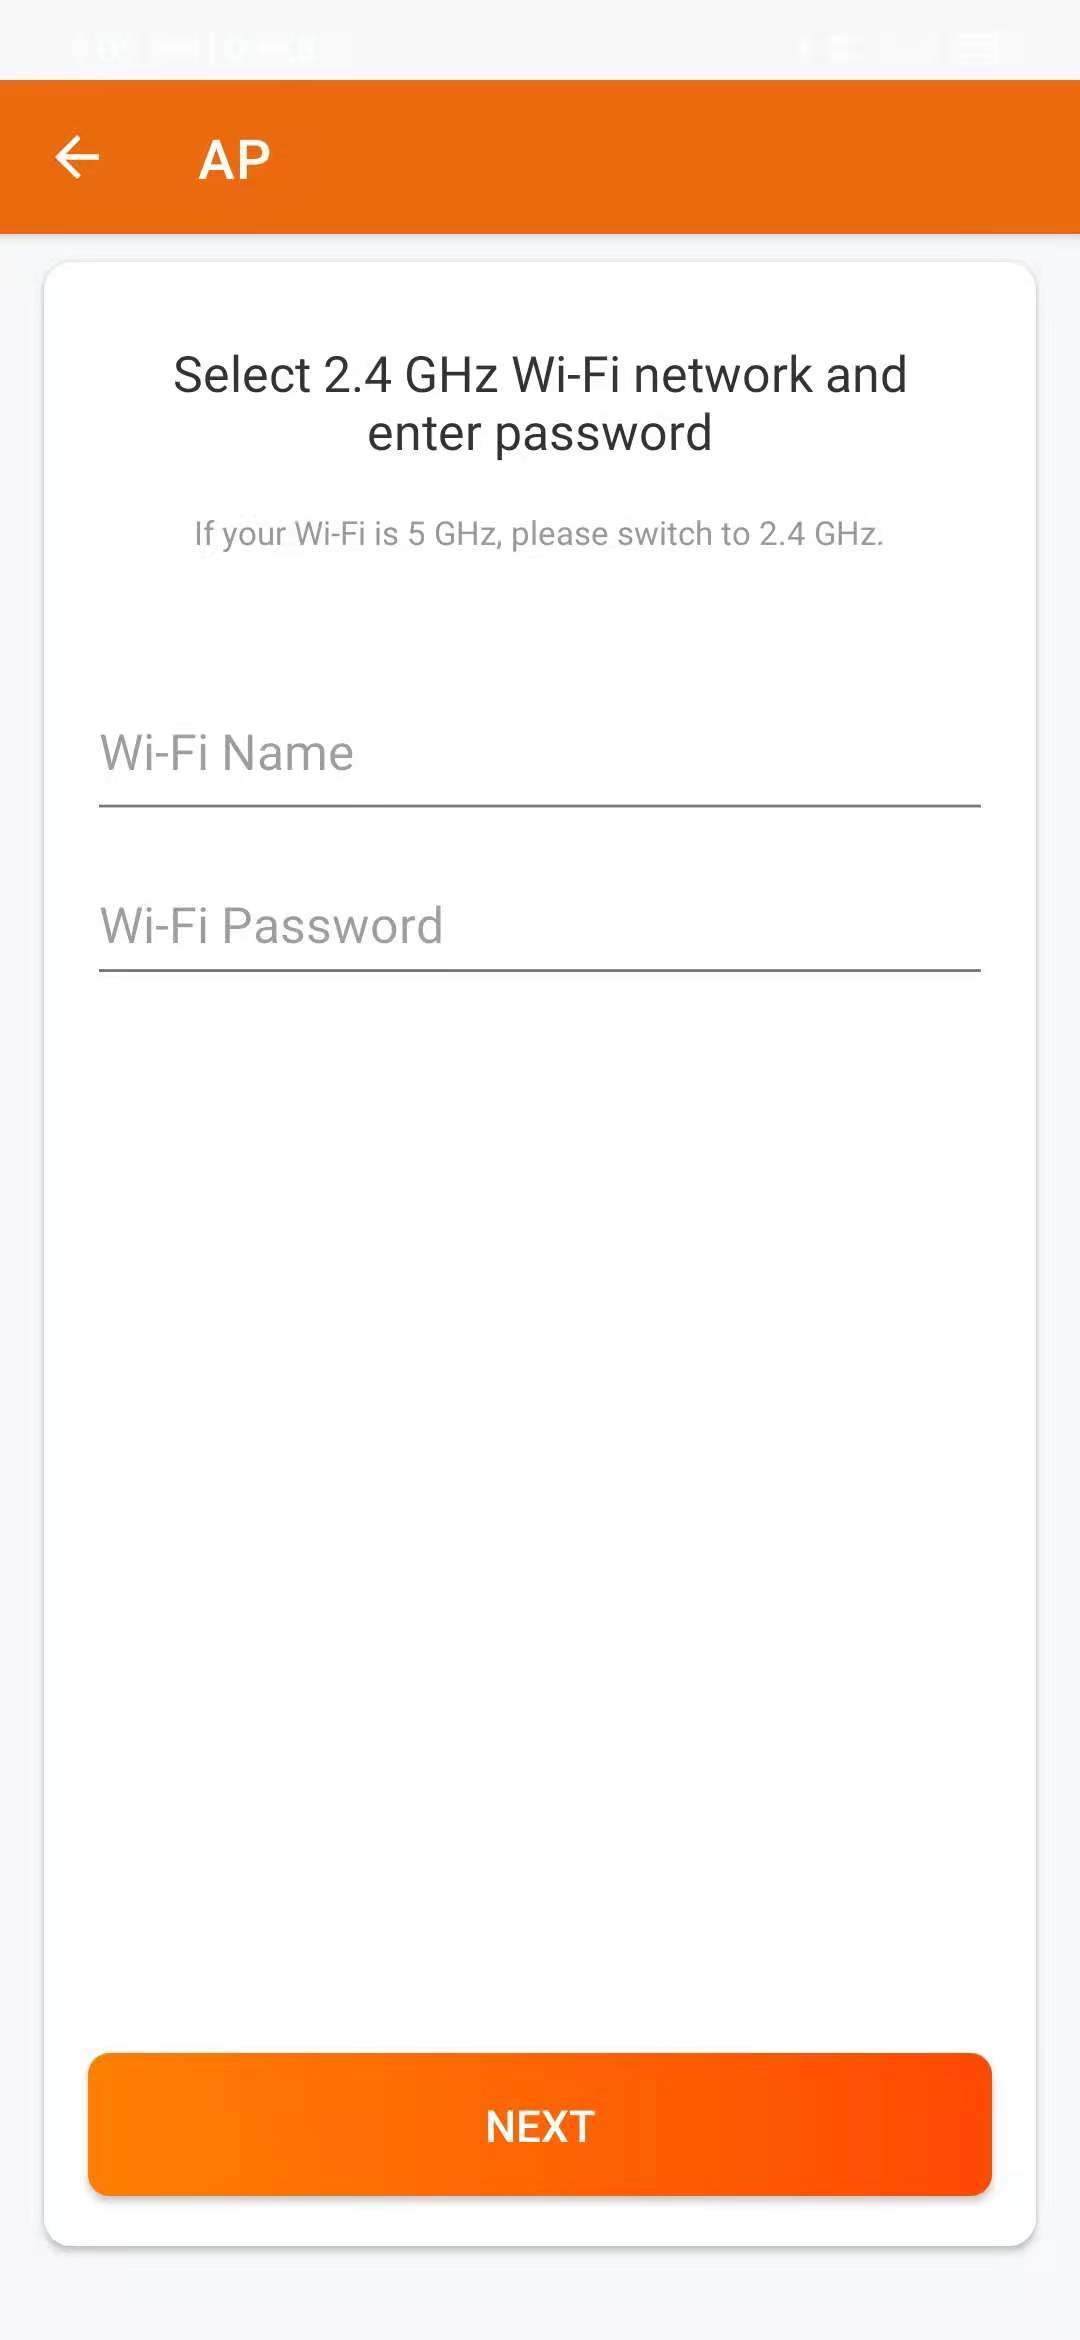
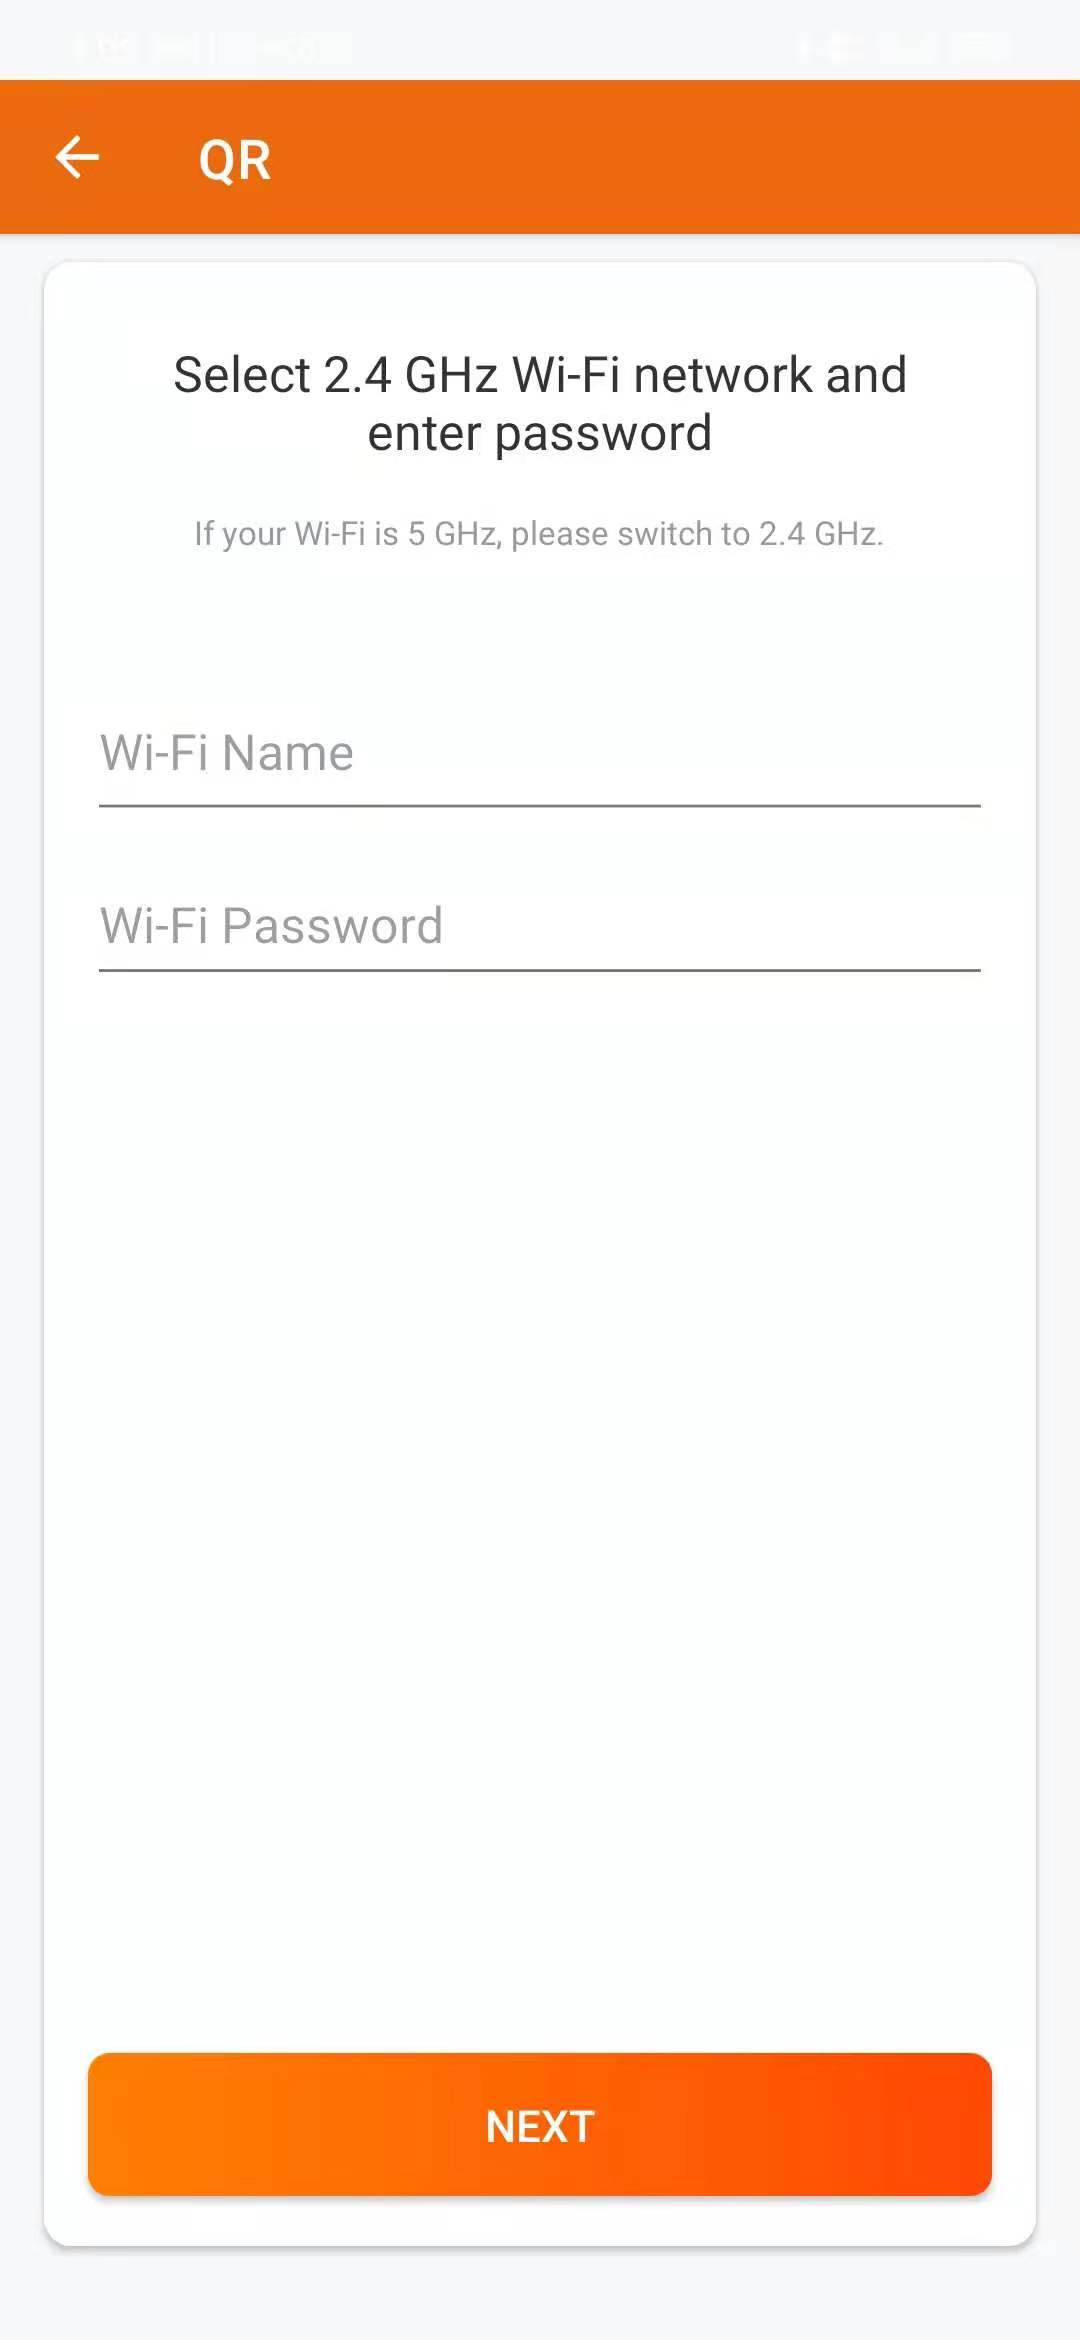
Step 4: Pair devices
Pair devices according to the instructions on the page.
-
EZ Mode
-
AP Mode
-
QR Code
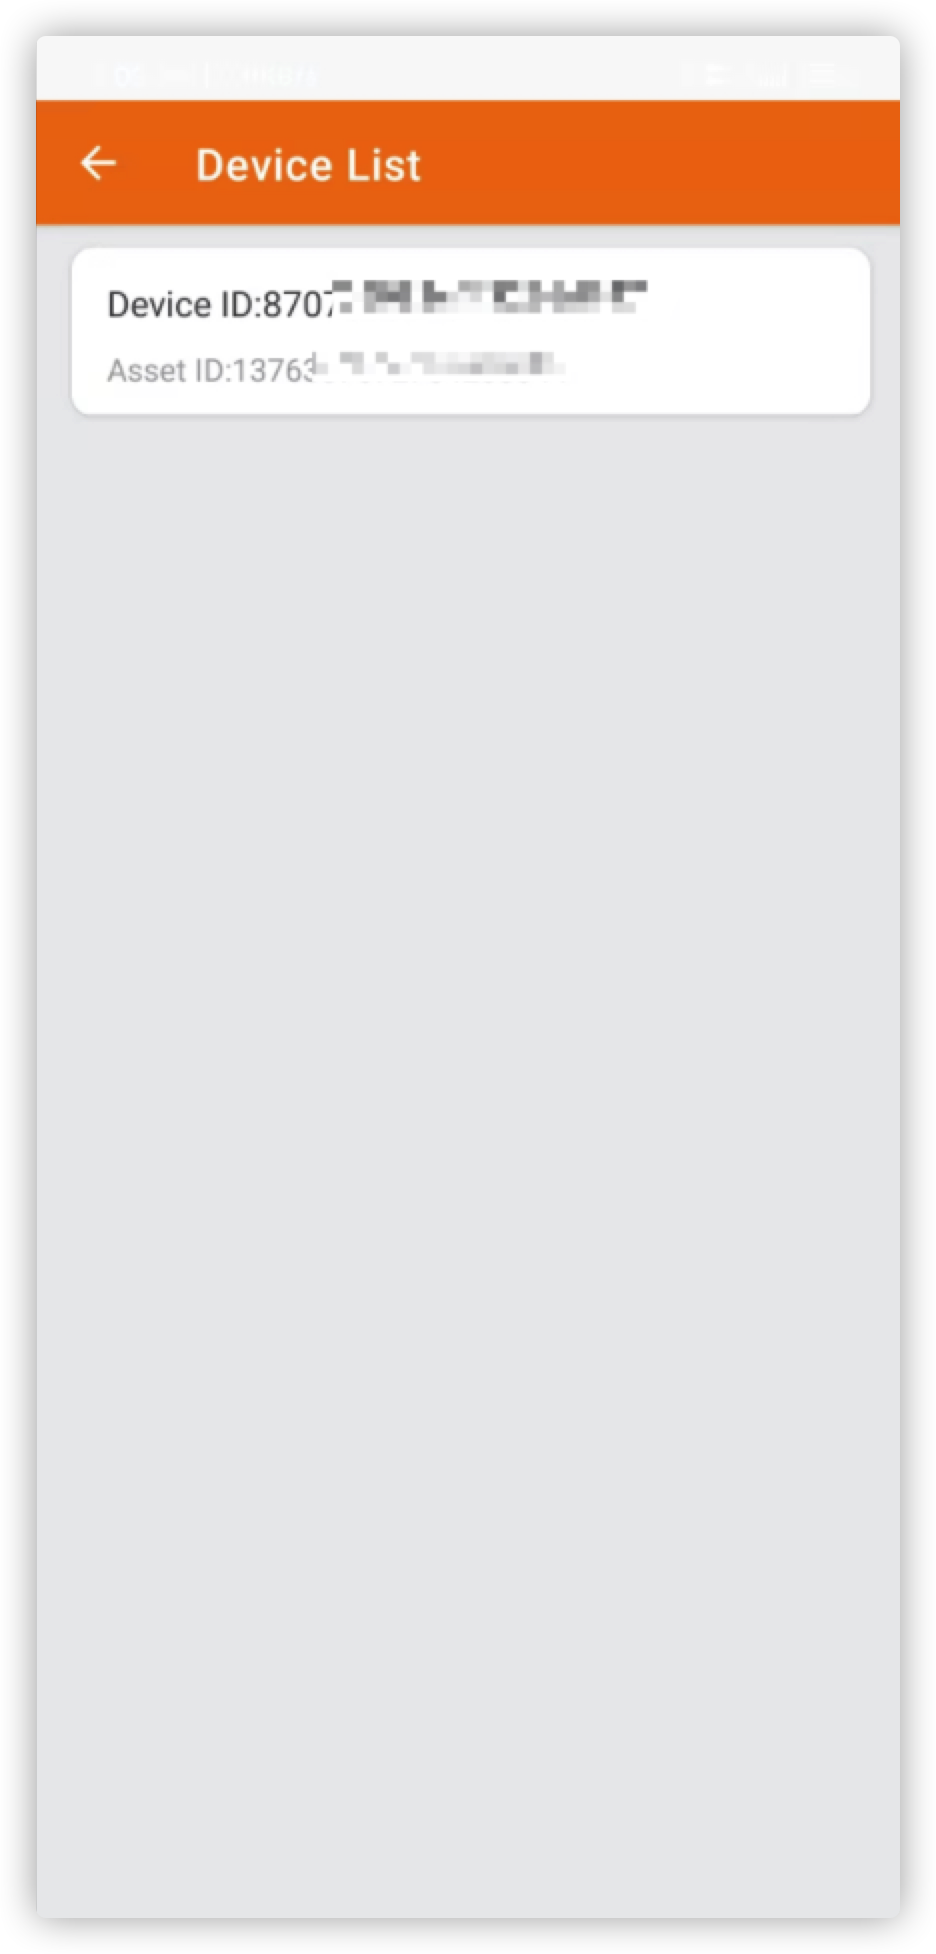
Step 5: Successful pairing
-
Successful device pairing

-
Device list
Is this page helpful?
YesFeedbackIs this page helpful?
YesFeedback


