Download and Debugging
This topic uses Networked Product Development: Wi-Fi & Bluetooth Low Energy Combo Device Development Kit to describe how to download a development framework and debug applications.
Step 1: Download development framework
-
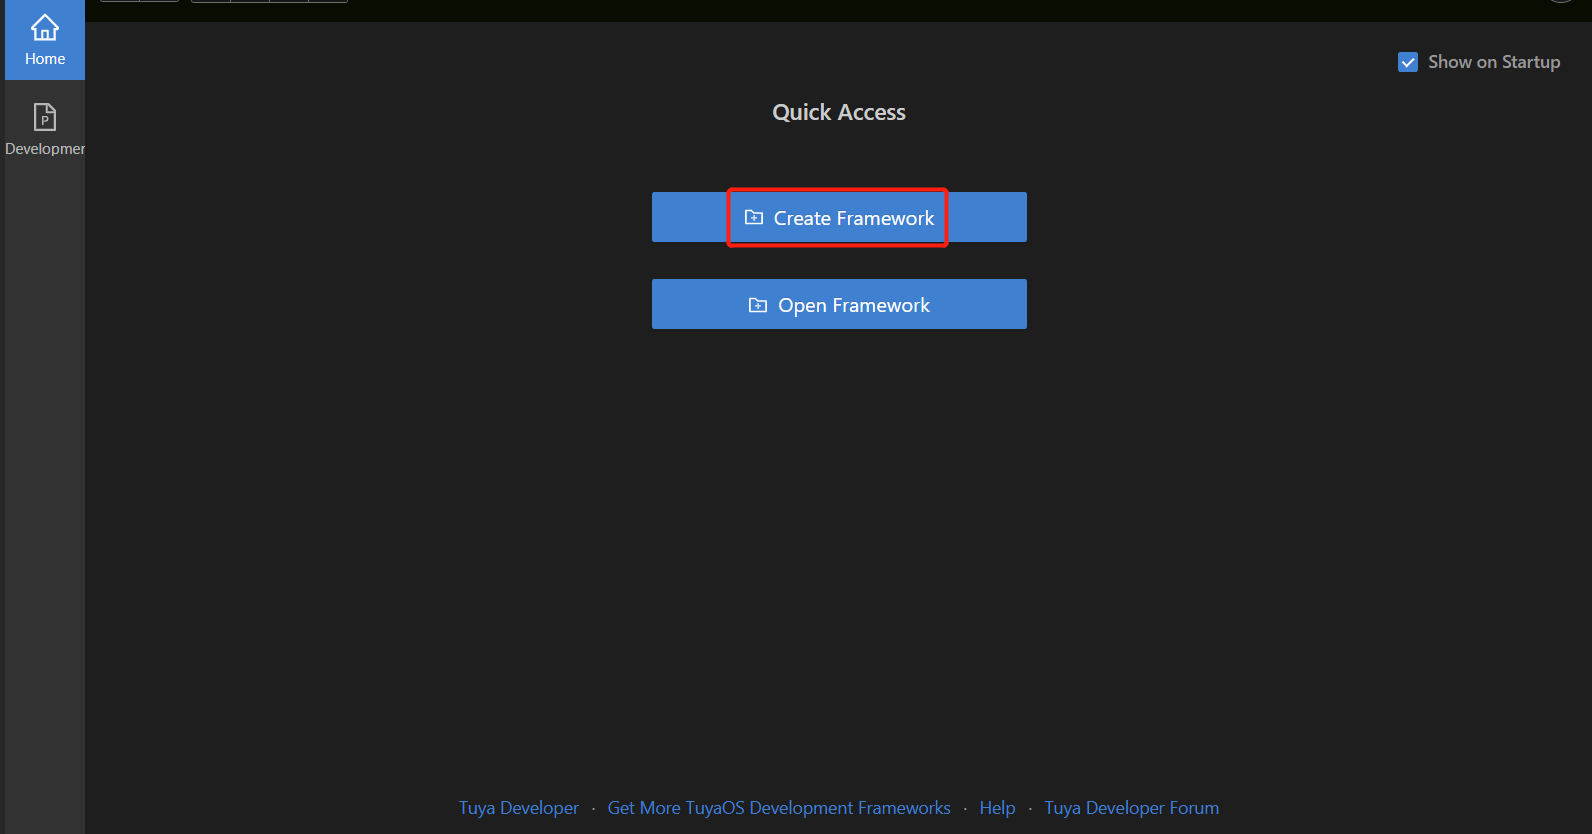
In Tuya Wind IDE, choose Create Framework.
-
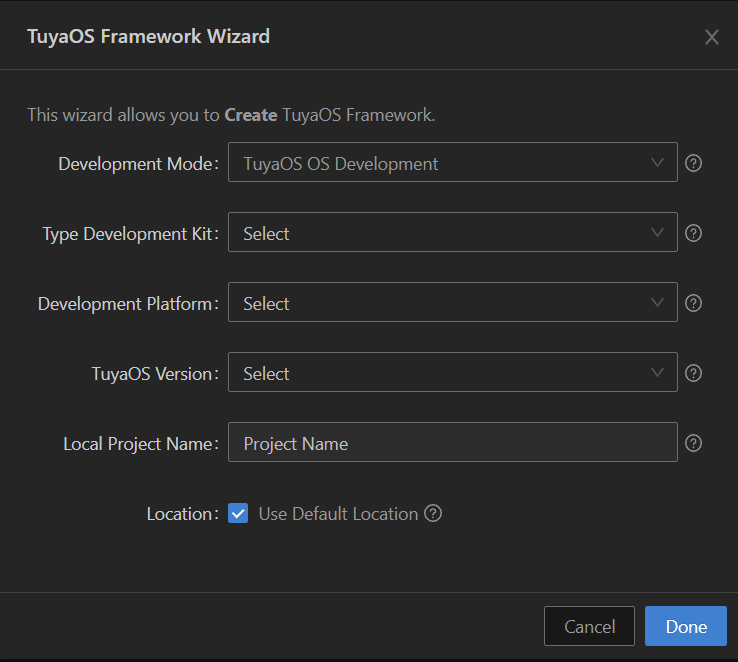
Choose TuyaOS OS Development. For the type development kit, development platform, and TuyaOS version, choose an option based on your selected module, and then give your project a name.
-
Click Done to start downloading the development framework.
Step 2: Go through documentation
This section uses the project tuyaos_demo_quickstart in software/TuyaOS/apps to demonstrate the development process.
-
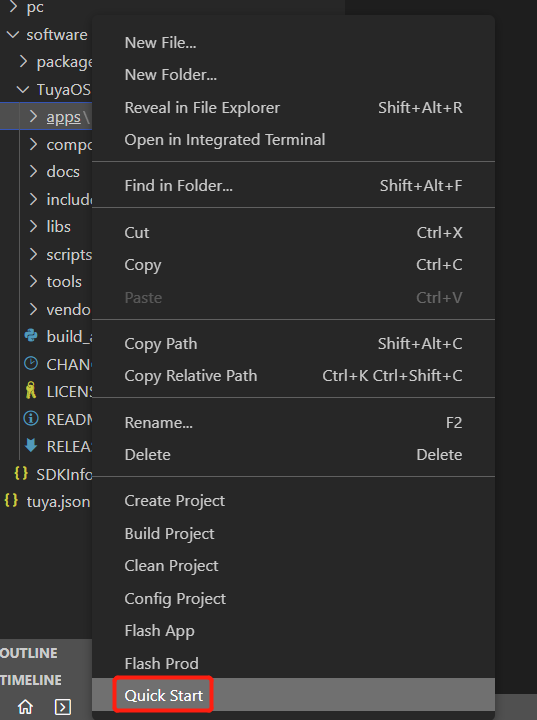
Right-click the directory and choose Quick Start to open the documentation navigation.
-
Click the quick start demo documentation.
-
You will learn about environment setup, development process, and compilation and flashing.
Step 3: Modify PID and authorization information
The quick start demo implements the TuyaOS initialization, wireless pairing, and data point communication.
The module flashed with the TuyaOS firmware can be paired and then controlled with a Tuya-enabled mobile app. You can also use the physical button to control the LED and send the updated LED state to the app. This way, two-way communication between the module and the app is built.
Additionally, you can receive a notification when the device is offline or schedule the device to run a specific task. In the demo code, replace the PID and authorization information with your own values.
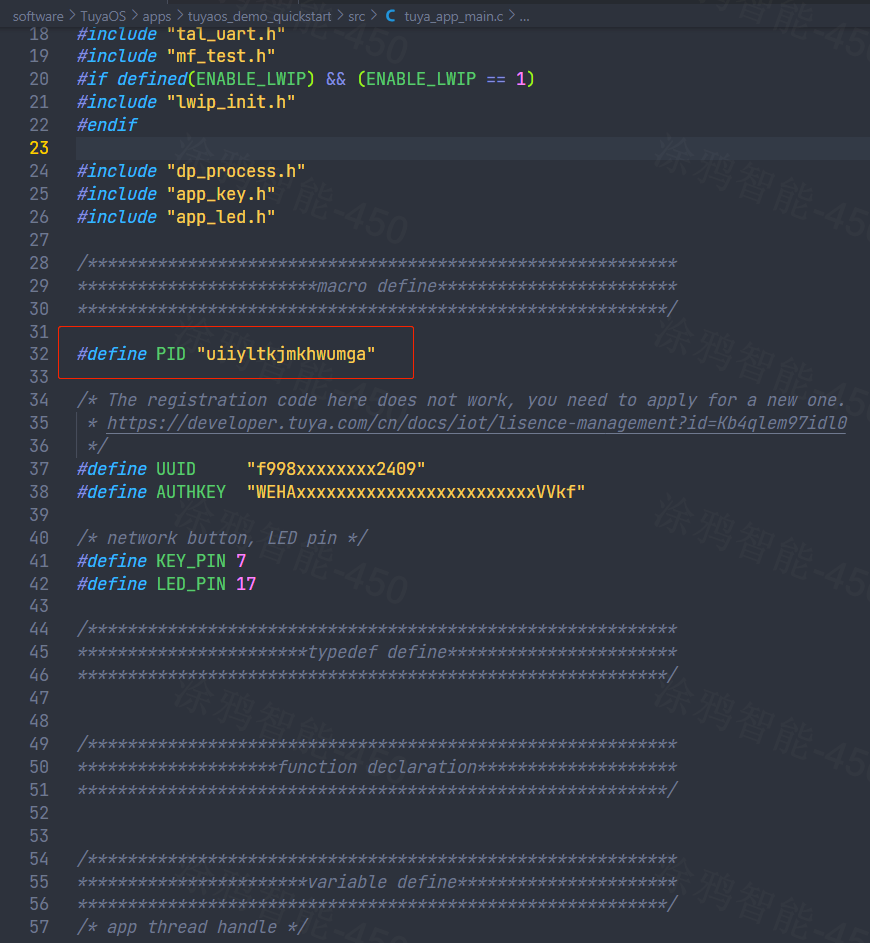
Modify the PID
Find the PID of your product on the Tuya Developer Platform. The PID is a unique identifier assigned to each product. It is associated with the data points and control panel.
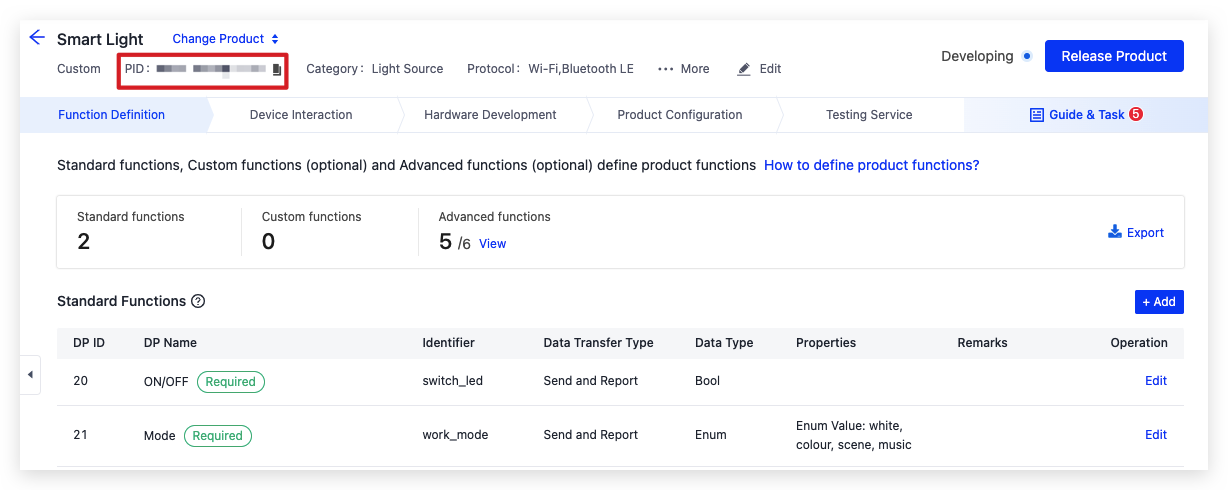
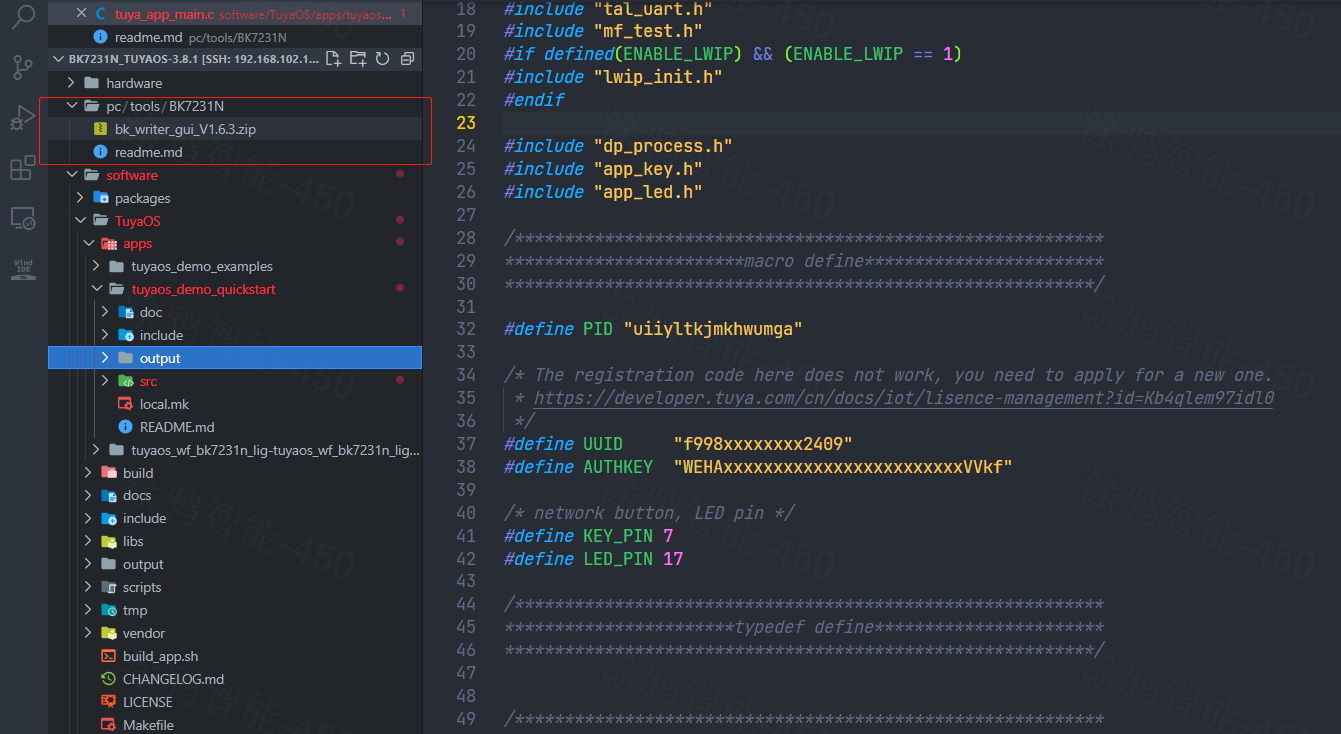
Open the downloaded development framework. Find the project tuyaos_demo_quickstart in software/TuyaOS/apps. Open the file tuya_app_main.c and replace the PID with your own value.
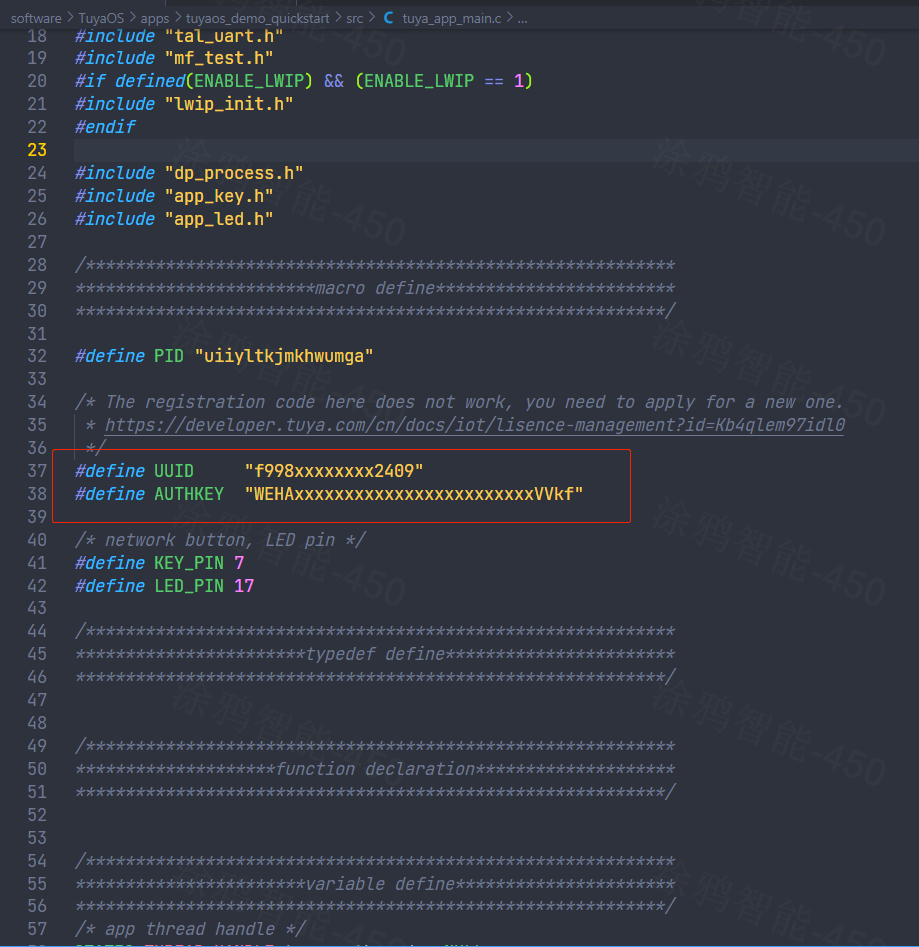
Modify authorization information
During the development stage, you can use a program to write a license to the module for quick authorization.
Open the file tuya_app_main.c. Find the two macro definitions UUID and AUTHKEY (if they are commented out, remove the comments) and replace their values with your license. This way, the program will invoke functions to write the license to the module for authorization.
When you authorize modules in bulk, make sure to comment out the authorization-related program to avoid multiple devices using the same license. You can use the flashing tool either from Tuya or the chip manufacturer.
Step 4: Flash firmware
Build firmware
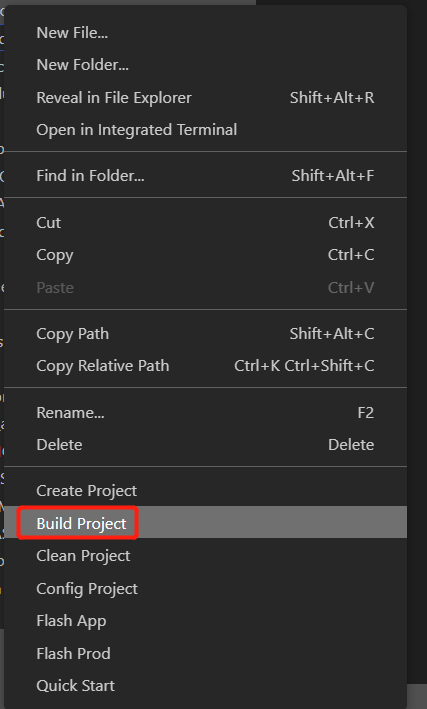
After you modify the PID and authorization information, you can build the project and flash the generated firmware to the module.
-
Right-click the quick start demo and choose Build Project.
-
Enter the version number.
-
If this is the first time to build a project, Tuya Wind IDE will download the necessary files first and then start building. After the project is built, an
outputfolder that stores the generated files is created.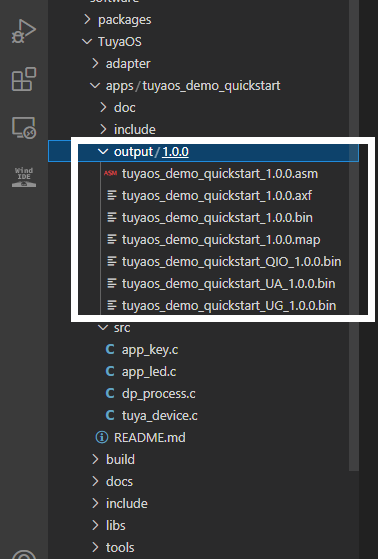
Development board
You can choose the T2-U Development Board.
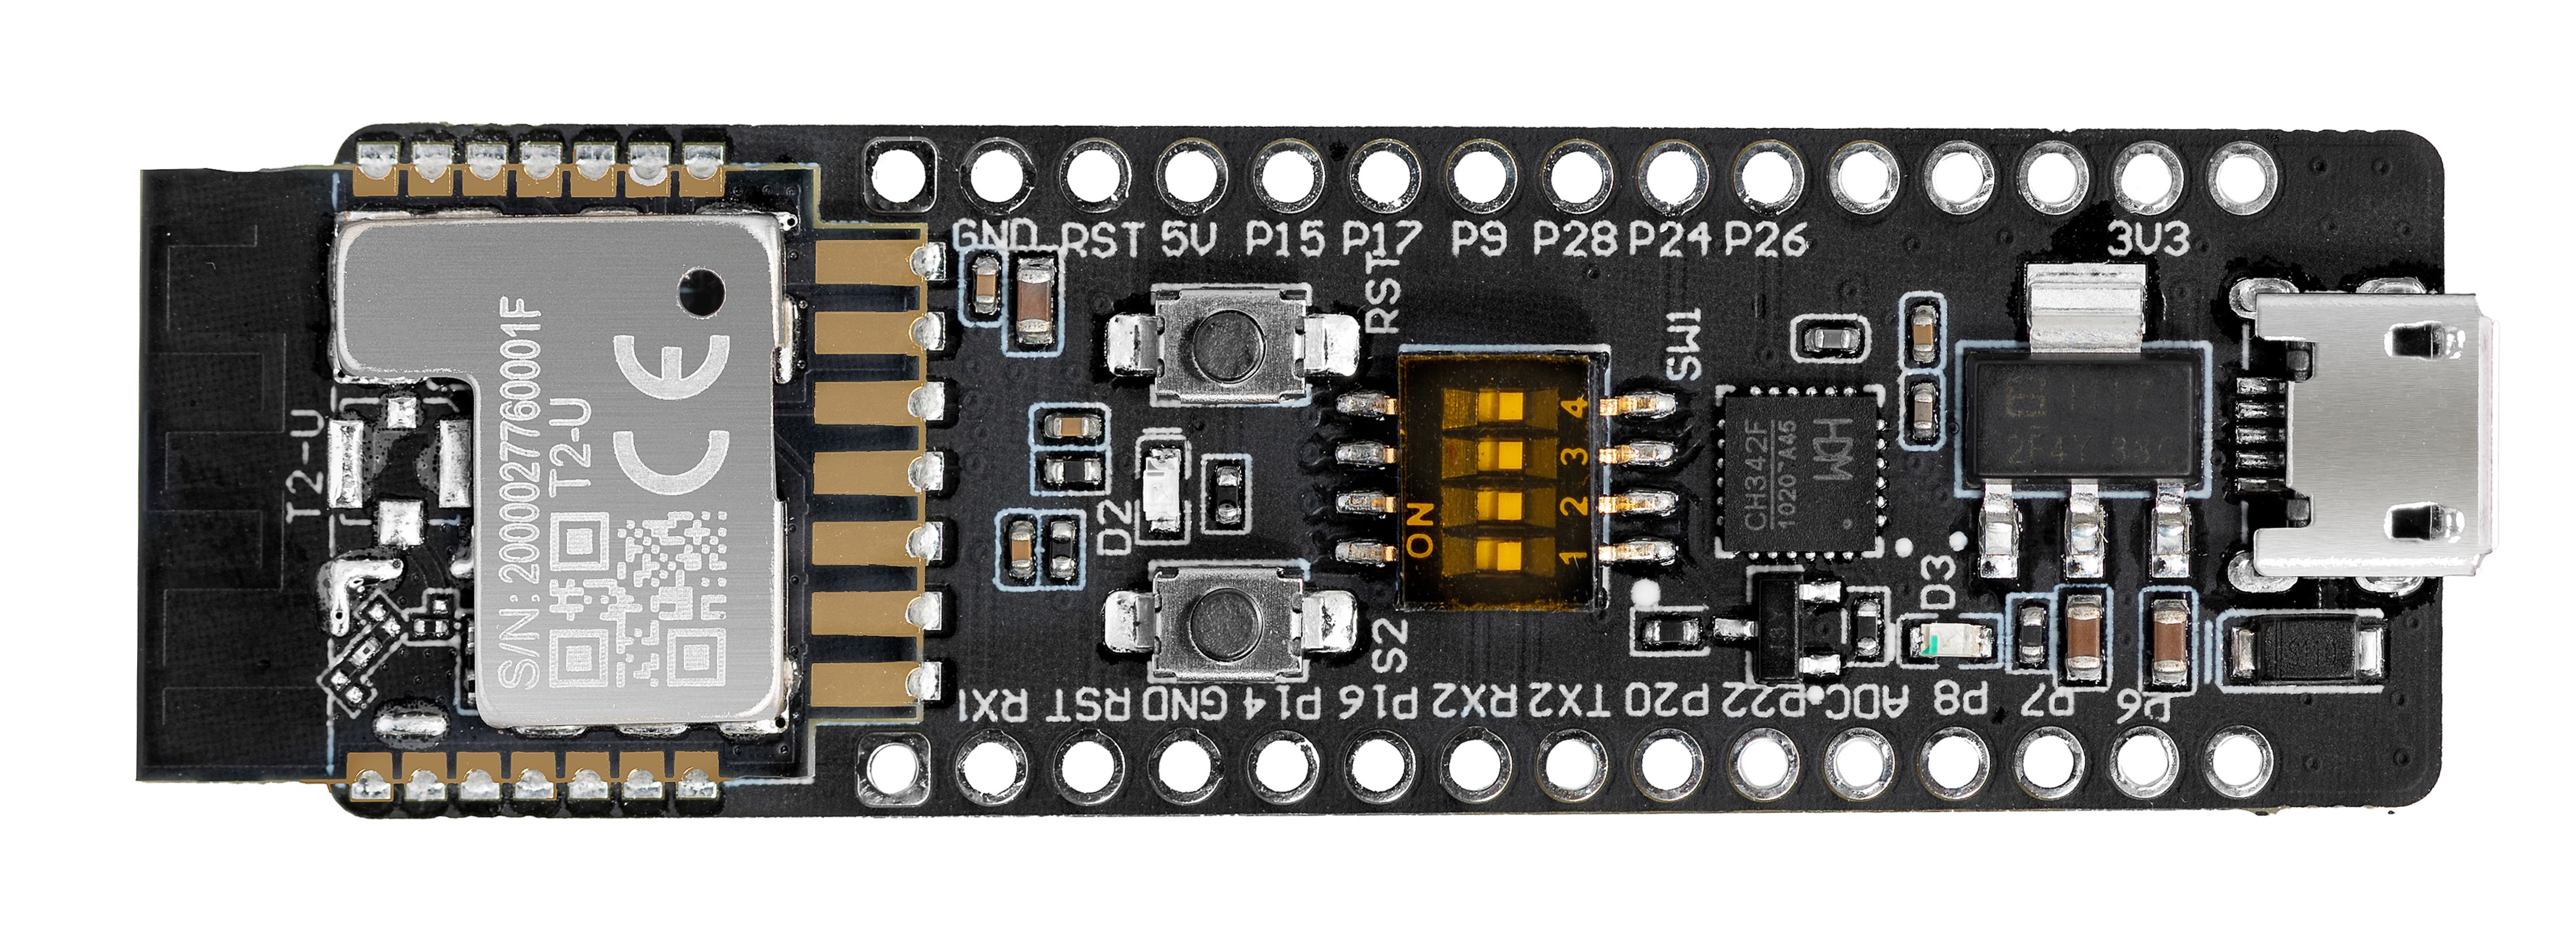
Flip the DIP switch on the development board to the correct position.
Connect the board to the computer using a USB cable. The computer detects two serial ports because the board comes with a 2-channel USB to TTL converter CH343. One channel is used to download programs and the other is used to print logs.
Flashing tool
Tuya Wind IDE
You can flash firmware using Tuya Wind IDE.
Chip vendor’s flashing tool
The flashing tools vary depending on chip platforms. You can check out the README in pc/tools to learn more about the flashing tool.
The documentation describes how to flash firmware using the chip vendor’s tool.
Is this page helpful?
YesFeedbackIs this page helpful?
YesFeedback


