How to Install Tuya v2 Integration (Beta)
Last Updated on : 2024-06-20 06:58:10download
This topic describes how to install and use the Tuya v2 integration.
Prerequisites
-
You have created a cloud project of Smart Home type on the Tuya Developer Platform, added at least one real device or one virtual device, and authorized your project to use the required API services. For more information, see Configuration Wizard of Smart Home PaaS.
If your cloud project was created before May 25, 2021, you need to perform project migration. For more information, see How to Migrate to Tuya v2.
-
You have installed Python 3.8 (including python3-dev) or a later version on your system.
Operation
After you have installed Home Assistant Core, copy the Tuya v2 integration folder to the Home Assistant directory.
Install Home Assistant Core
See the official installation guide and install Home Assistant Core.
Install Tuya v2 integration
Tuya v2 is compatible with the original Tuya integration (developed by a third party) so you do not need to uninstall the original Tuya integration to install Tuya v2.
Option 1: Copy method
-
Download the tuya-home-assistant repo.
-
Unzip it and copy the
custom_components/tuya/folder to the Home Assistant configuration directory, for example,~/.homeassistant.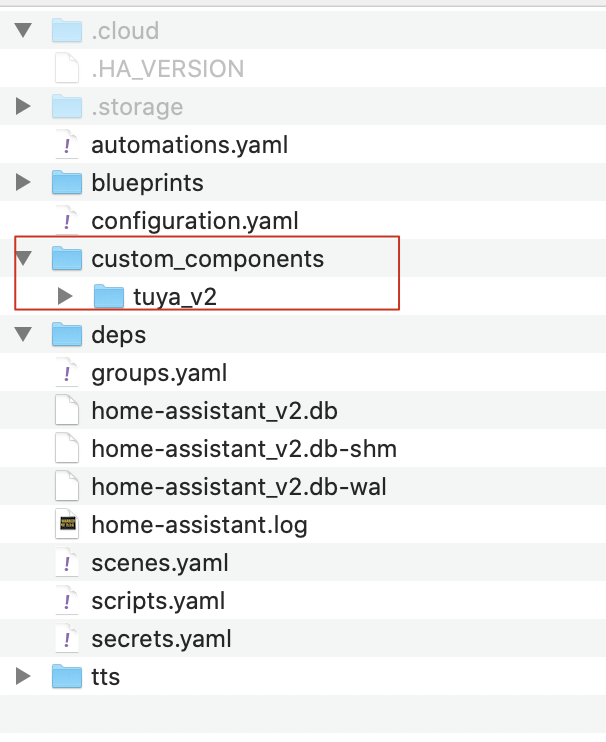
Option 2: HACS installation
-
See HACS Official Installation Guide and install HACS.
-
See Initial Configuration Guide and complete the initial configuration.
-
Open Home Assistant. Choose HACS > Integrations > ⋮ > Custom repositories.

-
Enter
https://github.com/tuya/tuya-home-assistantin the address bar at the bottom left of the window. Select Integration from the Category list and click ADD.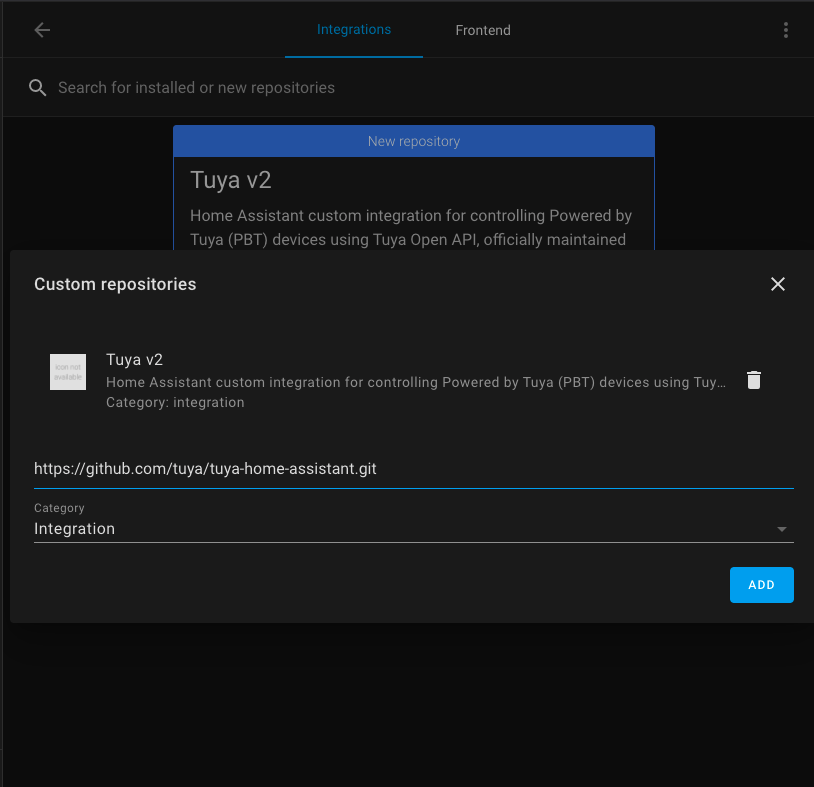
-
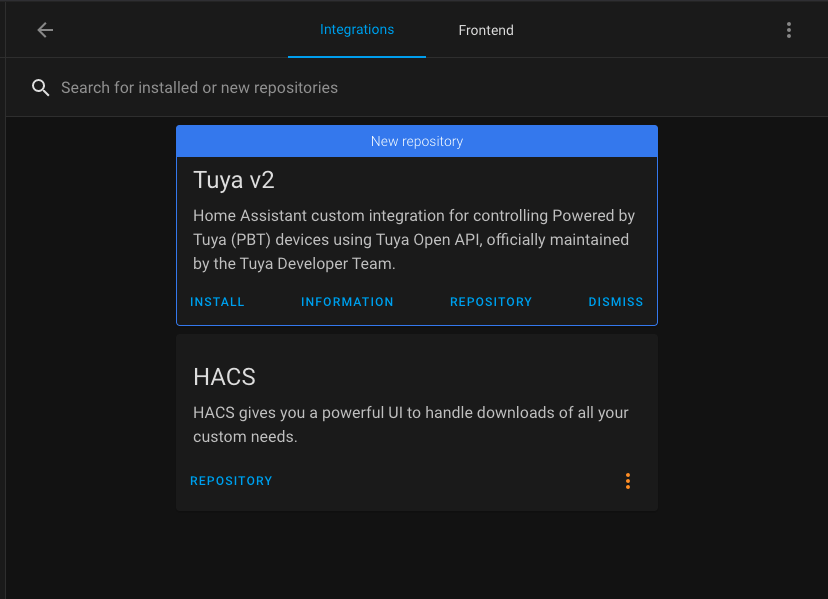
In the dialog box that appears, click INSTALL.
Configure Home Assistant
- Enter
localhost:8123into the address bar in your browser and hit Enter to connect to Home Assistant. - Register and log in.
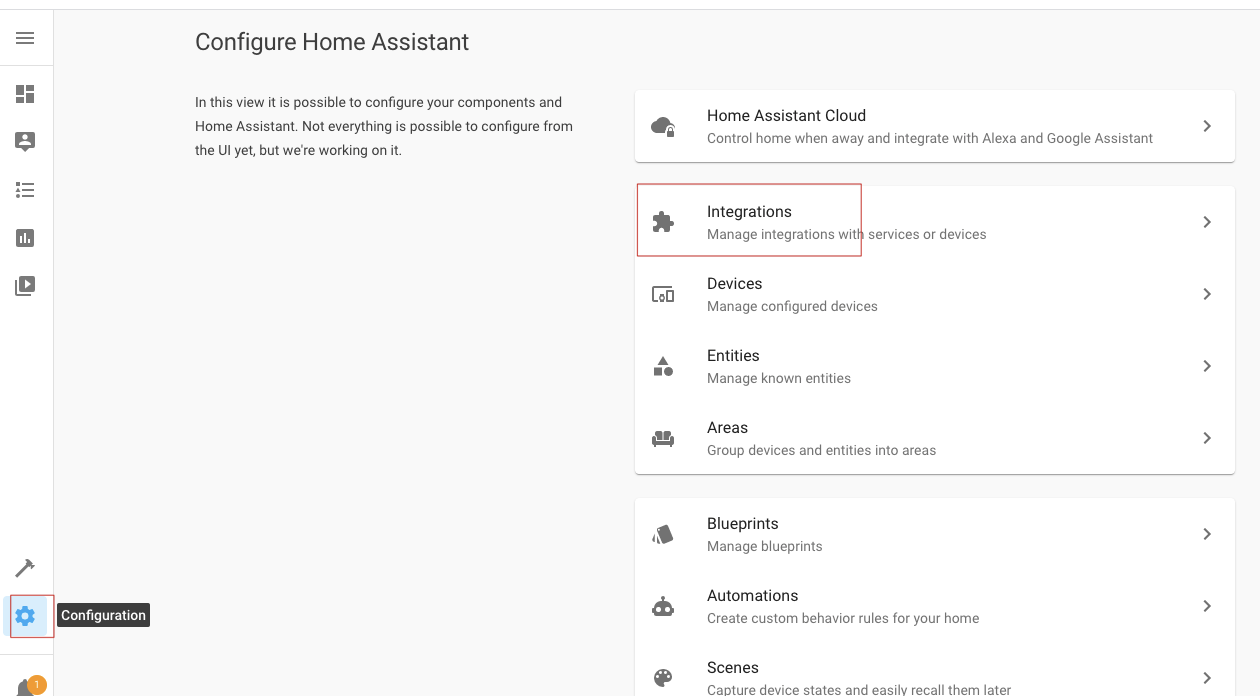
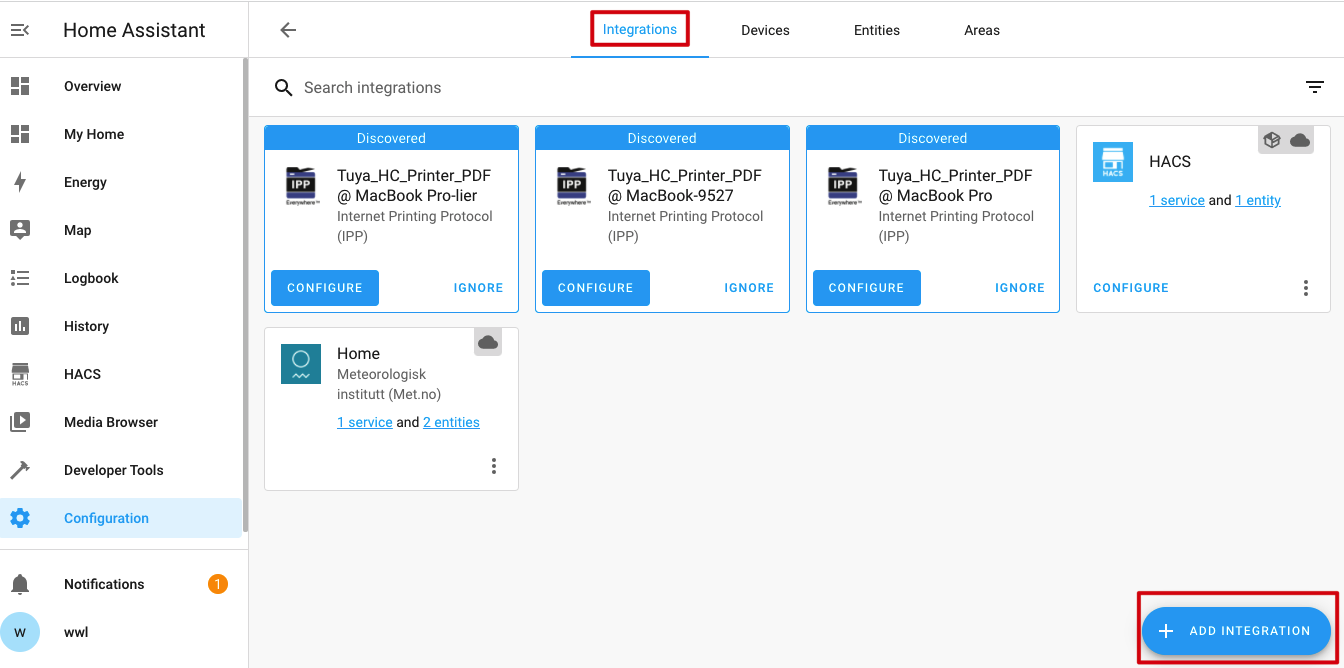
- Click Configuration > Integrations.
- On the Integrations page in the configurations panel, click the + button in the lower right.
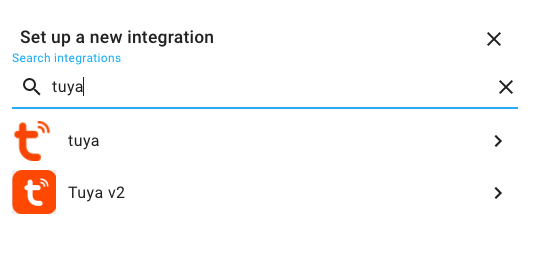
- Search for Tuya v2.
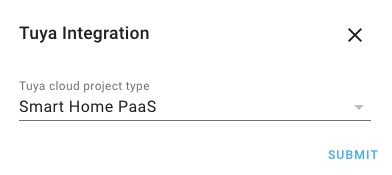
- In the Tuya Integration window, select Smart Home PaaS and click Submit.
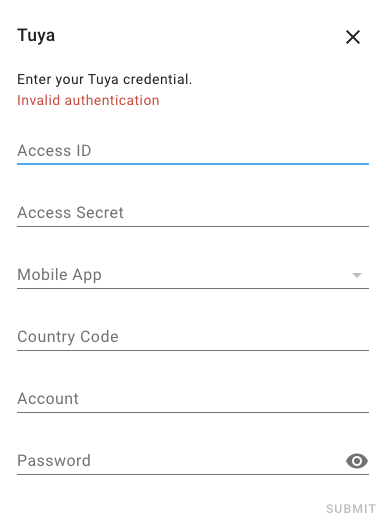
- Complete Tuya credential. Check out the table below and enter each item.
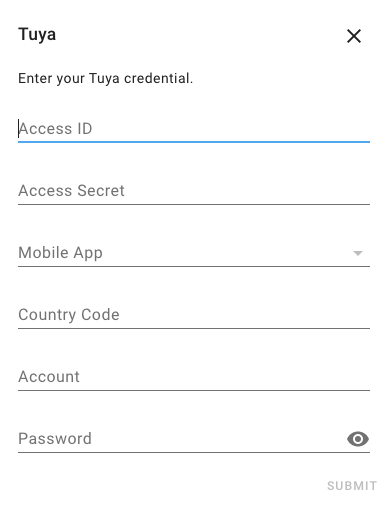
Fields Description Access ID and Access Secret Go to the Tuya Developer Platform and select your cloud project. Click the Overview tab and find the Access ID and Access Secret in the Authorization Key area. Mobile app The mobile app must be the one you use to scan the QR code for linking devices to your cloud project on the Tuya Developer Platform. Country code The country you select on logging in to Tuya Smart or SmartLife app. Account Your account of the Tuya app or SmartLife app. Password Your password of the Tuya app or SmartLife app. The mobile app mentioned in the above table must be the one you use to scan the QR code for linking devices to your cloud project on the Tuya Developer Platform.
- Click Submit.
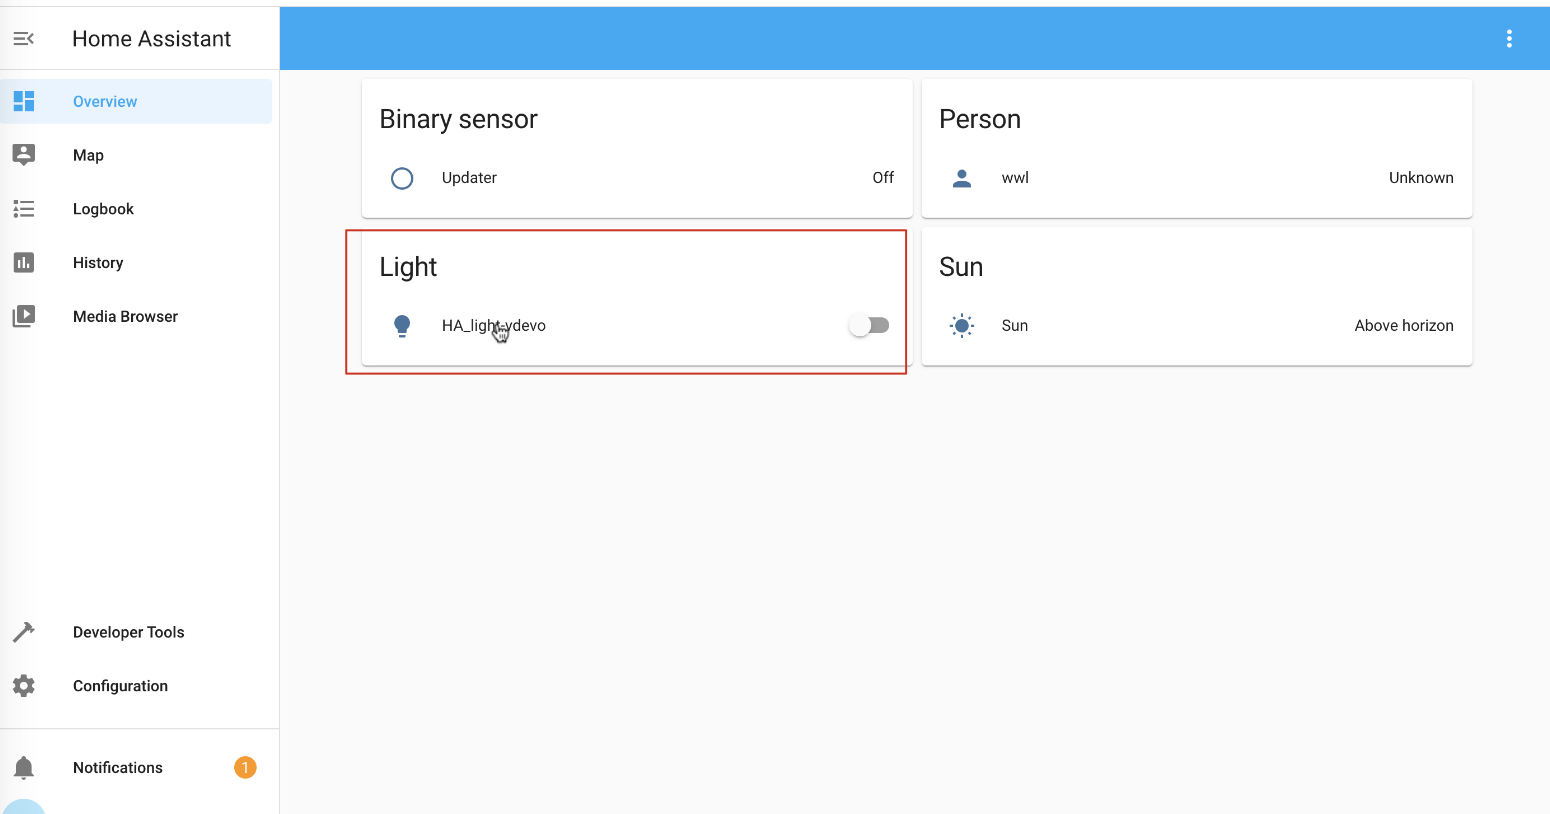
Click Overview in the sidebar on the left. You will find all the smart devices linked to your cloud project created on the Tuya Developer Platform.
FAQs
My devices have been paired with the Tuya Smart or SmartLife app. Can they be seamlessly migrated to the Tuya v2?
- Yes, they can. All the pairing information is stored in the cloud. For the paired devices, you do not need to go through the pairing process again. However, you need to configure the automations in Home Assistant after migration.
I got an error saying ‘Invalid authentication’. How to fix it?
-
Please check the following things:
- Your cloud project on the Tuya Developer Platform should be created after May 25, 2021. Otherwise, you need to create a new project or migrate data to a new project. For more information, see Operation on the Tuya Developer Platform.
- You have linked devices to your cloud project on the Tuya Developer Platform with the Tuya Smart or SmartLife app.
- You entered the correct account and password of the Tuya Smart or SmartLife app in the Account and Password fields. The mobile app must be the one you use to scan the QR code for linking devices to your cloud project on the Tuya Developer Platform.
Will I be billed after the 1-year free trial of the API service expires?
- After expiration, you can renew the subscription for free. The Trial Edition allows you to use all free API services but puts limits on the quota of API calls. For more information about the quota, see Pricing.
How to deal with the following errors?
Error code sample:
[tuya-openapi] Response: {
  "code": 2406,
  "msg": "skill id invalid",
  "success": false,
  "t": 1624477851701
}
| Error code | Message | Troubleshooting |
|---|---|---|
| 1004 | sign invalid | The Access ID and Access Secret you entered are not correct. For more information, see Credentials Configuration. |
| 1106 | permission deny |
|
| 1100 | param is empty | Account or mobile app is empty. You must enter the account or select a mobile app. |
| 2017 | schema does not exist | Incorrect mobile app. You must select the mobile app you use to scan the QR code for linking devices to your cloud project on the Tuya Developer Platform. |
| 2406 | skill id invalid | Your cloud project on the Tuya Developer Platform should be created after May 25, 2021. Otherwise, you need to create a new project. For more information, see Operation on the Tuya Developer Platform. |
| 28841105 | No permissions. This project is not authorized to call this API | Insufficient API permissions. You need to subscribe to the required API services and authorize your cloud project to use these API services. The following API services are required.
|
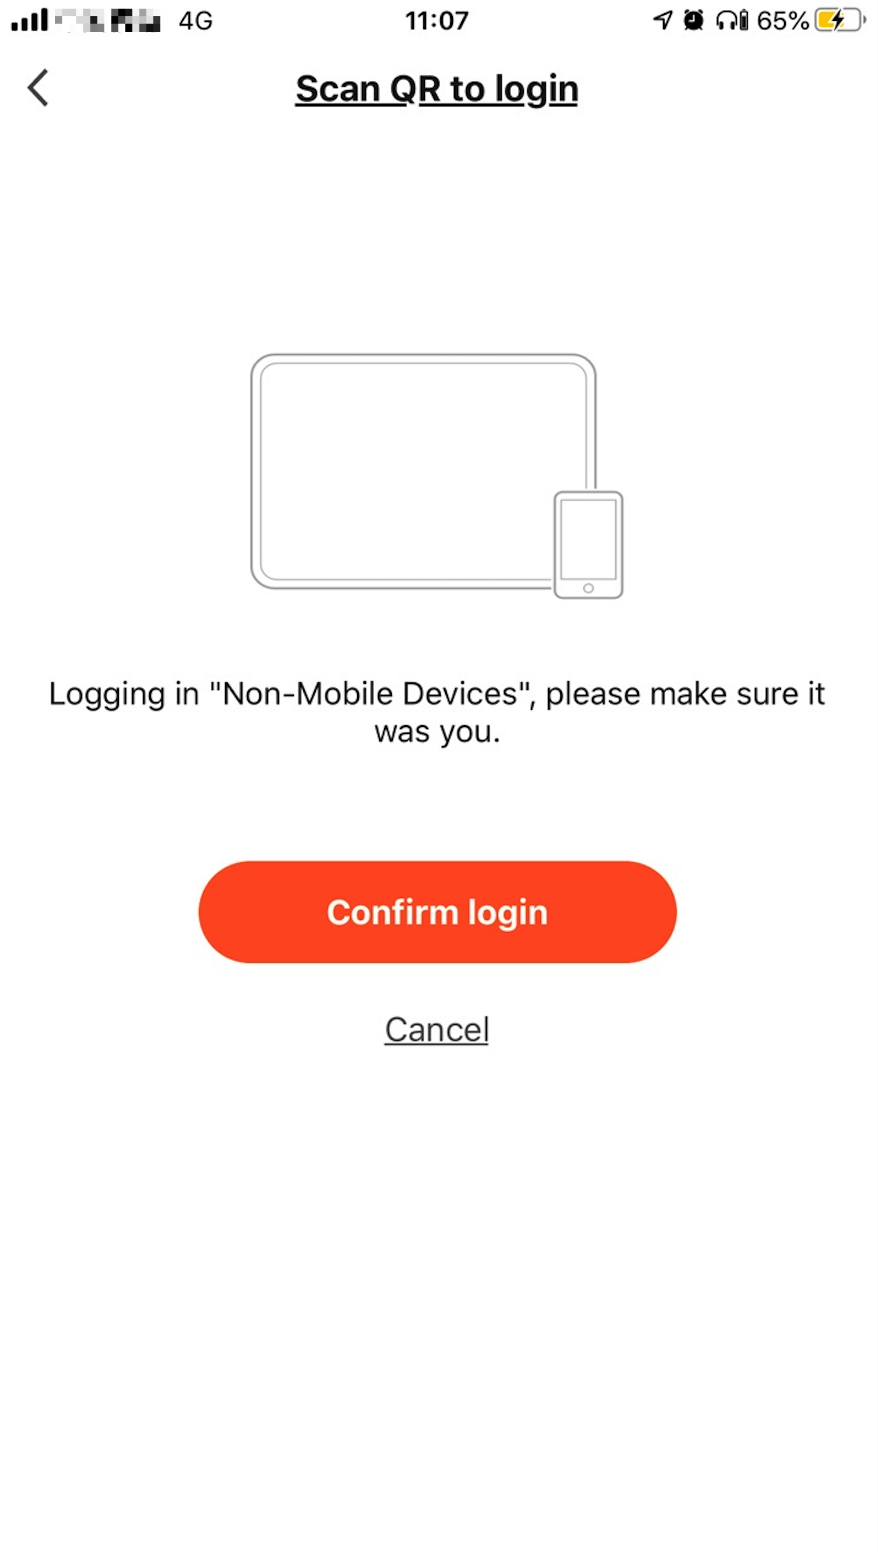
I got an error shown in the following screenshot when I tried to scan a QR code to link my devices to my cloud project. How to fix it?
-
This is because the data center you selected for your cloud project cannot serve the region of your app account. You must switch to the correct data center and scan the QR code again.
-
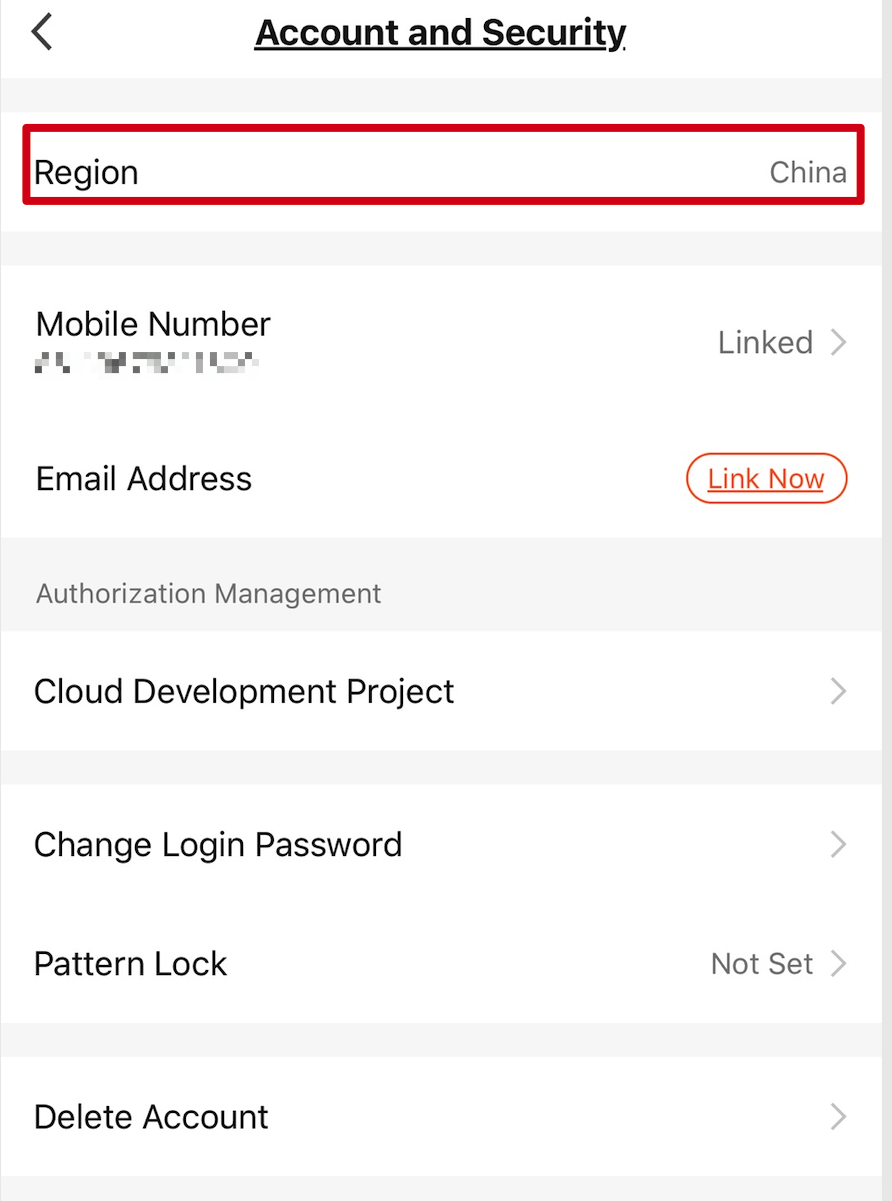
Here is how to find the region: open the mobile app you use and tap Me > Setting > Account and Security > Region.
-
See Mappings Between OEM App Accounts and Data Centers and find the data center that can serve your region.
-
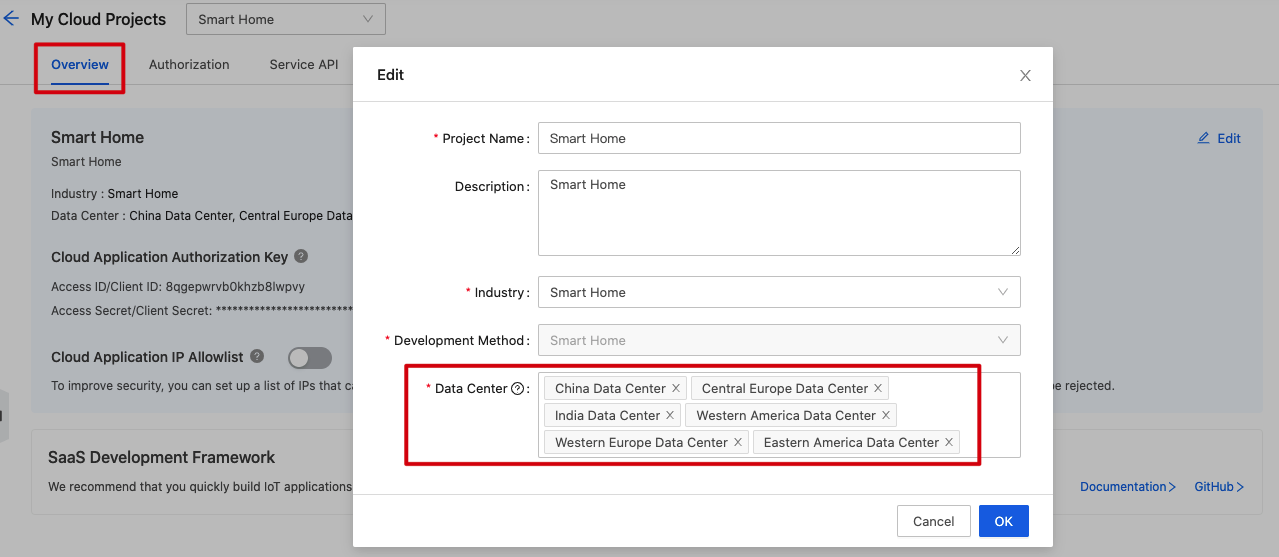
(Optional) If you do not find the data center you want to use, click the Overview tab and then Edit to add data centers.
-
Click the Devices tab > Link Tuya App Account. Select the correct data center from the drop-down menu in the top right corner and click Add App Account.

-
Is this page helpful?
YesFeedbackIs this page helpful?
YesFeedback


