Workflow Management
Last Updated on : 2025-12-24 02:34:18download
Overview
A workflow tool is an efficient workbench for simplifying and automating business processes. On a visual interface, you can easily create, manage, and optimize workflows to improve the efficiency of AI agents and reduce hallucinations.
Create workflow
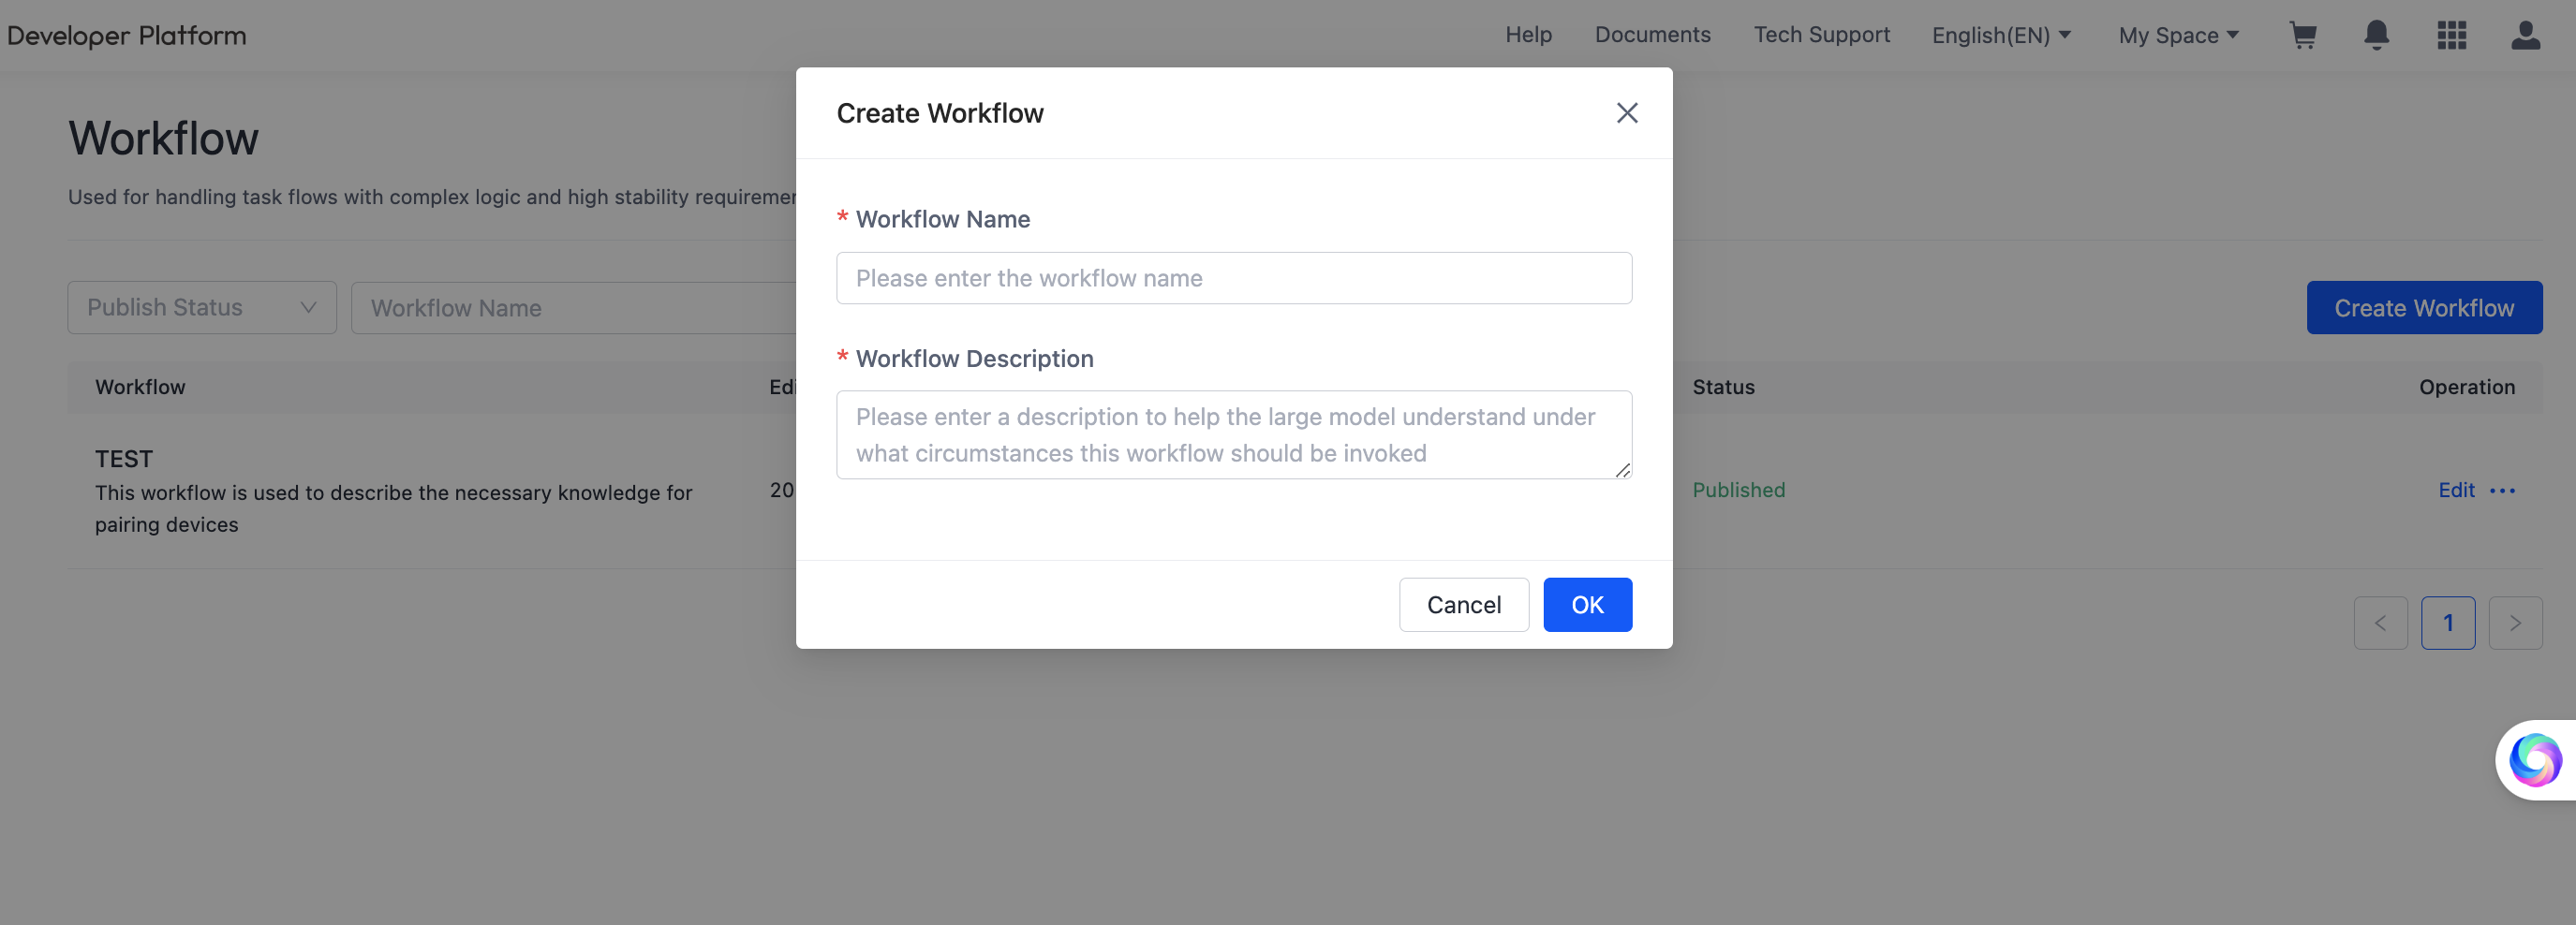
On the page of Process Management, click Create Workflow in the top right corner and enter the Workflow Name and Workflow Description to quickly create a workflow project.
Configure workflow
Visual workbench
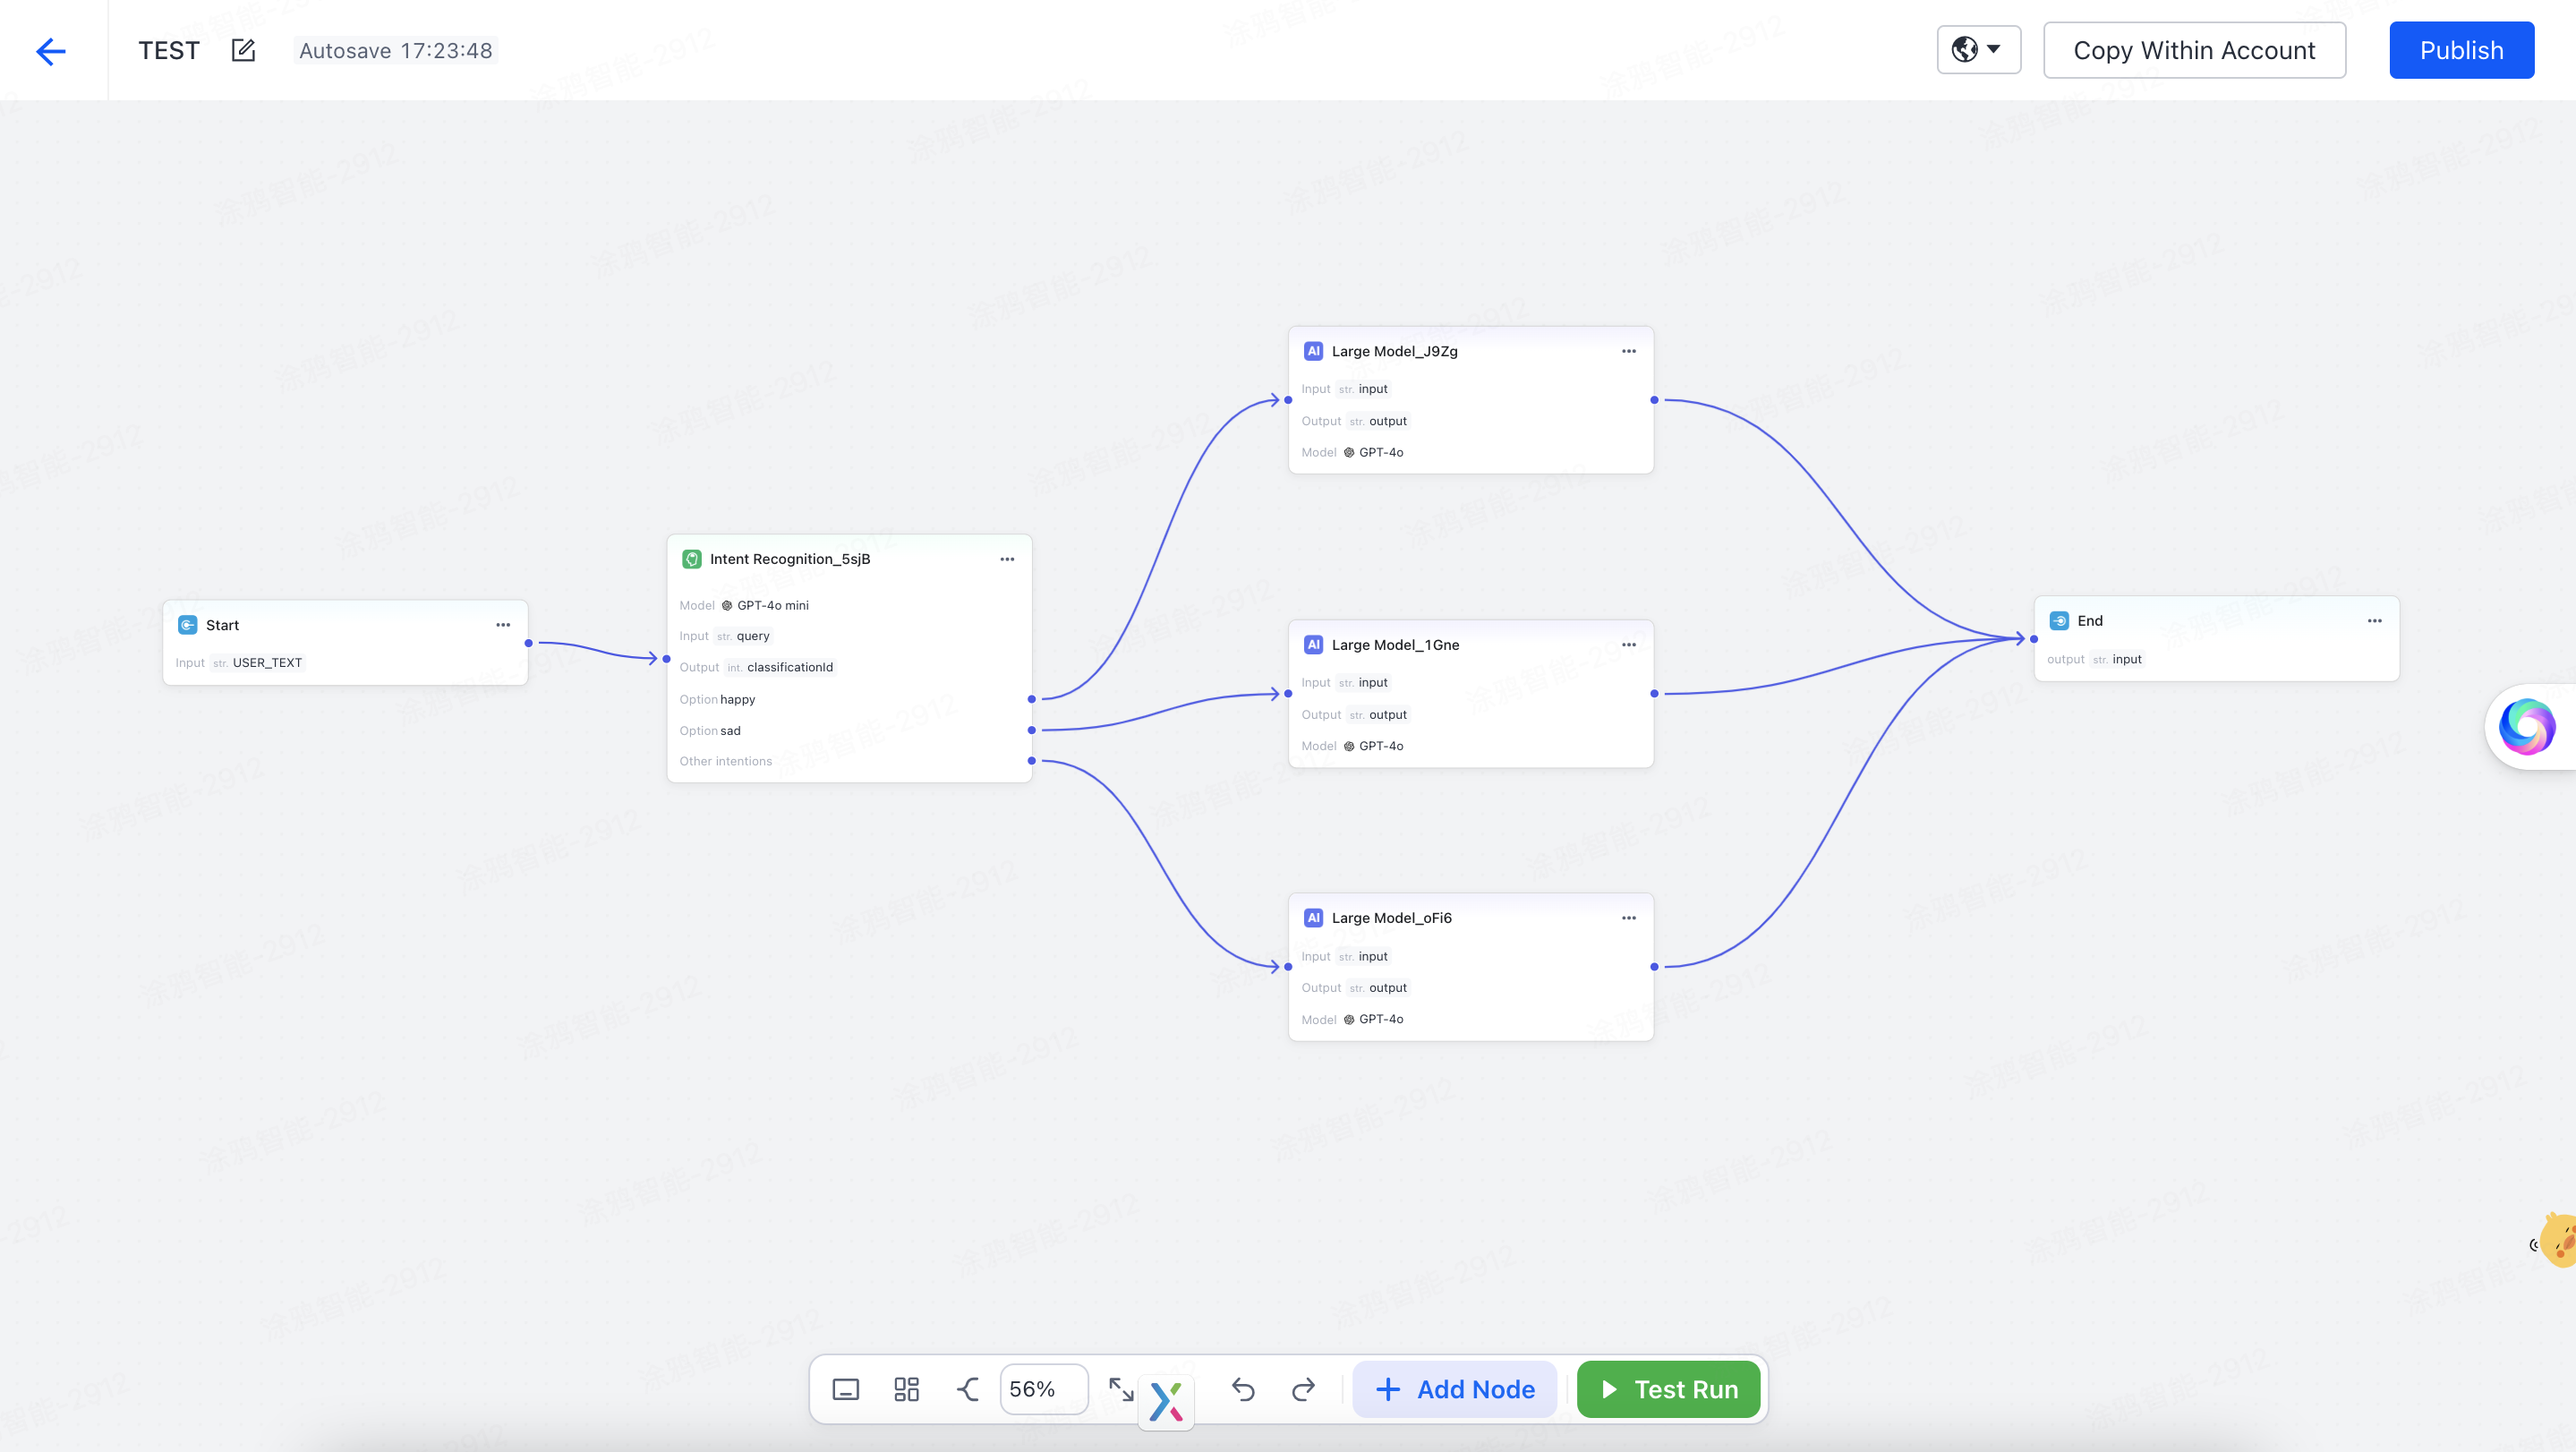
You can create the desired workflows through drag-and-drop operations. Each node defines distinct tasks and decisions, making it easier to clearly show the entire process.
Start node
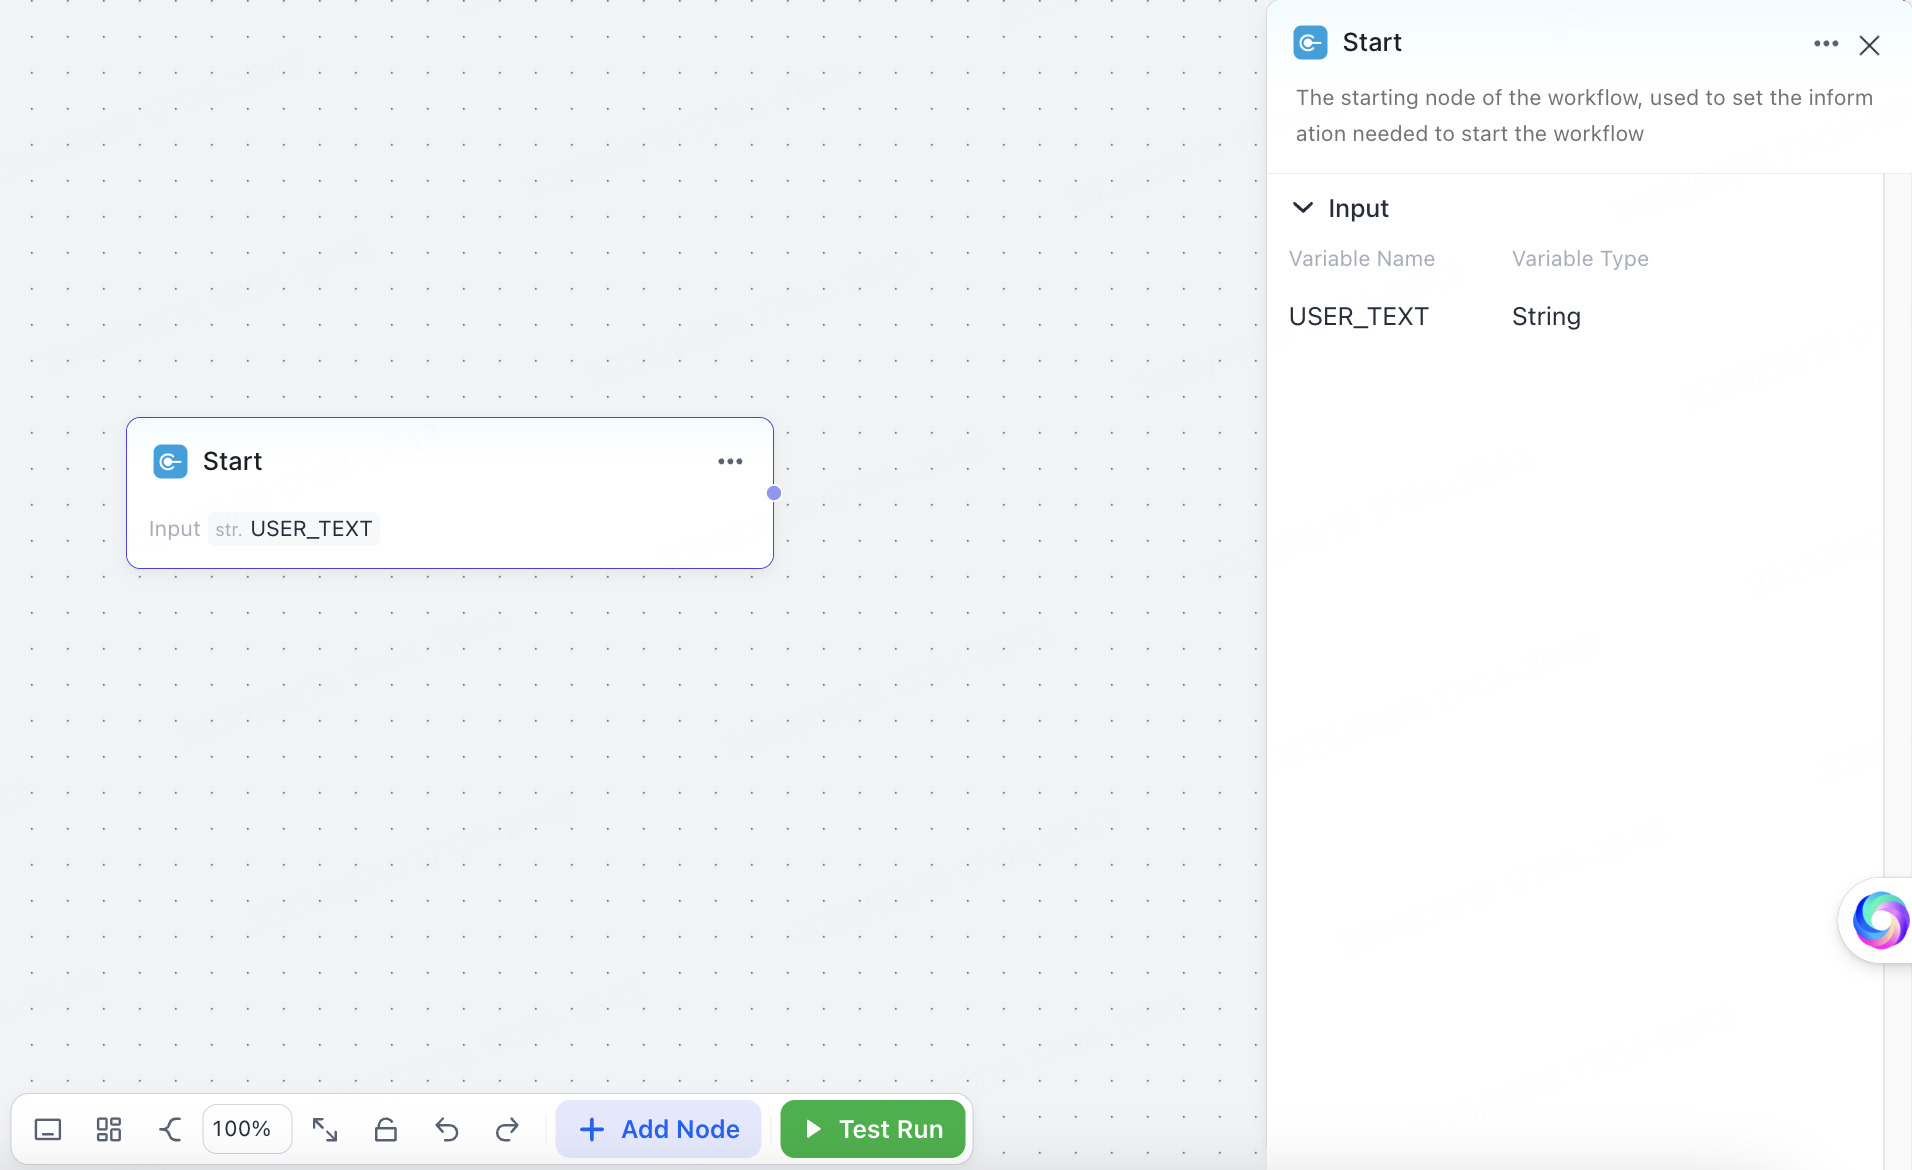
The start node defines the information required to initiate the workflow, with USER_TEXT as the default input variable.
You can click Add Node to add the following nodes and build your workflow:
Intent recognition node
The intent recognition node is used to identify and manage the user’s intent from input quickly. After an intent recognition model is set up, the system can accurately understand the user’s input and classify the intent accordingly.
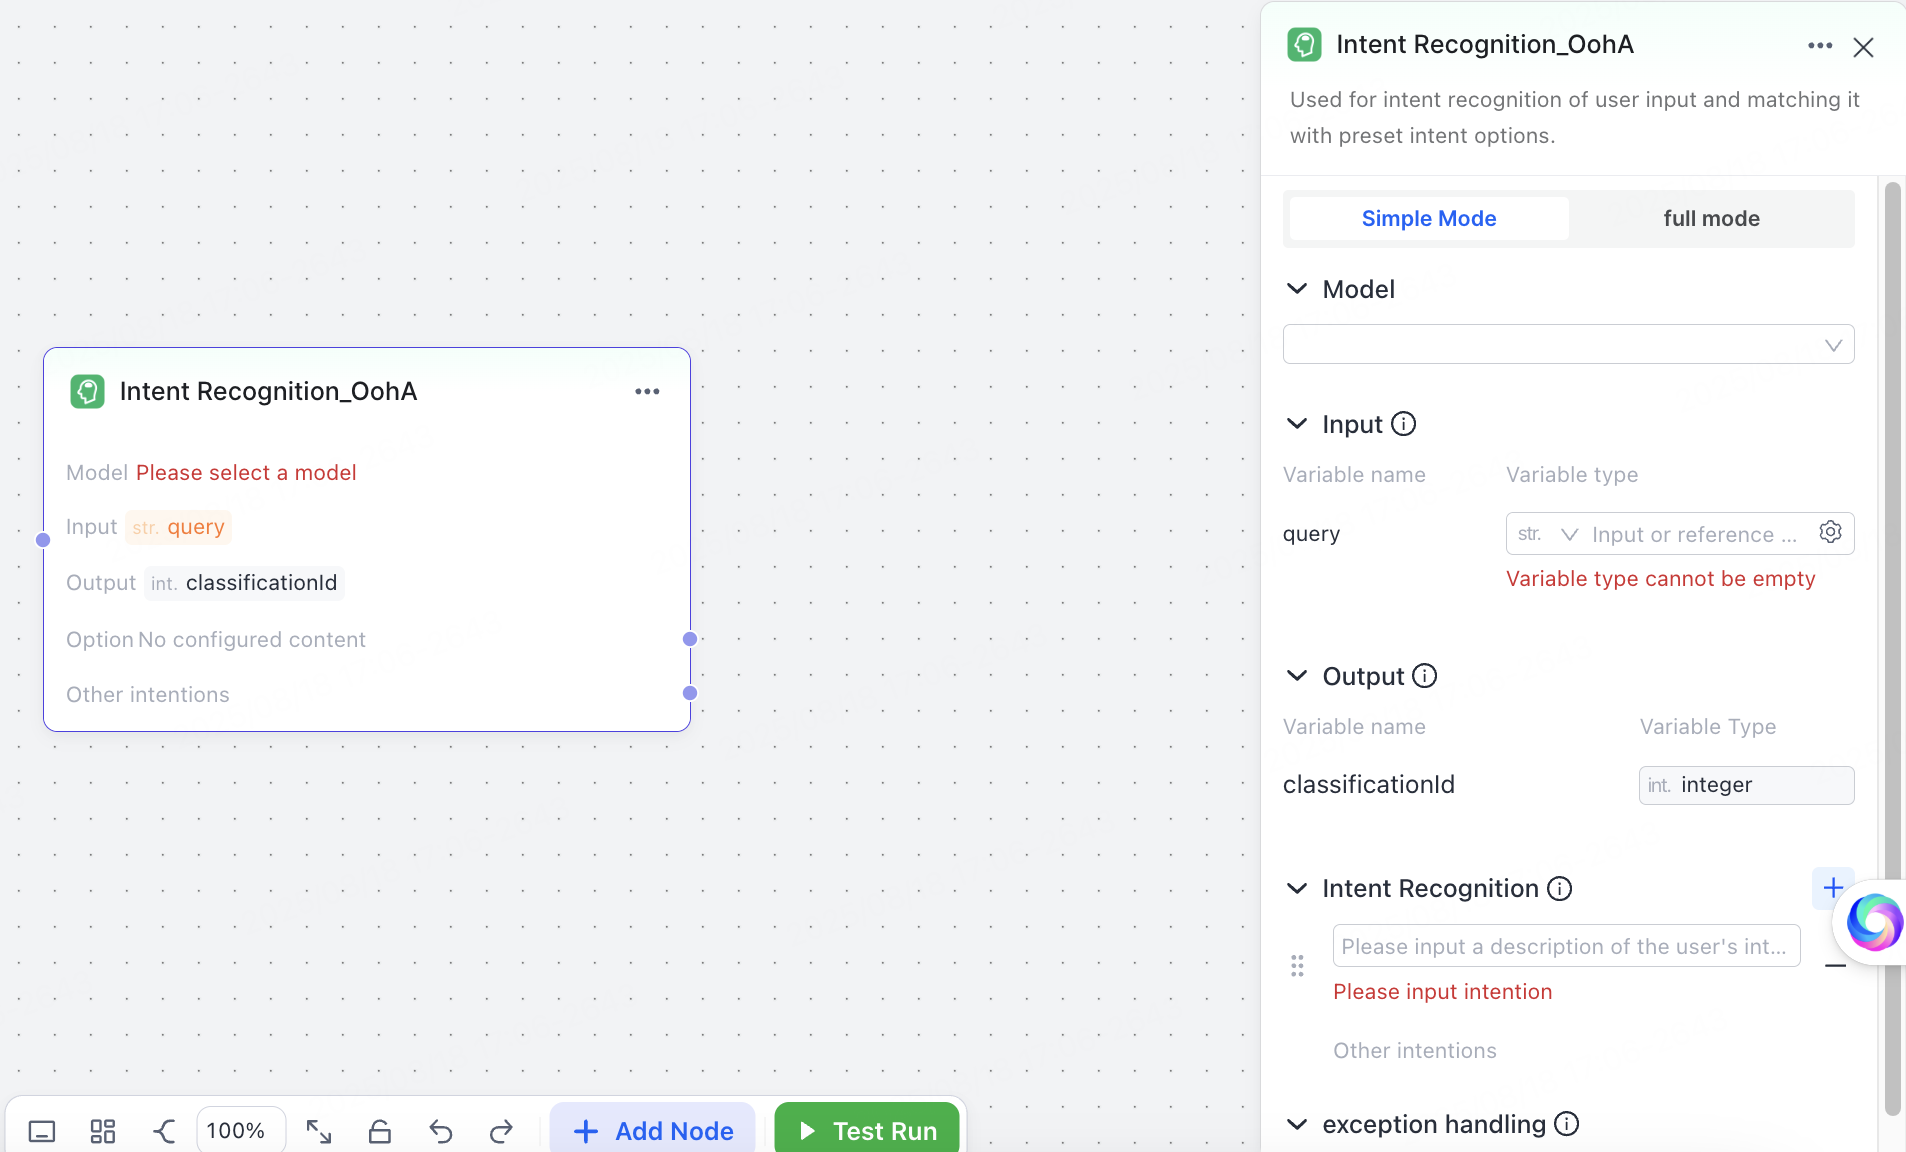
You can choose either simple mode or full mode.
Simple mode:
- Model: Select an appropriate model.
- Input: Set parameters for intent determination. Common input:
USER_TEXT. - Intent Recognition: Set the intent to be recognized and the options to match with user input.
- Exception handling: Customize timeout duration, retry logic, and exception handling methods.
Full mode:
On top of simple mode, the full mode adds System Prompt functionality with variable support. This enables inputs to be interpreted by system prompts for deeper user intent understanding.
Large language model node
The large language model node is a smart dialogue system based on large-scale language models. It can generate high-quality responses through configurable variables and prompts.
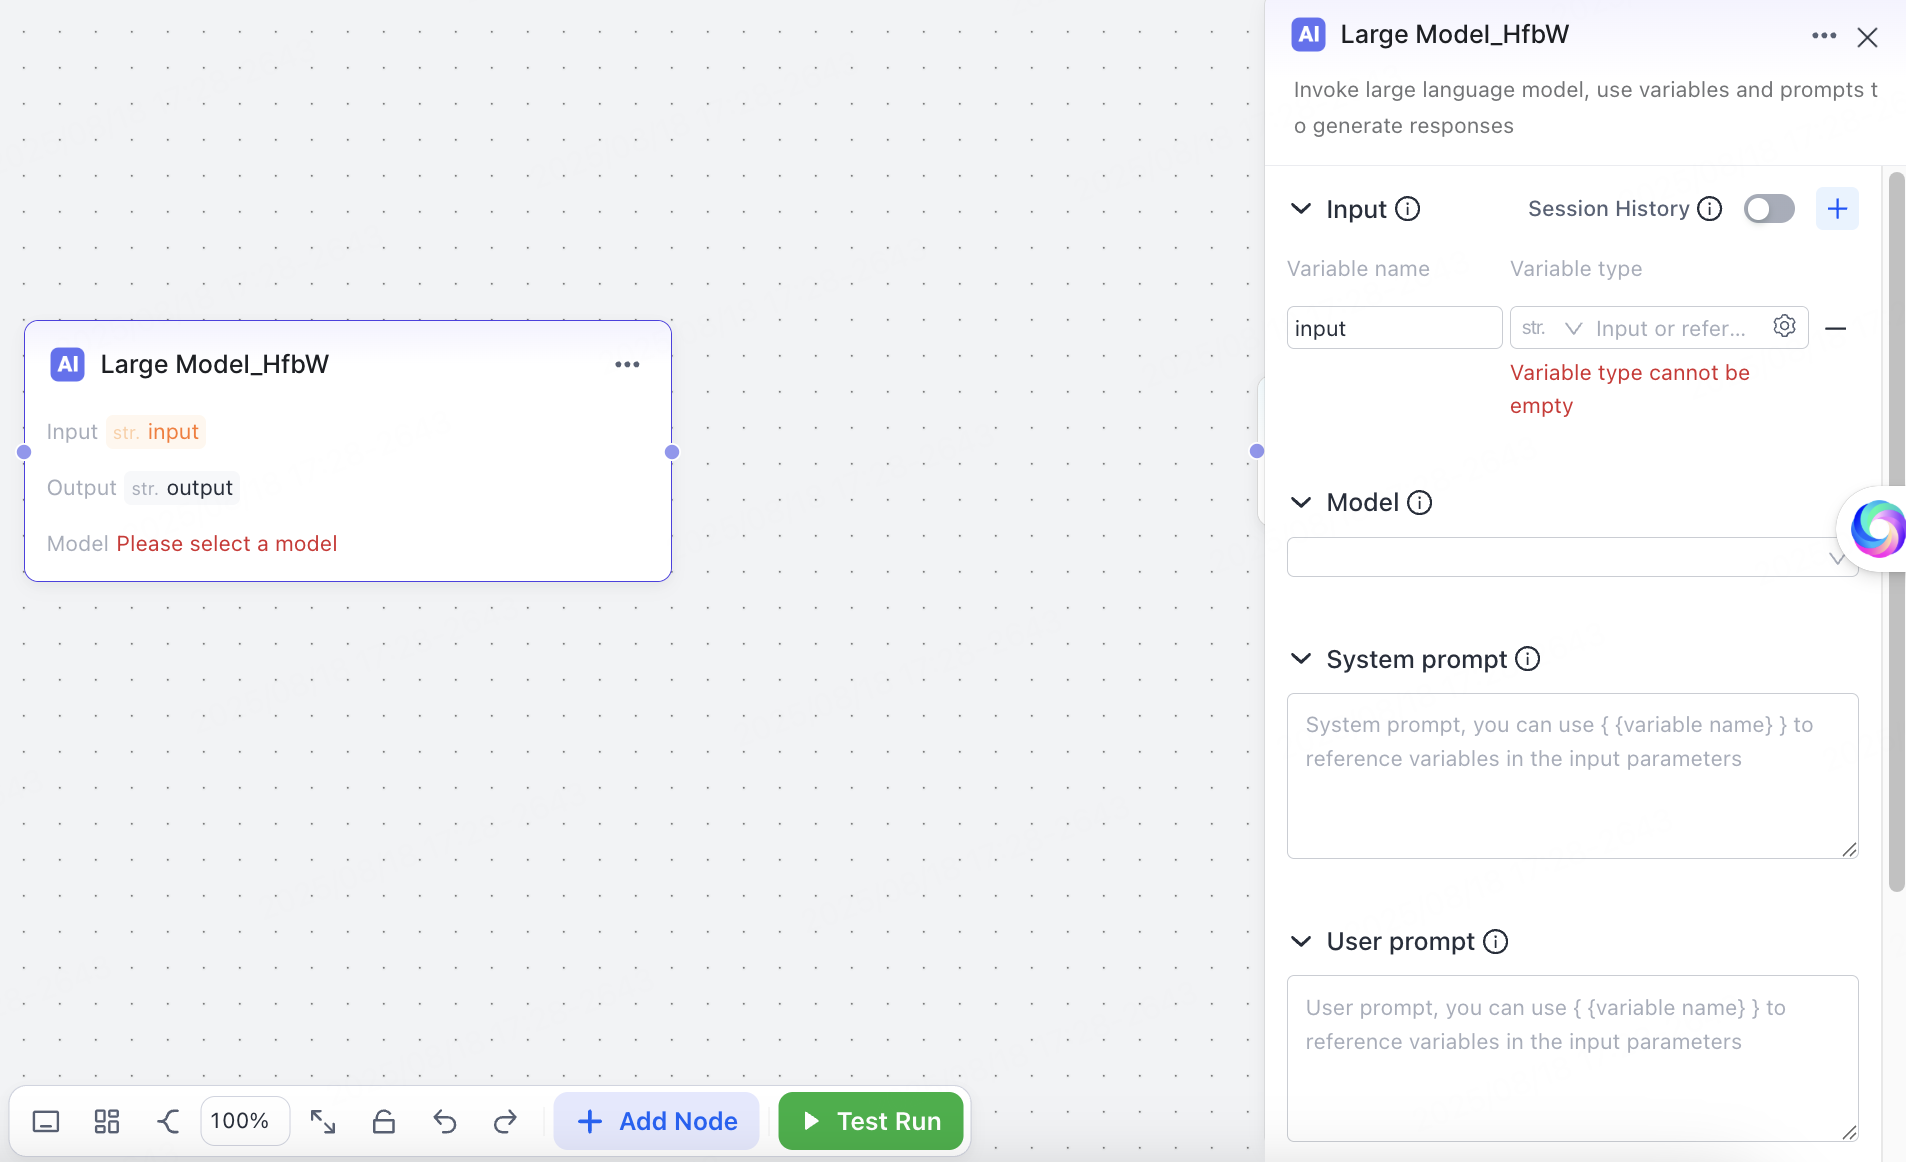
- Session history: When enabled, this feature automatically sends session context to the model, ensuring that user input remains contextually consistent.
- Input: Define information to be added to prompts. Support dynamic variable references.
- Model: Select your desired model.
- System prompt: Set basic model behaviors, such as role descriptions, examples, and output constraints. Support syntax for referencing variables.
- User prompt: The model processes user instructions, such as queries or text-based requests. The model typically references the user input variable
USER_TEXTas part of the prompt. - Output: Store the large language model’s generated content as variable values for downstream use.
- Exception handling: Customize timeout duration, retry logic, and exception handling methods.
Output node
The output node is a functional component that supports intermediate processes and message output. Two output modes, streaming and non-streaming, provide flexible data output solutions.
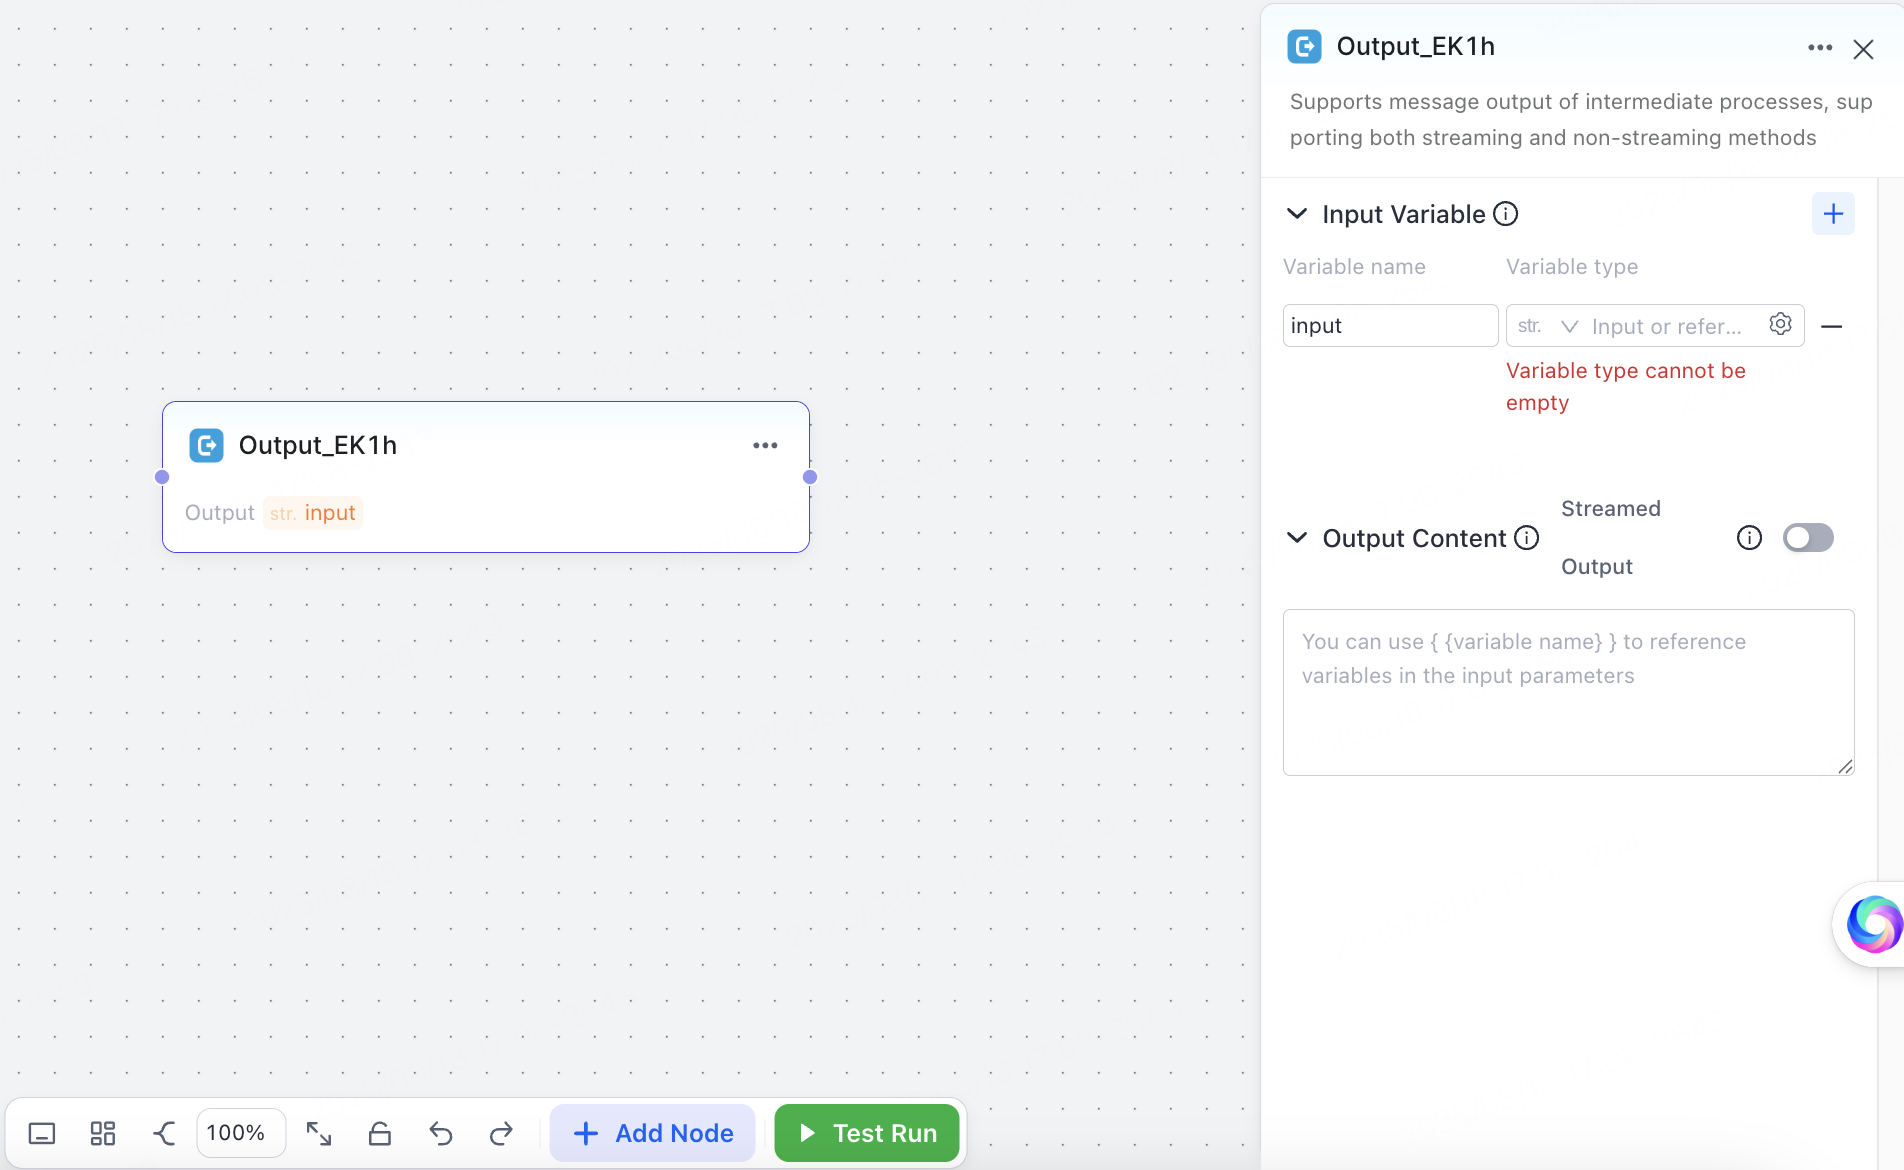
- Input variable: Support dynamic variable references in prompts.
- Output content: Support syntax for referencing variables. Streamed output: When enabled, the large language model generates content word-by-word in real-time.
End node
This node is used to end logic and is configured in the same way as an output node.
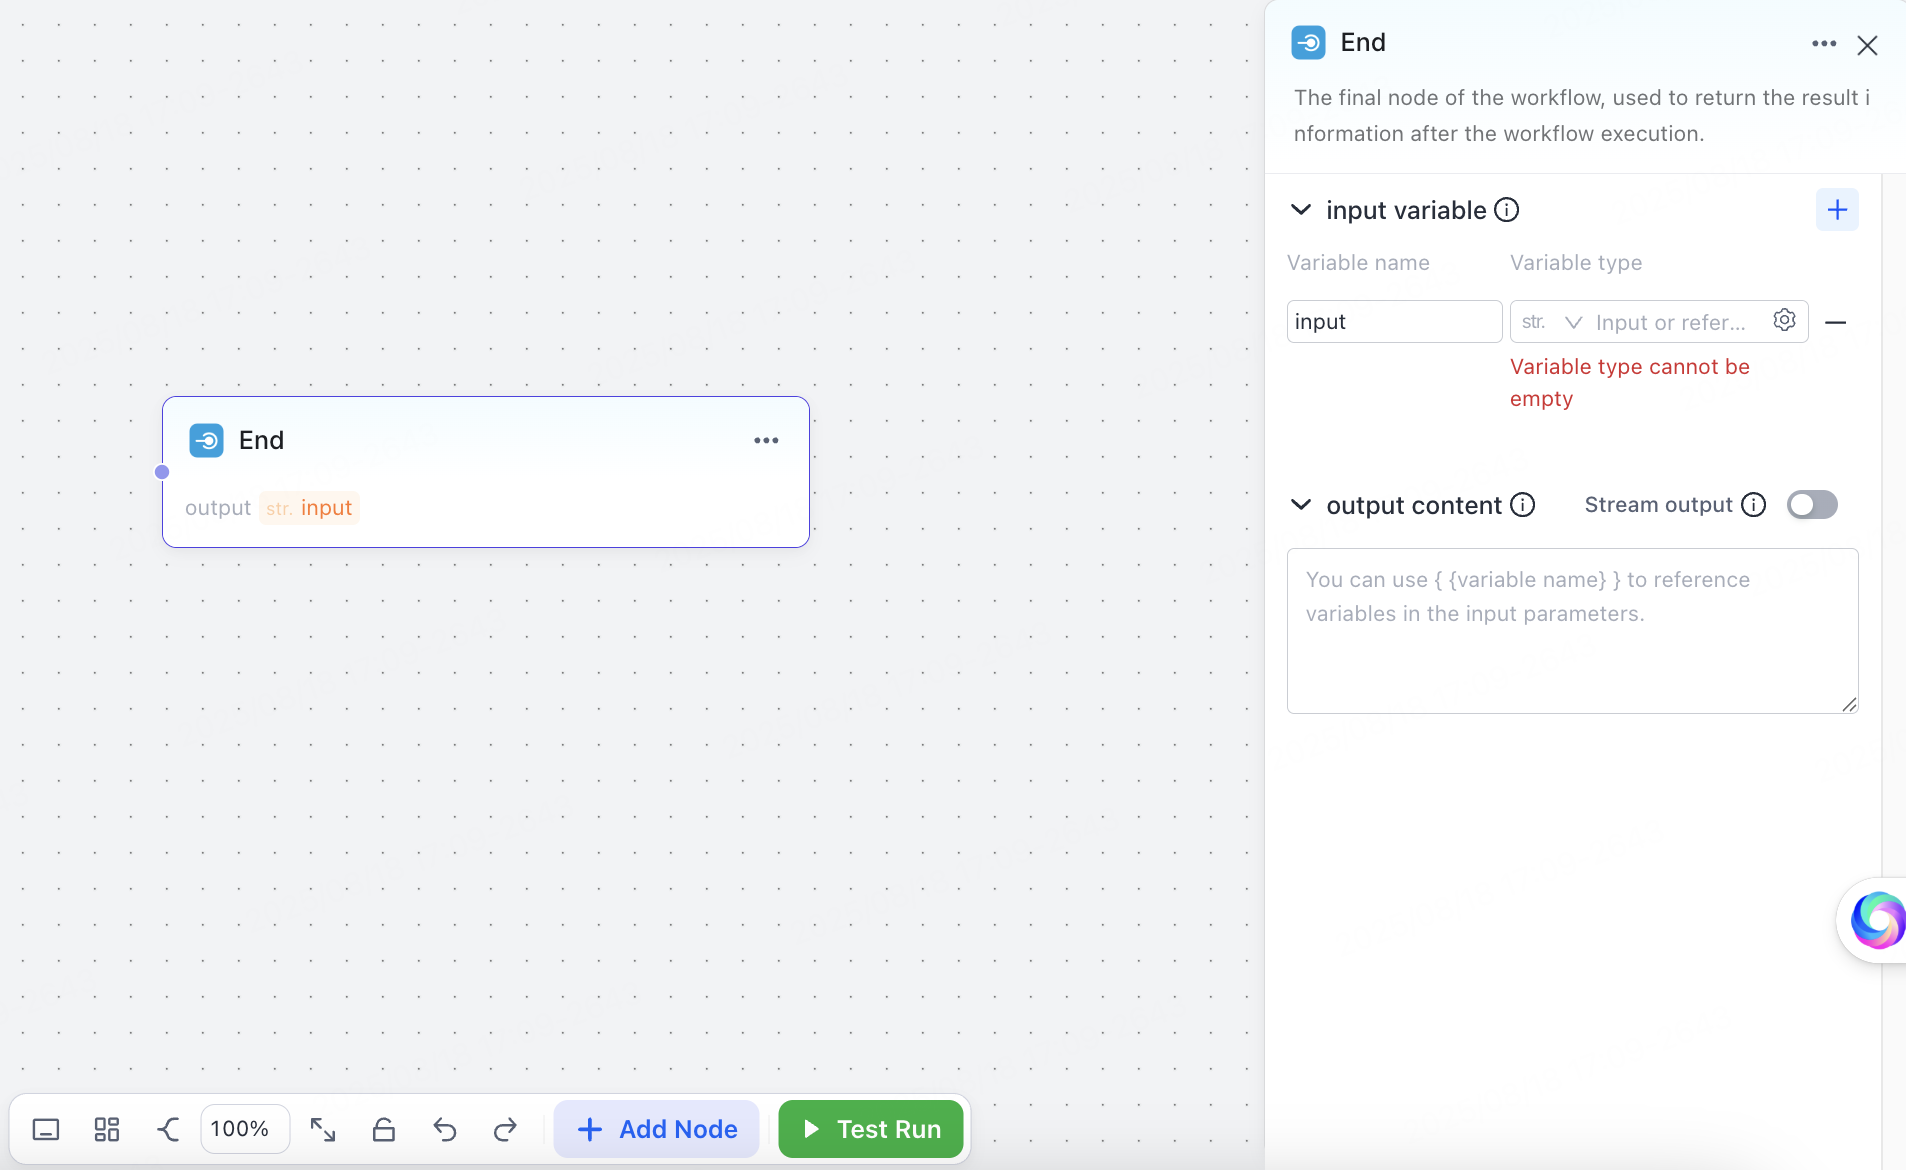
Constraint: The workflow will fail to run if any logical branch does not converge to an end node.
Test run
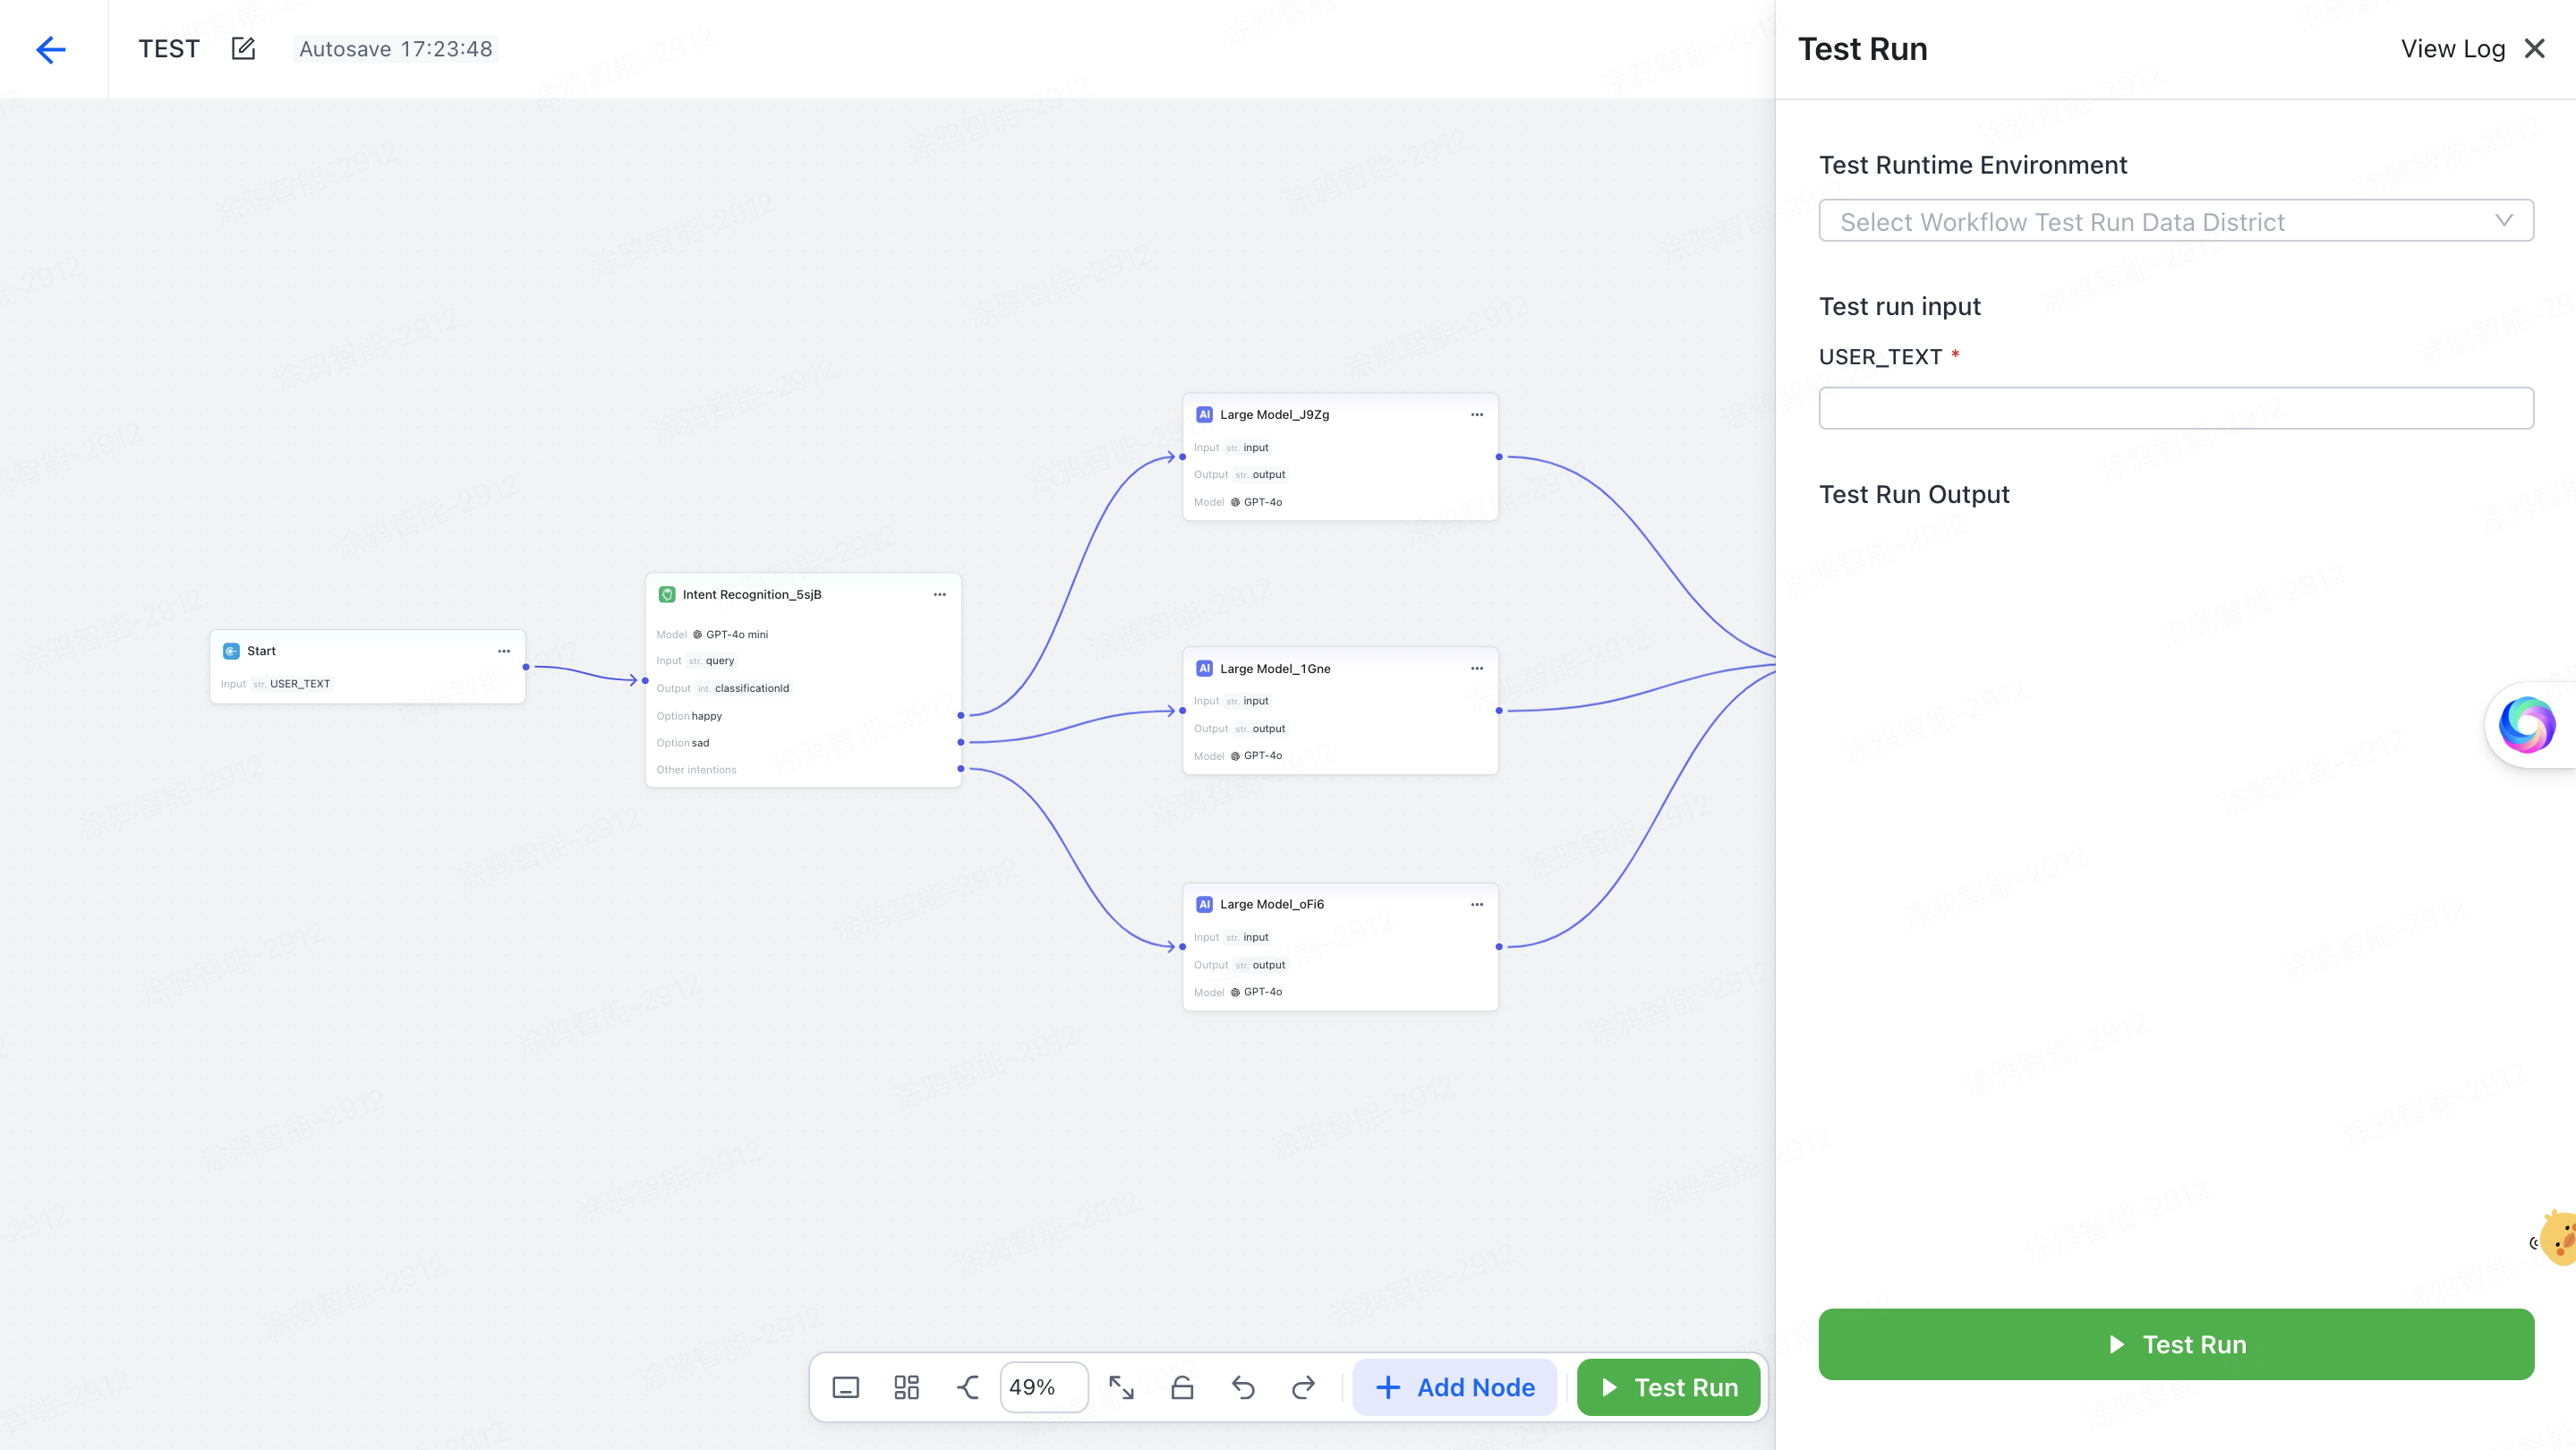
Select a data center that matches the large model set in the workflow and simulate user input in USER_TEXT to start a trial run and get the output results.
Publish workflow
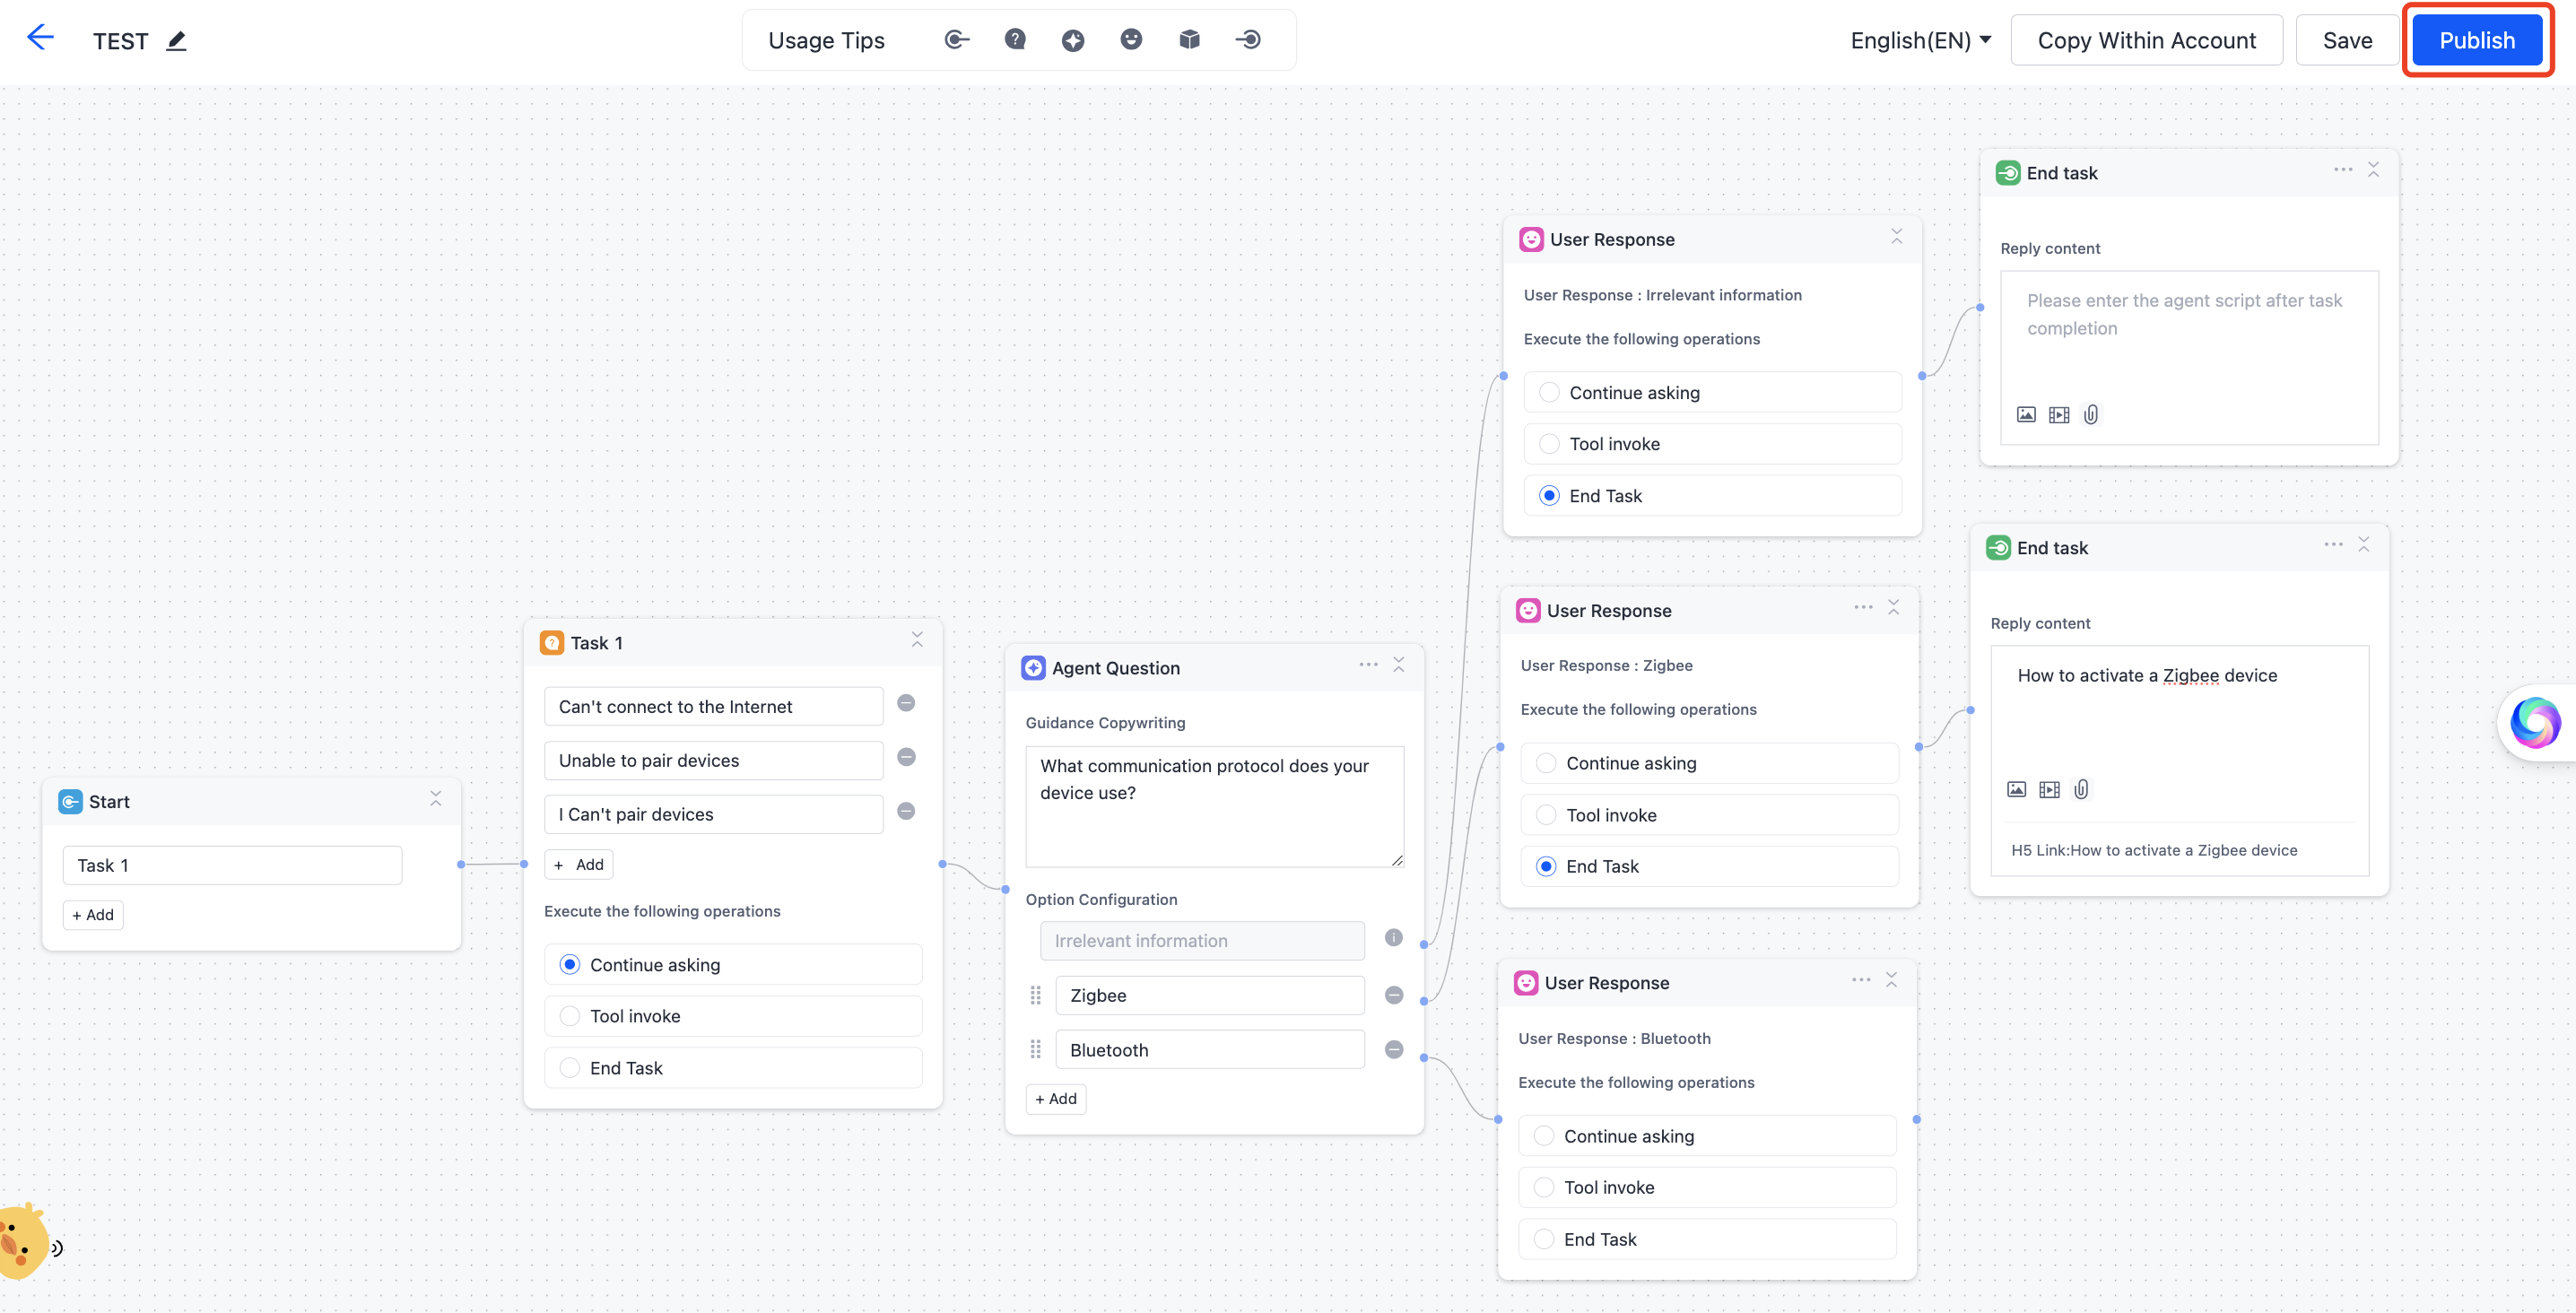
After the configuration is completed, click Publish in the top right corner of the workbench to publish the created workflow. To ensure logical integrity, Tuya will perform a logic verification on the workflow. Once the logic is verified, the workflow is published.
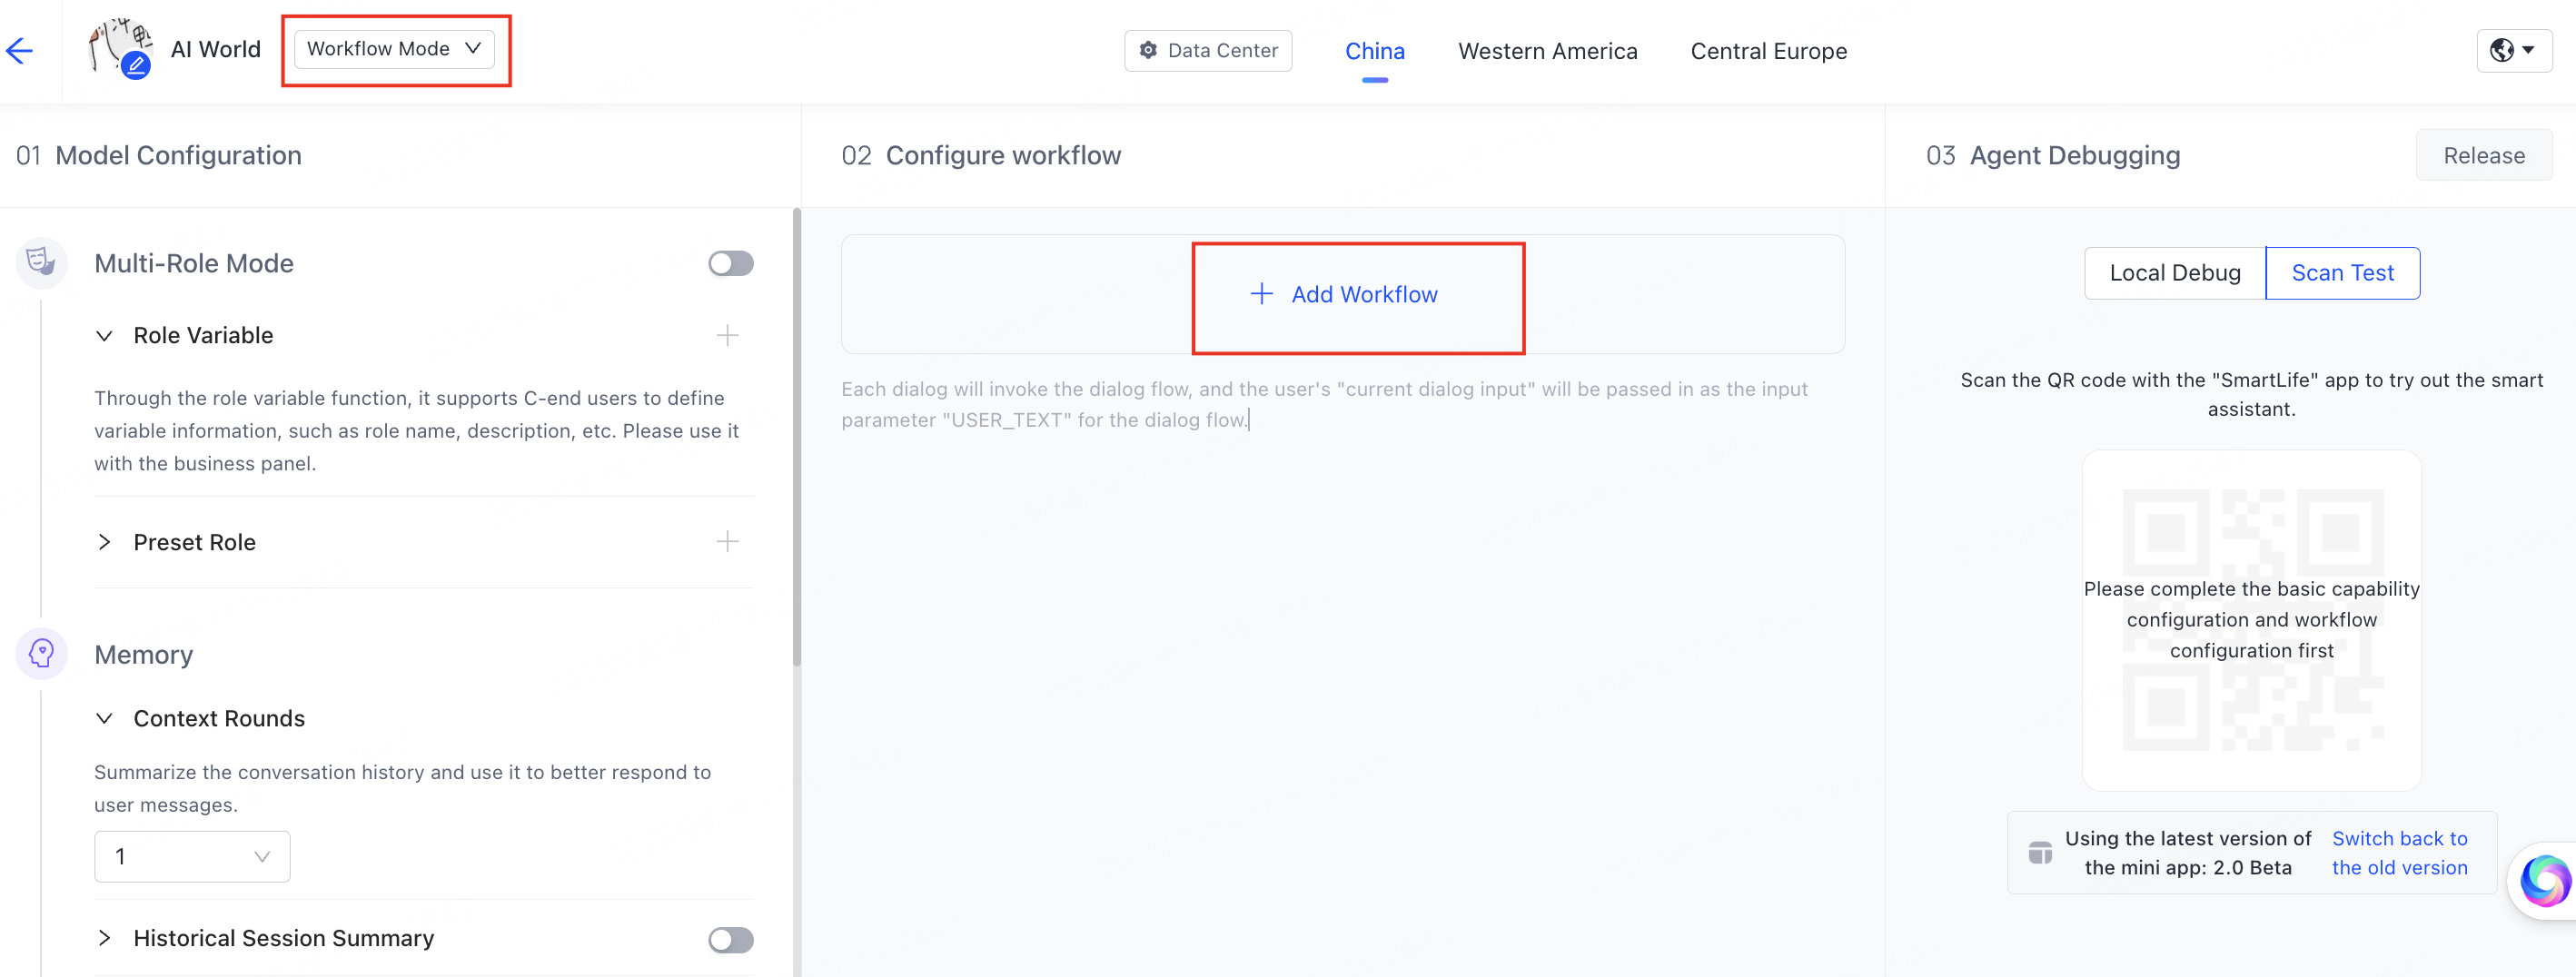
After the workflow is published, you can select the created workflow in the agent and click Add Workflow to add this workflow.
Is this page helpful?
YesFeedbackIs this page helpful?
YesFeedback


