Get Push Messages by Pulsar (Python SDK)
A cloud project provides the message subscription feature. If the status of a device in the project changes, such as registration, data reporting, and offline events, Message Service is used to actively push event data to external partners via Pulsar. This helps to implement real-time and persistent messages.
Prerequisites
- You have created a project. For more information about project creation, see Quick Start.
- Message Service is enabled and the device is linked with the project. For more information, see Manage Message Service and Link Devices.
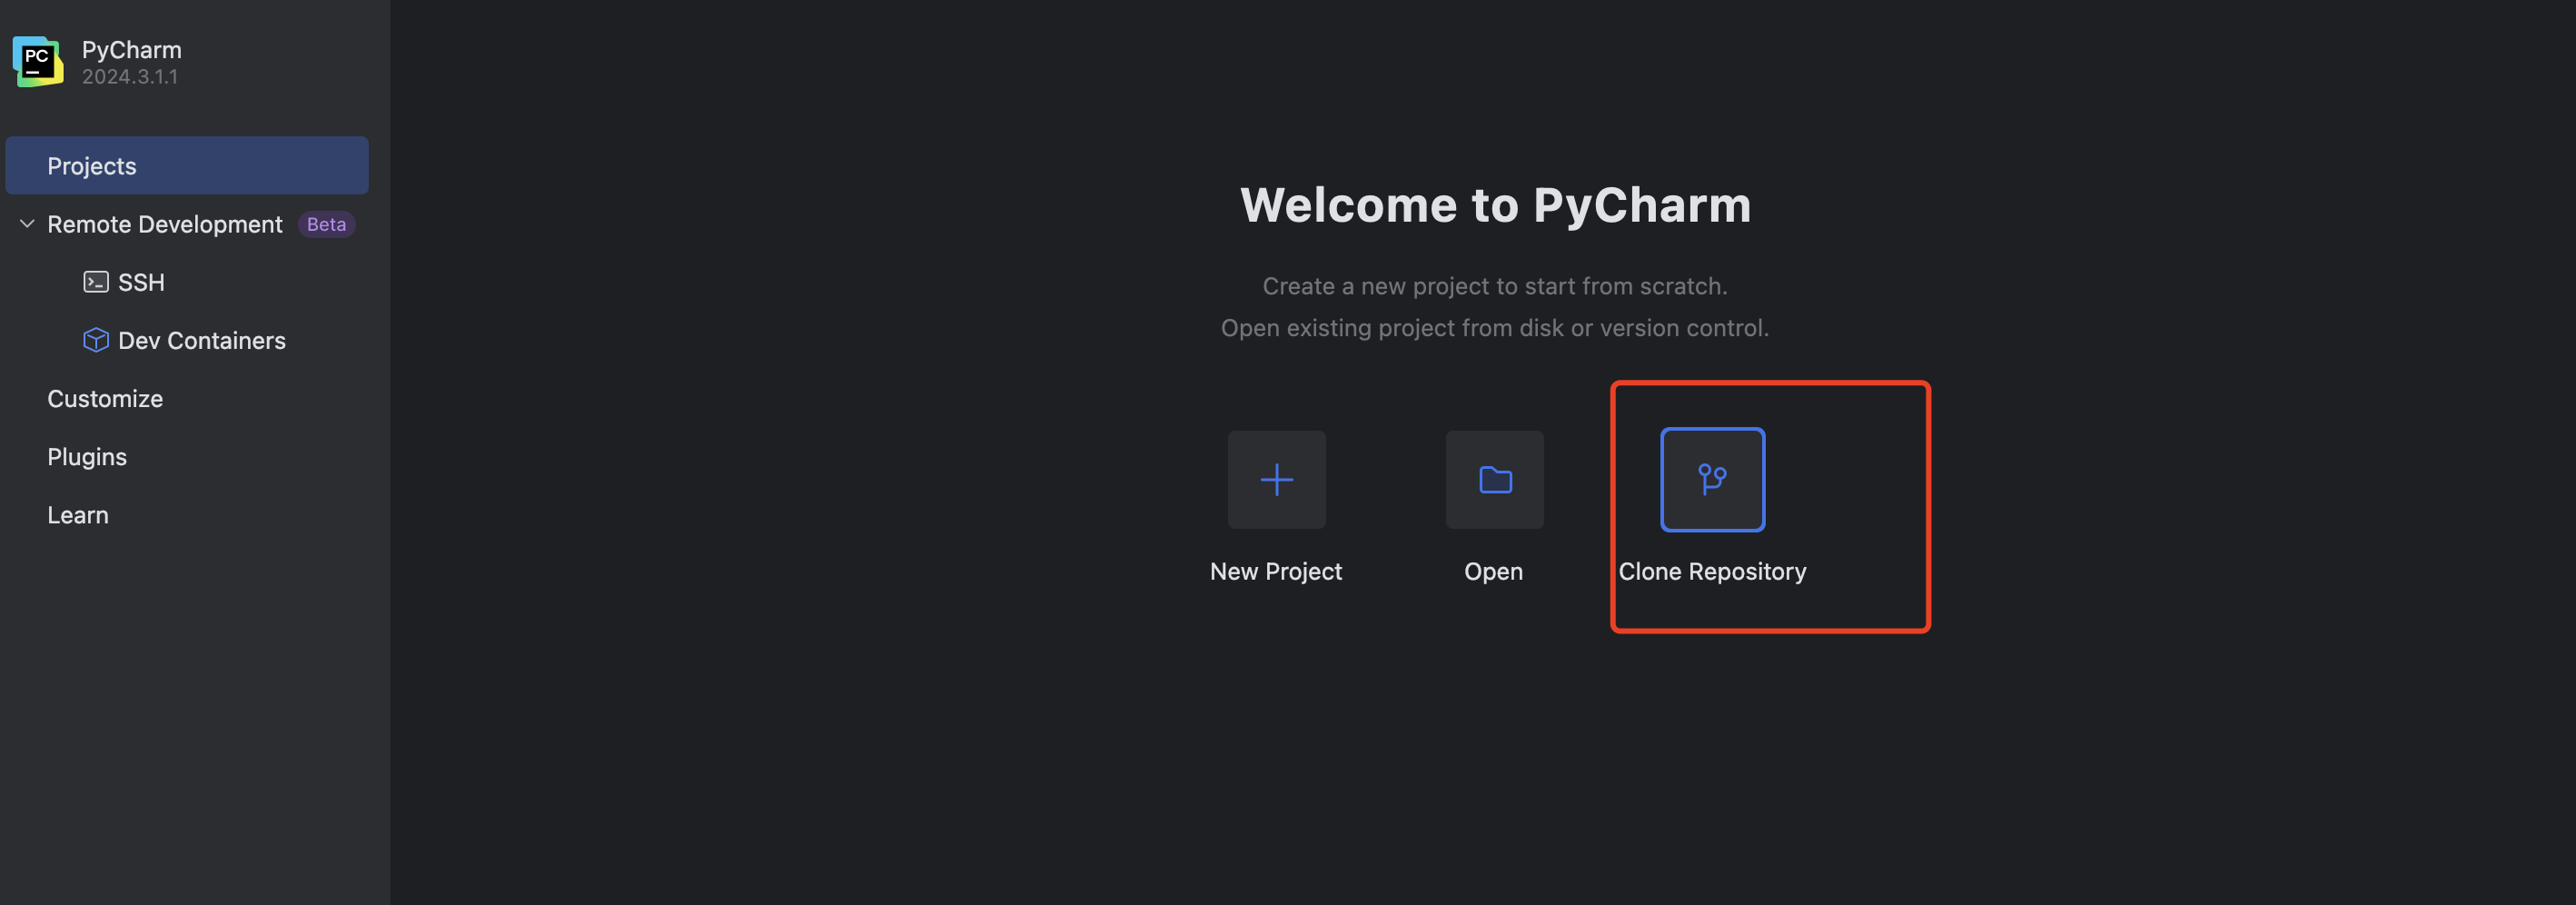
- You have installed PyCharm.
Procedure
Currently, Tuya Smart Message Service is customized and modified based on open source Pulsar. The Pulsar SDK for Python is provided.
In this topic, the Python development tool PyCharm is used to receive messages.
Step 1: Clone the Github source code and import the project
Clone the Github source code: PyCharm
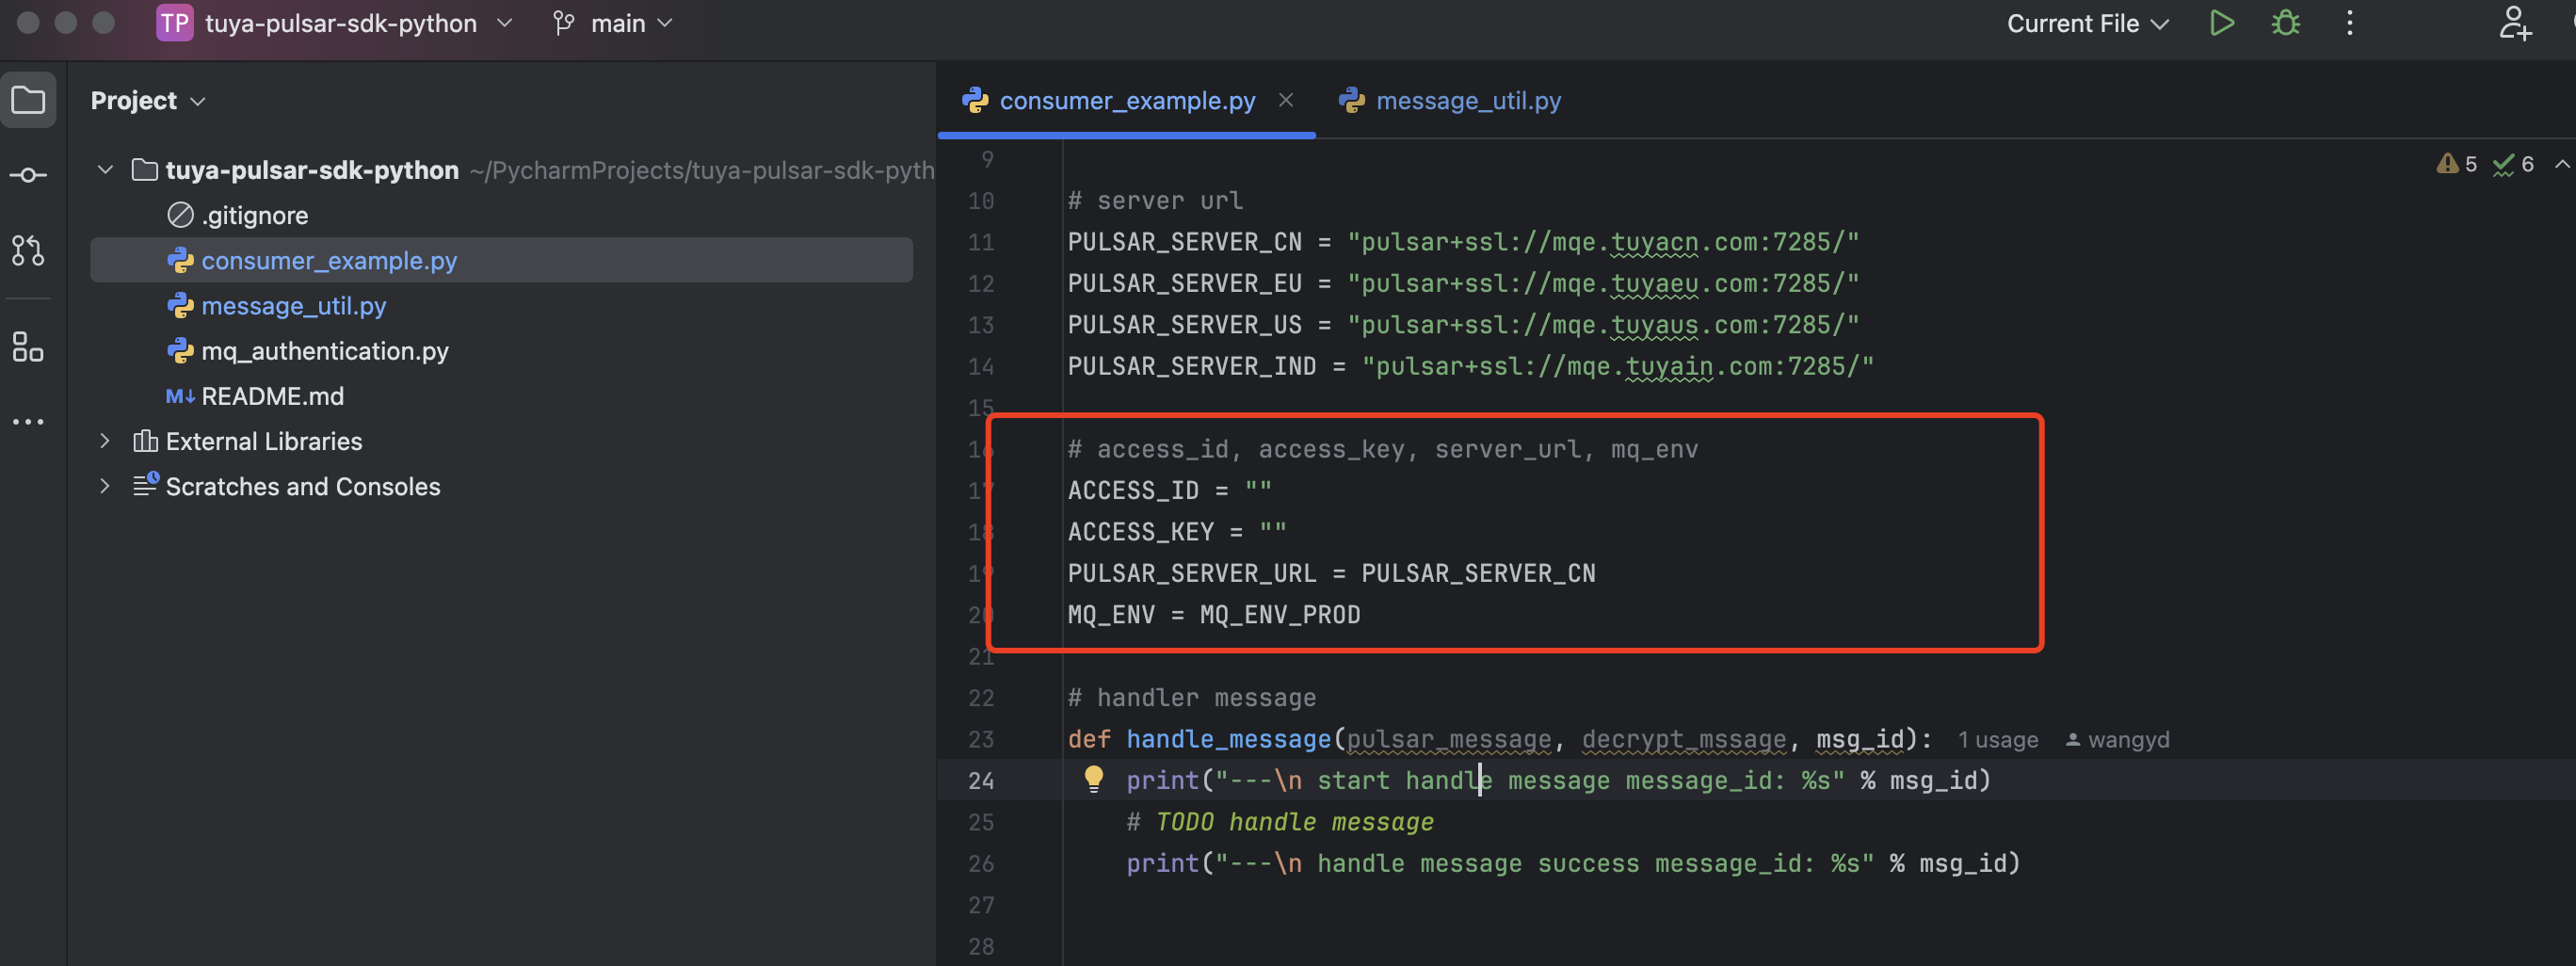
Step 2: Configure project parameters
Modify the configuration information in the sample code consumer_example.py:
-
ACCESS_ID: Enter the value of Access ID/Client ID in the Authorization Key section on the Tuya Developer Platform. -
ACCESS_KEY: Enter the value of Access Secret/Client Secret in the Authorization Key section on the Tuya Developer Platform. -
PULSAR_SERVER_URL: Select based on the data center where you have subscribed to the message service.- China Data Center:
pulsar+ssl://mqe.tuyacn.com:7285/ - Western America Data Center:
pulsar+ssl://mqe.tuyaus.com:7285/ - Central Europe Data Center:
pulsar+ssl://mqe.tuyaeu.com:7285/ - India Data Center:
pulsar+ssl://mqe.tuyain.com:7285/ - Singapore Data Center:
pulsar+ssl://mqe-sg.iotbing.com:7285/
- China Data Center:
-
MQ_ENV: the message subscription channel.MQ_ENV_PRODrepresents the production environment.MQ_ENV_TESTrepresents the test environment.
Step 3: Operate a device on the app to trigger a message push
-
On the development tool PyCharm, right-click the
consumer_example.pyfile and select Run.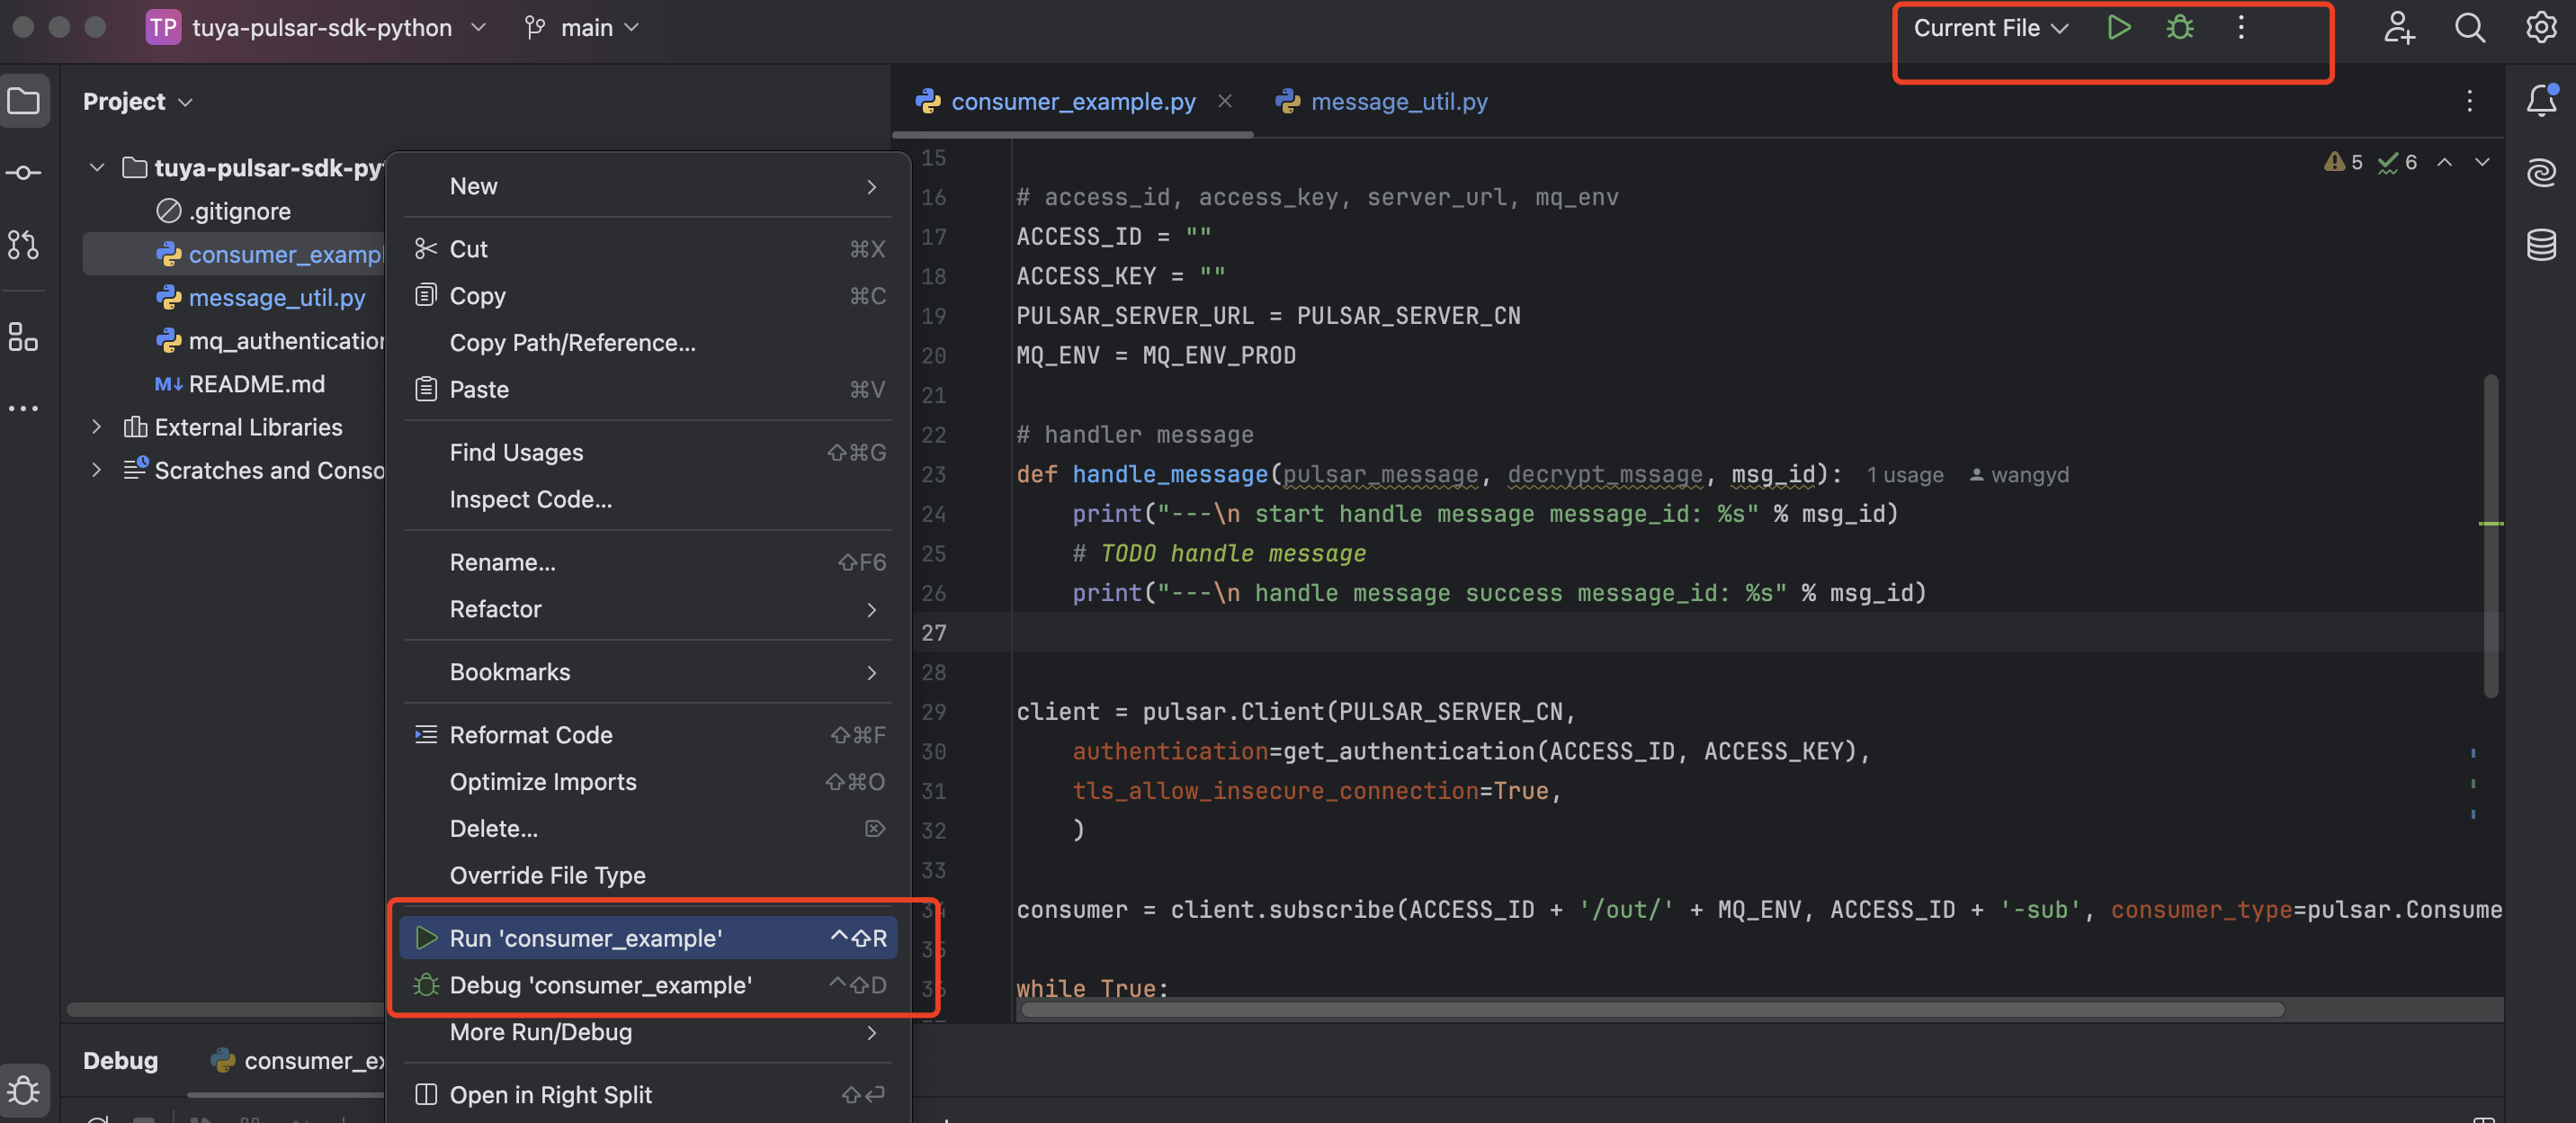
-
Operate the device on the mobile app. For example, turn on a test device, or adjust other parameters of the device.
-
Automatically get the push messages on PyCharm.
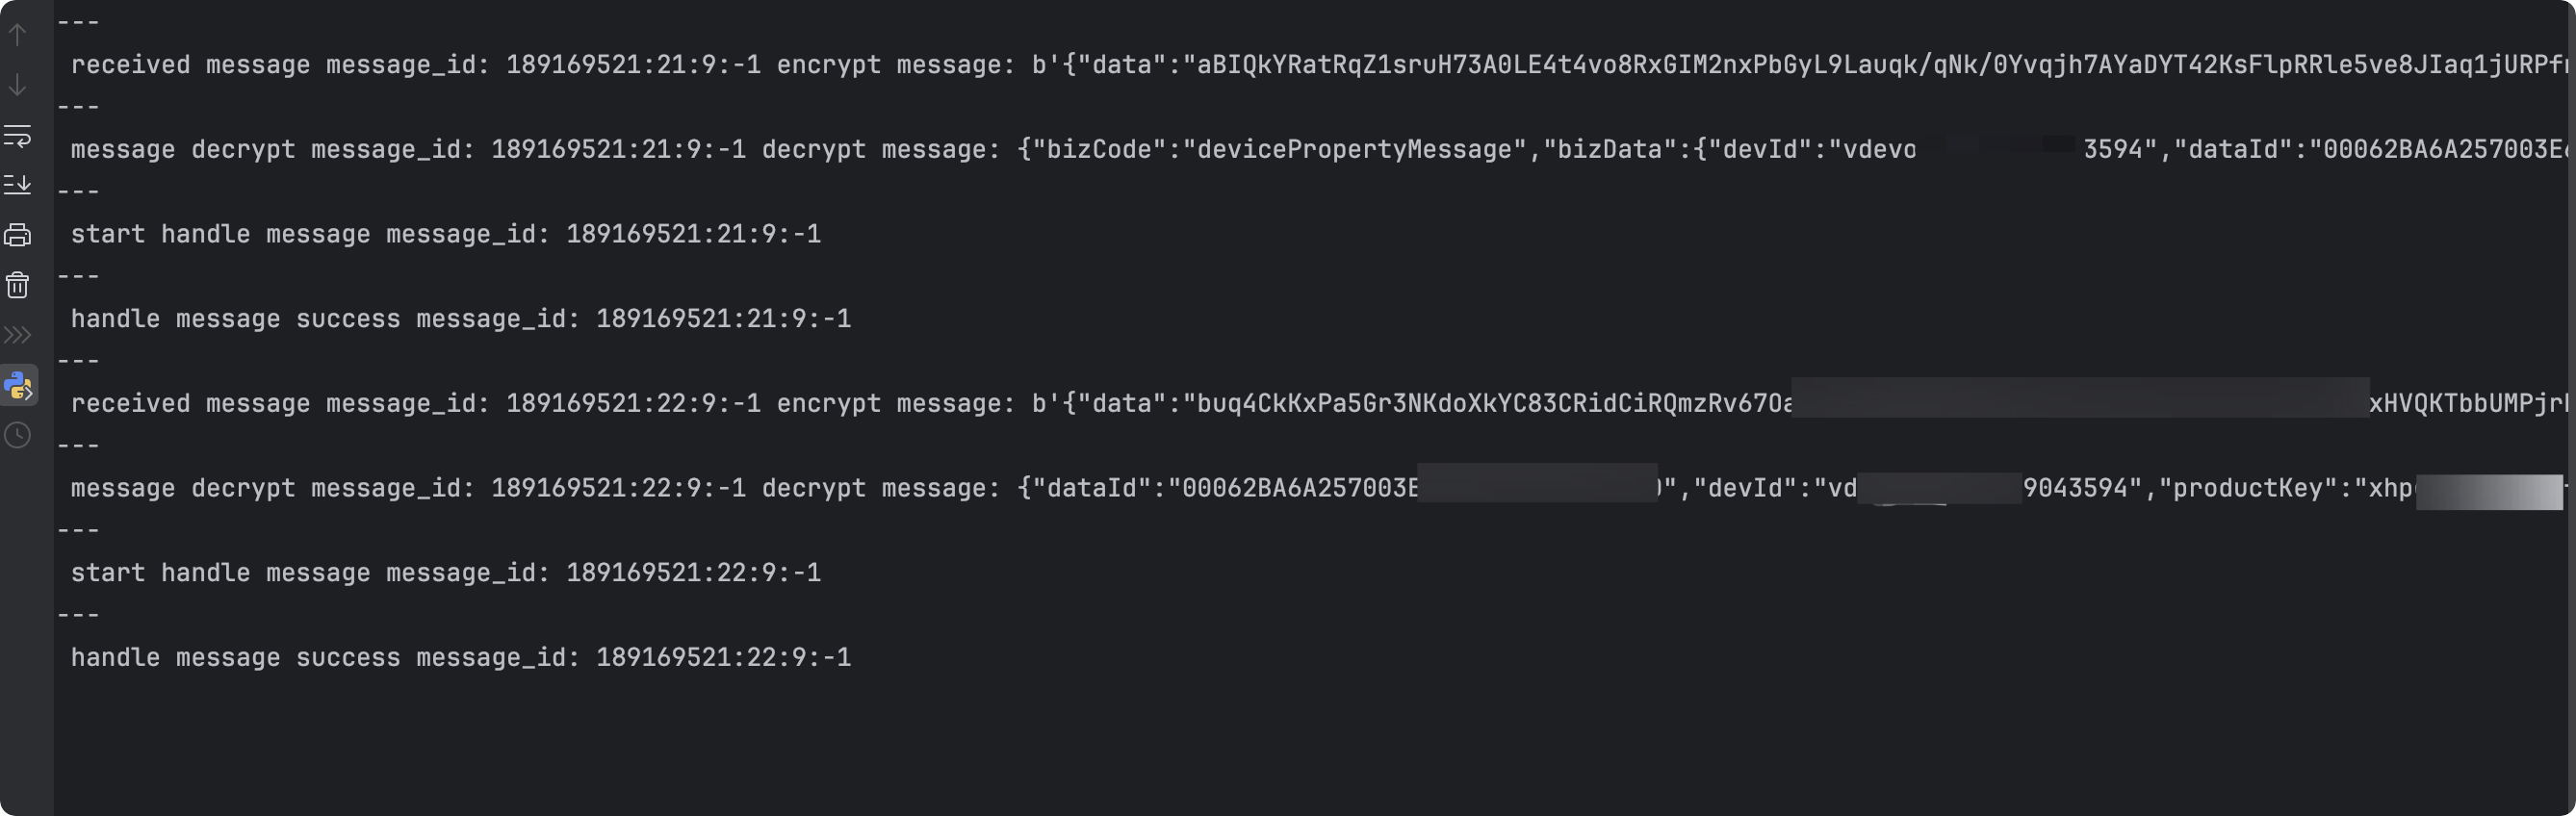
-
Display the data. For more information about field descriptions, see Message Types.
Parse push messages
Turn on the device
-
Received message
received message origin payload: {"data":"5dBU8WiRS1+zydoFTtaVKuL+DnRGSSj1VvrRH4pN1kvawIq2mG/fZTd9TCimqpGPzQtf9wFhkSQ6IBE2P3yYPj6CrsqFEQvL9PFeHpD9Z9KadznFwSQX6sgRa2f2ANFHDTC8pZ0+fLnWge7AqPG4LdxobOPC7kNpk92hmXjB0PEOZ2Du4MbP4NSN49QcJ4MPoKVOkbMxkxYUbynUW5fQ6FgHYZYcTUp+a0vF/oS3VL3jGH5tallpI10RZxofJ72f","protocol":4,"pv":"2.0","sign":"b8a548131304b49b524fca193f9ffd63","t":1630979005761} -
Parse payload data
decryptContentData={"dataId":"fe3a7d80-0f7c-11ec-8511-024283c73485","devId":"vdev******86991","productKey":"na****jz","status":[{"1":"true","code":"switch_led","t":1630979005725,"value":true}]}For more information about the payload data parsing method, see Data Signature and Decryption. The payload decryption method has been encapsulated in the SDK.
Adjust device parameters
-
Received message
received message origin payload: {"data":"z/xrNsO26LmxprqP0OaMSXdSXy2jAEiz0blUCnlUZe7awIq2mG/fZTd9TCimqpGPzQtf9wFhkSQ6IBE2P3yYPj6CrsqFEQvL9PFeHpD9Z9KadznFwSQX6sgRa2f2ANFHDTC8pZ0+fLnWge7AqPG4LSlV4VEv7NtZ0T9wsM0xsQe+Gd3lcDRjtoWkeHTaIhvNzw8Y01IymwbZVRlVvpO3bLeIRohJoYtnI0lpflt6tcoKE7H3tlNNyLhx/y903ldy7z0o3iD5KROUiGtsAvdO0WfAsVxl87x4EbH6A7FLPOR2vyfiUckMP3+KlQR/CA6UtuuExvaaSNCeSx8NL2Rpmw==","protocol":4,"pv":"2.0","sign":"7ce23e6fb11386020cc4a58524cf2a4e","t":1630979195061} -
Parse the data
decryptContentData={"dataId":"6f0f12a7-0f7d-11ec-8511-024283c73485","devId":"vdev******86991","productKey":"na****jz","status":[{"2":"white","code":"work_mode","t":1630979195023,"value":"white"},{"3":"764","code":"bright_value_v2","t":1630979195023,"value":764}]}
Is this page helpful?
YesFeedbackIs this page helpful?
YesFeedback


