Enable Tuya Choice
In addition to using Tuya and SmartLife apps to control smart devices, users typically have the following requirements:
- During use, users expect to get in touch with the brand owner for after-sales support.
- Purchase more smart products with consistent compatibility.
Accounts and assets
Before getting started, you can gain a basic understanding of how assets are managed under a Tuya account through the diagram below. It will help facilitate subsequent operations and comprehension.
If you do not have an account yet, register with the Tuya Developer Platform.
Subscribe to App Mall
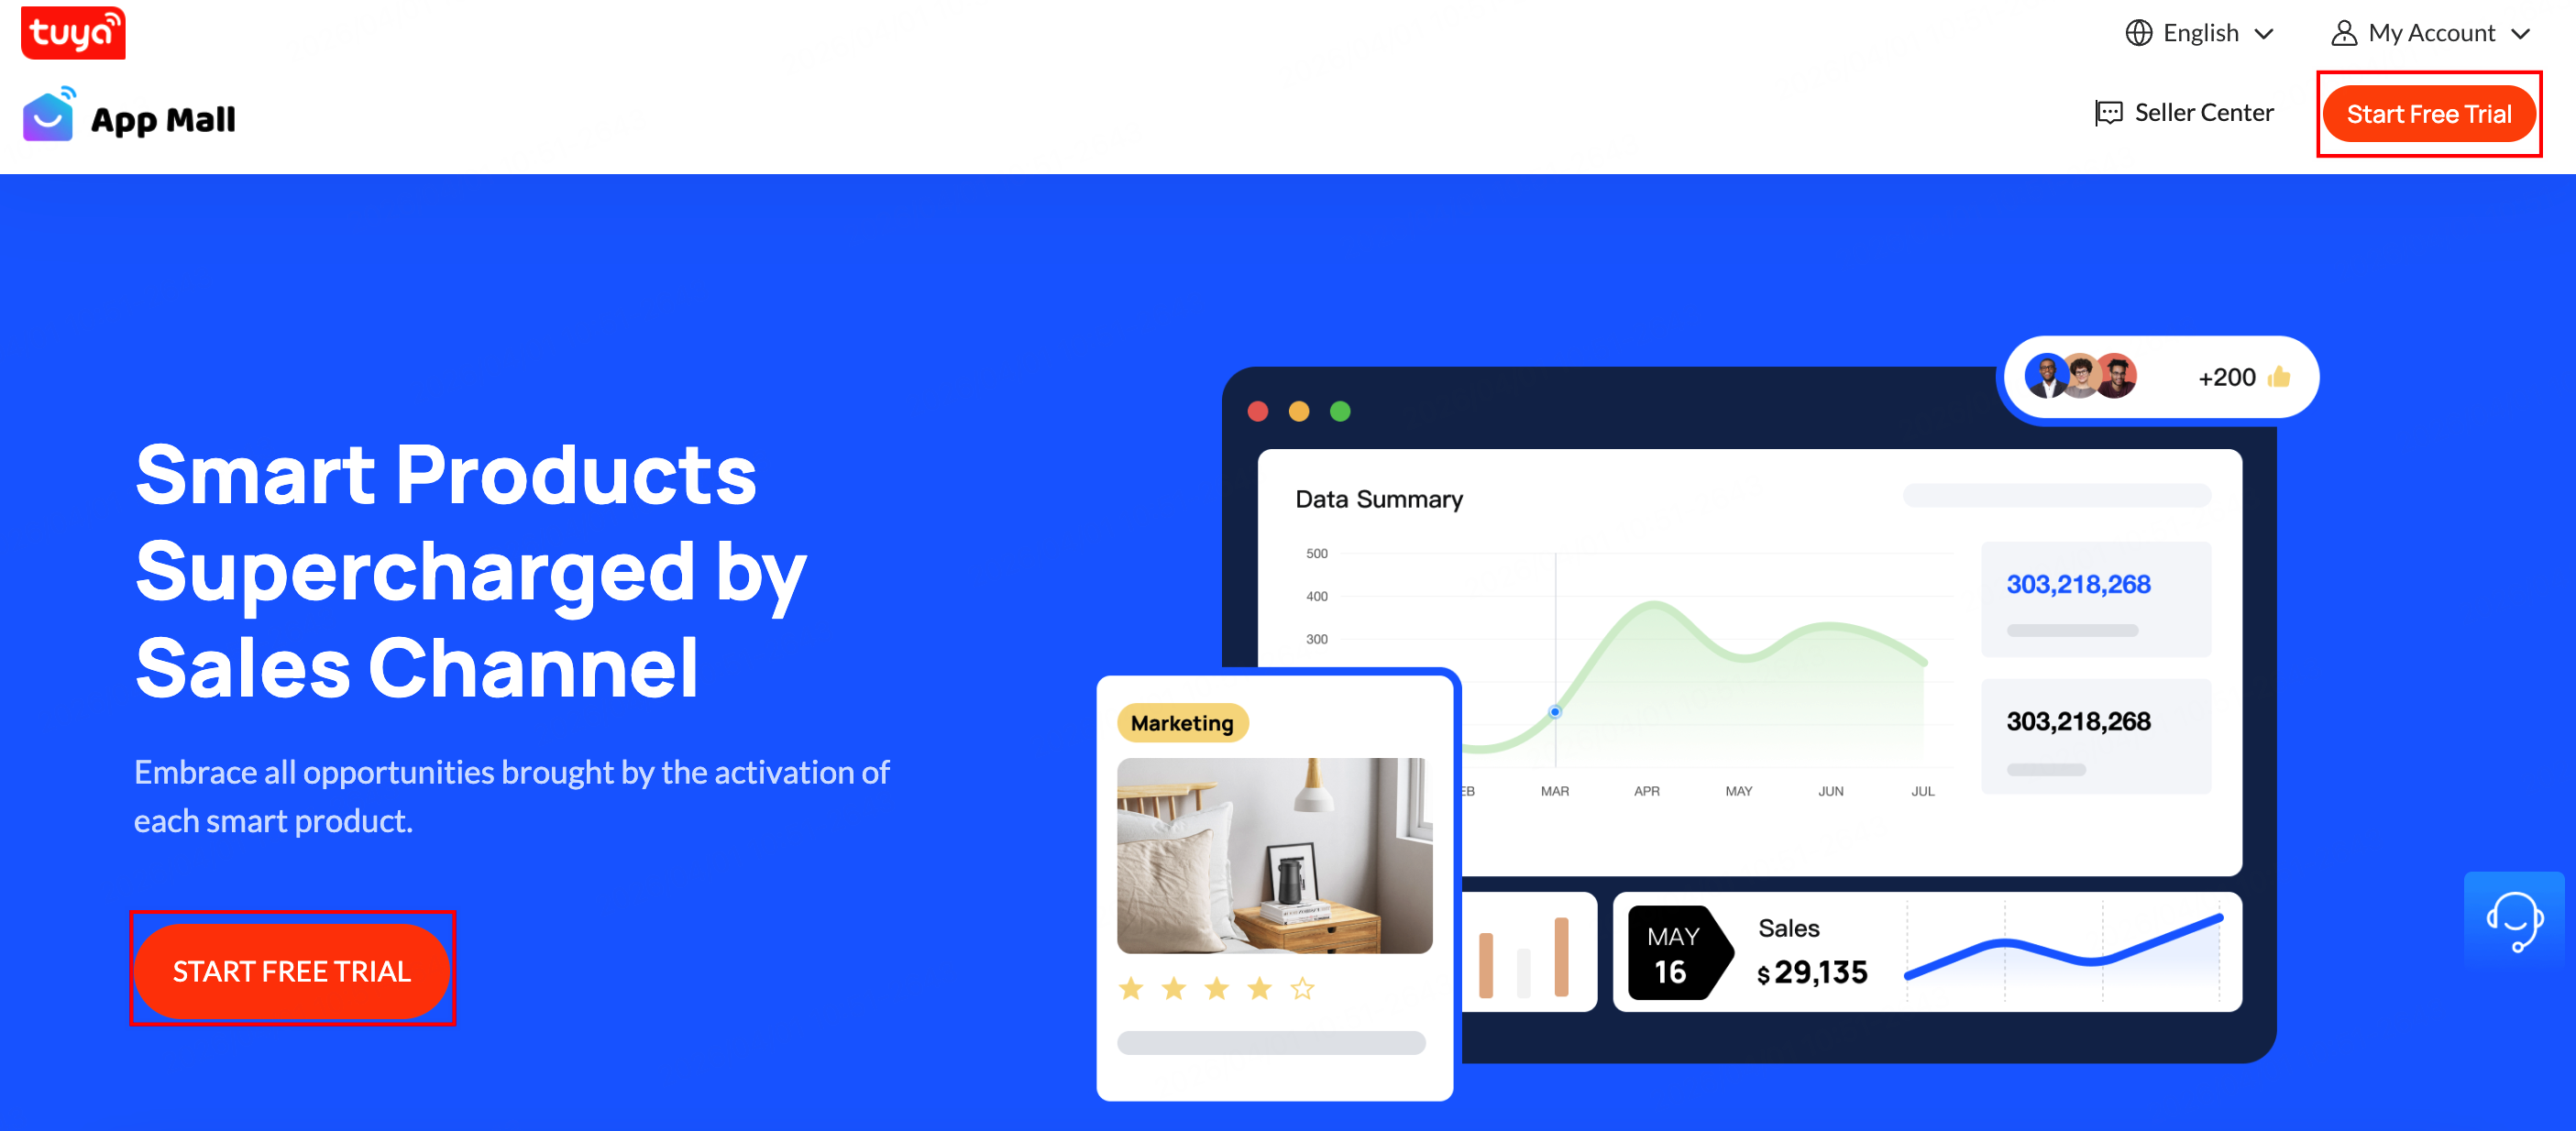
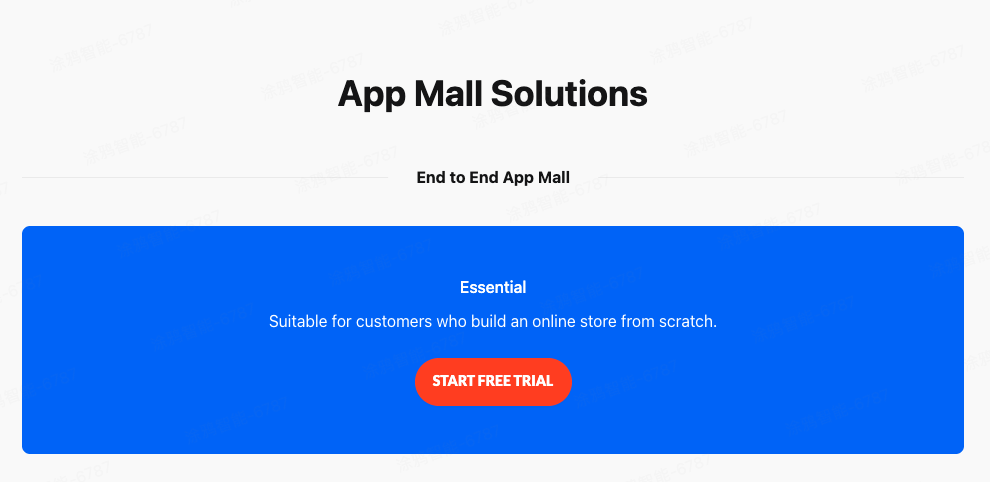
Go to the App Mall website, click Start Free Trial, then click START FREE TRIAL to enter the guide page. If you have subscribed to the app mall, skip this section.
- One app mall can sell products across multiple app channels.
- If you are only selling products within the Tuya or SmartLife apps, this service is free of charge. An entry point for applying for a free extension will be provided in subsequent processes.
Initialize the store
-
Set the store name. This can be skipped. If not set, the store name will be automatically generated based on the market.

-
Select the primary market to set the main currency and language for the store.
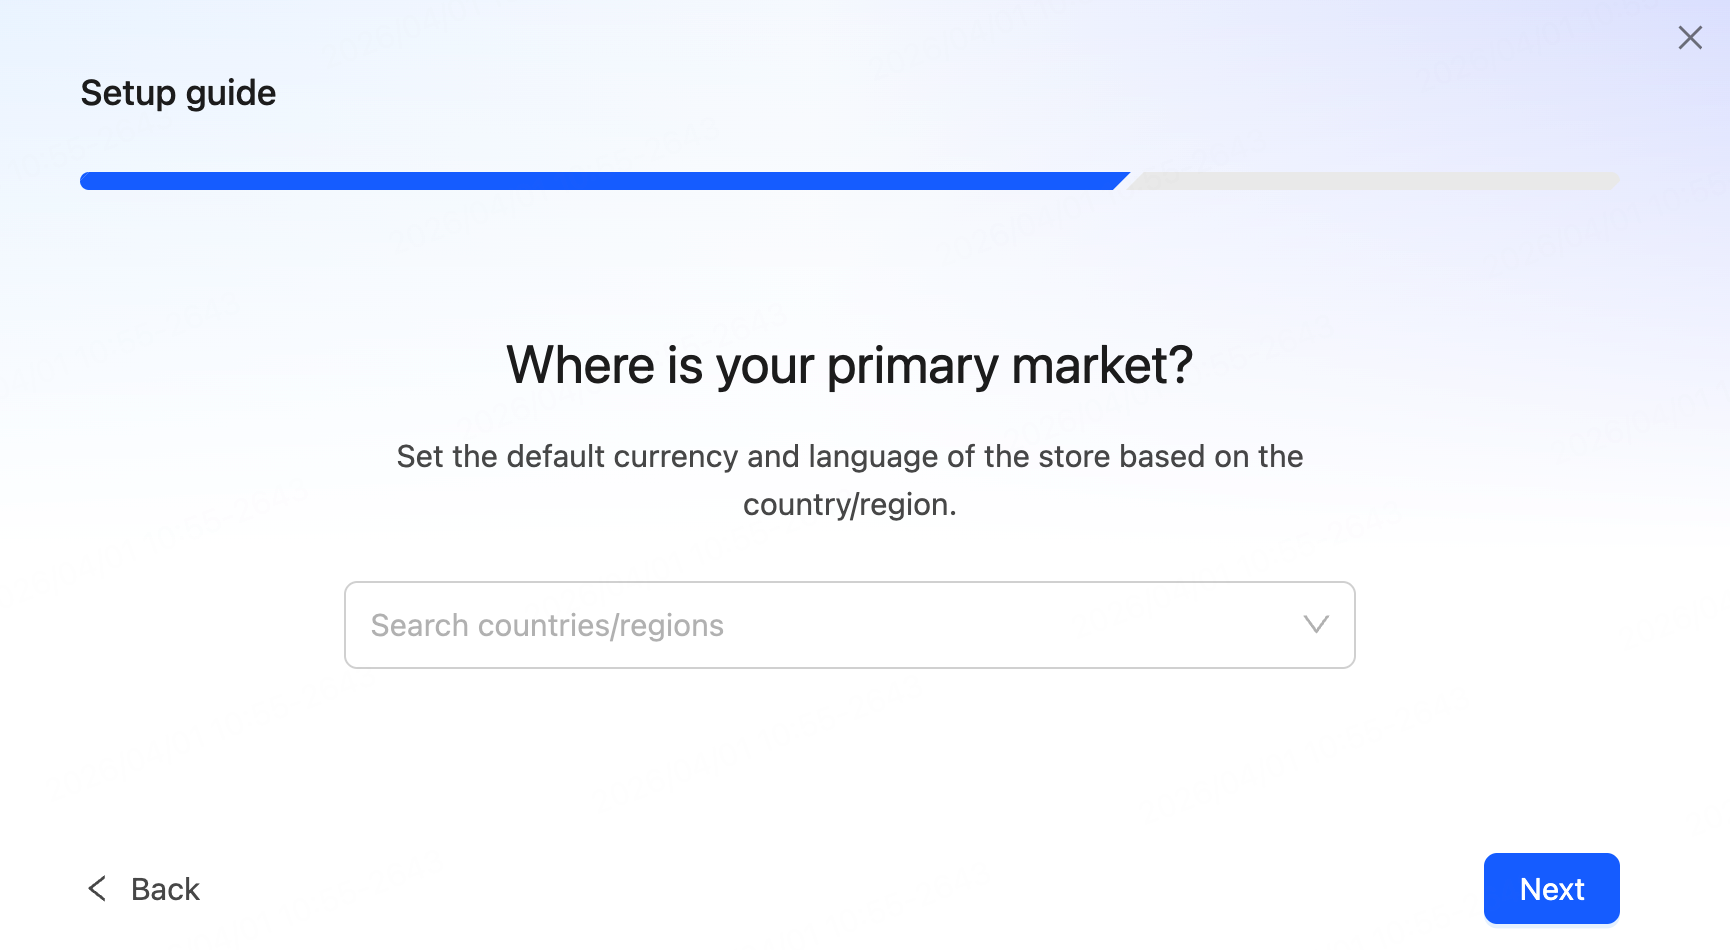
- One mall supports a multi-market sales model. Sellers can sell products across multiple independent markets, requiring a new store setup for each market.
- Currently, Tuya Choice is only open to the US market. Other markets will be available in the future; stay tuned.
-
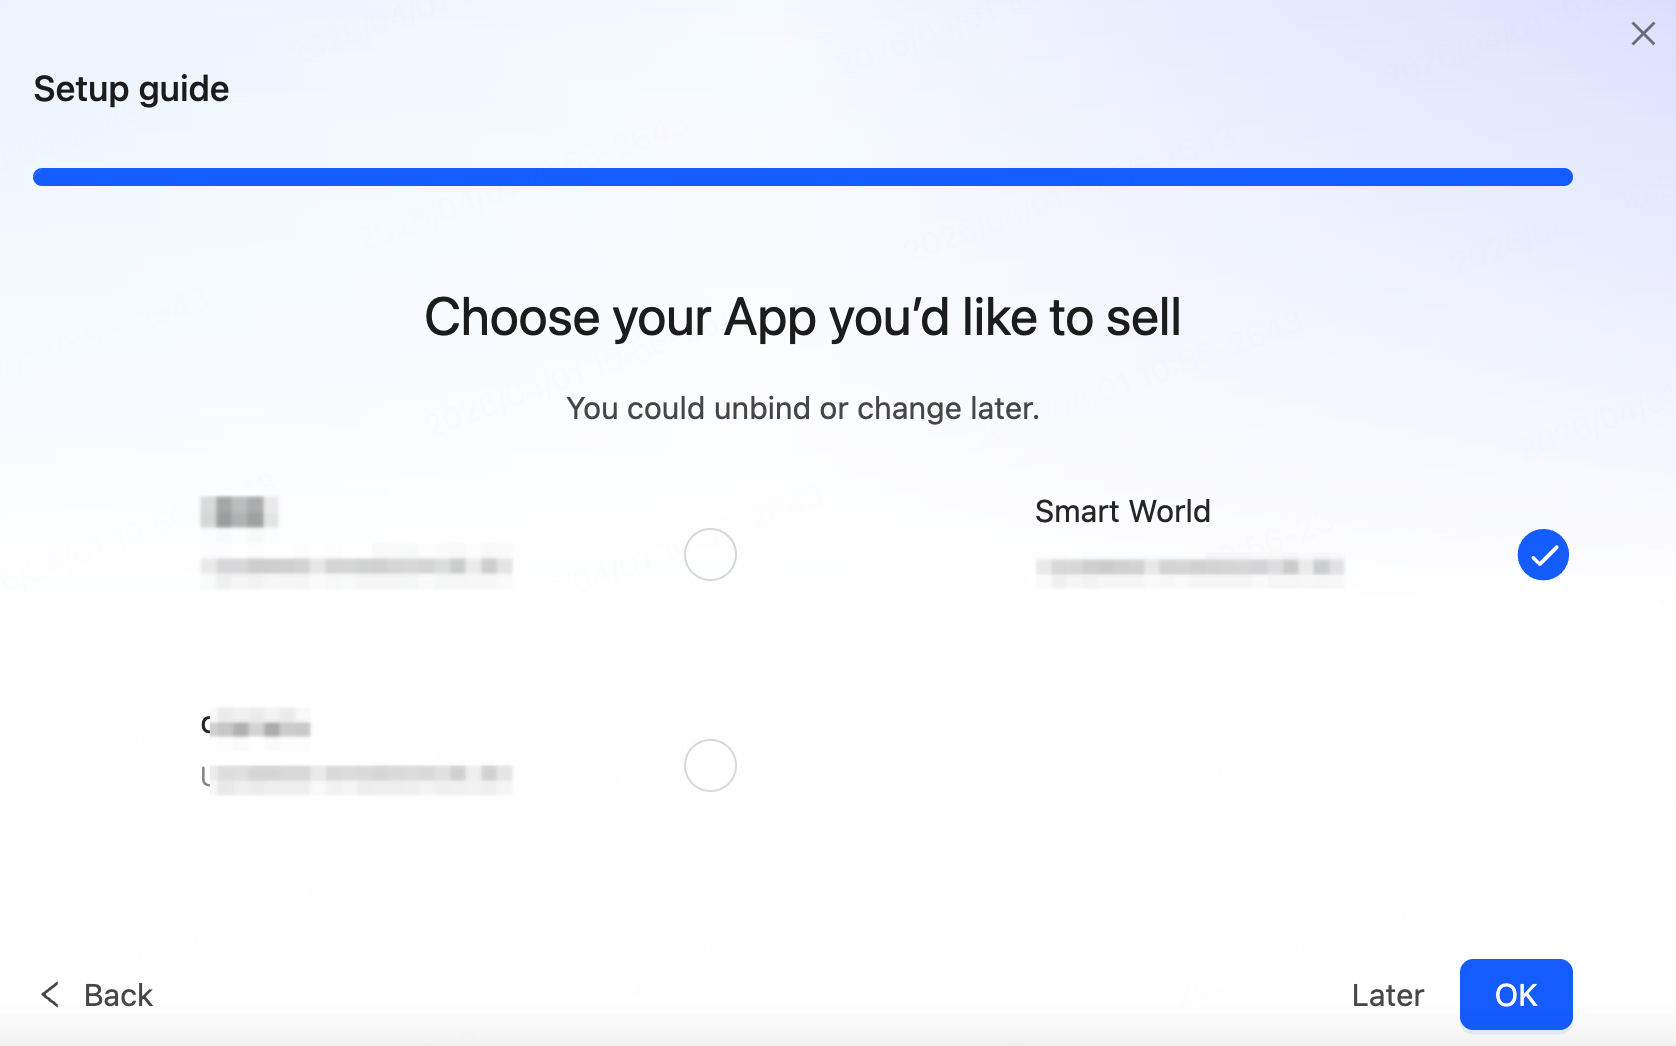
(Optional) Link with your app. If you are only selling products on the Tuya-enabled app, there is no need to link an OEM app. You can skip this step.
Apply for Tuya Choice
-
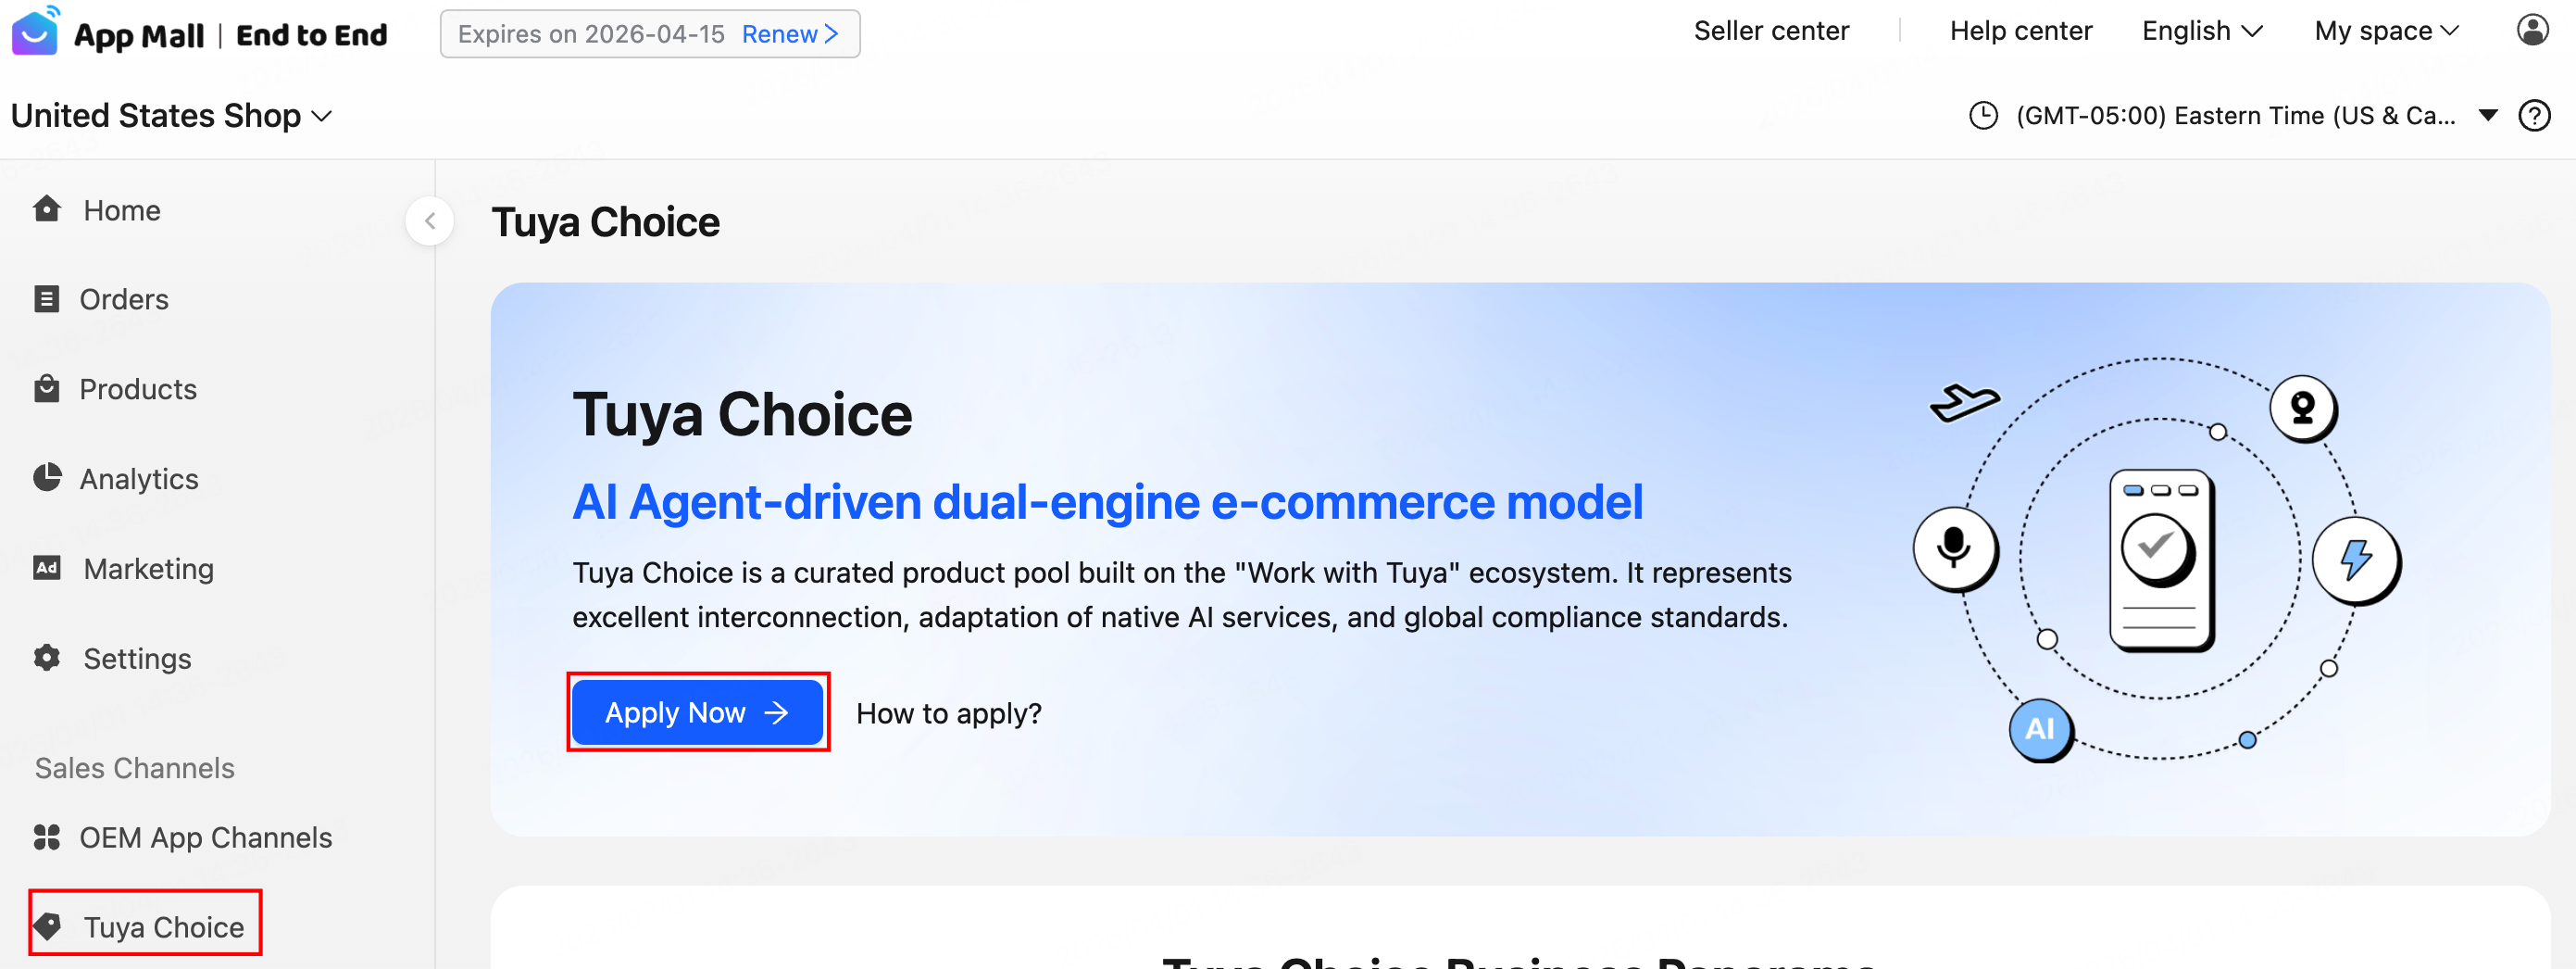
After entering the mall, click Tuya Choice in the left-side navigation menu, then click Apply Now.
-
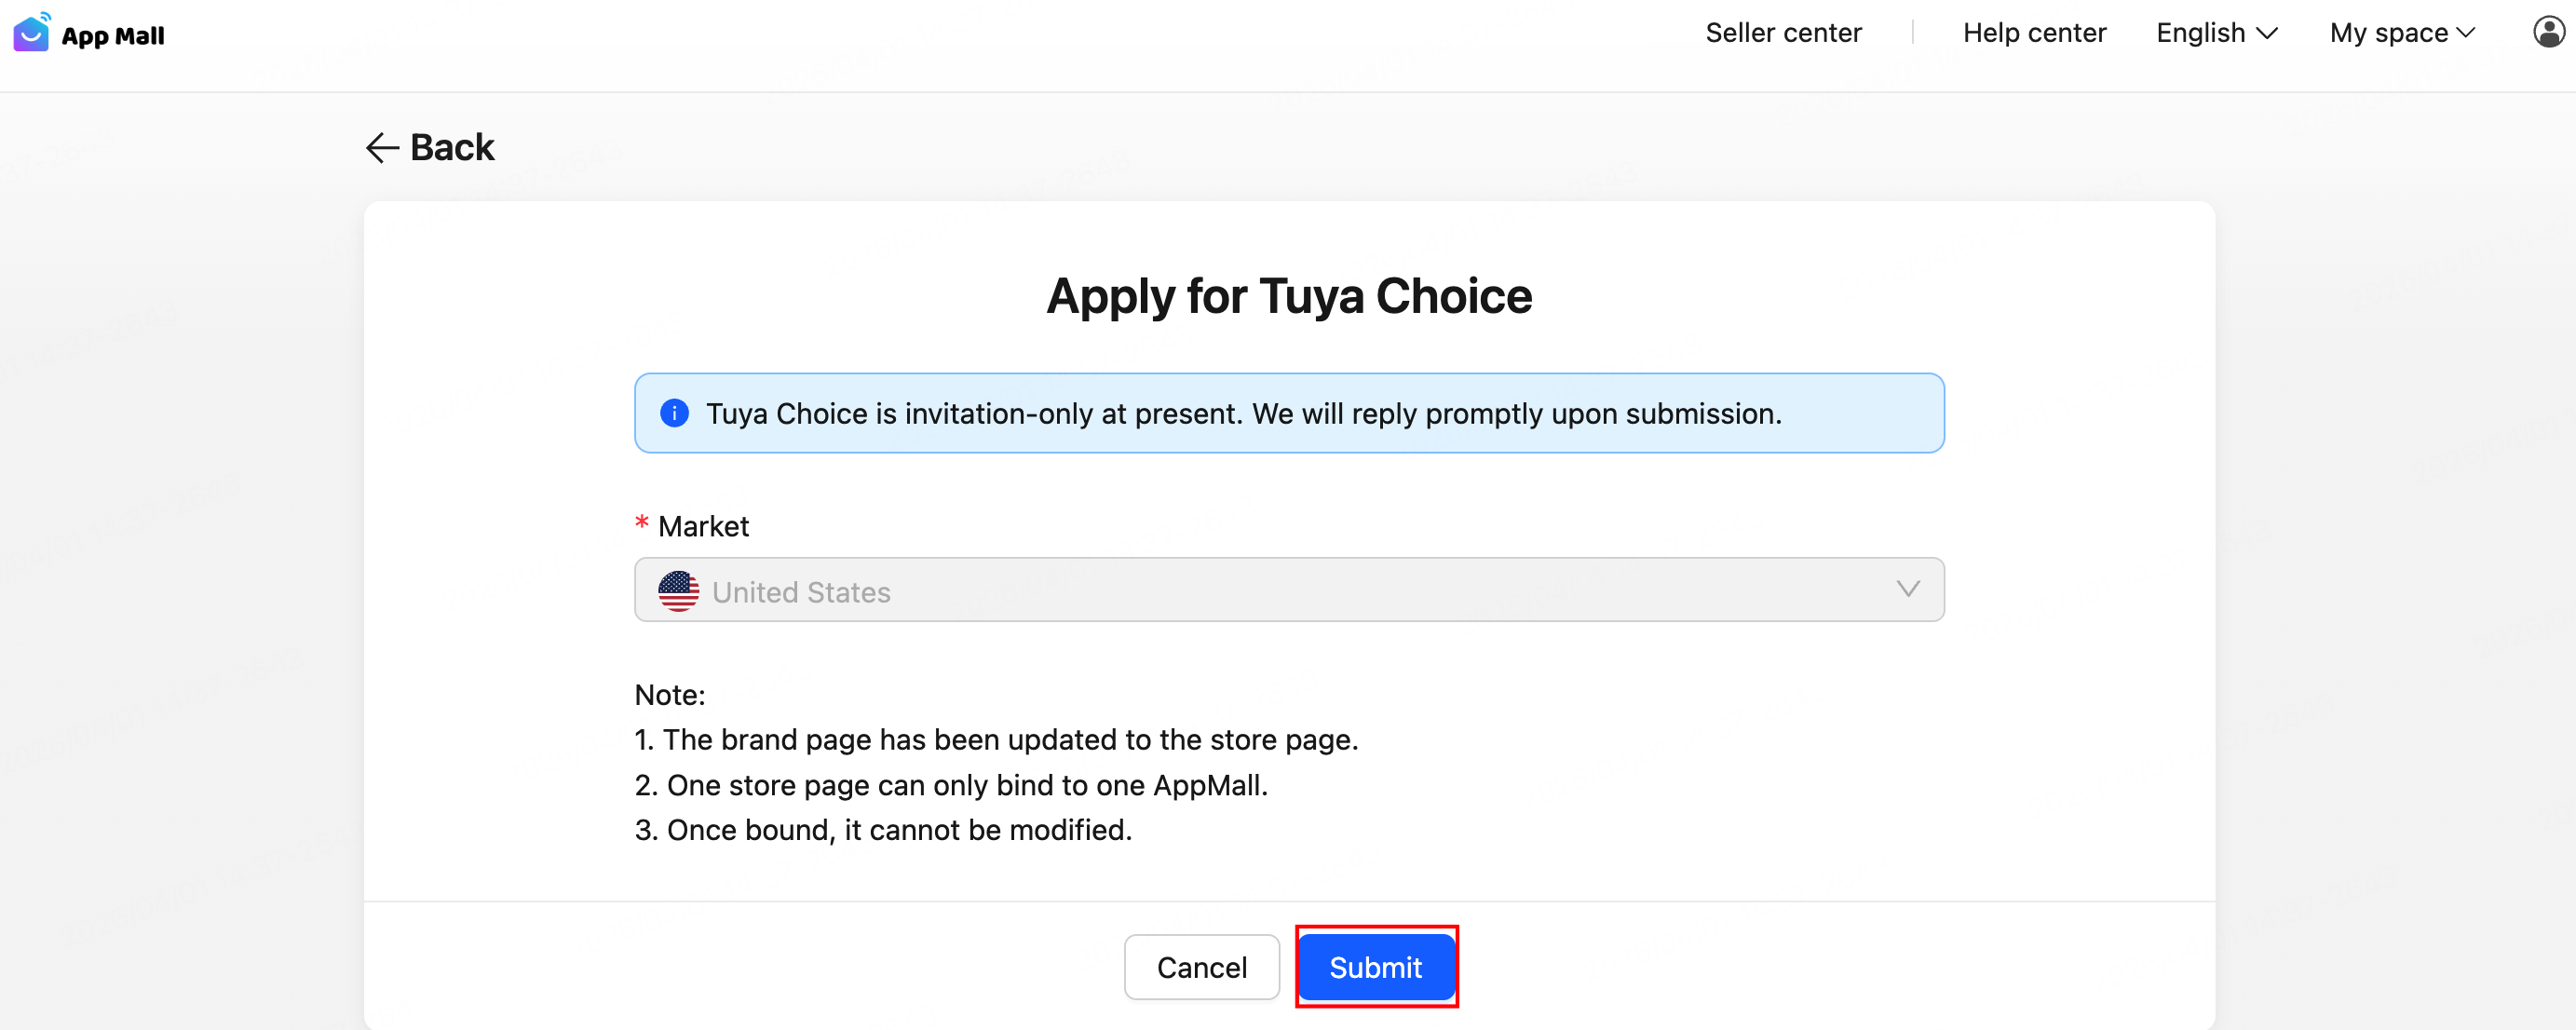
The system will automatically select the available platform market based on your store. Click Submit to proceed.
-
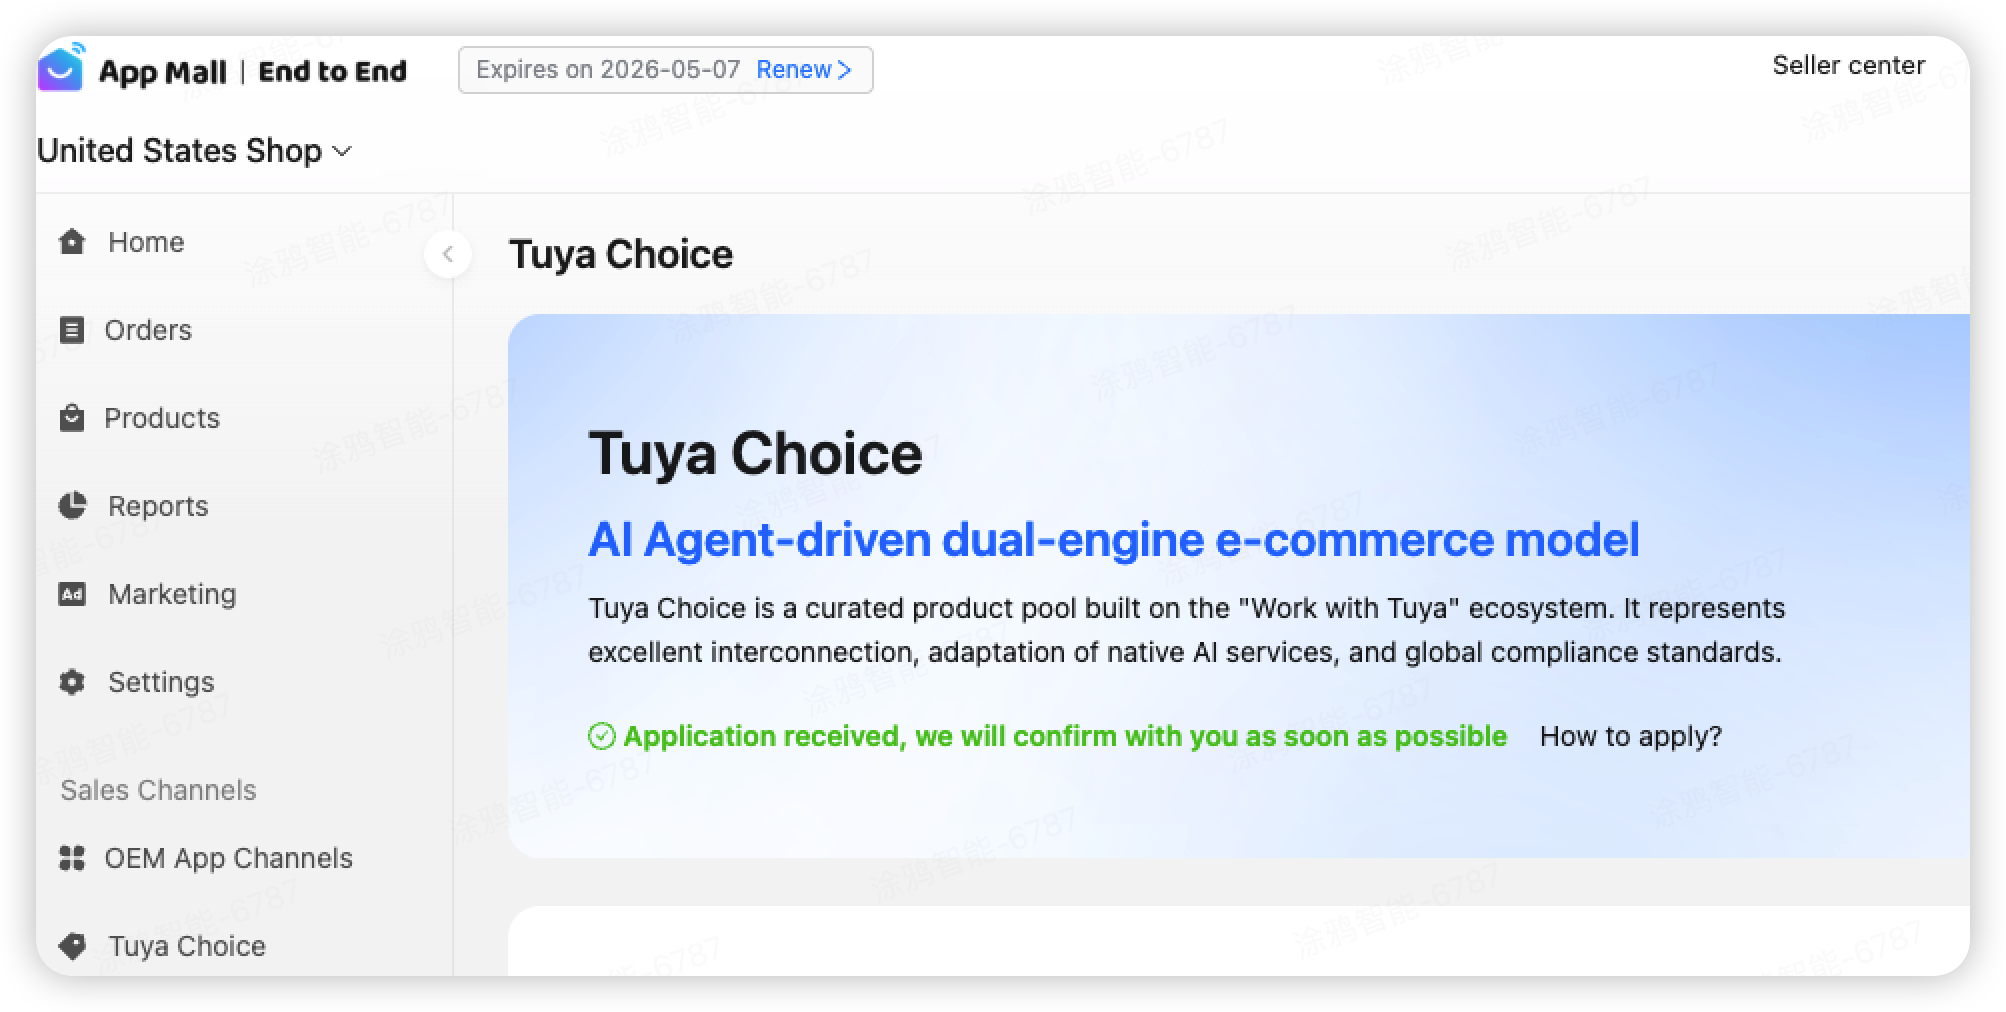
Upon successful submission, you will see a notification. Tuya staff will complete the configuration and enable Tuya Choice within 24 hours.
- For malls transacting through Tuya Choice, if the mall is used exclusively within the Tuya/SmartLife app, Tuya offers a free extension service.
- If the mall is used within an OEM app channel, standard pricing will apply.
Pre-sales preparation
Add products/collections
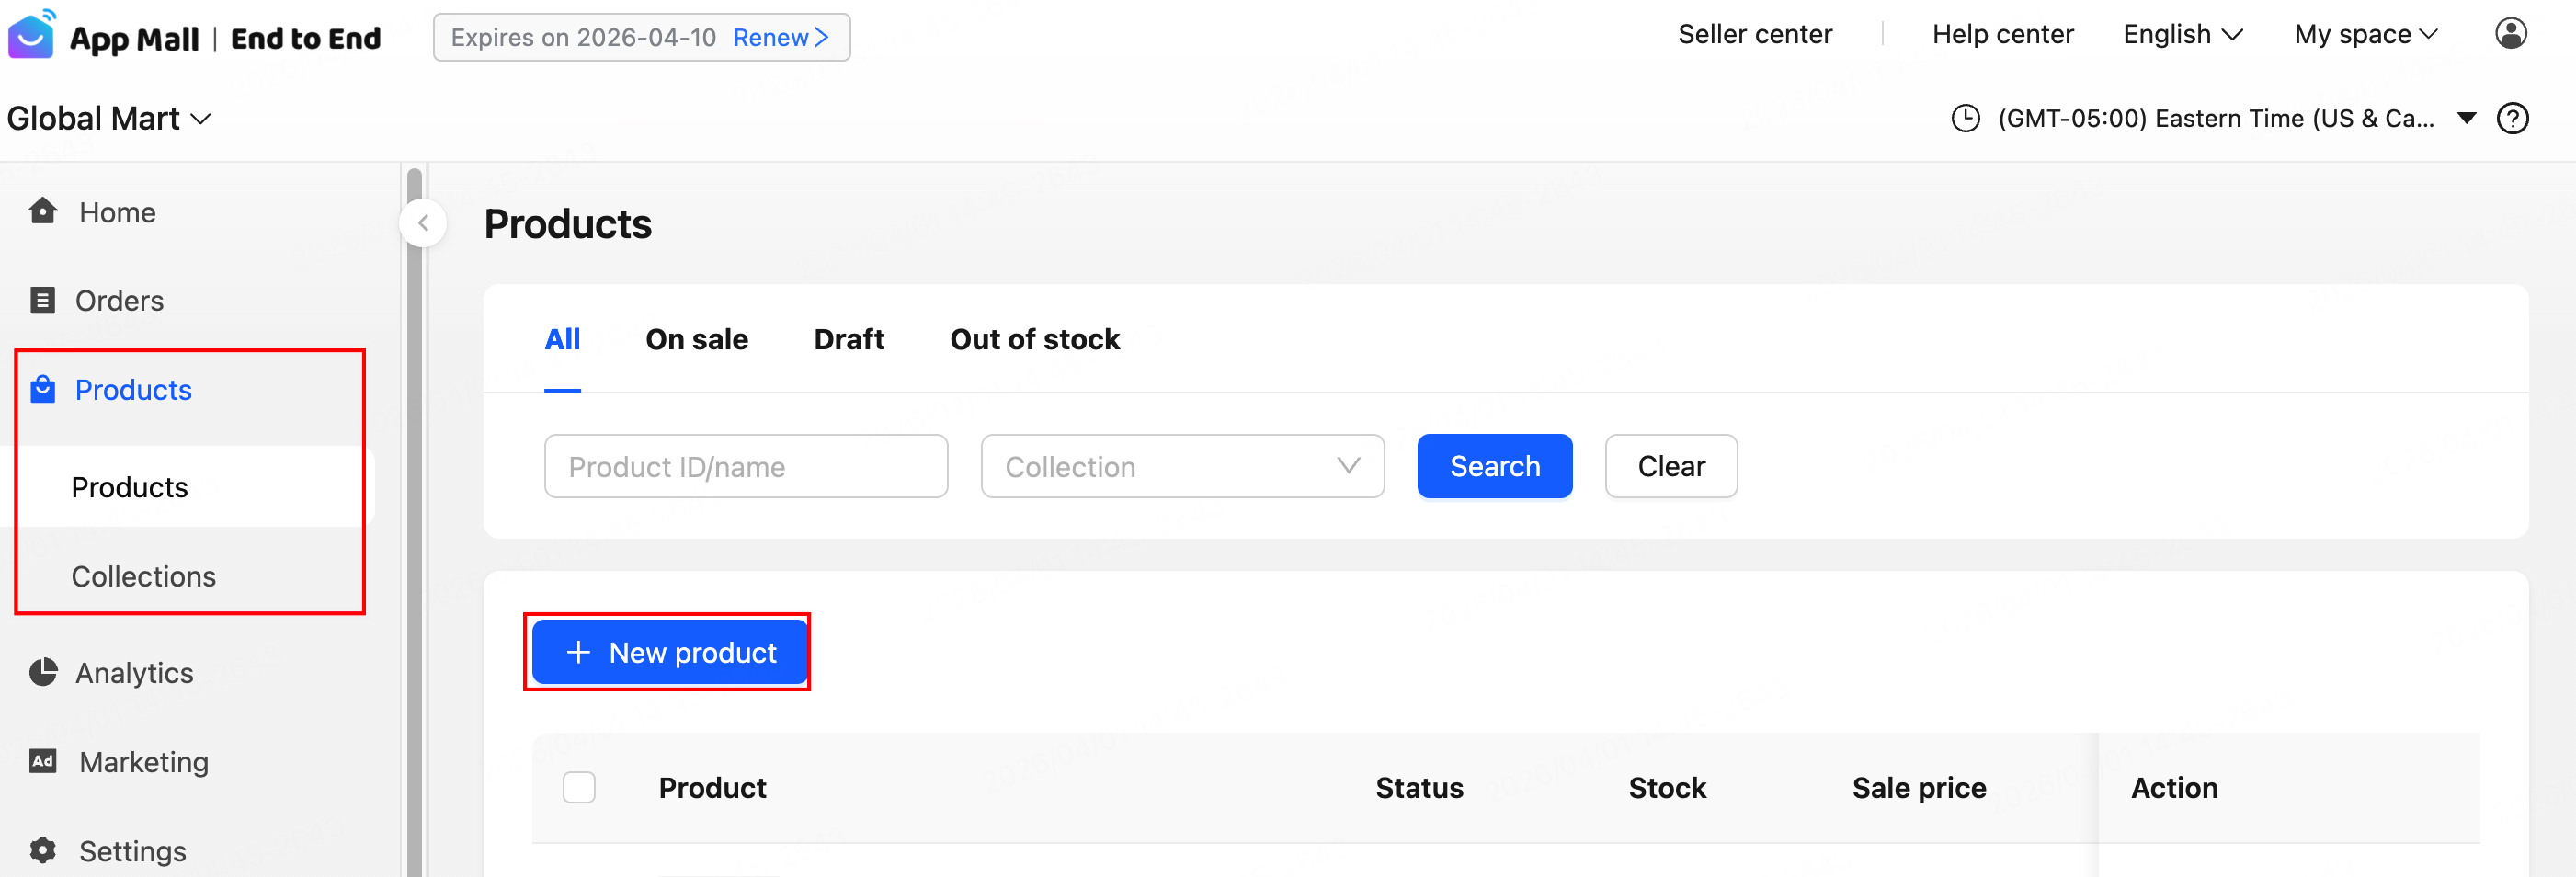
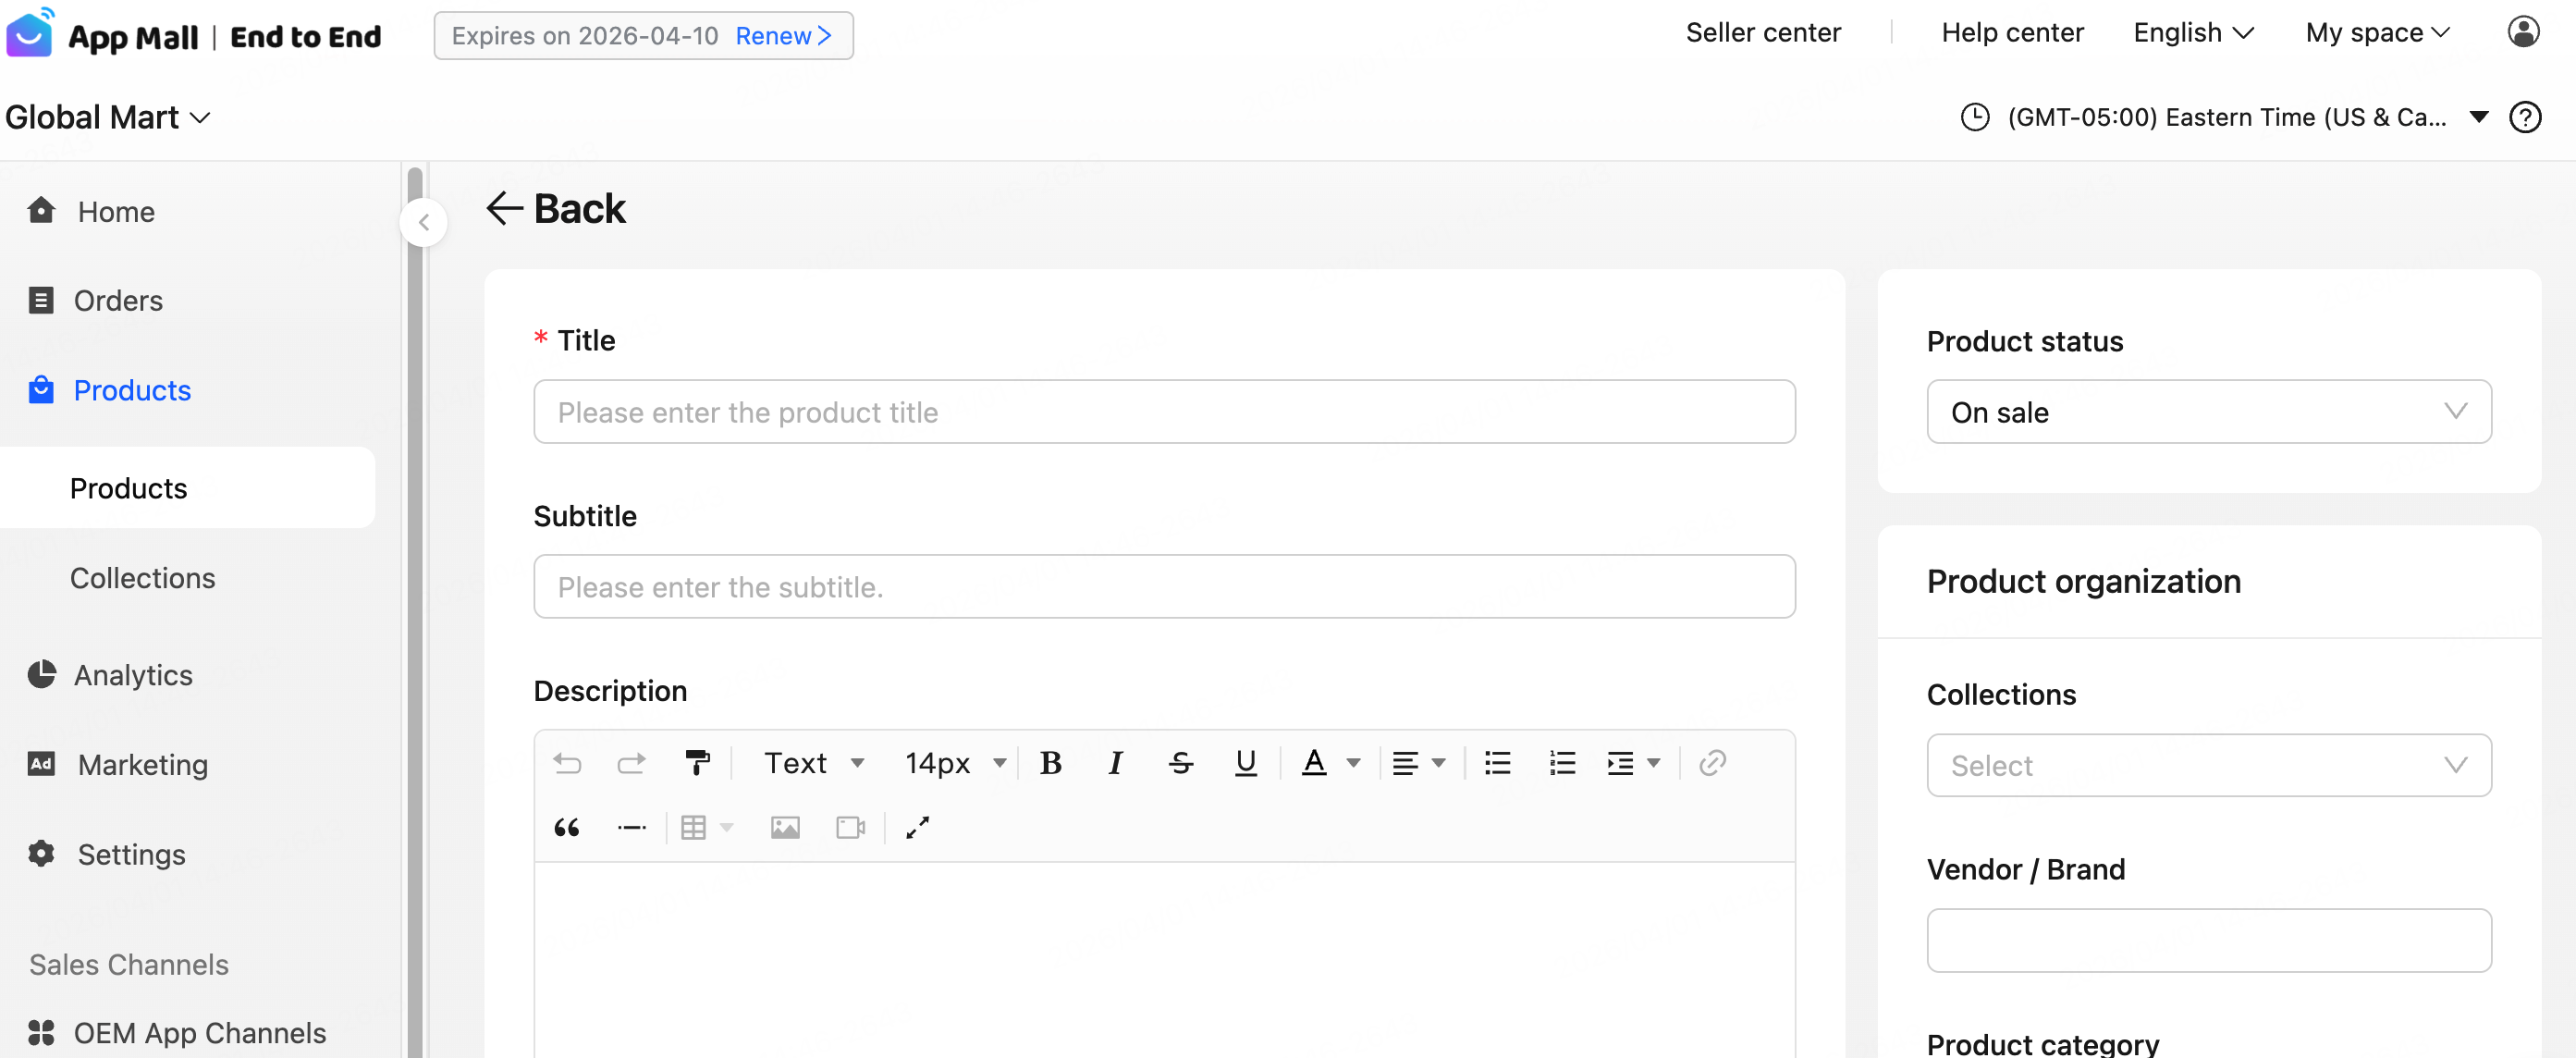
In the left-side navigation menu, choose Products > Products. On the Products page, click New product to add a product.
If you have many products or multiple series, it is recommended to manage them using Collections.
-
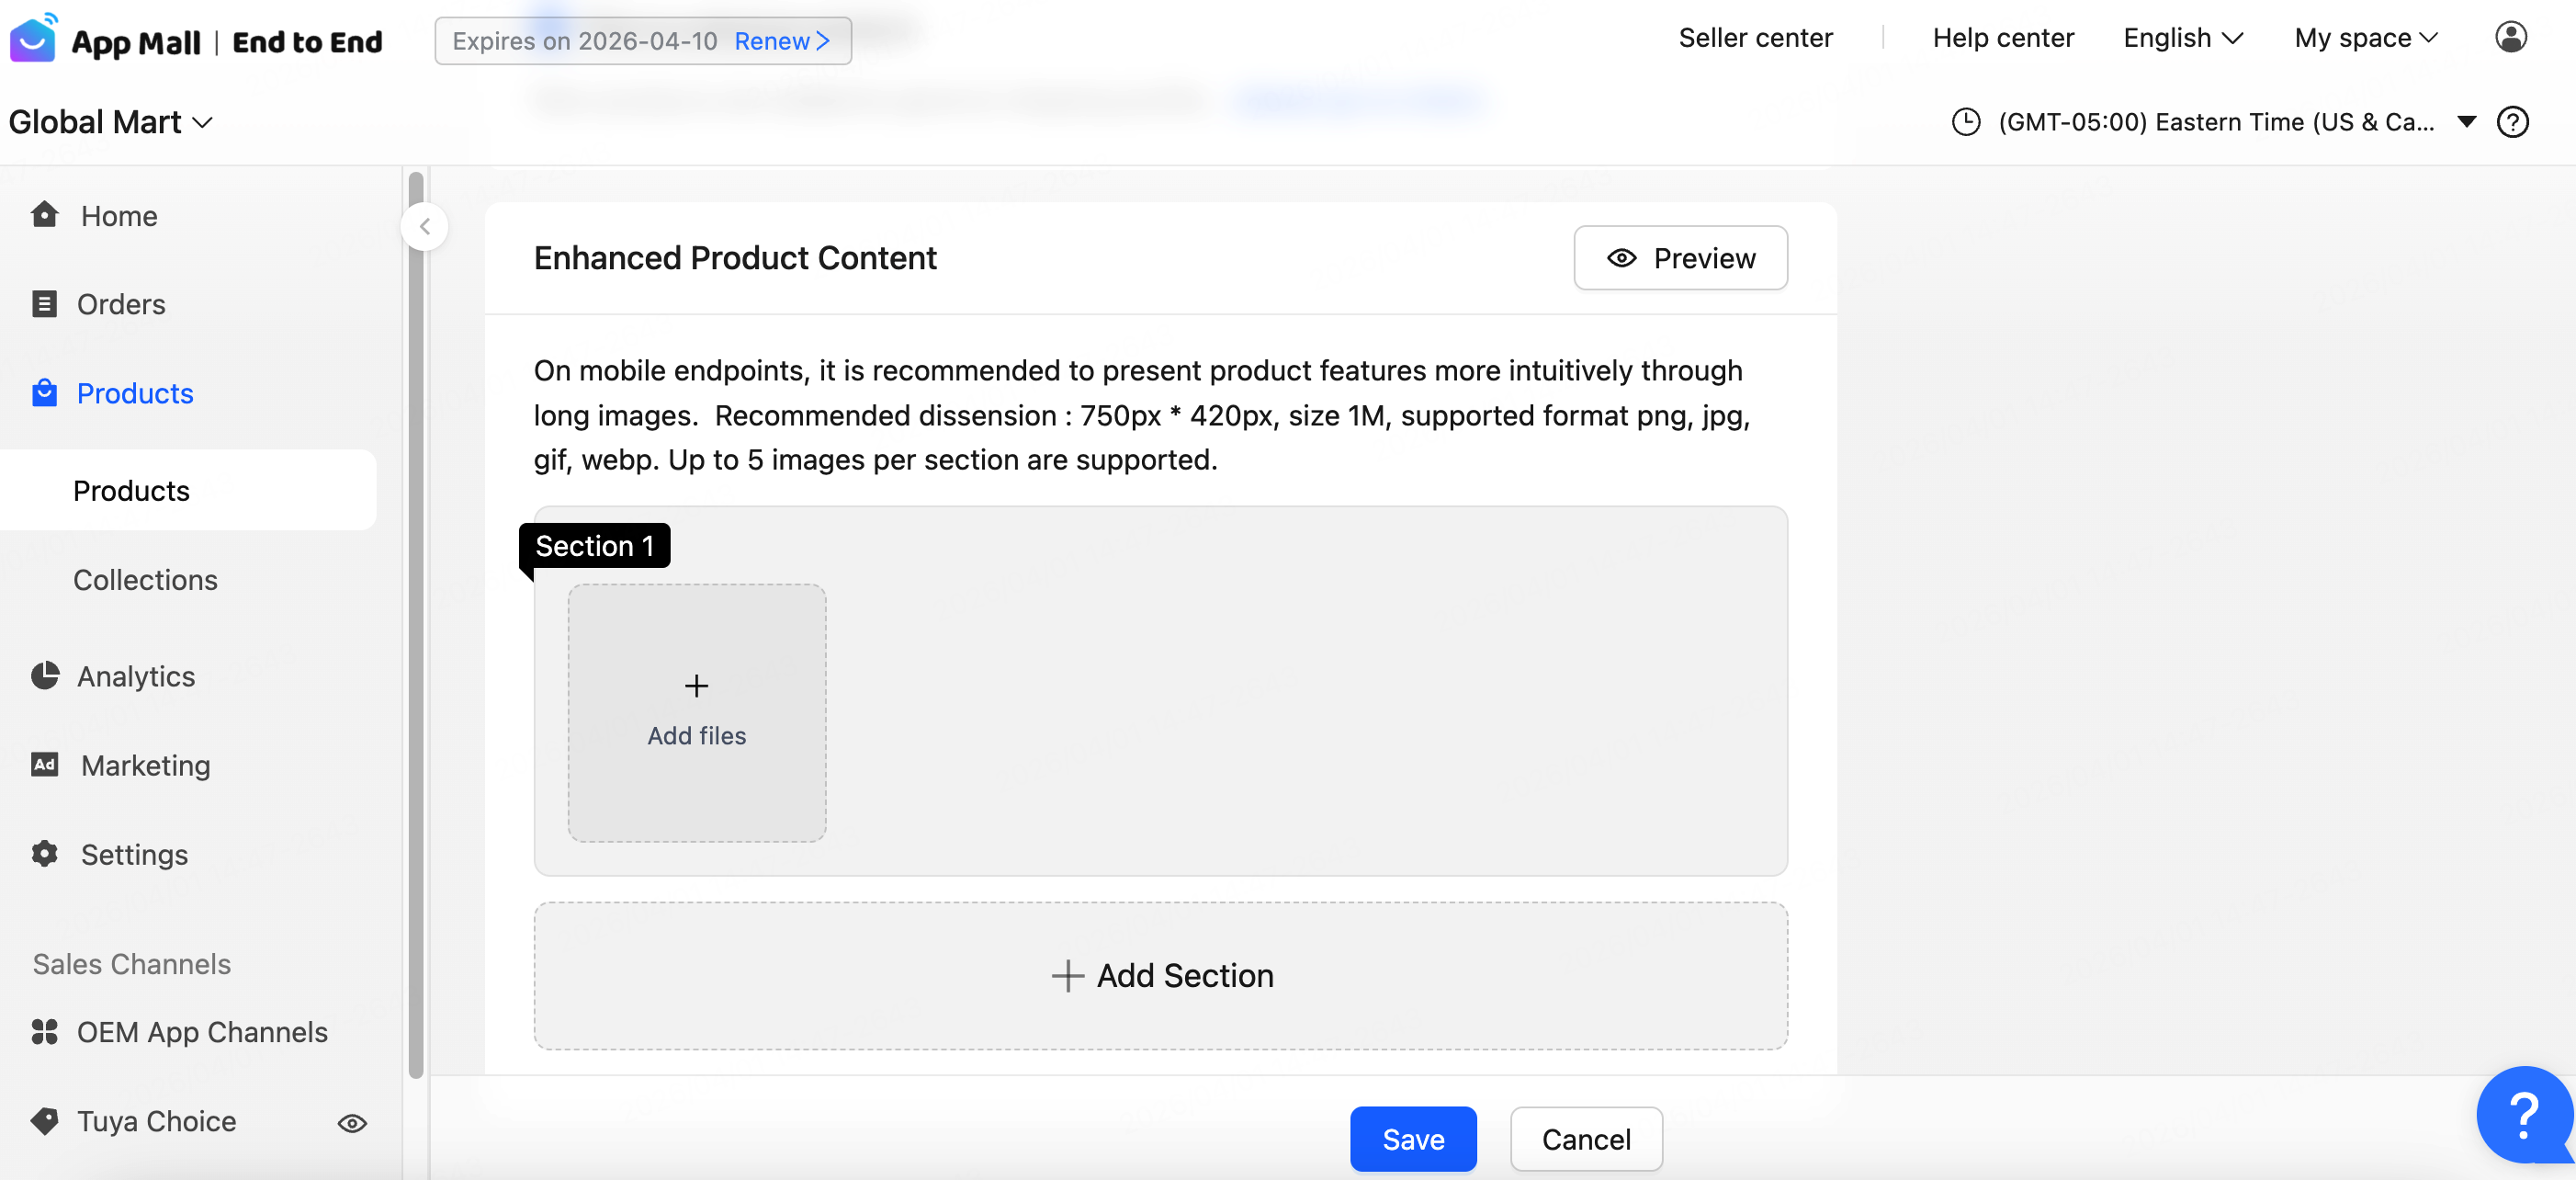
When adding a new product, it is recommended to fill in the brand, category, and enhanced product content completely and accurately. The shopping miniapp will reference this information when users perform searches.
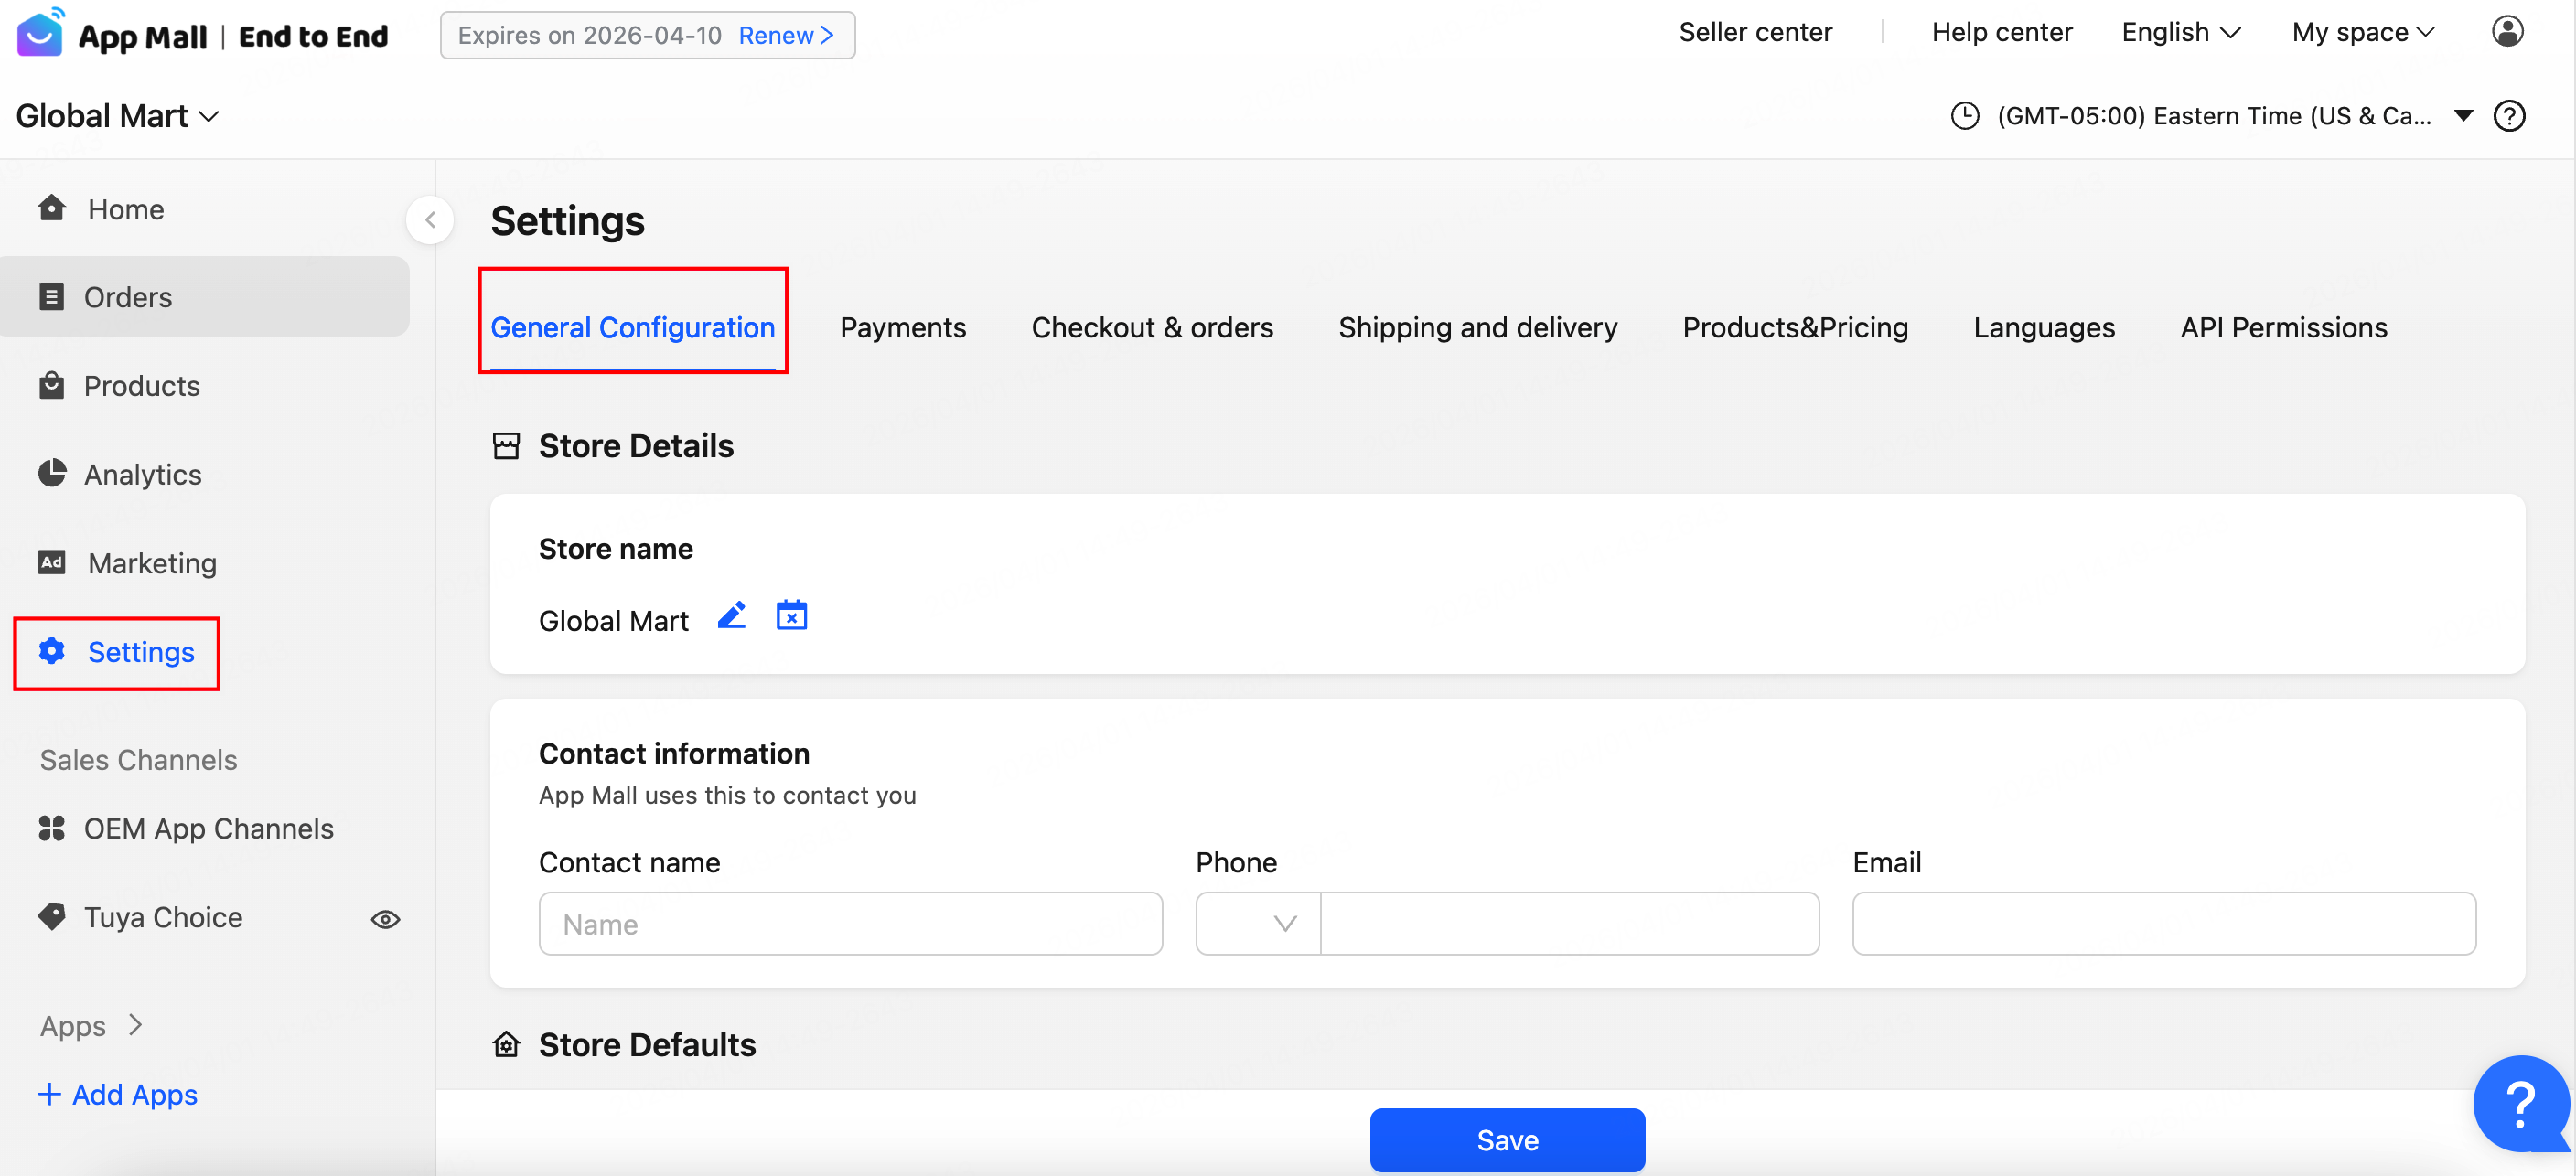
Add contact information
In the left-side navigation menu, click Settings. Then, add contact information under General Configuration > Contact information. This facilitates both Tuya and users in reaching you.
- After a user places an order, an email notification will be sent, which will include your contact information.
- Tuya will also use this email address to send you important information related to the mall, such as notifications for new orders.
Configure shipping regions and rates
After the store is initialized, a general shipping template is generated by default, applicable to all products in the store.
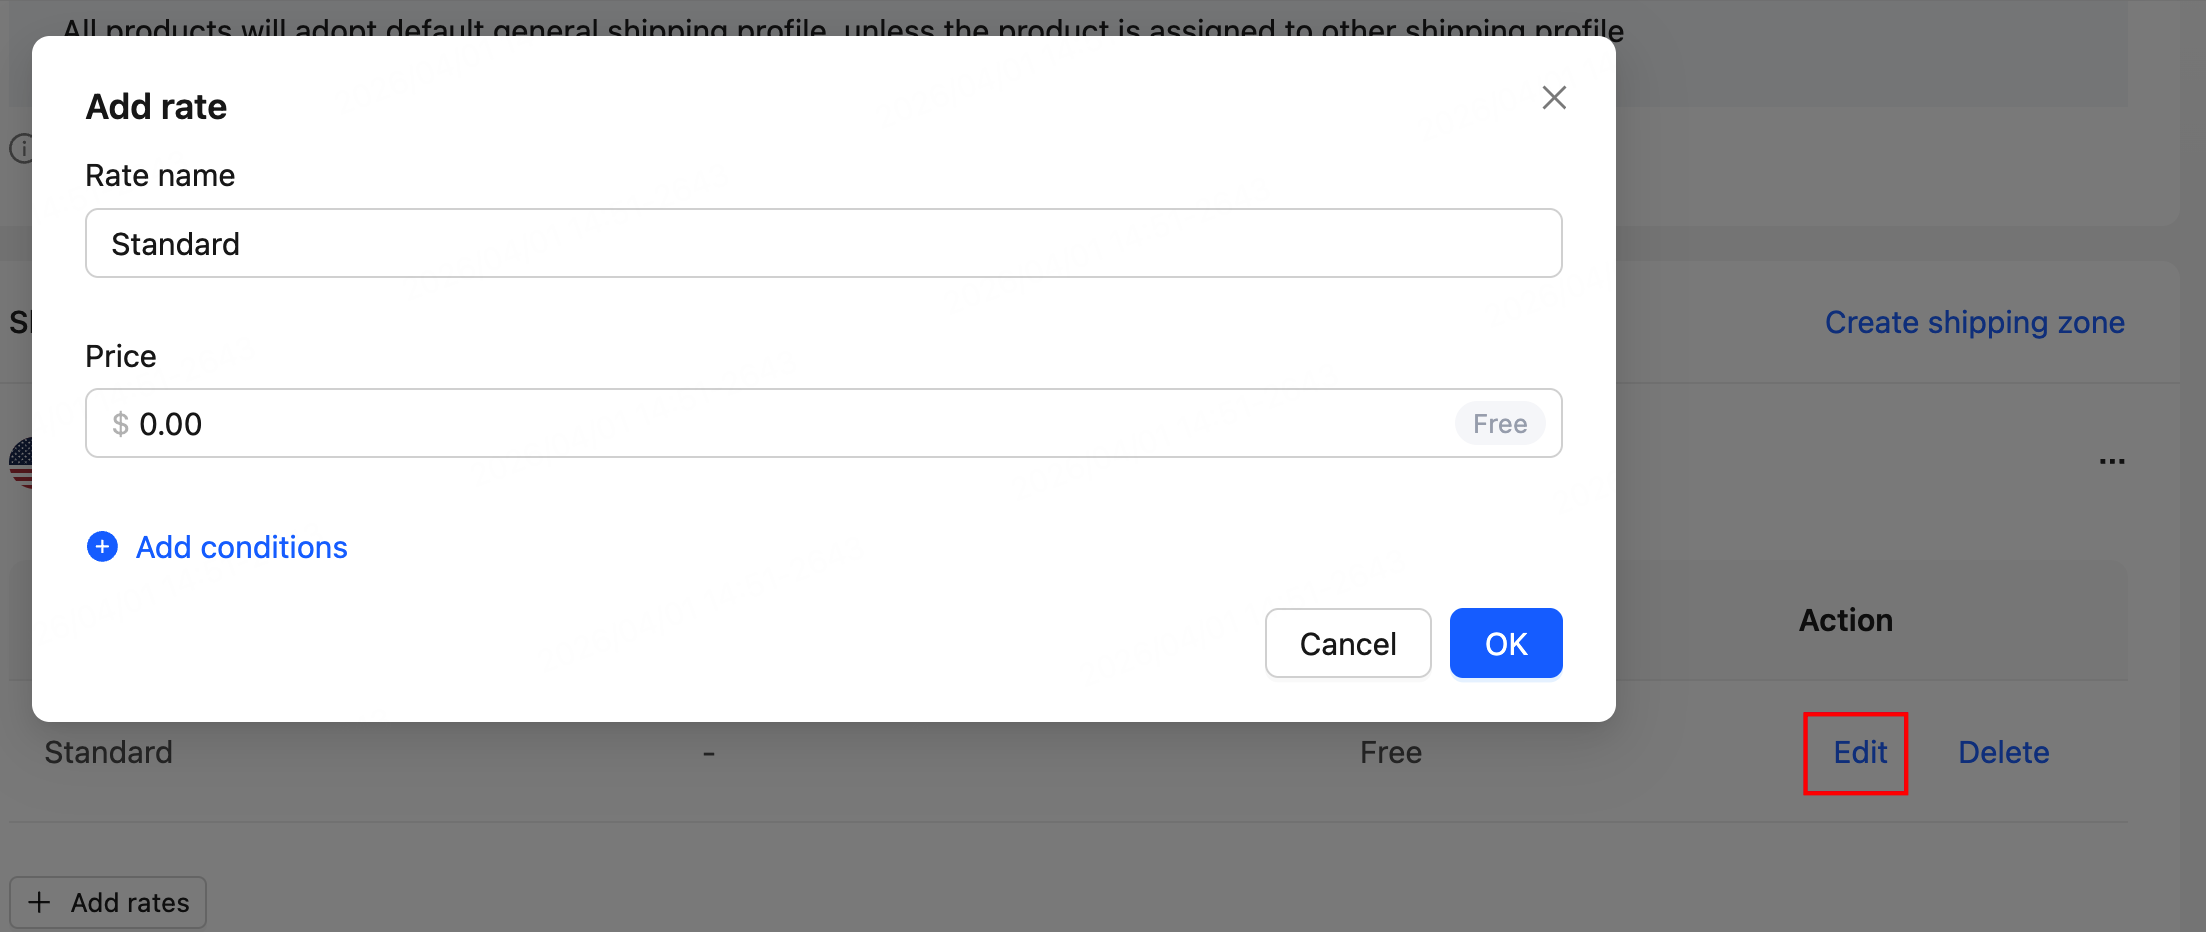
Shipping rates are not configured by default. Click Manage under Shipping and delivery > General shipping rates and configure your actual shipping rate information for the store.
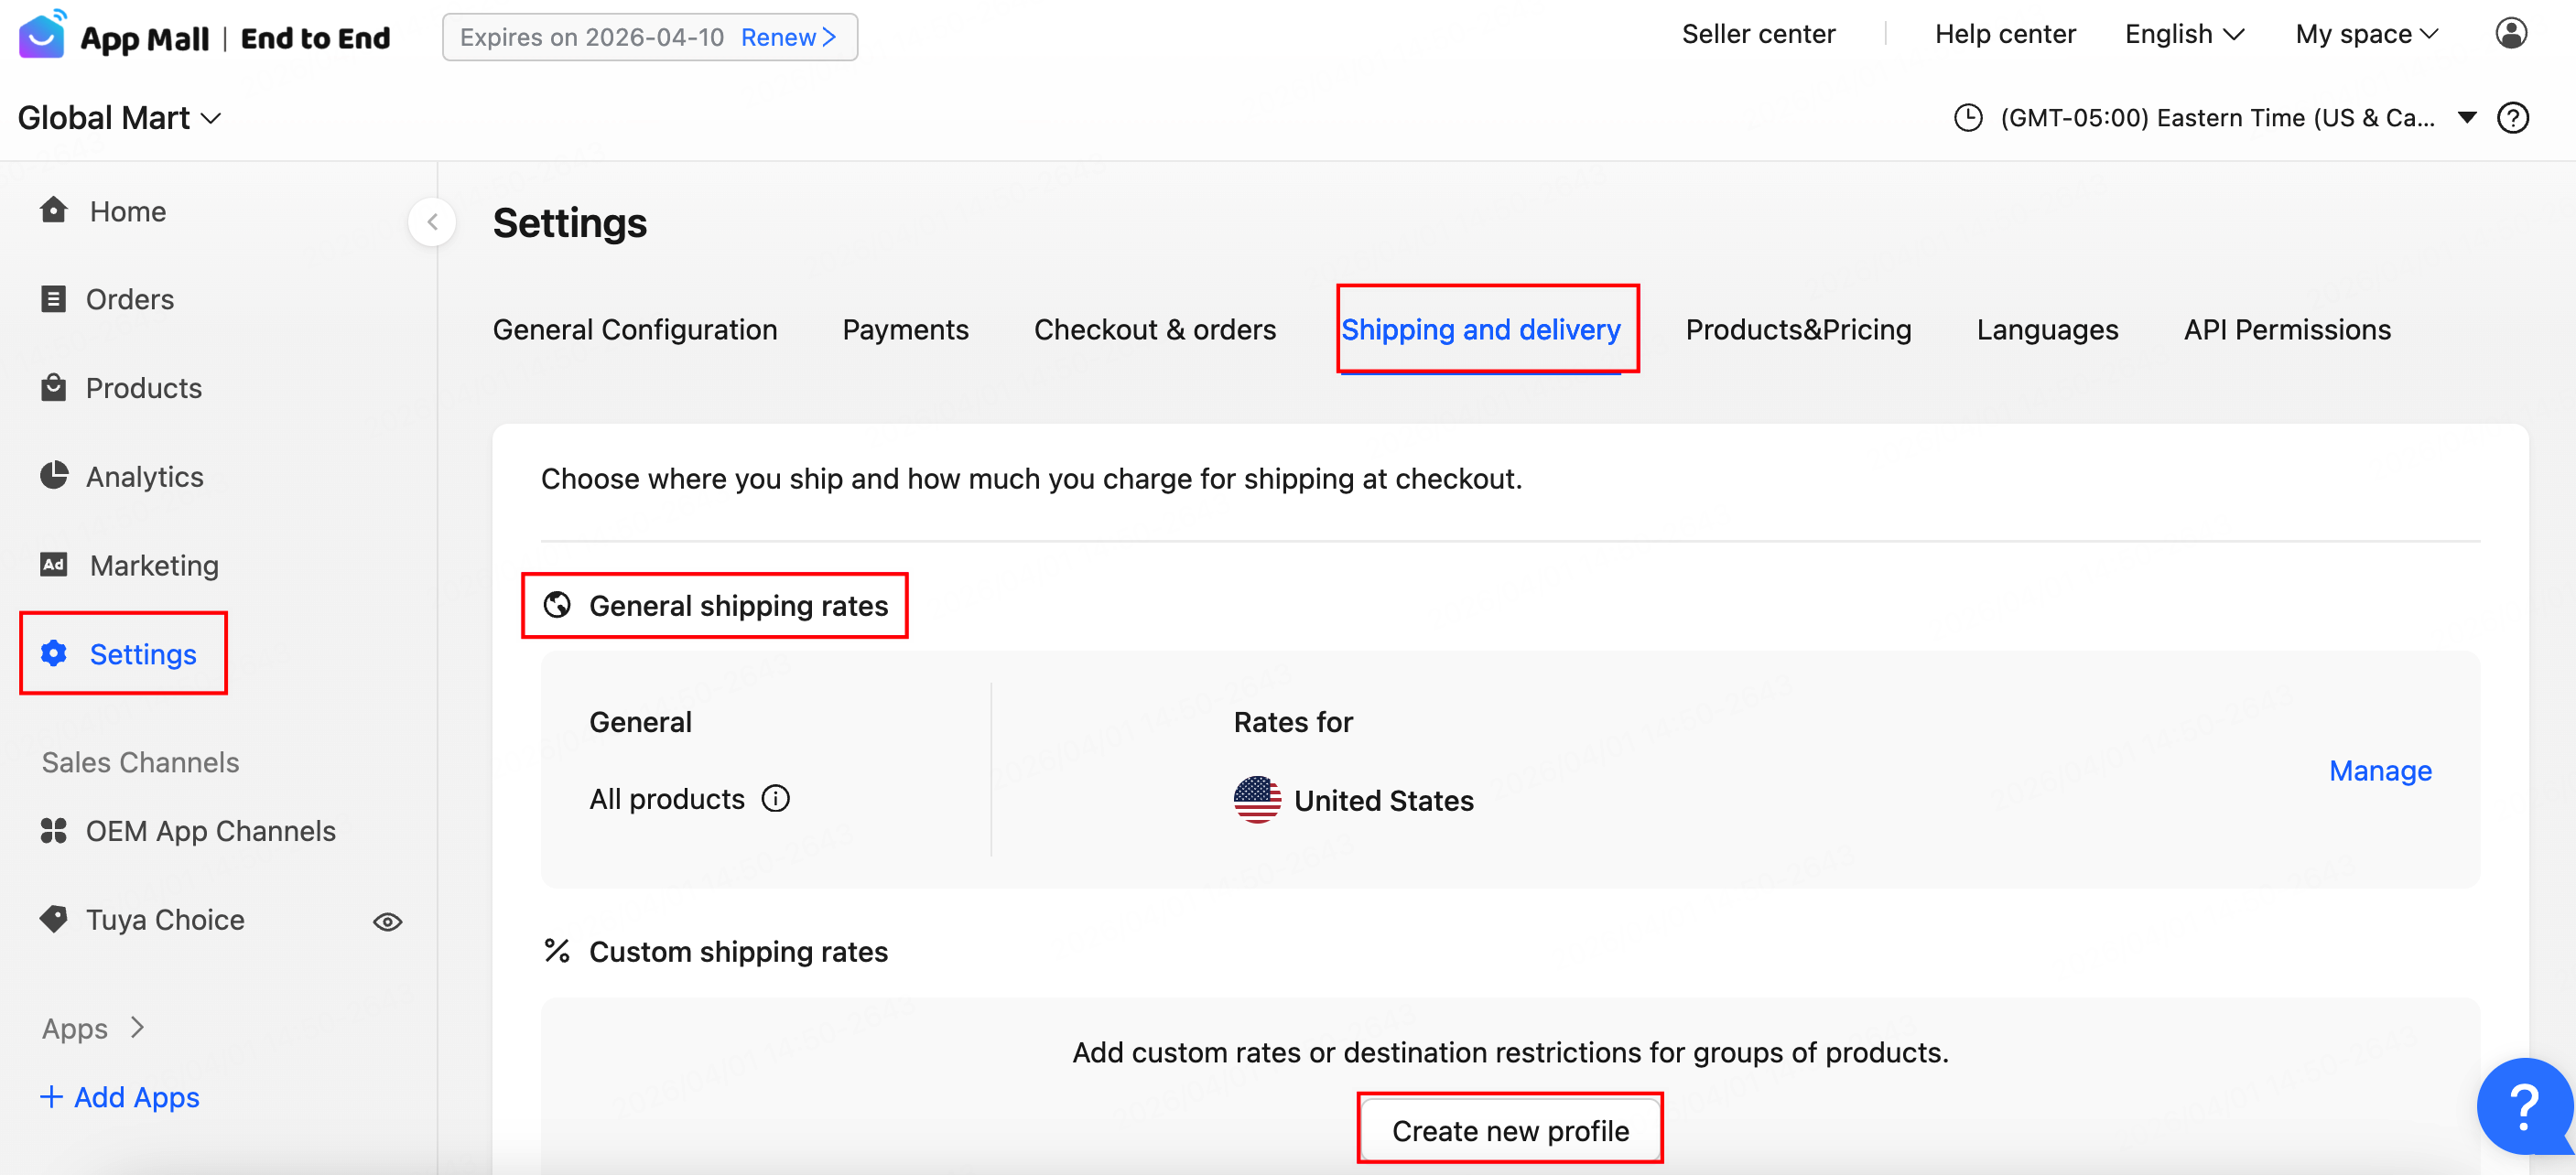
To manage a shipping rate, click Edit in the Action column, then complete the configuration in the Add rate window.
Product listing and selling
Publish the store page
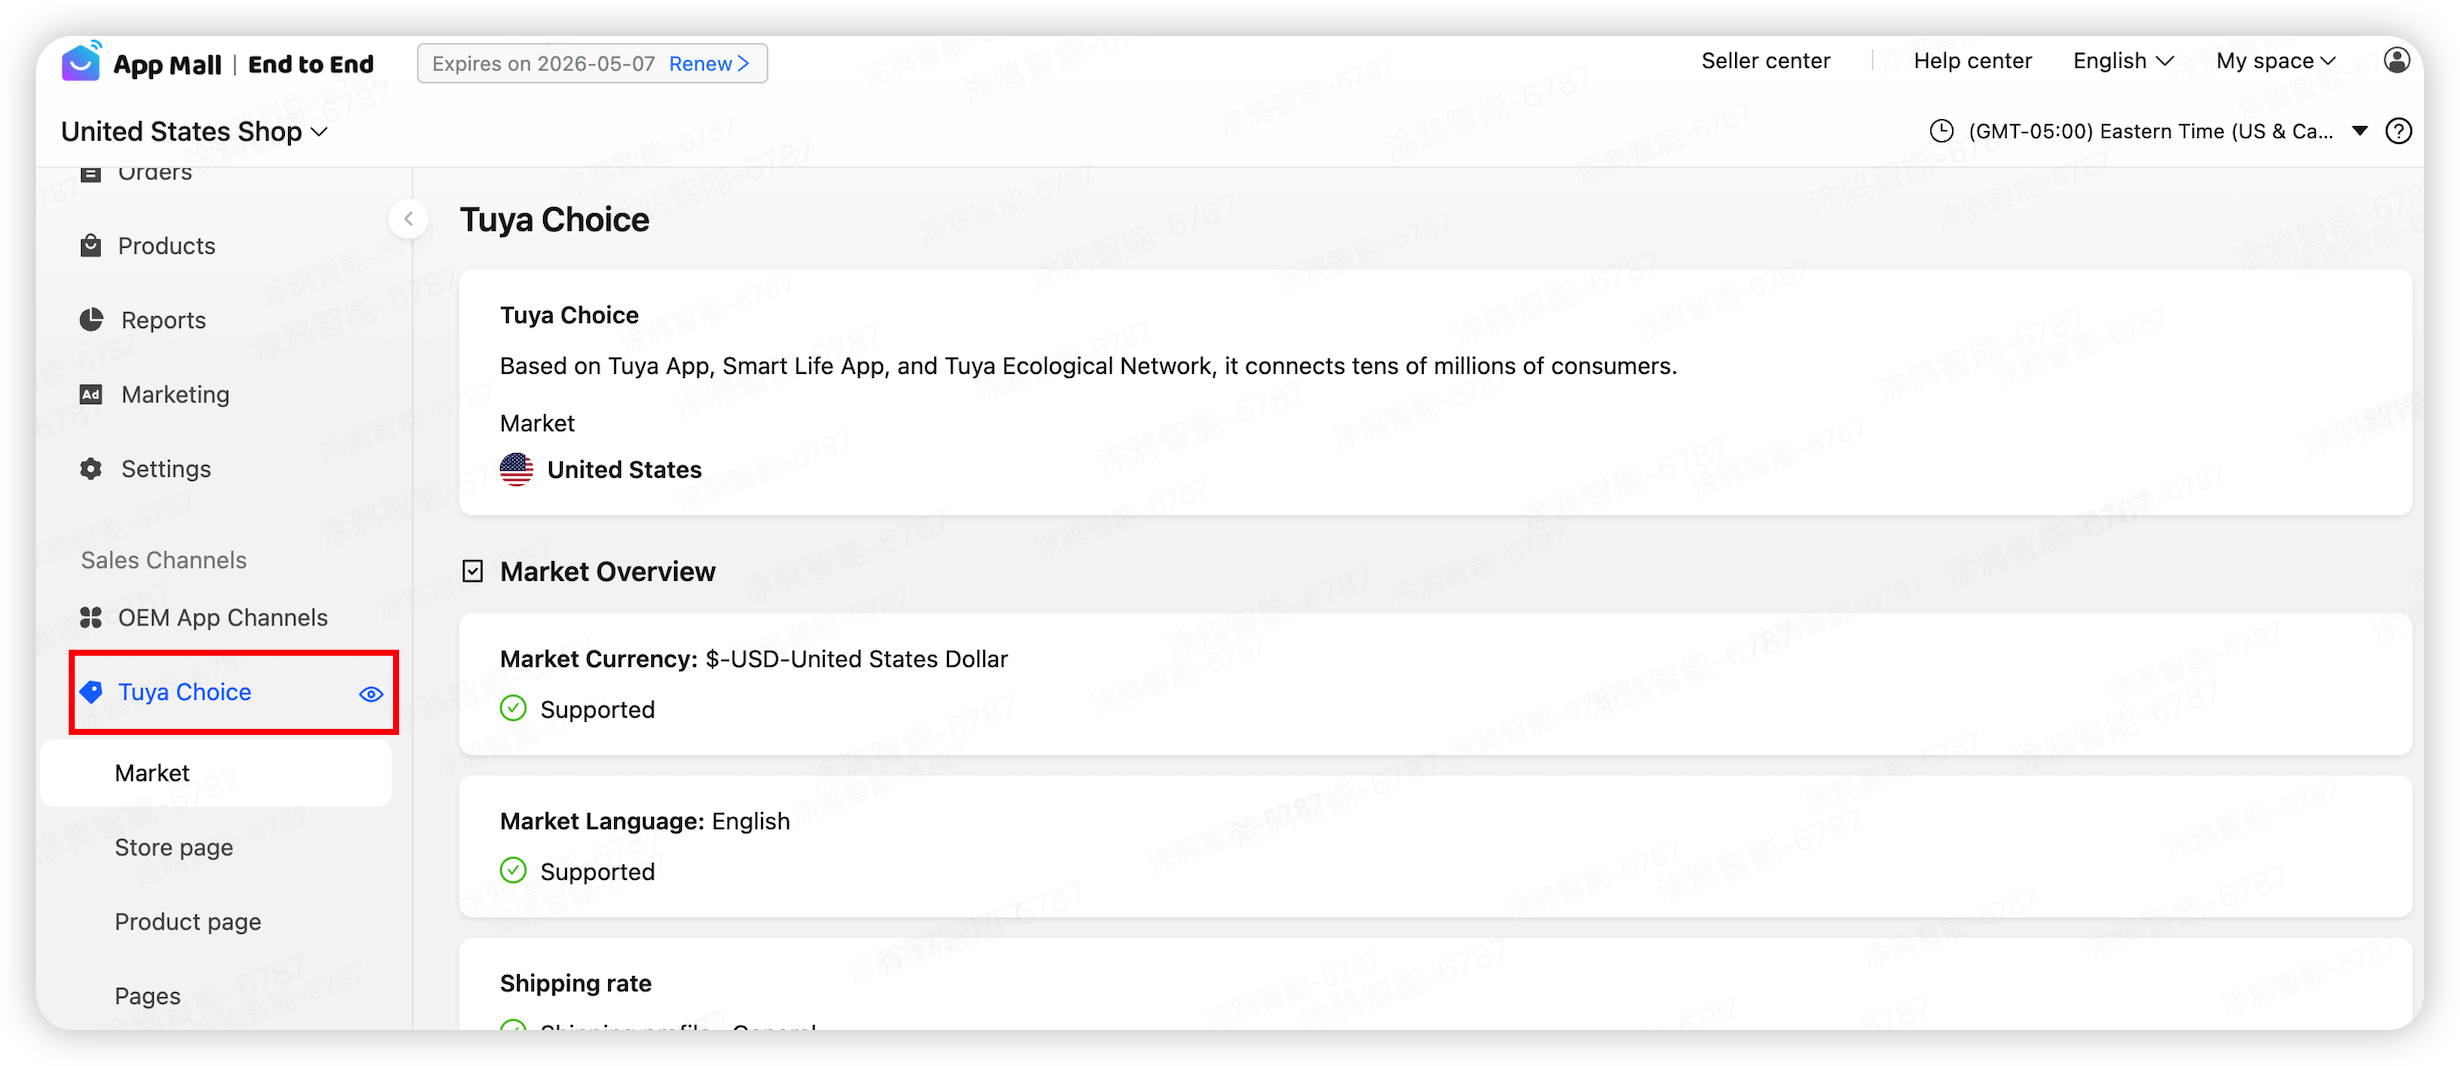
- Tuya Choice: If your store has been approved, click Tuya Choice in the left-side navigation menu. The interface will appear as shown in the figure below.
- Manage your store: To manage your store, choose Tuya Choice > Store page.
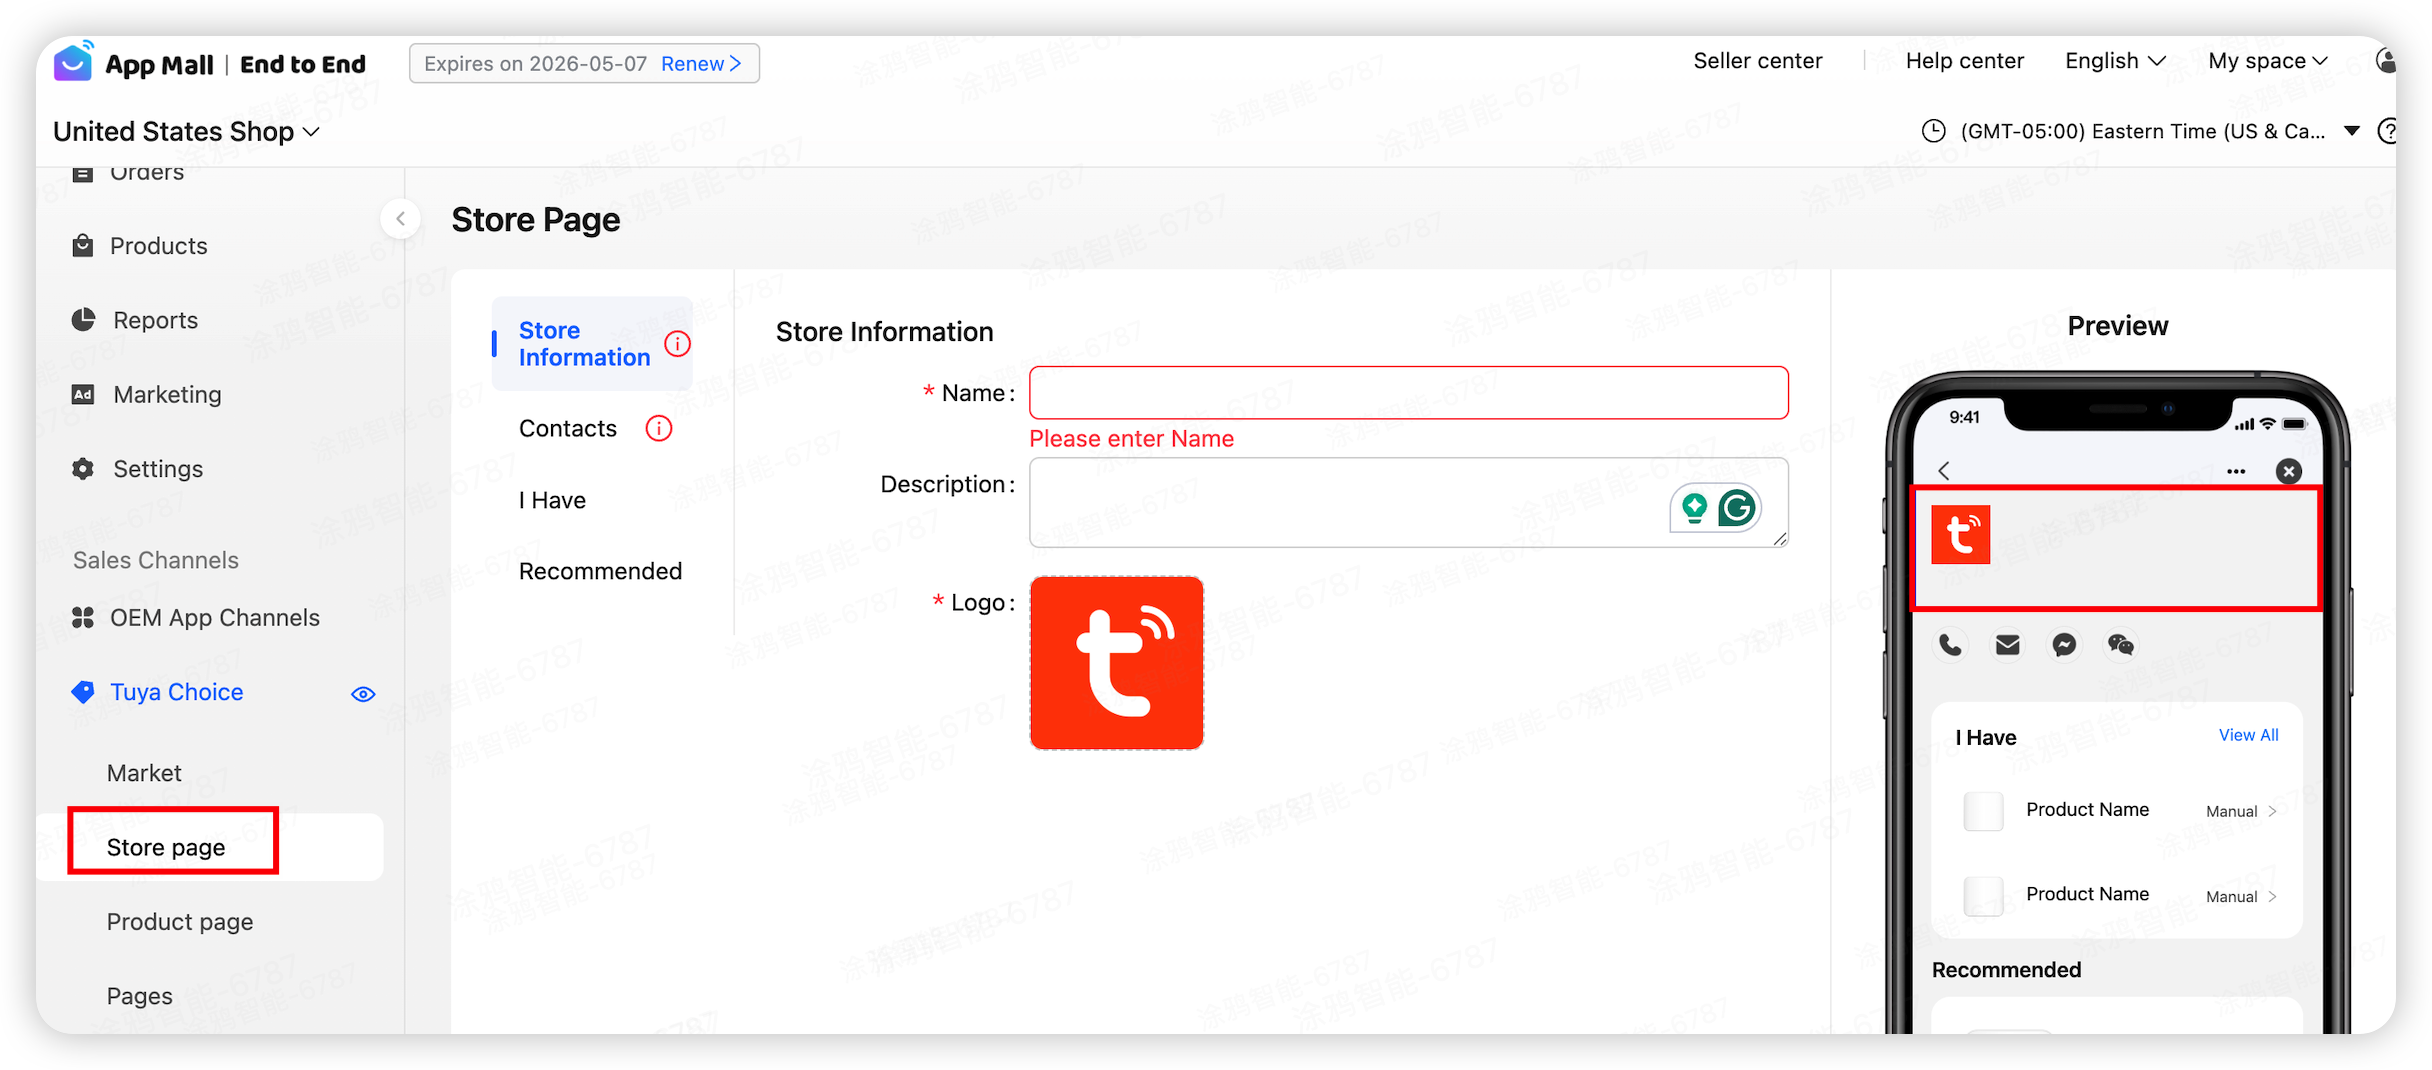
- After the store page is published, you need to configure the following information:
- Basic store information
- Contact information
- Recommended products
Users can view store information directly. Please maintain multilingual content. If your store targets the US market, you must fill in the information in English.
-
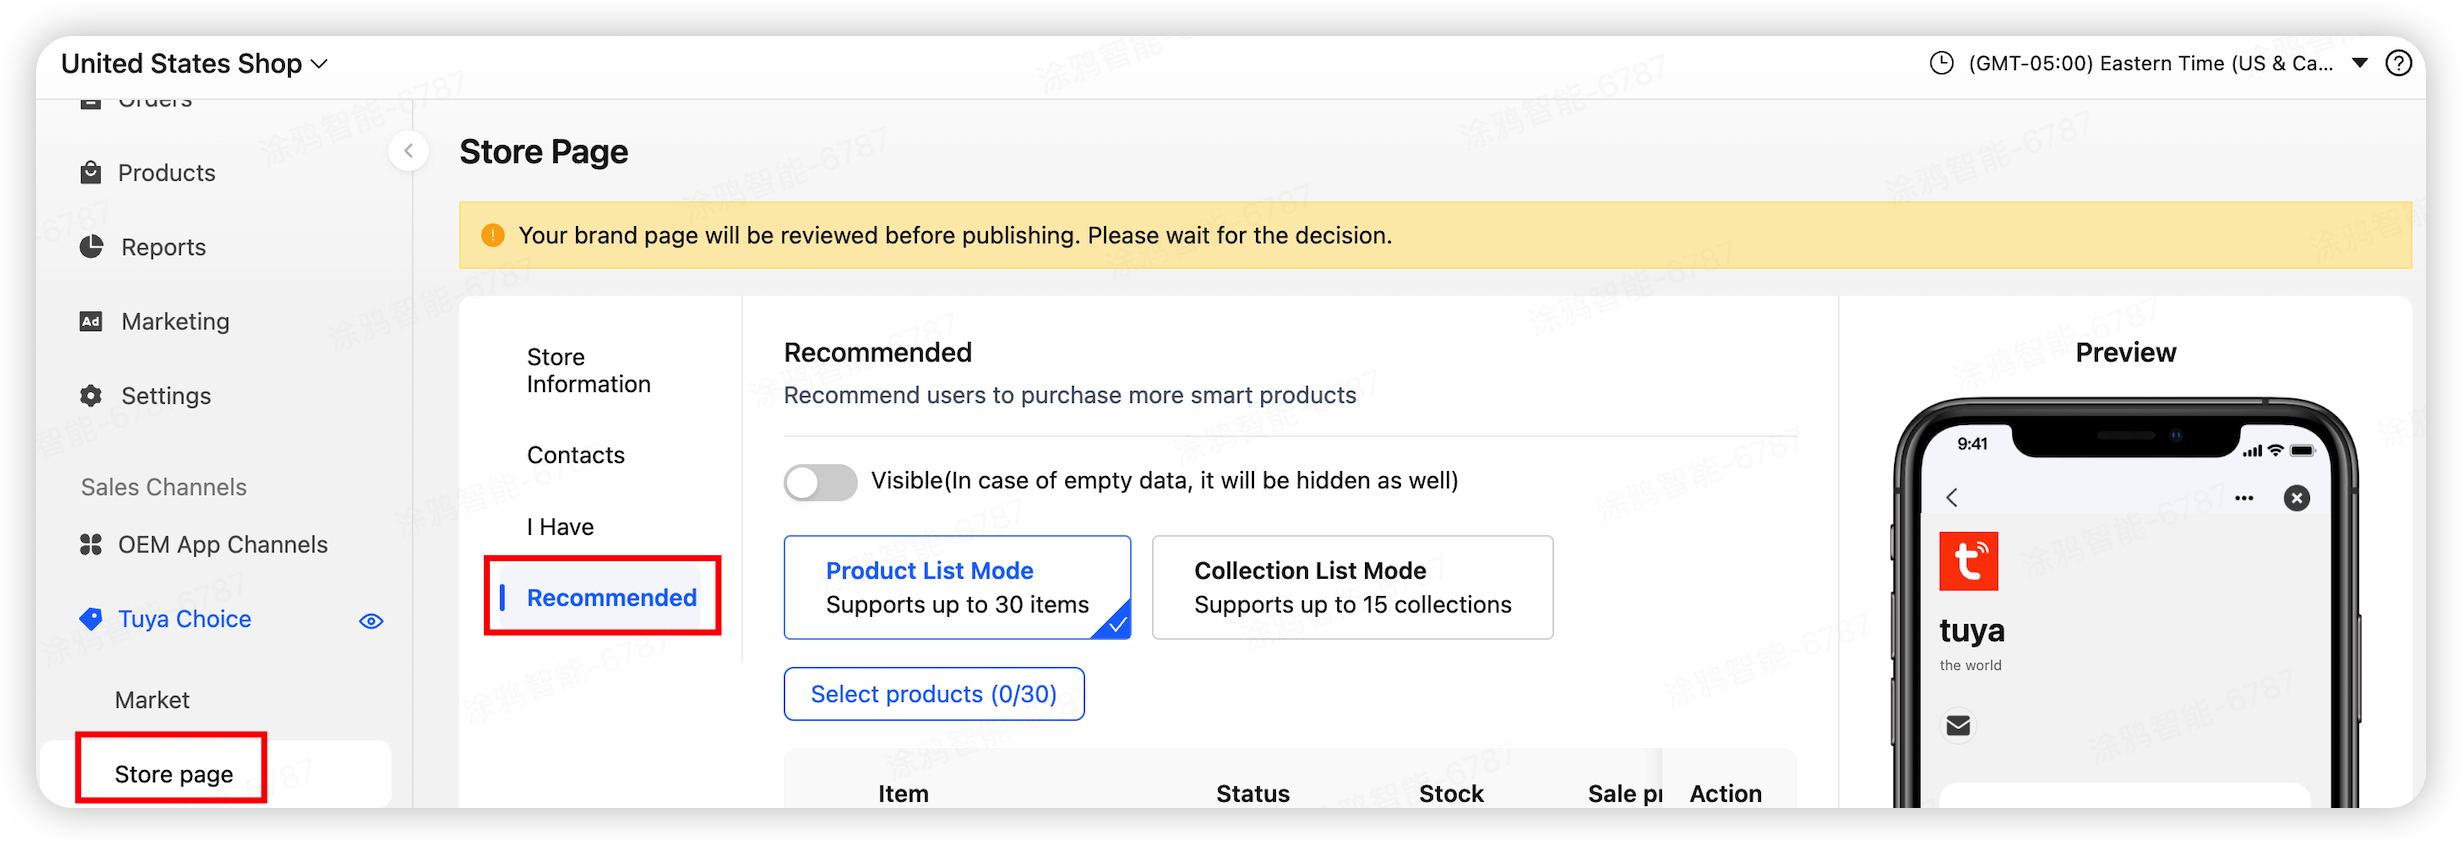
On the Store Page, click Recommended and select either Product List Mode or Collection List Mode. You can refer to the preview image on the right to see the effect.
- Product list mode: Supports up to 30 products.
- Collection list mode: Supports more products.
-
After configuration, click Publish to publish the store page. Your products will then be listed and ready for sale.
For the first publication, Tuya will perform a review to ensure user experience and information accuracy. This typically takes 1–2 business days.
Publish the product details page
To better ensure a consistent product experience on the platform and achieve higher conversion rates, you need to maintain and publish the product details page.
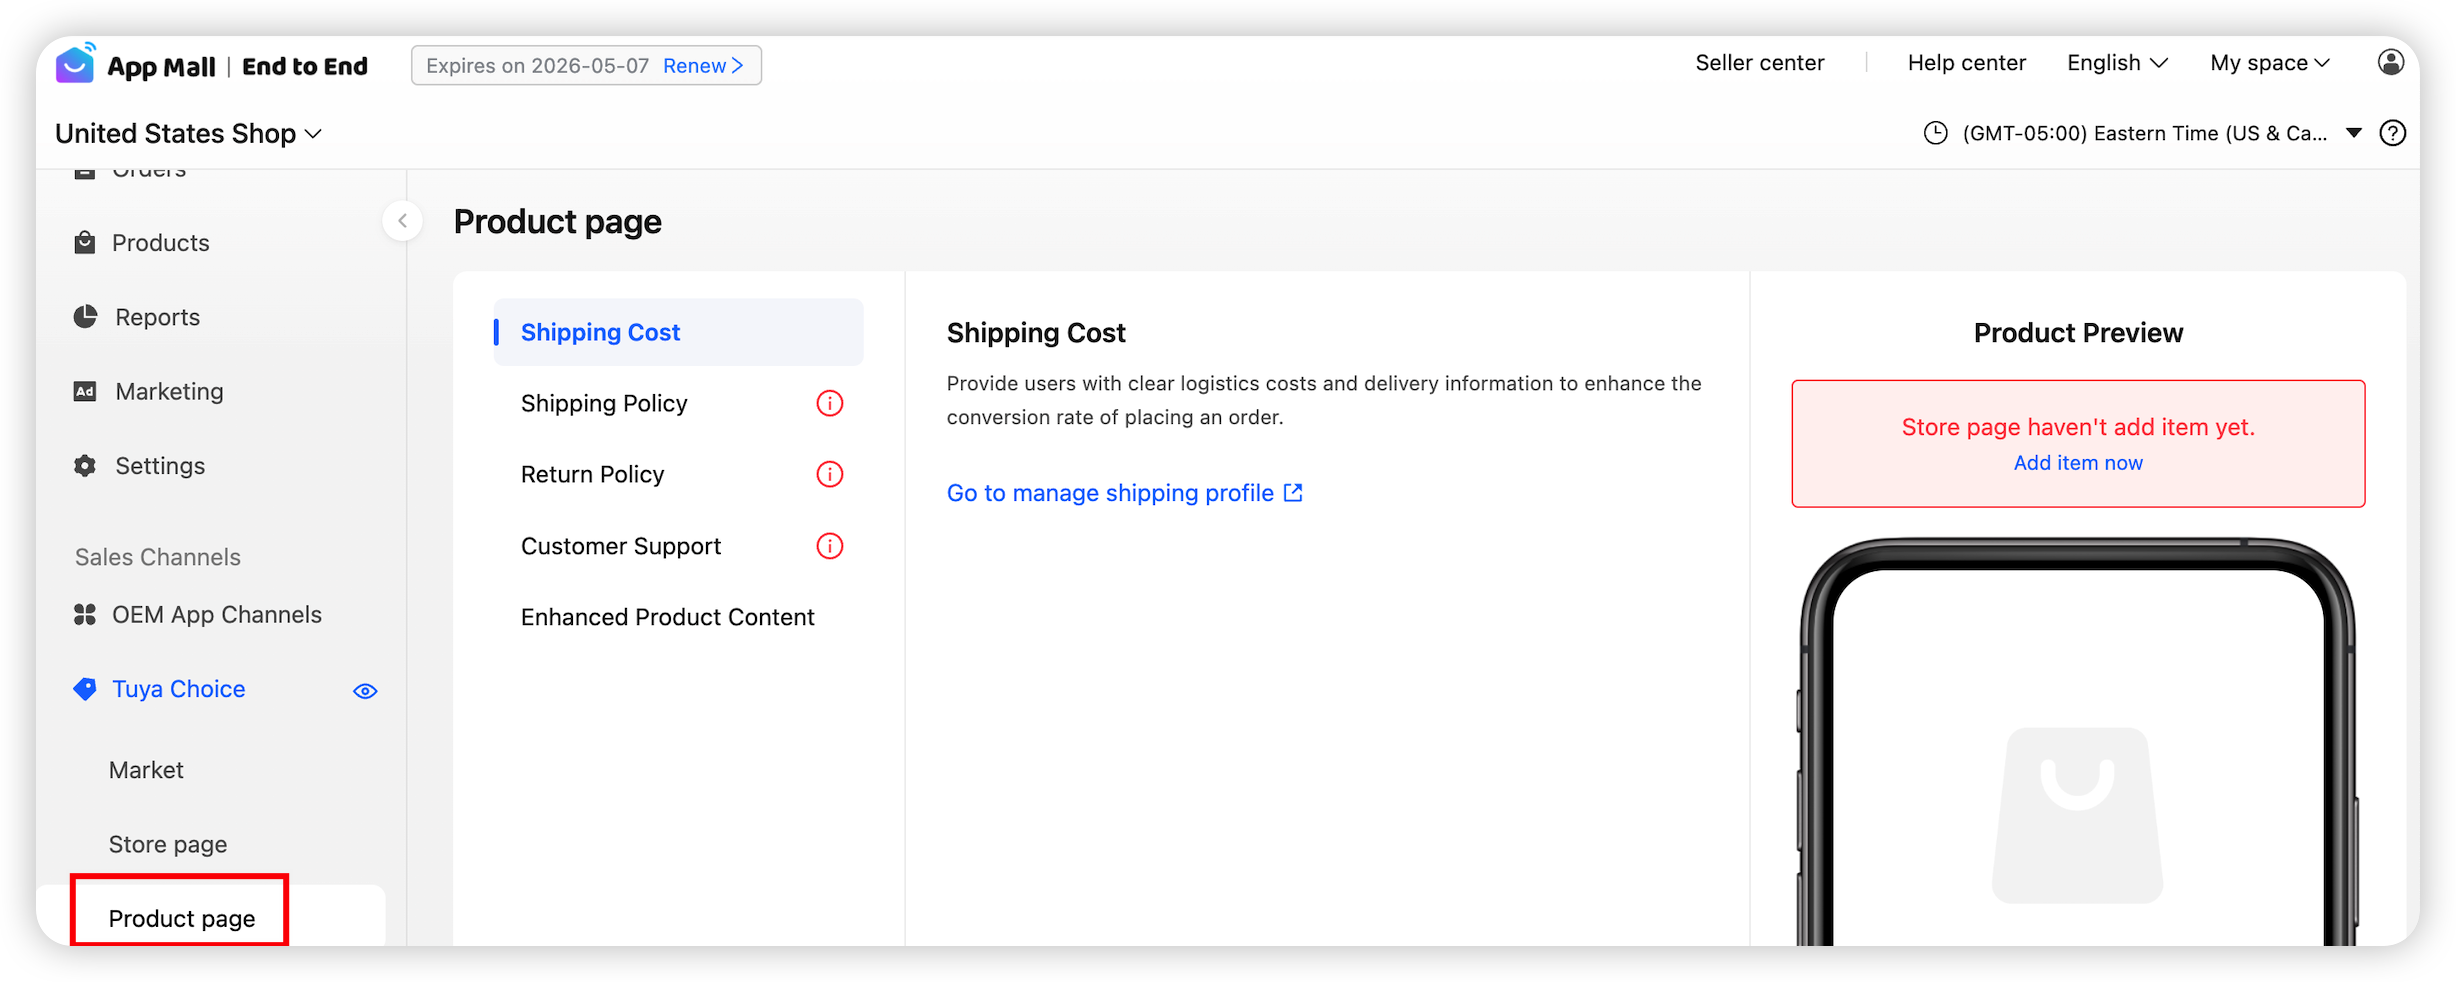
- Shipping cost: If you have already completed the configuration in the Configure shipping regions and rates section, you can skip this step.
- Shipping policy/return policy: Clear shipping and return policies help reduce concerns for consumers.
- Customer support: After-sales contact information is also essential for consumers.
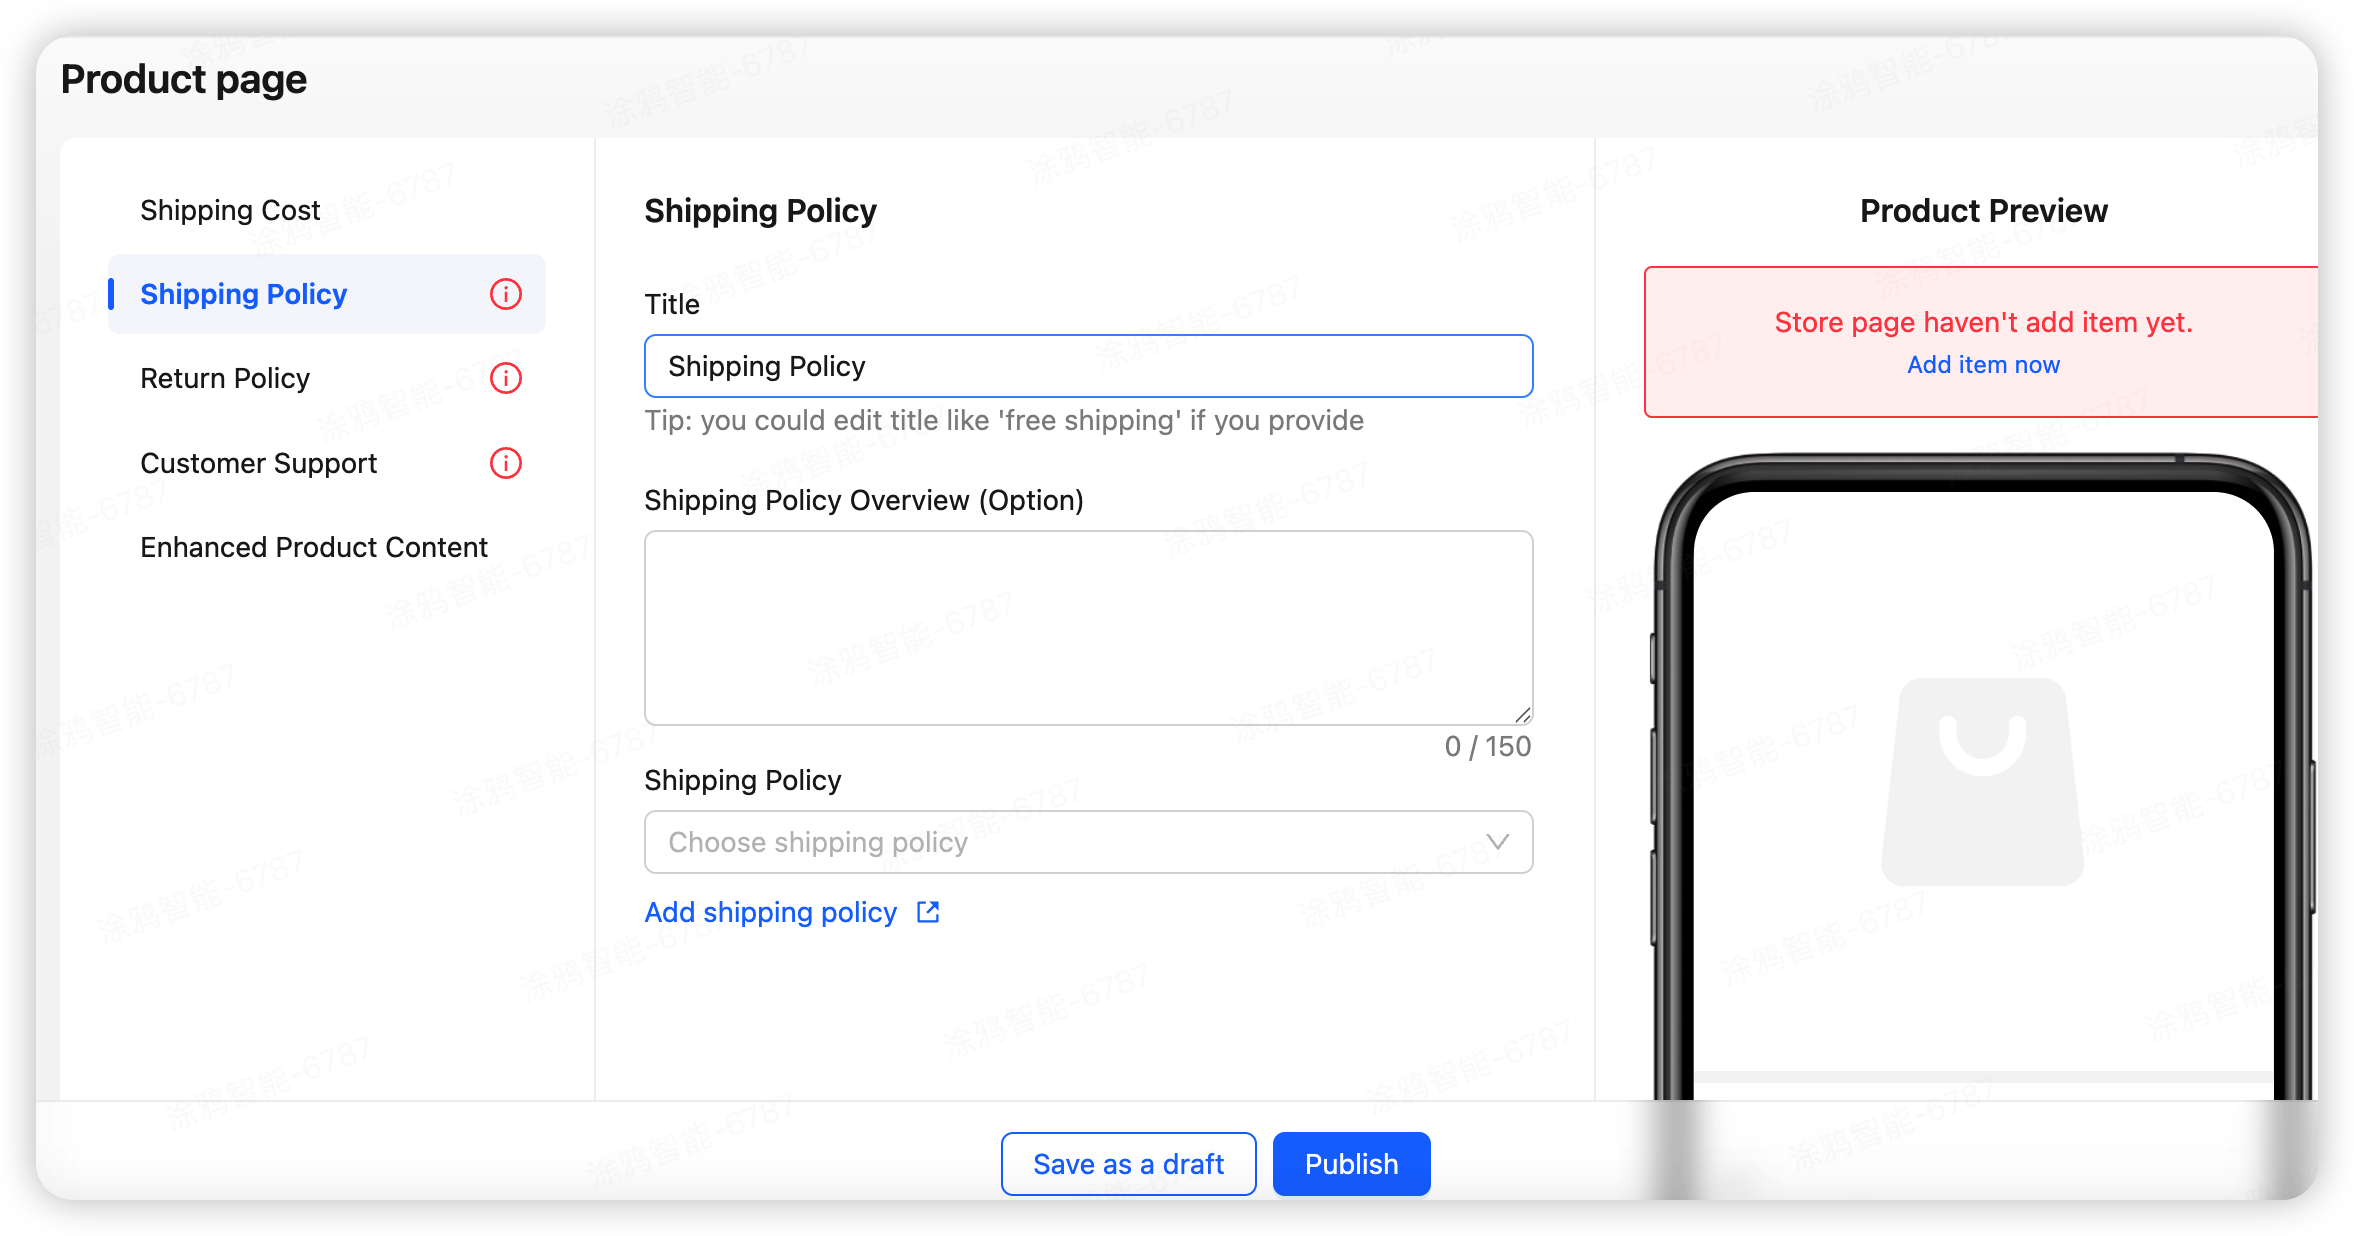
Users can view store information directly. Please maintain multilingual content. If your store targets the US market, you must fill in the information in English.
Share and discover your store
After your store is activated, you can share its QR code to users, so they can scan the QR code to quickly access your store page.
You can also configure the discovery mechanism within the app, allowing more app users to automatically and quickly discover your store page.
For more information, see Share and Discover your Store.
Is this page helpful?
YesFeedbackIs this page helpful?
YesFeedback


