Manage Authorization
You can create multiple authorizations for a cloud project, get the authorization key, and thus build a multi-dimensional authorization system.
Login
-
Visit My Cloud Projects.
-
Click the target project.
-
Click the Authorization tab.
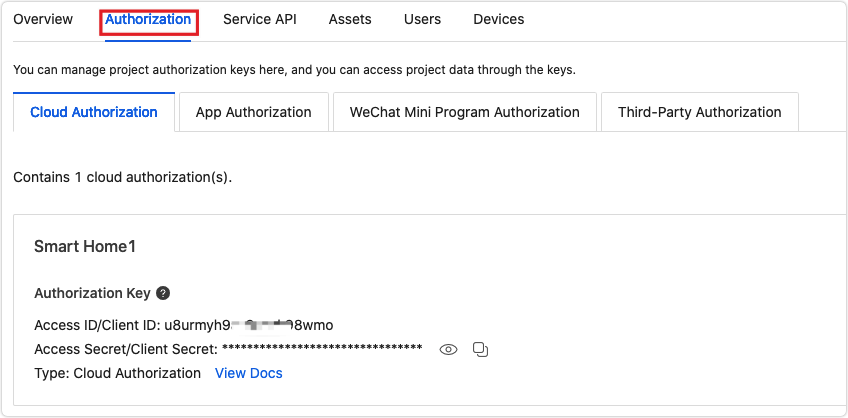
Cloud authorization
After a cloud project is created, Tuya Developer Platform generates a pair of authorization keys (client ID/client secret) for the project. You can use both keys to connect your cloud with the platform.
-
View the authorization key: In the Authorization Key section, you can view the key information of the project, including the client ID and client secret.
-
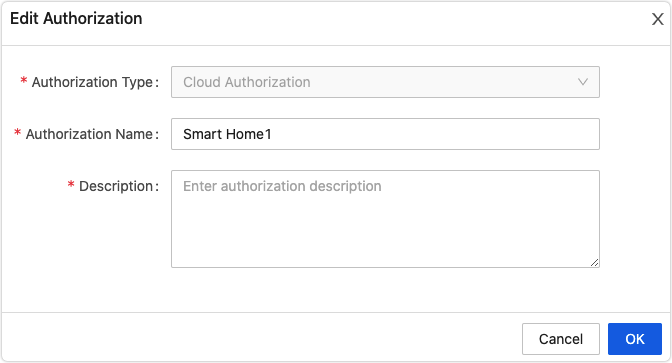
Edit information: You can click Edit to modify the Authorization Name and Description fields.
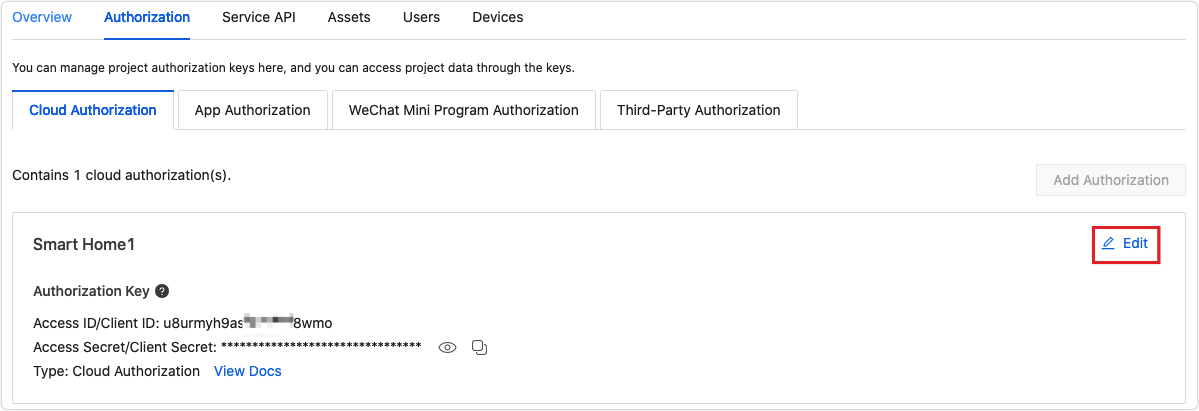
After you select a cloud project, the cloud project and its authorization information will be displayed on the Cloud Authorization tab. You cannot click Add Authorization on this page.
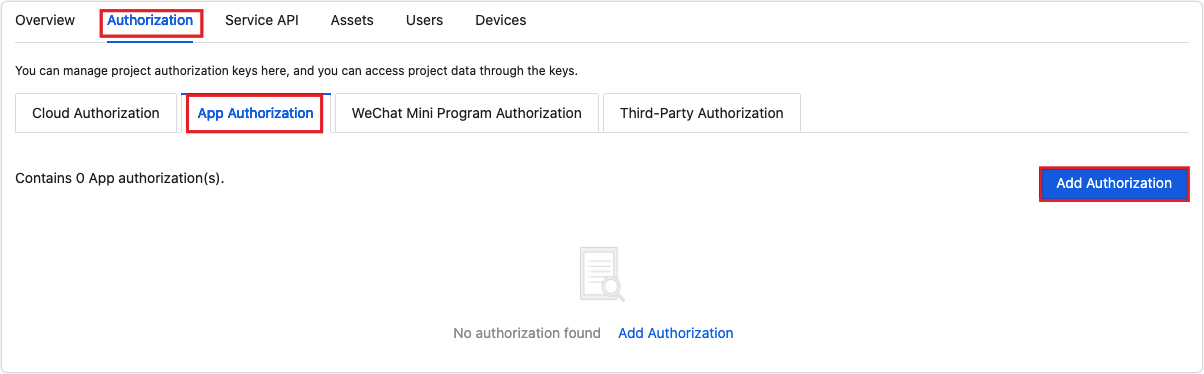
App authorization
Add app authorization
-
Visit My Cloud Projects.
-
Click the target project.
-
Choose Authorization > App Authorization.
-
On the App Authorization page, click Add Authorization.
-
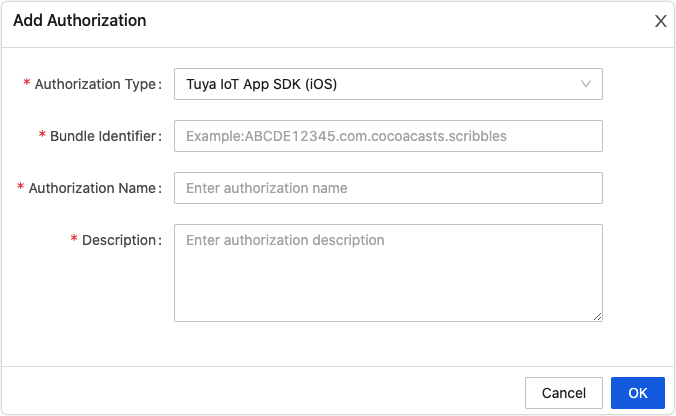
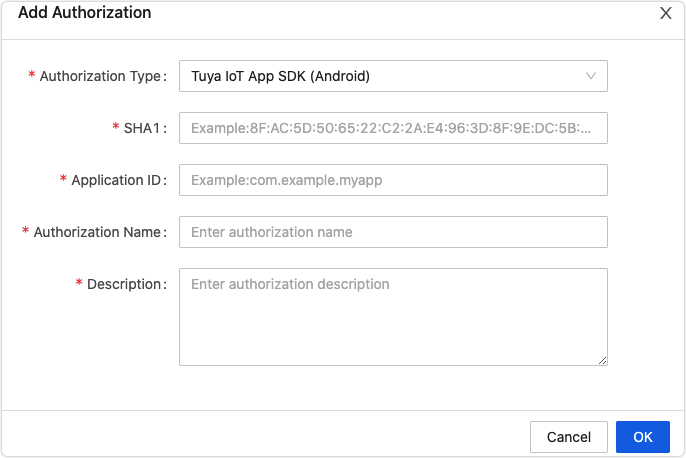
In the Add Authorization dialog box, complete the required information. The apps for iOS and Android are supported.
- iOS
- Android
- iOS
-
Click OK.
View the app authorization
-
View the authorization key: In the Authorization Key section, you can view the key information of the app, including the client ID and client secret.
-
Edit information: You can click Edit to modify the following information:
- iOS: Bundle Identifier, Application Name, and Description.
- Android: SHA1, Application ID, Application Name, and Description.
WeChat mini program authorization
Add WeChat mini program authorization
-
Visit My Cloud Projects.
-
Click the target project.
-
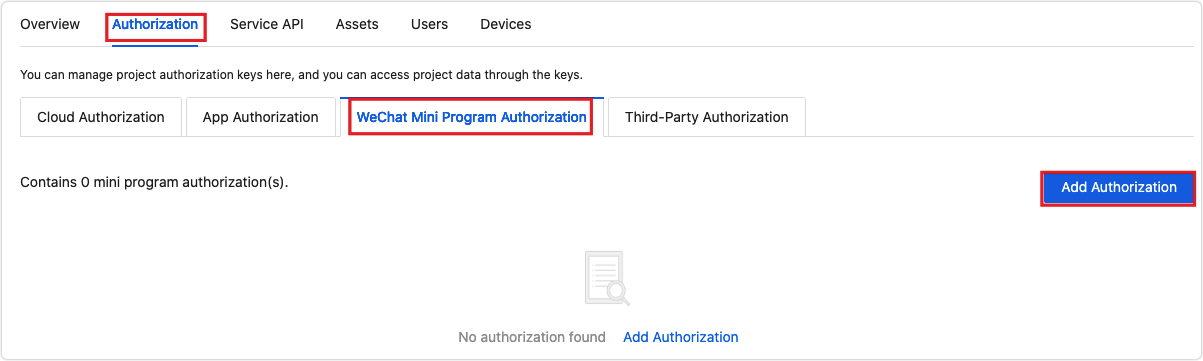
Choose Authorization > WeChat Mini Program Authorization.
-
On the WeChat Mini Program Authorization page, click Add Authorization.
-
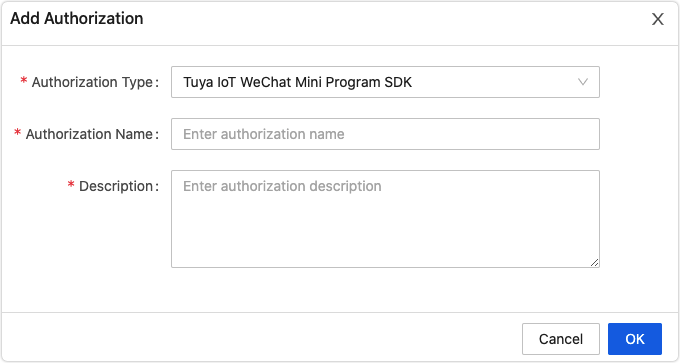
In the Add Authorization dialog box, complete the required information and click OK.
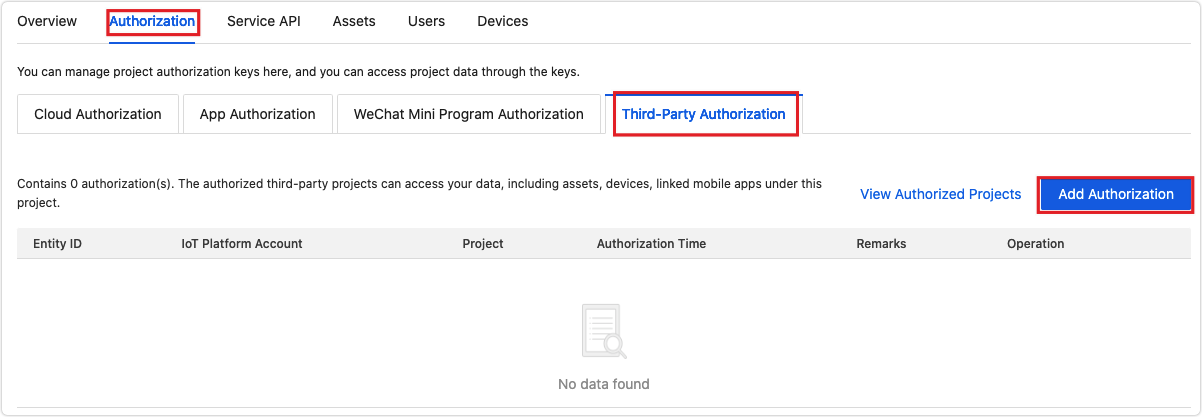
Third-party authorization
Add third-party authorization
-
Visit My Cloud Projects.
-
Click the target project.
-
Choose Authorization > Third-Party Authorization.
-
In the Third-Party Authorization page, click Add Authorization.
-
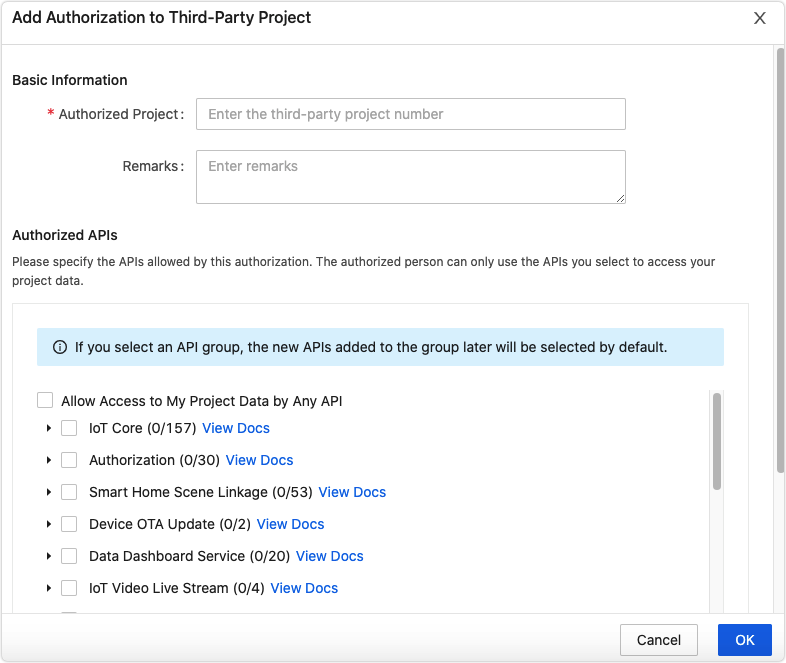
In the Add Authorization to Third-Party Project dialog box, complete the required information and click OK.
Currently, an added authorization cannot be deleted.
Is this page helpful?
YesFeedbackIs this page helpful?
YesFeedback


