Screen Management
Last Updated on : 2024-06-20 06:19:39download
Create a screen by using a template
-
Log in to the Tuya Developer Platform, and choose Data > Data Visualization.
-
On the screen list page, click Create Screen.
-
Select a template on the template list page and click Create Screen.

After the screen is created, navigate to the editing page.
Create a screen by using a blank screen
-
Log in to the Tuya Developer Platform, and choose Data > Data Visualization.
-
On the screen list page, click Create Screen.
-
Select the blank screen on the template list page and click Create Screen.

After the screen is created, navigate to the editing page.
Screen group
-
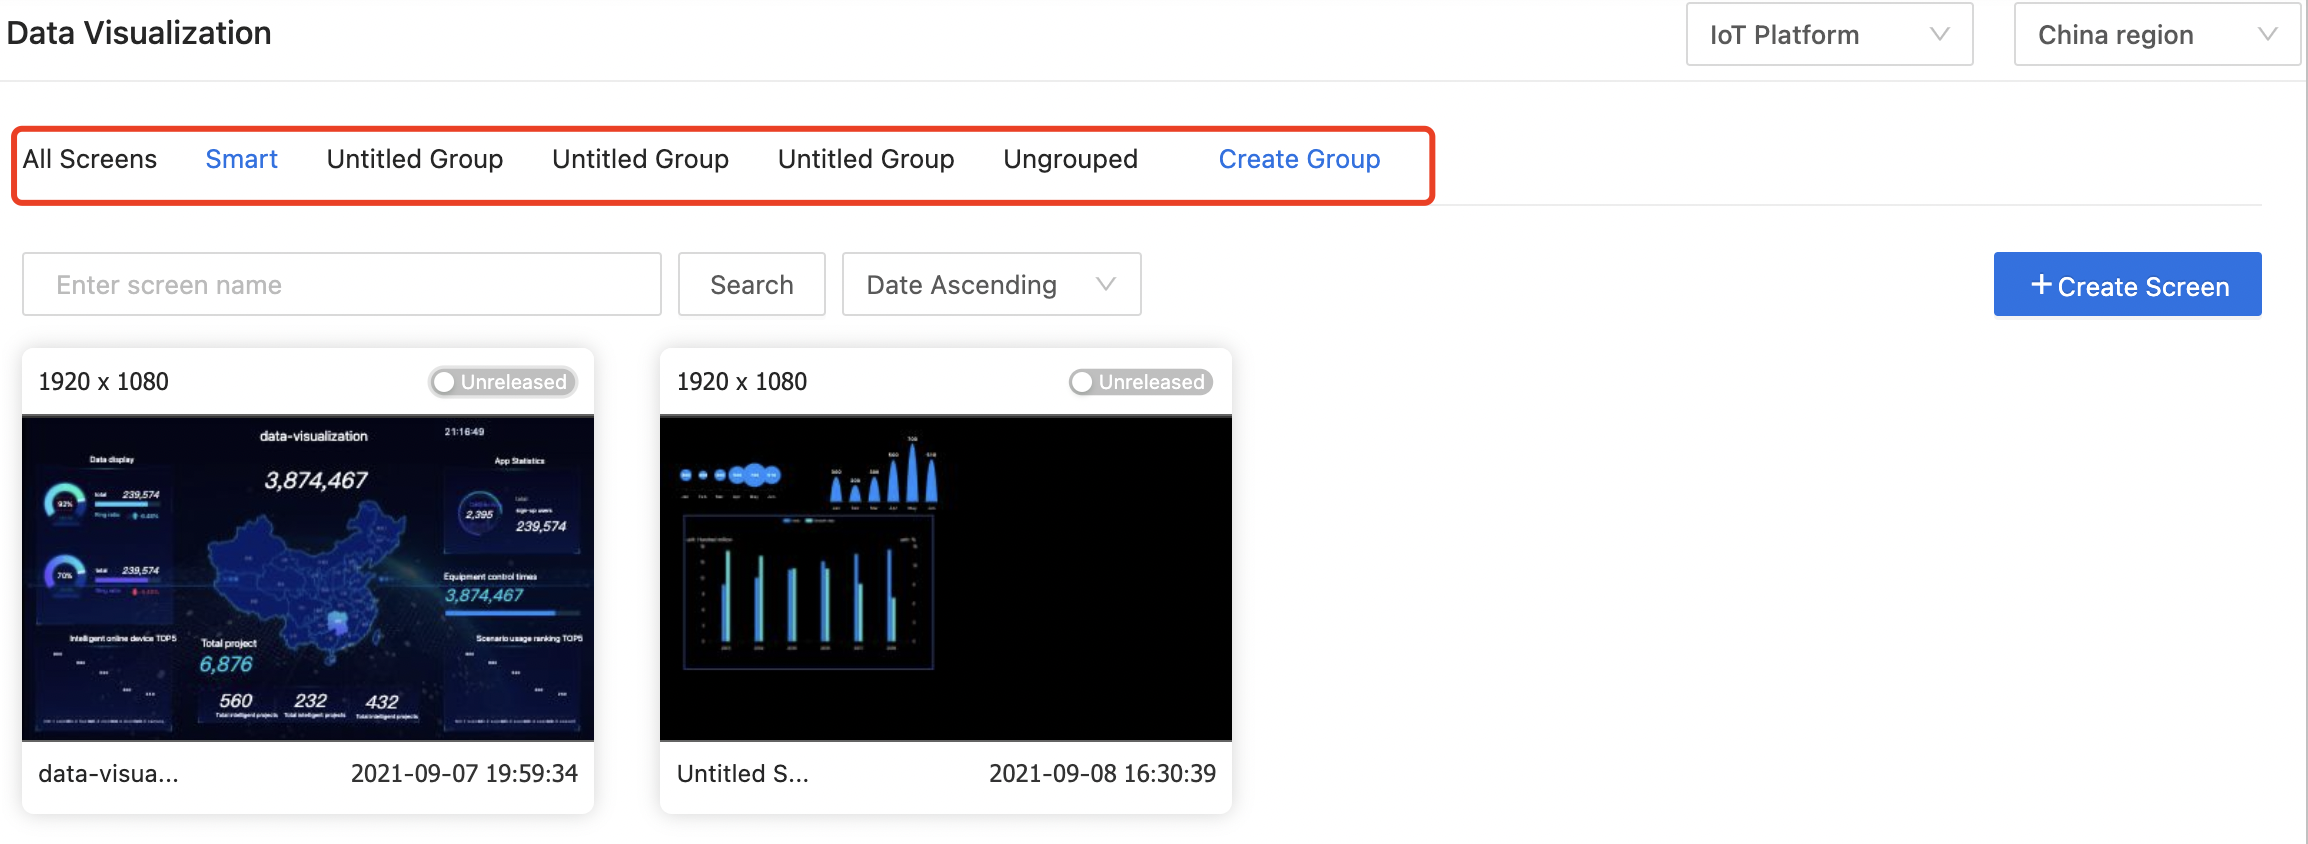
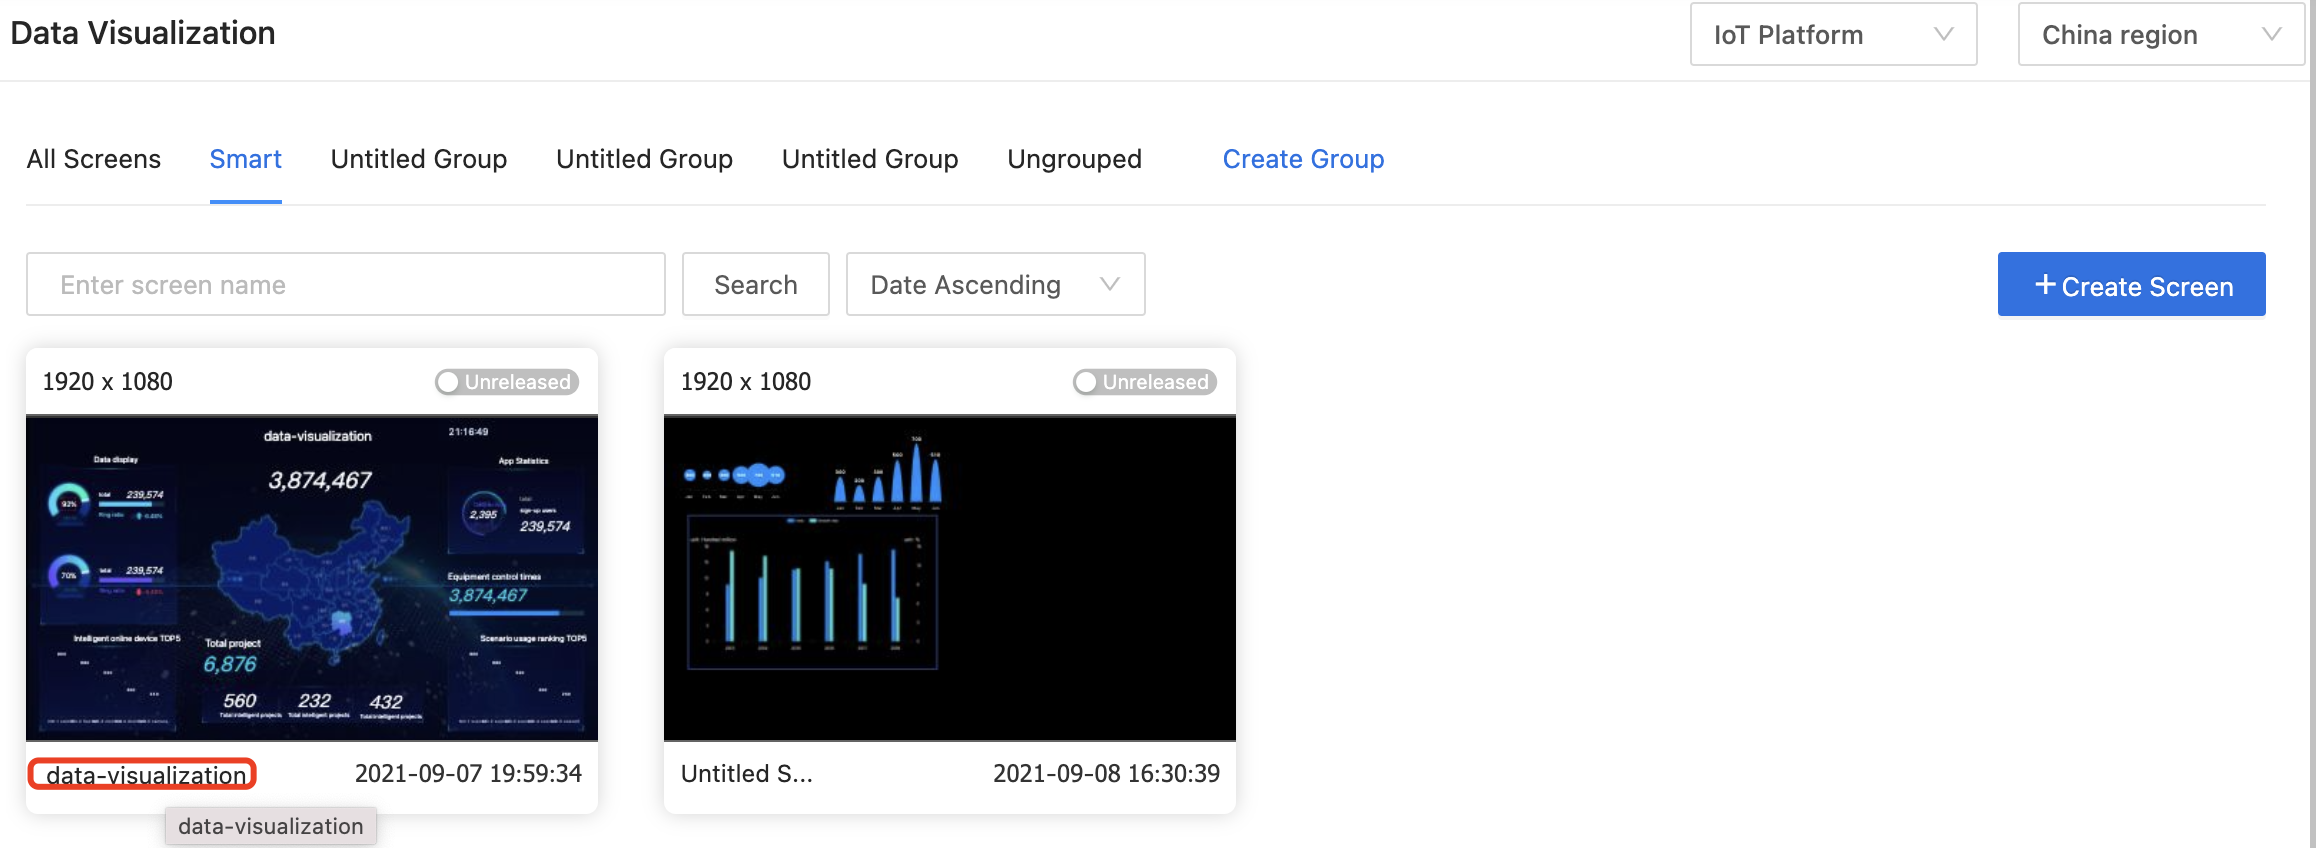
You can create and modify the groups on the screen list page.
-
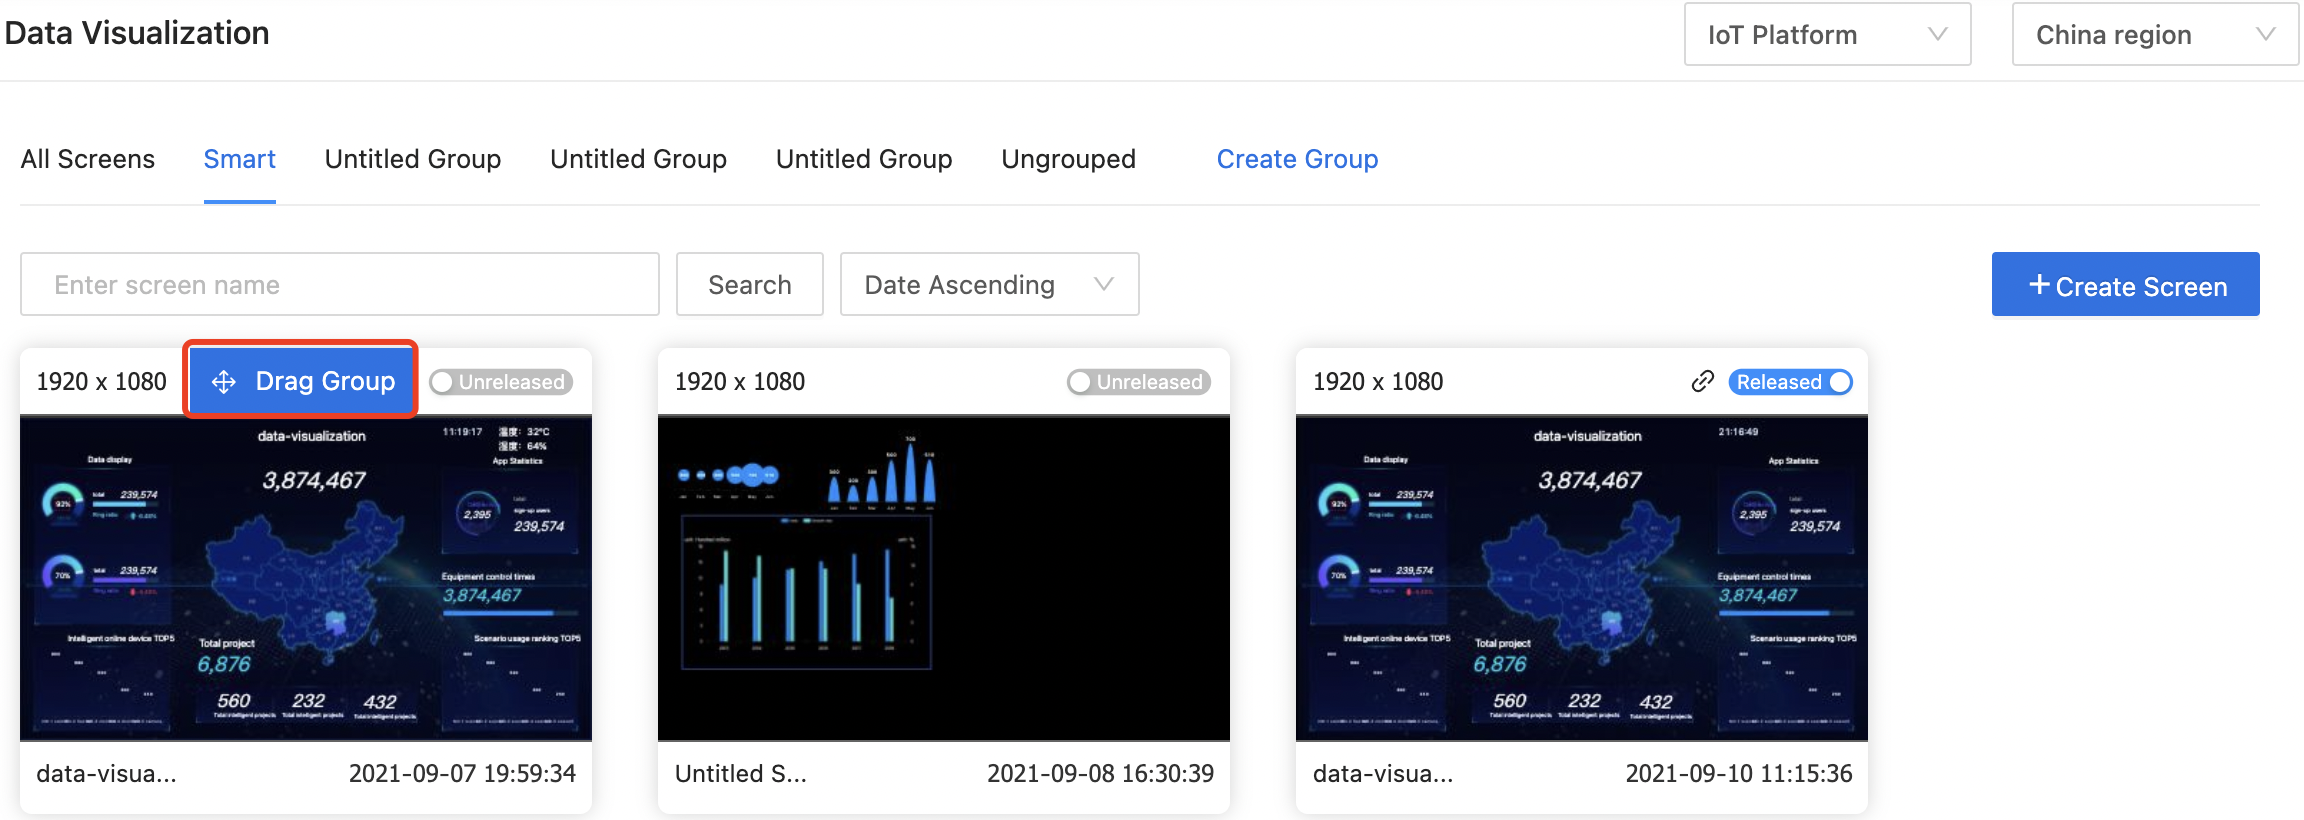
On the screen list page, select a screen, place the pointer over the head area of the screen, and click Drag Group to drag it to a group.
Search for screen
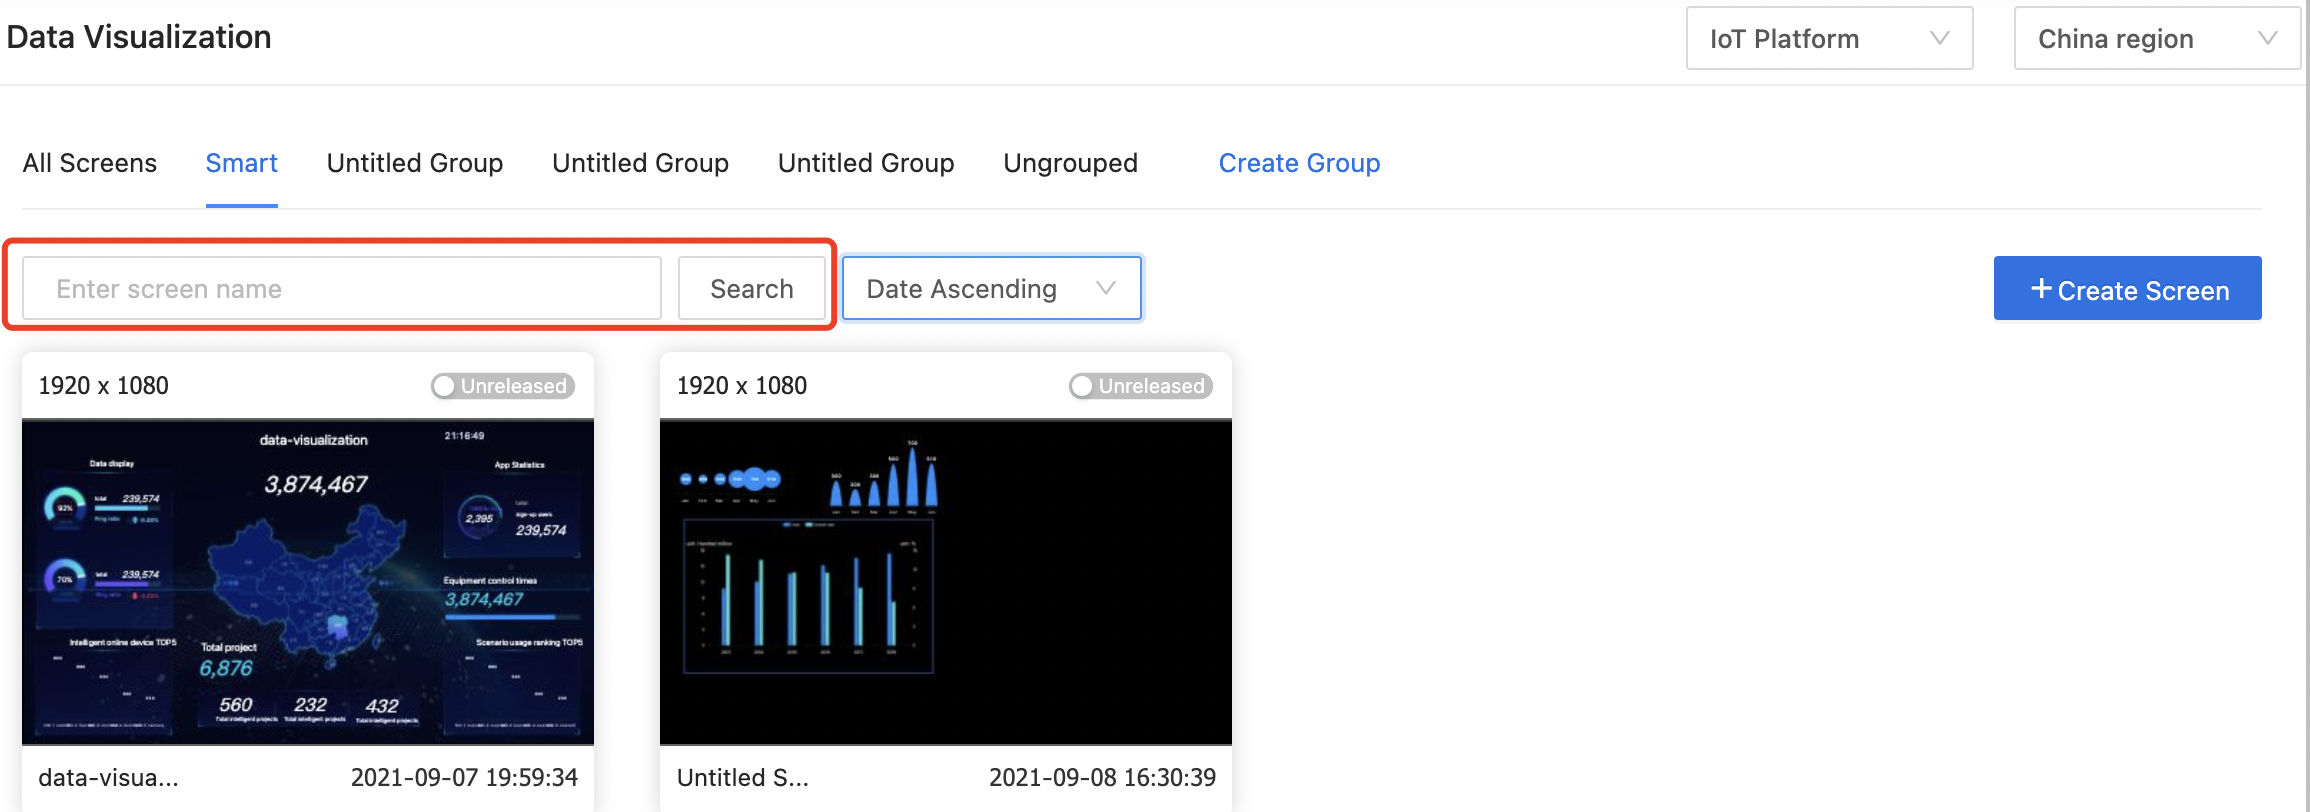
Enter keywords in the search input box on the screen list page and click Search. You can find the screen that matches the keyword.
Sort the screens
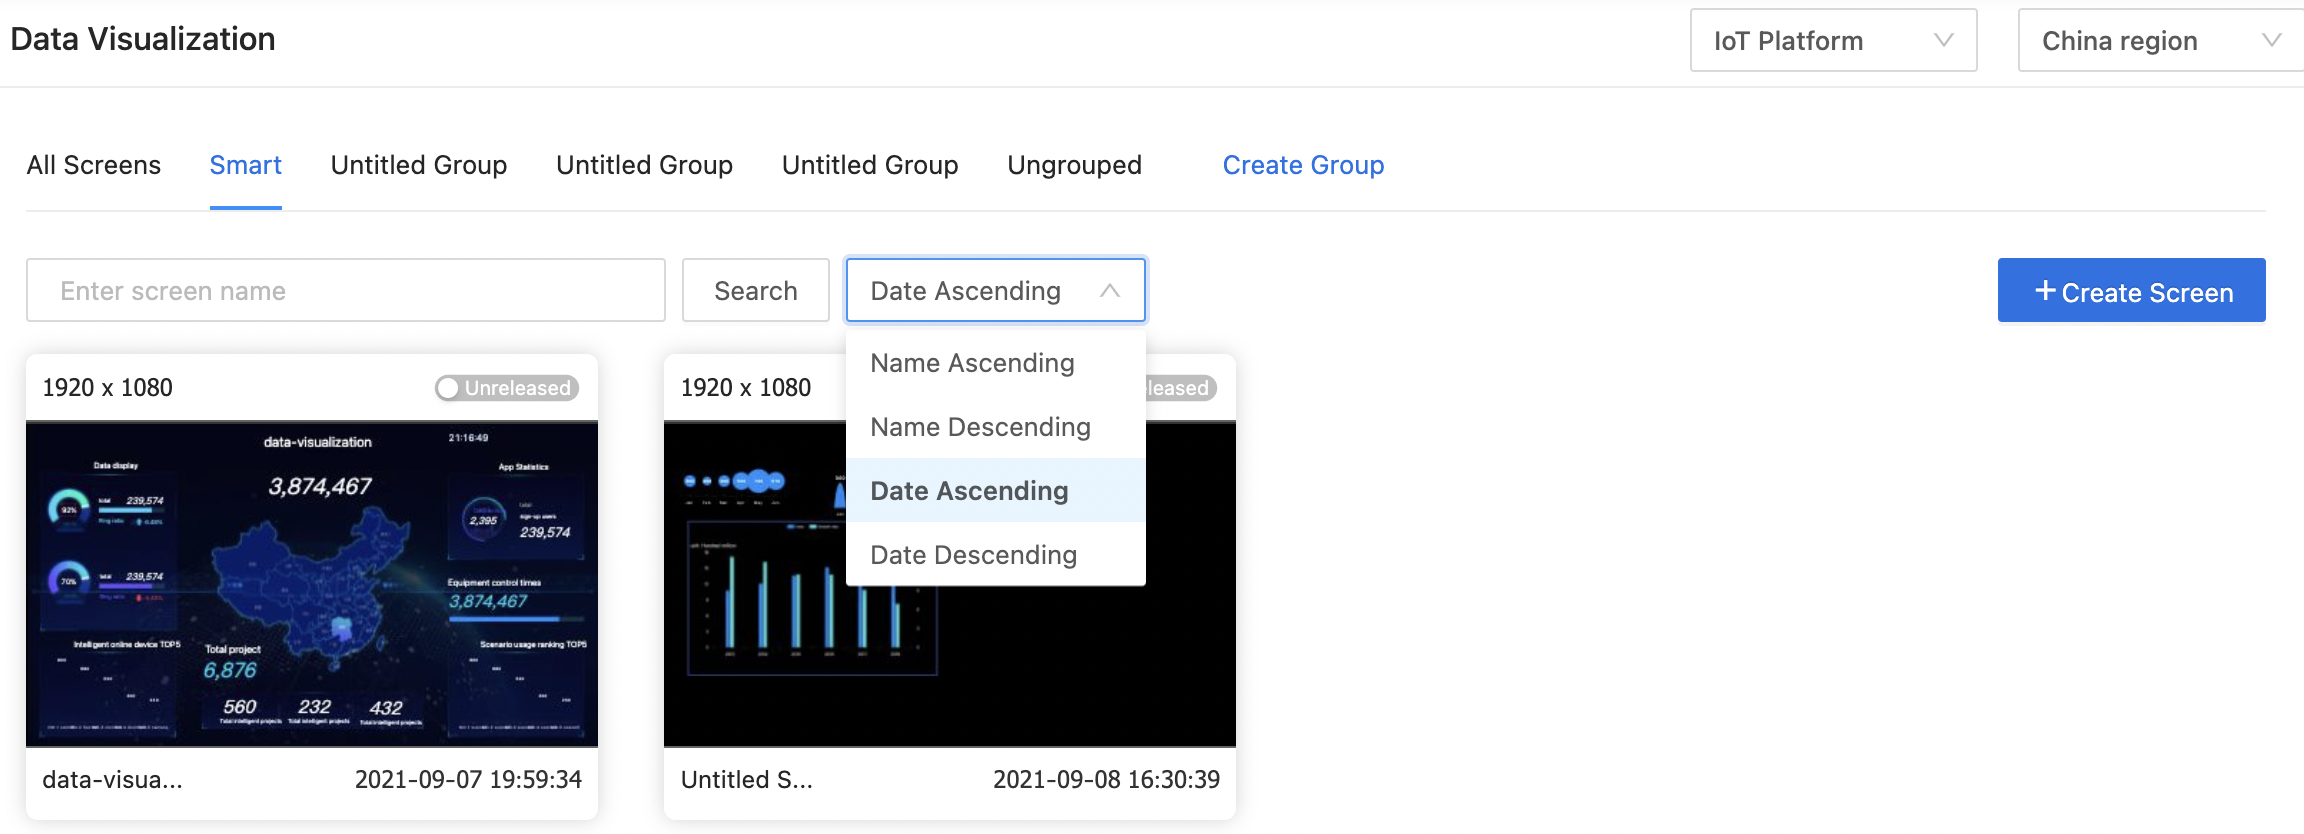
On the screen list page, you can sort the screens by name or date in ascending or descending order.
Edit the screen
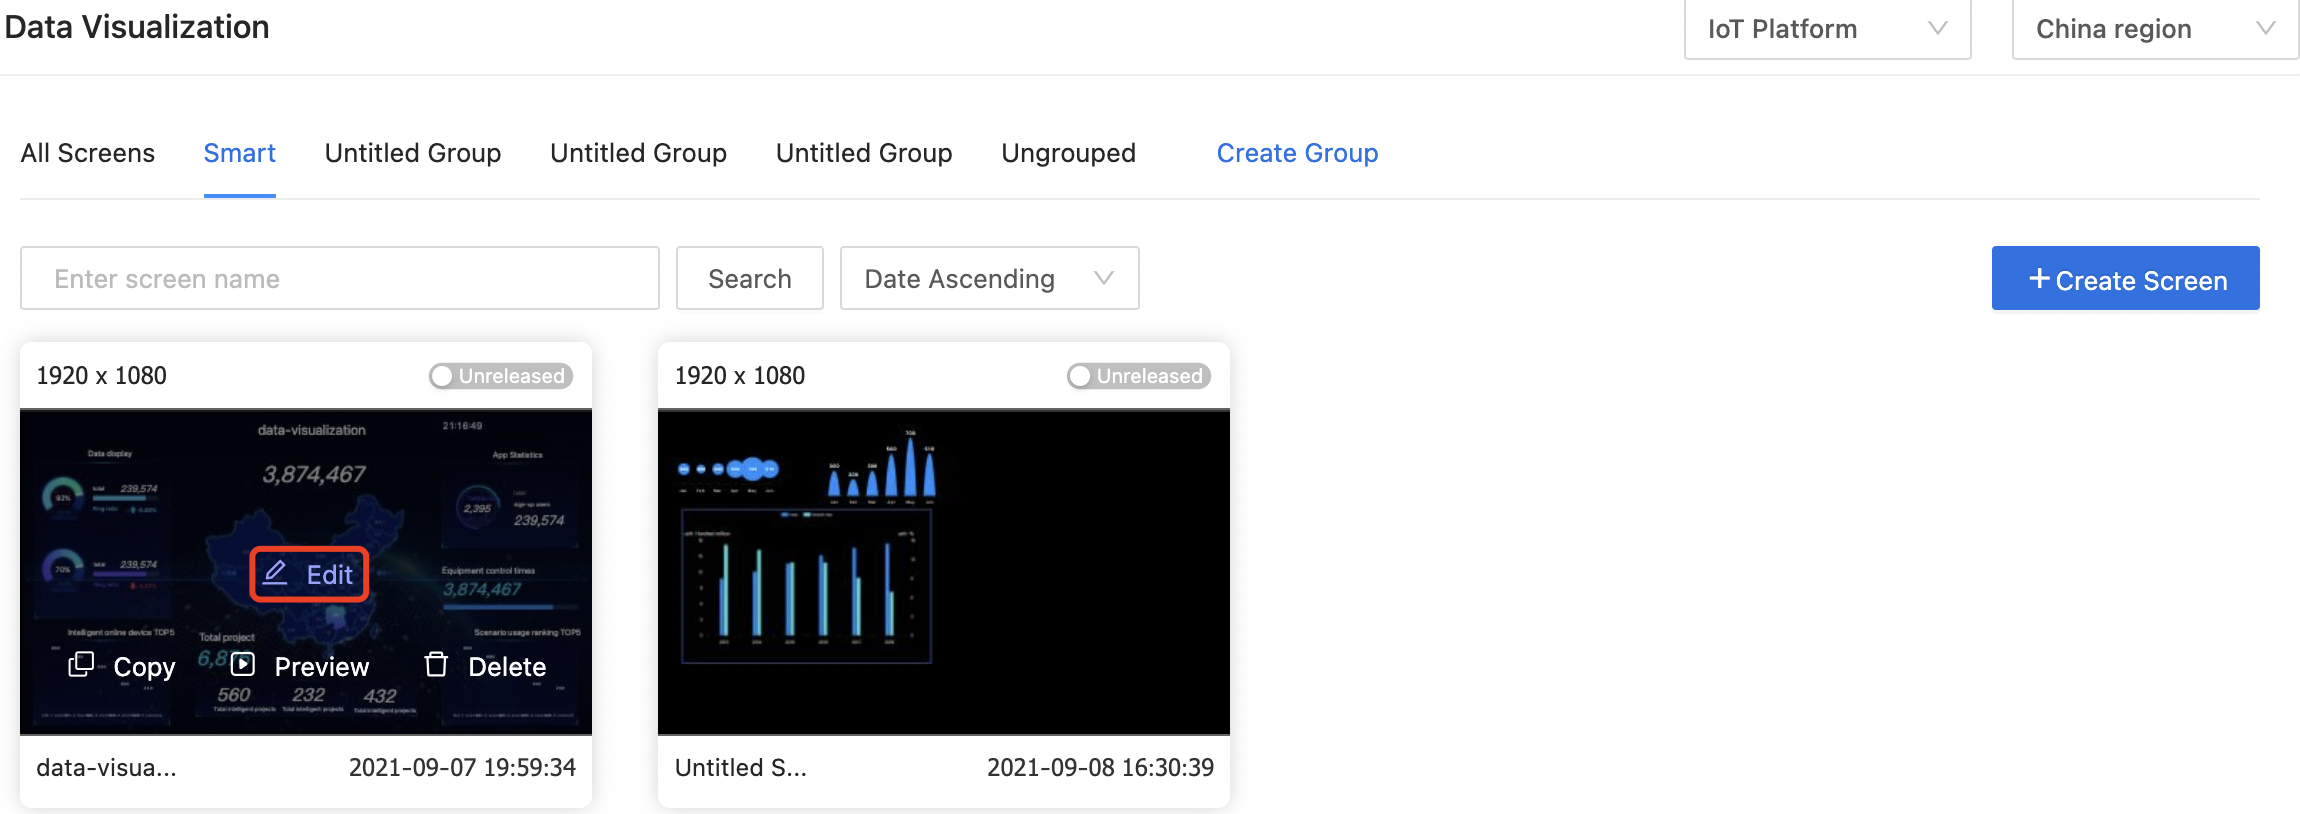
On the screen list page, select a screen and click Edit to navigate to the editing page.
Release the screen
-
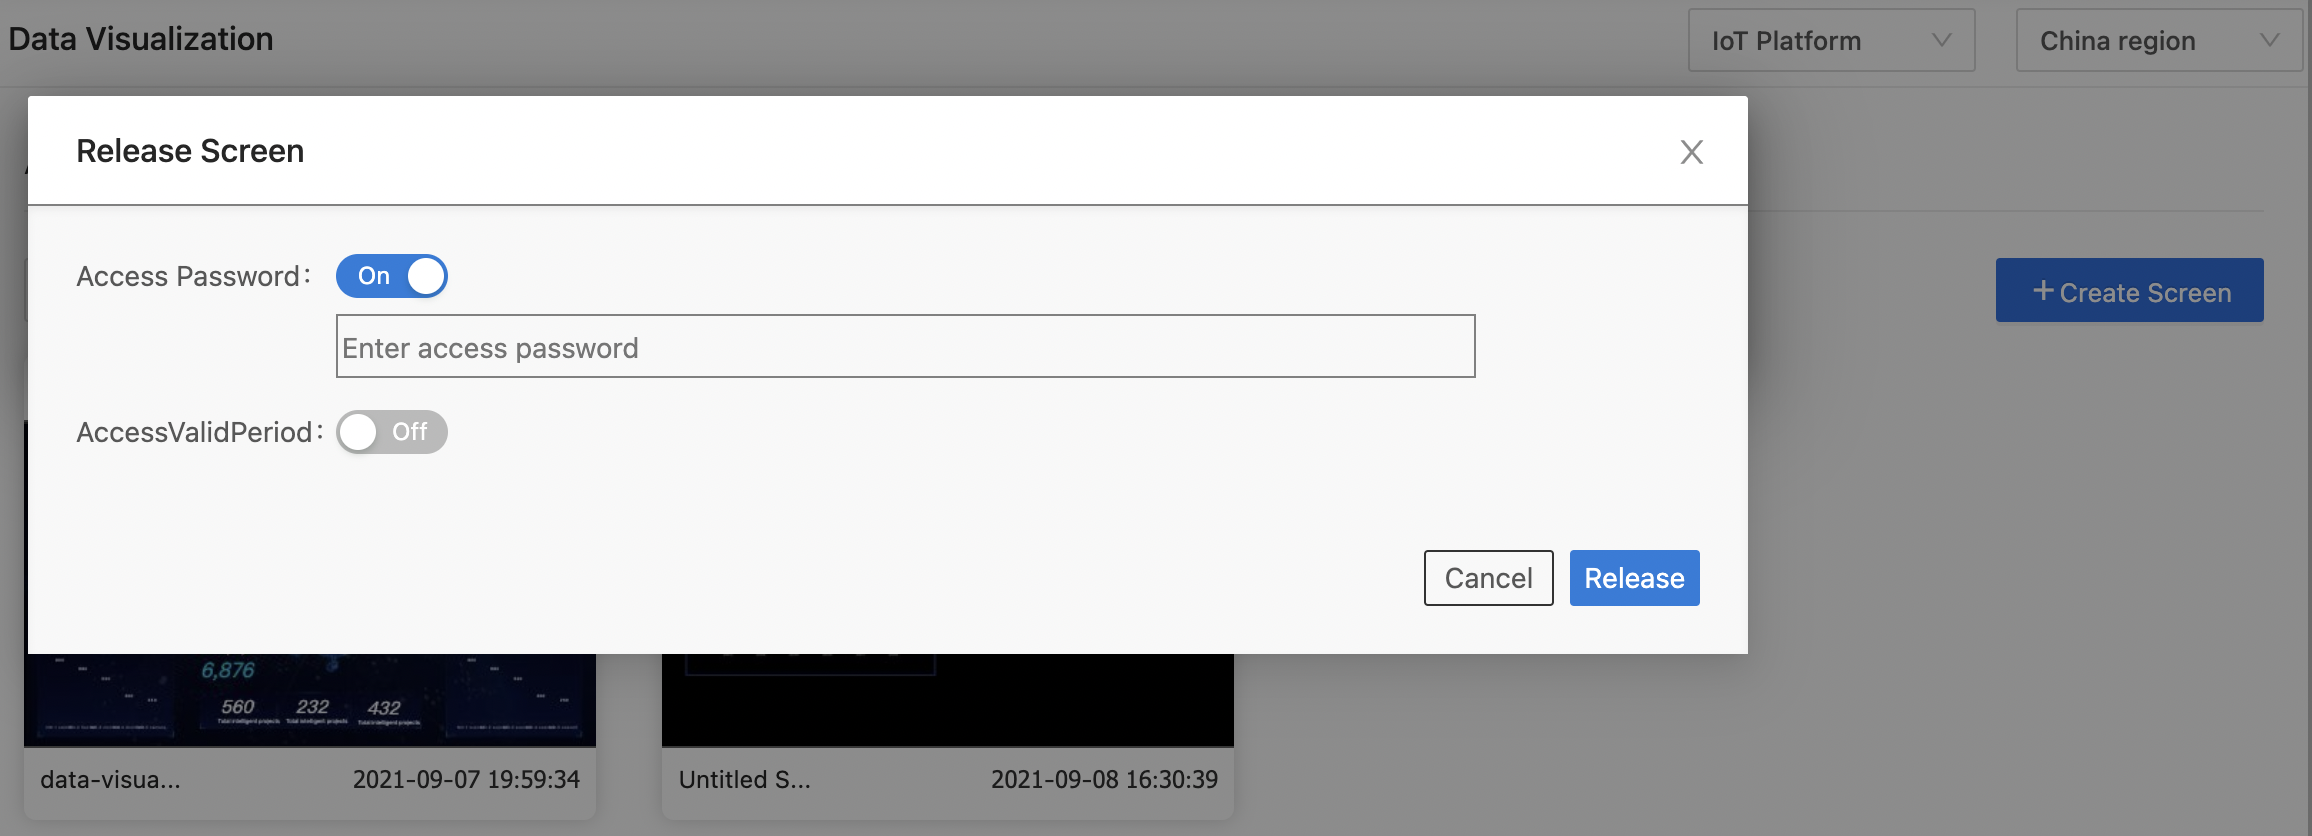
On the screen list page, select a screen and click Release. You can set the access password.
-
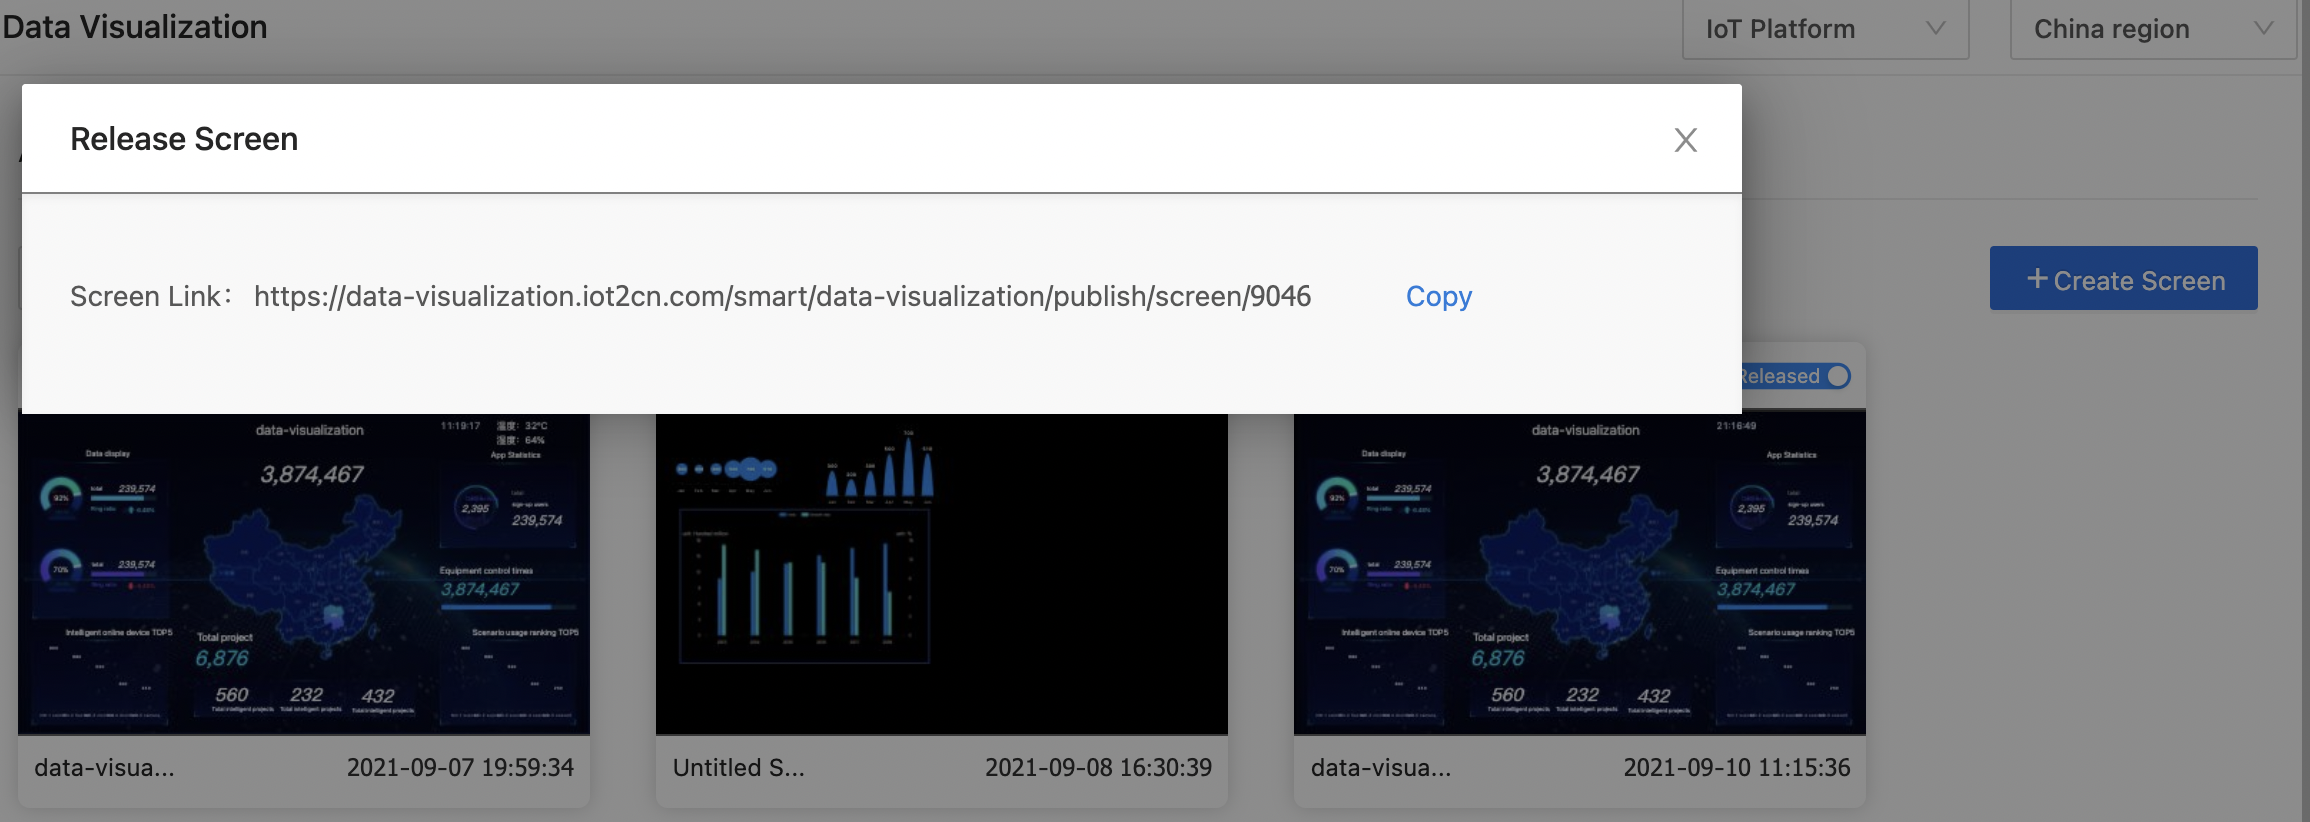
After setting the password, click Release to generate a URL for accessing the screen. You can copy the URL.
-
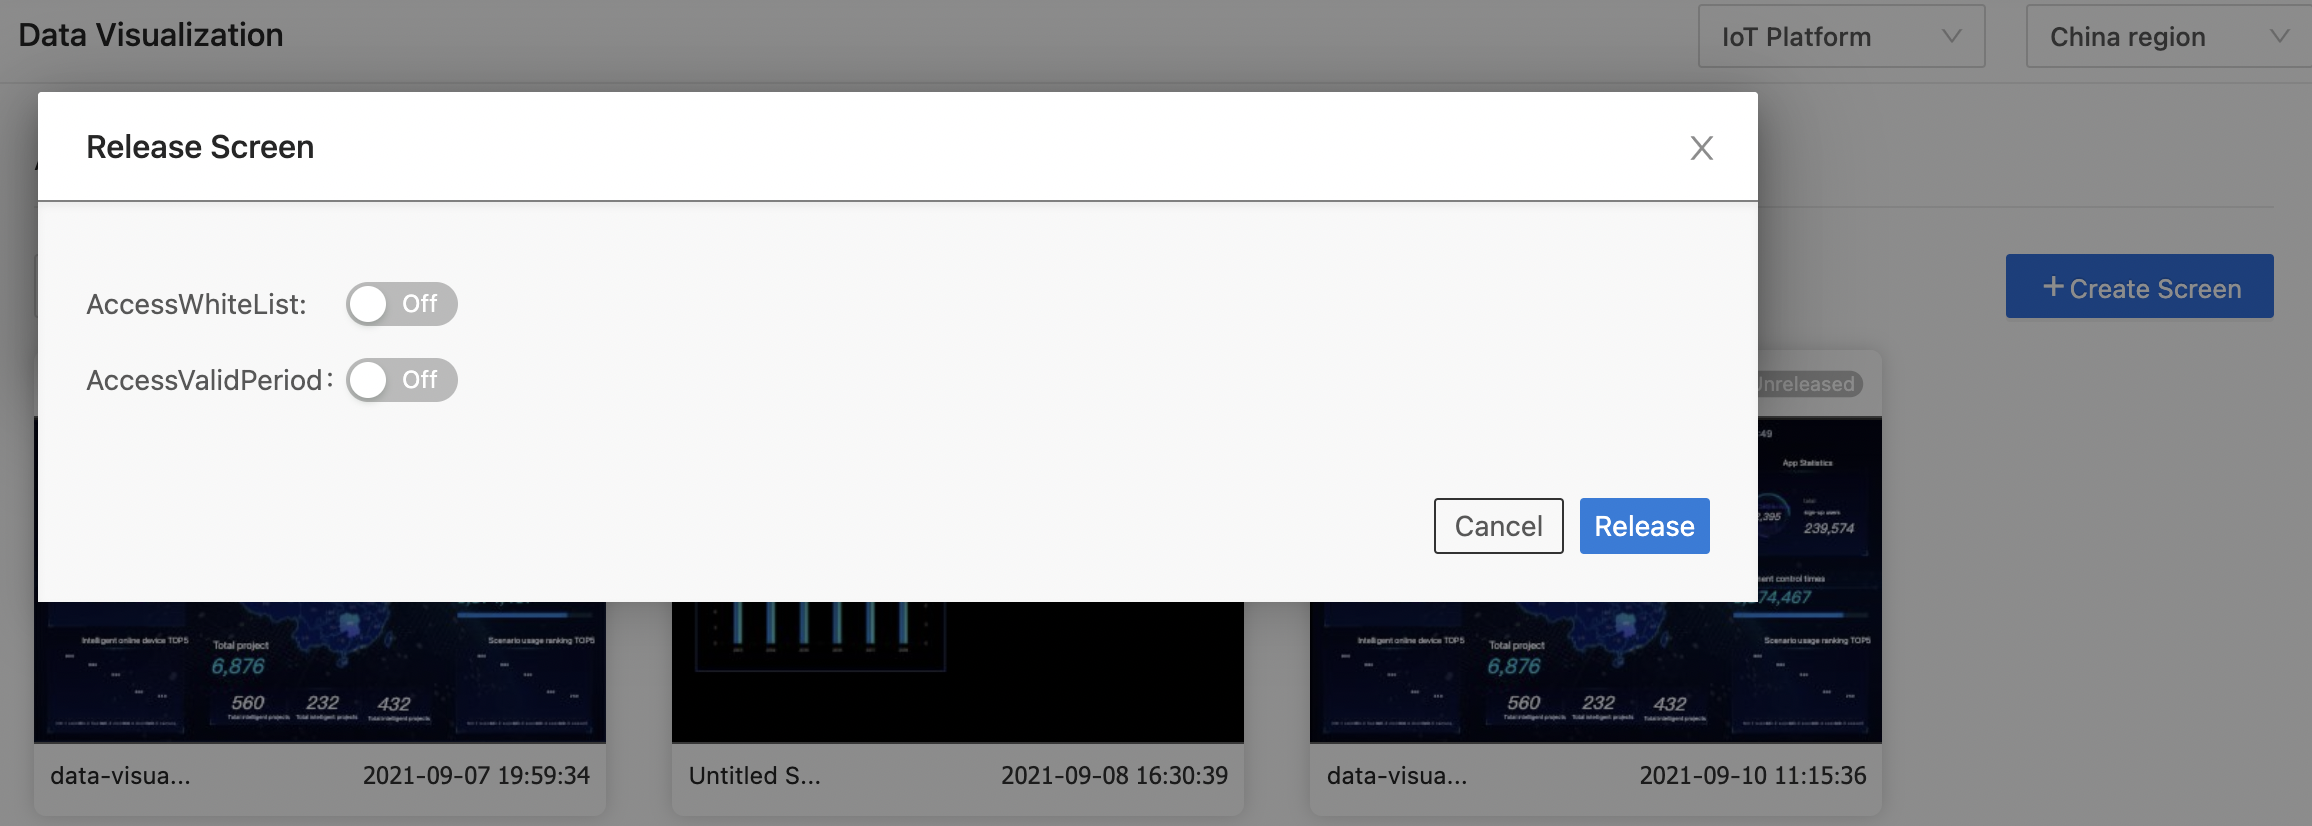
If the Atop or Highway interface is used in the screen, the access password is not required. A user must log in to the IoT account when accessing the screen URL.
Copy the screen
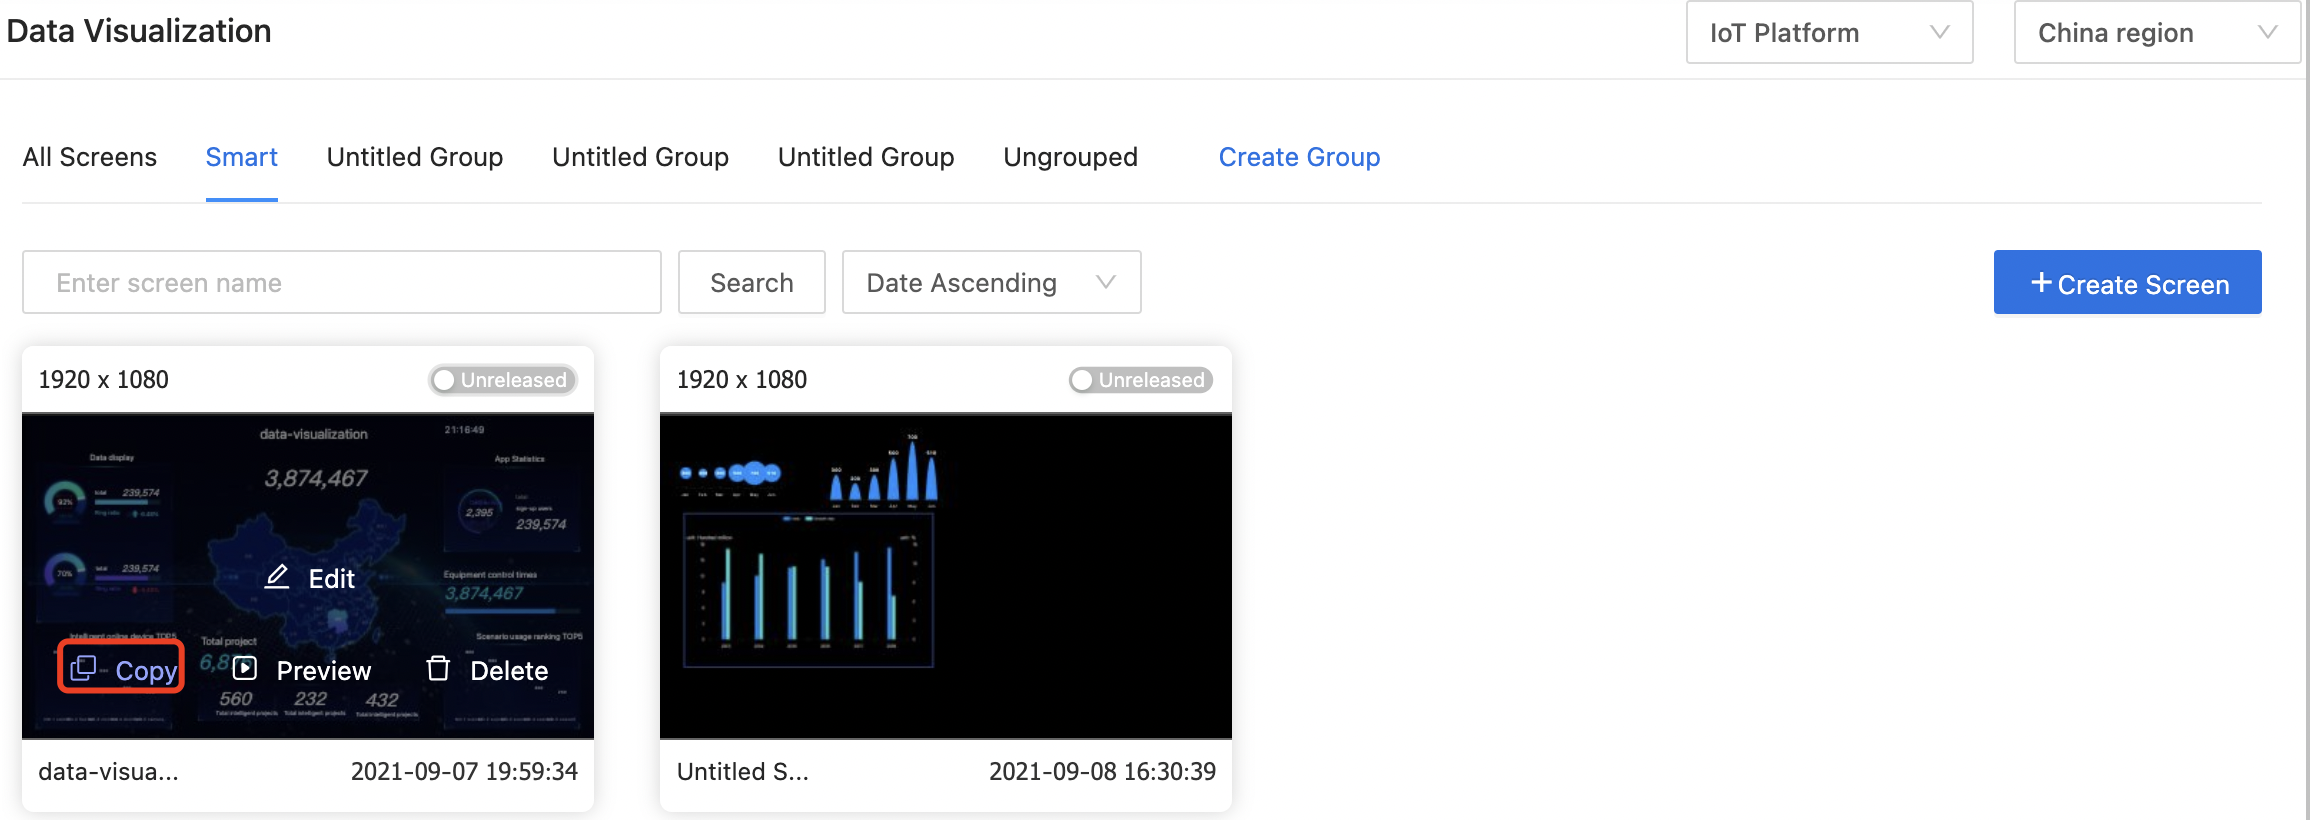
On the screen list page, select a screen and click Copy to generate a copy of the screen.
Preview the screen
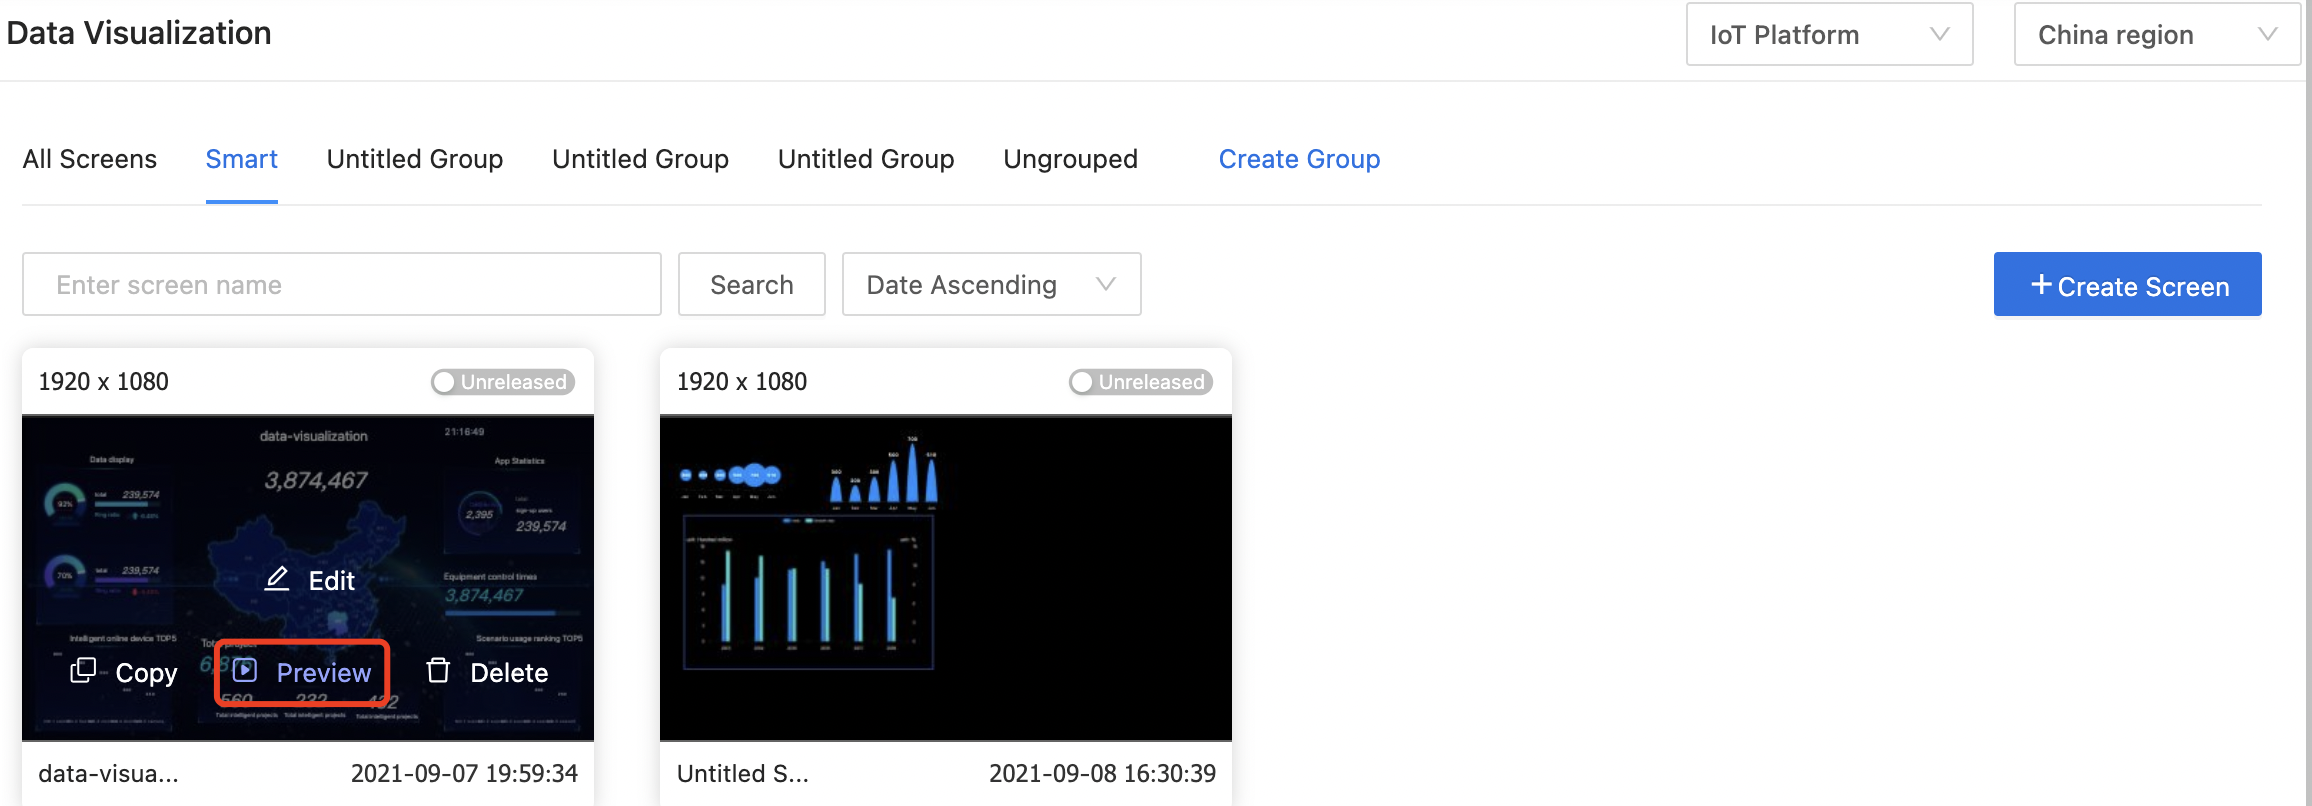
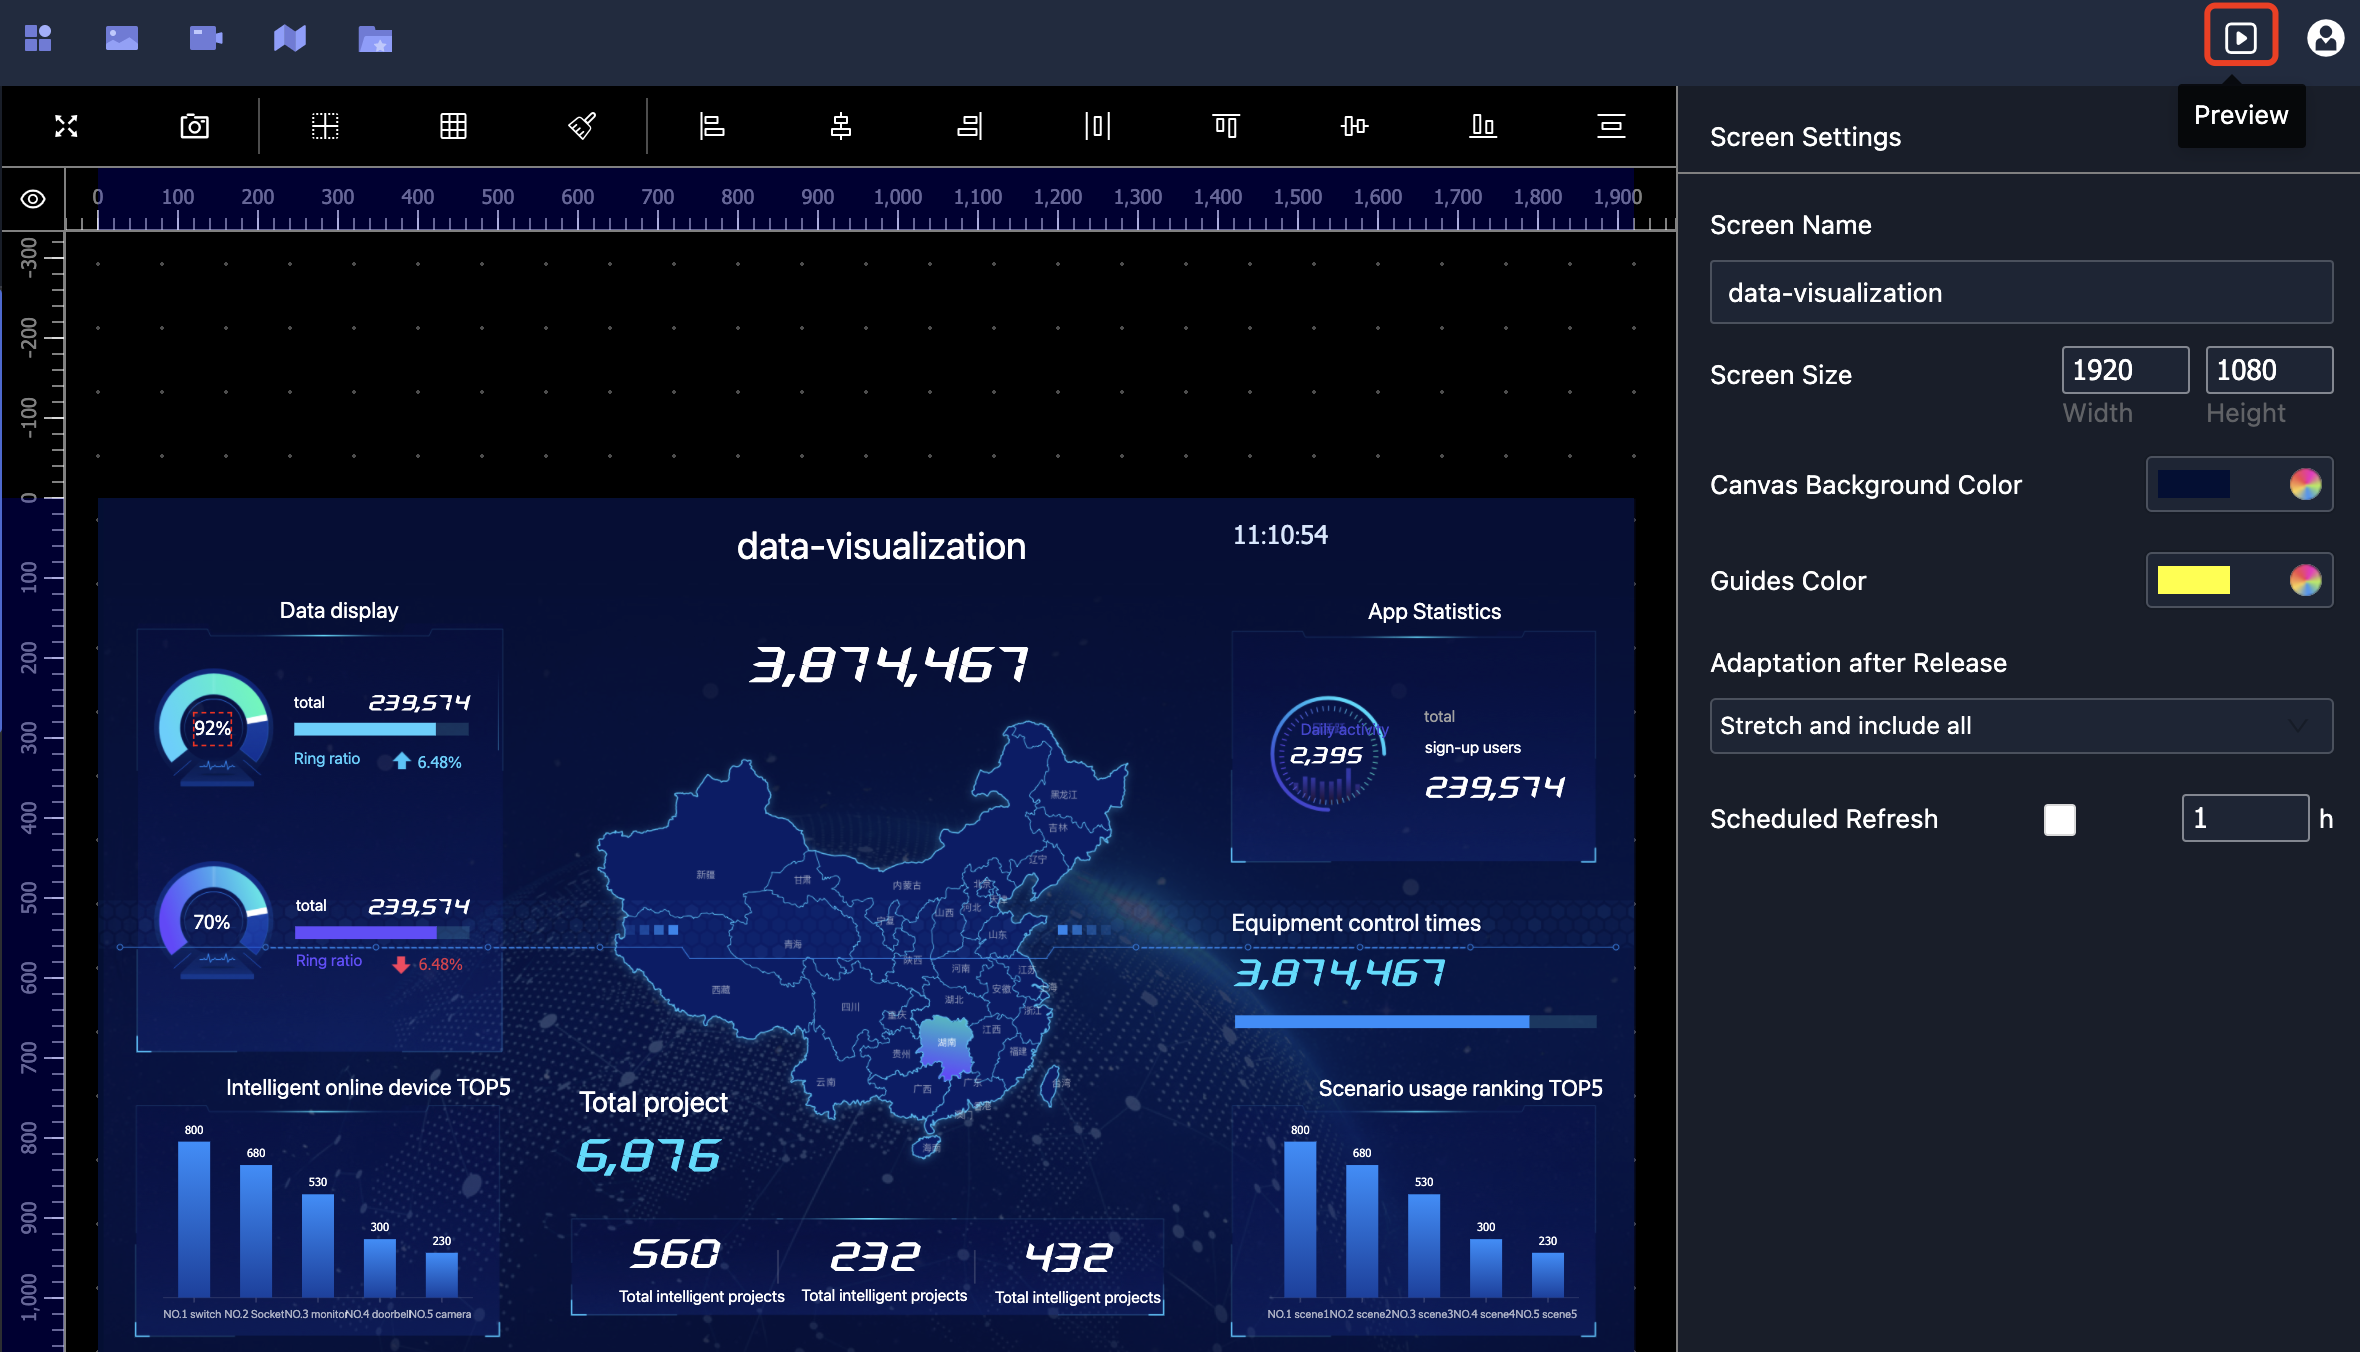
On the screen list page or editing page, you can click Preview to preview the screen.
Delete the screen
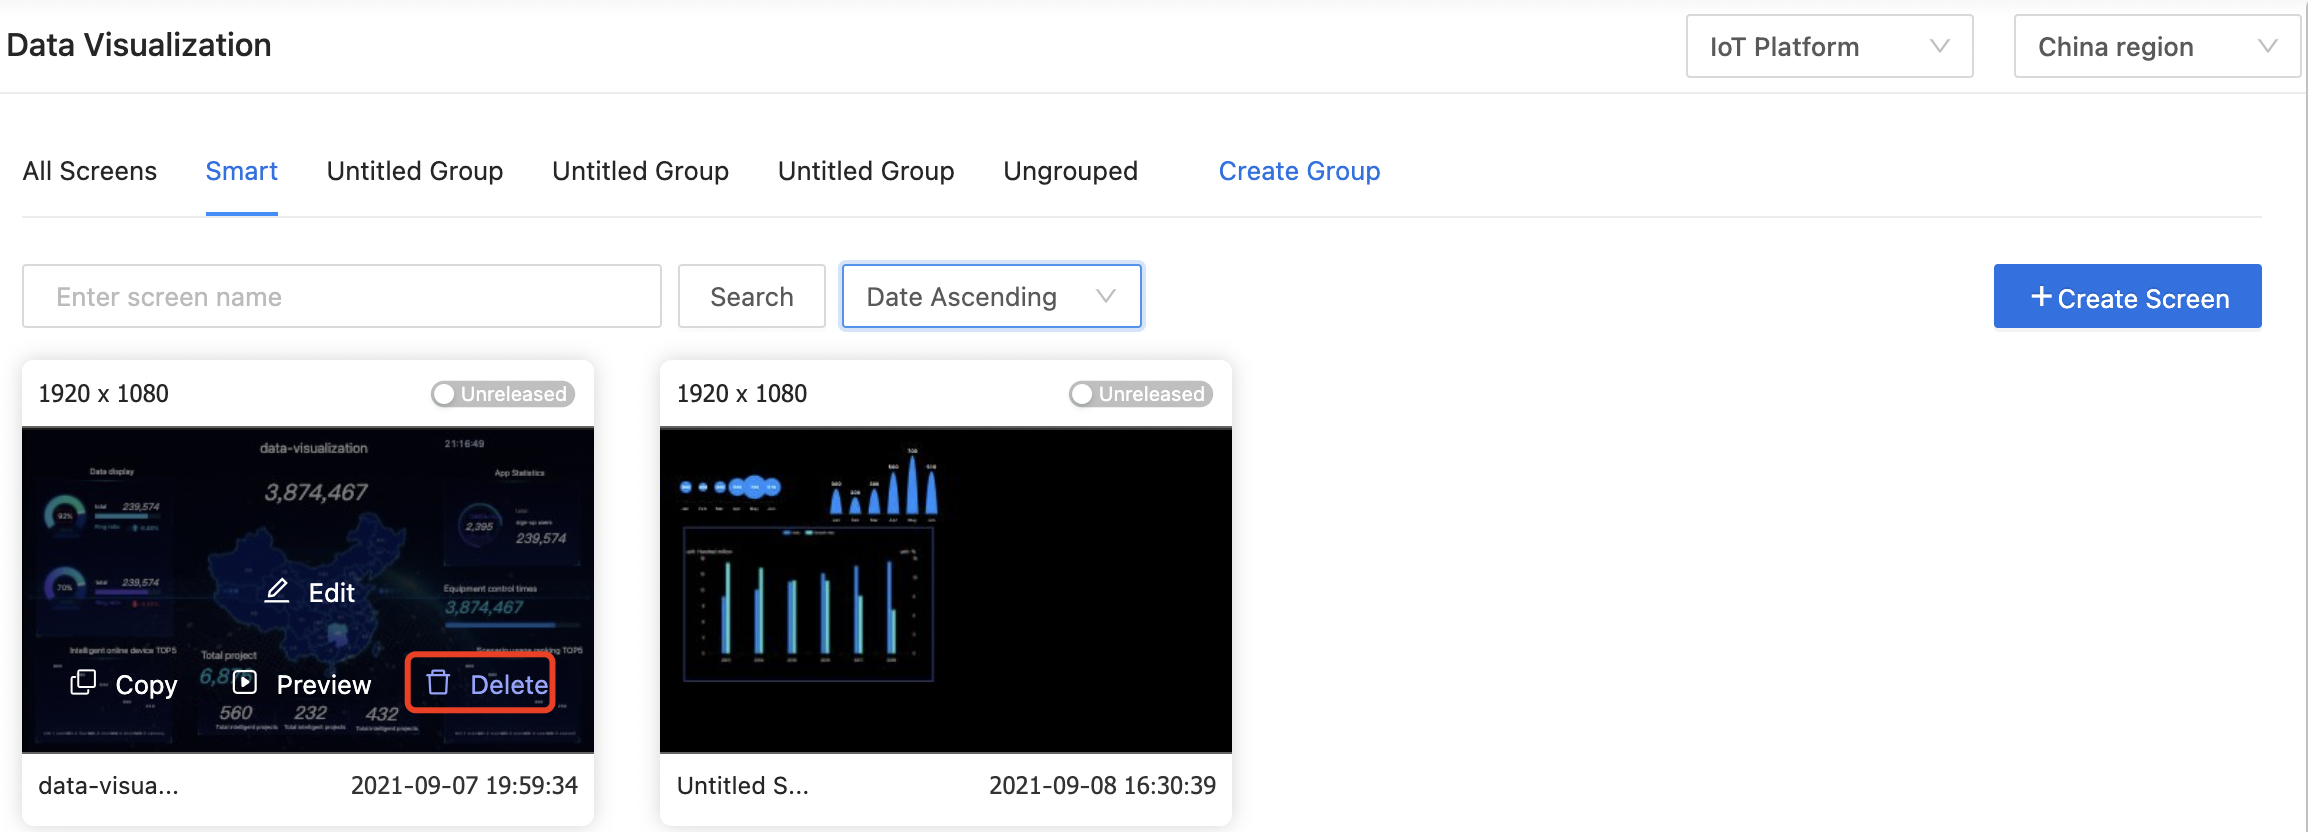
On the screen list page, select a screen and click Delete to delete it. This action cannot be undone.
Rename the screen
On the screen list page, select a screen and rename it.
Is this page helpful?
YesFeedbackIs this page helpful?
YesFeedback


