Configure Google FCM
This topic describes how to configure Google Firebase Cloud Messaging (FCM) to implement push notifications in an app for Android.
Configure Google Firebase
- If this is your first time configuring Google FCM push, perform the following steps.
- If your app has been configured with an old version of FCM push before, you need to find the original project and go directly to Step 12. You do not need to update and launch the app.
- If your app has been configured with an old version of FCM before, but the original project cannot be found, follow the steps in sequence. The app needs to be built and updated before being launched. This operation is only effective for the latest version of the app, whereas earlier versions of the app will not be able to receive push notifications. After the app is updated and launched, you are recommended to guide customers to update to the latest version.
-
Go to Google Firebase and follow the instructions to register an account and log in to Google Firebase.
-
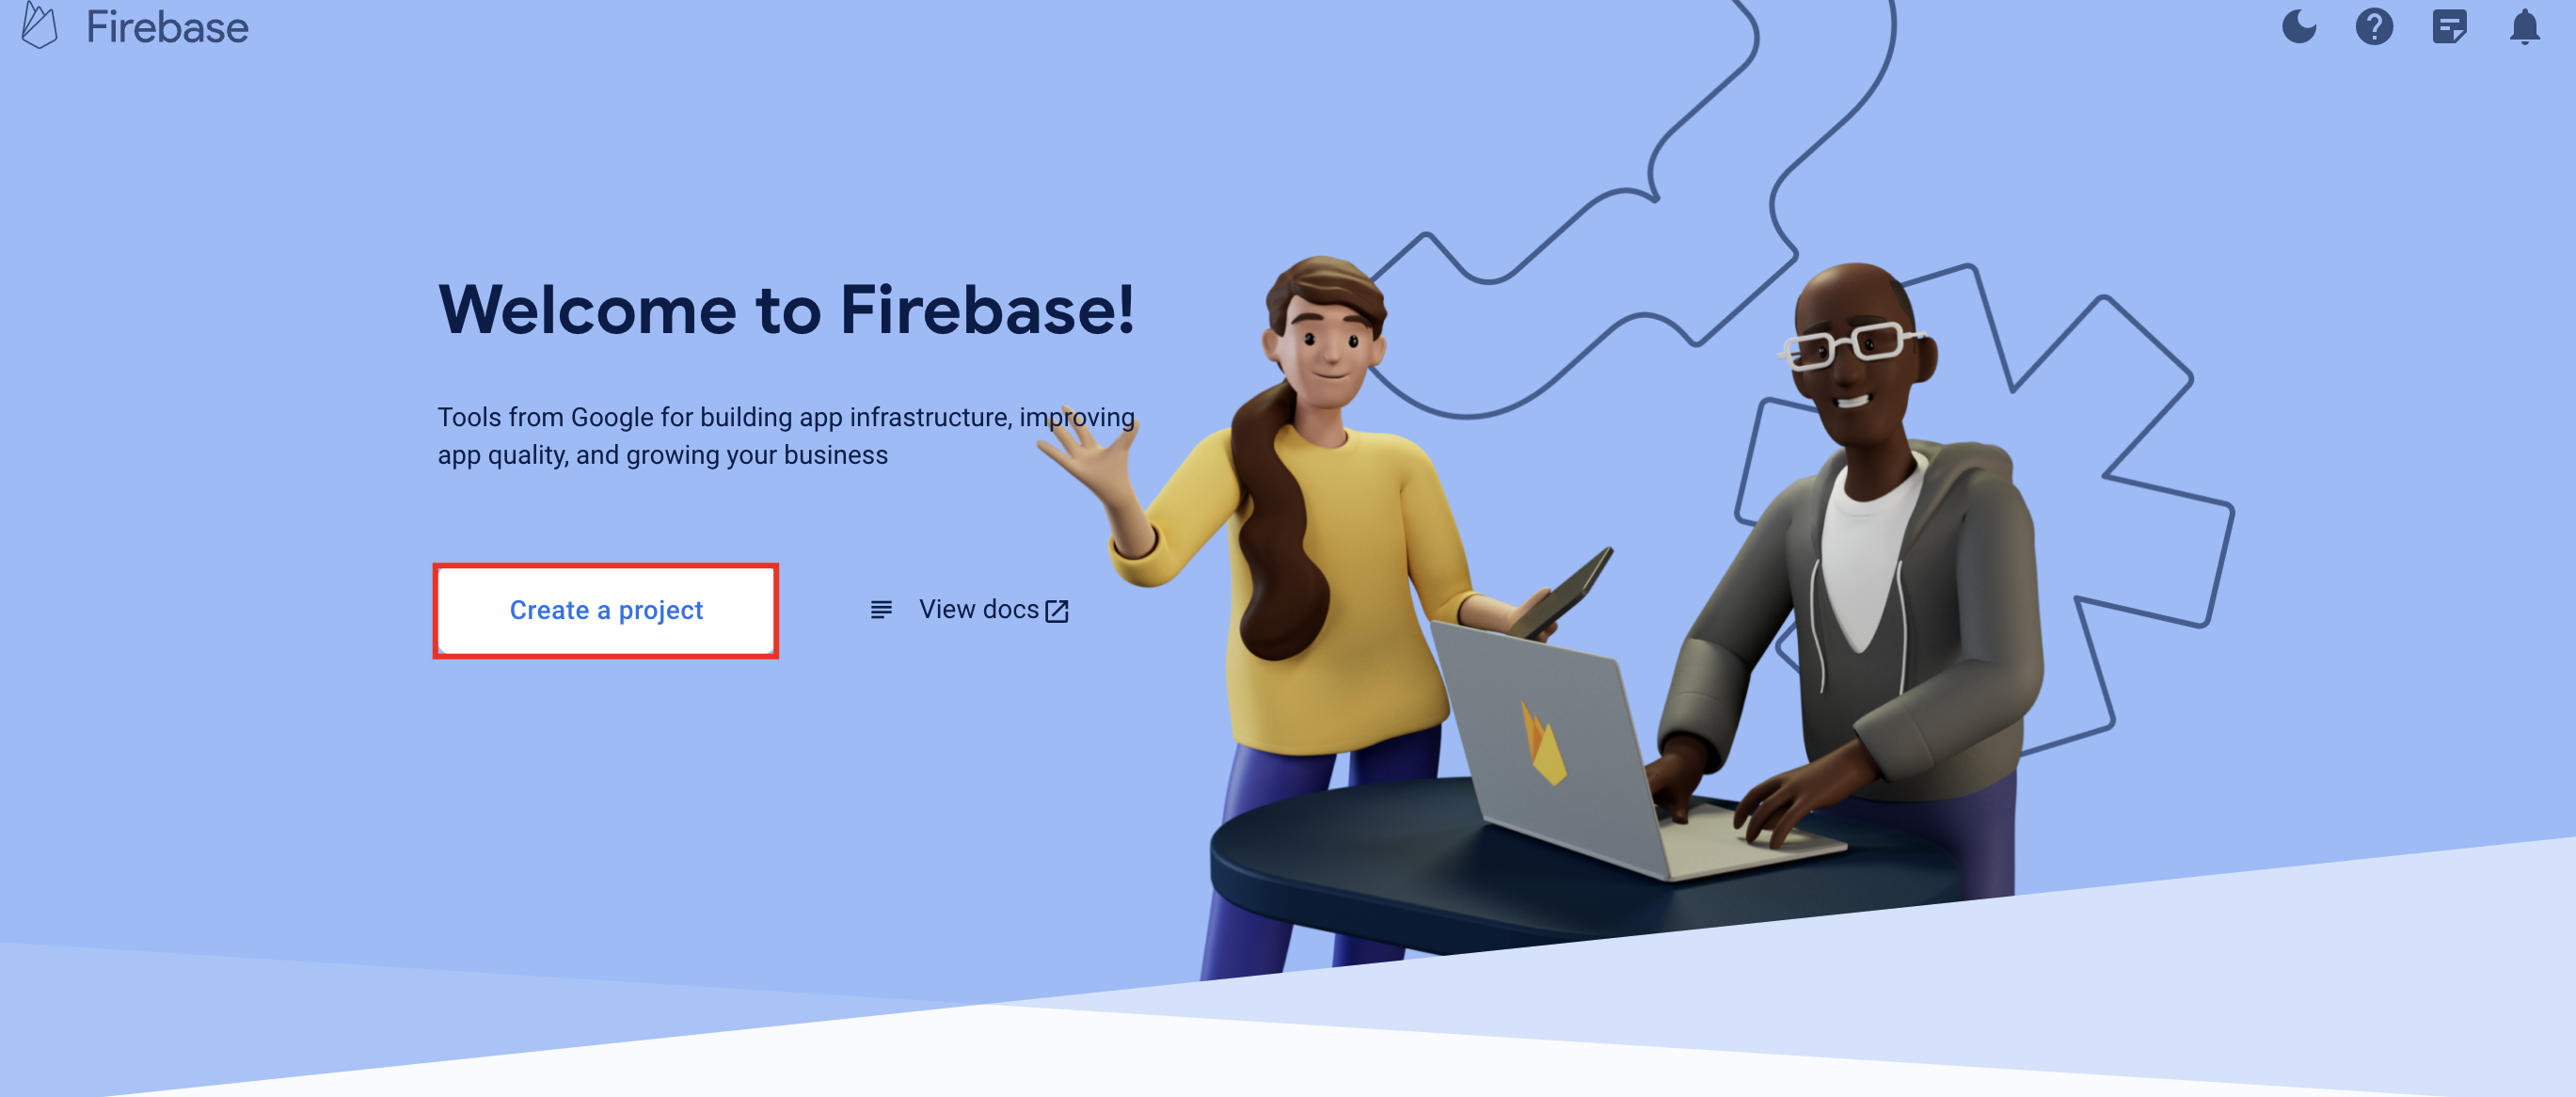
Click Create a project.
-
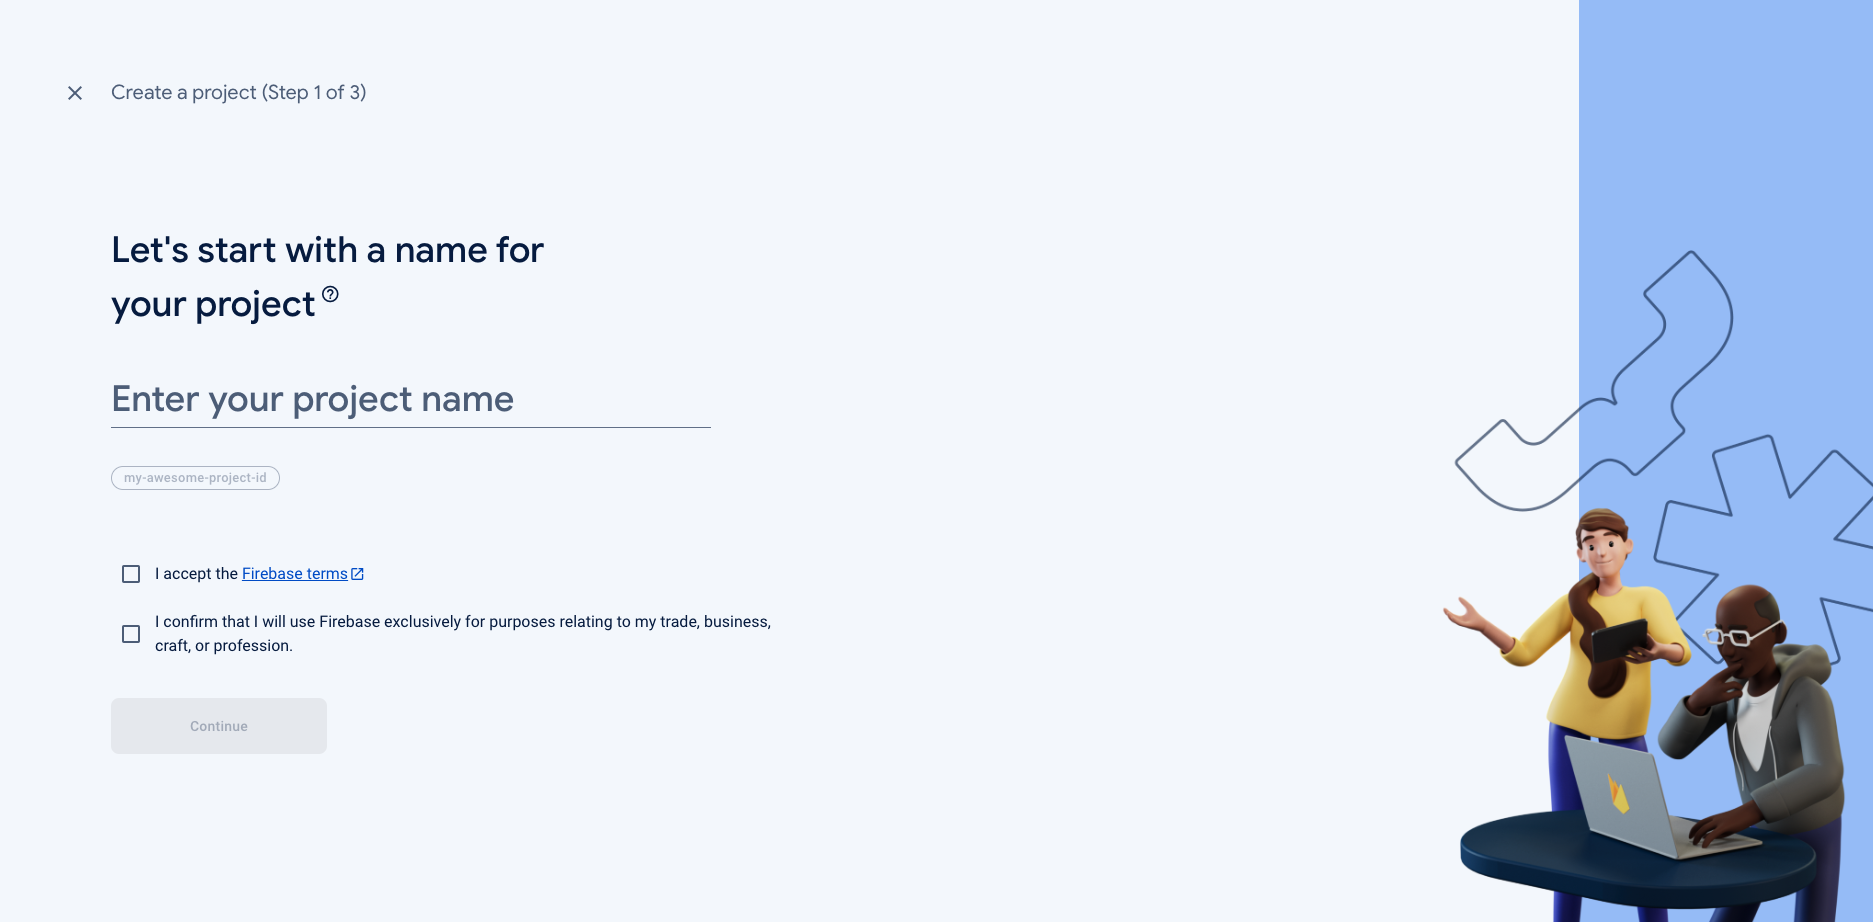
Enter your project name, tick the two check boxes, and click Continue.
-
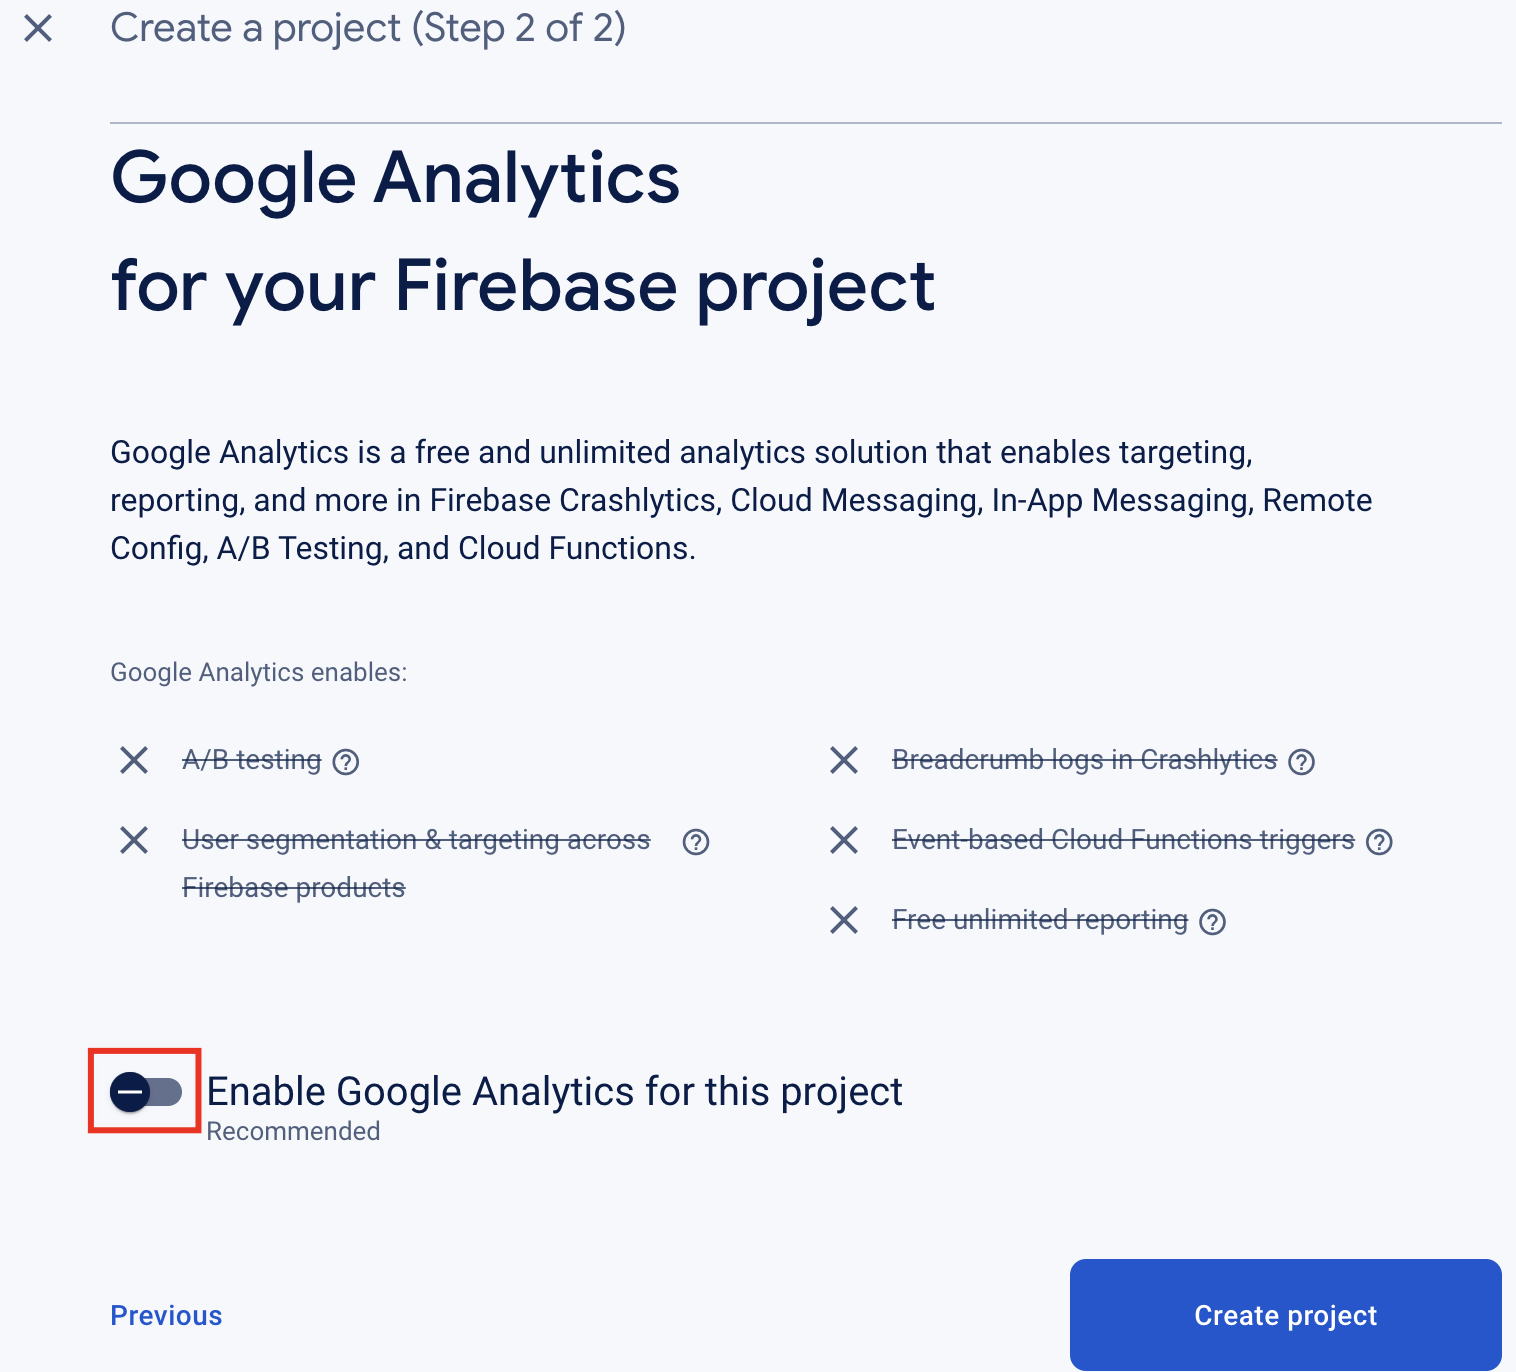
Click the toggle switch to disable Enable Google Analytics for this project and click Create project.
-
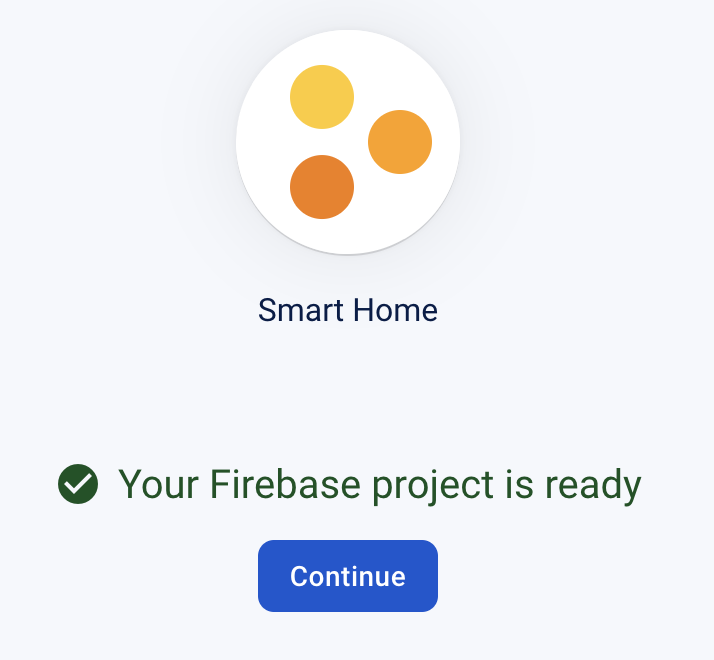
After the project is created, click Continue.
-
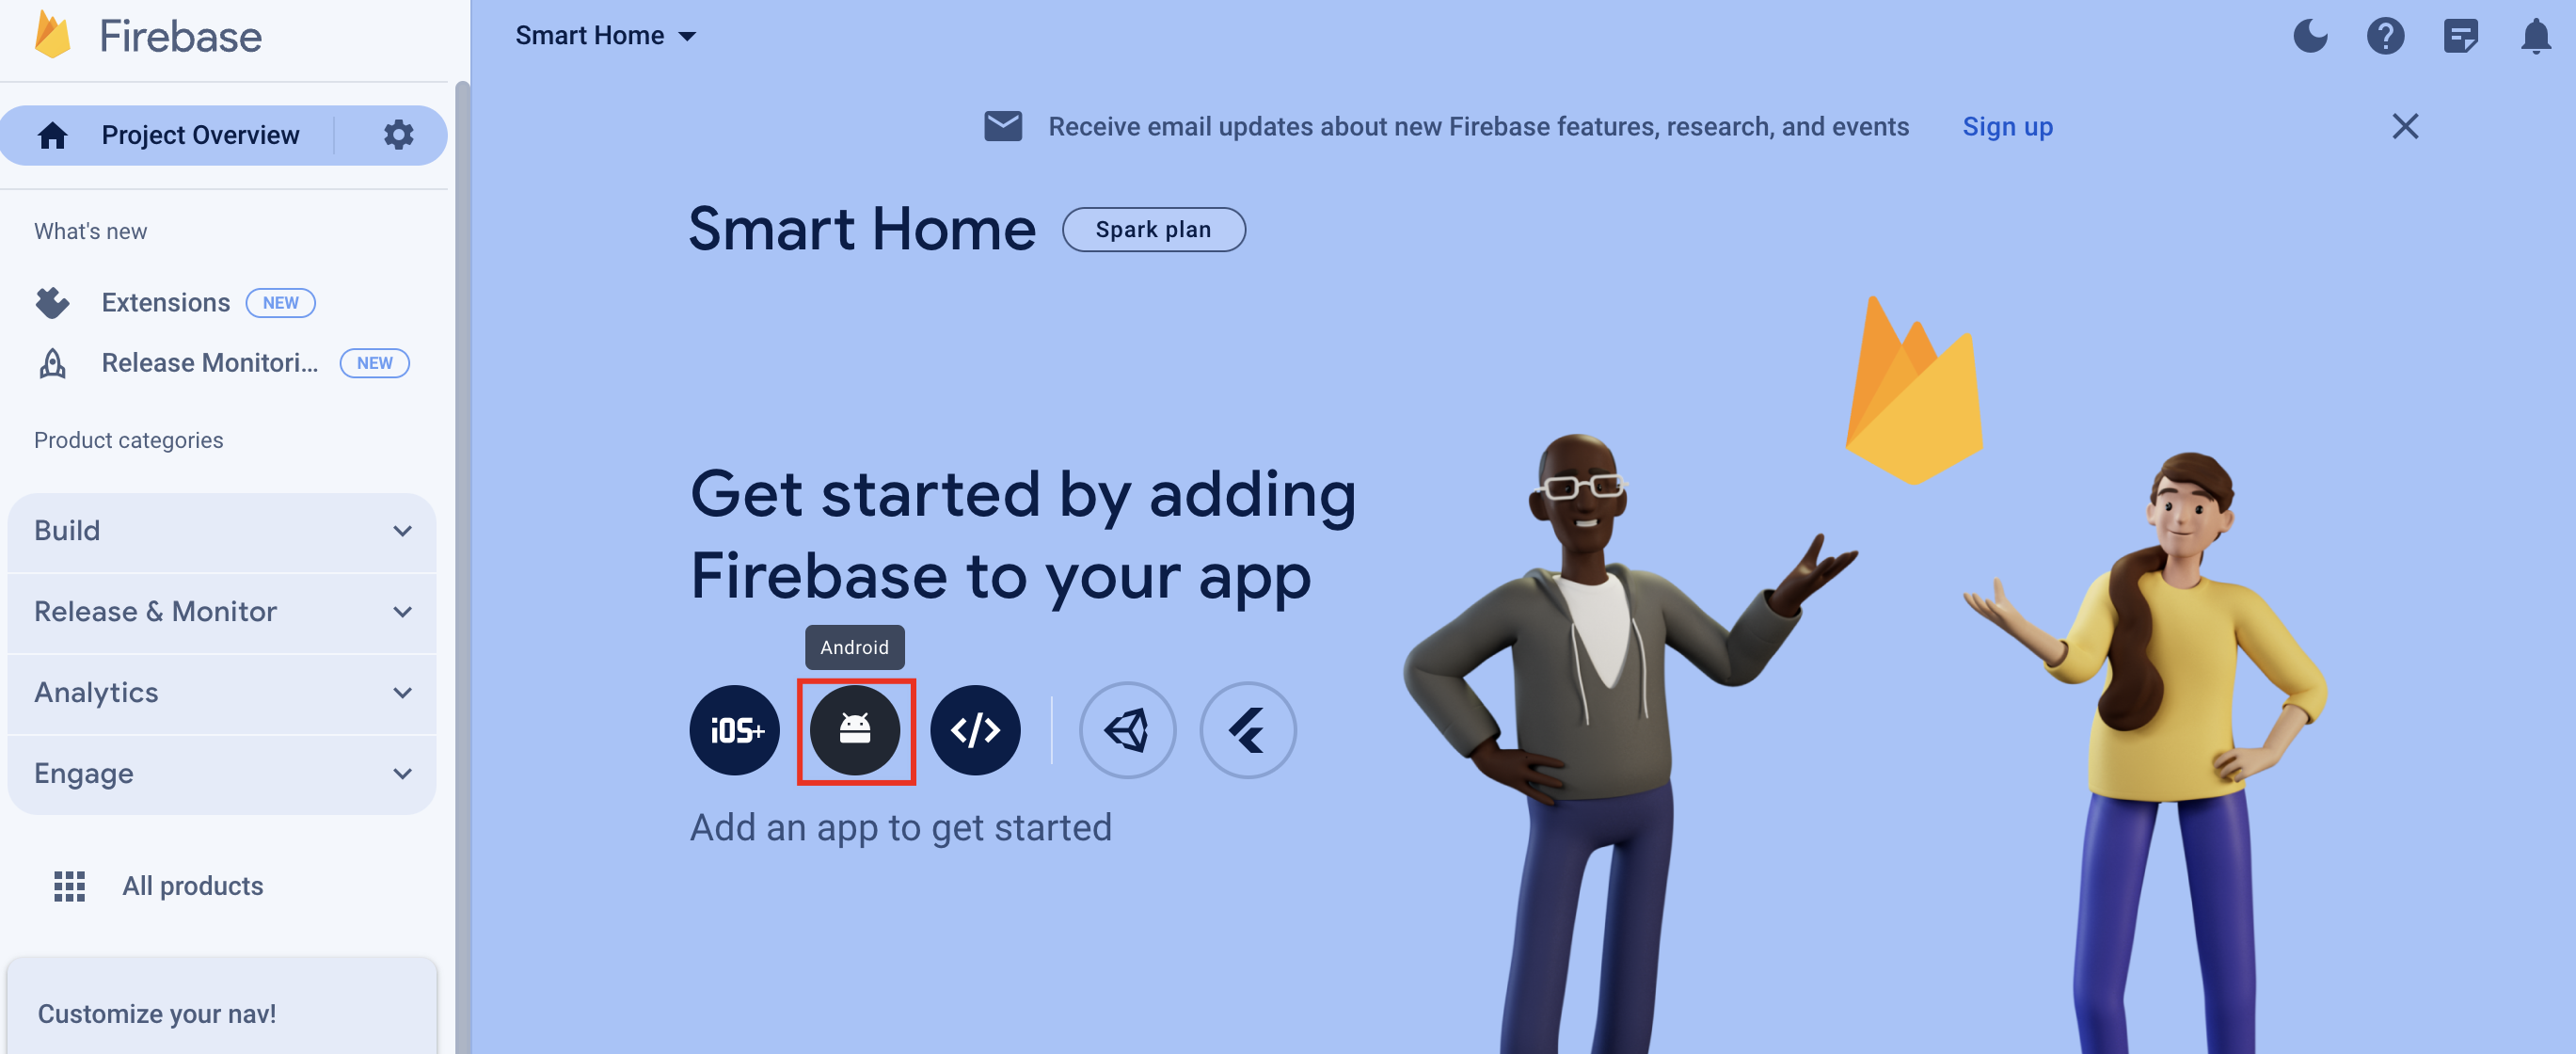
On the page of Project Overview, click the Android logo as denoted in the figure.
-
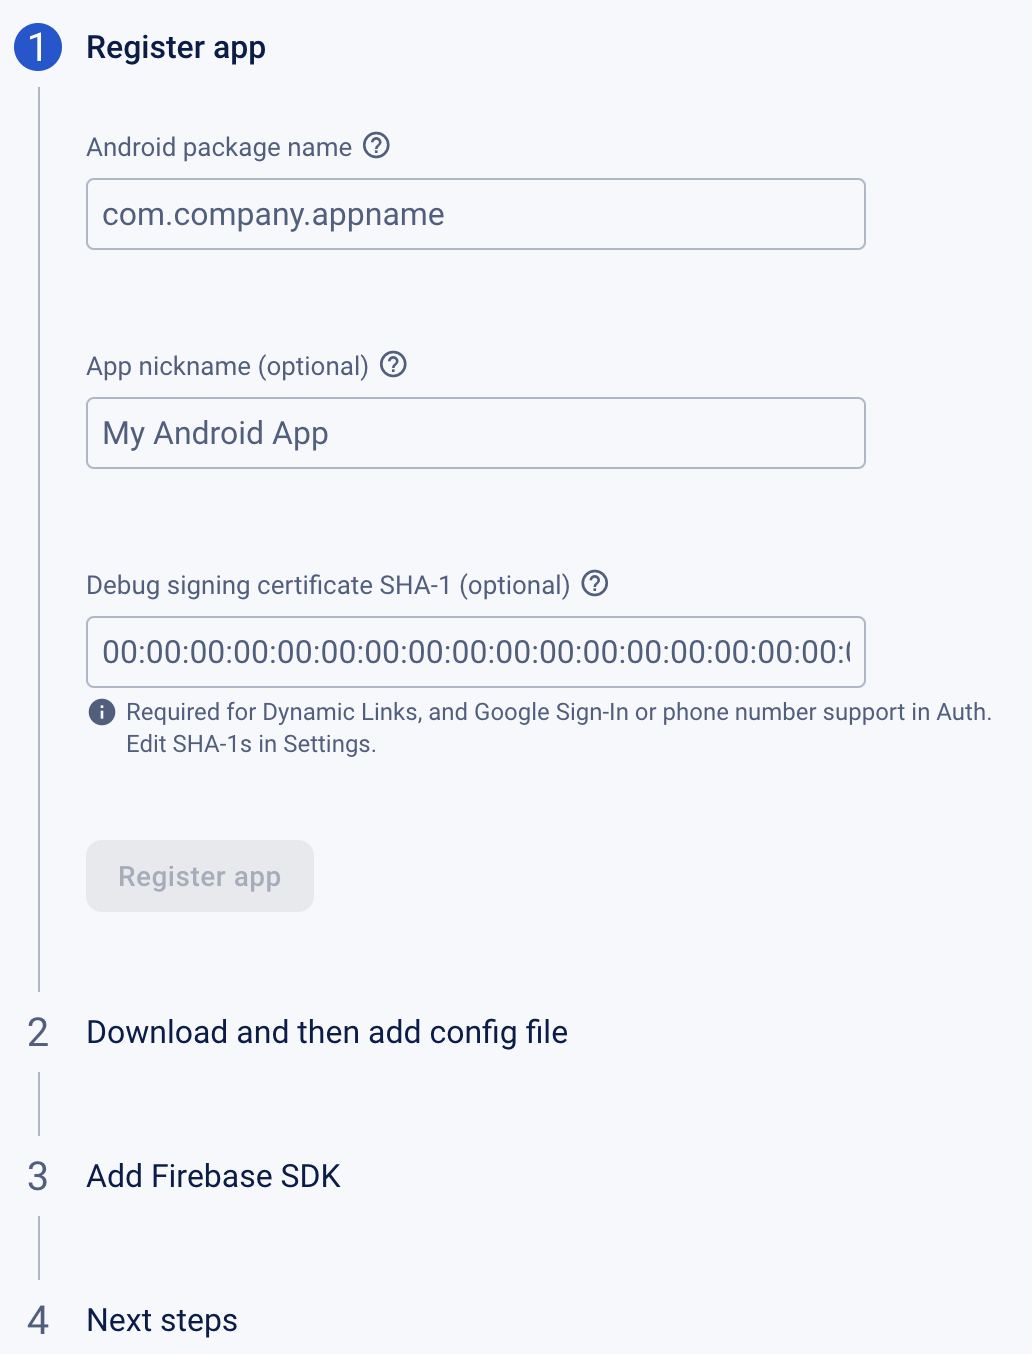
Fill in the package name of your app in the Android package name field and click Register app.
- Android package name: Recommended format of the package name is
com.xxx.xxx. - App nickname: Optional.
The package name must be correct. Otherwise, push notifications cannot be received.
- Android package name: Recommended format of the package name is
-
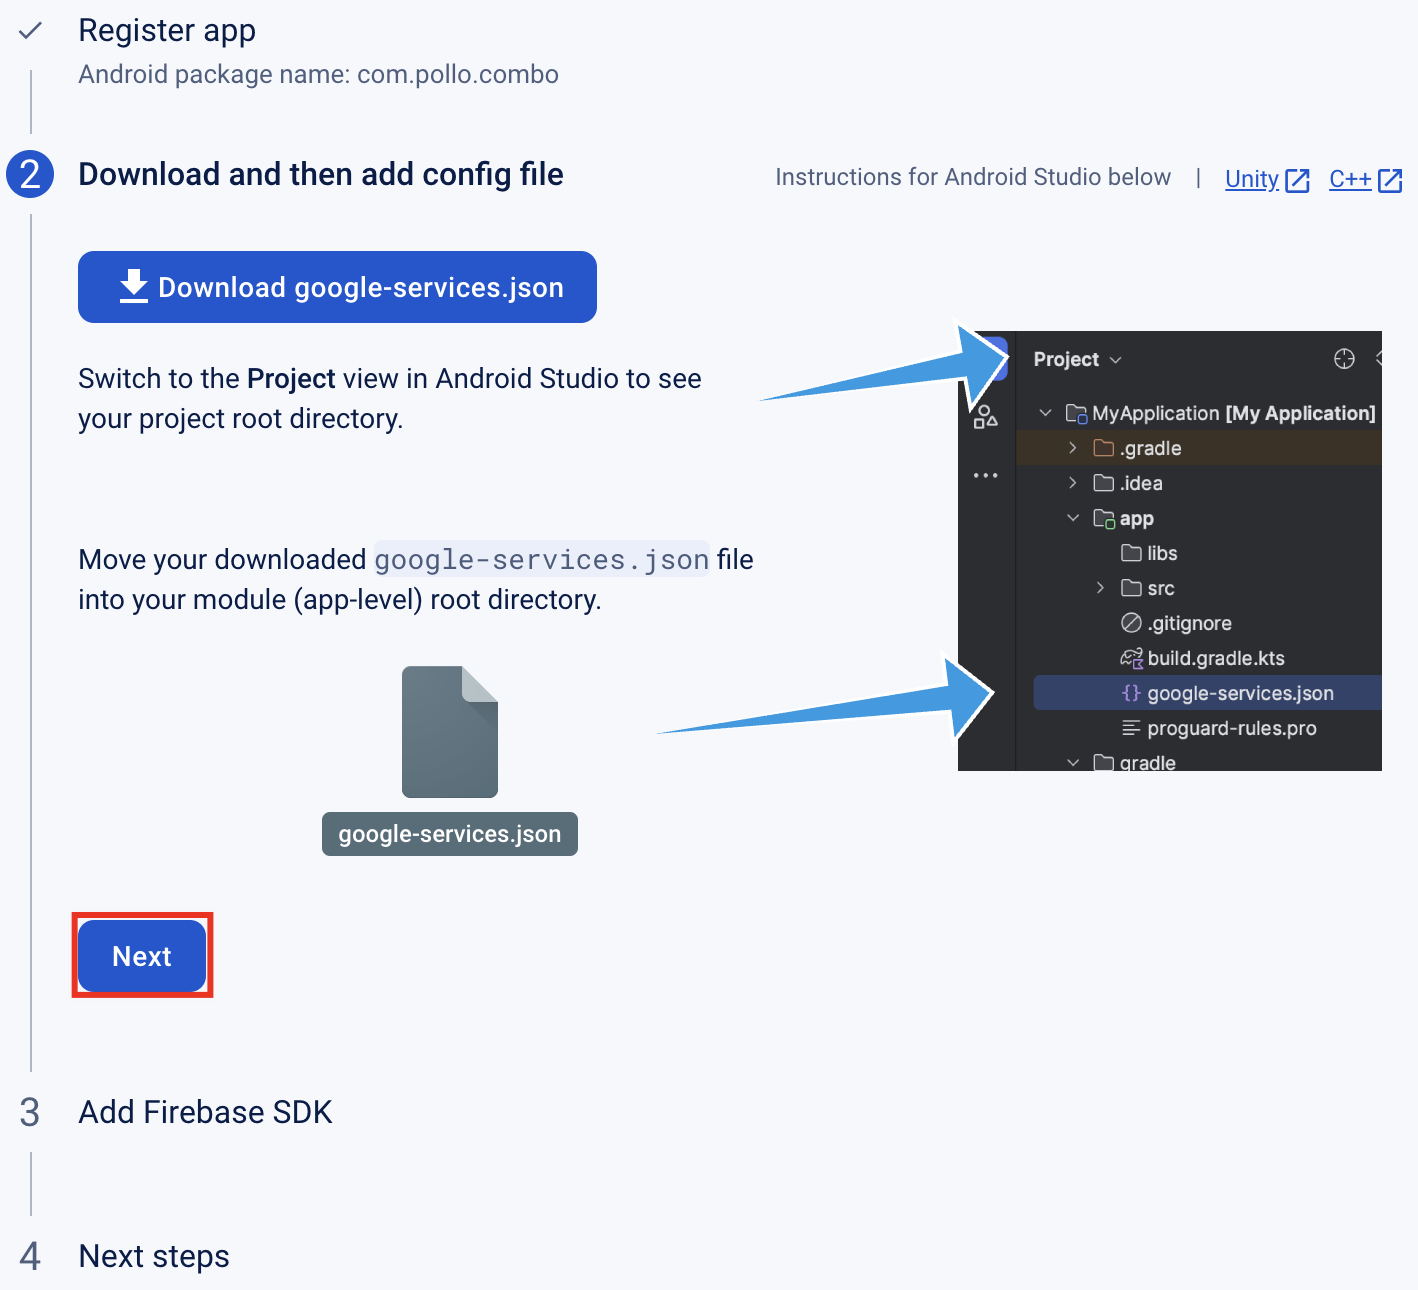
Click Next.
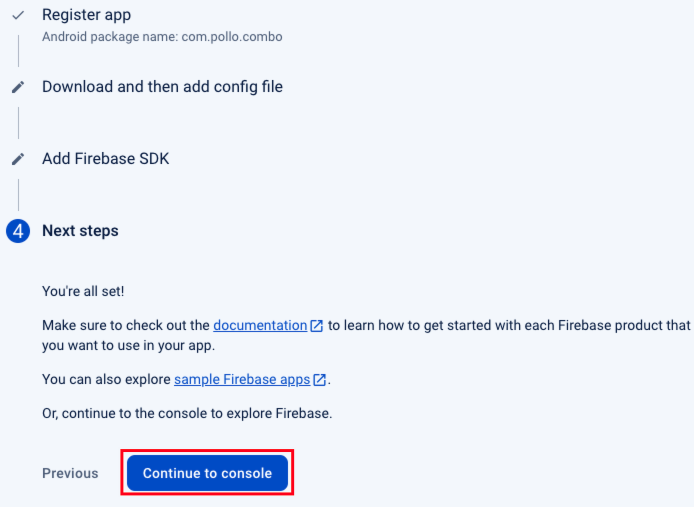
-
Click Continue to console.
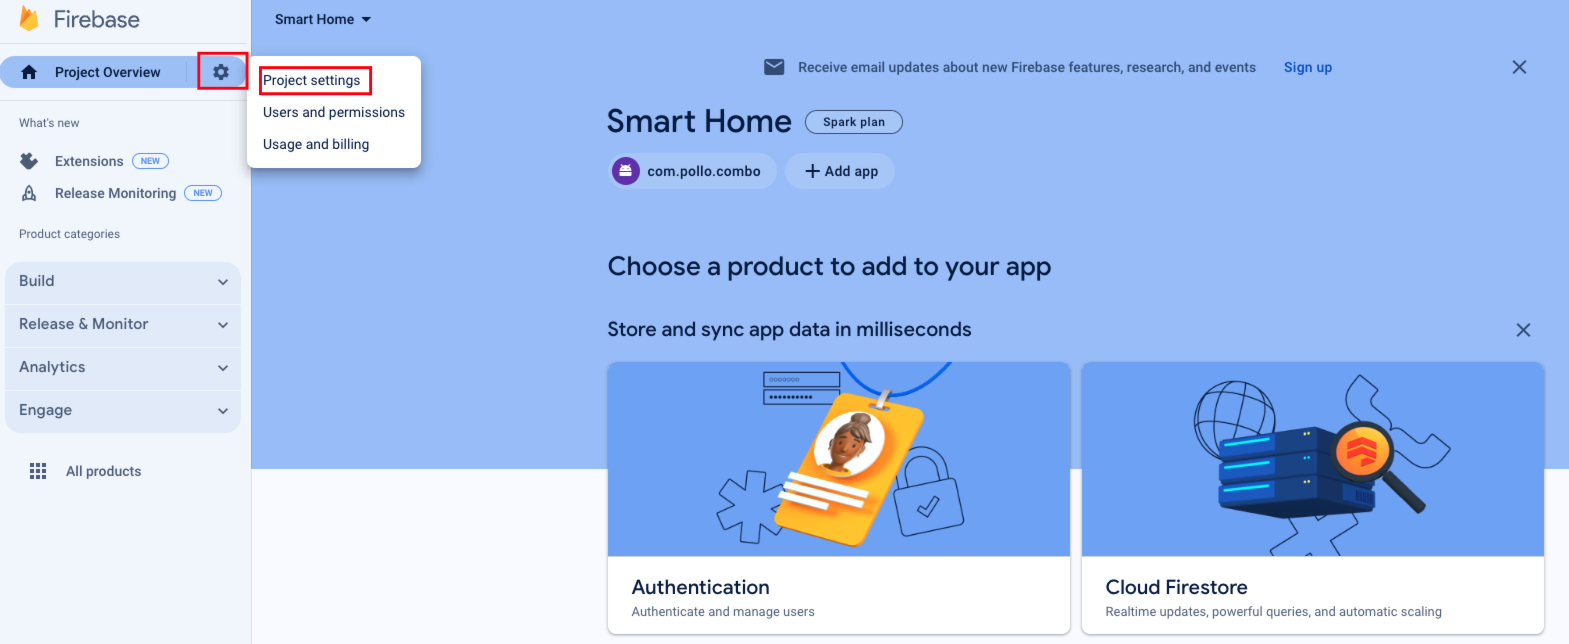
-
In the top left corner of the console, click ⚙️ on the right of Project Overview and select Project settings.
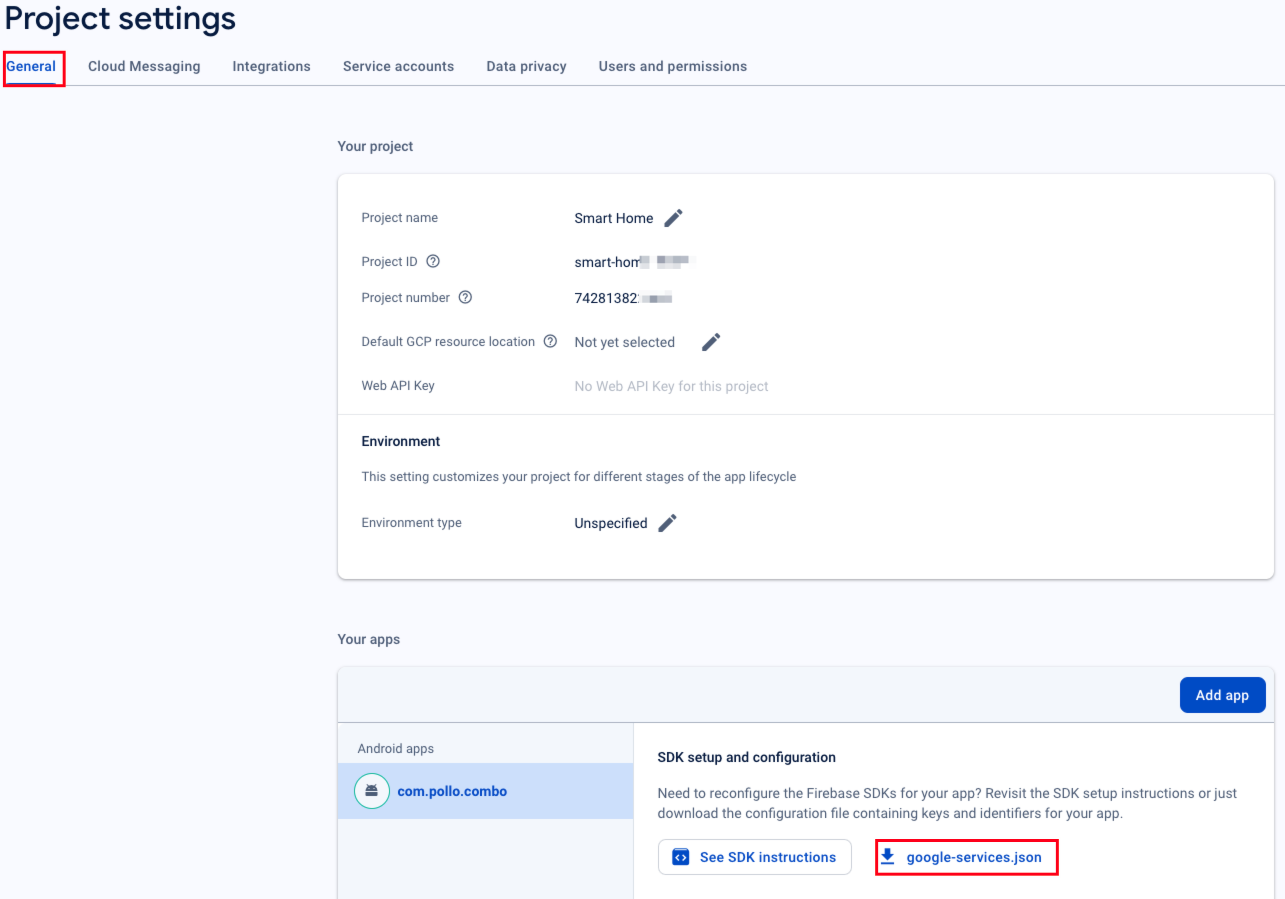
-
Choose General > google-services.json to download this file.
-
Select the Cloud Messaging tab and click the vertical ellipsis in the top right corner.
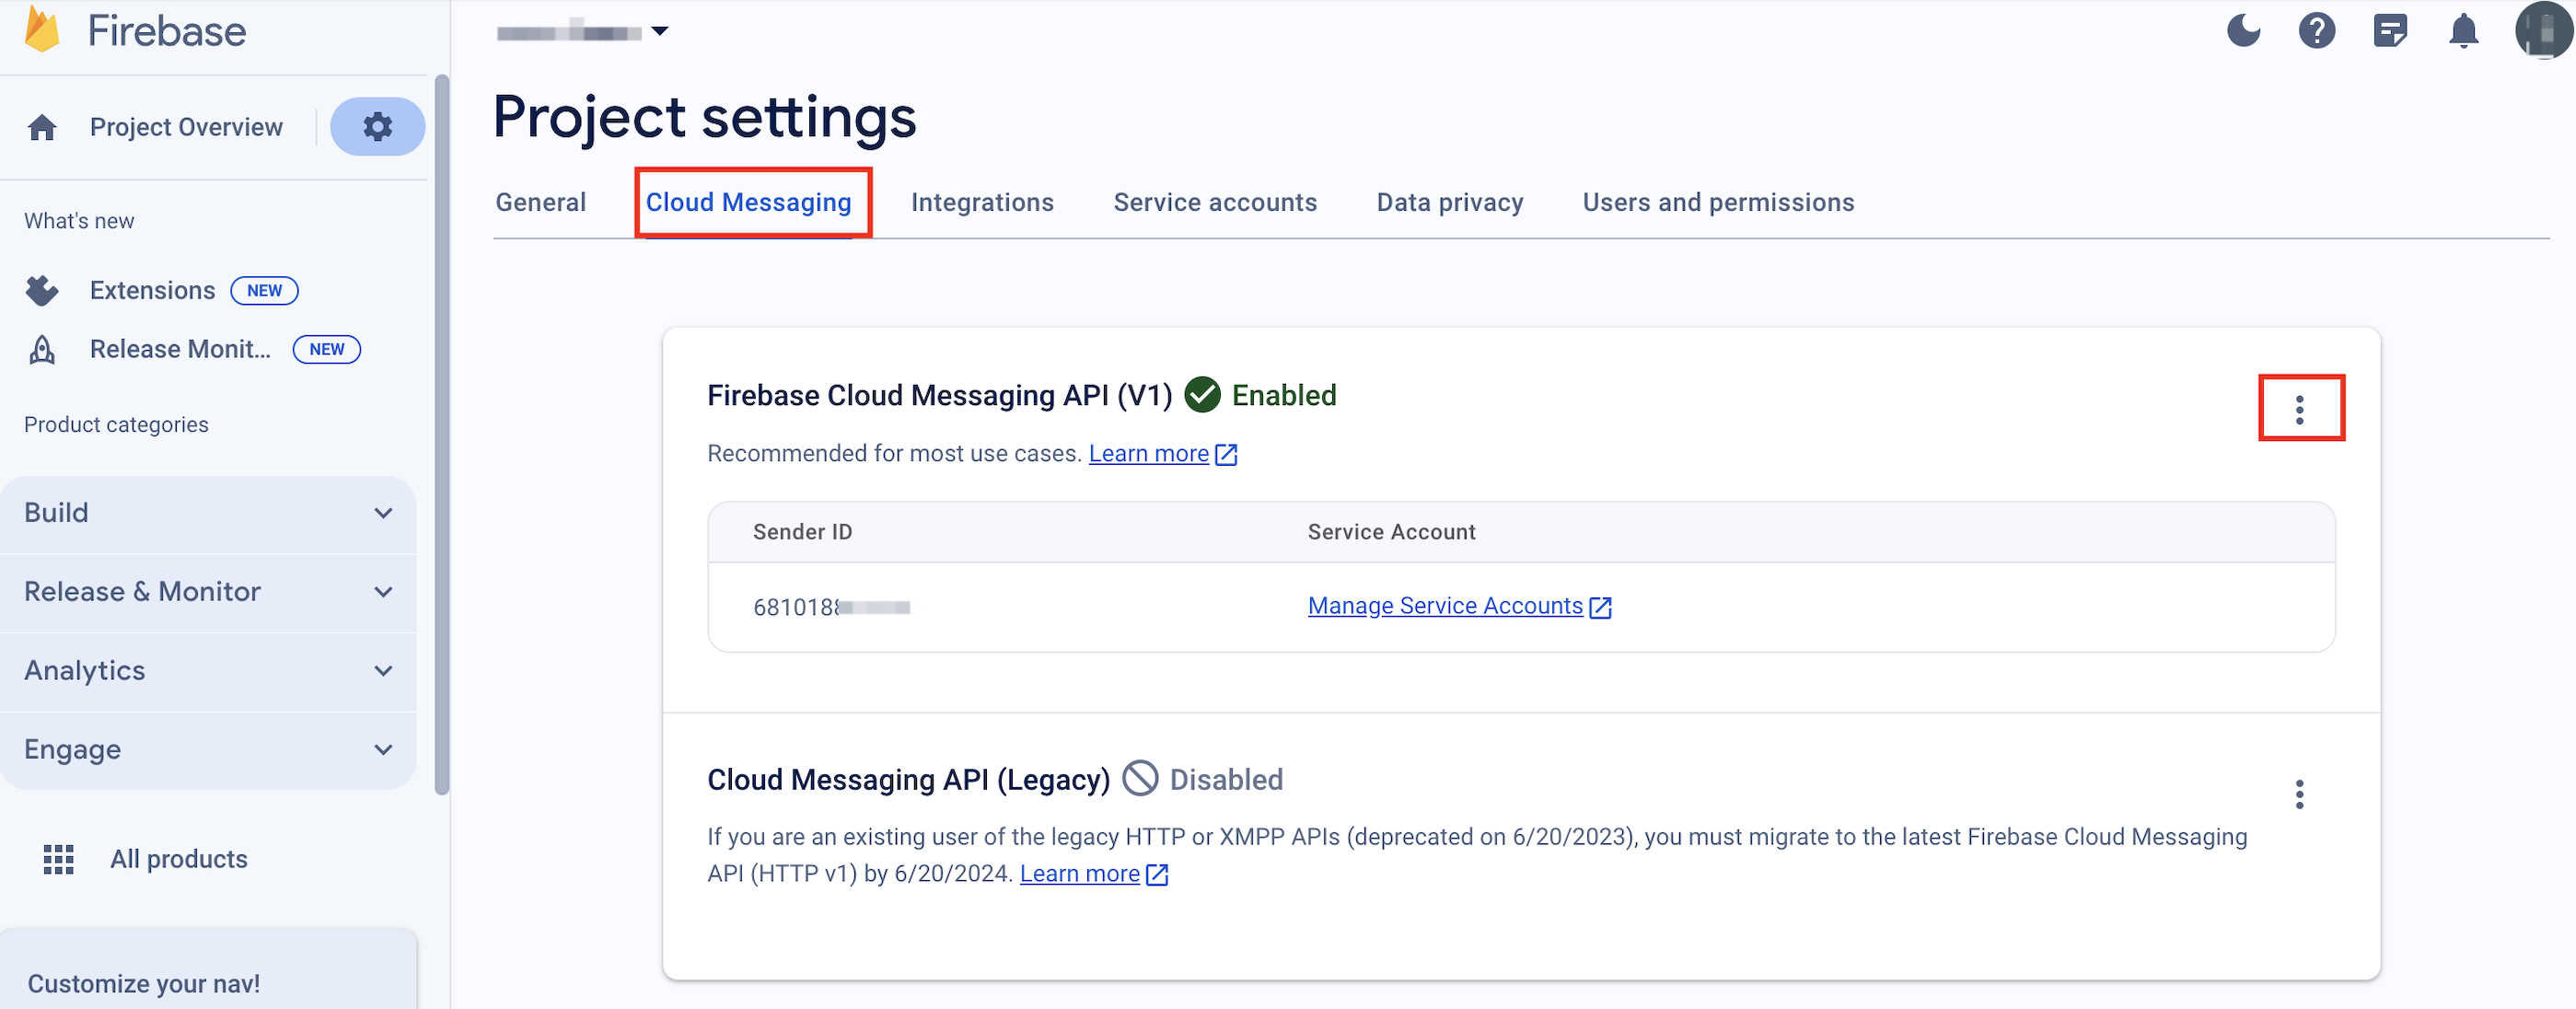
Click Manage API in Google Cloud Console.
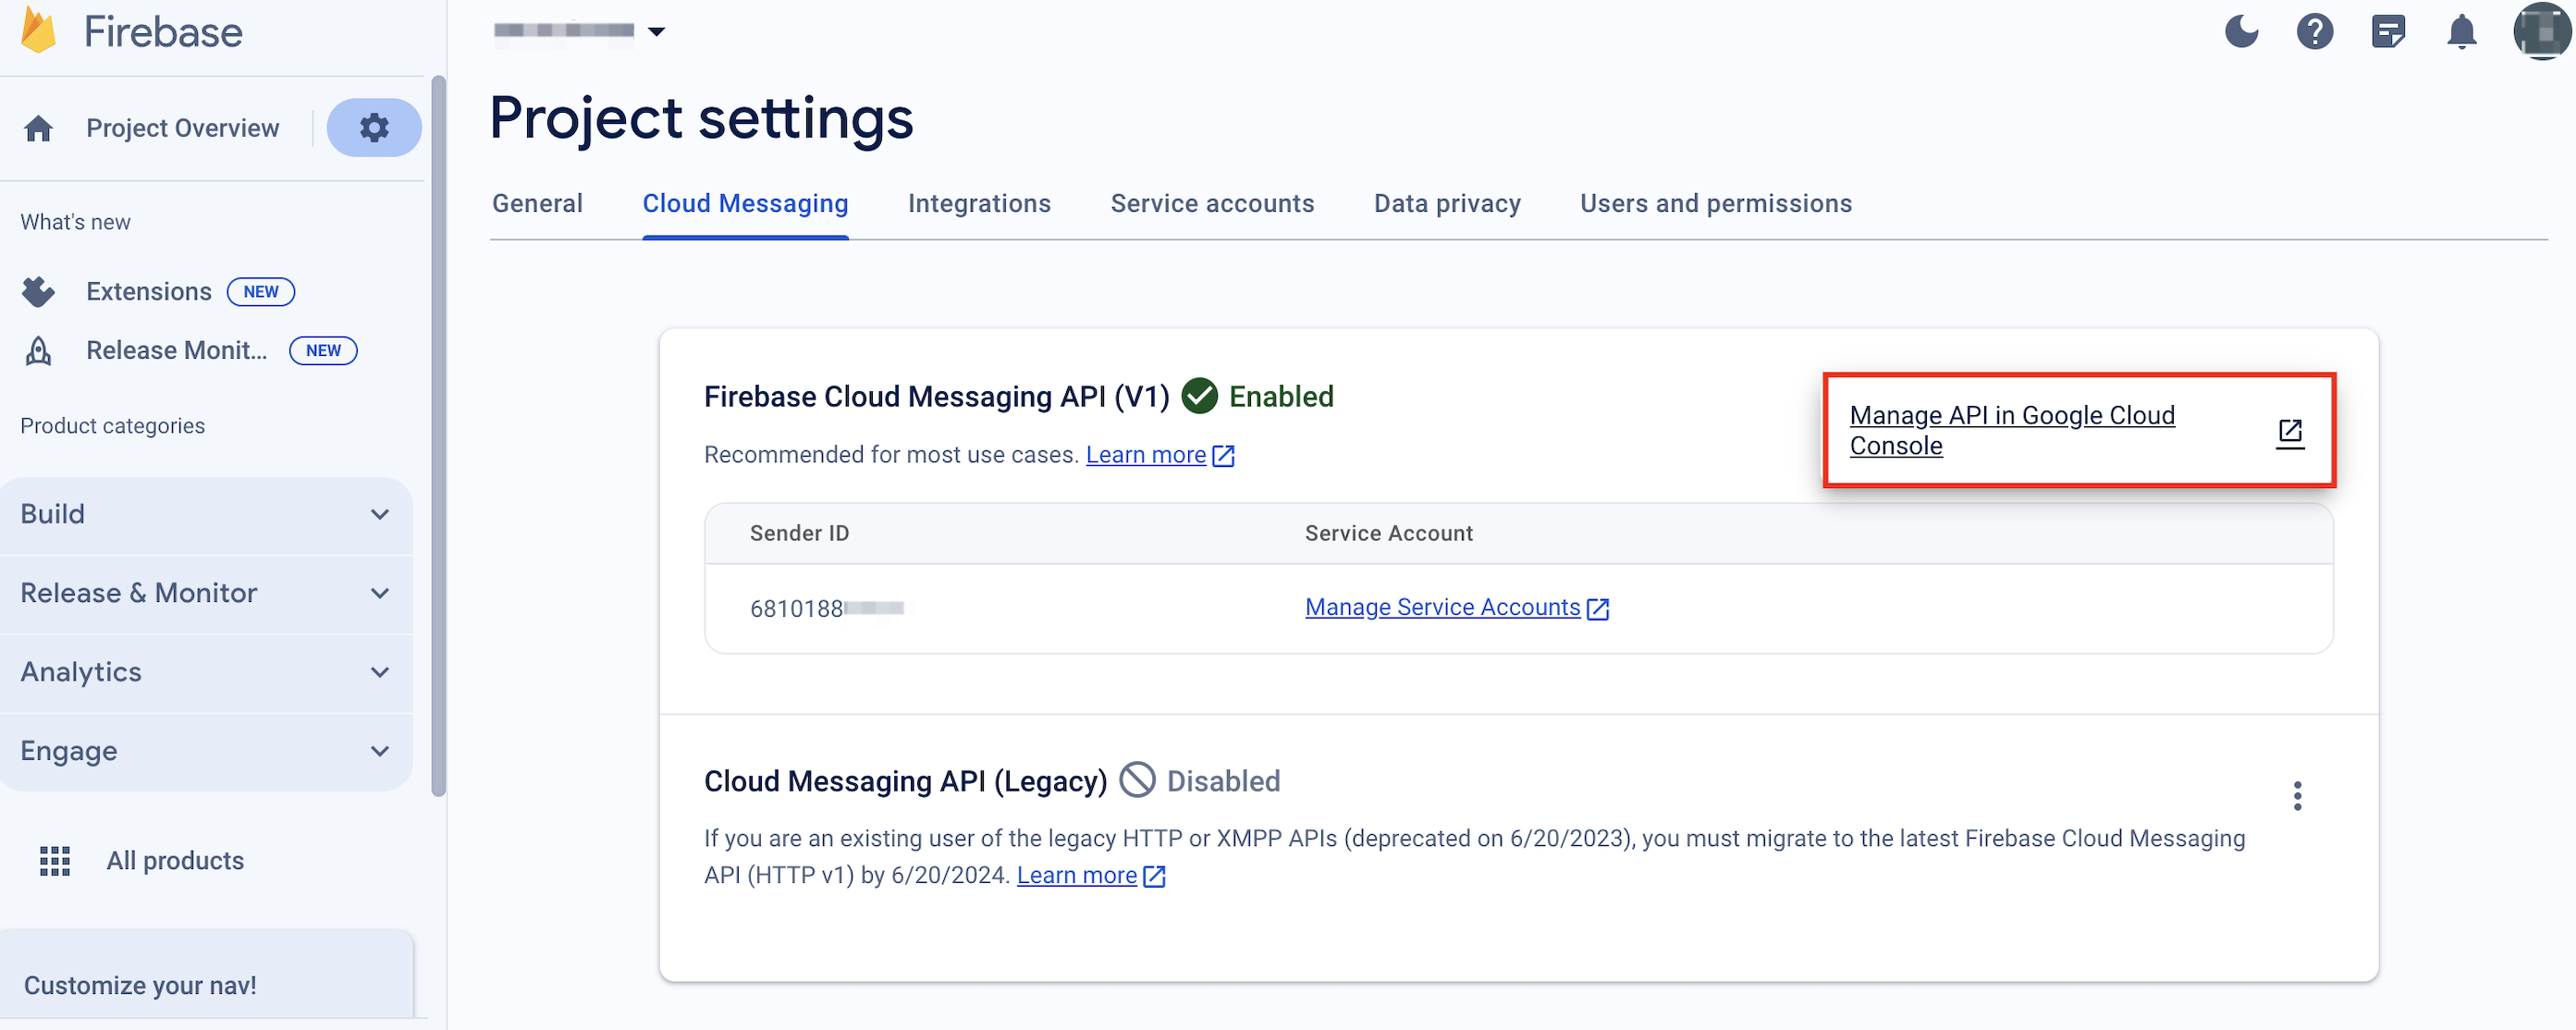
Check whether the Firebase Cloud Messaging API is enabled. If it is not enabled, click to enable it.

-
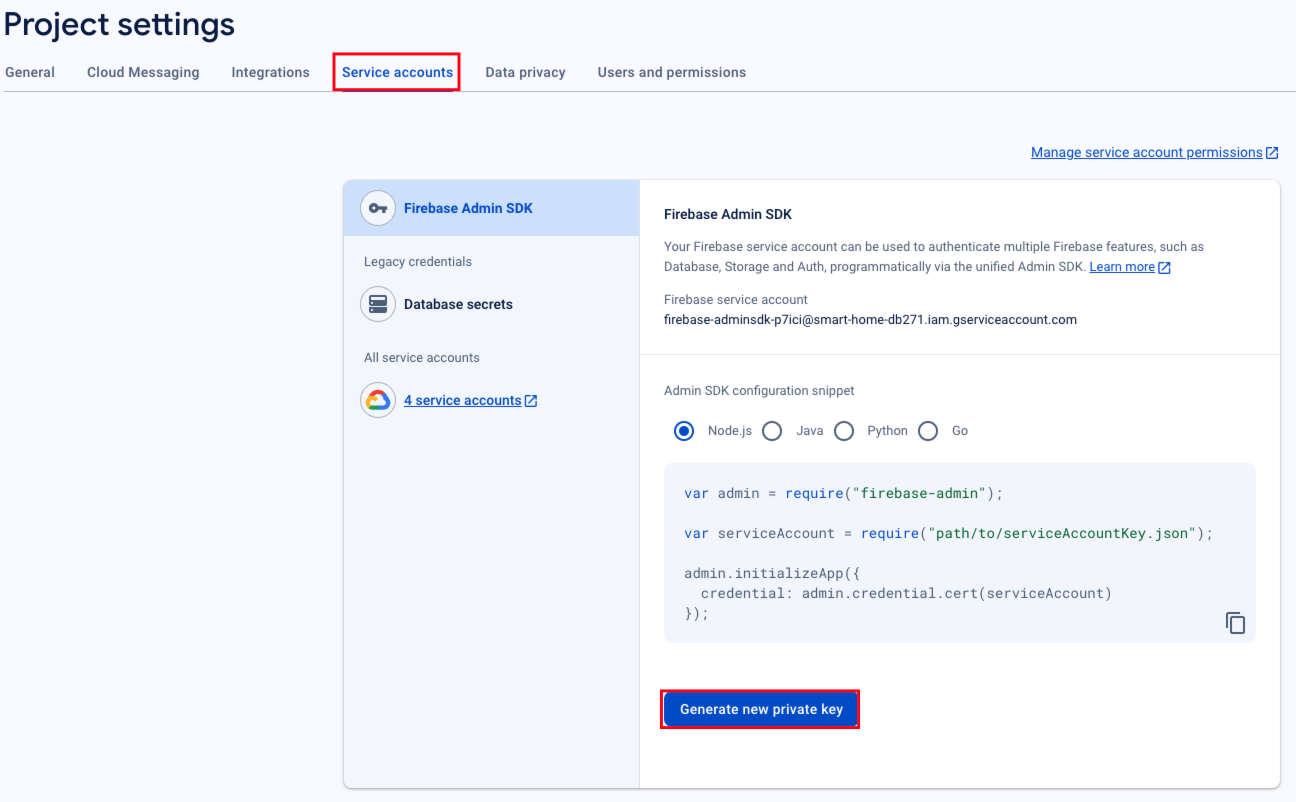
Select the Service accounts tab and click Generate new private key.
-
Click Generate key and the browser will automatically download a JSON file. If the file is not downloaded, check whether the browser is blocking it.
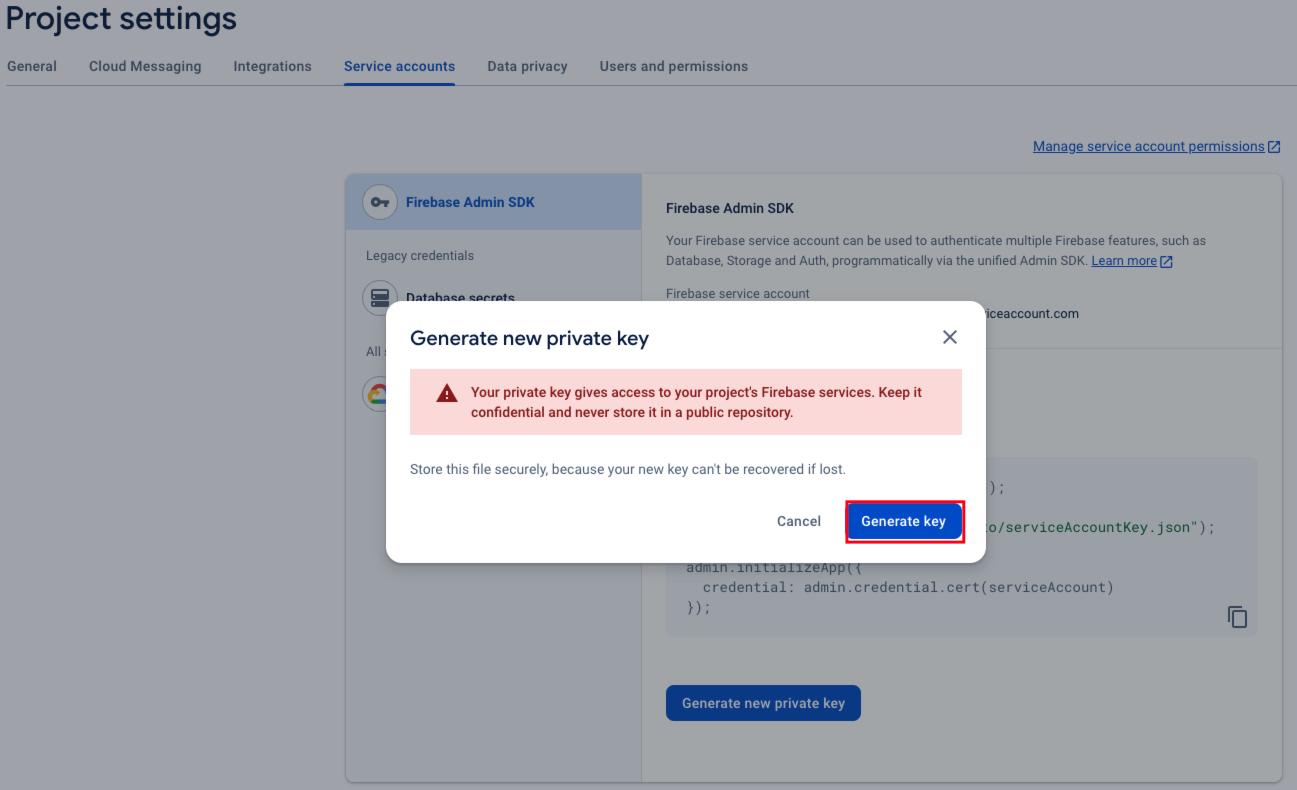
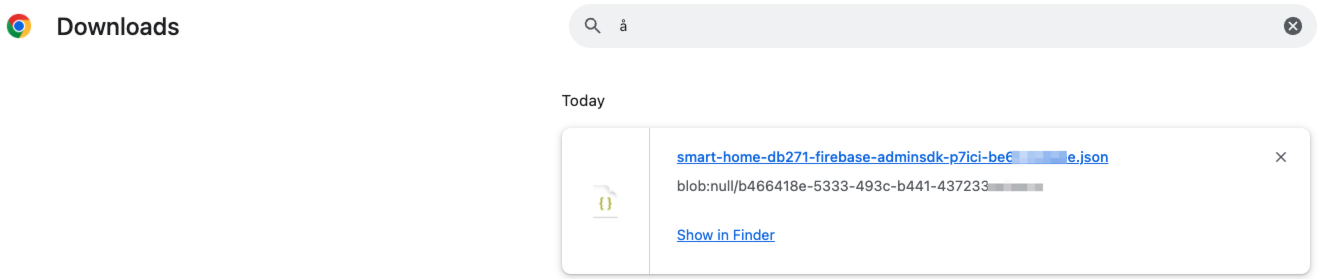
You have downloaded two JSON files. Please save them separately.
Upload to the Tuya Developer Platform
-
Log in to the Tuya Developer Platform.
-
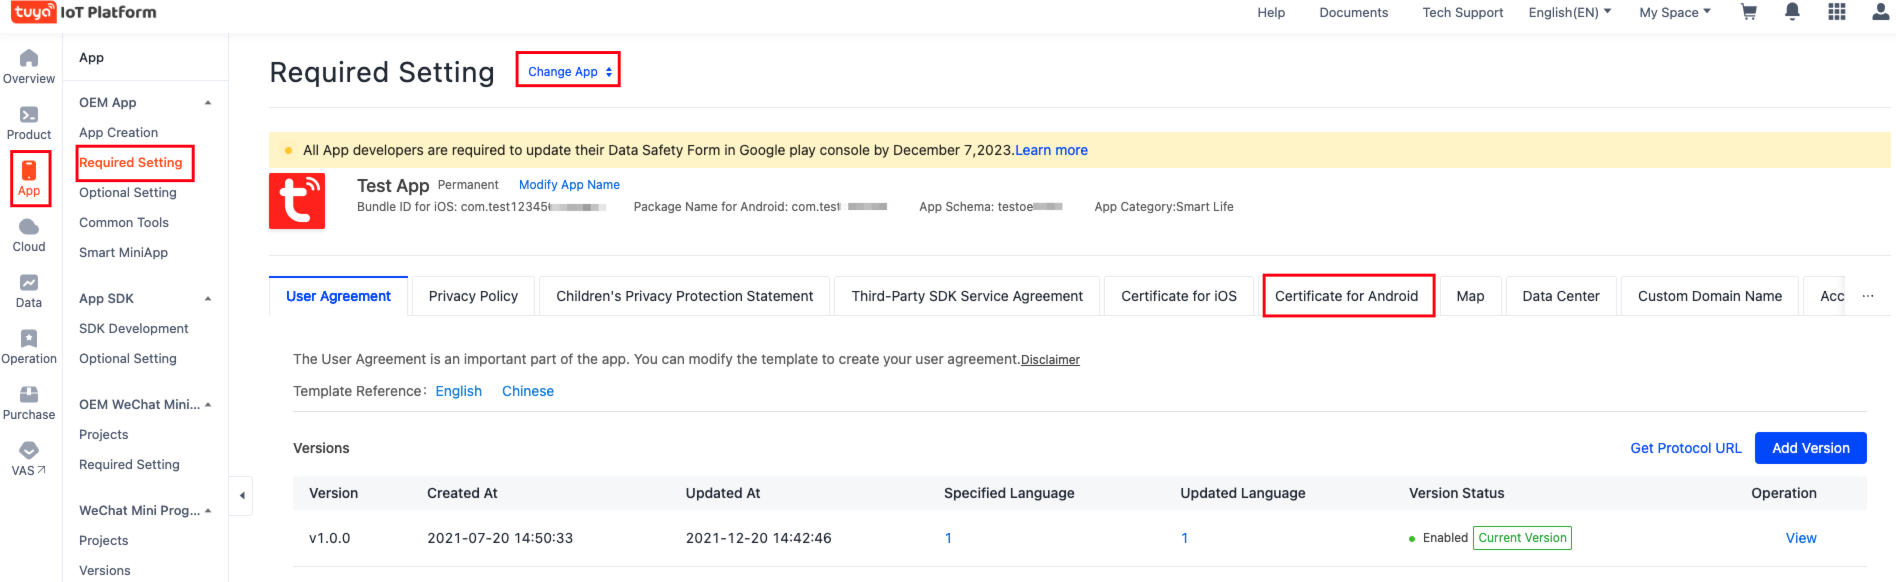
In the left-side navigation pane, choose App > Required Setting.
If you have multiple apps, you can click Change App to choose a desired app.
-
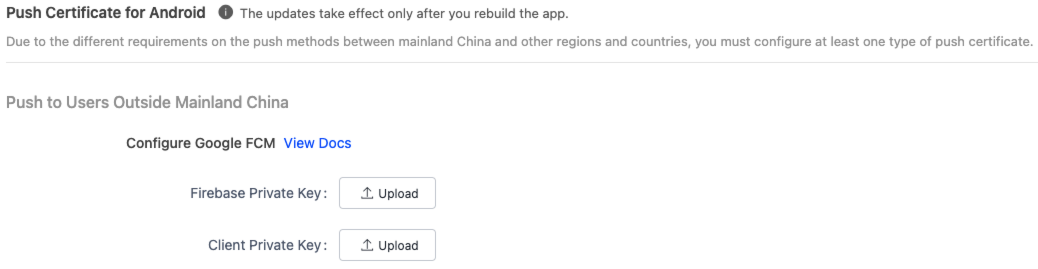
Click the Certificate for Android tab, scroll down the page, and find **Push Certificate for Android ** > Configure Google FCM.
-
Upload the two JSON files you have downloaded.
Is this page helpful?
YesFeedbackIs this page helpful?
YesFeedback


