Manage Virtual Devices
Virtual devices help you to perform cloud development without an actual smart device. You can add virtual devices to quickly simulate the cloud development process.
Add devices on the Devices tab
Your account of the SmartLife app has been linked with your project. For more information, see Link Devices.
You can link virtual devices with the SmartLife app. This section takes a virtual plug as an example to describe how to add a virtual device.
Procedure
-
Visit My Cloud Projects.
-
Select the target project and click Open Project in the Operation column.
-
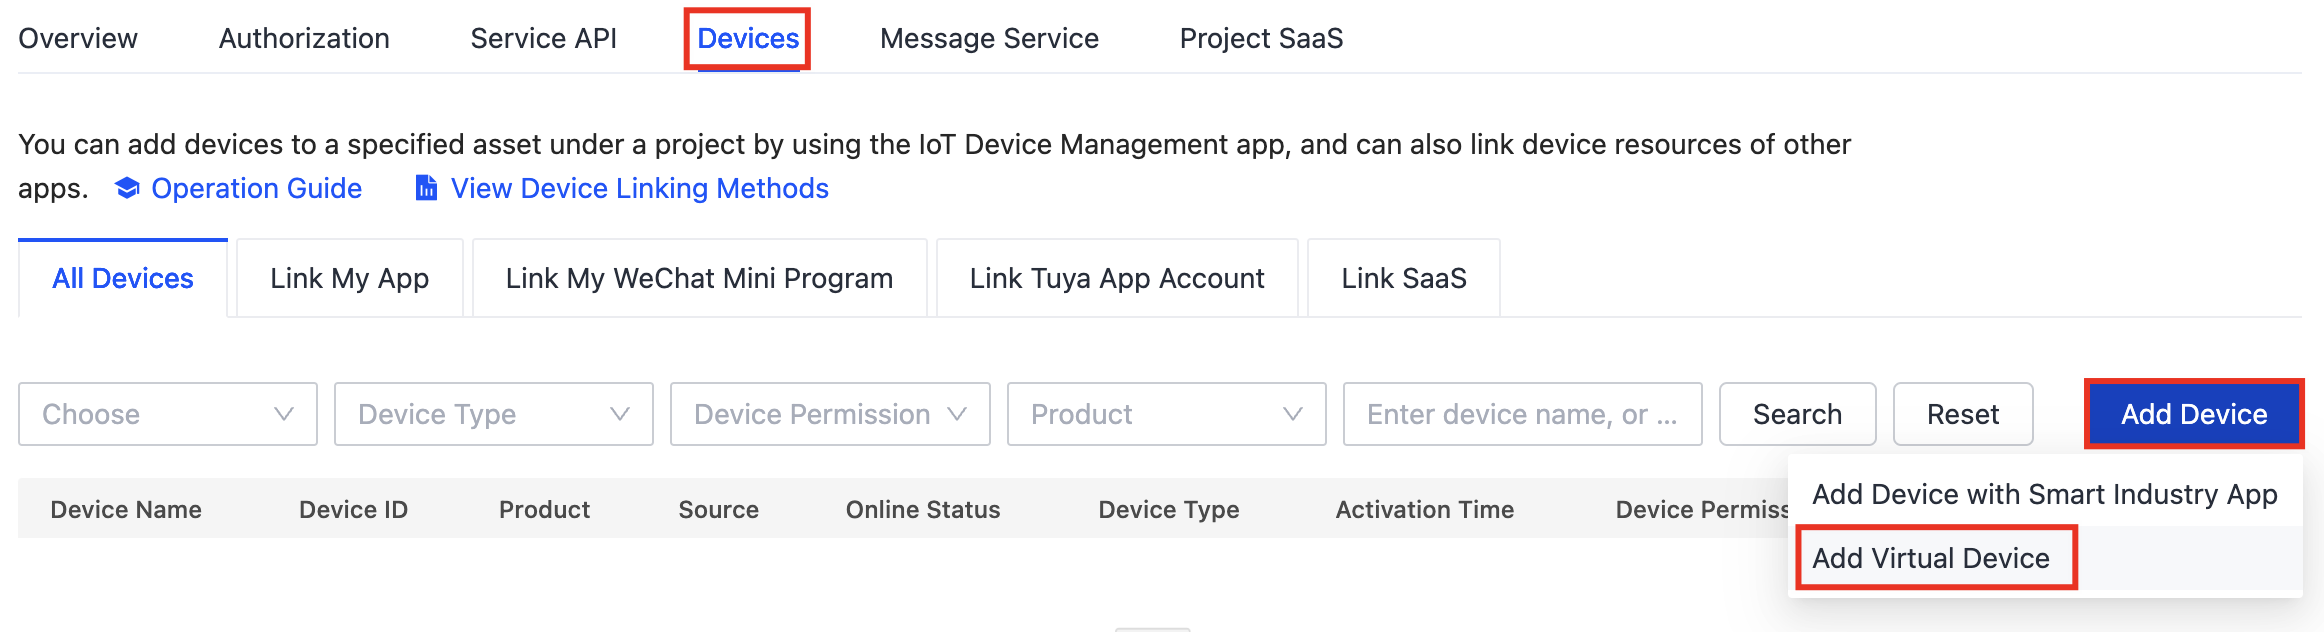
Choose Devices > All Devices.
-
Choose Add Device > Add Virtual Device.
-
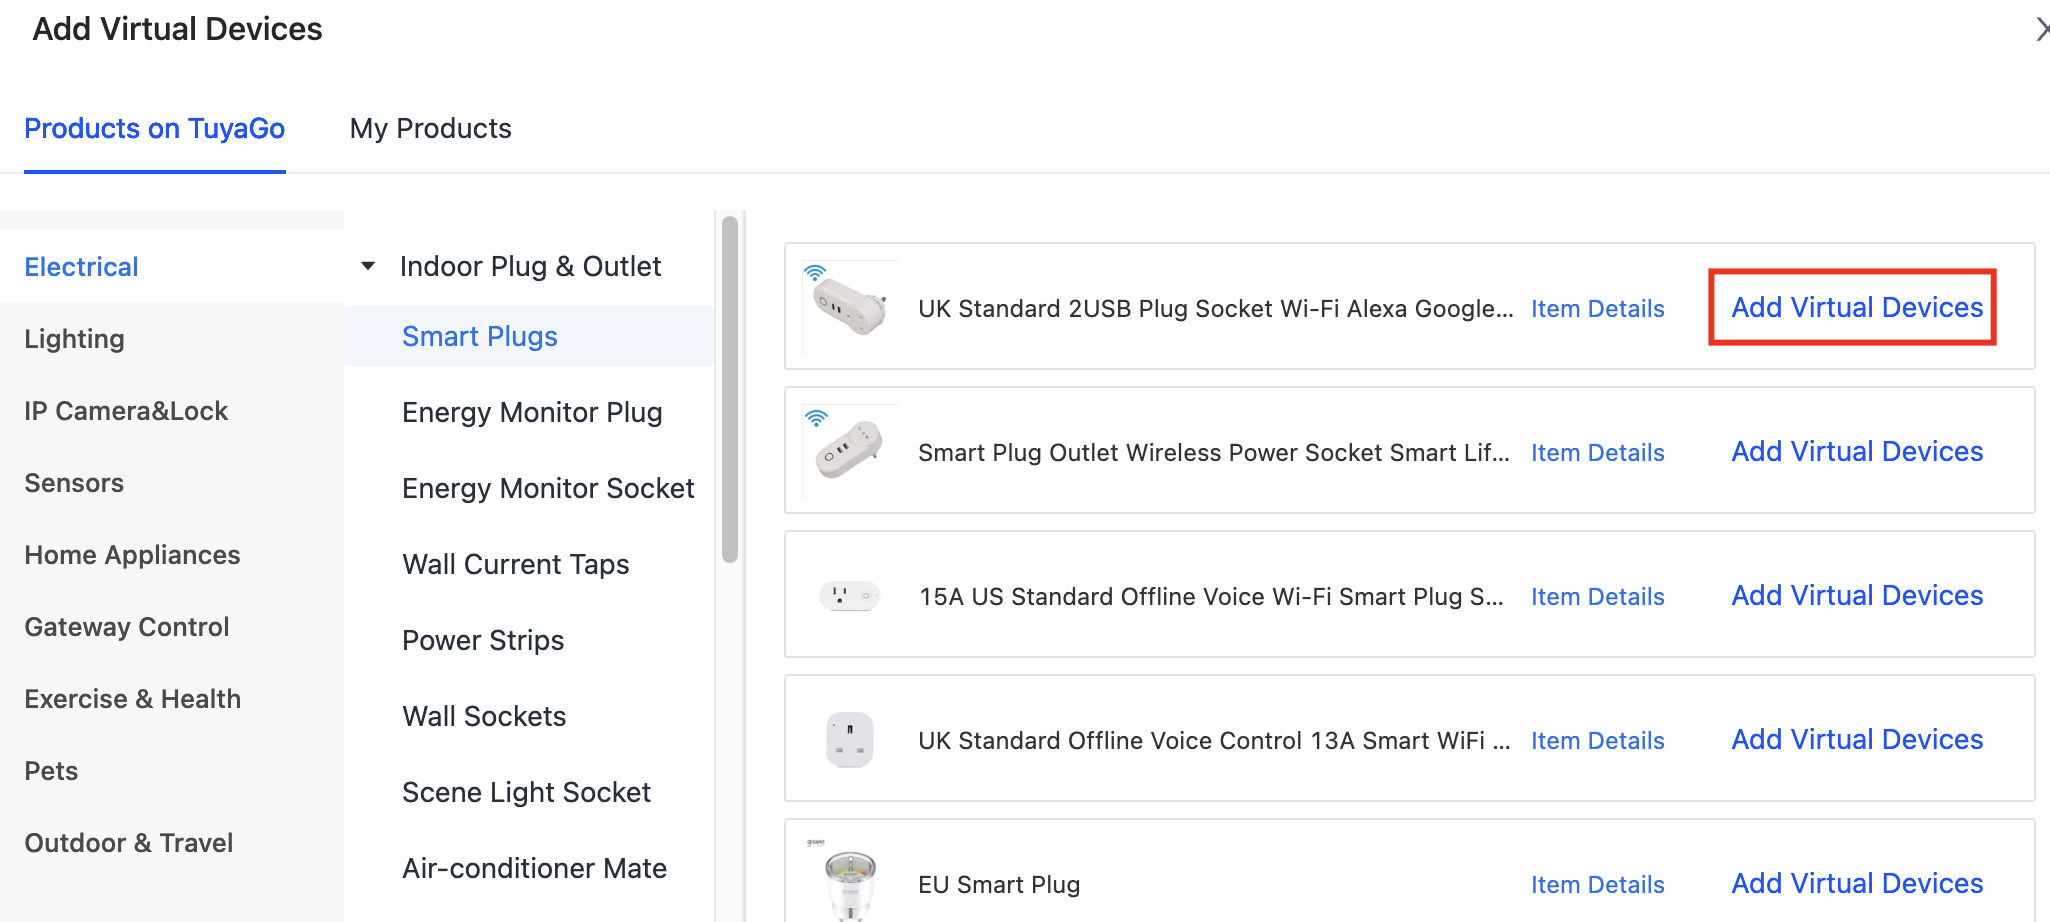
Select a virtual device. In this example, the selected virtual plug is from Products on TuyaGo. On the Add Virtual Devices pane, click Products on TuyaGo > Electrical > Indoor Plug & Outlet > Smart Plugs > Add Virtual Devices.
-
Products on TuyaGo: All products that support virtual device functionality.
-
My Products: All the products that you have created on the Tuya Developer Platform.
On the My Products tab page, you can find all products that you have created on the Tuya Developer Platform.
-
-
Select a method to link the virtual device with the app. For example, click Add to Tuya App Account. Scan the QR code to add a virtual device. You can view and operate the added virtual device with the SmartLife app.
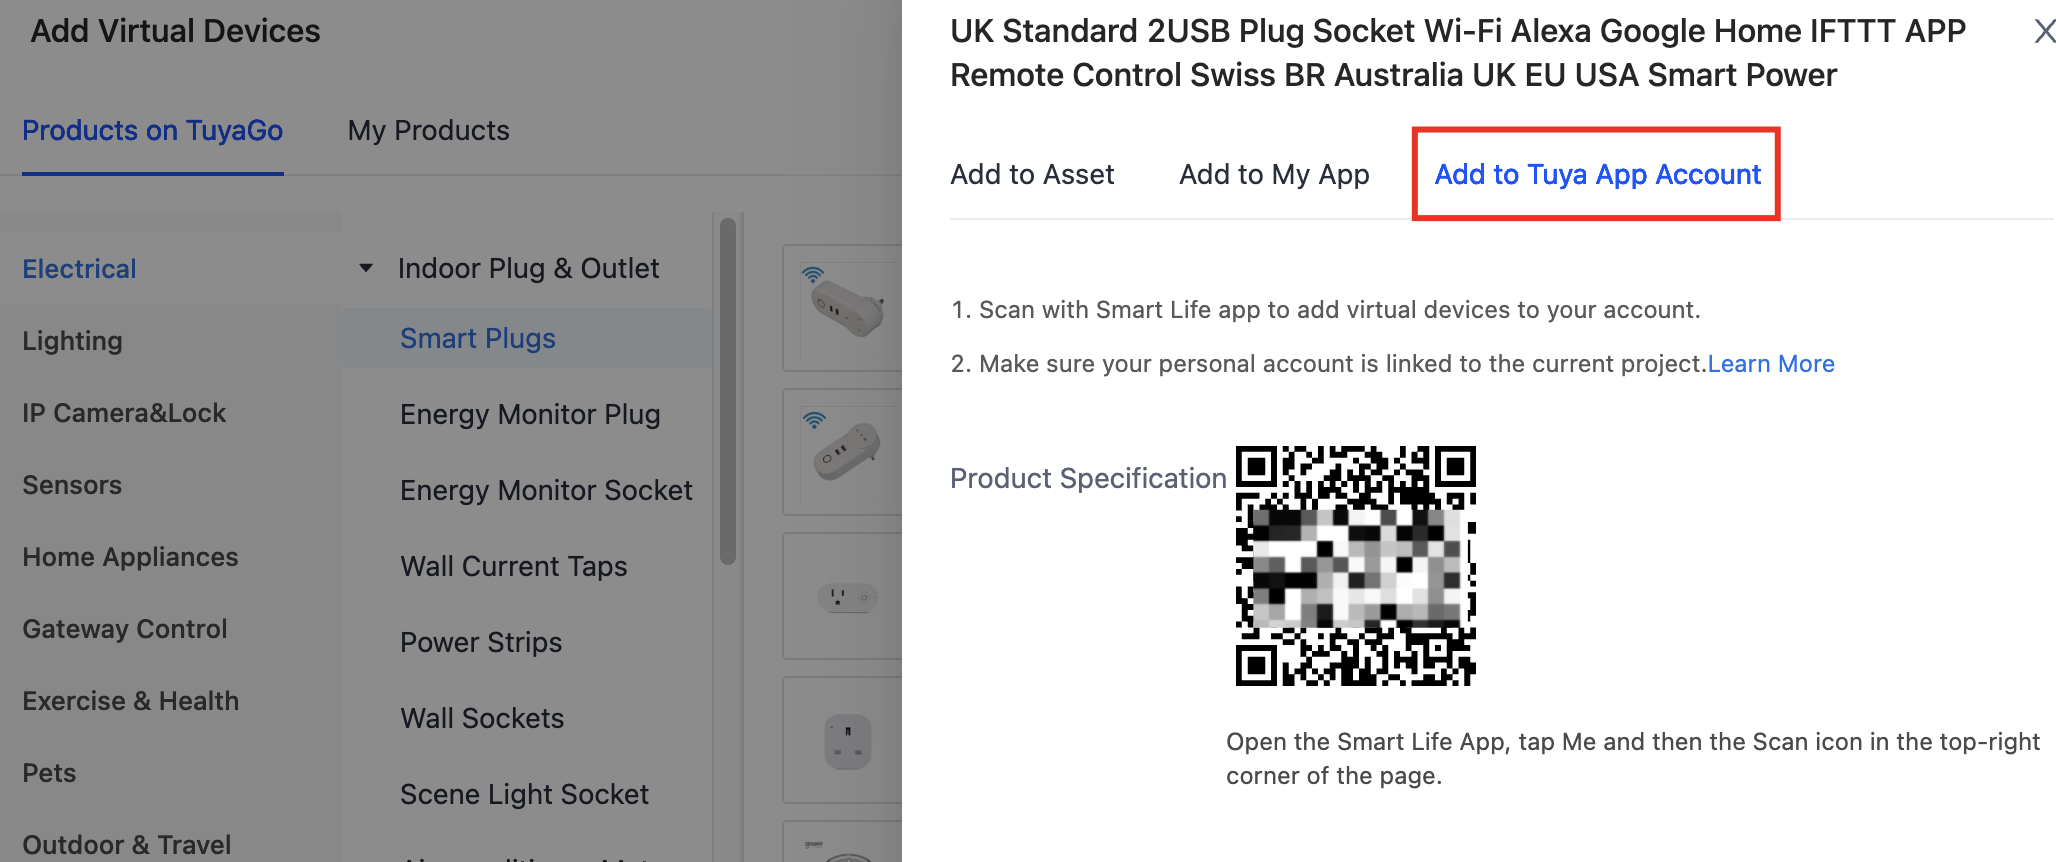
You can also link virtual devices in the following ways.
-
Add to Asset
Select the asset path to add the device. -
Add to My App
Add this virtual device to the test account of your developed app. And then, you can debug and control the virtual device by making API requests. The linked details are as follows:
- Select App: Select an app that is linked with the project.
- Account: Enter the username or UUID.
- Home: Link this virtual device with a specific home.
-
Action result
You can view and operate the added virtual device with the SmartLife app.
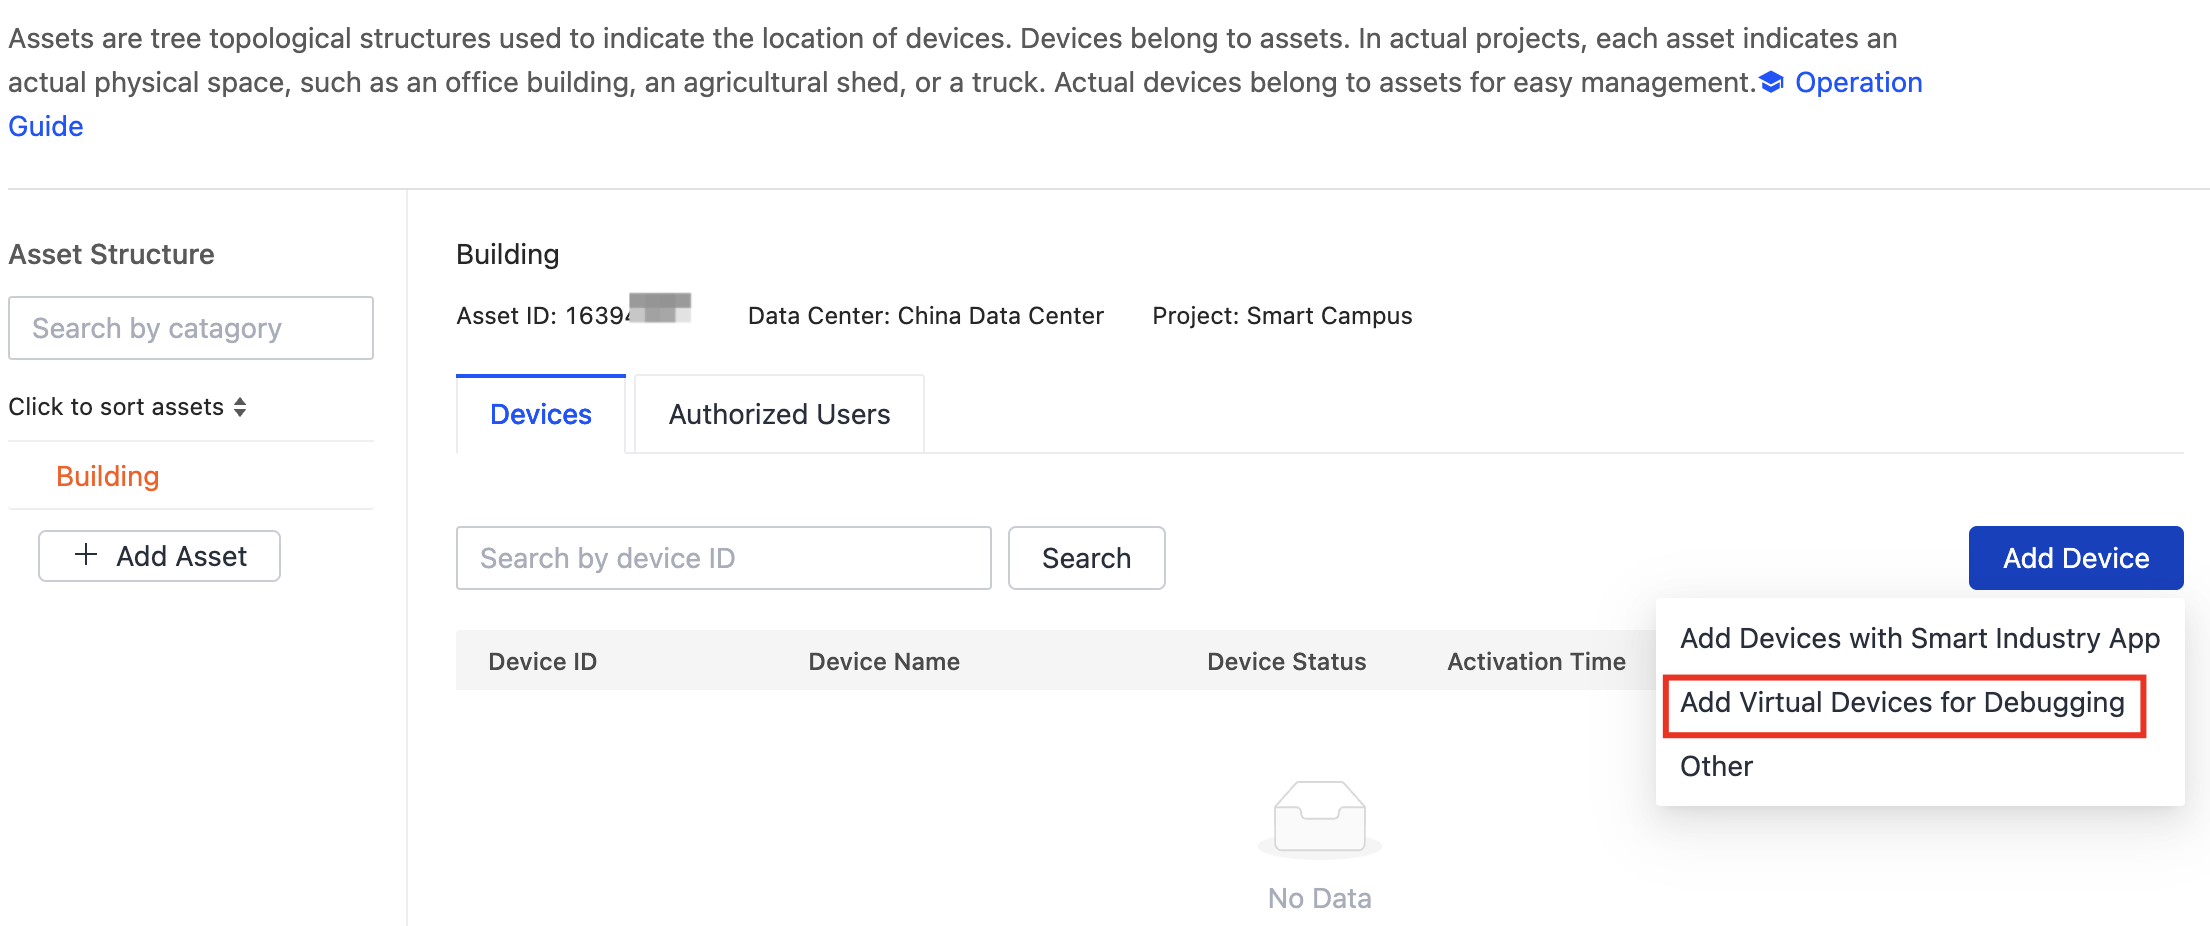
Add devices on the Assets tab
-
Visit My Cloud Projects.
-
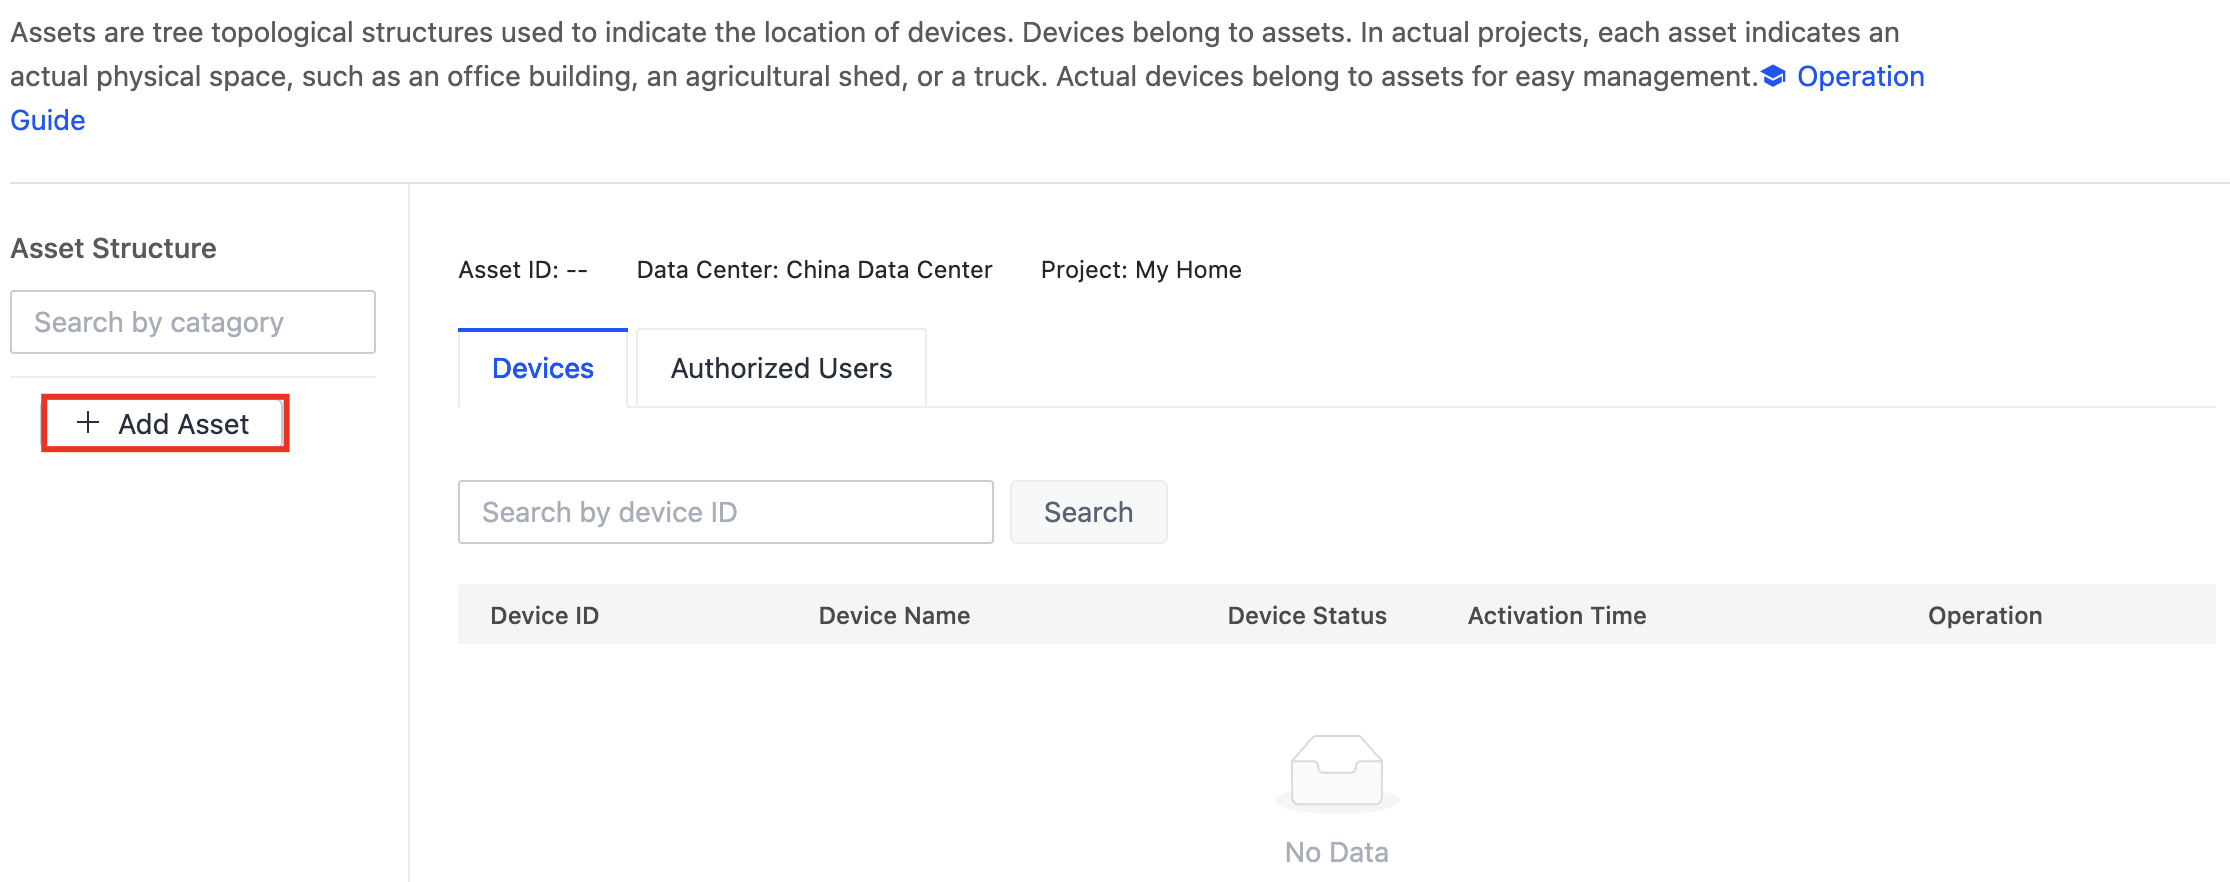
Open the Assets tab and click Add Asset. Enter the Asset Name and click OK.
-
Click the Devices tab and choose Add Device > Add Virtual Devices for Debugging.
-
Select a virtual device. In this example, the selected virtual plug is from Products on TuyaGo. On the Add Virtual Devices pane, click Products on TuyaGo > Electrical > Indoor Plug & Outlet > Smart Plugs > Add Virtual Devices.
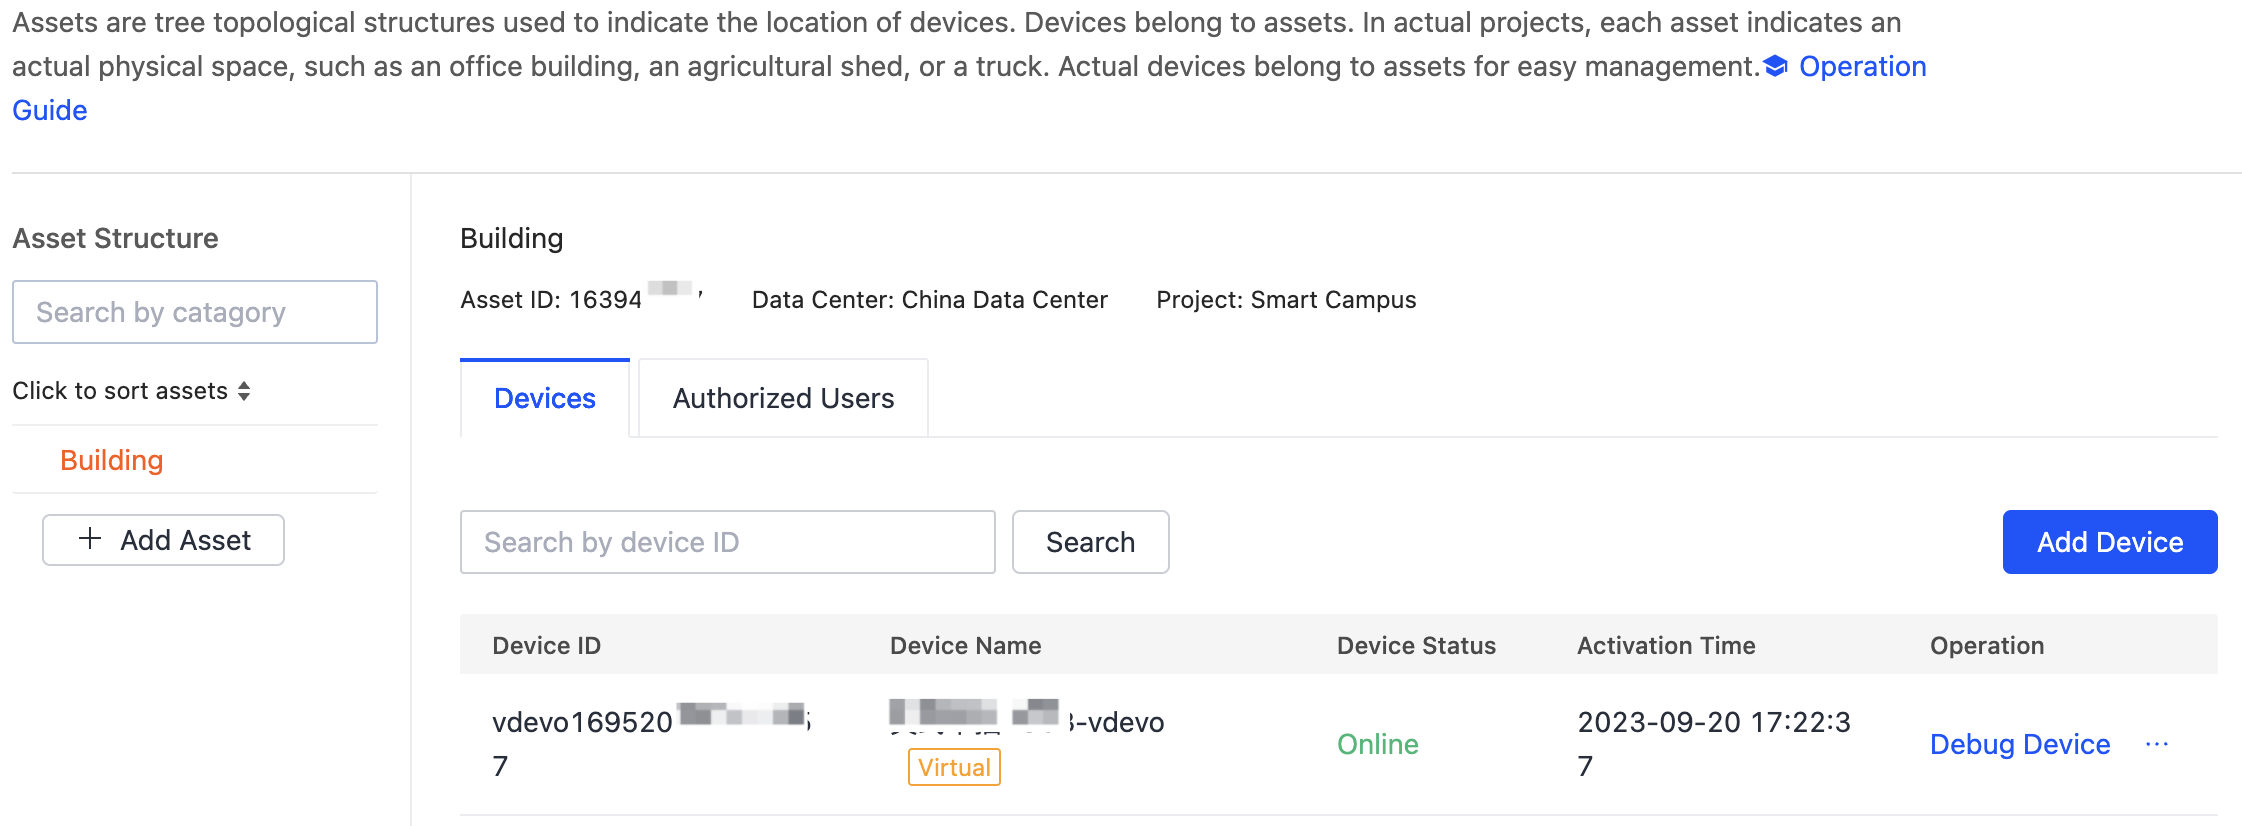
Action result
After the actions, the added devices are automatically synchronized to the assets that are managed in Cloud Development. A Virtual tag appears following the device name.
Is this page helpful?
YesFeedbackIs this page helpful?
YesFeedback


