SaaS Creation and Management
Last Updated on : 2024-11-27 07:57:32download
This topic describes how to create and manage a SaaS platform.
SaaS backend creation
Tuya offers two ways to create a SaaS platform. For detailed steps, see SaaS Management.
Method 1: Create a SaaS platform using a template
The procedure is as follows:
-
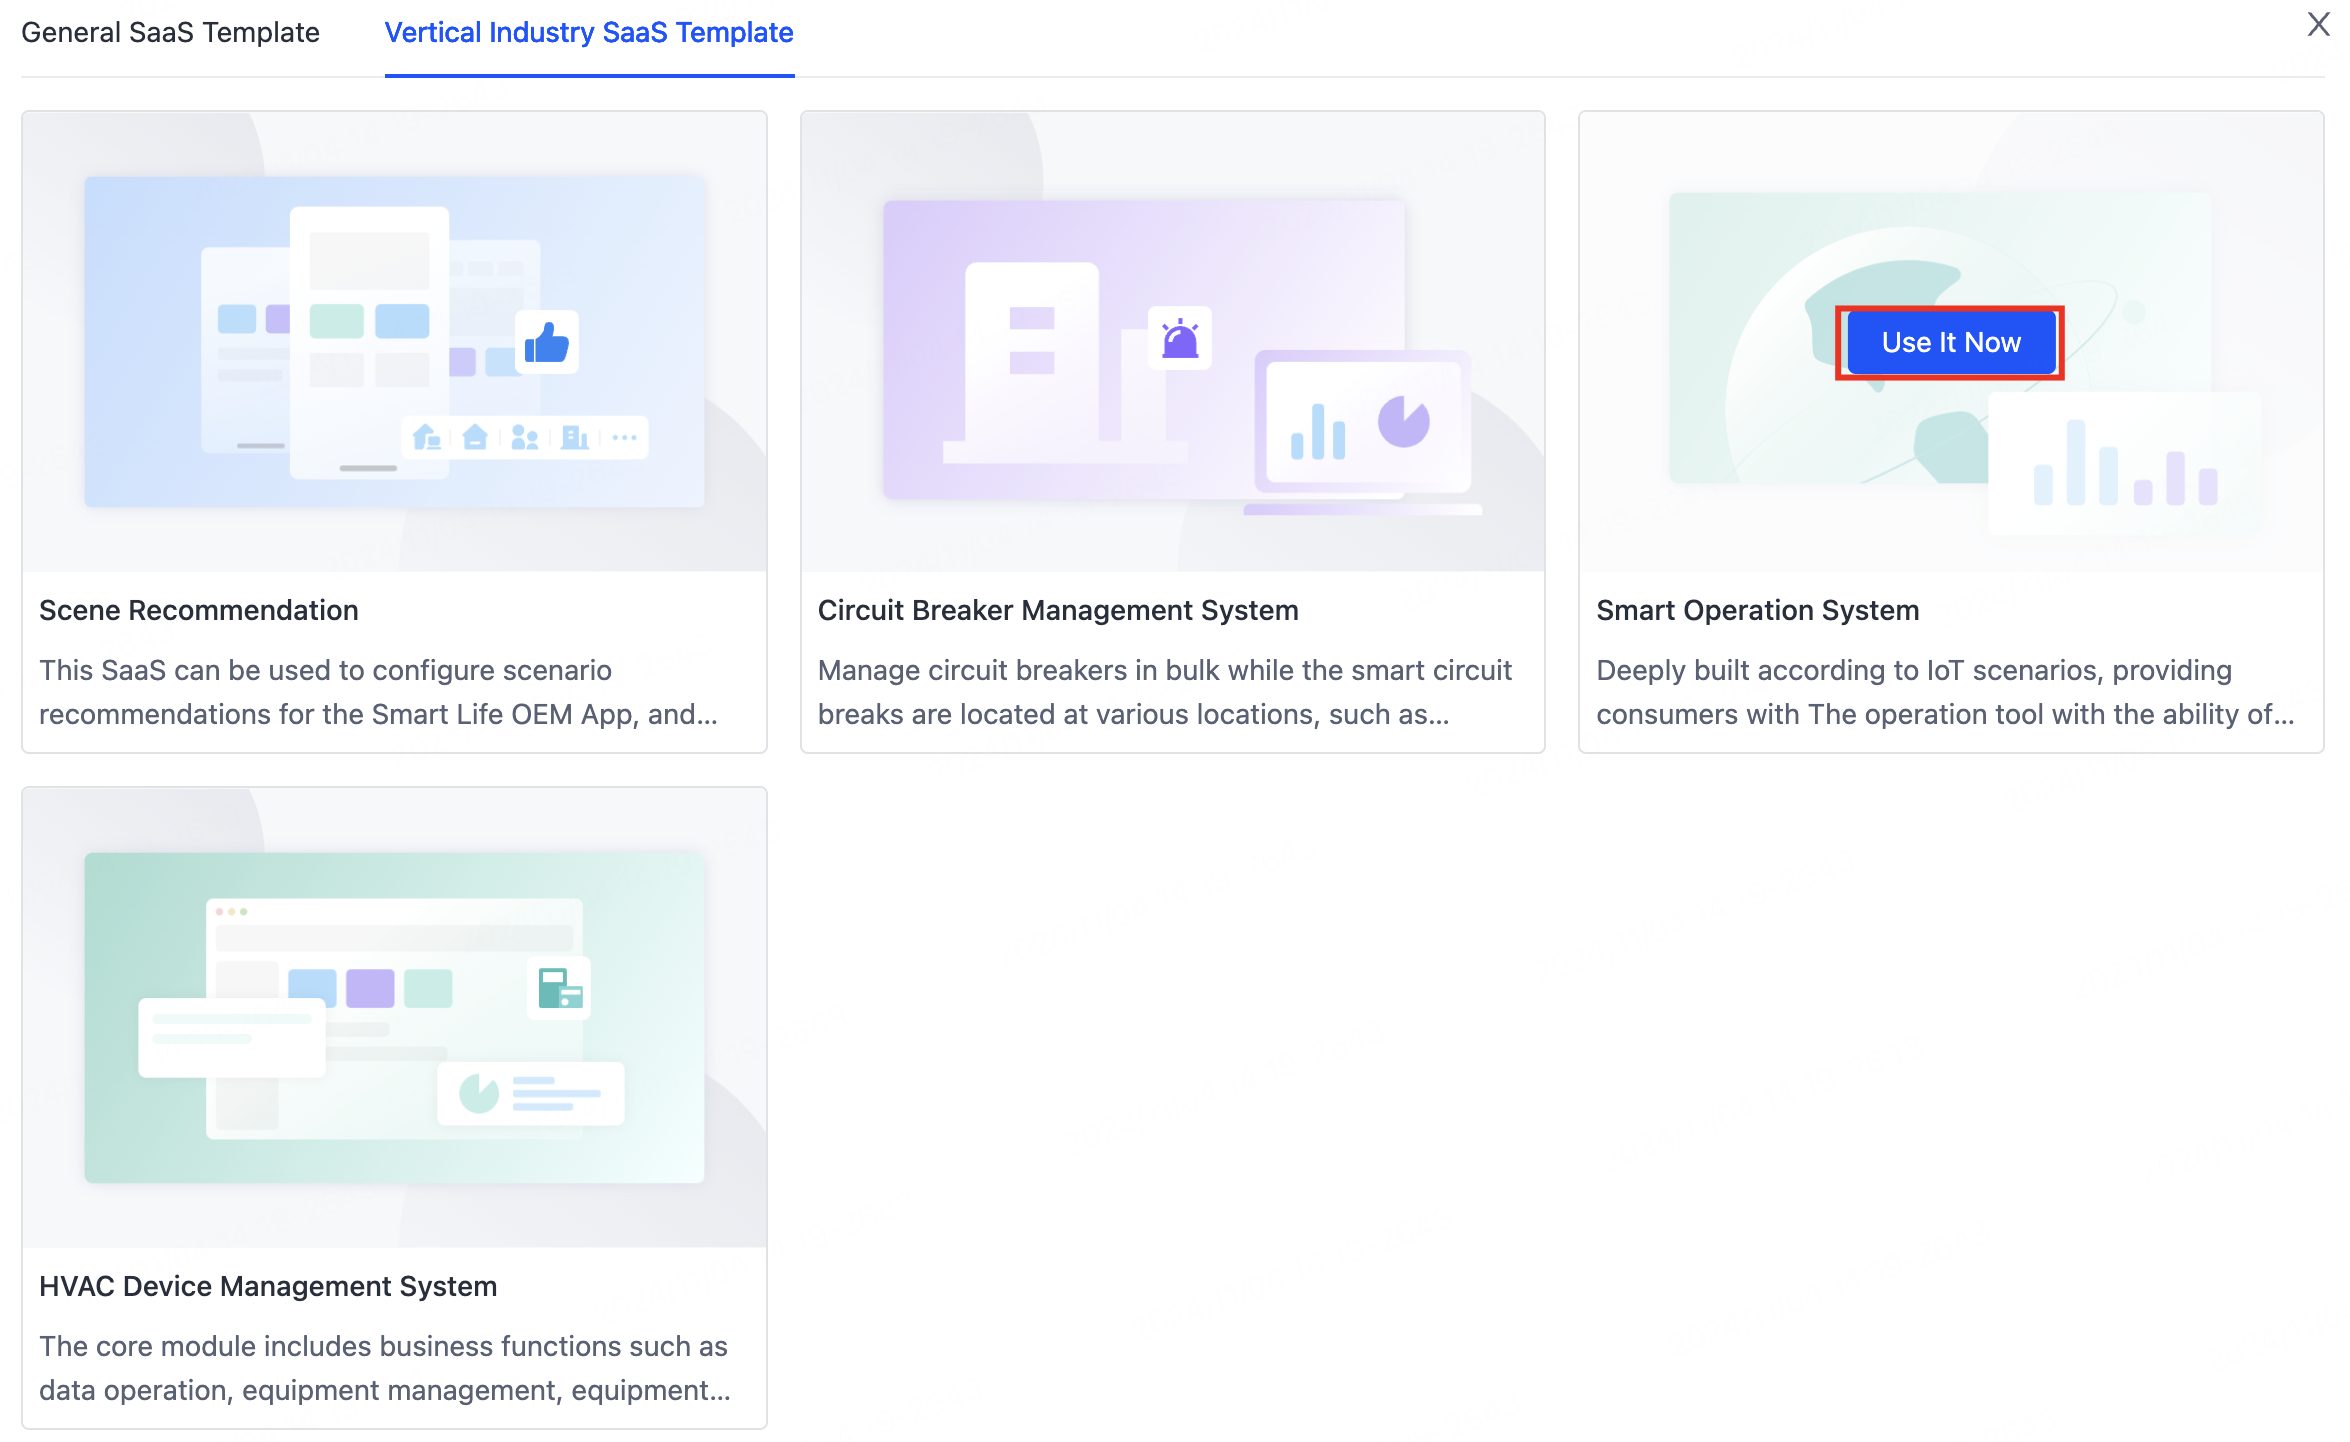
Log in to Tuya Developer Platform. In the left navigation bar, click Cloud > SaaS Development > SaaS Management. Click Creating SaaS Through Templates in Vertical Industry SaaS Template.

-
Hover over Smart Operation System and click Use It Now. Microapp deployment is not required at this step.
-
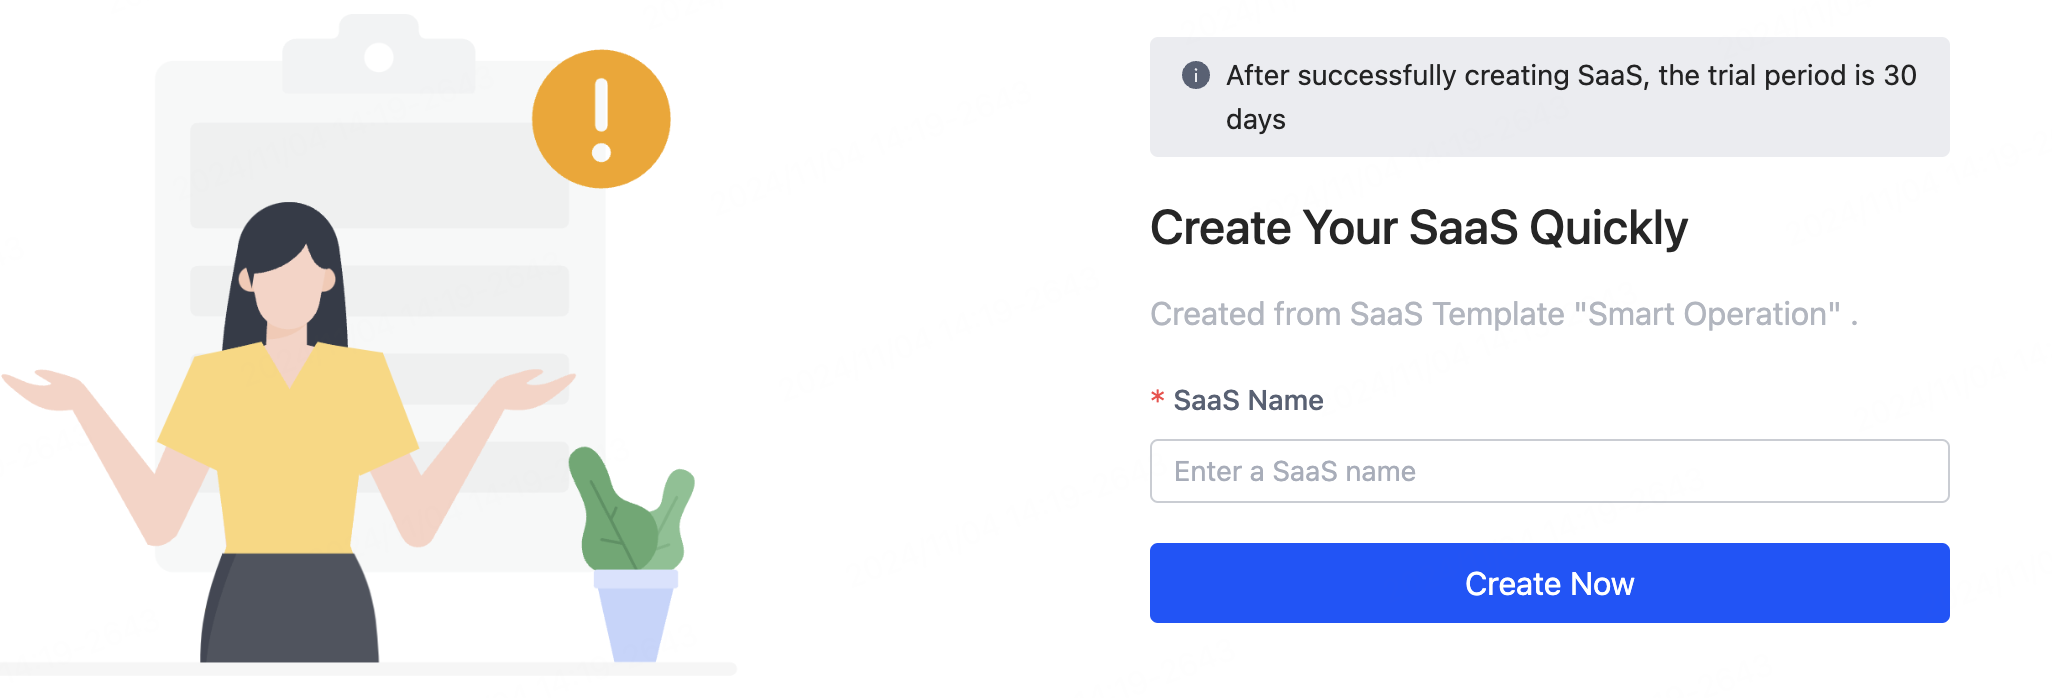
On the page that appears, enter a SaaS Name and click Create Now.
-
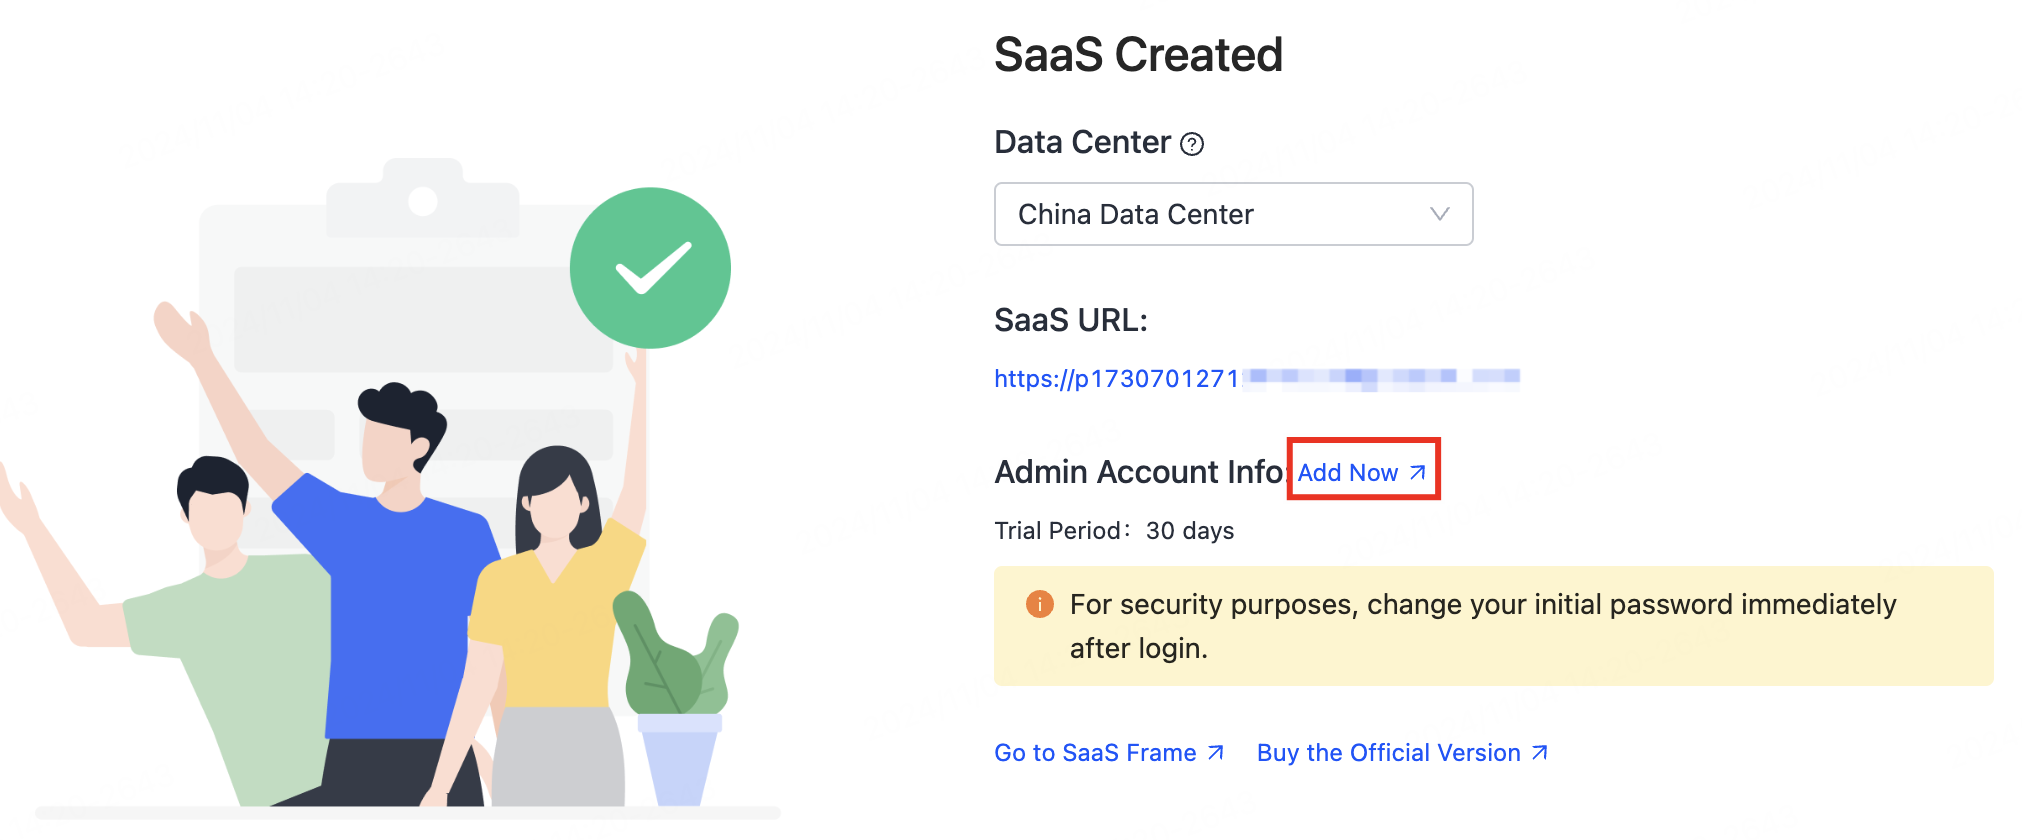
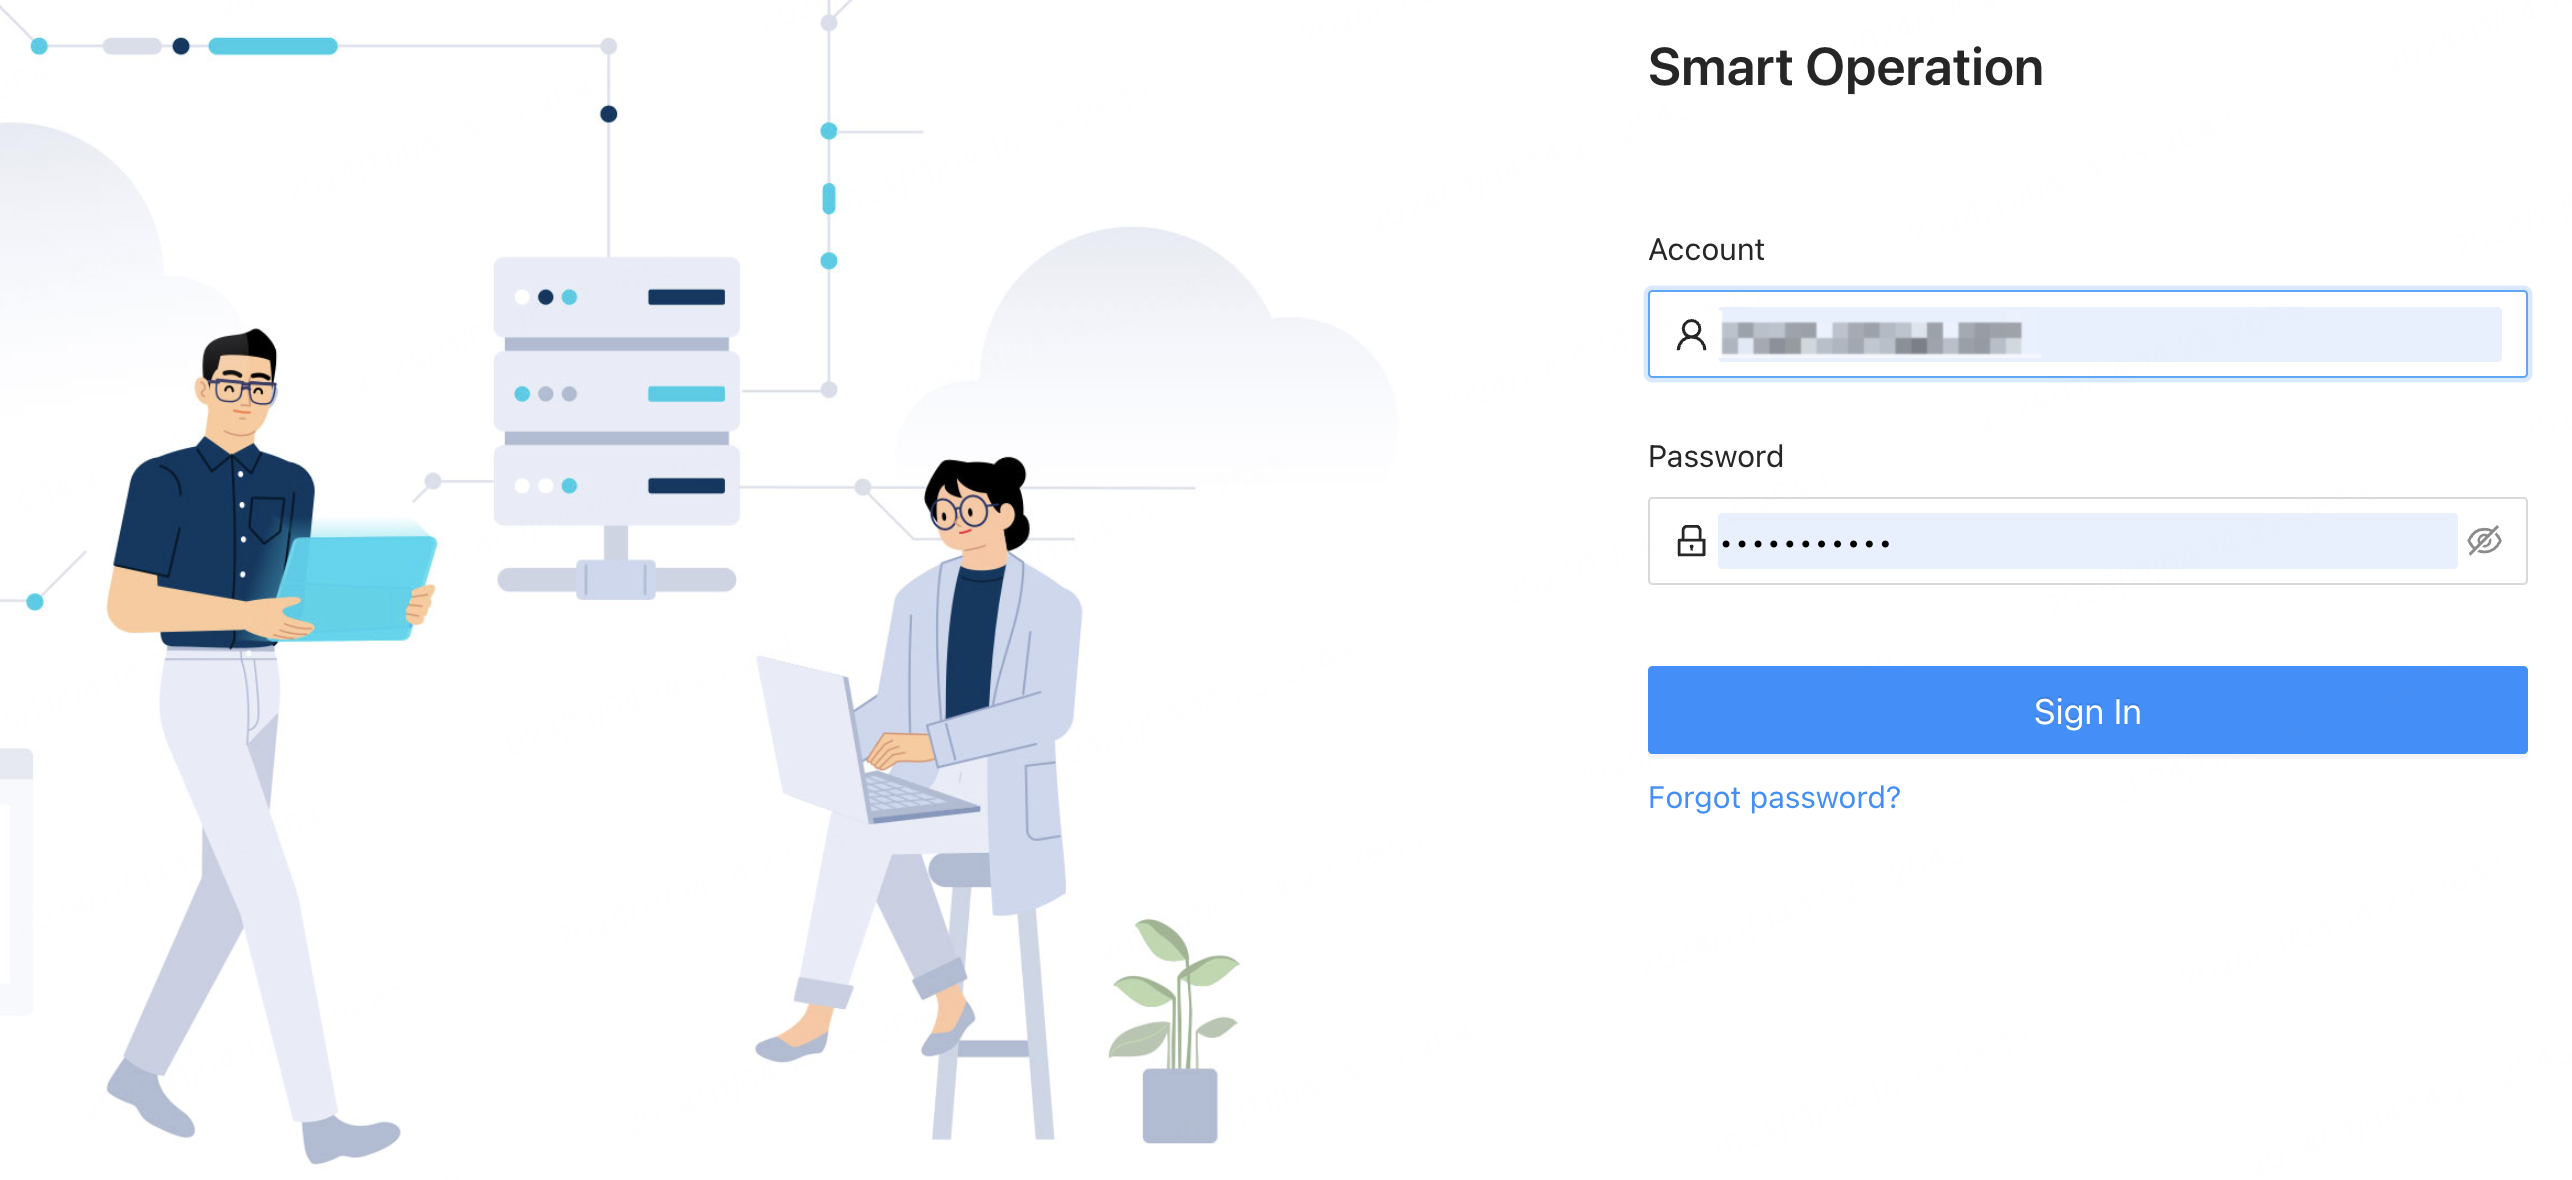
The SaaS platform is created. Click the SaaS URL to open the login page. Click Add Now to open the Administrator Settings page.
-
On the Administrator Settings page, click Add Administrator and enter a mobile number or email to set up the administrator account.

-
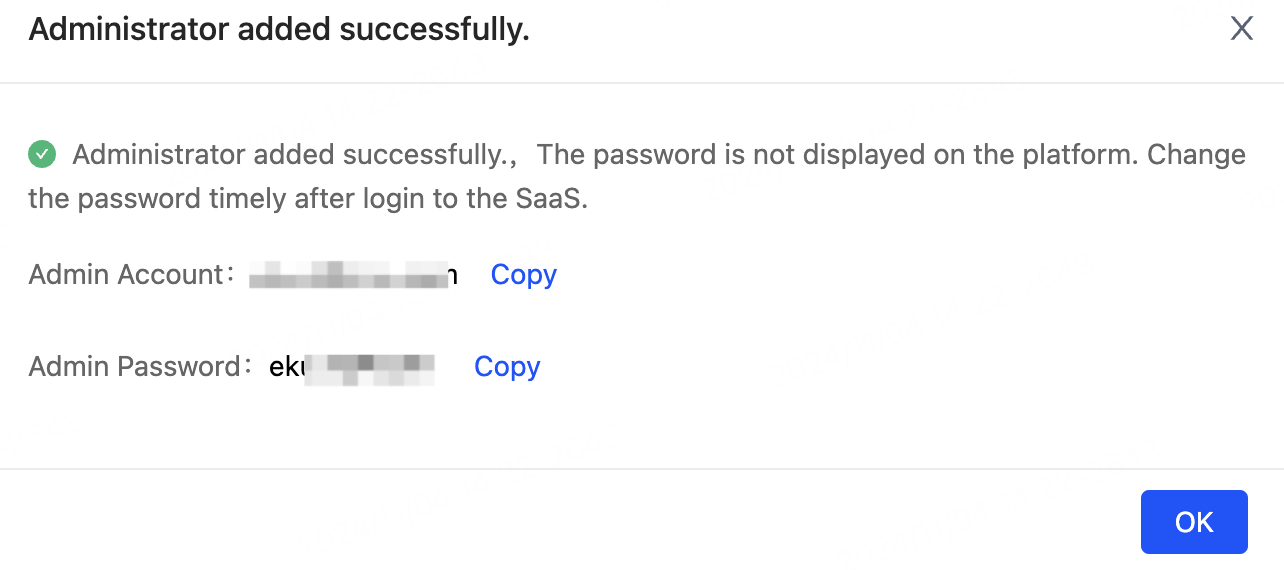
Click OK, and a pop-up message confirms Administrator added successfully. You can now log in to the SaaS backend using this account and password.
-
After logging in, you can change the administrator password under User Management or in Settings.

-
Verify that the SaaS backend includes microapps: App Users, Operation Plan, Content Management, and Questionnaire Management.
Method 2: Manually create a SaaS platform
The procedure is as follows:
-
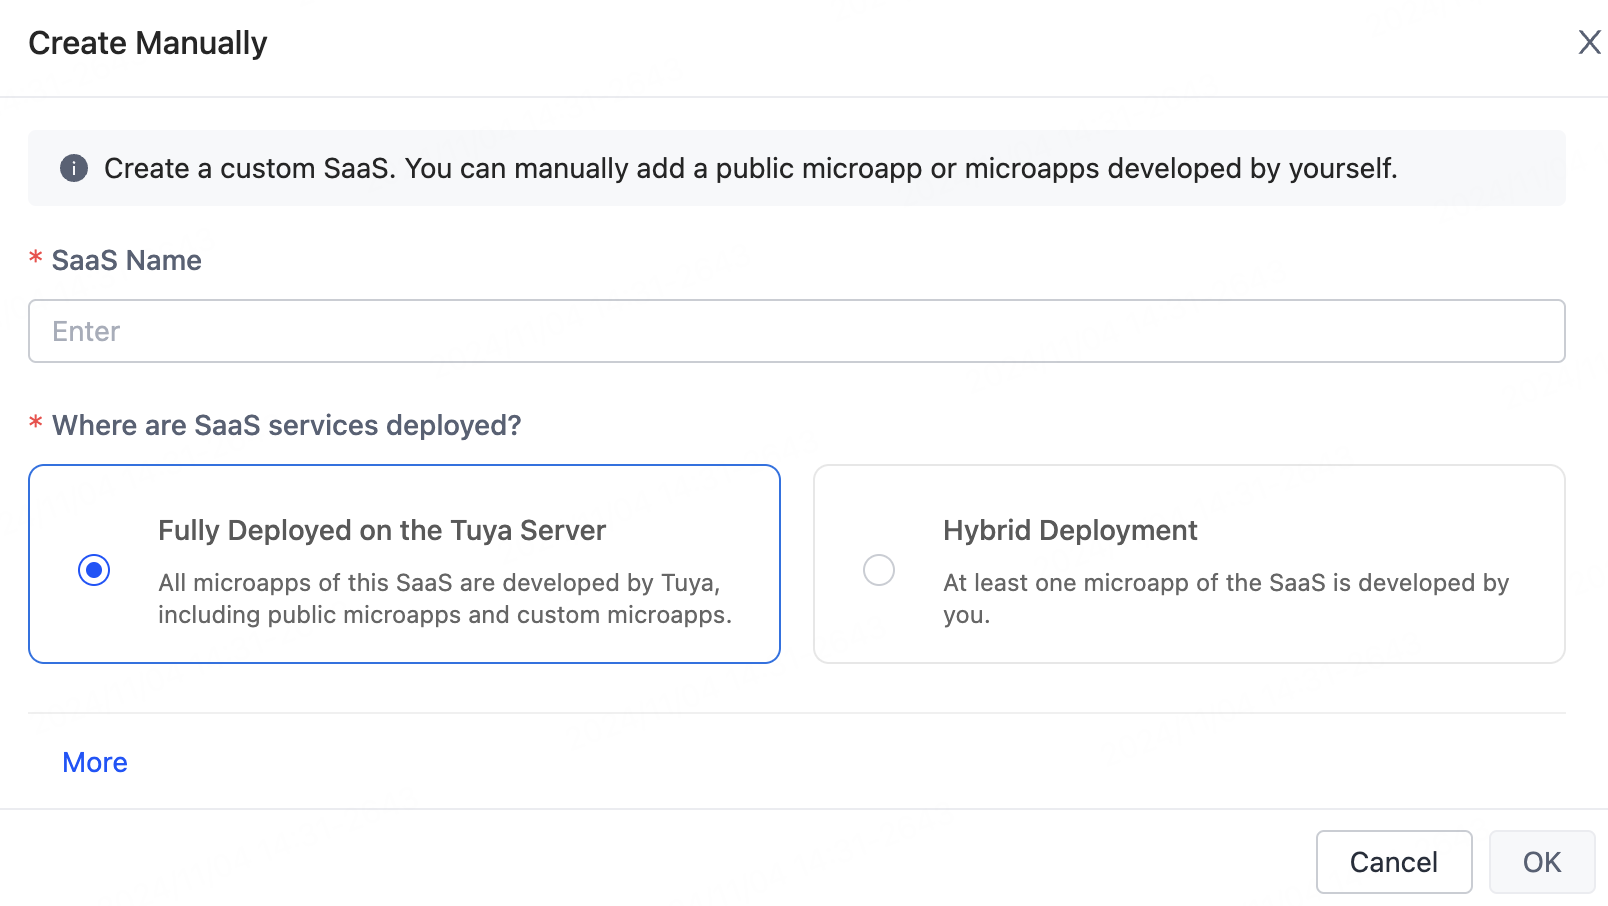
Log in to Tuya Developer Platform. In the left navigation bar, click Cloud > SaaS Development > SaaS Management. Click Create Manually.

-
In the pop-up window, configure the SaaS information and click OK. The SaaS platform is created, but without any microapps. You need to manually add microapps.
-
Go to SaaS Management > My SaaS and click the Configure SaaS icon to open the configuration page.

-
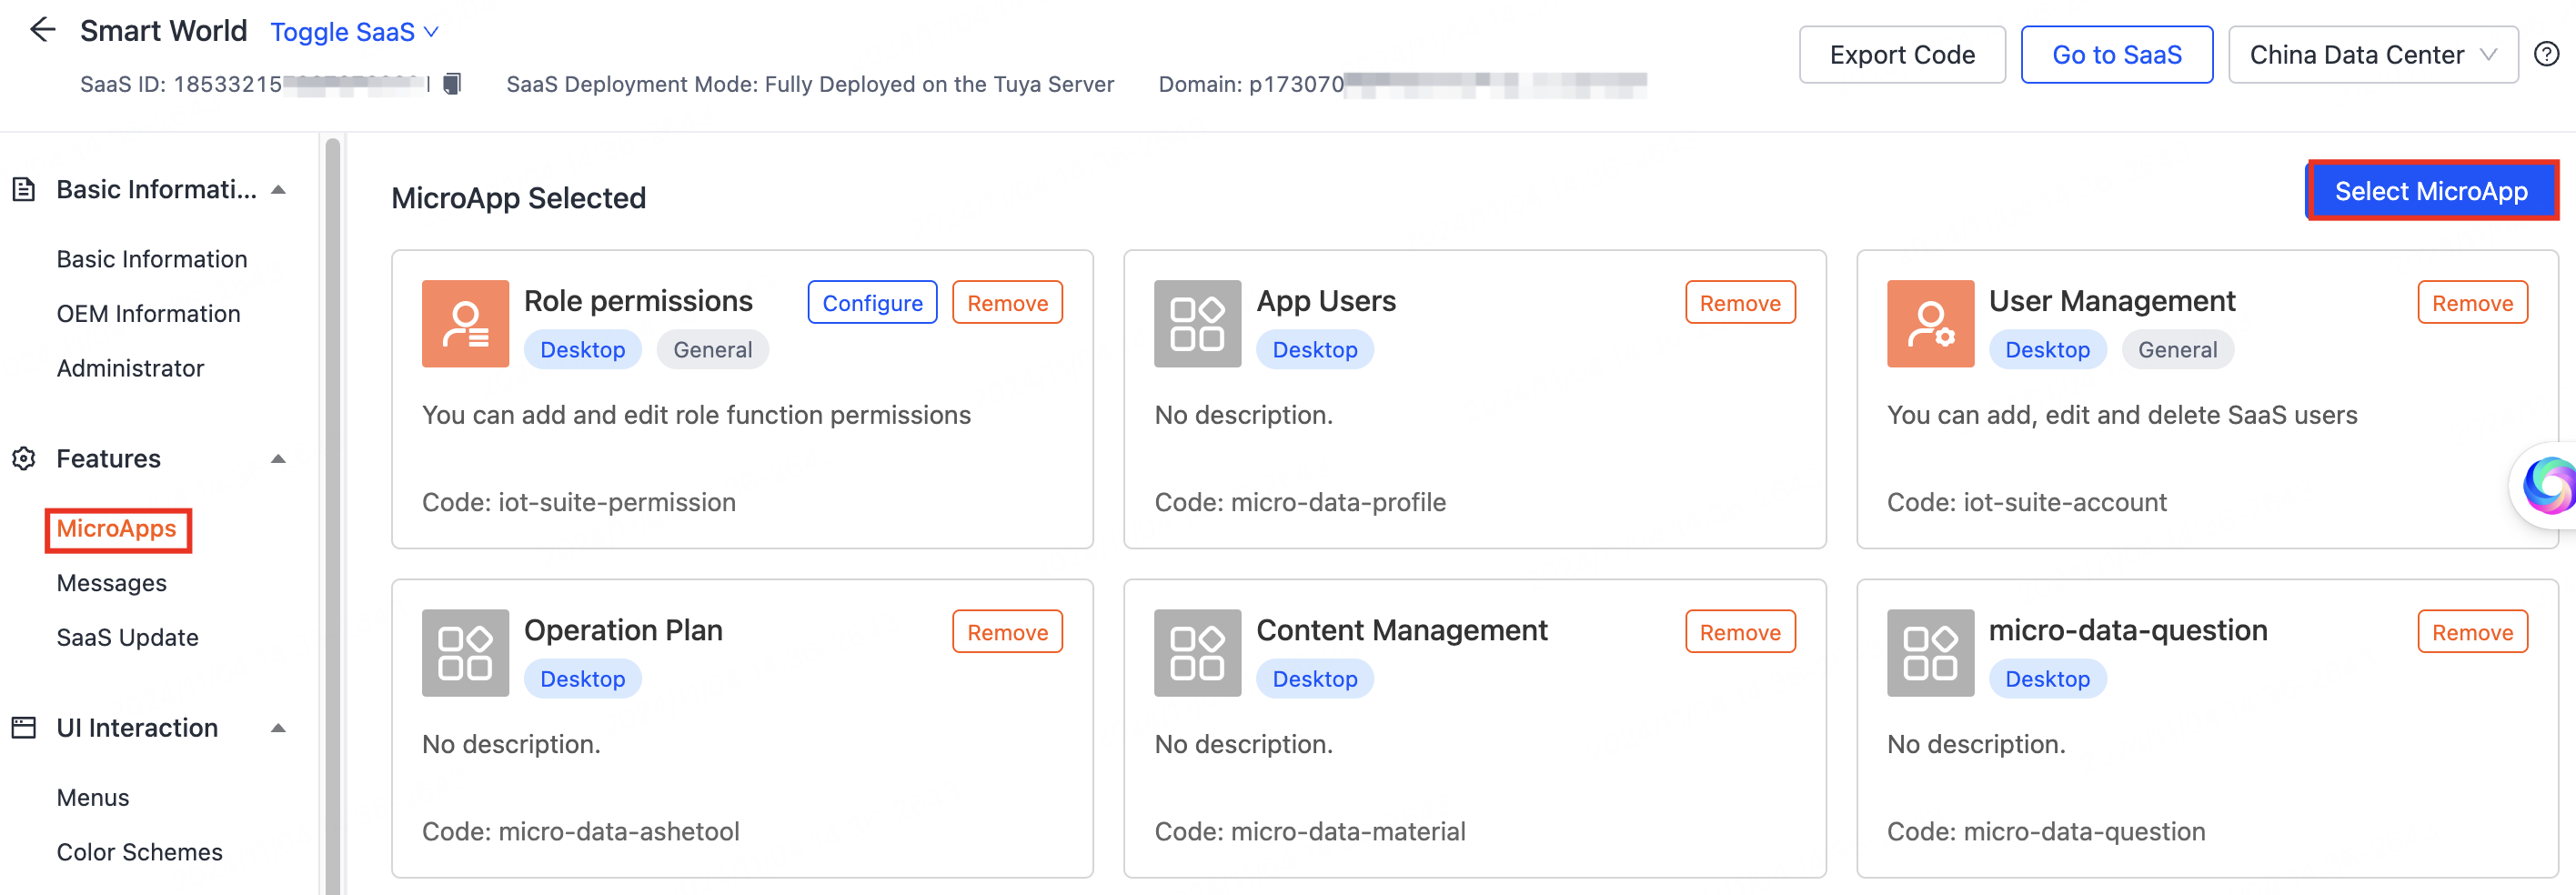
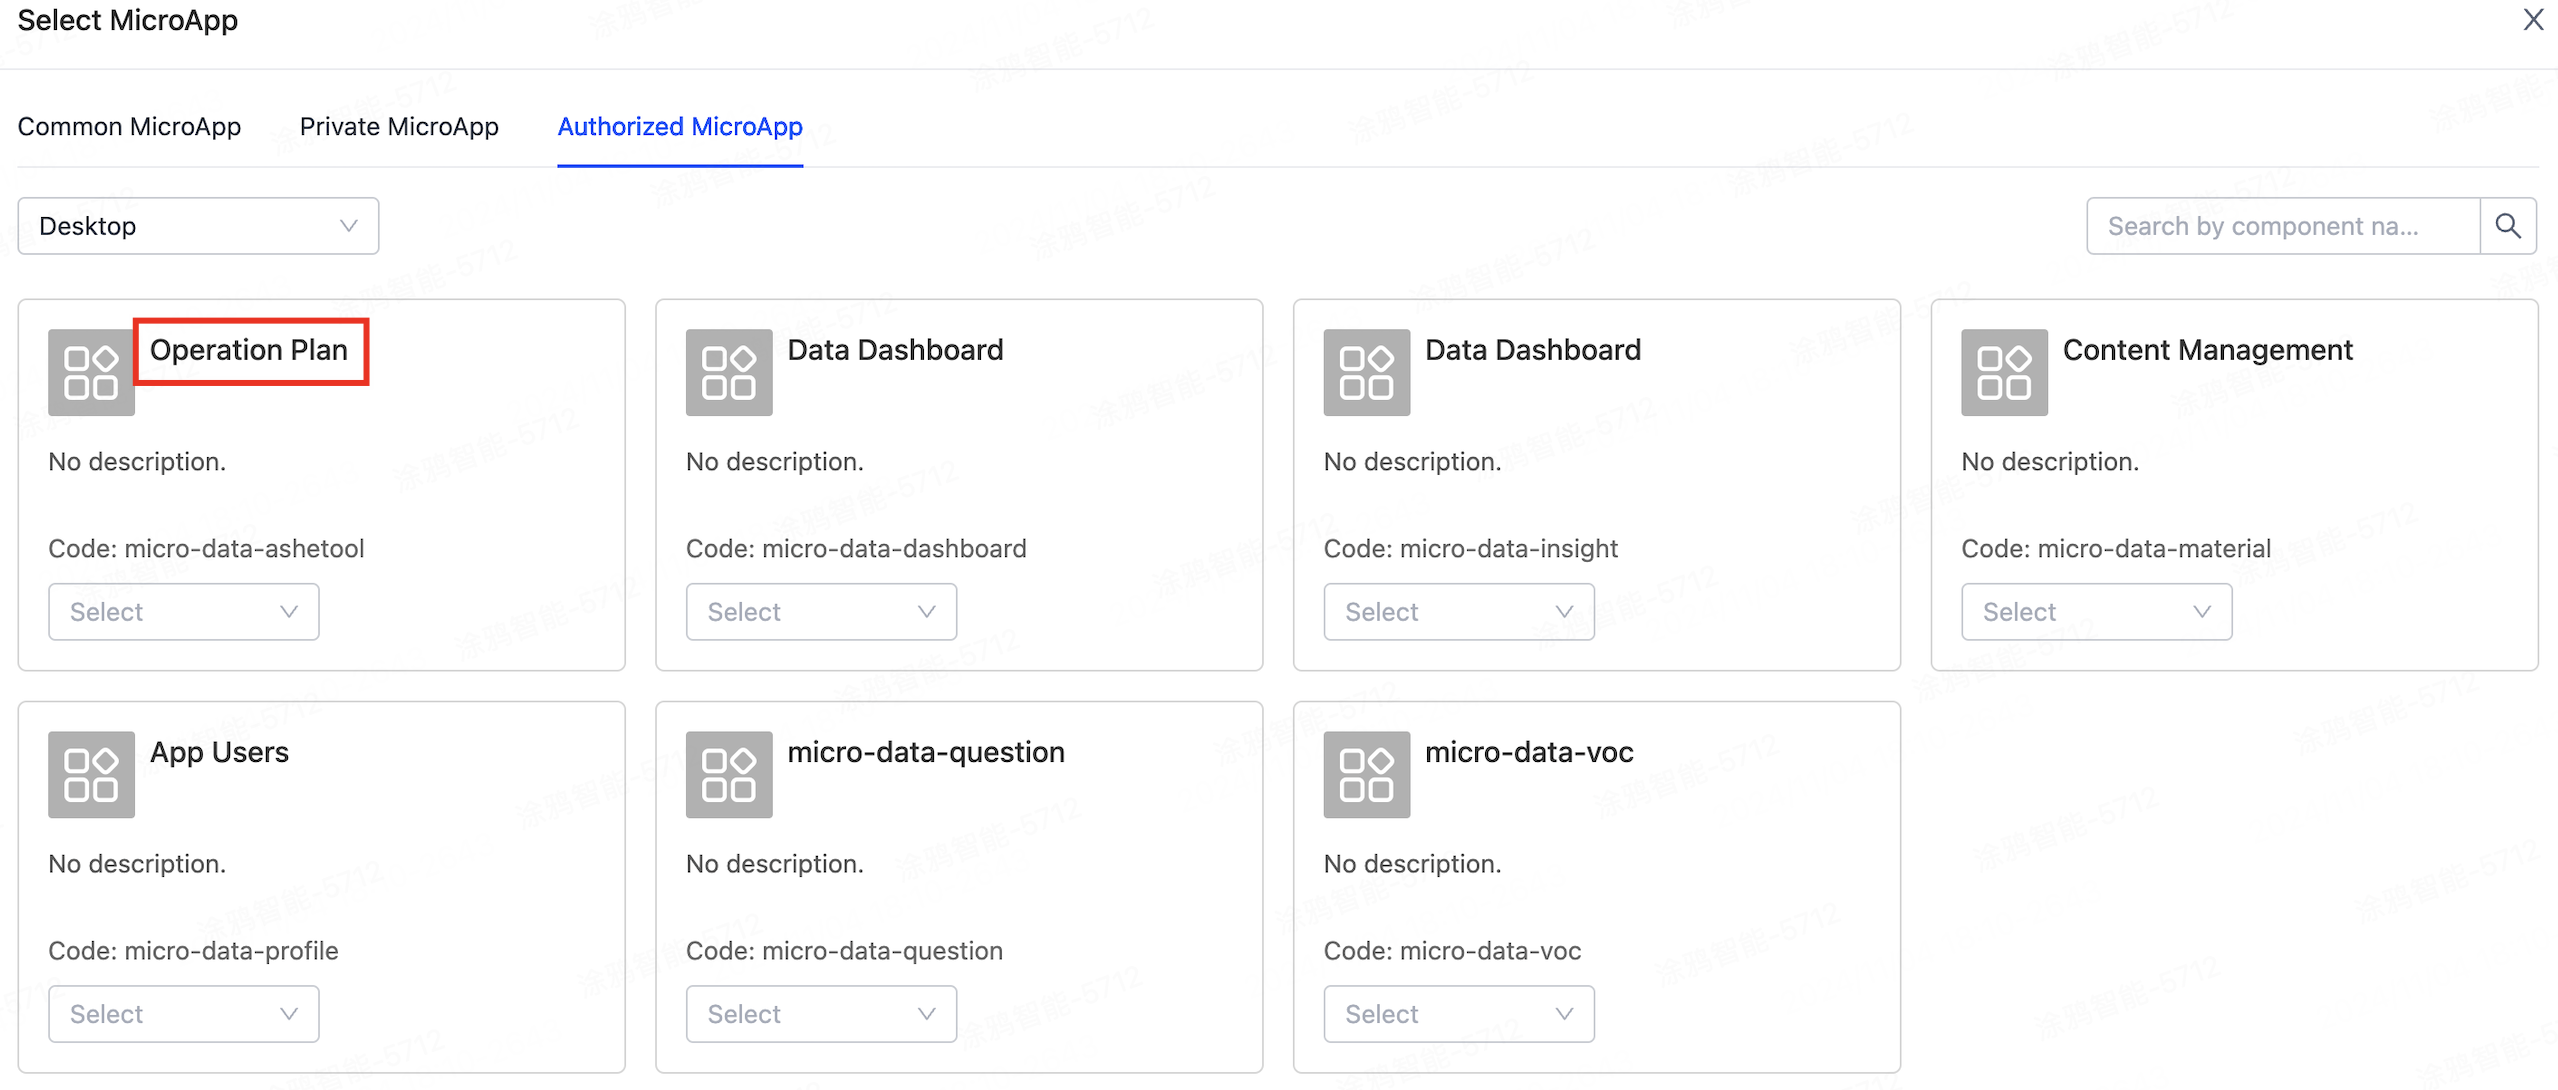
In the left navigation bar, click Features > MicroApps. Then click Select MicroApp to add the microapps you need.
-
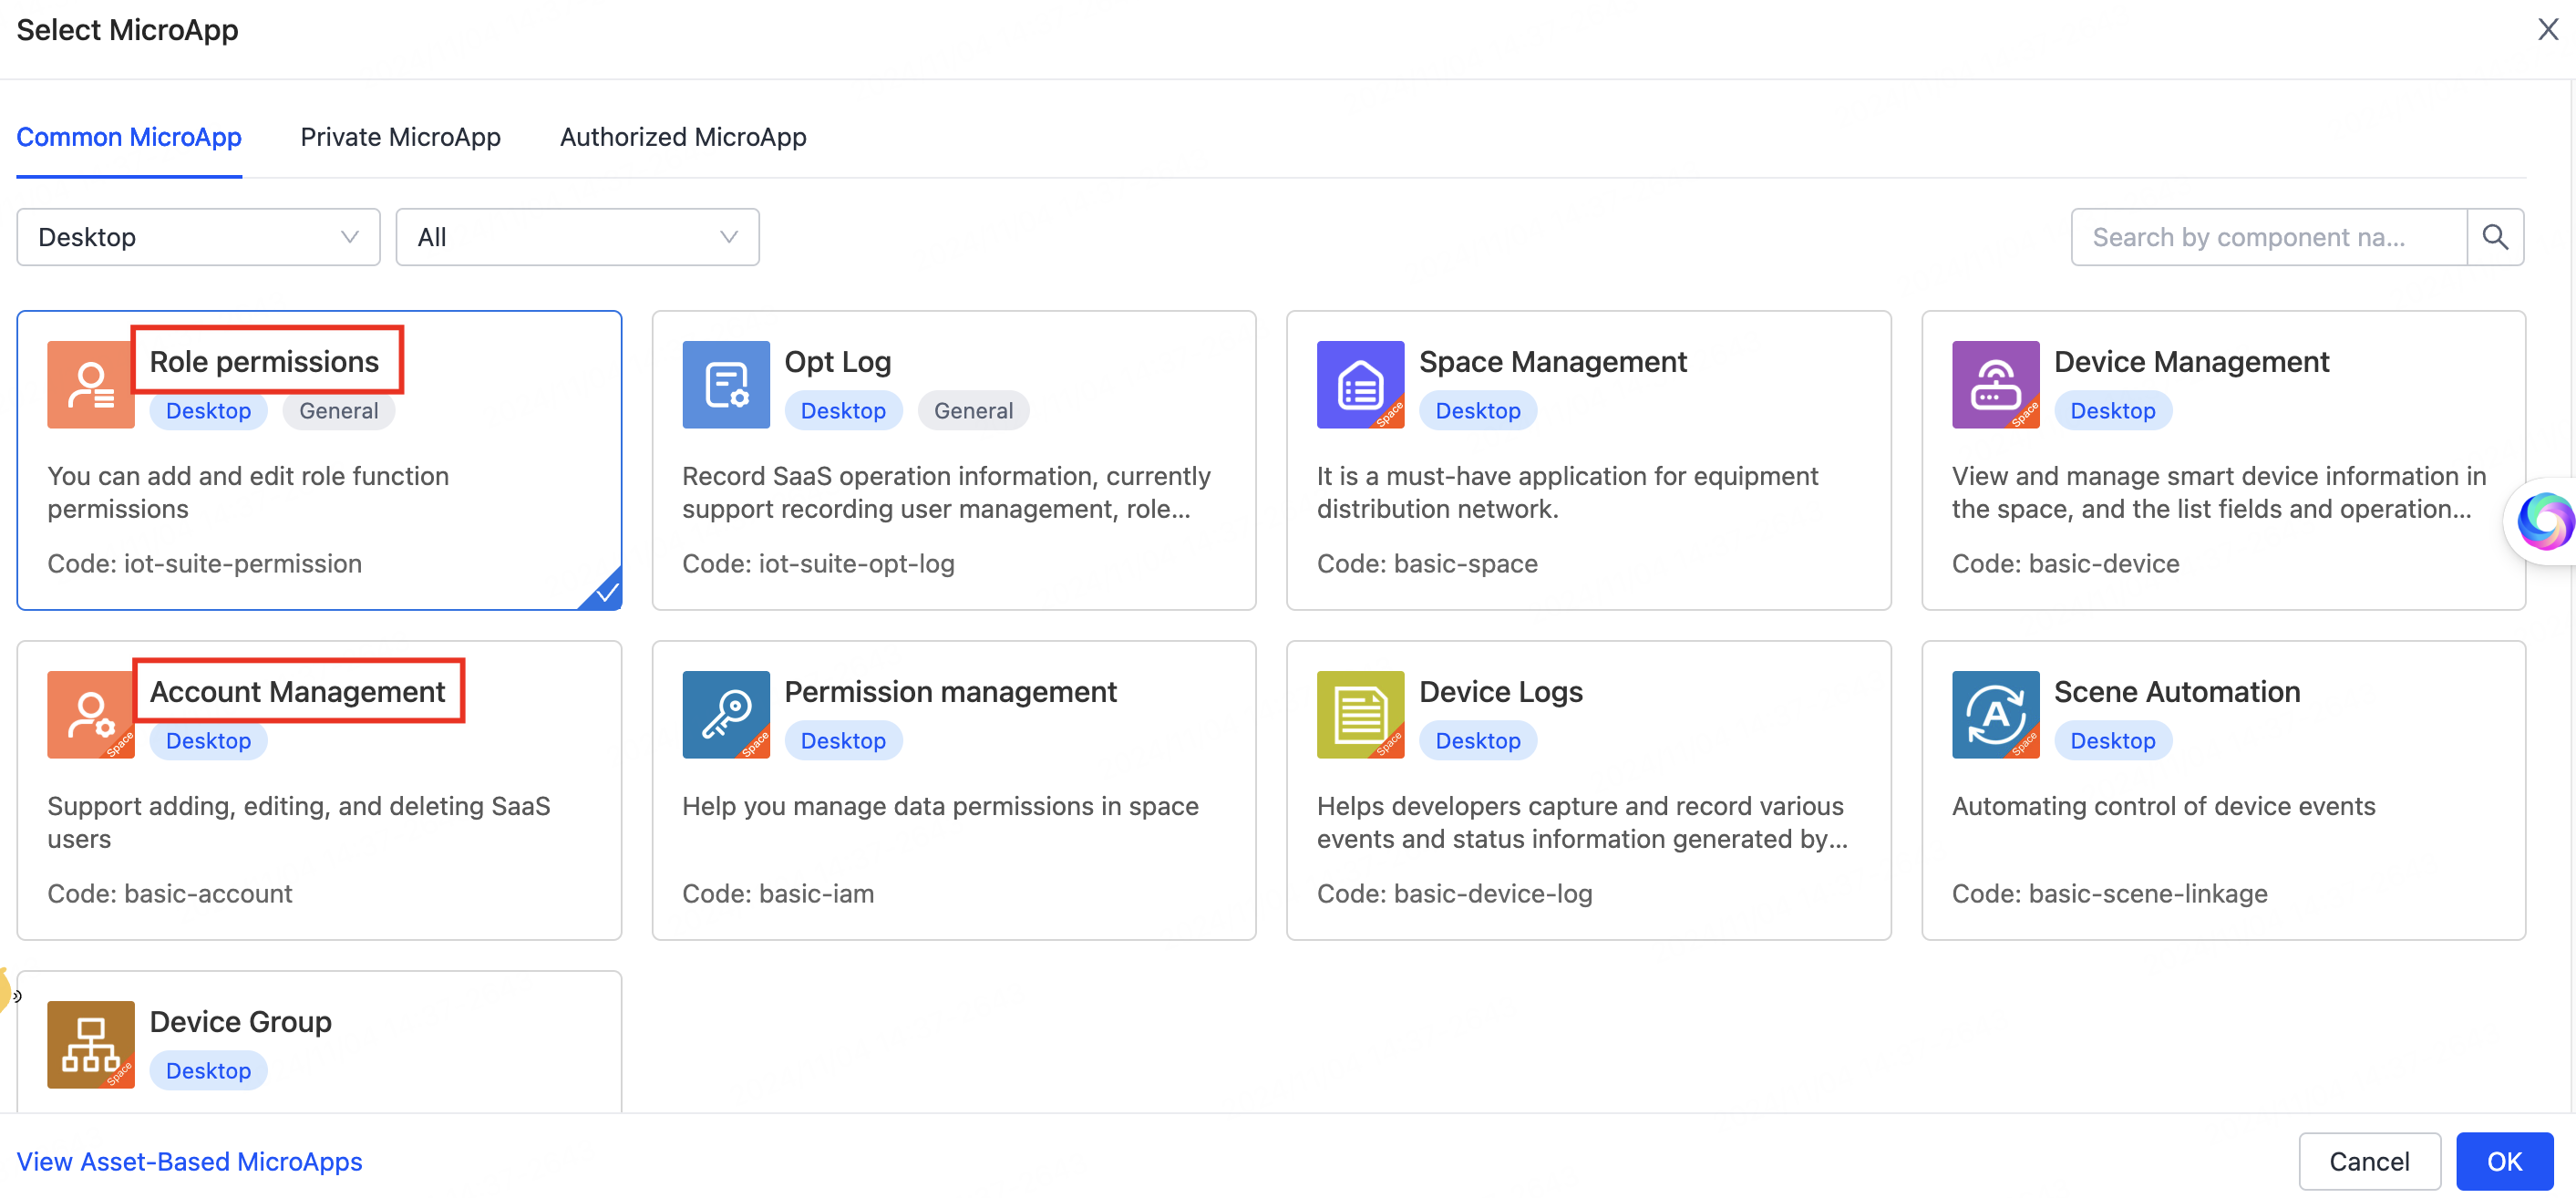
Under Common MicroApp, select Role permissions and Account Management to manage user data and permissions.
-
Under Authorized MicroApp, select microapps such as App Users, Operation Plan, and Content Management, and select the STABLE version. Note: Only deployed microapps will appear in this section.
Microapp deployment means using a developer’s administrator account to deliver microapps to target users on Tuya Developer Platform. This allows those users to add the microapps they need to their own custom SaaS platforms.
-
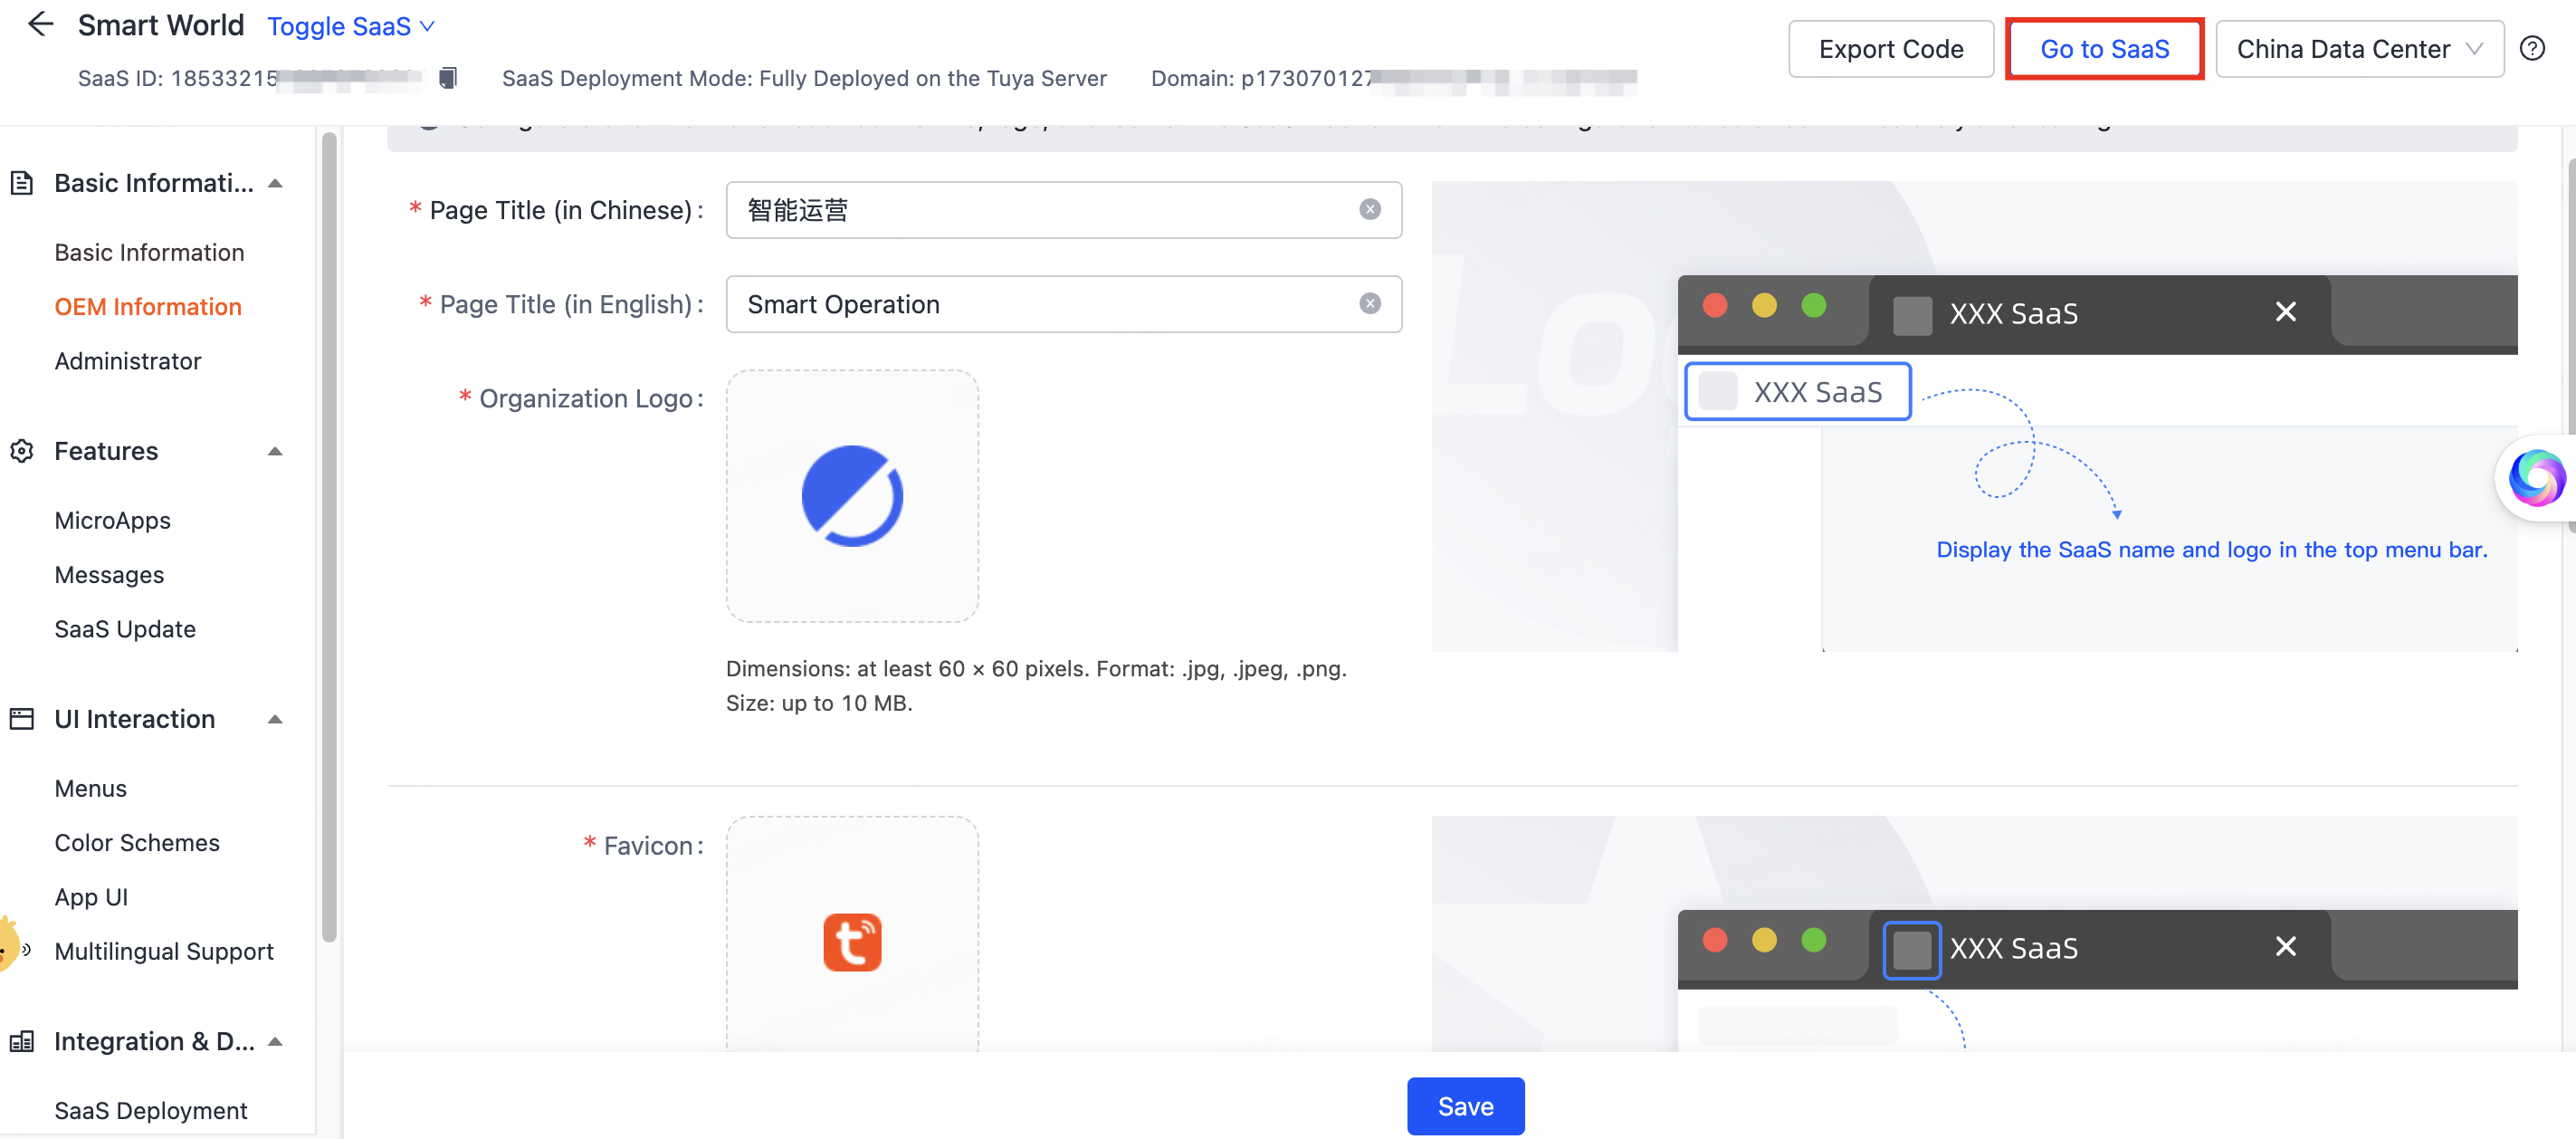
Click Go to SaaS in the top right corner and complete the required tasks as prompted.
-
When all configurations are done, click Go to SaaS and log in to the SaaS backend using the administrator account.
-
Verify that the selected microapps are available in the SaaS backend.
Microapp deployment
Smart Data Operations includes the following microapps: App Users, Operation Plan, Content Management, Questionnaire Management, Data Insights, and Amazon Product Review Analysis. Contact an operation specialist or product manager for custom microapp deployment.
Microapp configuration
-
Go to SaaS Management and click the Configure SaaS icon.

-
In the left navigation bar, click Features > MicroApps. Then click Select MicroApp in the top right corner.

-
Under Common MicroApp, select microapps such as Account Management and Role permissions. To enable smart operations features, select microapps such as App Users and Operation Plan under Authorized MicroApp. Select the STABLE version and click OK.

Multi-region configuration
-
Go to SaaS Management and click the Configure SaaS icon.

-
Switch data centers to configure SaaS information for different regions, enabling multi-region SaaS backend setup.

Data authorization
When you first create and use the SaaS platform, authorization is needed to access data linked to your cloud development project, such as apps and product information. The platform sends a verification code to your main account’s email or phone. Once verified, you can start using the platform.
Service activation
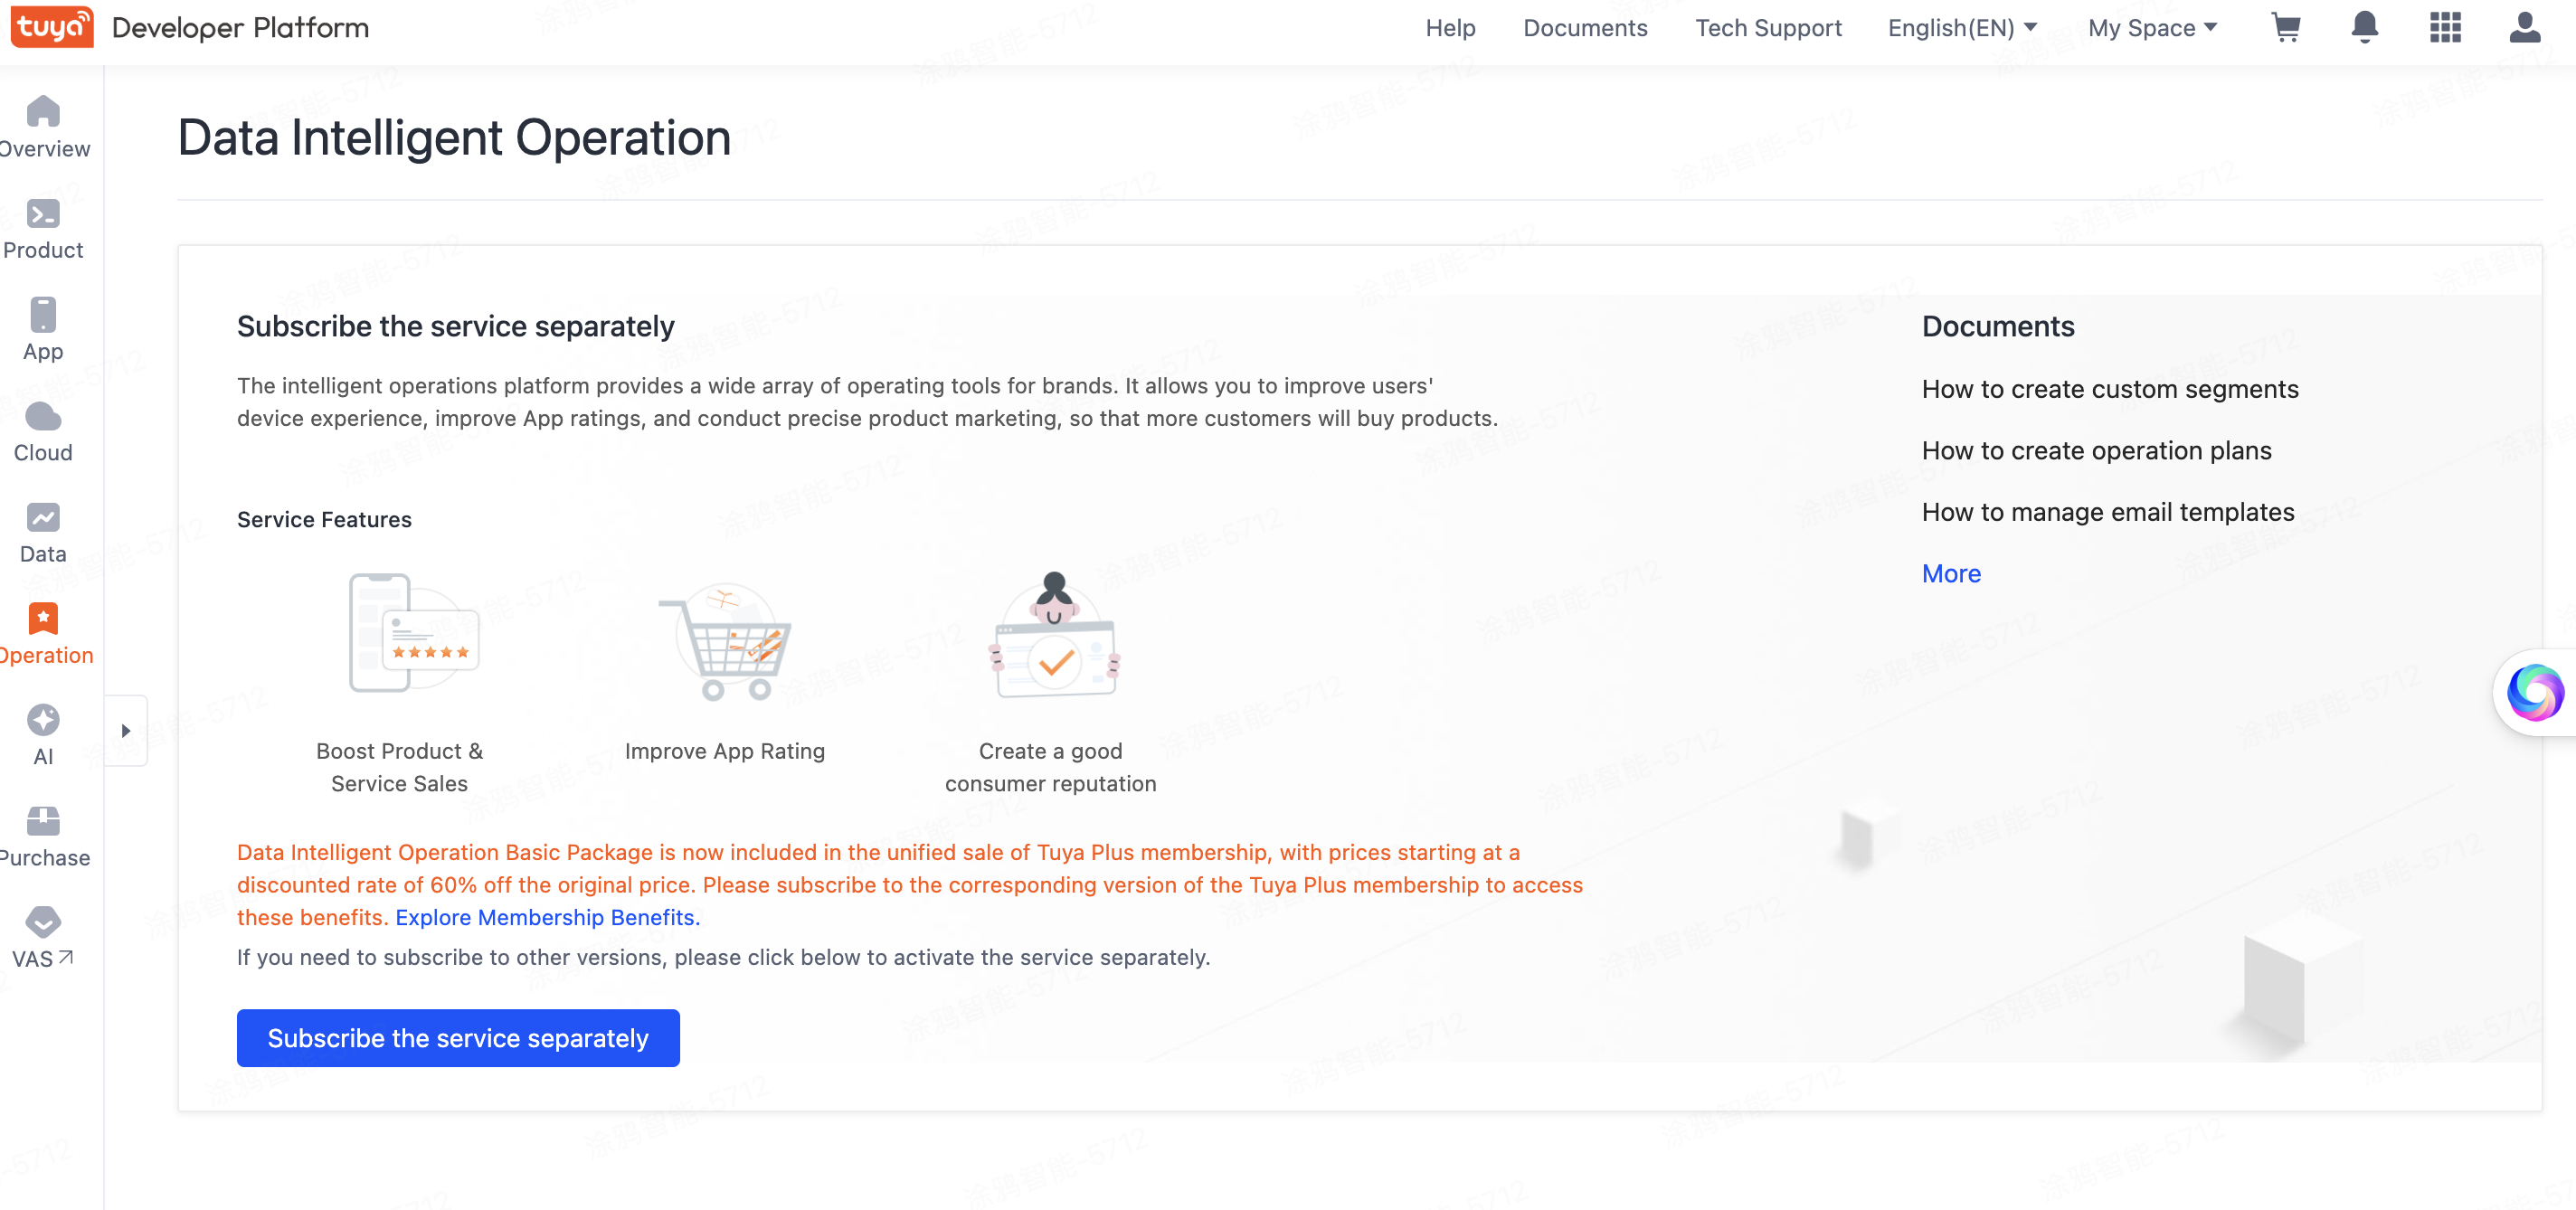
To use microapps such as App Users and Operation Plan, you need to validate them. To activate the smart operation service, contact the operations team. If the service is already activated, you can use it immediately.
For more information about product versions and billing, see Billing Method.
Is this page helpful?
YesFeedbackIs this page helpful?
YesFeedback


