Data Security Test
This topic describes how to use the data security test tool to help you quickly get started with a test task.
Preparation
-
Install the SmartLife app or OEM app on your mobile phone and register an account.
- You can download the SmartLife app from the Apple Store or mobile app stores.
- For more information about building an OEM app, see Create OEM App.
-
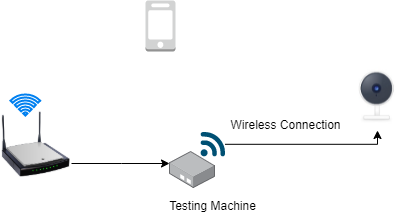
Make sure the testing machine is powered on and connected to the router with an Ethernet cable.
-
Set up the testing environment as shown below.
Background information
Data security test
Data security is an essential part of Tuya’s security baseline for embedded systems. Global deployment of smart devices comes with data compliance in different countries or regions. If a device is used in one region, its IP address or domain name should belong to this region. Otherwise, there is an issue.
How it works
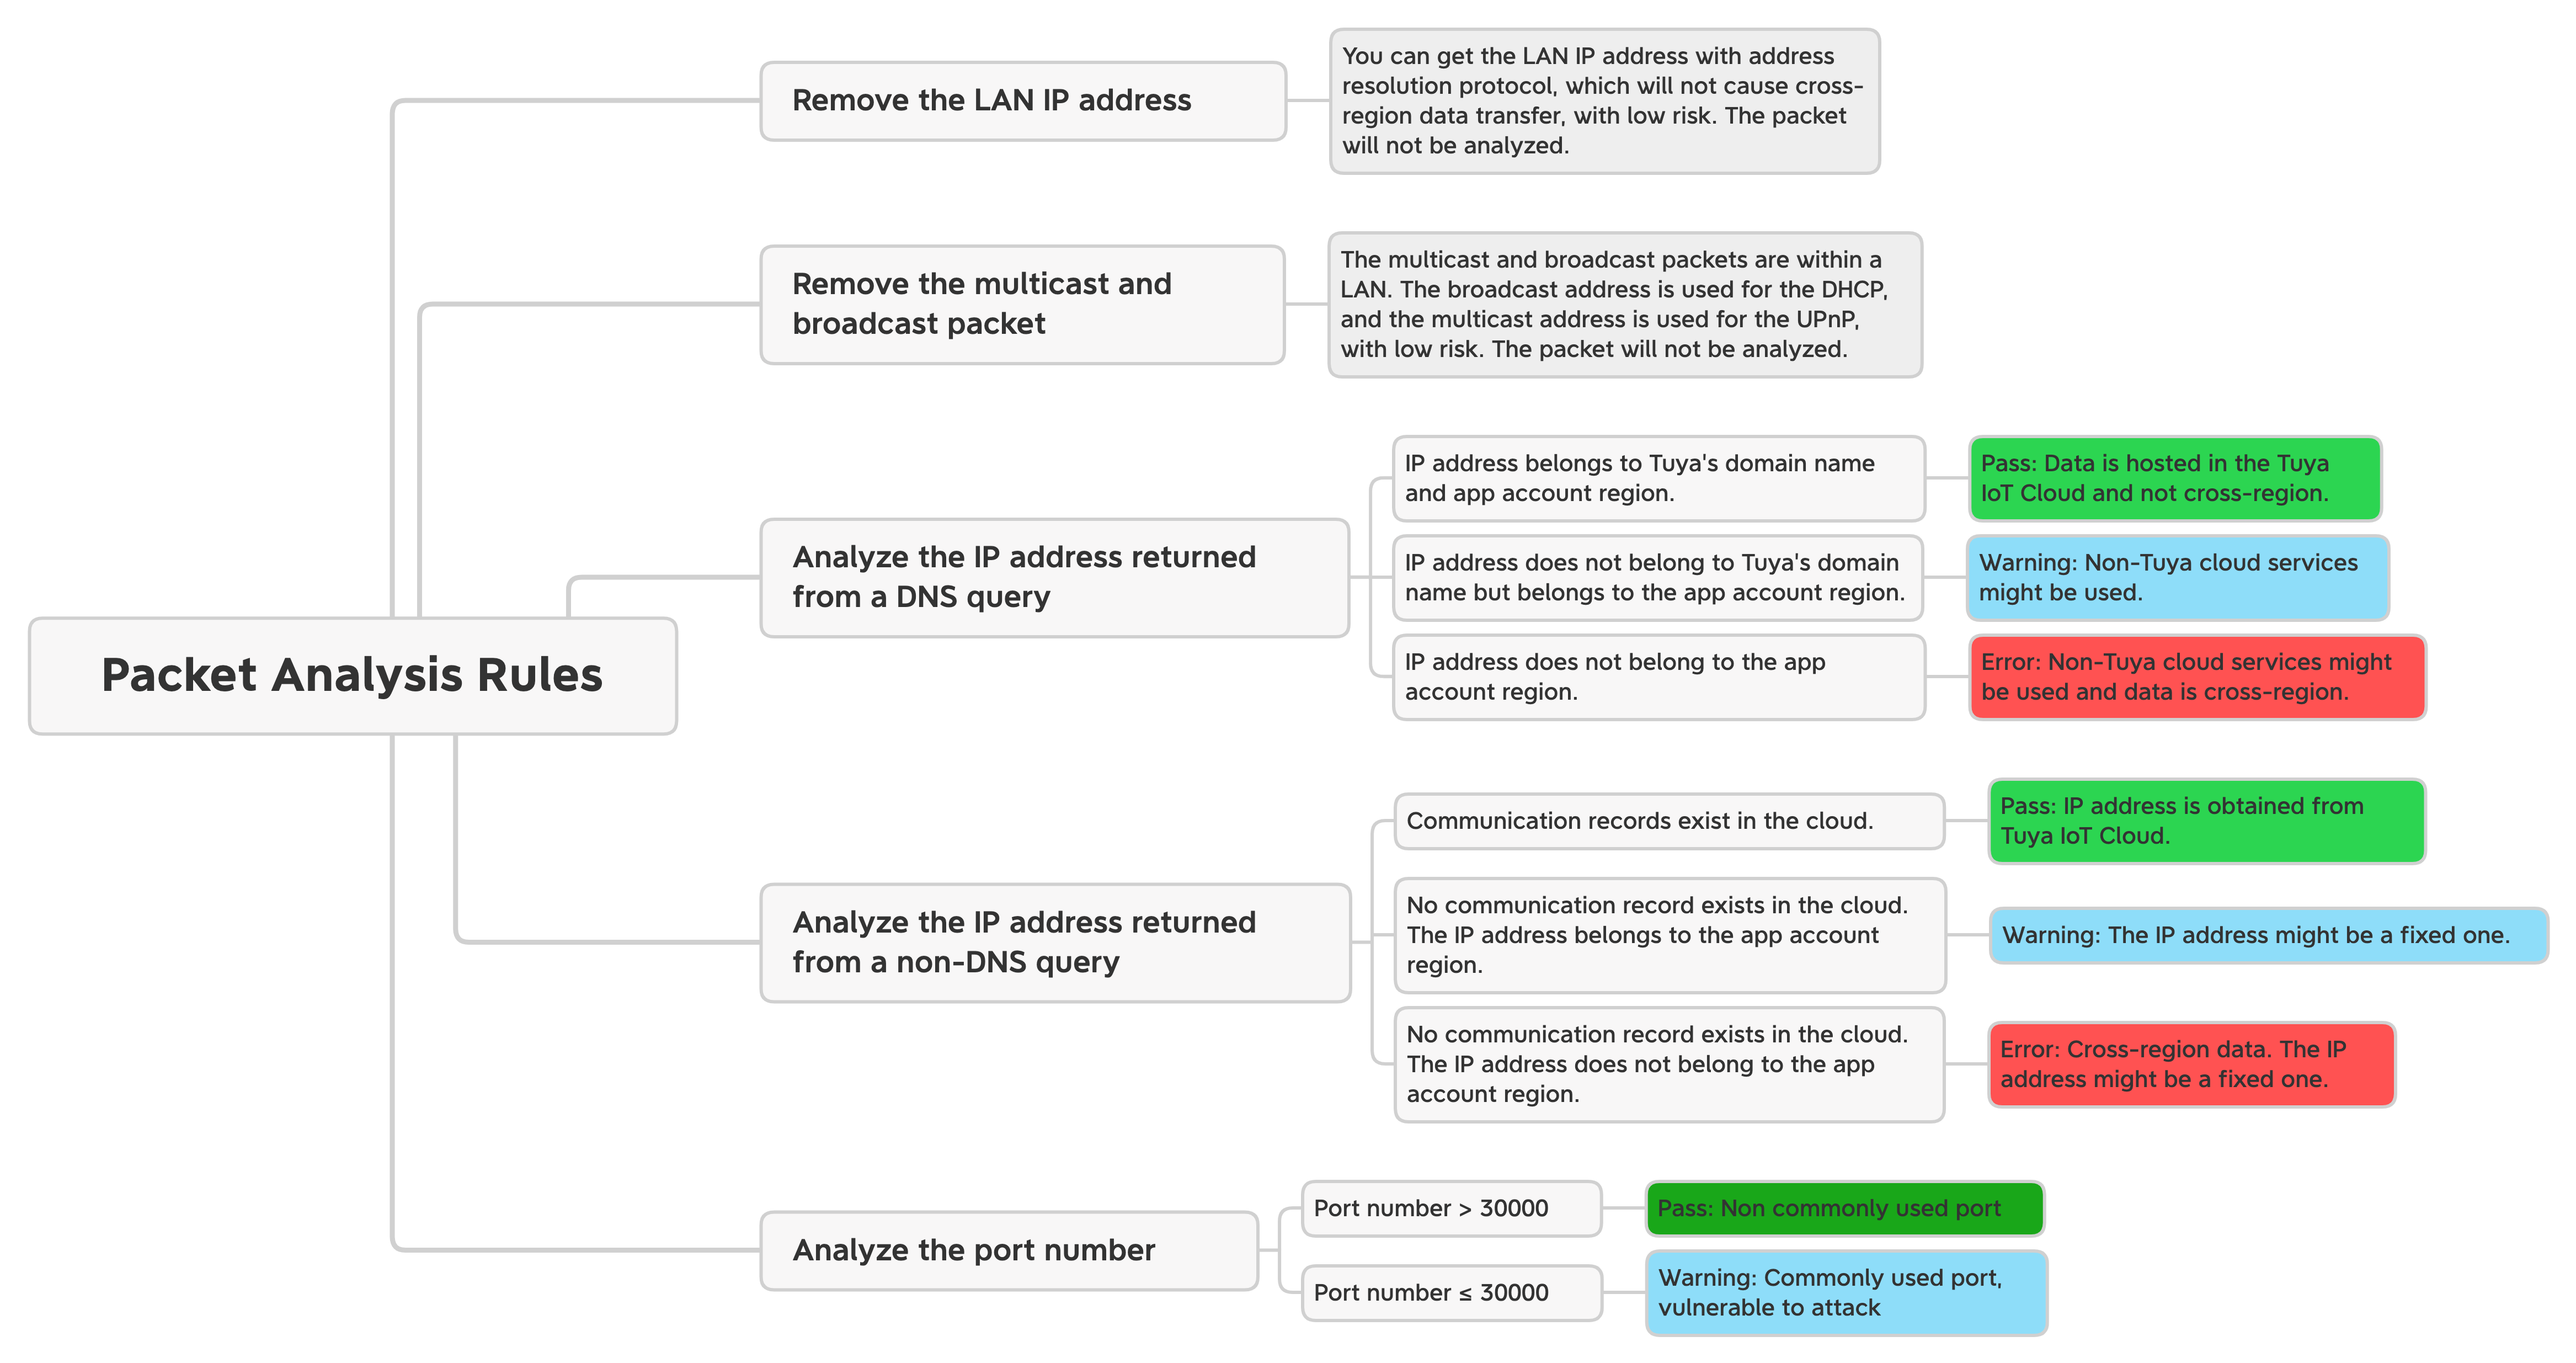
The testing machine can capture packets when a device communicates with the server and analyze the packet to determine whether an unusual IP address or domain name that should not appear is included.
The following block diagram shows how packet analysis works.
Process
In the following example, we use the SmartLife app to perform the test.
Pair the testing machine
-
Log in to the SmartLife app. Tap the + icon in the top right corner.
-
Connect your mobile phone and the testing machine to the same router.
-
Press and hold the Reset button on the testing machine for more than three seconds until the red LED flickers, indicating it is ready for pairing.
-
You can pair the testing machine with the app using two methods.
Note: After the testing machine is paired, the green LED is steady on.
- Auto scan
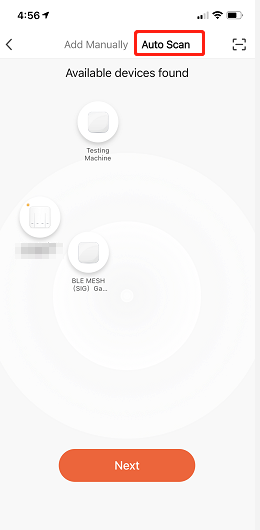
Tap Next and select the testing machine to add it.
- QR code pairing
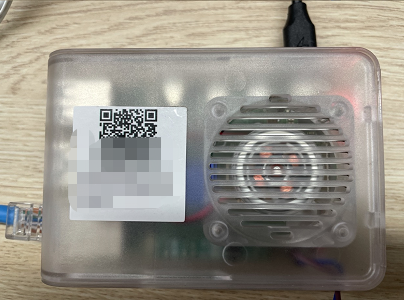
Scan the QR code on the testing machine with the app and complete the pairing as per the instructions.
Create a task and add the device under test
Create a test task
-
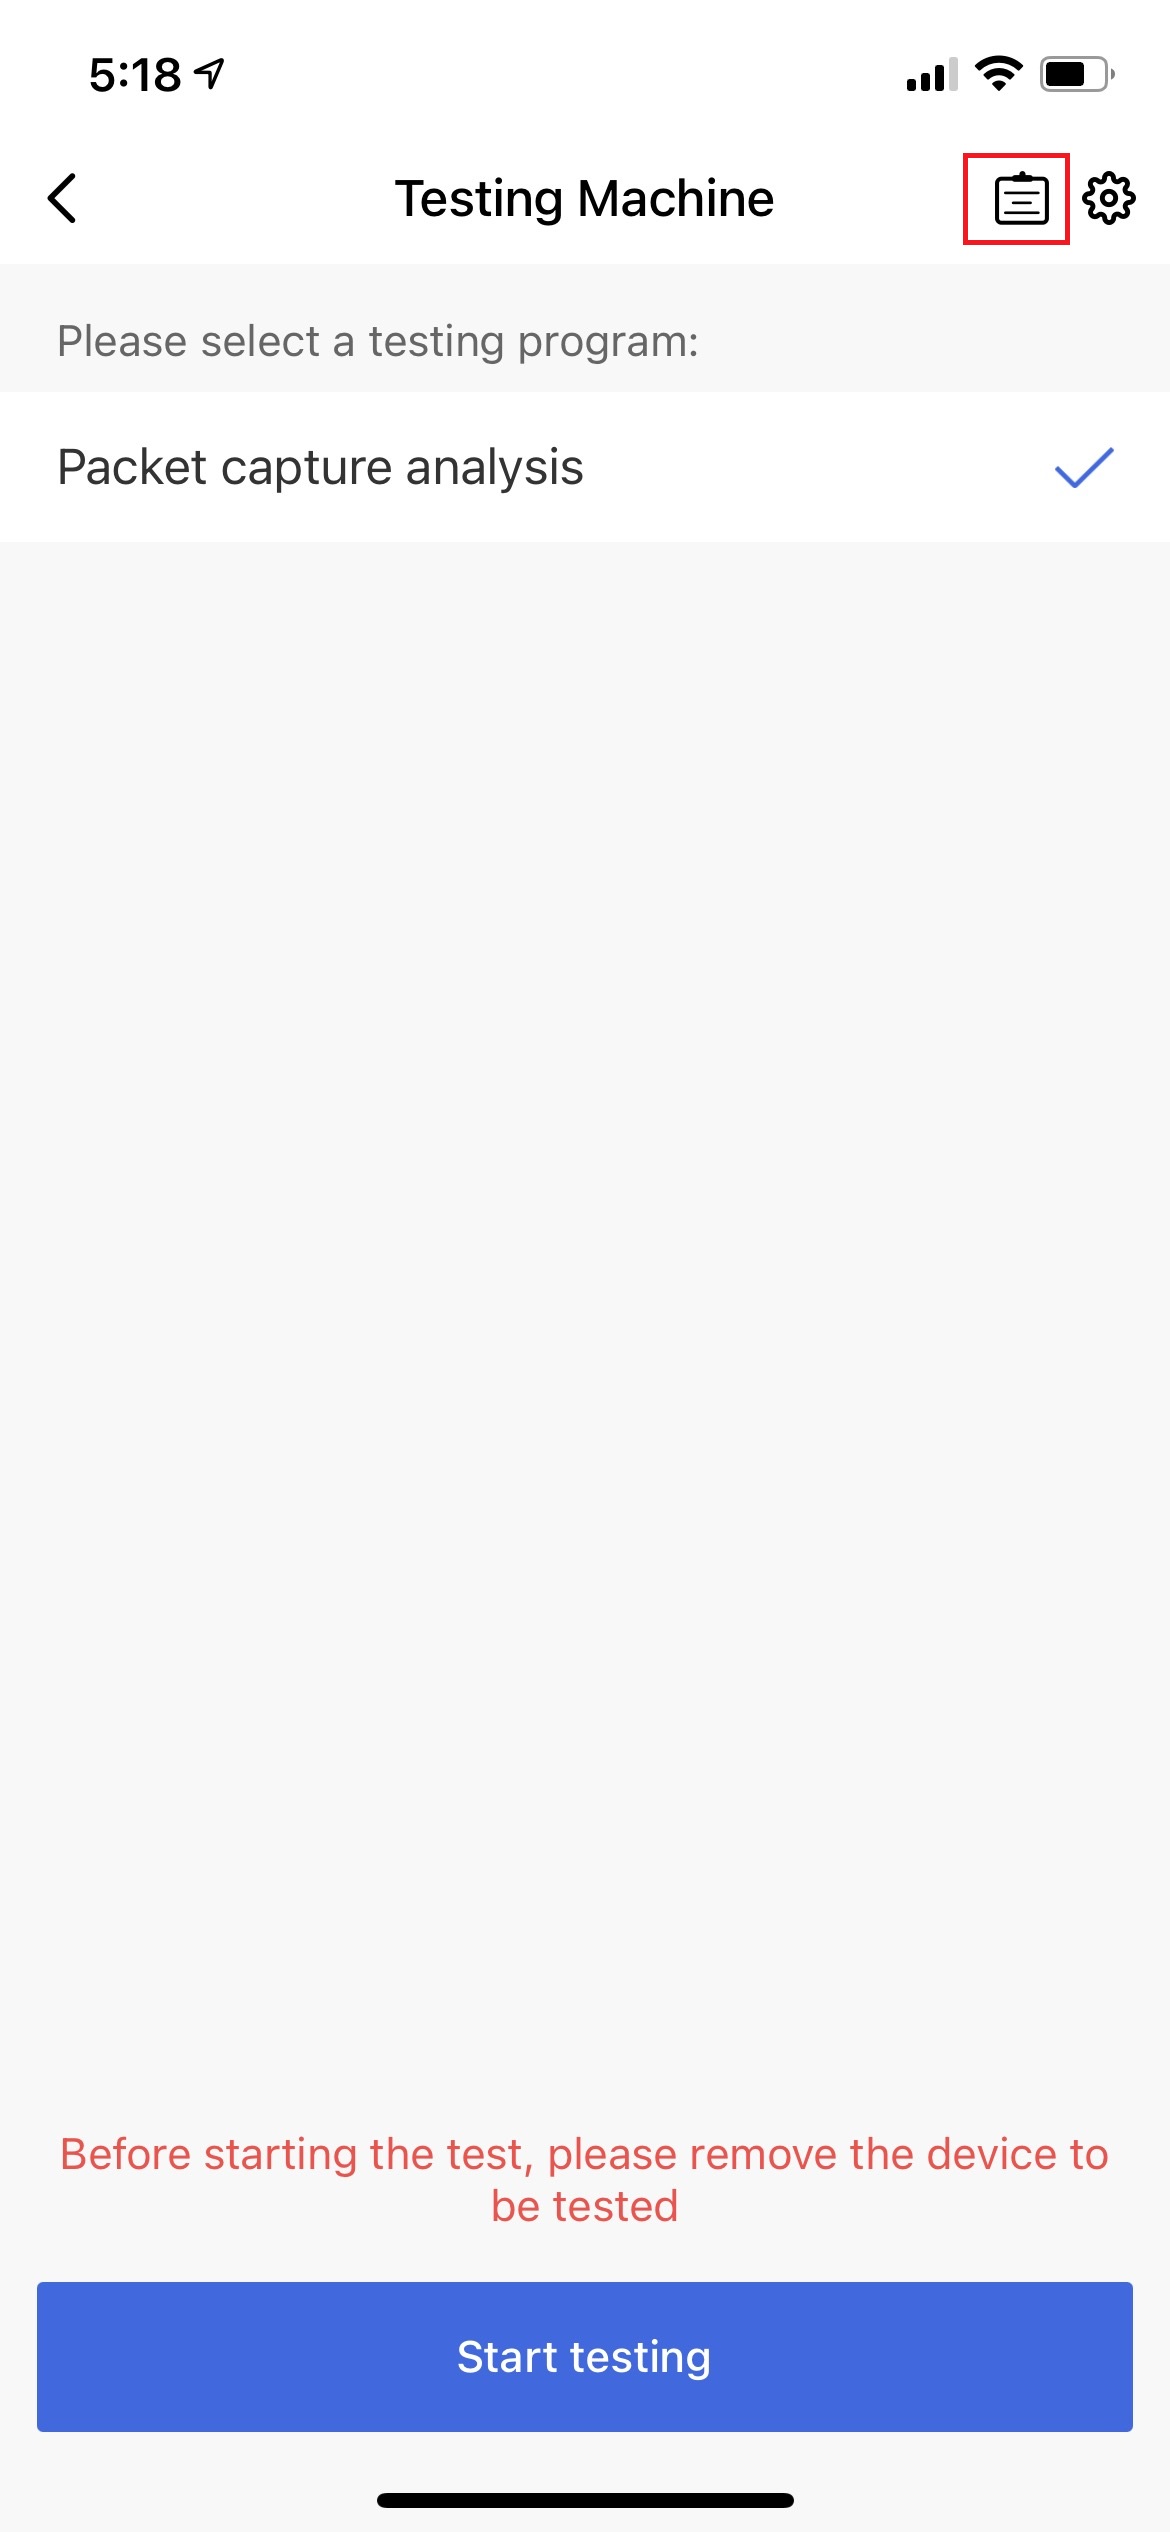
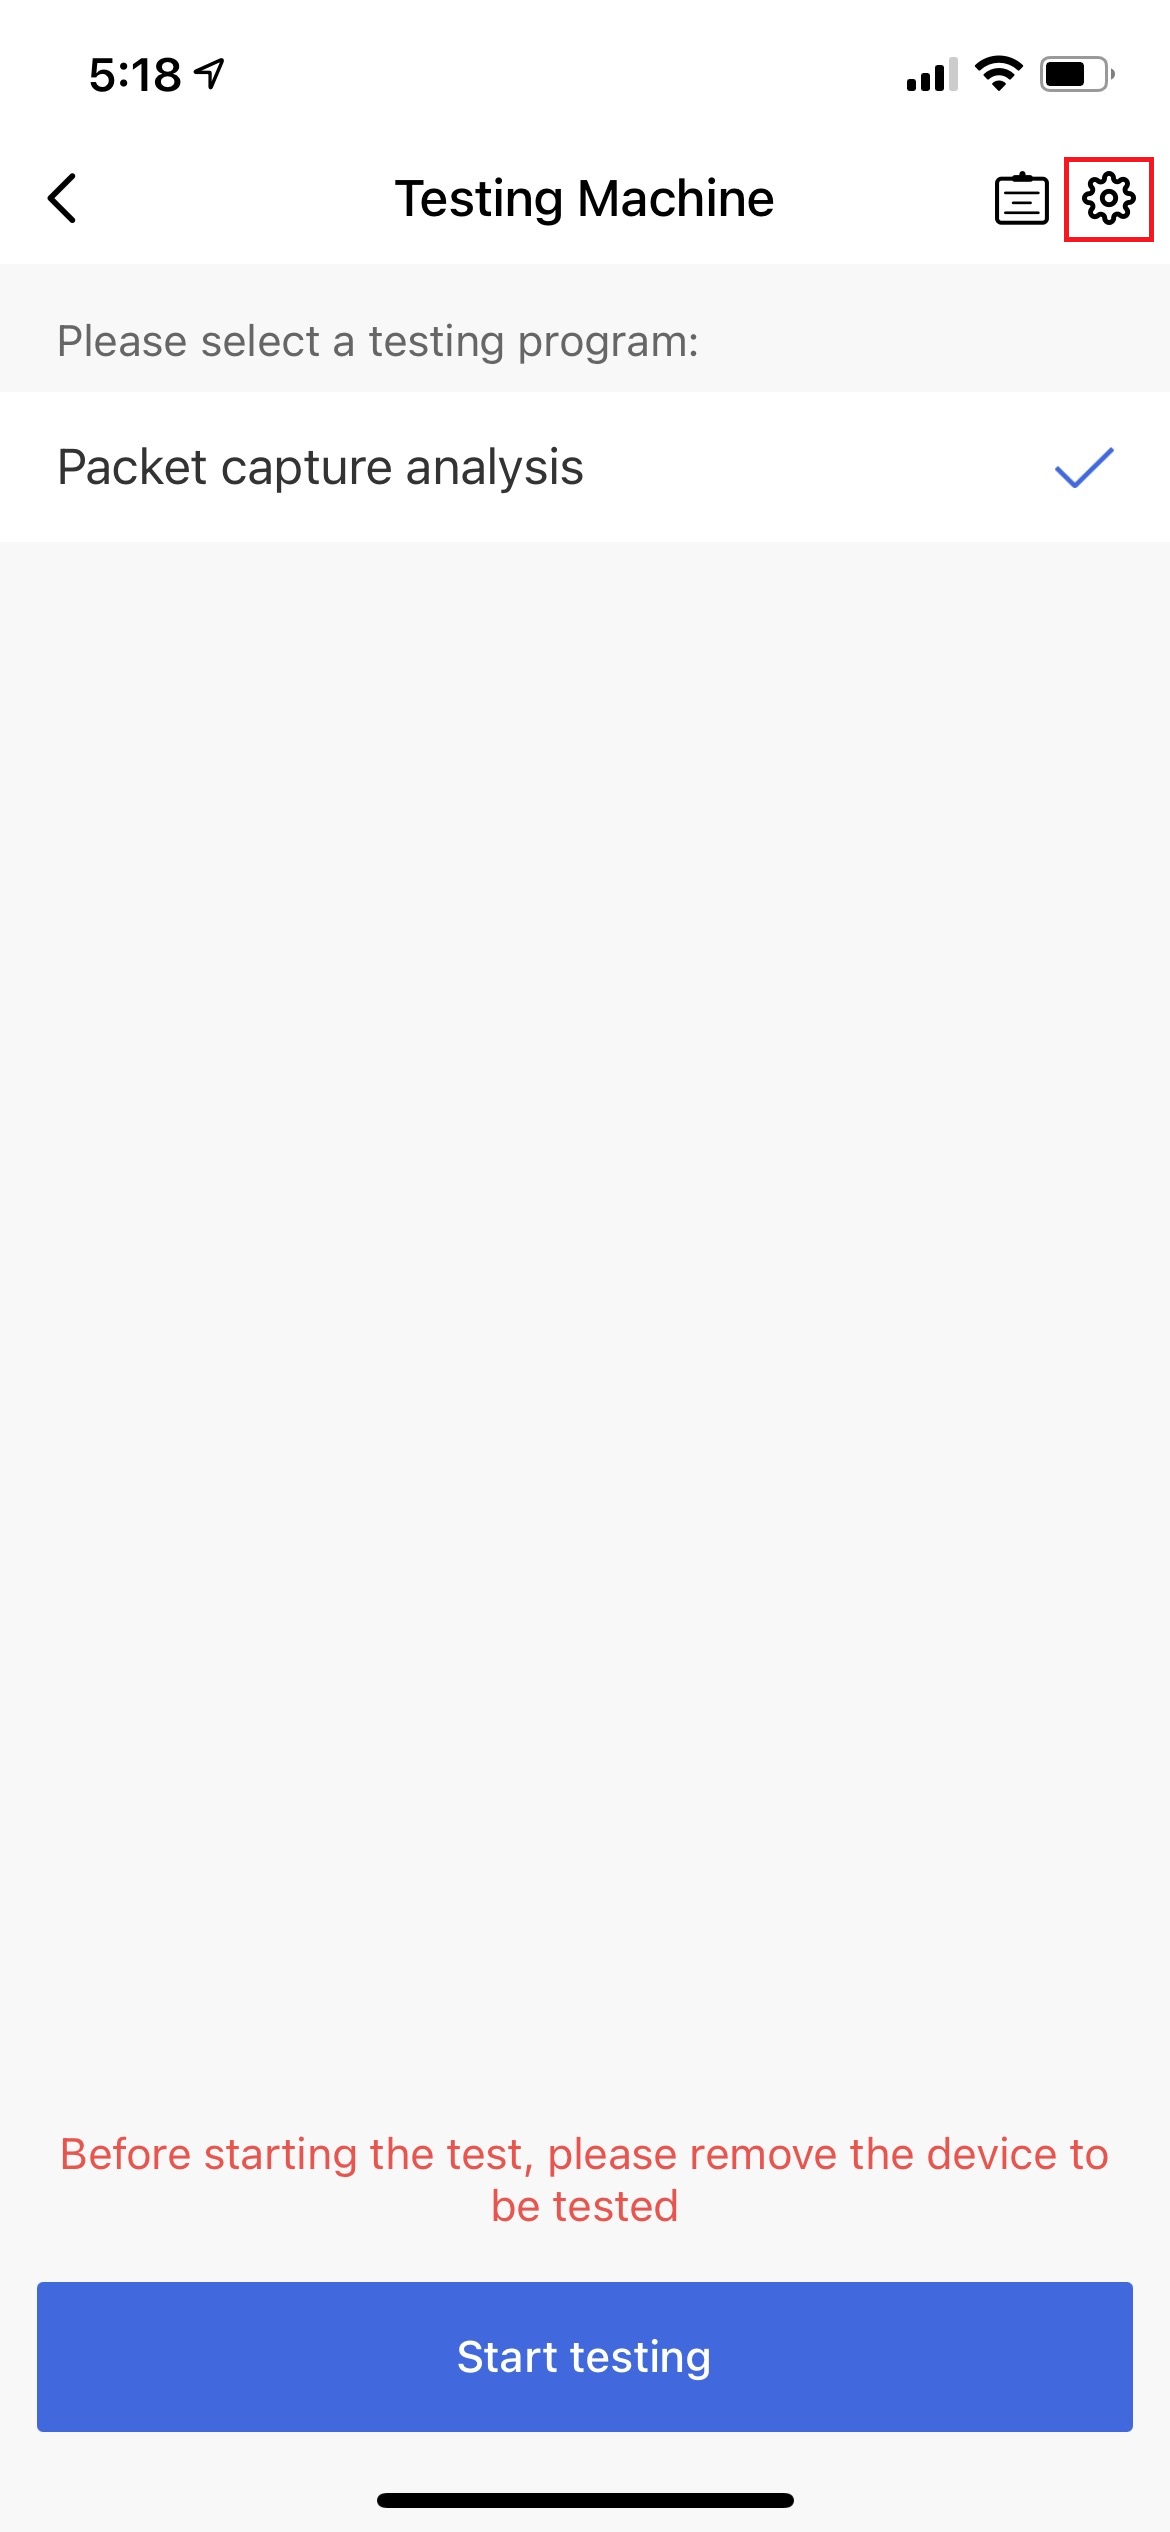
After you have added the testing machine, go to its home page and tap Start testing.
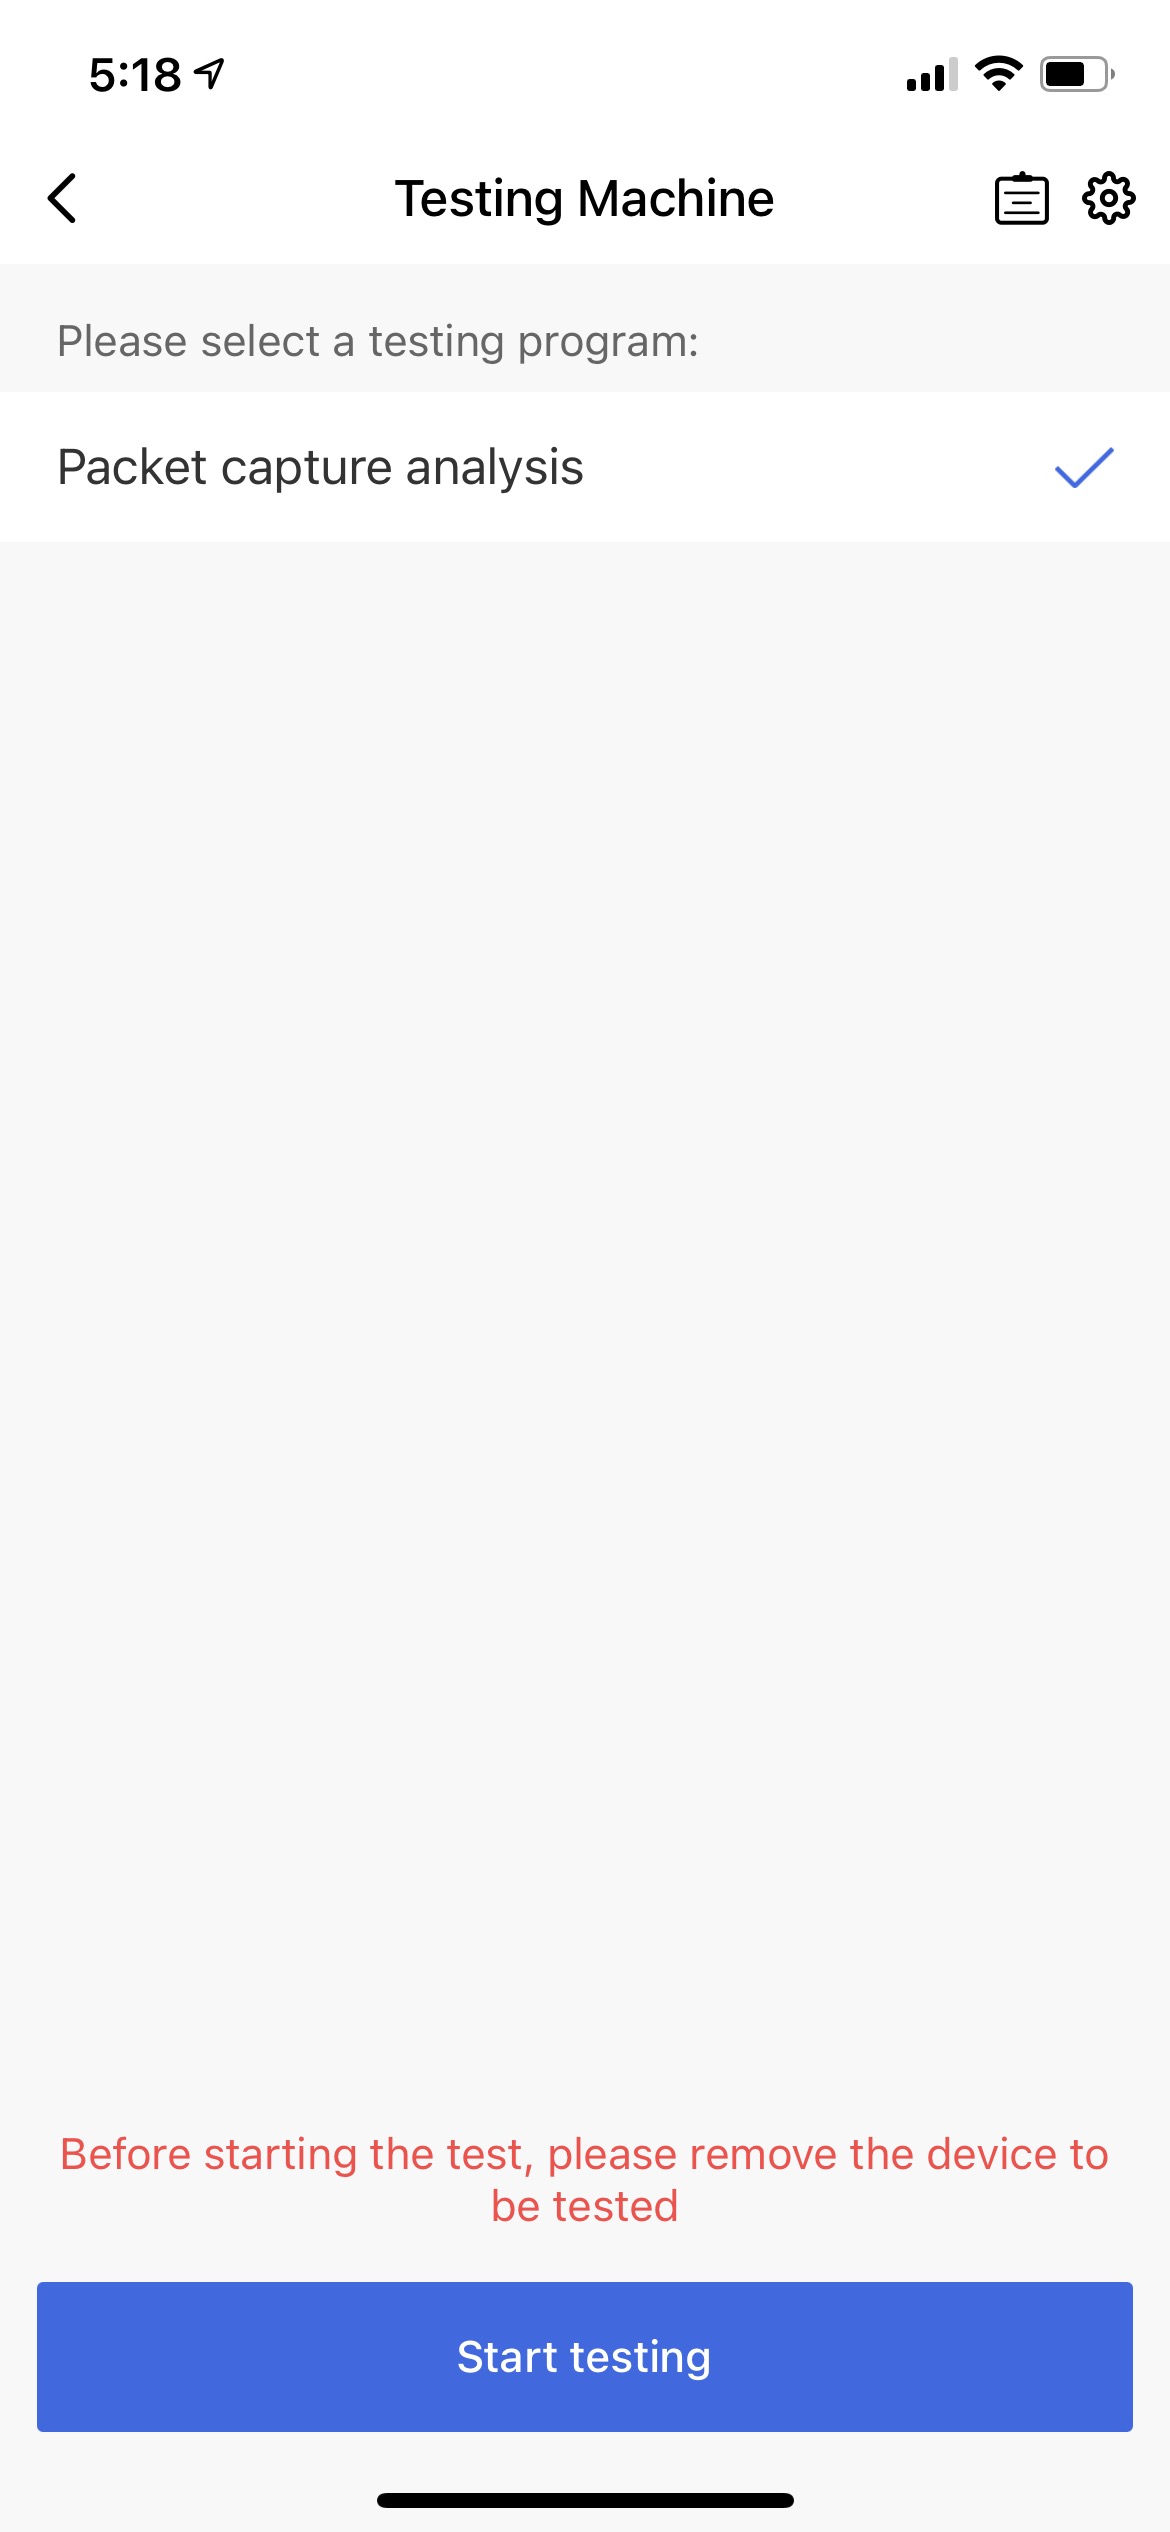
Note: After the test starts, the home page displays the packet capture duration and the number of devices being analyzed.
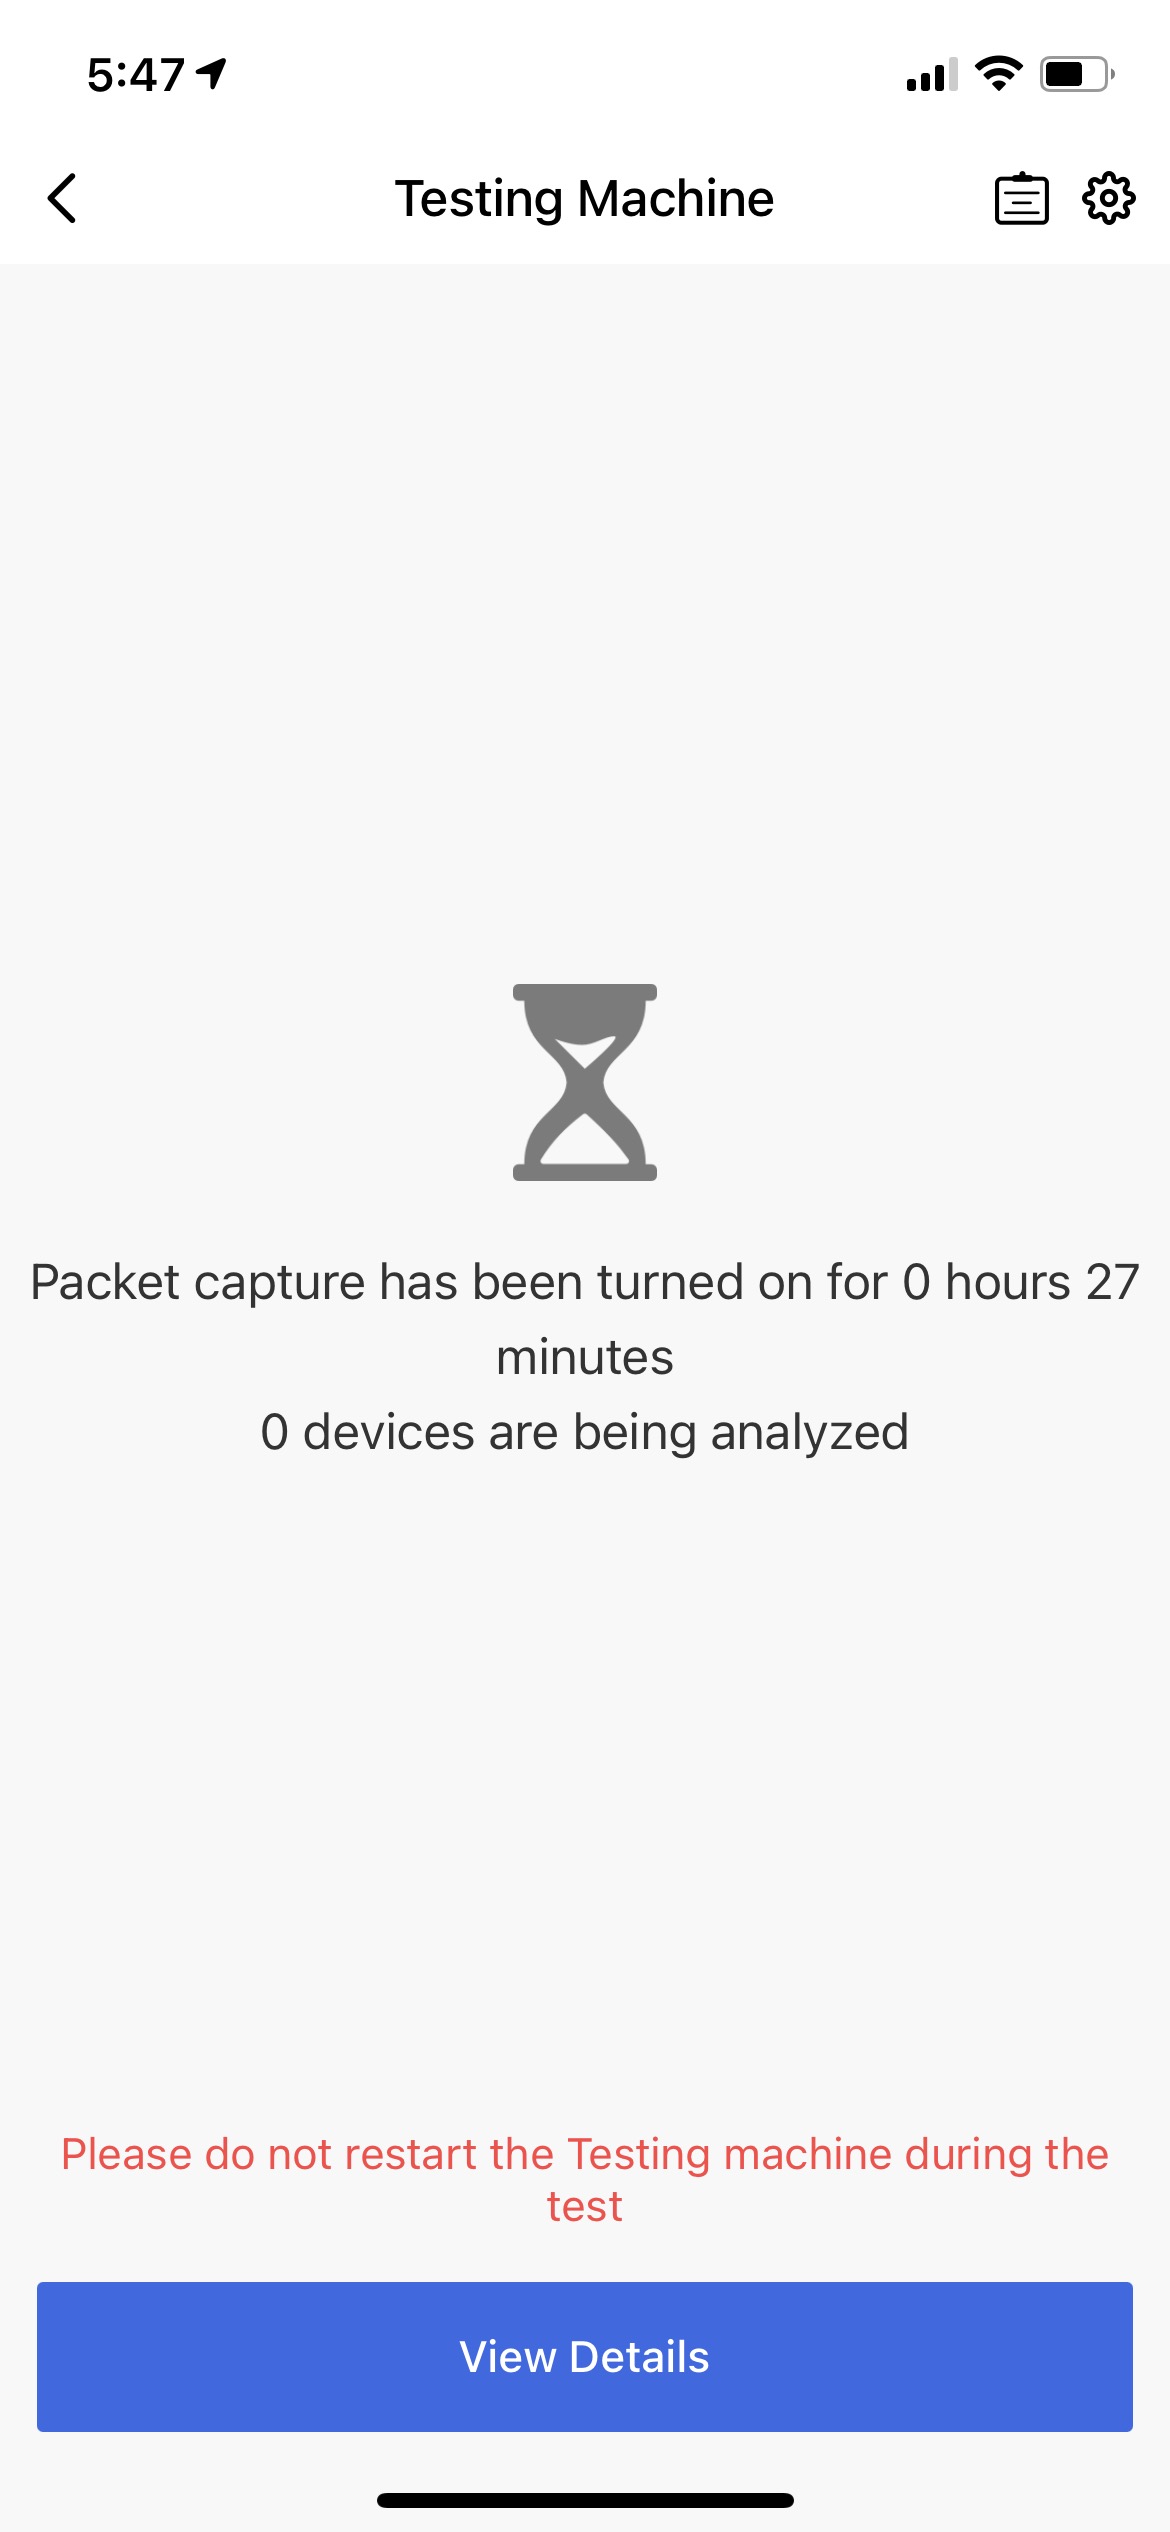
-
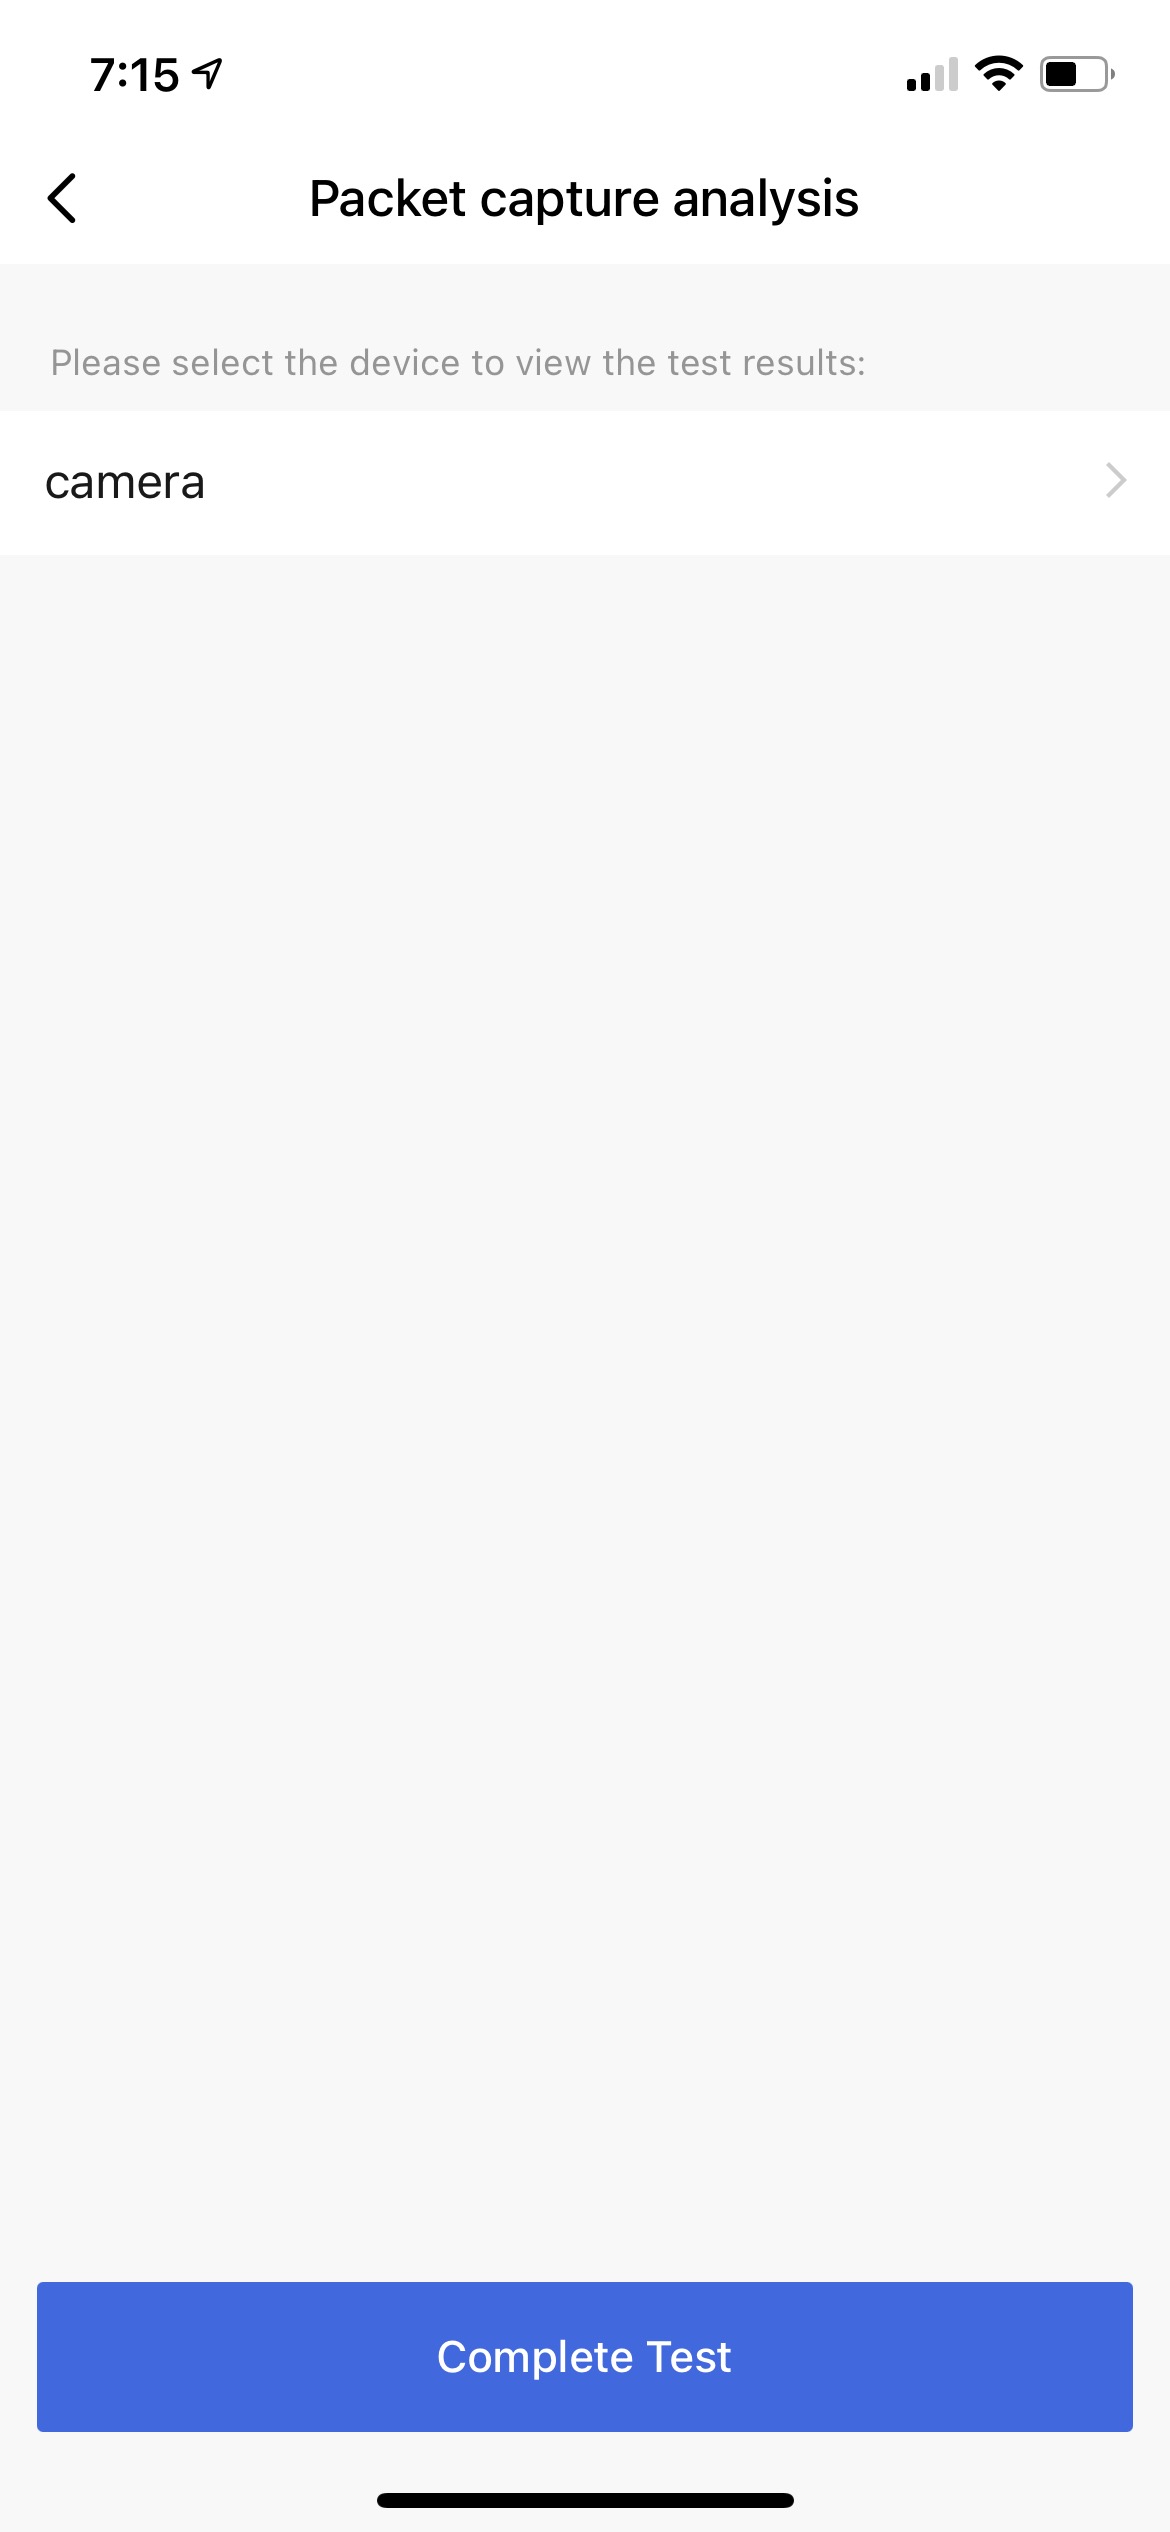
Tap View Details to enter the Packet capture analysis page.
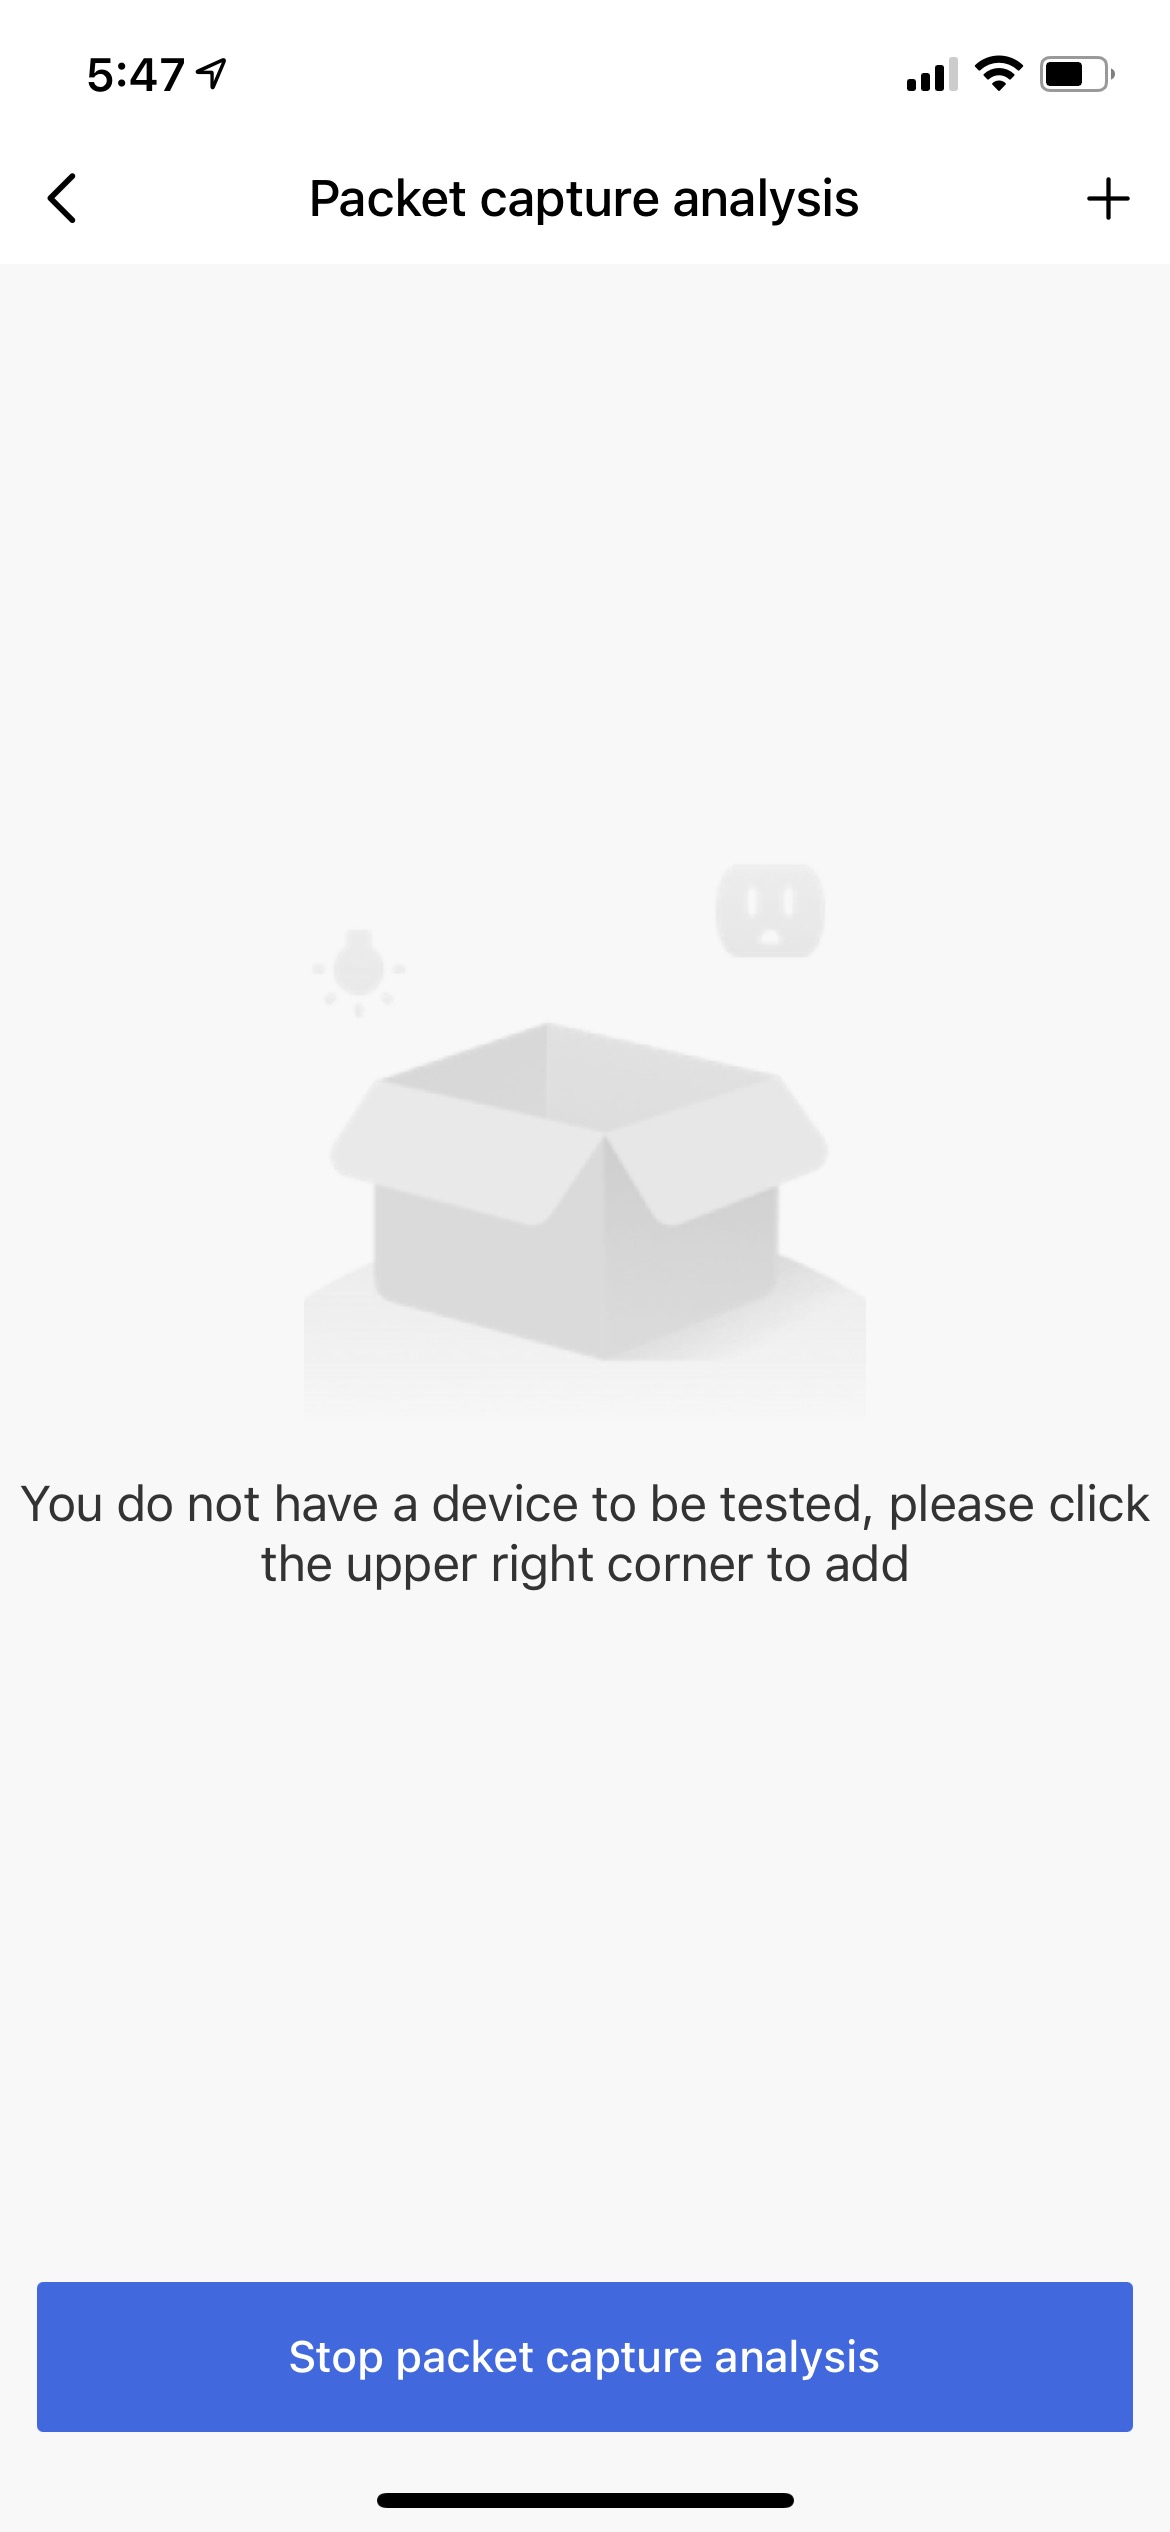
Add a device under test
-
Tap + in the top right corner and enter the Add Devices page.
Note: You can touch and hold to copy the Password. After the testing machine is removed from the app and added again, the SSID stays unchanged but a new password will be randomly generated. If you restart the testing machine, both the SSID and password stay unchanged.
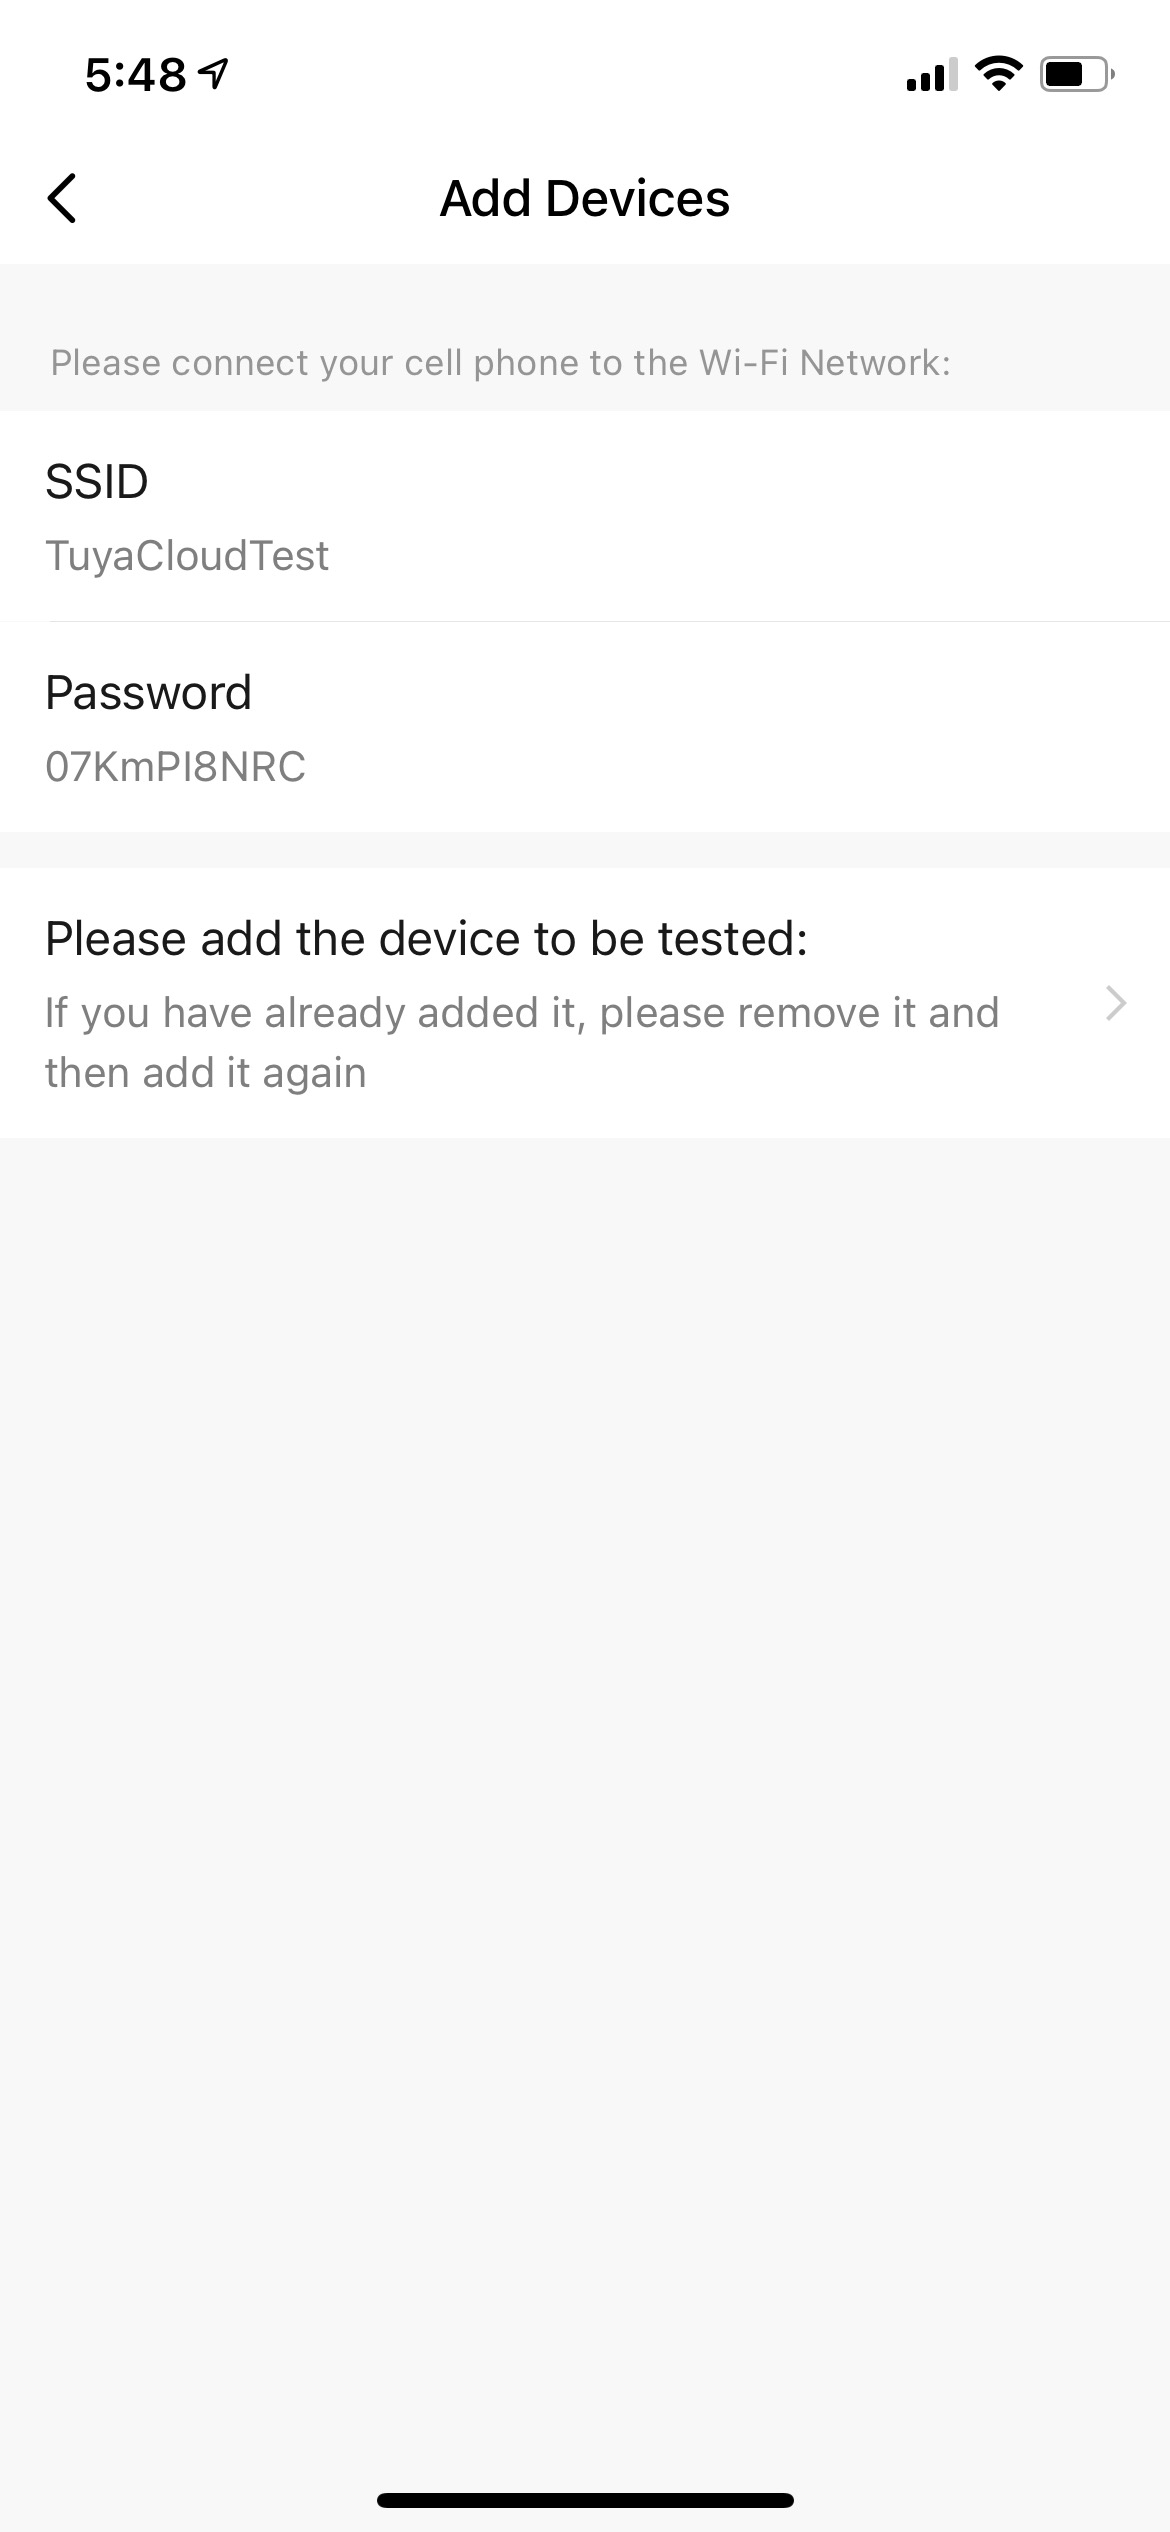
-
Tap Please add the device to the tested. Your mobile phone will connect to the Wi-Fi network provided by the testing machine. Then, you can add a device under test.
Note: The SmartLife app for iOS will navigate to the home screen after a device under test is added. The SmartLife app for Android will navigate to the Add Devices page.
Bind a device and get a report
Bind a device
-
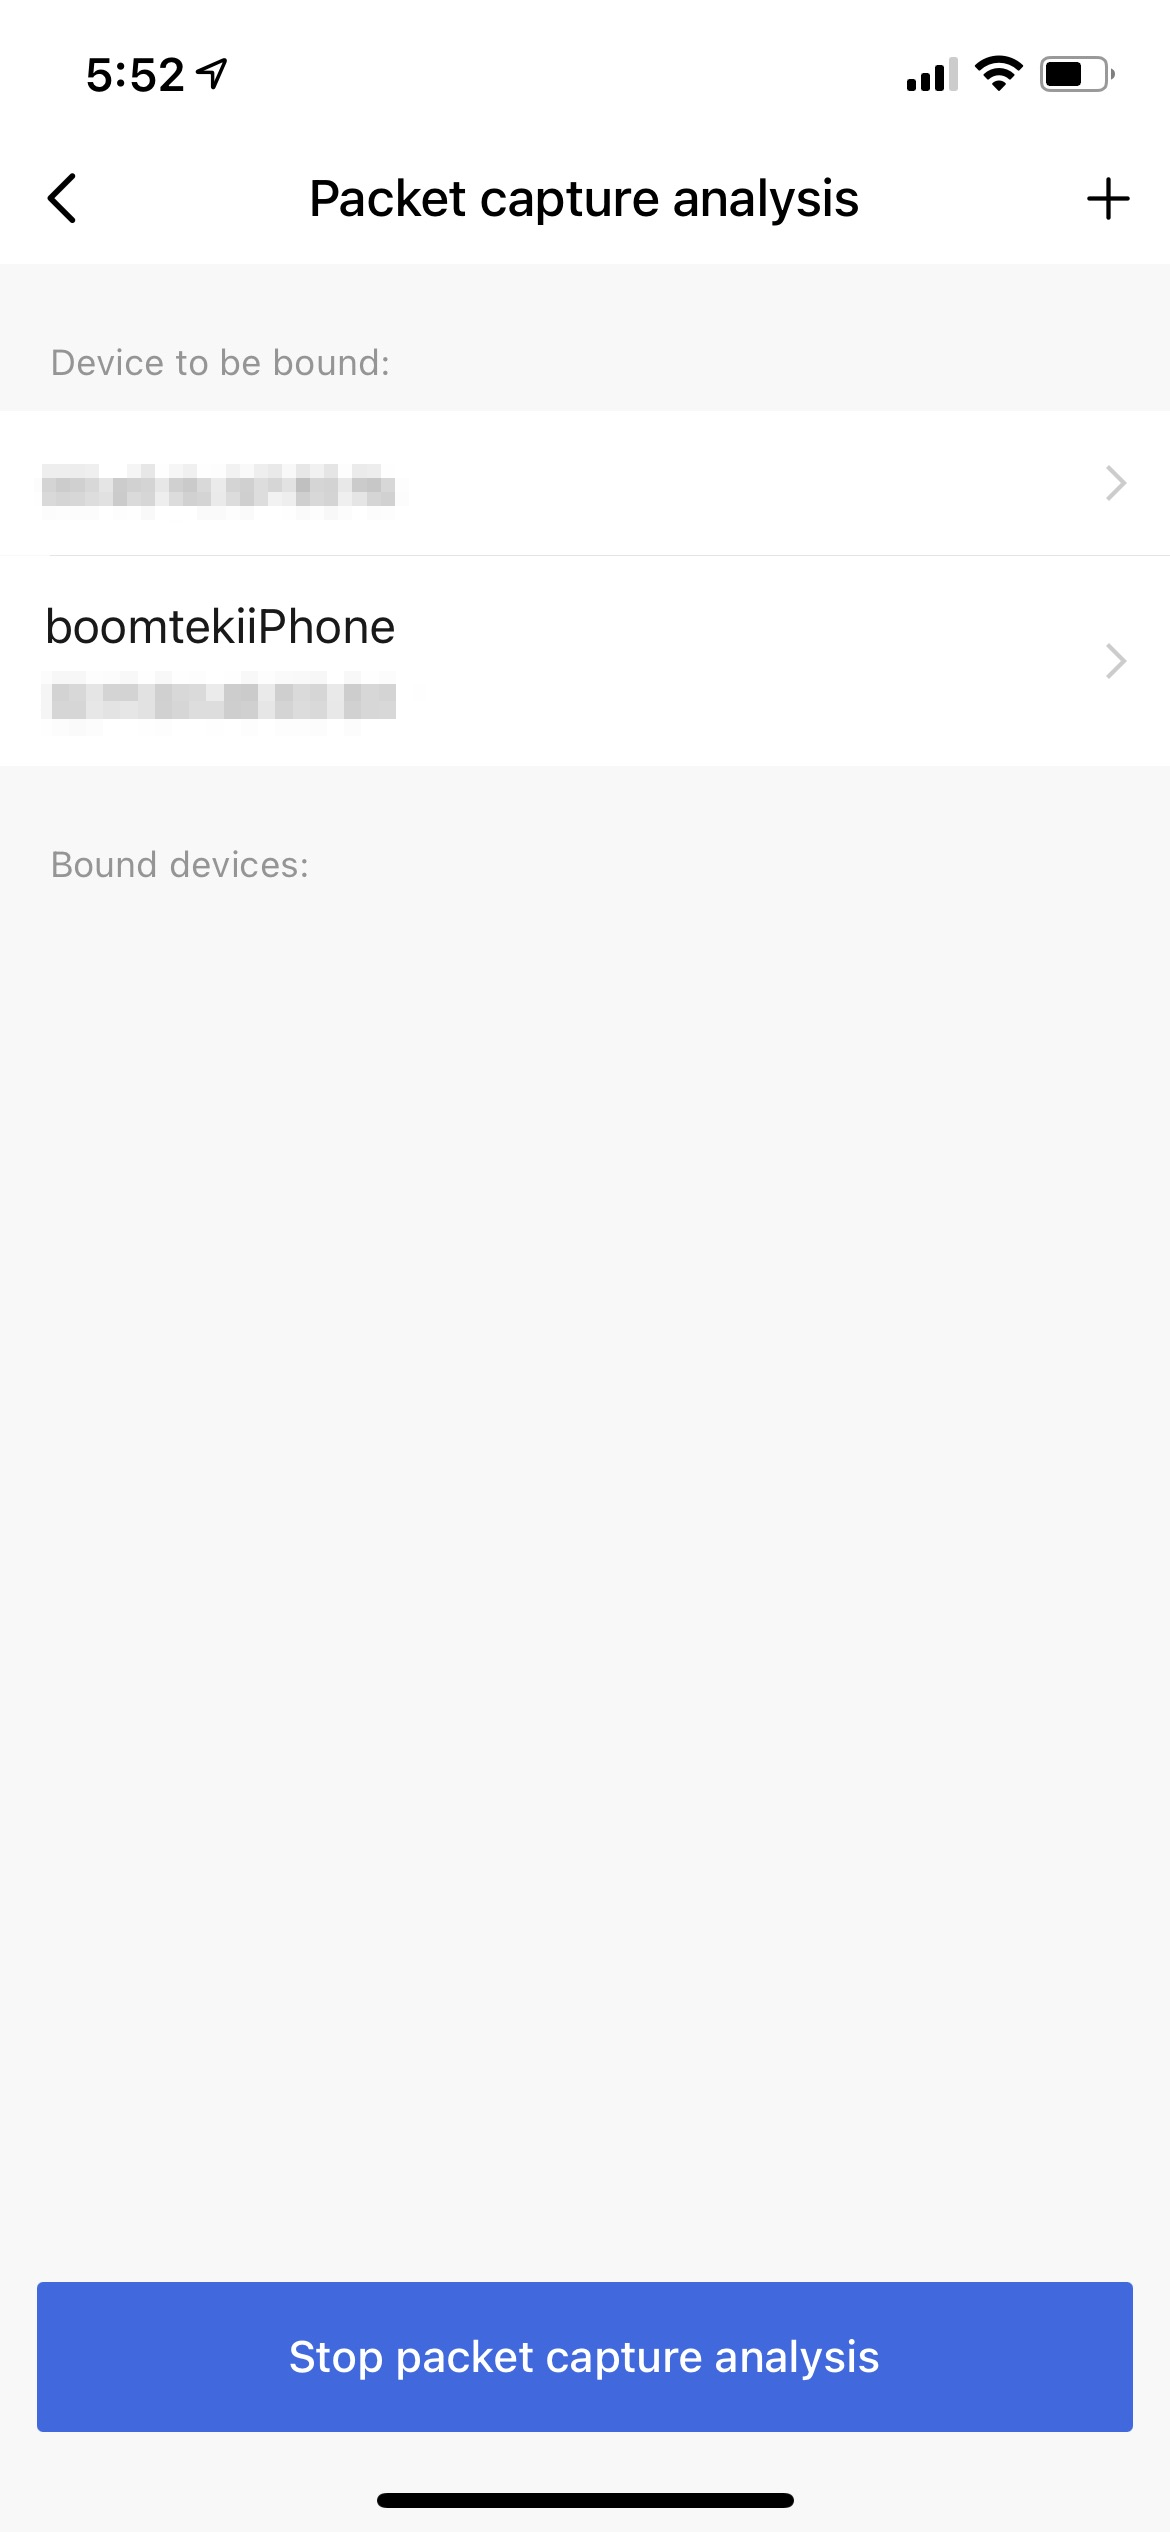
Go to the Packet capture analysis page.
Note: The Device to be bound lists the MAC addresses and names of all the devices connected to the Wi-Fi network provided by the testing machine, including the mobile phone and devices under test.
-
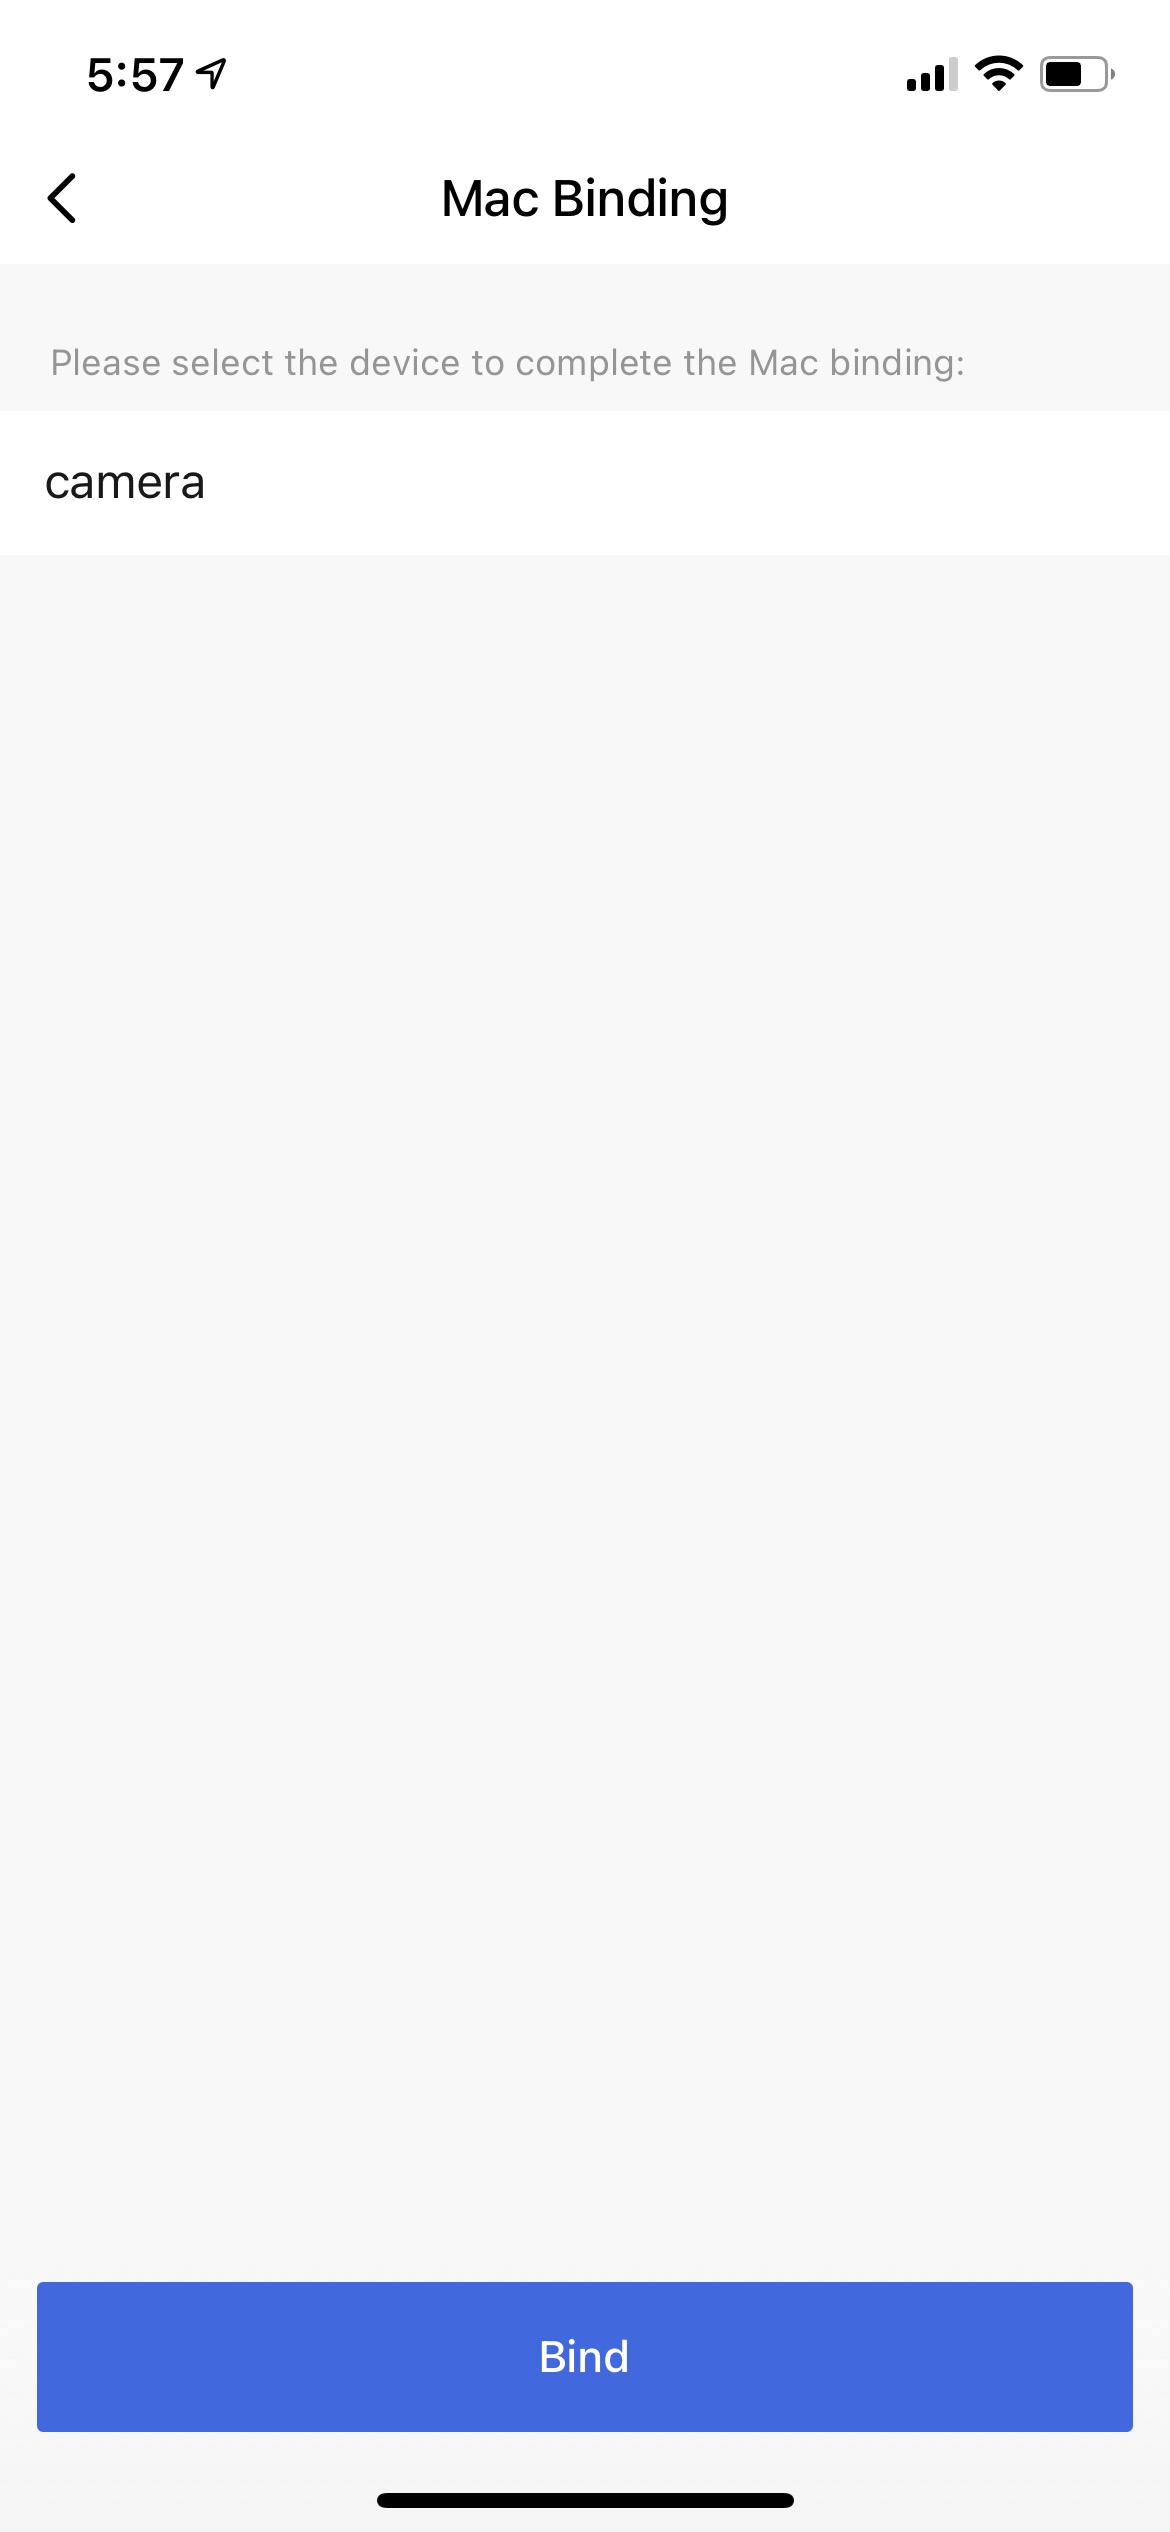
Tap Device to be bound and enter the MAC Binding page.
Note: The MAC Binding page displays all the devices linked with the current app account. The testing machine is excluded.
-
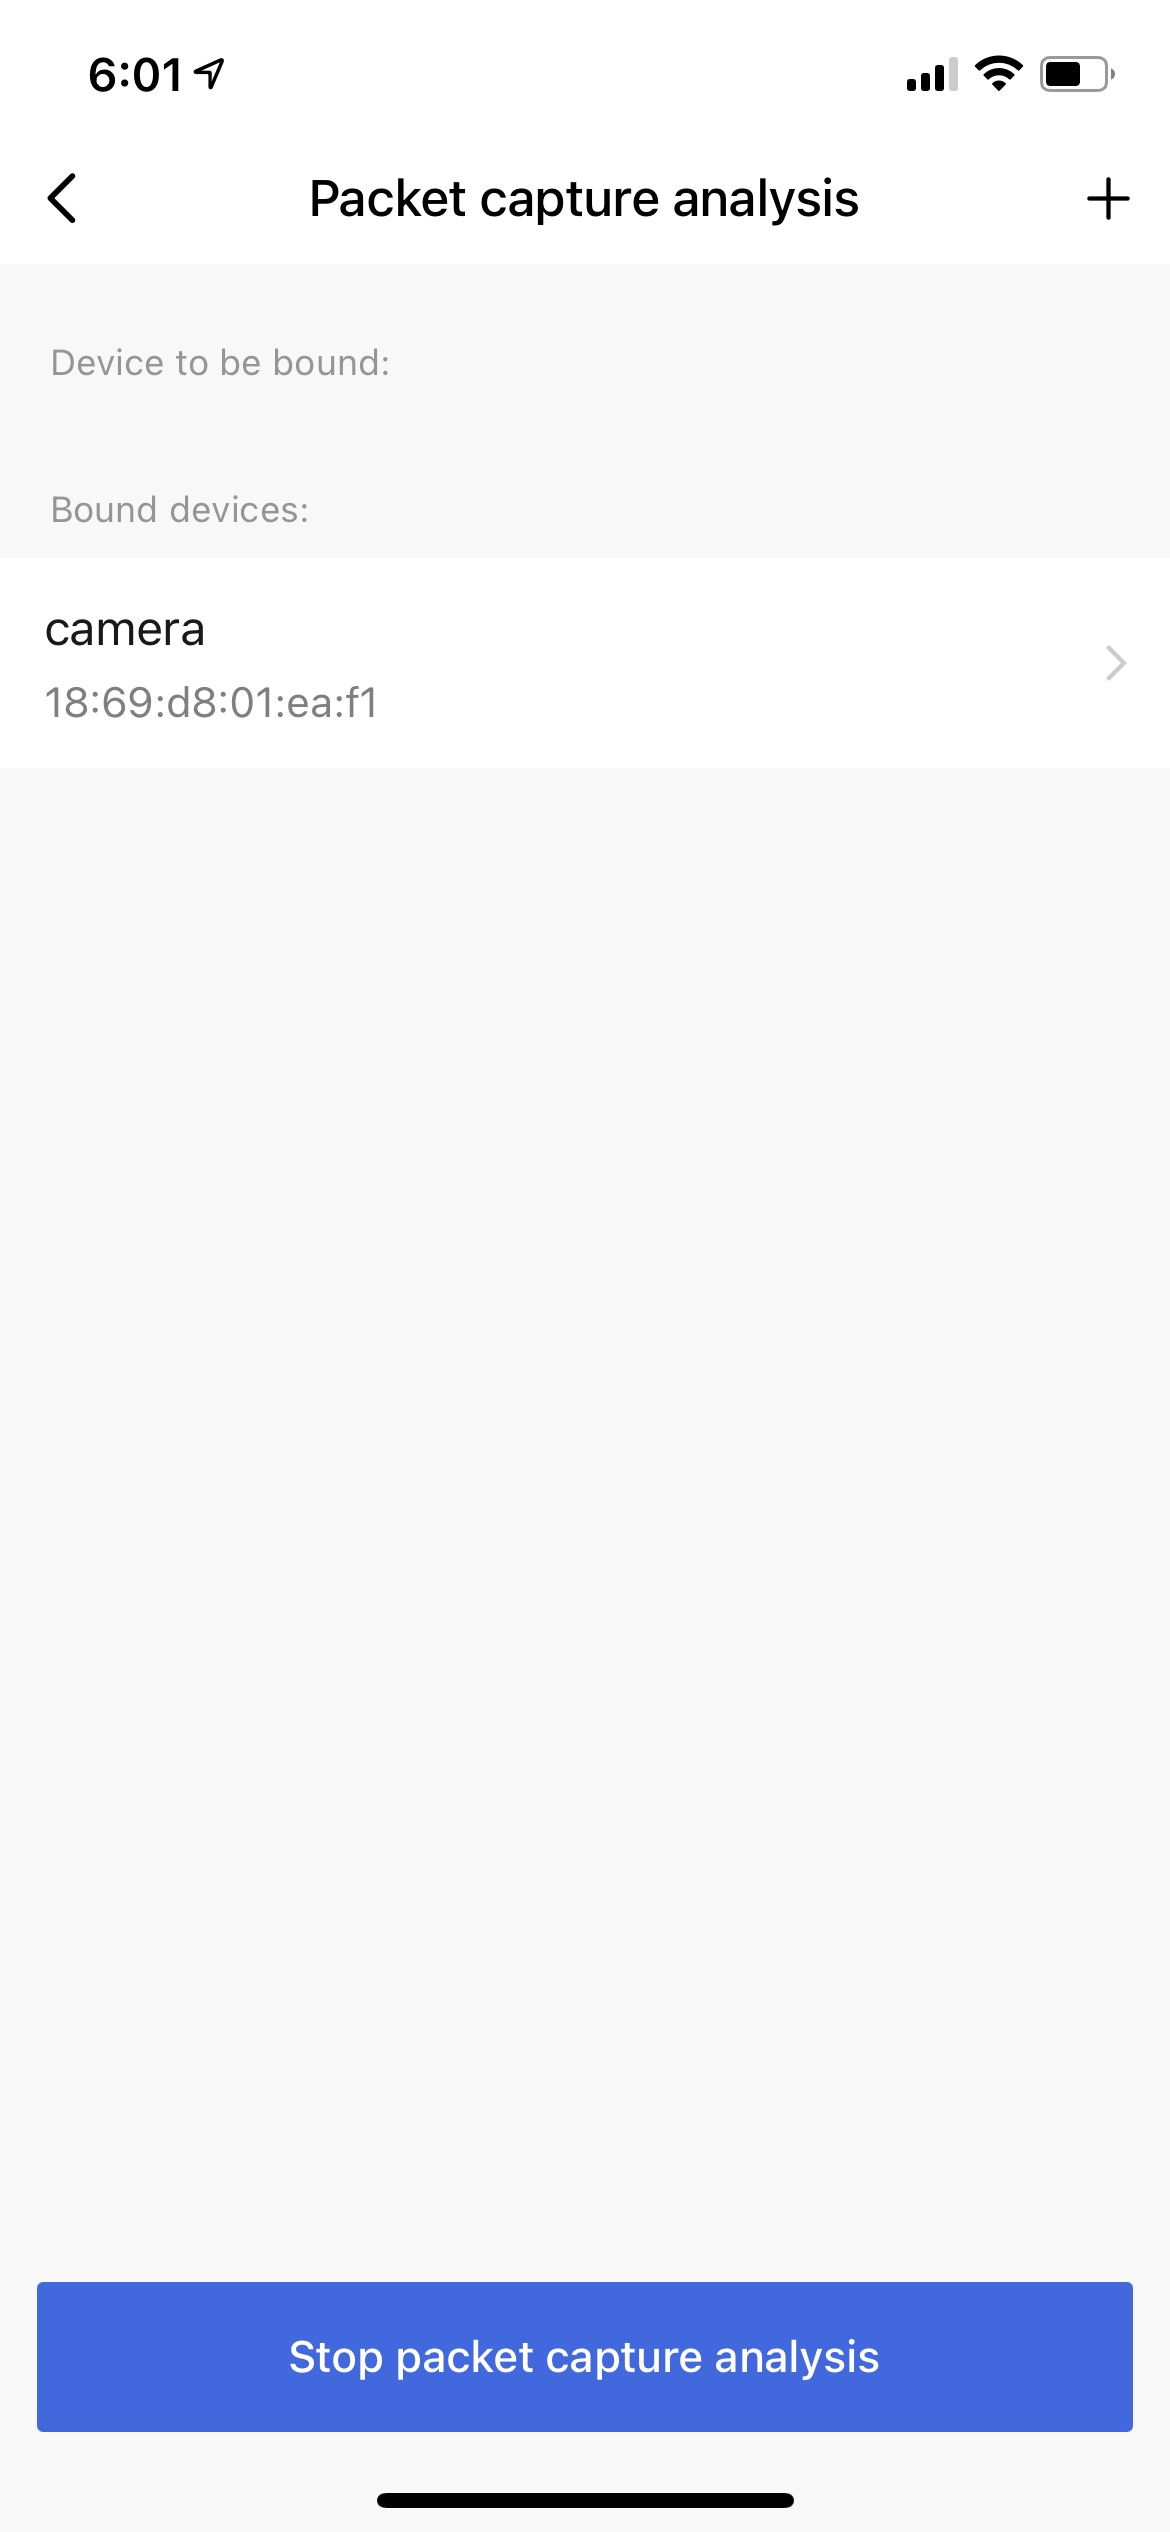
Select the device you want to test and tap Bind. Then, the page will navigate to Packet capture analysis.
Note: Bound devices lists all the devices already bound.
-
Tap a bound device and enter its control panel. You can preview video or send control commands to this device to test data transmission.
Note: You must perform enough interactive operations like video preview and cloud storage to generate packet data.
-
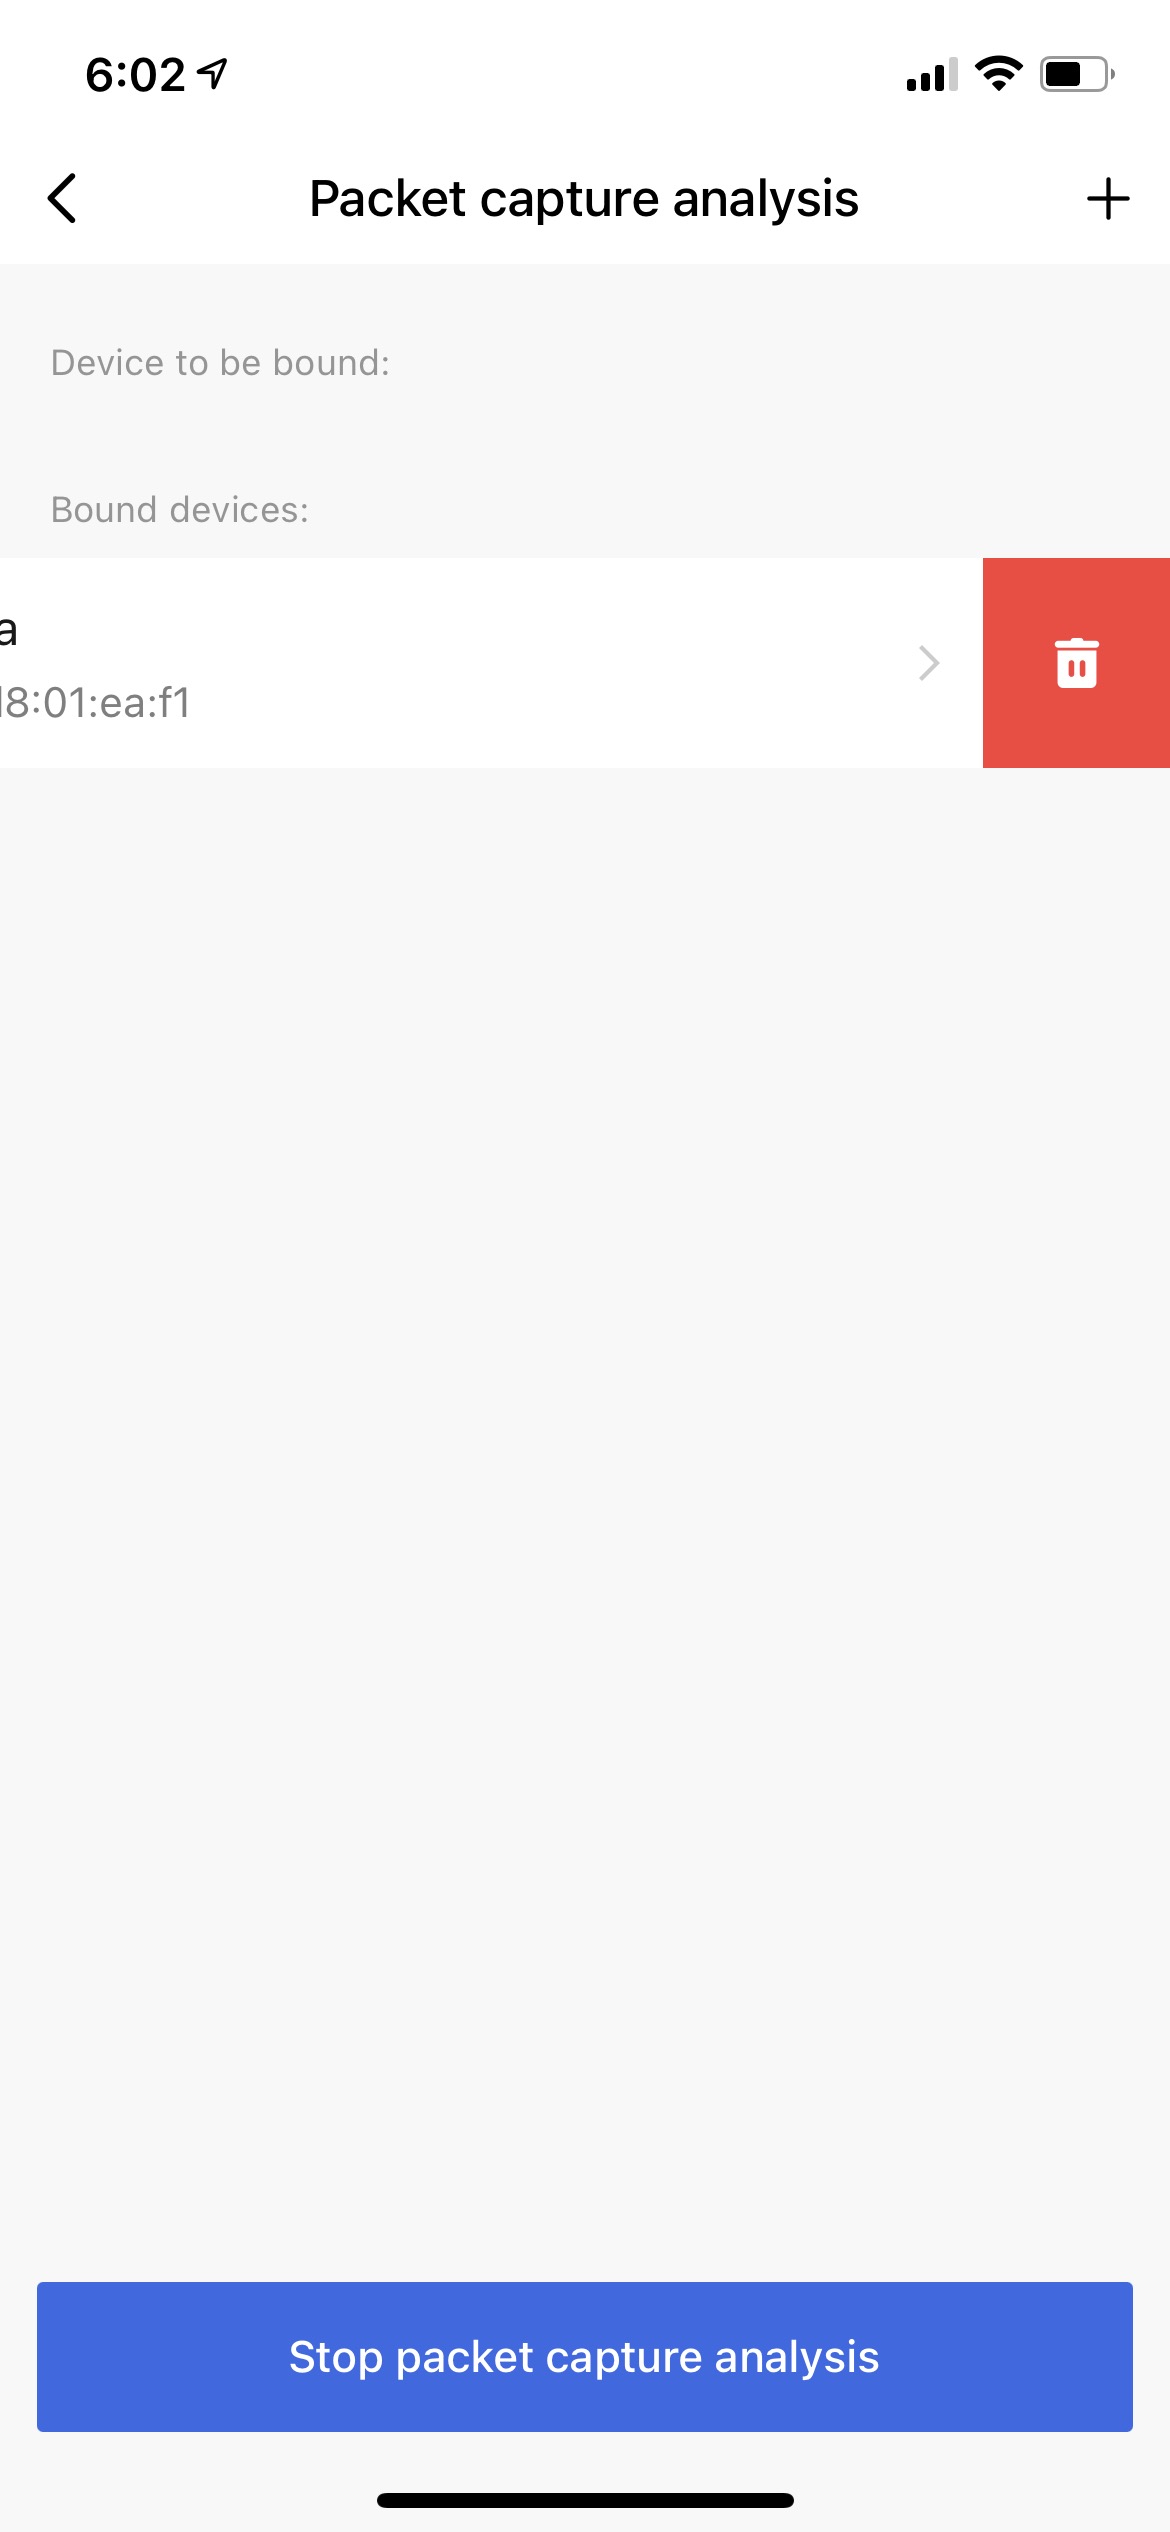
(Optional) Unbind the MAC address.
Note: After you unbind the MAC address, no test report can be generated.
Generate a test report
-
Tap Stop packet capture analysis to generate a test report for the bound device.
Note: After you tap Stop packet capture analysis, if the testing machine is restarted or a network error occurs, the packet analysis will fail and you need to run the test again.
After you tap Stop packet capture analysis, clear test data, create a task, and bind the device under test again.
-
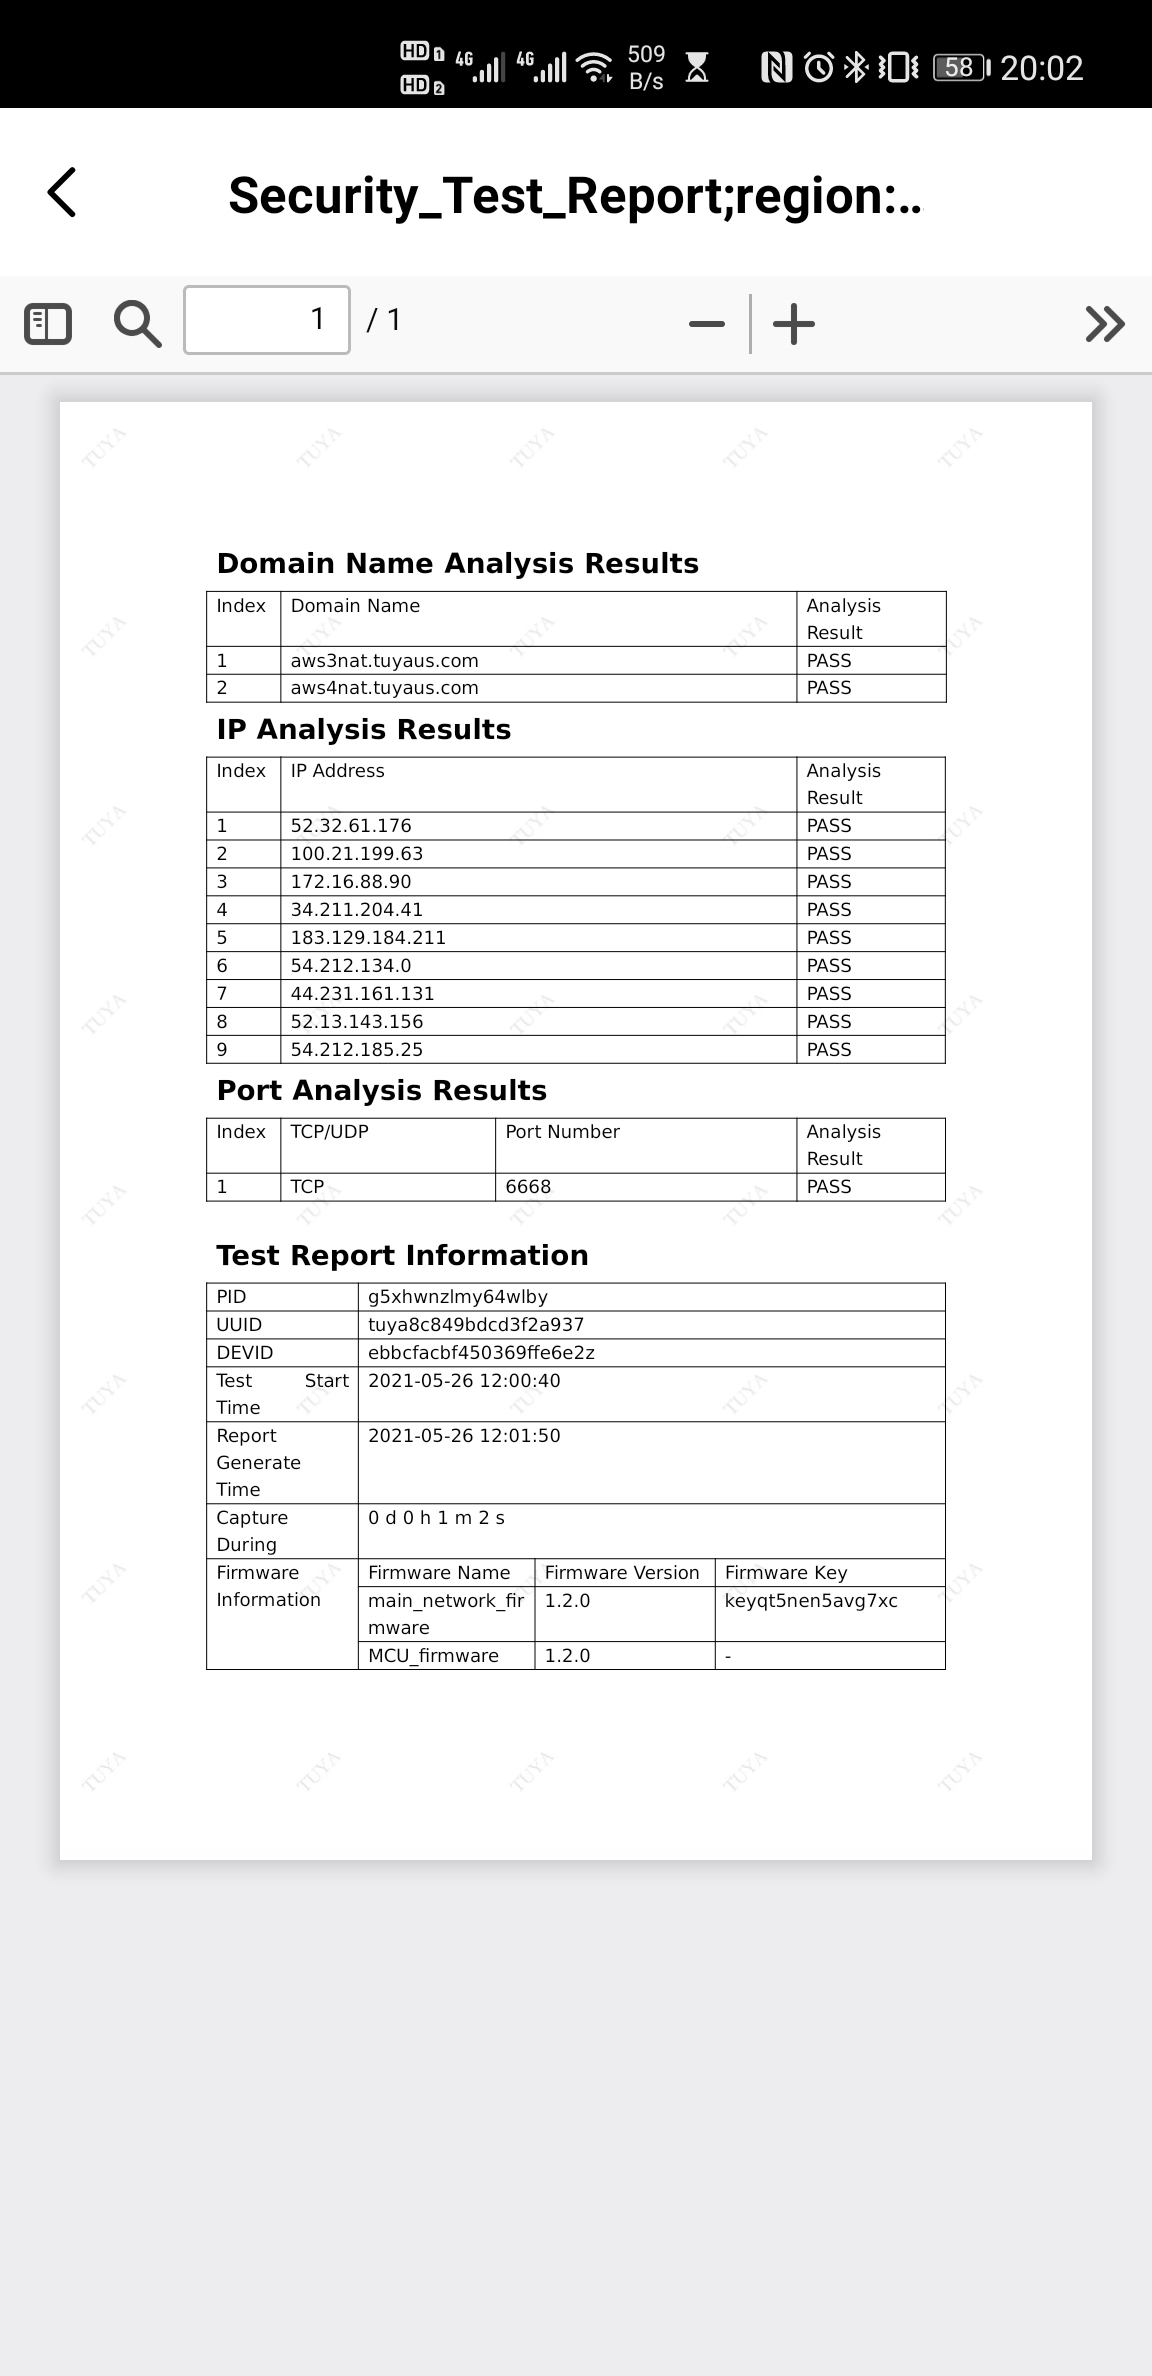
Select the device and tap > to check the test report.
Note: The test report includes four parts: Domain Name Analysis Result, IP Analysis Results, Port Analysis Results, and Test Report Information.
-
Tap Complete Test. Then, you can run the test again.
History report
-
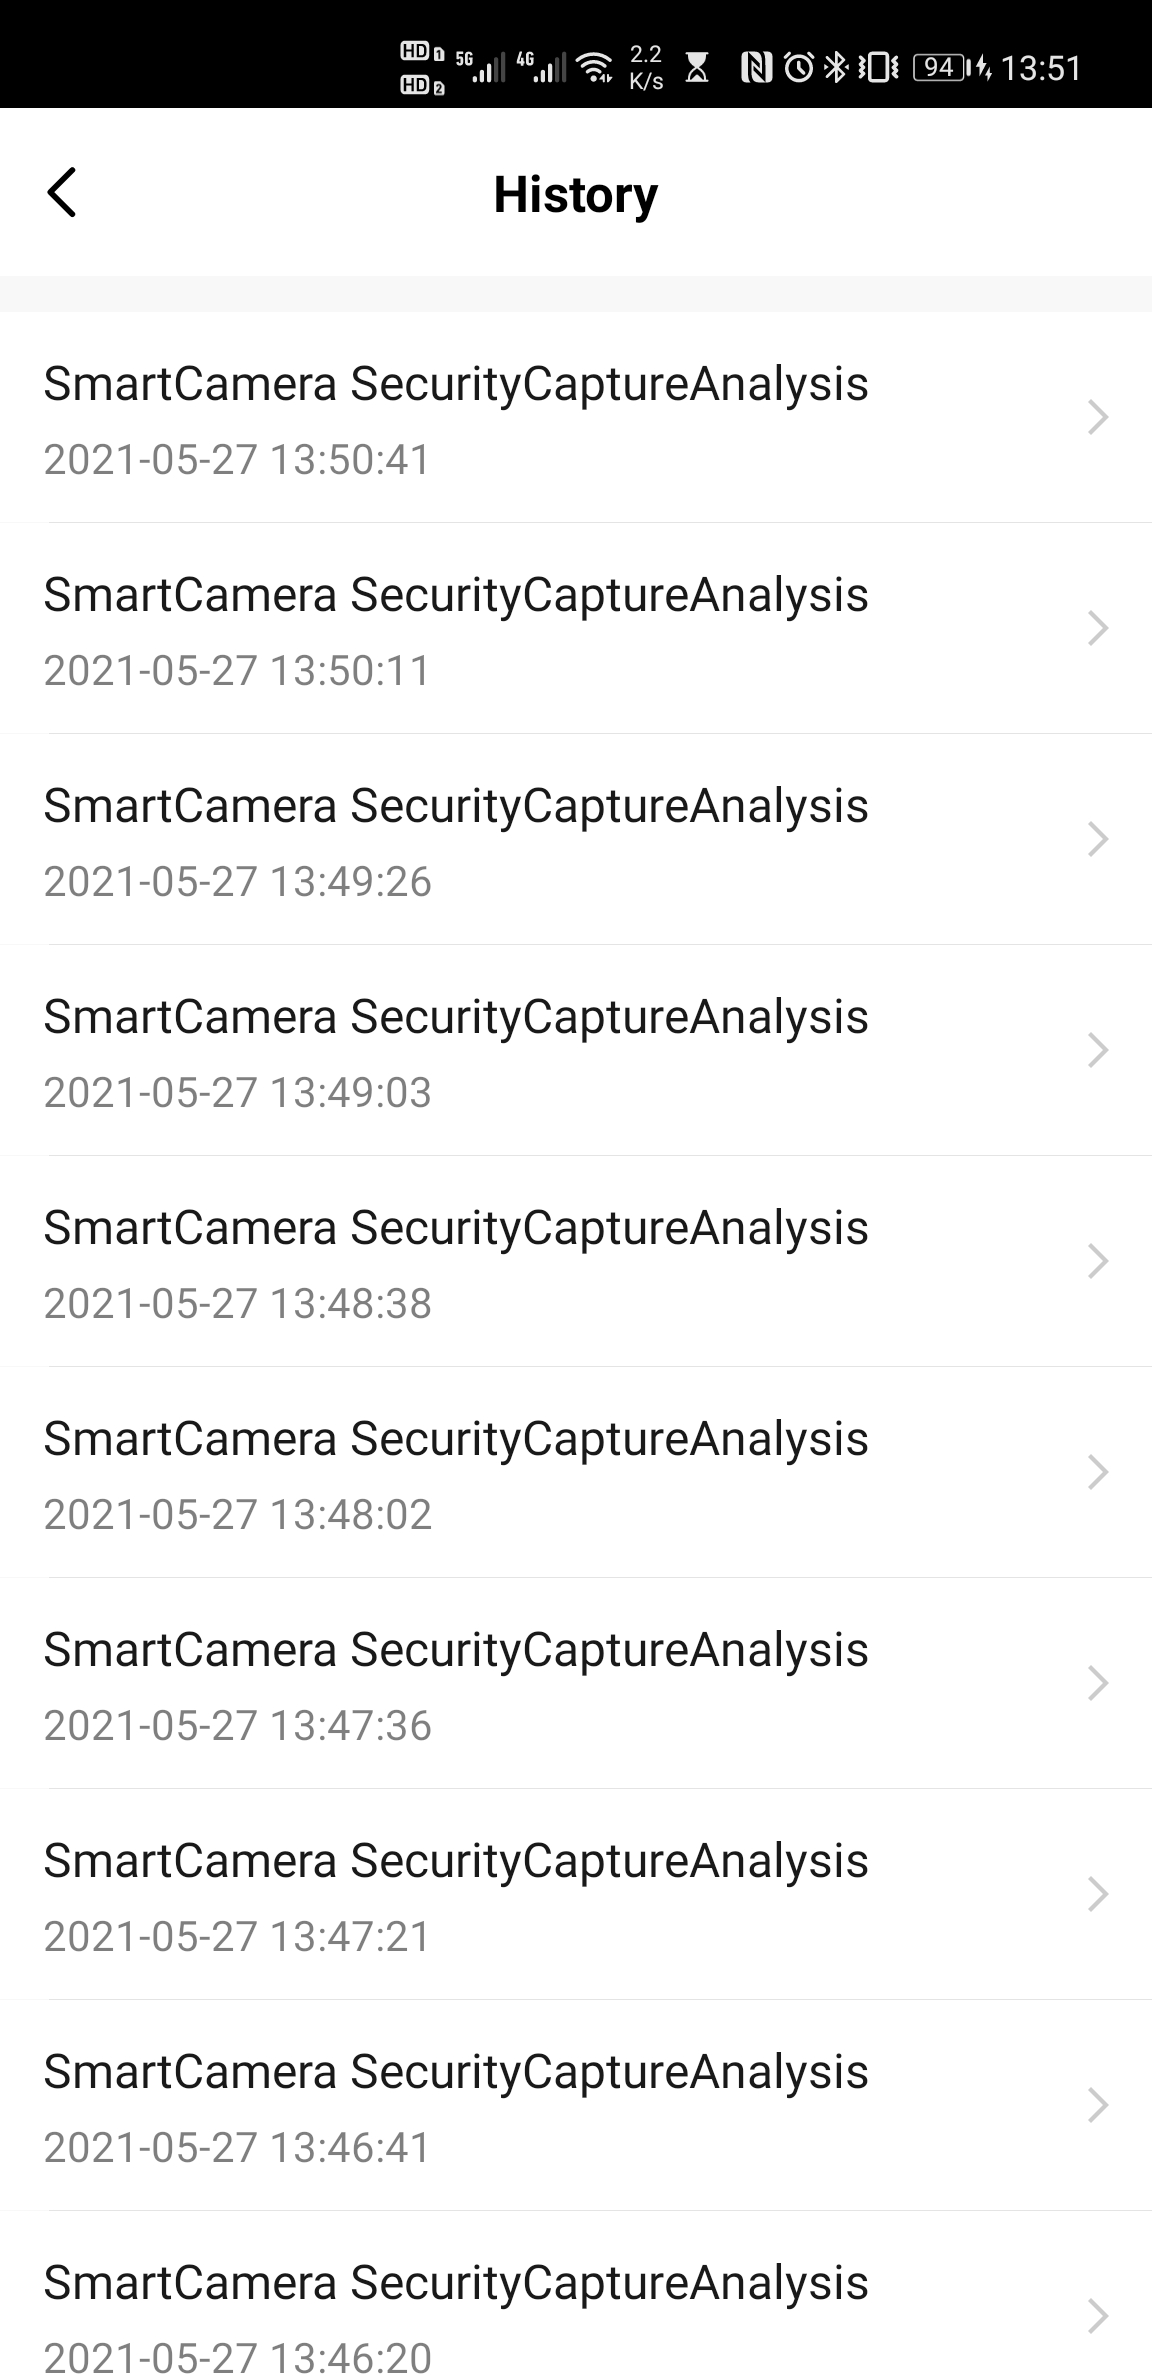
Go to the home page of the testing machine and tap the icon next to the gear in the top right corner.
Note: The history reports are retained under your app account even after you restart or remove the testing machine. But if you remove and reset the test machine, or log in to the app using another account and pair it, the history reports will be cleared.
-
The History page lists all the capture analysis histories.
Manage the testing machine
-
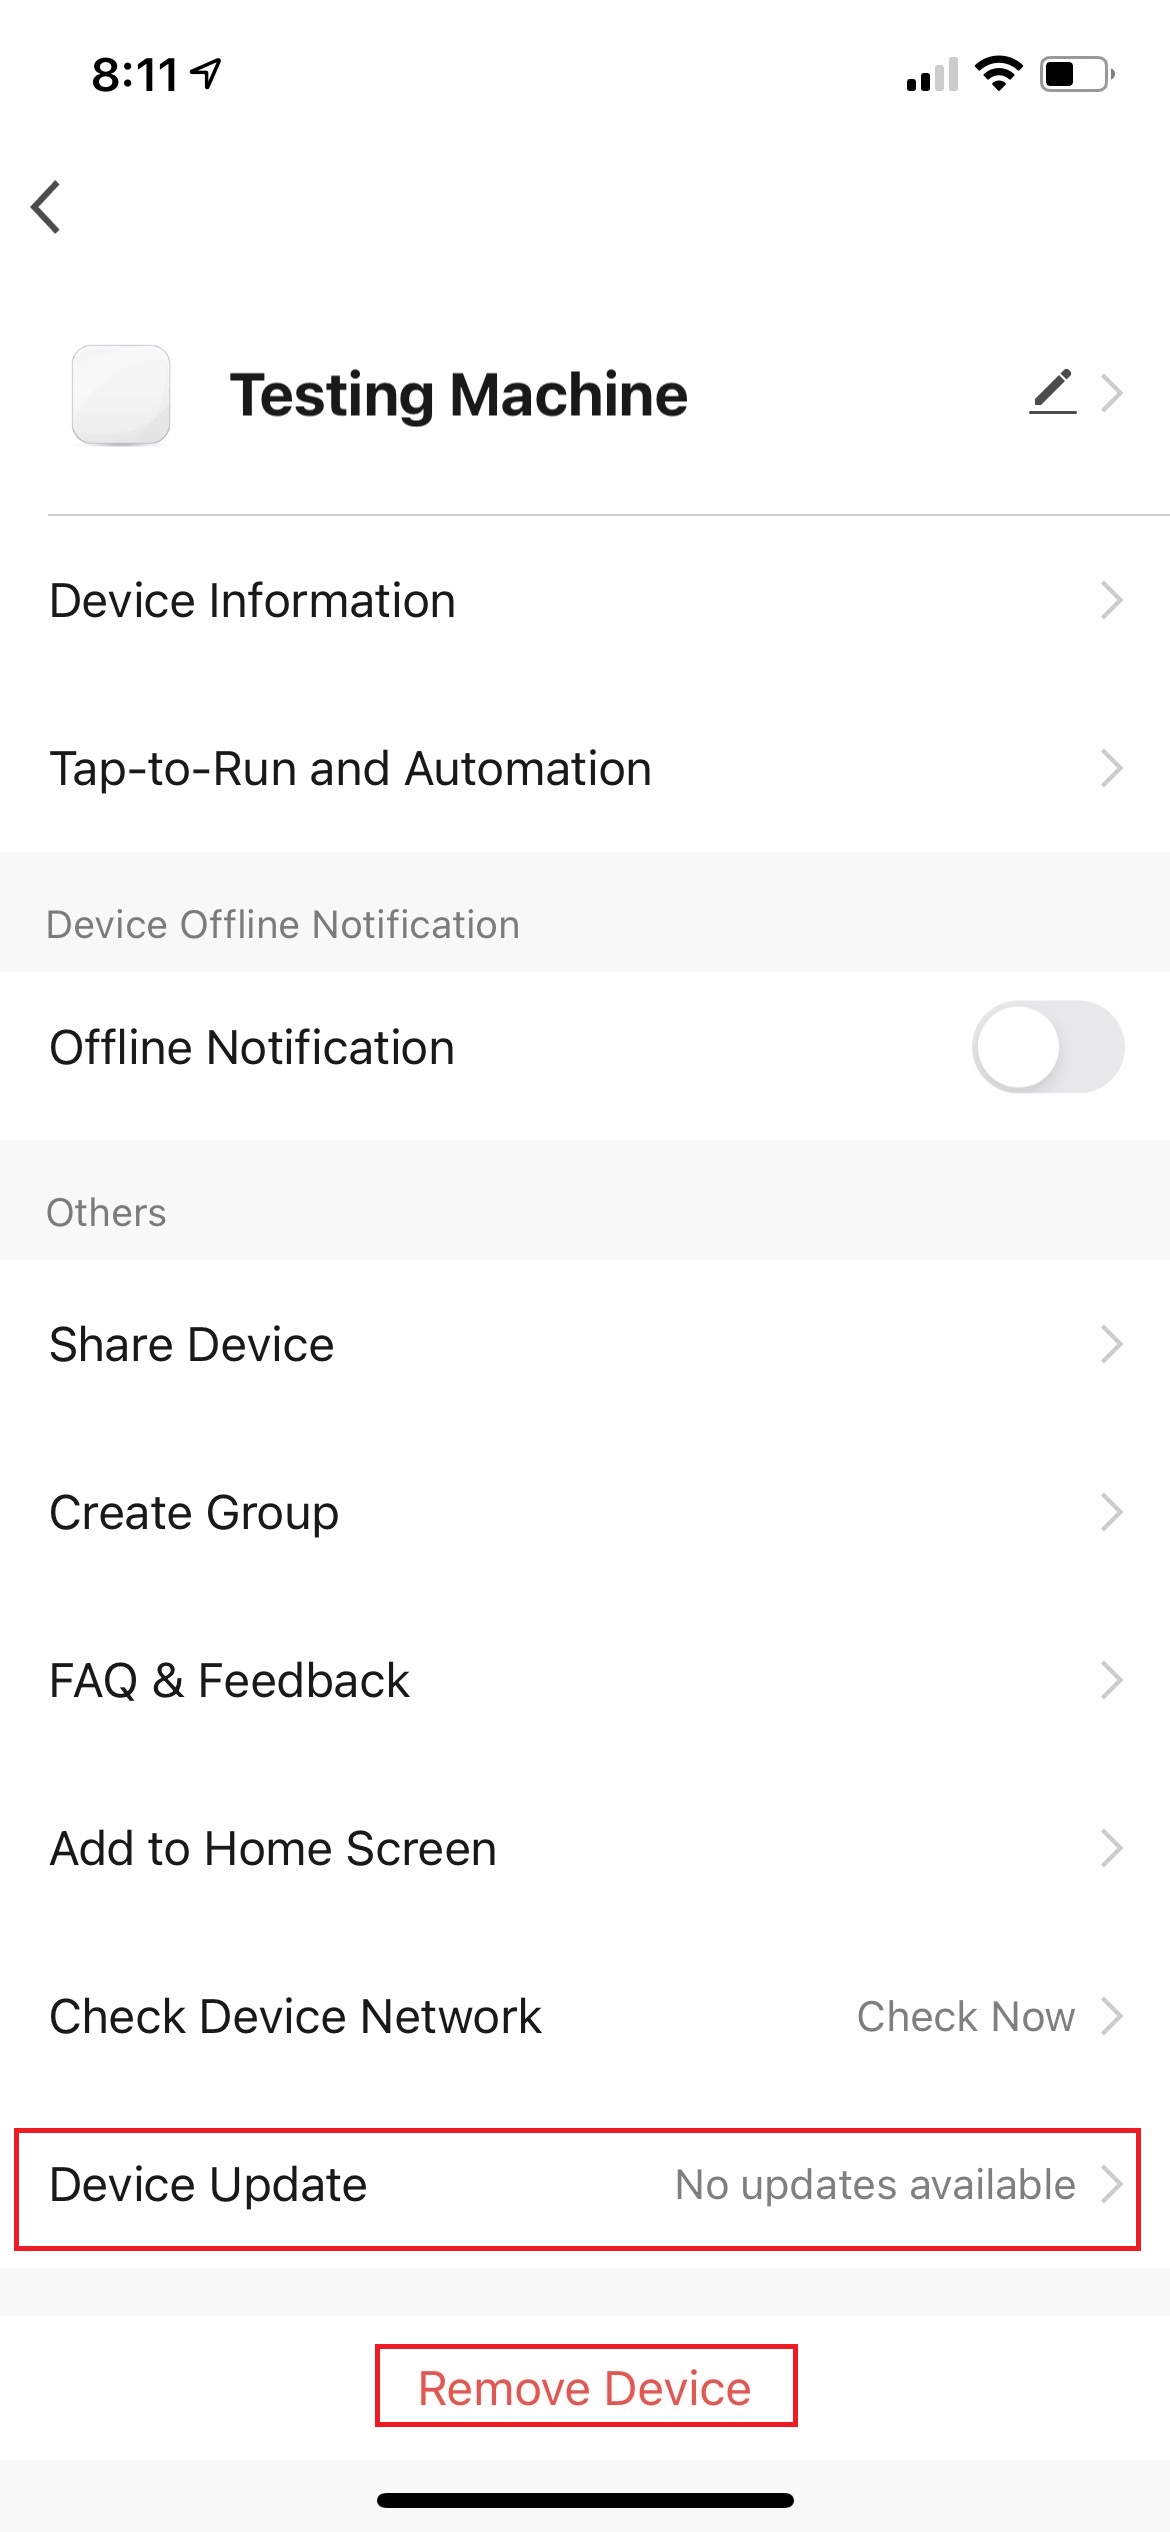
Go to the home page of the testing machine and tap the gear icon in the top right corner.
-
You can update or remove a device from here.
Is this page helpful?
YesFeedbackIs this page helpful?
YesFeedback


