Project Management
Overview
As a system setting application, Project Management allows you to create separate projects to achieve isolated management of different physical spatial areas, such as buildings and communities.
Features
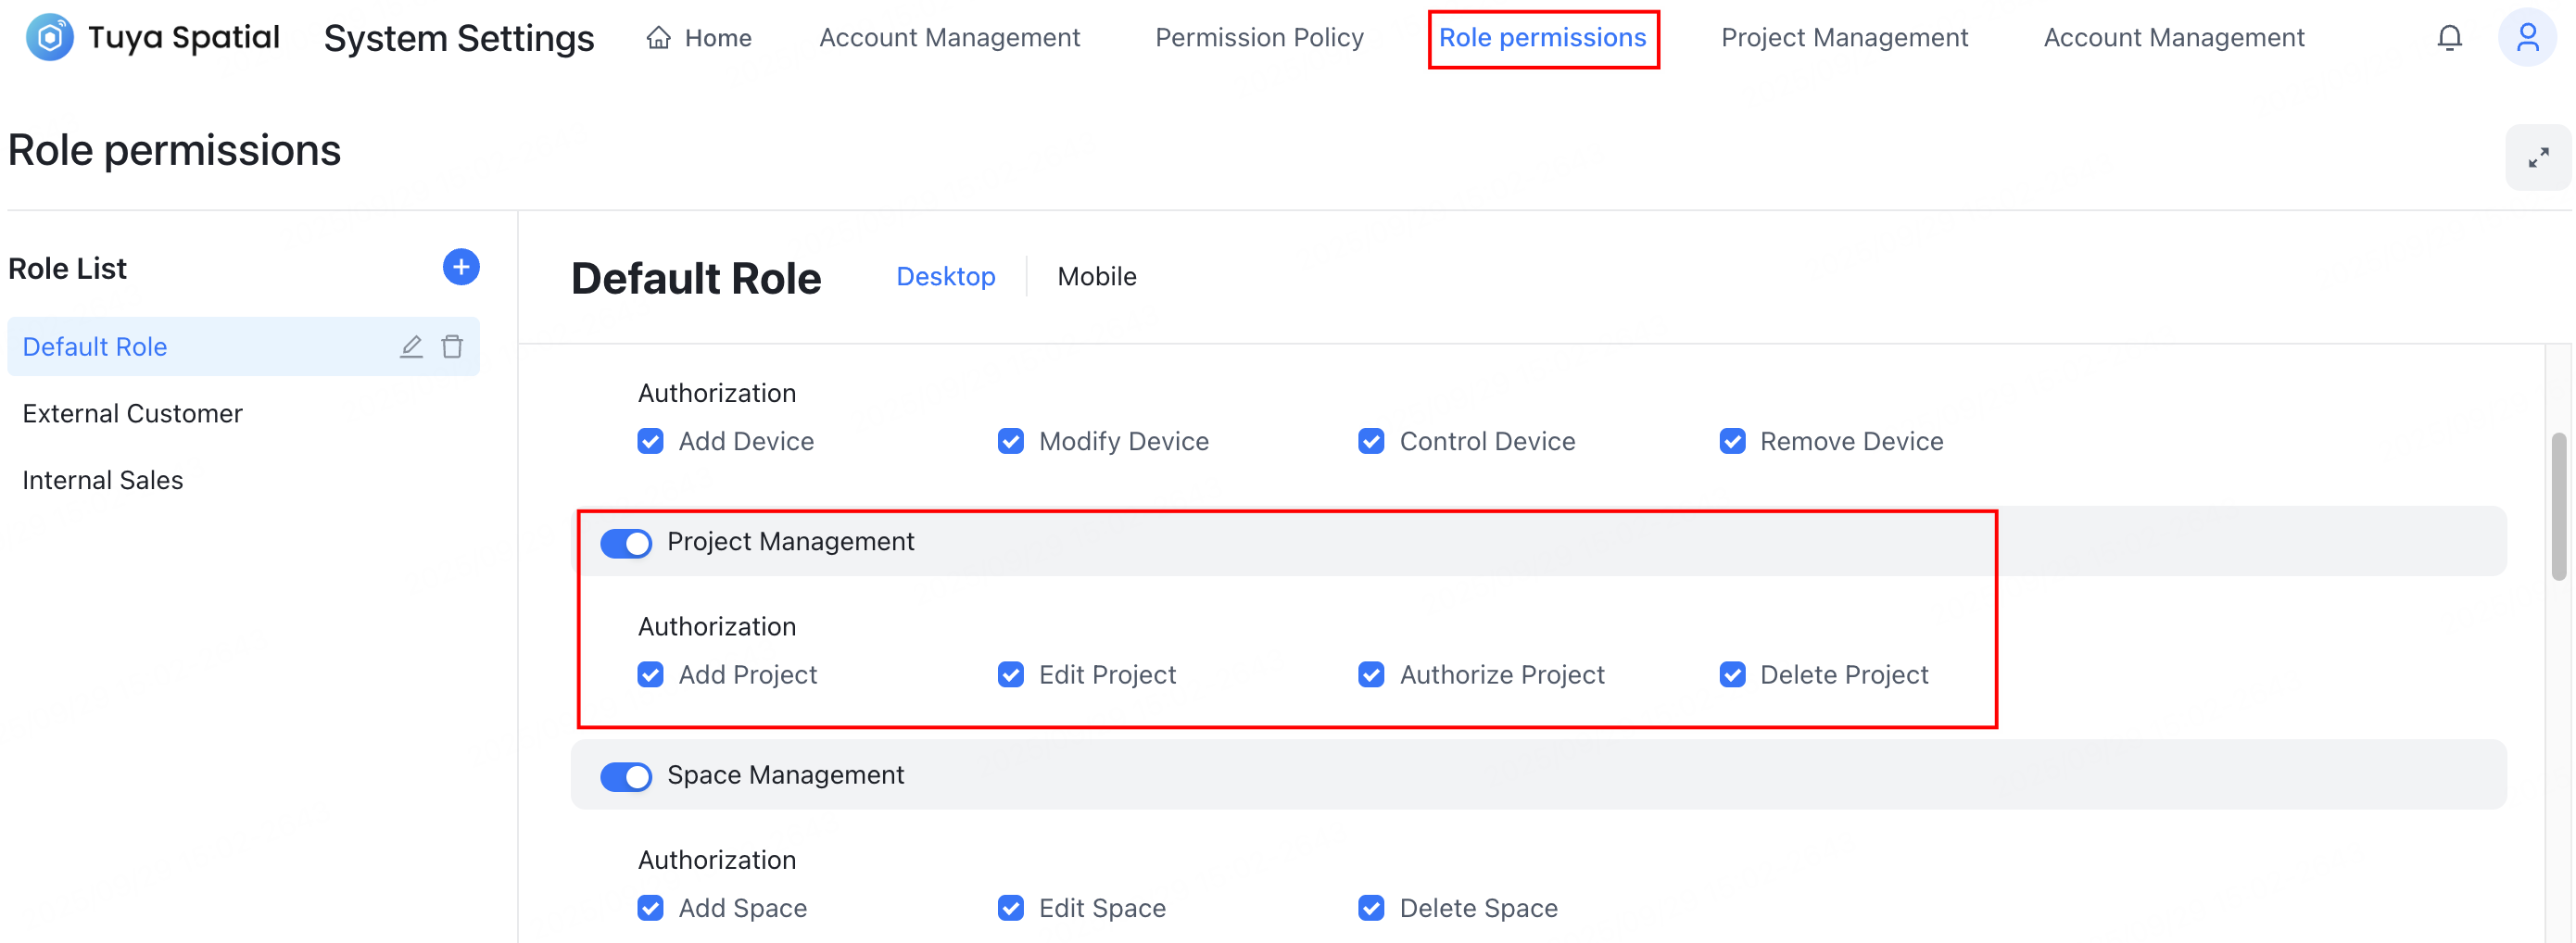
Set up permissions
Before using the project management feature, make sure your account has been granted access permissions to the Project Management application.
Click the avatar in the top right corner of the system. In the dropdown menu, click System Settings and select the Role permissions application. Then, assign a role to your account that includes Project Management permissions.

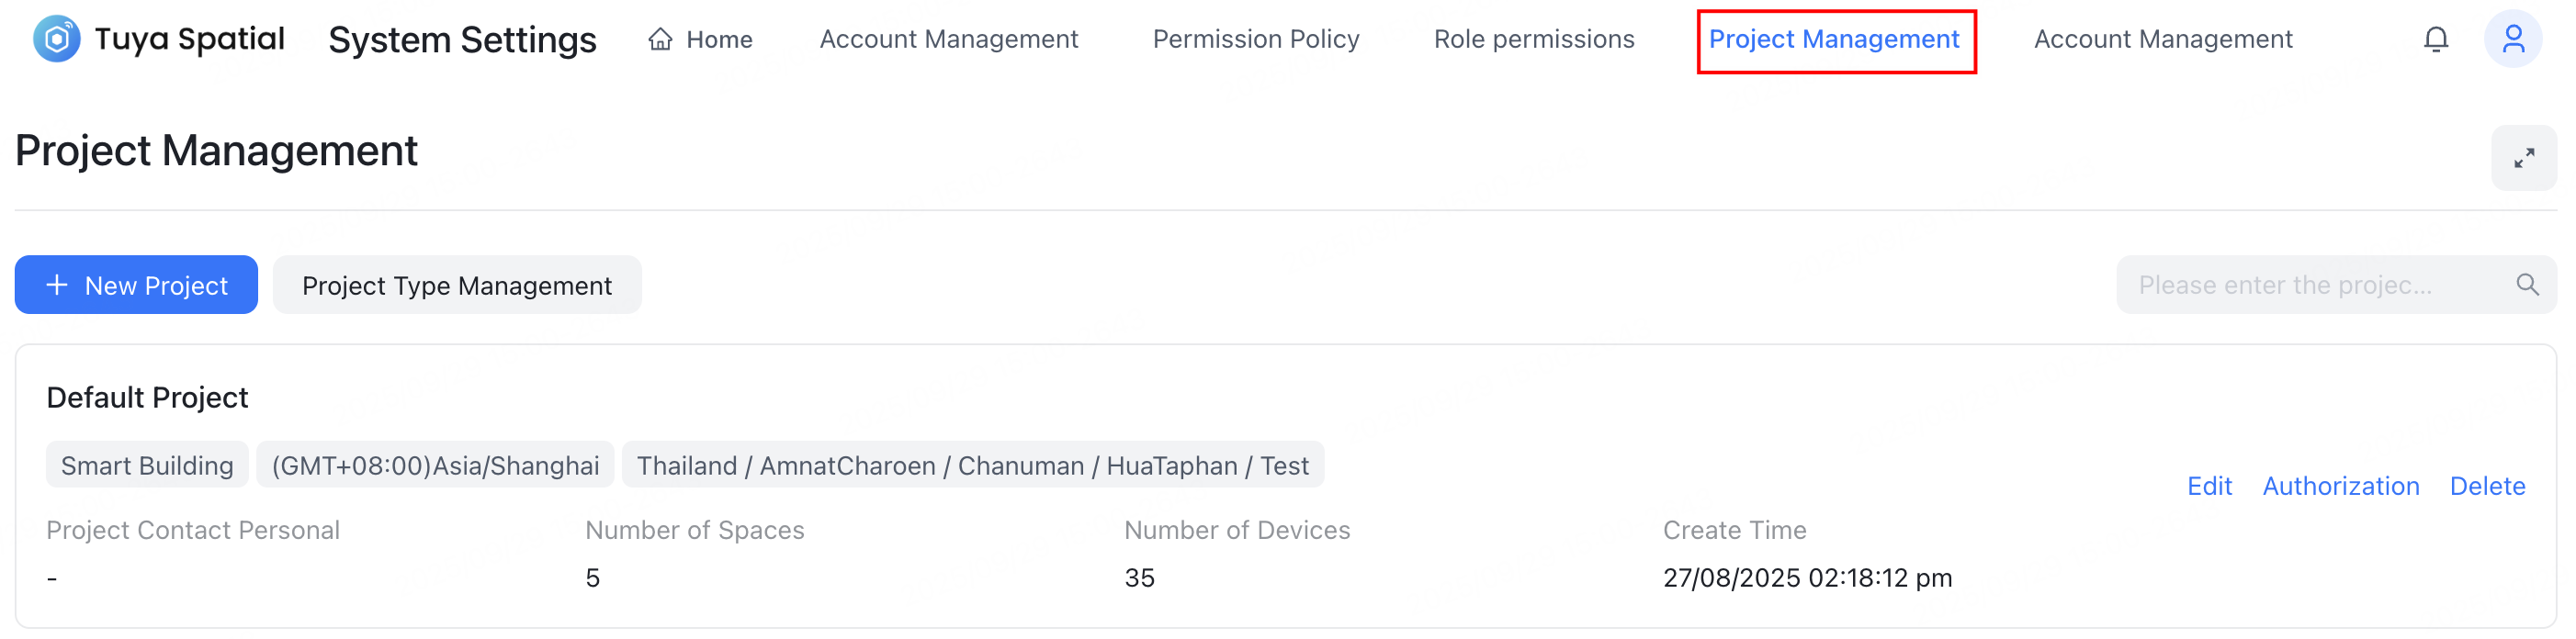
Entry to the feature
Click the avatar in the top right corner of the system. In the dropdown menu, click System Settings and select the Project Management application.
Make sure the current account has the corresponding application permissions.
Default project
When a new enterprise is created, the system automatically generates a default project. Users can directly utilize this default project to add spaces and devices.

Add project
On the Project Management page, click + New Project in the top left corner. Configure the relevant project information, and then click OK to save and apply the configuration.

Edit project
To modify a project’s information, locate the target project and click Edit. Make the necessary changes to the project details, and then click OK.

Project authorization
Through the authorization feature, you can grant project access to existing accounts within the system. Authorized accounts can then select this project and access all spaces and devices within the project.
Locate the target project and click Authorization to perform the following operations. Click Confirm to save the changes upon completion.
- Grant access: In the list of unauthorized accounts, select the account(s) you wish to authorize. Click Authorization to add them to the list of authorized accounts.
- Remove authorization: In the list of authorized accounts, select the account(s) you wish to remove authorization. Click Remove to add them to the list of unauthorized accounts.


Delete project
Deleting a project will remove all data within it. Therefore, before proceeding, make sure the project is no longer in use and that all devices, spatial nodes, and authorized users within the project have been deleted first.
Locate the target project, click Delete, and then click Confirm in the dialog that appears.

Manage project types
The project type management feature is used to configure the available spatial node types within a project. This setting determines the range of spatial node type options available in the Space Management application.
You can edit the system’s built-in project types or create up to 10 custom project types. You can modify project type names and their supported spatial node types at any time, and historical data will remain unaffected.


Is this page helpful?
YesFeedbackIs this page helpful?
YesFeedback


