Laboratory Product Testing
This topic describes how to perform batch pairing, control, update, and reset the end products on the Cloud Test app.
Application scope
Currently, laboratory product testing applies to all products that are compatible with the Tuya Cloud Test app, including certain electrical and lighting products.
Preparation
-
Download the Tuya Cloud Test app and register an account.
Note: You need to register an account if this is your first time using the Tuya Cloud Test app. The accounts of the Tuya Cloud Test app, the Tuya Developer Platform, and the Tuya app are in different account systems.
-
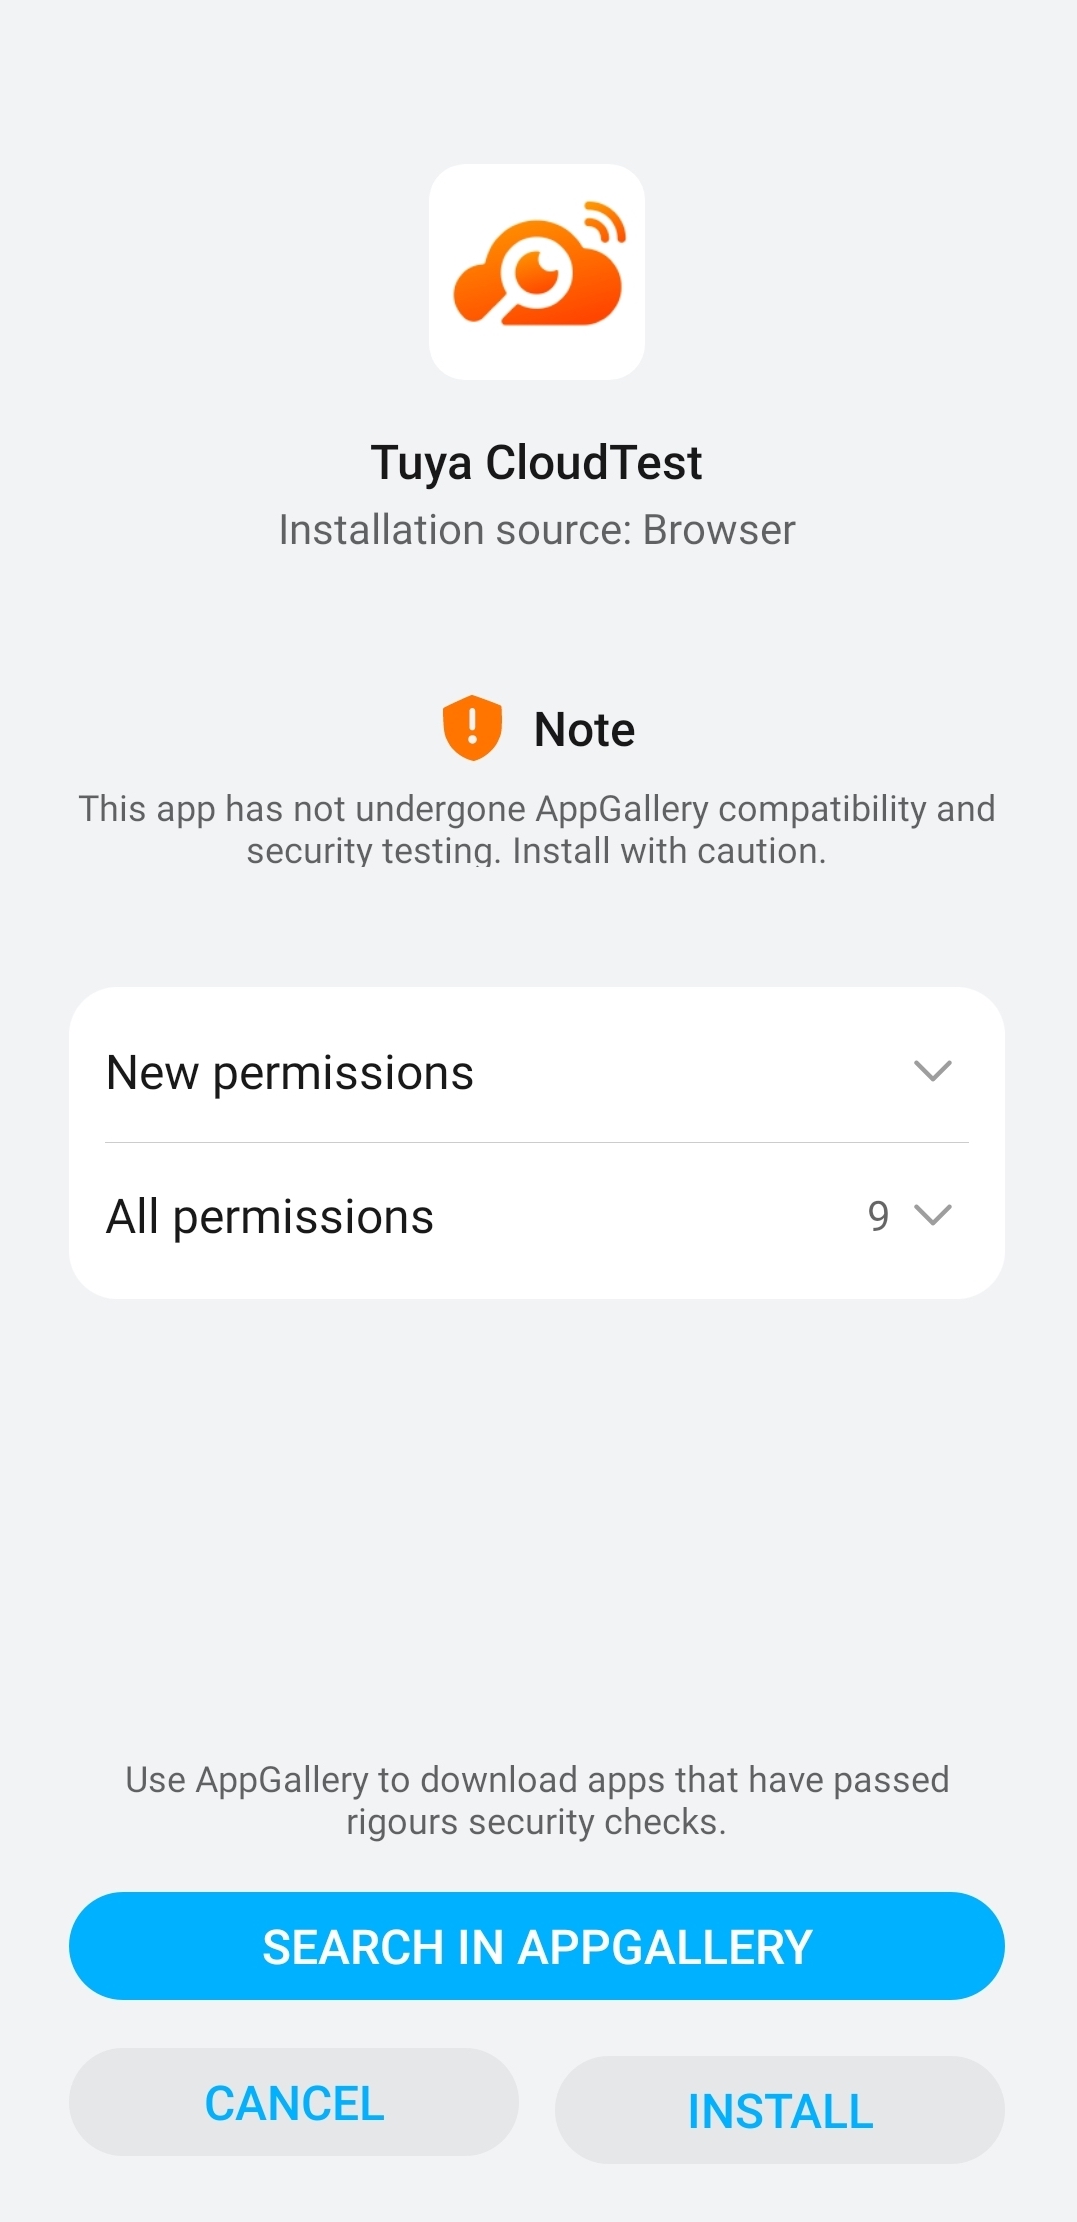
Install
During the installation process, allow downloading and installing the app from external sources. After installation, the name of the app is Tuya Cloud Test.
 |
 |
Procedure
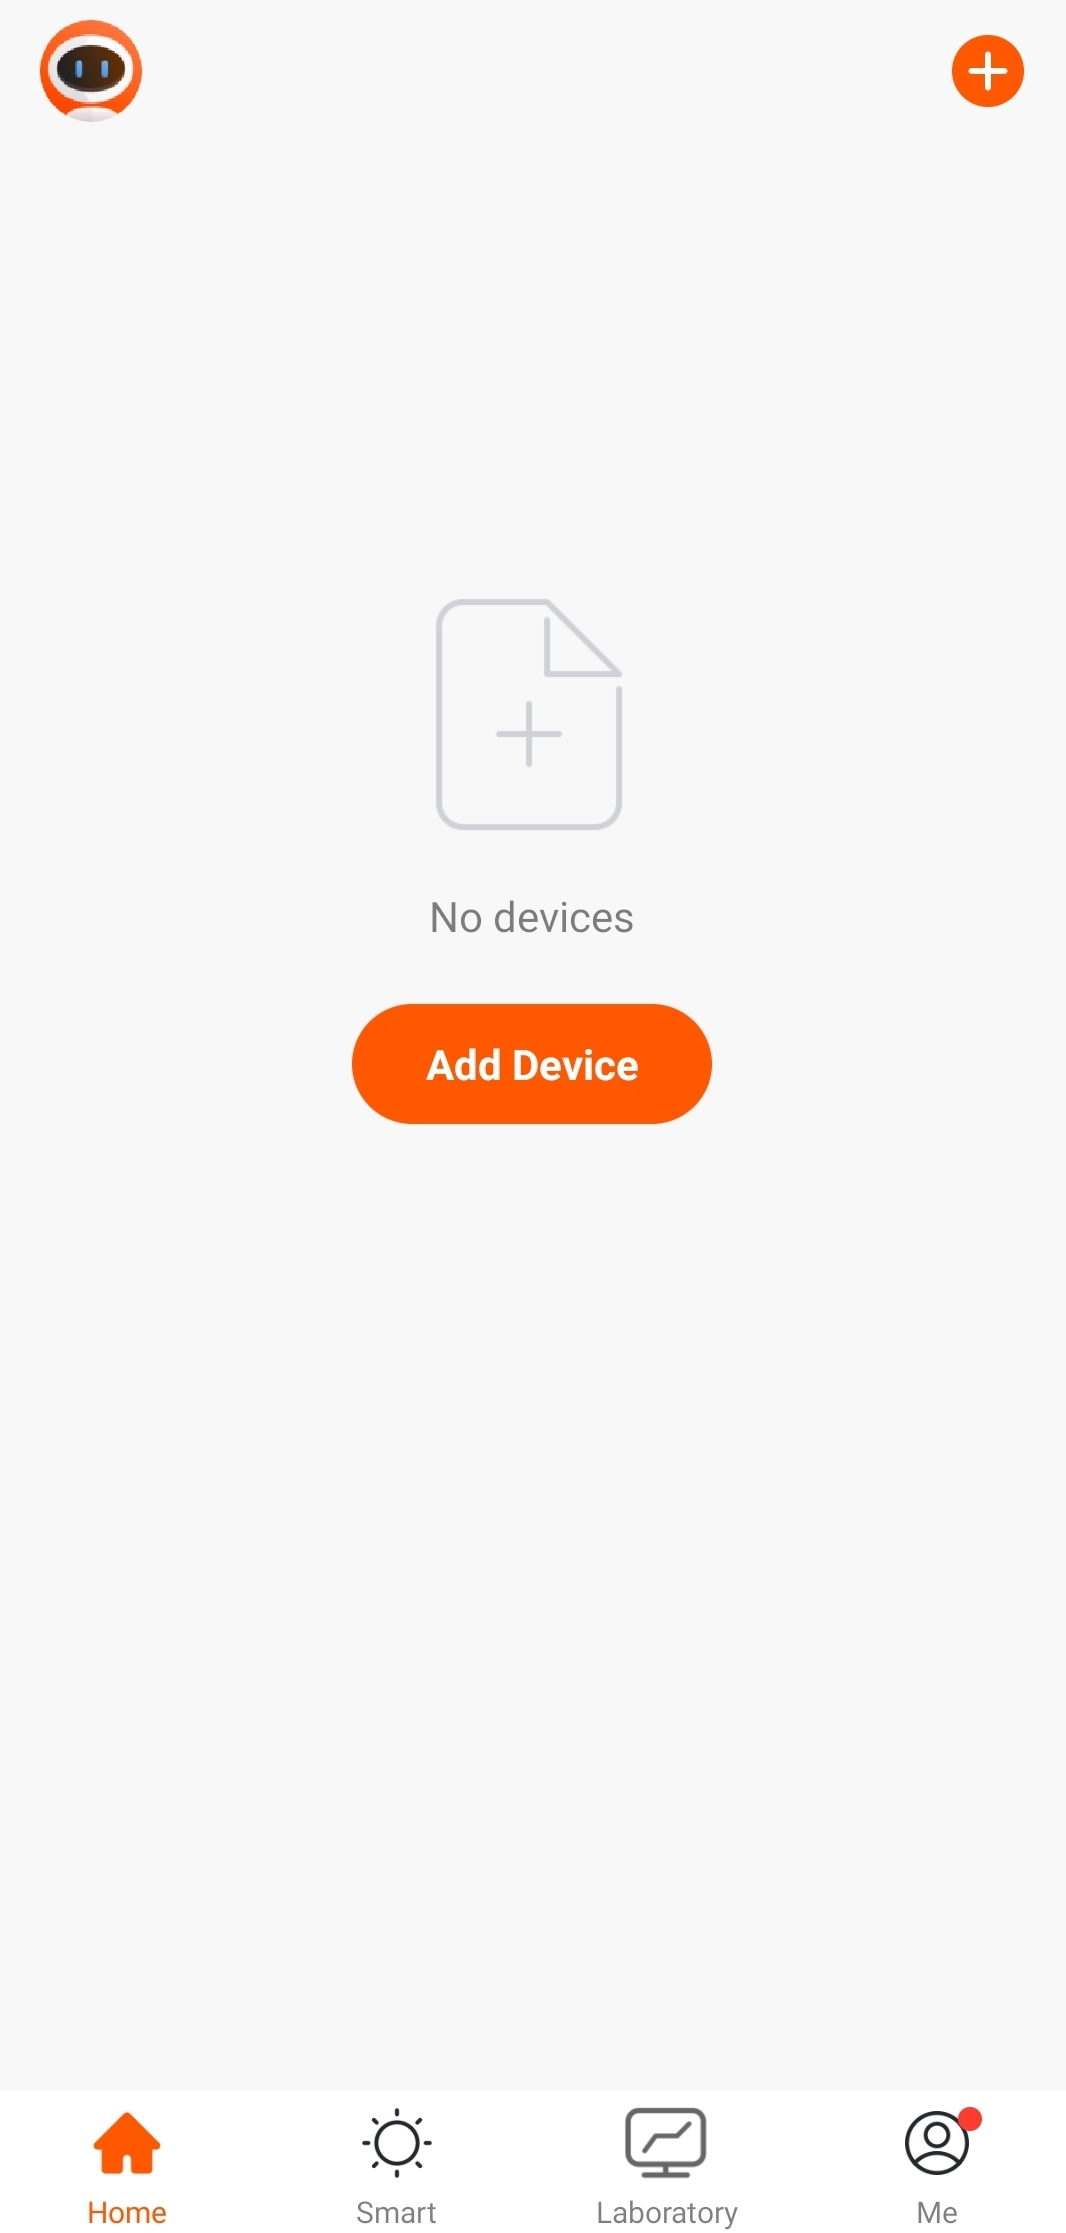
Add a device
-
Method 1 (same as the pairing of all-in-one Tuya app):
Tap the + button in the top-right corner, and select Add Manually or Auto Scan to add a device.
 |
 |
-
Method 2:
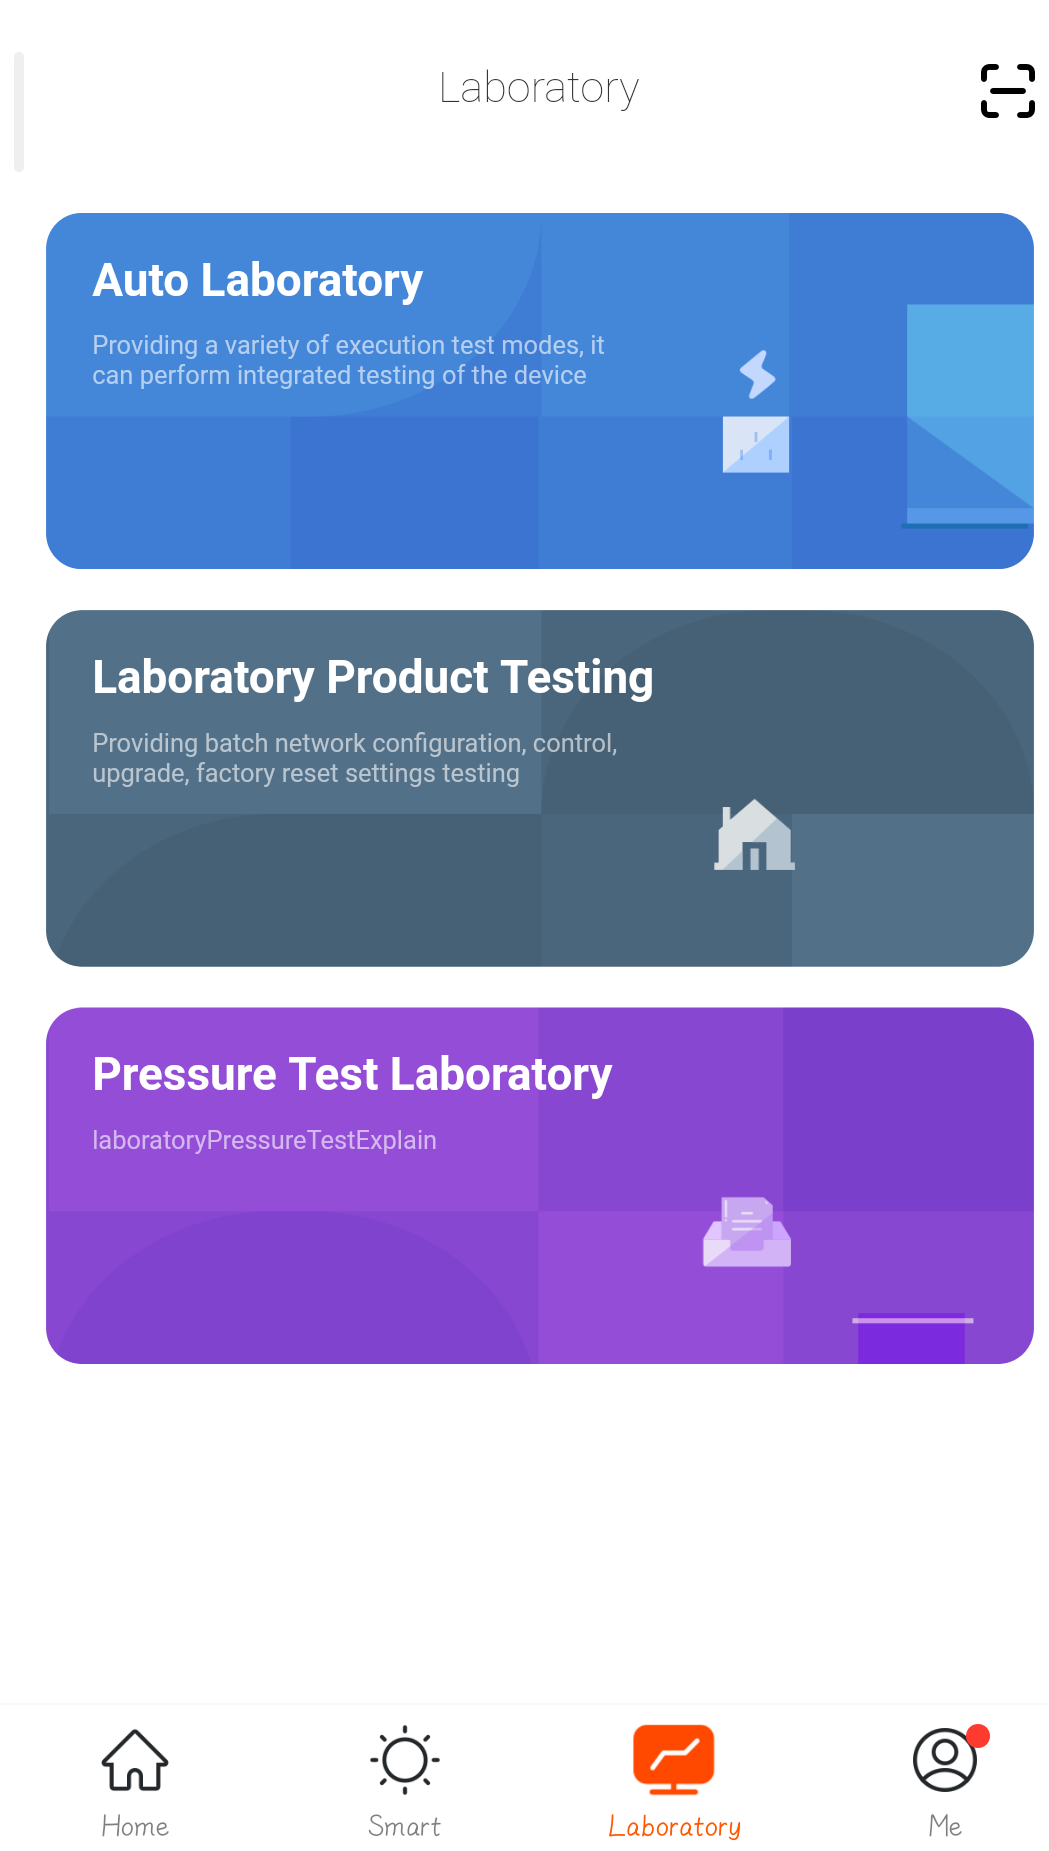
Tap Laboratory > Laboratory Product Testing to enter the product testing page.
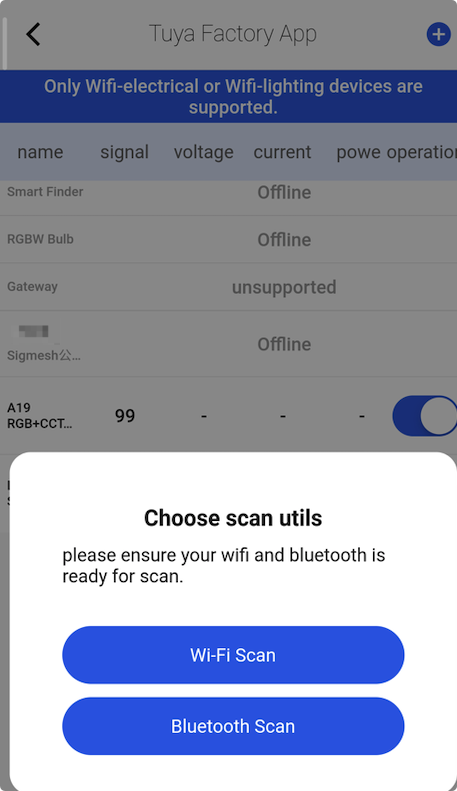
Tap + in the top-right corner to add a device.
 |
 |
Pairing
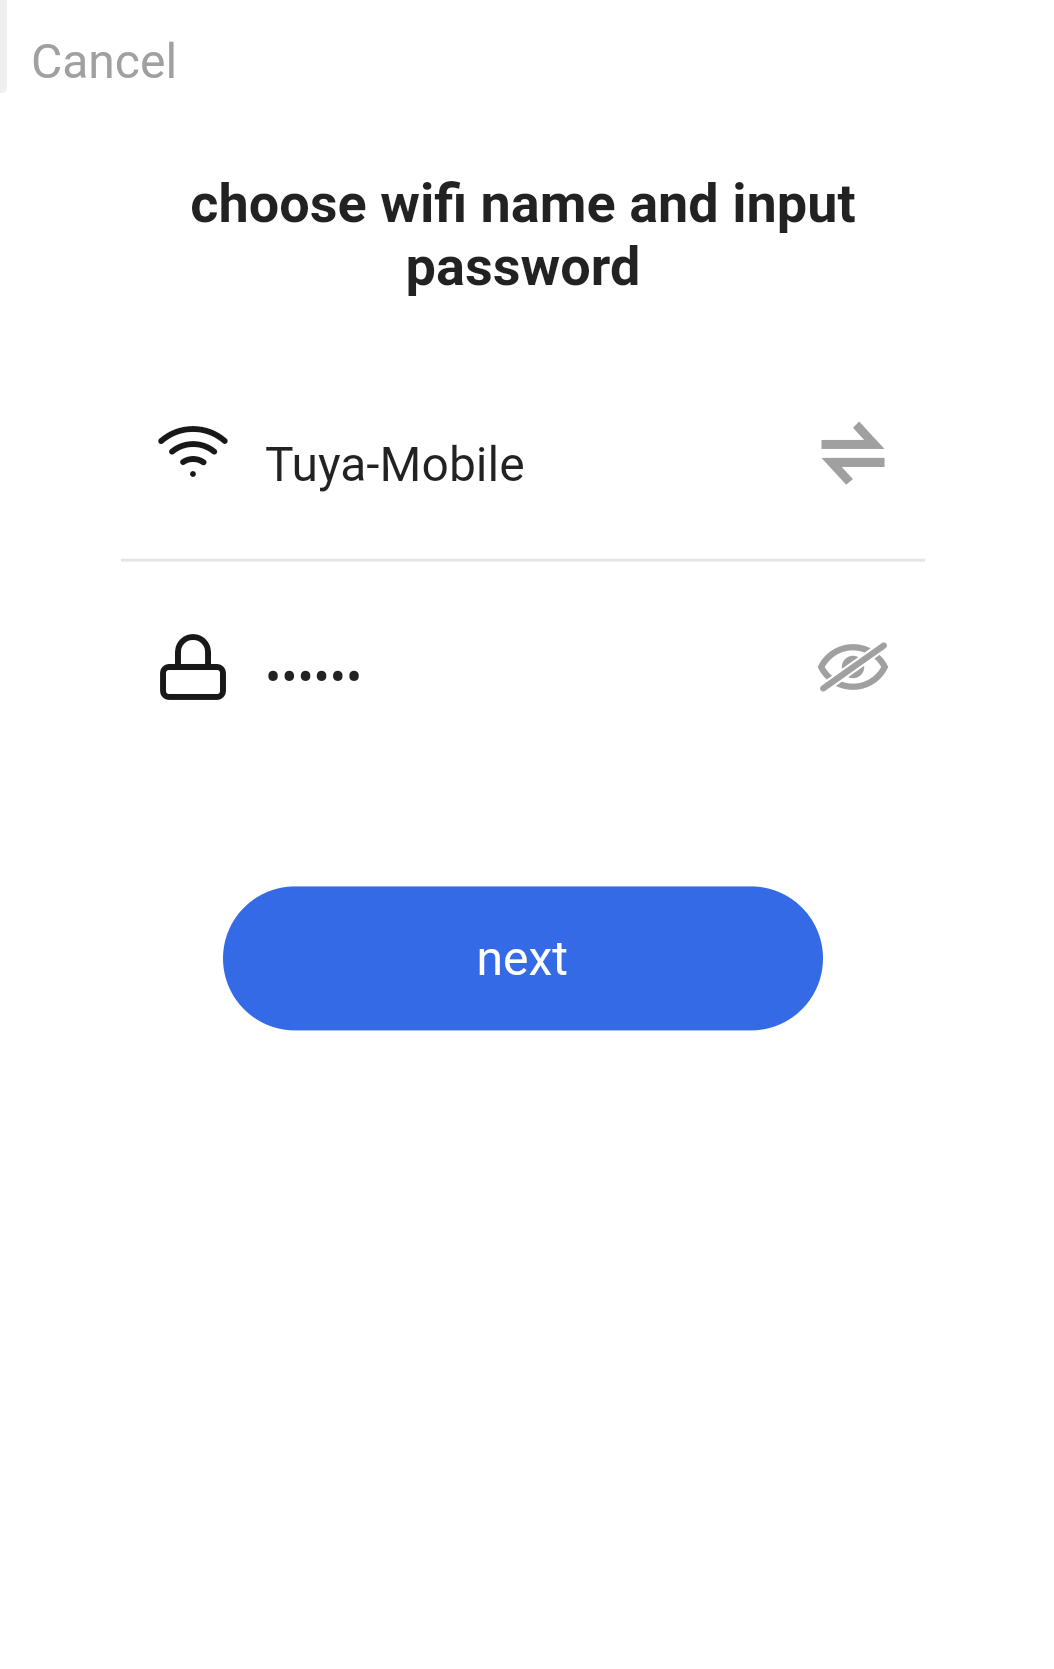
Select Wi-Fi Scan.
Note: For pairing, the device must be in the same Wi-Fi network as the mobile phone on which the Cloud Test app is installed.
 |
 |
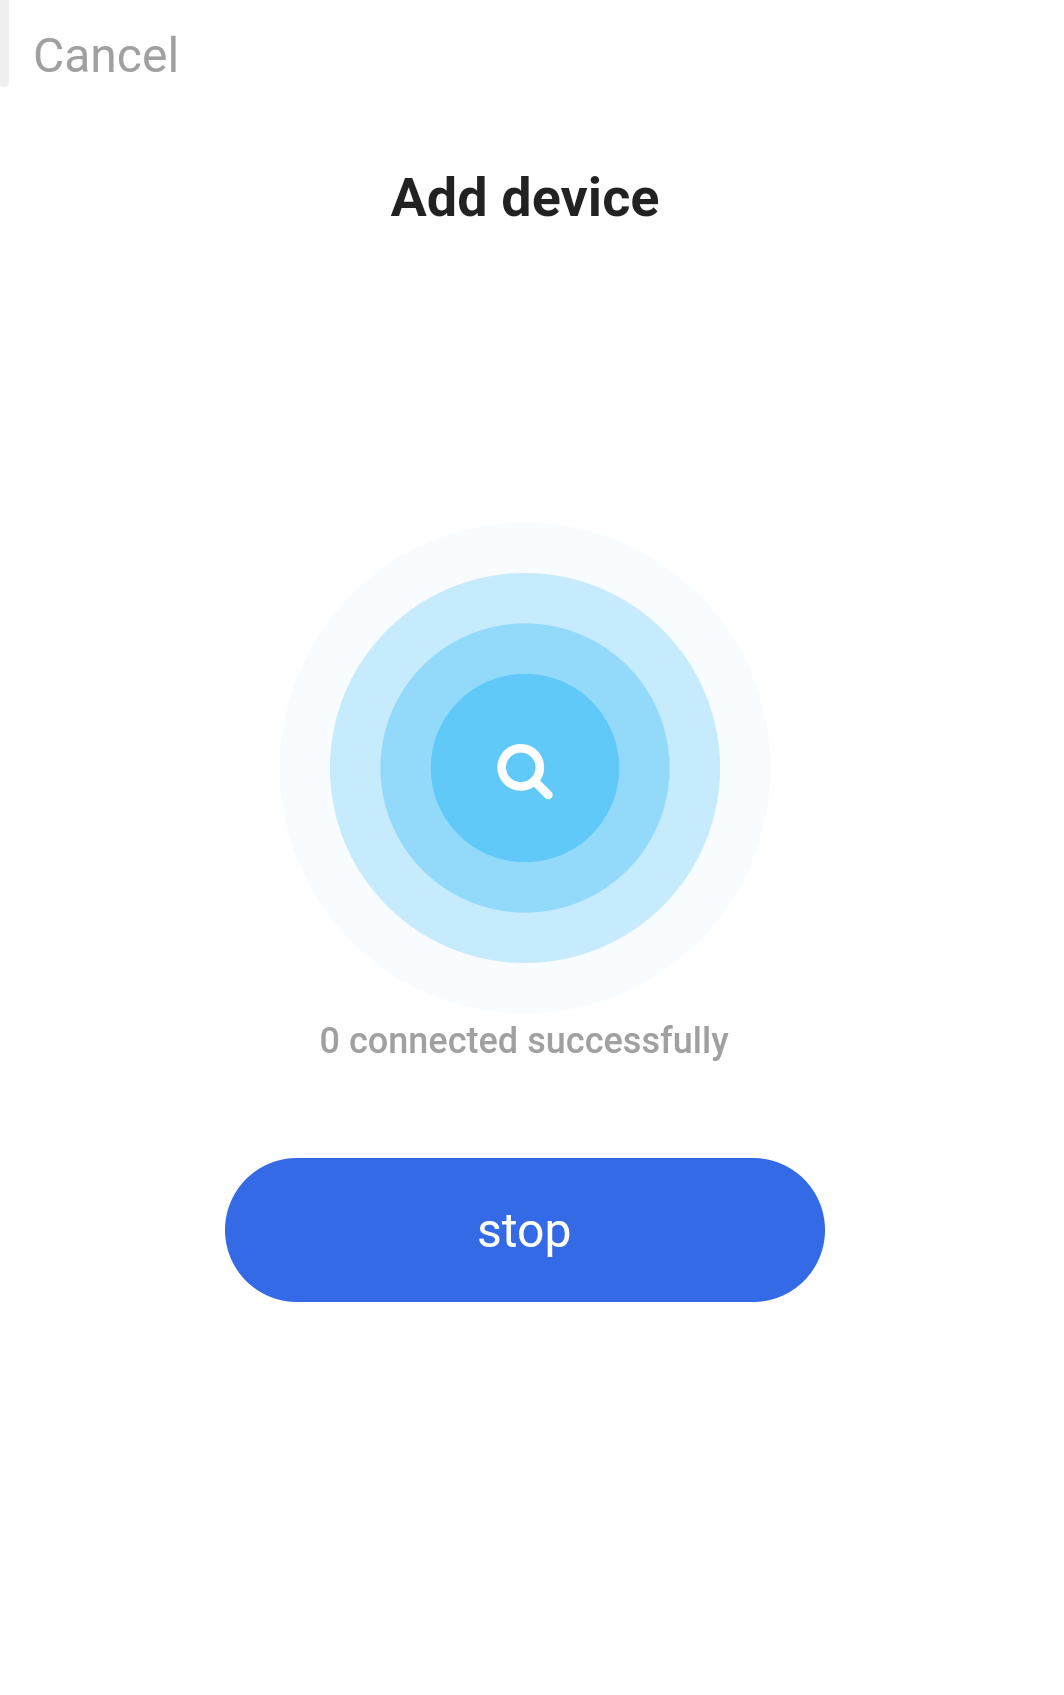
When the Cloud Test app finds a device waiting for pairing, the app will automatically add the device. A prompt will be displayed after the device is added successfully. After the devices have been added, tap stop and return to the production test page.
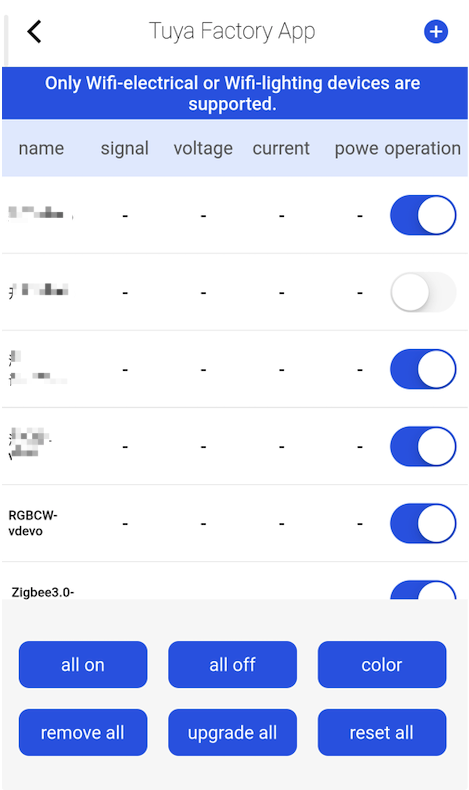
Perform a production test
Currently, the Cloud Test app only supports production tests of Wi-Fi electrical and lighting devices. This topic takes sockets and white and colored lights (RGBCW) as examples.
The production test page shows six connected devices. The first is a socket with energy monitoring, the second is a socket without energy monitoring, and the third to sixth are white and colored lights (RGBCW).
-
Socket with energy monitoring: After the load is connected, you can test the signal strength, voltage, current, power, and on-off status.
-
Socket without energy monitoring: No energy monitoring chip is installed, so only the on-off and signal strength can be displayed.
-
Lighting products: The on-off and signal strength are displayed.
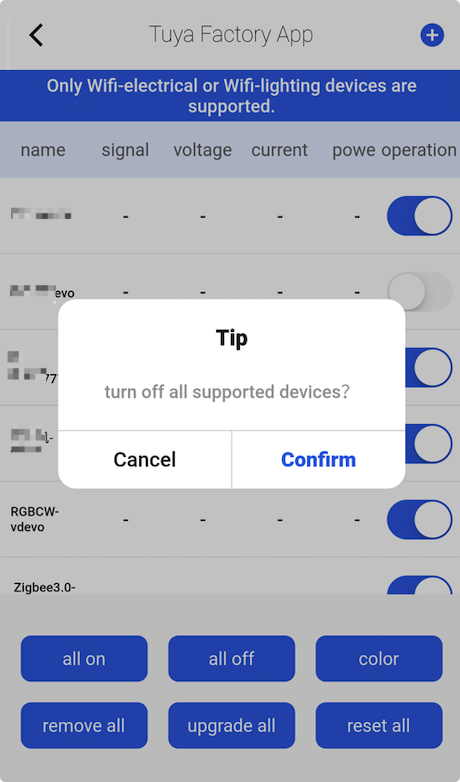
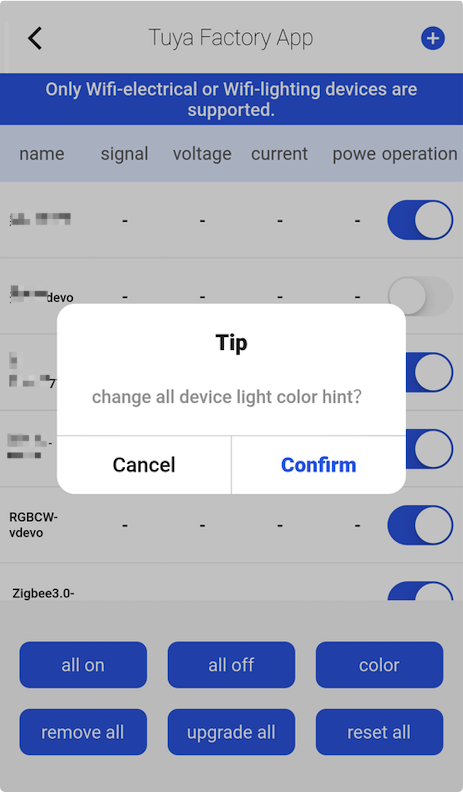
Batch operation
- All on: Power on all the devices under test.
- All off: Power off all the devices under test.
 |
 |
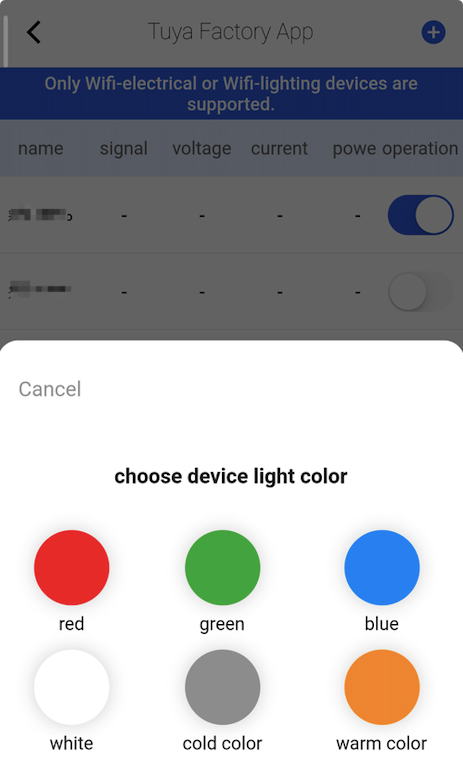
Color
This test item is only for lighting products. Choose the desired color and tap Confirm. The light will appear in the specified color.
 |
 |
Remove all
Remove all devices with one tap.

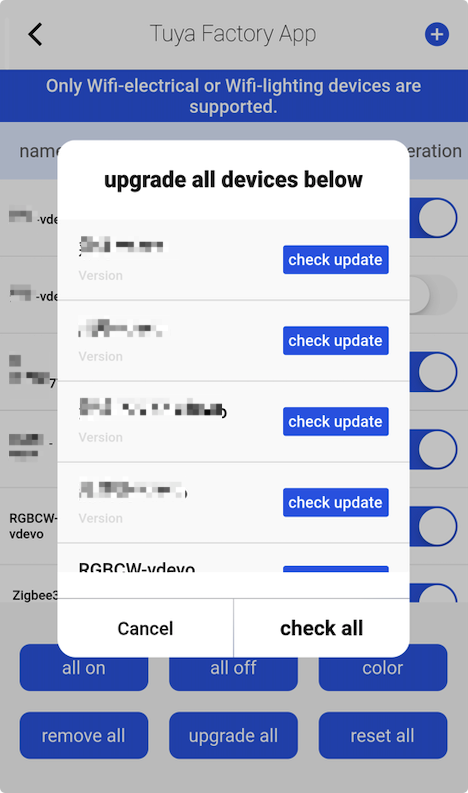
Upgrade all
When you want to update multiple devices, tap upgrade all and then tap check all.
 |
 |
Reset all
Tap reset all and tap Confirm to reset all the devices.

Things to note
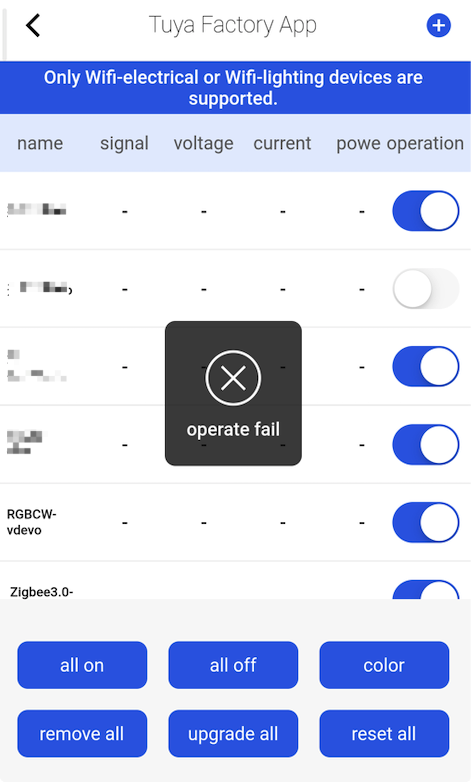
- In the case of failure on the color operation page, check whether the light under test is a colored light. For example, a failure prompt will appear when a cool white light © or a cool and warm white light (CW) switches between colors.
- If devices across categories under the account are tested together, a failure prompt will appear when you switch between colors.
- During the test of the socket with the energy monitoring feature, pay attention to the displayed value. Move the decimal point of the displayed value one place to the left, and you will get the actual voltage value. The unit of current is mA.
 |
 |
Is this page helpful?
YesFeedbackIs this page helpful?
YesFeedback


